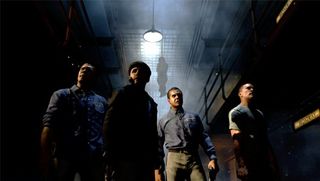
The zombies are back but this time, instead of going around and around in a non-stop circle, it’s a race to try and escape them. The new Mob of the Dead mode, from the Call of Duty: Black Ops 2 Uprising DLC, lets up to four players make a break from their cells on Alcatraz Island and try and gain their freedom by finding parts to build a plane. Aside from the plane parts needed, there are other items that you can find and build as you fight off the waves of the undead, including things like shields and traps. It’s a new take on the zombie mode with some familiar faces and gameplay that is very similar to previous modes. With this guide, we’ll show you where and how to get the items needed and how to make your way off the island safe and sound.
THE WARDEN'S KEY
The first thing that you’ll need to do to make your escape is to locate and grab the Warden’s key from the cell block. The only real tricky thing about this is that the key can appear in two different places and which one it will be located in is random. The two places it can appear are either outside the cafeteria or outside of the Warden’s Office, both on the bottom floor of the cellblock.
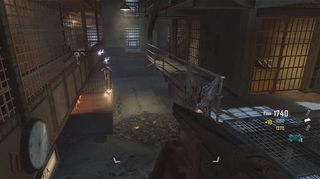
KEY LOCATION 1
To get the key outside of the cafeteria, you’ll need to exit through the grey door from the starting area and follow it up the next stairs to the next area. If the key is there, you will see it hanging on the left side from an electrified hook. Make your way down to the ground floor and across from the showers door, there will be an electrical panel to use to enter the afterlife. Zap yourself and you will then see a portal open above you, across from the electrical box. Sprint and levitate up to get through it and then go to the left to find an electrical panel there to zap. Shoot it and that will lower the key, allowing you to grab it when you return to your body.
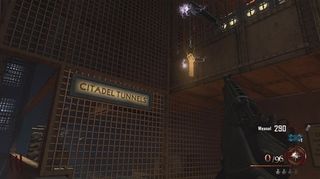
KEY LOCATION 2
The other location where the key may be is through the same grey door, except this time you will need to have enough money to go through another door, which is located on the second floor, up the stairs and down the catwalk, to the right of where the other key is also located, across from the showers. Once you go through the second door, continue all the way to the end and you will see the electrified key hanging from the hook above in the corner. To get the key, use the electrical panel on the corner across from the Warden’s Office and a portal will appear above, and directly across from the panel. Jump up through it and go to the left to find the electrical panel. Zap it and the key will now drop down for you to grab.
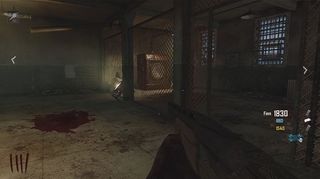
PART 1: SHOWERS
To access the first part, you will need to open the door to the showers. Go to the electrical box where the key 1 is located. Zap yourself to enter the afterlife and then go through the portal located to the left of the MP5 on the wall. Run through the opening to the end, after jumping up on the pipes. Then turn around, and run back and up to the upper level of the pipes. Once you reach the end here, zap the volt machine and it will open the gate to the showers which is directly across from where your body will be when you return to it.
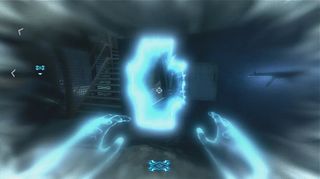
Now that you are back up, head down the stairs through the now open gate and you’ll see the washing machine in the back corner. Open the gate with the Warden’s Key and then go all the way to the other side of the shower room to find the electrical box there. Zap yourself and then fly back to the washing machine room and shock the volt machine to the right to turn on the power. Return to your body and then go back to the washing machine and turn it on. As it spins, the room will turn steamy and a horde of zombies will attack, including most likely a Brutus, a hulking zombie that takes massive amounts of damage and will show up every once in a while.
PART 2: CITADEL
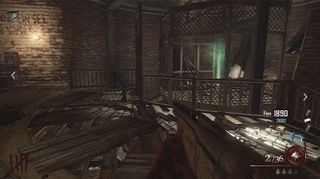
For the next part, head to the Citadel Tunnels which you can either access through the Showers or through the stairs leading down to the left of the Warden’s Office. When you reach the Citadel, there will be a spiral staircase that circles an elevator in the center, leading down to a door and a set of numbers on a board behind a lock. Use the Warden’s Key to unlock the numbers panel and then pay to unlock the door at the bottom. Make your way back up to the top of the spiral and use the electrical box there to enter the afterlife.
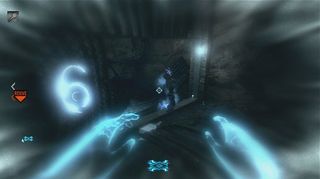
Zoom back down the spiral stairs and look on the left side for three numbers that you will pass on the way down. When you reach the numbers panel, shock each number section so that the number match the ones you saw on the way down. A timer will now start and you will either need to return to your body quickly or have another person run through the door at the bottom and go down the stairs and down the hallway to the left, all the way to the end where the elevator will arrive. Open the cage and grab the part off the elevator floor.
PART 3: DOCKS
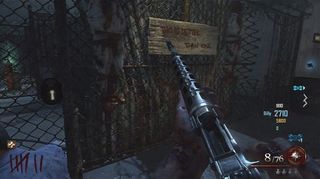
Once you reach the Docks, either via the gondola on the third floor or through the hallway at the bottom of the Citadel, there will be a fenced in area to the right side, across from the bottom of the ramp and large set of stairs. To enter the fenced area, use the Warden’s Key and then within the first fenced area, there will be an electrical box and a volt machine. If you are playing solo, you can just zap into the afterlife and then shock the volt machine to open the gate, however if you are playing with more people, you will need to have two people enter the first caged area, one then will enter the afterlife, shock the volt meter, and then the other player will need to run and grab the part out of the second caged area. It’s a simple part to get, but can be a little tricky without good communication between team members.
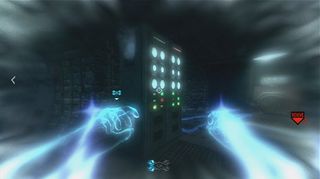
PART 4: WARDEN'S OFFICE
Inside the Warden’s Office, you will see a room on the right side that has an electrified door. The part will be inside here, but to get it, you will need to shock three electrical panels that are in the Generator Room, down beside the docks. In the large room between the Docks and the Citadel, there will be a bunch of electrical panels, the same type you shocked to lower the Warden’s Key. You will need to shock the three panels that are lit up. There will be two in the Generator Room and then a third that will be through a portal at the far end of the room to hit as well.
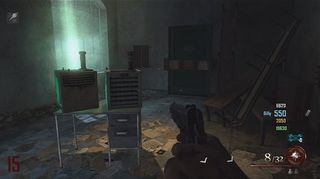
Once the three panels are hit, you will then need to return to your body and return to the Warden’s Office to enter the small office and grab the part off the table. To open the Warden’s Office, you will need to basically do the same thing as when you get the Warden’s Key from spot 2, except you will need to go to the right when you float through the portal and find the volt machine there to shock which will then open the Warden’s Office door, allowing you access to the now accessible part.
PART 5: INFIRMARY
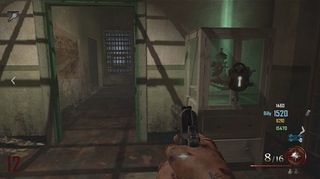
For this last part, you will be able to get it just before you head up to the roof, through the Infirmary. You can reach the infirmary through either the door in the cafeteria or by following the catwalk behind the Electric Cherry machine on the third floor in the center of the cell block. When you enter the Infirmary, follow the corridors leading to the roof and just before you reach the stairs leading up, there will be a glass cabinet on the right side. Use the Warden’s key to open it and grab the final part. Now that you have the part, enter the afterlife again using the electrical box there, and go through the portal located in the tiled hallway a couple rooms over and follow the narrow passage to the roof. Once there, shock the volt machine next to the door and it will open giving you access to the roof.
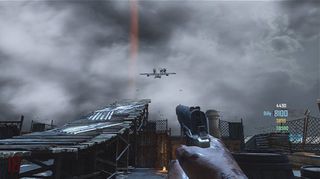
Once you have returned to your body and either you or each player has a part of the plane, they will then need to head to the roof of the prison through the Infirmary. In the center of the roof, you will see a ramp where once you are close to it, will be prompted to build. Once you have all 5 parts combined, the plane will be built and each player will need to hop on by the rear of it. Once on, it will then take you on a ride across the San Francisco Bay where you will crash into the Golden Gate Bridge. Once you and your team -- or at least those made it to the plane, as you can see in the image above, I was left behind :(--arrive on the bridge, you will then have to fight off more zombies. For your troubles there is a Pack-a-Punch machine on the bridge to give your weapons a major boost. You will also notice that there are a series of electric chairs.
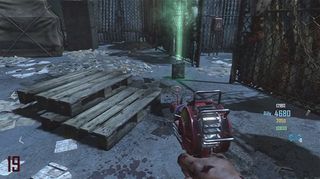
When you have had enough of the bridge, you can sit in the electric chair and be taken back to Alcatraz where this time, instead of finding 5 plane parts to escape the prison, you will need to find 5 fuel cans. The fuel cans can be found in the same places as the plane parts were the first time, but thankfully this time around, you don’t need to use any fancy tricks to reach them and they can easily be picked up and returned to the roof.
HOW TO GET THE HELL'S RETRIEVER WEAPON
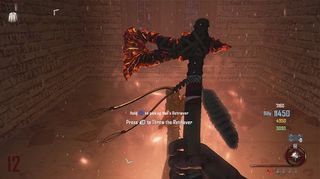
To find the red glowing tomahawk known as Hell’s Retriever, you will need to feed 5 zombies to the three Hell Hounds that are spread throughout the prison and that will appear when you kill a zombie in front of them. Once the hounds are active, the zombies that you kill near the hound’s head will get sucked into its mouth and be chomped on. Once you have fed 5 bodies to the wall-bound heads, you will then be able to add this awesome weapon in your inventory.
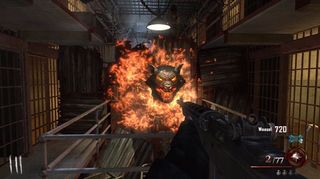
HELL HOUND 1: B BLOCK
This first hound can be found in between cell block C and B near the starting spawn area. Go through the cage door at the library and then up the ramp to the right. Here at the Broadway signs you will see an orange marking on the wall of a hound head around the right corner. Hang out here and wait for a zombie to arrive and then kill it in front of the marking. Let the hound suck up 5 more and then it will disappear leaving a glowing mark on the wall.
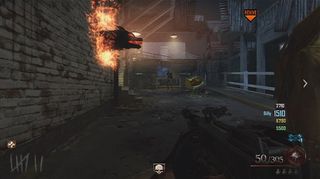
HELL HOUND 2: DOCKS
The second hound can be found at the docks, on the wall near the crafting bench, and just to the left of the door that leads to the Generator Room. Repeat the same thing for this hound head that you did the previous, and again, once it is full, it will disappear leaving behind a glowing orange mark on the wall.
HELL HOUND 3: INFIRMARY
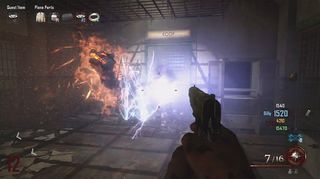
The third and final hound can be found in the Infirmary, directly beside the locked up part needed for the plane, and to the left of the door to the roof. As with the previous hounds, kill a zombie in front of it to activate it and then kill more to feed it. Once it is full and it disappears, it too, will leave an orange glowing mark on the wall.
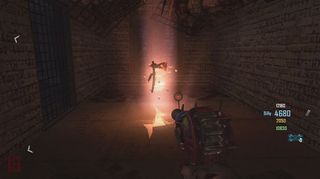
Now that all three hounds have been fed and have disappeared, you can go and grab the Hell’s Retriever. To find it, go down to the showers and go through the door found on the far side between the electrical box and the washing machine. Follow the corridor there all the way to the end and there will now be an open wall underneath the banner of three hound heads with the tomahawk inside, glowing and looking all pretty.
