-
 News
NewsThis fan-made remake of classic JRPG Mother 1 has been fading in and out of existence for over 18 years, and it's finally set to release next year
-
-
 News
News"I just want people to be able to enjoy the game": Earthbound legend Shigesato Itoi is "glad" the SNES JRPG got the English localization changes it did
-
 News
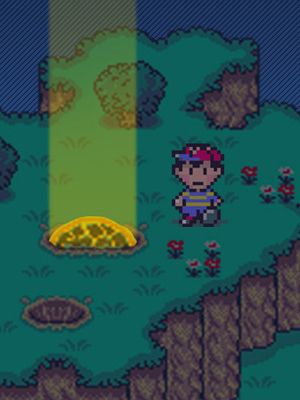
NewsFans are giving classic JRPG Earthbound the remake it deserves
-
 News
NewsNintendo's most elusive JRPG might never come West because of Robin Thicke's Blurred Lines
-
 News
NewsThe Mother 4 fan project is officially named Oddity - here's the new trailer
-
 News
NewsLet the developers of Earthbound know that you want them to localize Mother 3
-
 Feature
9 video game rewards that are totally not worth the trouble
-
 Video
VideoWatch gaming's most satisfying character switches
-
 Feature
Let's all go to the lobby with these great Nintendo movie ideas
-
 Feature
America: as portrayed by video games made outside America
-
 News
NewsEarthbound's precursor lands on Wii U as Earthbound Beginnings
-
 Feature
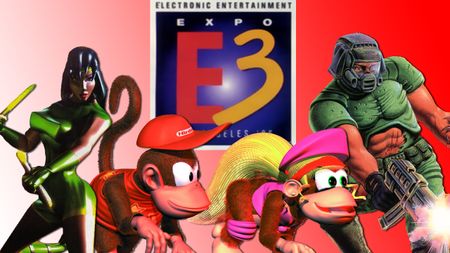
The first E3's games will give you serious deja vu
-
 Feature
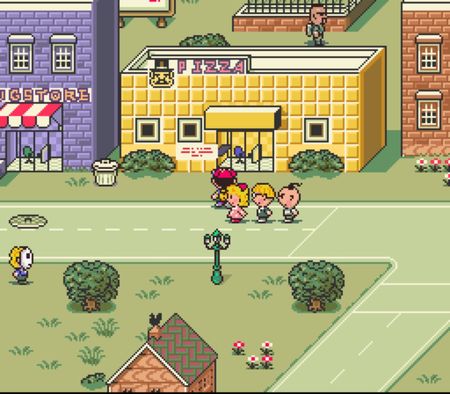
Why I Love: Ordering a pizza in EarthBound
-
 Feature
English-language games North America will never get to play
-
 Feature
The totally radical history of game marketing in the '90s
-
 Feature
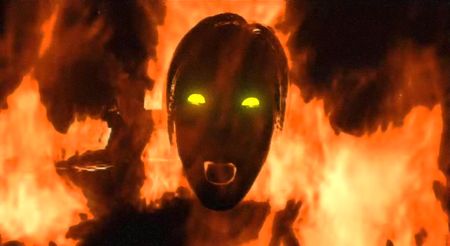
8 insanely memorable gaming drug trips
-
 Feature
9 clever ways game developers thwarted piracy
-
 Feature
9 awesome video game powers that get taken away far too soon
-
 RPGs
RPGsGame Club discussion week 3: What do you think of Earthbound so far?
-
 RPG
RPG5 Things Modern RPGs Can Learn from EarthBound
-


