Armored Core V beginners guide
Easy tips and tricks to get you started before reading the manual
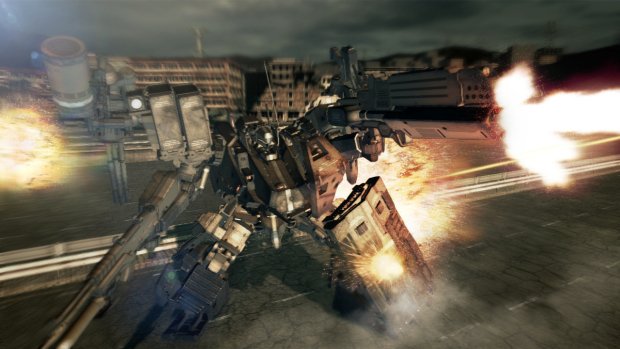
Armored Core can be a very daunting and intimidating game when you first fire it up. If you took the 2 minutes it takes to read the 6 page manual --not kidding, it really is only six pages long-- that comes with the game, you’ll see that it is basically no help whatsoever when it comes to all the things involved in getting your feet wet with this game. There are messages left and right, instructions to do this and that, and menus up the wazoo.

We’re here to try and make your foray into the Armored Core series and Armored Core V a little less painful and hopefully a lot more enjoyable. Before getting into the nitty-gritty of customizing your AC –that’s short for Armored Core (see we’re learning already!), we’ll get into the basics of what all the flashing stuff on your screen means, along with controlling and maneuvering your hunk of steel.
Getting Started
Pilot Setup
Once you fire up the game, you’ll need to set up a pilot and emblem. Choose one of the offered emblems that meets your liking and give your pilot a name. Next you will need to choose your country (base location), and play style. After the sweet cut scene plays, you’ll enter your first sortie and take out a few tanks. Once you run into the first enemy AC however, you will get your ass handed to you. Next up you’ll need to make a team. Name your team and pick an emblem for it, but make sure it’s what you like, since there is no changing it once you have confirmed it. Once you have finished setting up your pilot and team, you will be dropped off at the World Map. From here you can go and start running missions, but first, let’s take a look at you AC and the changes you can make to it.
Assembling and Customizing Your AC
Assembly
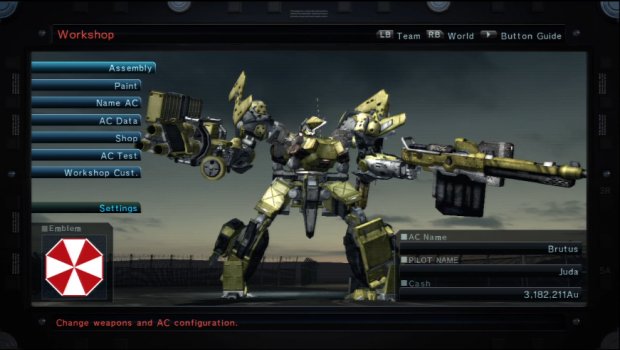
The assembly of your AC takes place in the Workshop which can be accessed by pressing the Left Bumper/L2 on the controller during the World Map screen. When you enter the assembly- either on this menu or before you enter a mission (a sortie), you can outfit your AC with what you think you will need for the job at hand. A good choice for beginning is to pick one of each different type of damage; KE CE and TE (the different types are explained below) until you know what you’re up against.

When you have chosen the part you want to change or add, move the cursor down to the weapon type and pull RT/R2 to expand the list of weapons that you have available to you. Go down the list and check each weapon for its pluses and minus in the stats below to see how it compares to the weapons you already have equipped. Also be sure to check the load meter on the far bottom right to make sure you don’t go over the load limit and decrease your mobility.
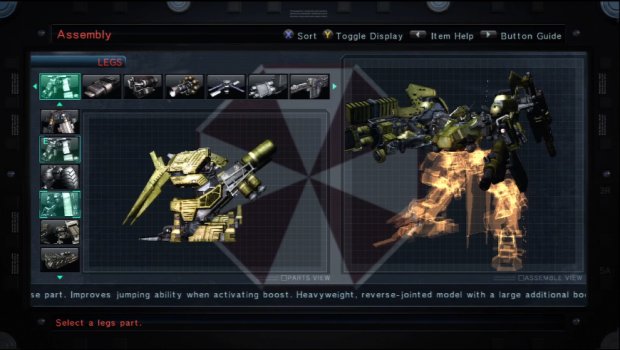
Different types of legs increase and decrease the load limit available on your AC as well as your speed and mobility. The tank legs allow you to carry the most, but also limit the speed and maneuverability you have during combat. The reverse joint legs will allow you to jump much higher than normal, and the tetrapod legs give you great stability when aiming sniper rifles and cannons. Since this is a beginner’s guide, stick with the Bi-Pedal legs as they are the most rounded of the bunch and offer good speed along with good maneuverability.

Once you have picked your weapons and legs, there are other items for your AC to choose from. You can still choose a head, arms, shoulder unit, and core. These don’t range too much except in their resistances, weights, and the AP they offer. Once you have chosen those parts, you can then pick a FCS which is your lock-on module that helps your AC lock-on and track enemies quicker and from various distances. You can also pick your generator for quicker energy charging, a booster for jump distance, and an Ultimate Weapon which we won’t bother with since you won’t be seeing them until you are much further along in the game.
Sign up to the GamesRadar+ Newsletter
Weekly digests, tales from the communities you love, and more
Jeff McAllister is a freelance journalist who has contributed to GamesRadar+ over the years. You'll typically find his byline associated with deep-dive guides that are designed to help you scoop up collectibles and find hidden treasures in some of the biggest action and RPG games out there. Be sure to give Jeff a thanks in the comments while you're completing all of those tricky Achievements and Trophies.


