Armored Core V beginners guide
Easy tips and tricks to get you started before reading the manual
Weapons
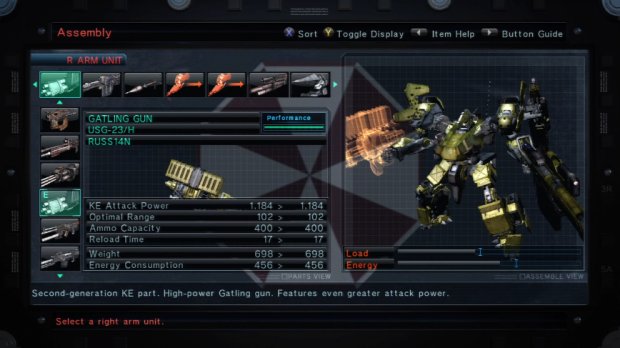
Simply walking your AC around isn’t going to win you any fights. You need to load up on the best weapons you can and use them to the best of your ability. There are certain rules that need to be followed when choosing your weapons however. Here we will go over how to best equip your AC with some awesome firepower. On your AC, you can have weapons located on the right and left arms, the right and left Bay Units (basically, a place so that you can swap weapons for each arm), and on the shoulders.

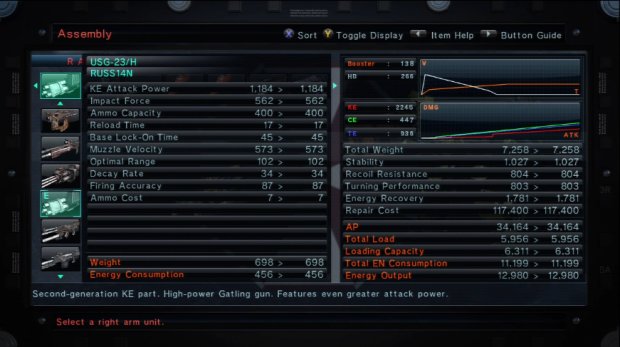
Choosing which weapon to take is a feat all unto its own and not something that should be rushed into. When deciding on which weapons to choose, you’ll need to take into consideration the weight of the weapon, the damage the weapon does, the type of damage the weapon does, the enemies you’ll be facing, and the amount of energy consumption each weapon has.
The types of weapon damages and resistances are:
TE: Thermal Energy
Thermal weapons are the pulse lasers and such. Anything that is a laser is a Thermal Energy weapon.
CE: Chemical Energy
Chemical Energy weapons are your rocket and missile varieties. The bigger the explosions, the better, and chemical weapons are the ones to do this.
KE: Kinetic Energy
Kinetic Energy weapons are your guns that shoot bullet rounds. Rifles, sniper rifles, gatling guns, auto-cannons, and so forth.
Weapons that you have available to equip on your AC’s arms and Bay Units from the start are Pistols, Shotguns, Gatling Guns, Rifles, Sniper Rifles, Battle Rifles, Pulse Gun, Pulse Machine Gun, Laser Rifle, Laser Blade, Sniper Cannon, H.E.A.T. Cannons, and Pulse Cannons. When you want to switch weapons from what is equipped to what is located in your Bay Unit, Press Y/Triangle and then either LT/L2 or RT/R2, depending on which arm you want to swap out with. Along with the weapons you hold in your AC’s hands, there are the shoulder unit weapons.

These allows you to equip Short-range missiles, rocket launchers, CIWS (which intercepts incoming missiles), and Auto-Attack guns—which attack anything that comes near you. As you progress through the game and start to unlock newer items that are available in the shop, more and more different types of weapons will become available to you.
Along with your weapons, you’ll also need your recon unit to help you stay alive. To use a recon unit, hit the B/Circle button and it will launch. There are different types of drones that you can use, but stick with the tracking unit as it will always stay above you and send out a wide range scan to show everything that is remotely close to you.
AC Testing
Once you have your AC set the way you like it, you can exit the Assembly screen and enter the AC Test tab. From here you can set up a match either against other ACs, tanks, helicopters, etc., or you can have no enemies and just test out weapons and check your mobility while bouncing around an empty arena.
Whenever you make changes to your AC, you should always hit up the testing area and give it a go. Some weapons and legs don’t always act the way you think they will and it’s best to find this out before you have enemy ACs tearing up the street towards you.
If you are happy with how your AC performs, you can go back out to the Workshop main section and enter the Name AC tab to give it a new name. Once you are done with that, back out and hit the AC Data tab and scroll down to the bottom and hit “New Design” to save your AC configuration.
Customization
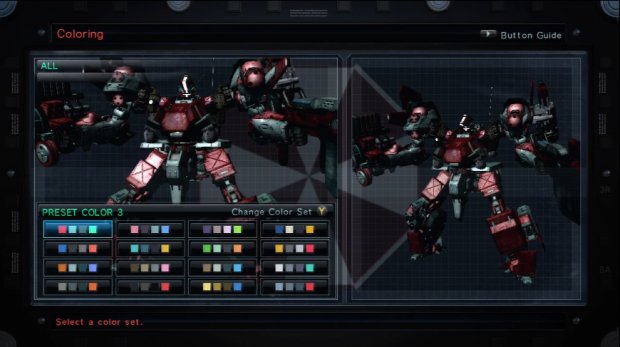
Once you have your AC’s power output to your liking, it’s time to make it pretty. Go to the Paint menu selection in the Workshop and you will be given the option to change the coloring, the emblem, and the decal on it. The paint can be changed simply by choosing “coloring” and then once inside the selection, choose from the top menu which part of your AC you’d like to change.

You can change everything at once by selecting “ALL FRAME” or just the weapons by selecting “ALL UNIT”. You can also color each individual body part separately through the top menu as well if you want to get really fancy. Choose the color set to pick the preset color selections and hit Y/Triangle to scroll through the different selections. You can also select “Pattern” to give your AC a digital camouflage set or a similar interesting look.

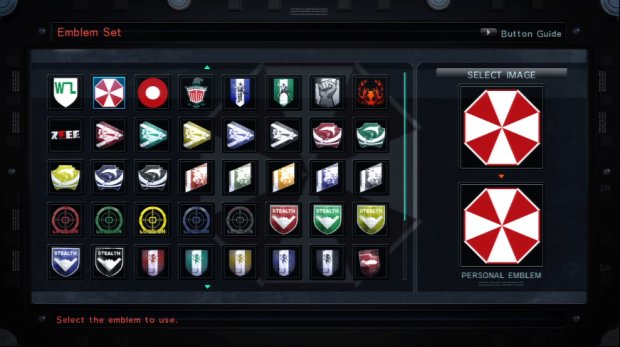
From the main Paint menu, you can then choose “Emblem” which will allow you to pick from one of the many already included emblems, as well as any that you buy and get from missions. By choosing “create emblem” you can then place different layers of shapes and letters and so forth to create an image, layer by layer, of your choosing. Once you have the emblem created that you want to use, press A/X to confirm it and exit back out to the main paint menu.
Sign up to the GamesRadar+ Newsletter
Weekly digests, tales from the communities you love, and more
Jeff McAllister is a freelance journalist who has contributed to GamesRadar+ over the years. You'll typically find his byline associated with deep-dive guides that are designed to help you scoop up collectibles and find hidden treasures in some of the biggest action and RPG games out there. Be sure to give Jeff a thanks in the comments while you're completing all of those tricky Achievements and Trophies.


