Assassin's Creed 4: Black Flag Templar keys locations guide
Assassin's Creed 4: Black Flag Templar keys will unlock some sweet Templar armor
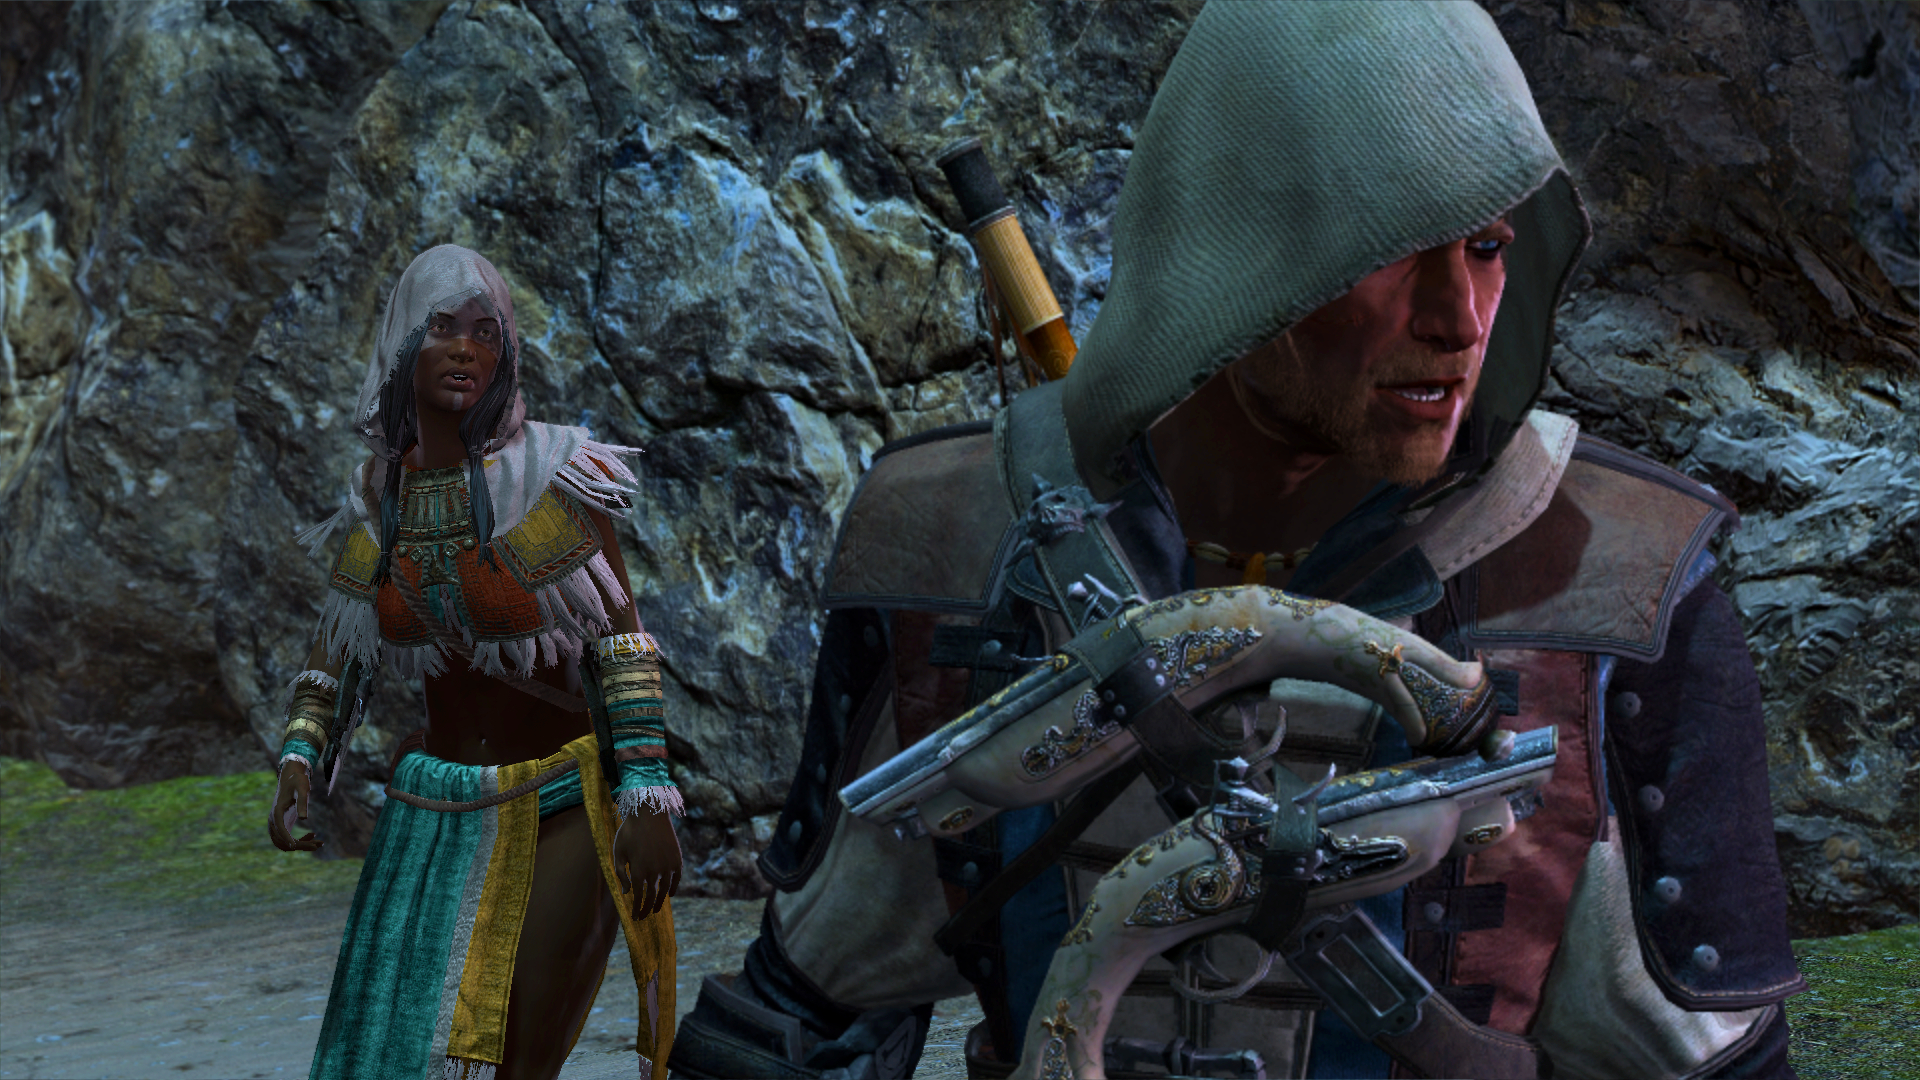
Those Assassin's Creed 4: Black Flag Templar keys locations are vital information if you want to get your hands on the Templar armor, which drastically reduces the damage Edward will take in combat.
There are five Templar Keys to find in Assassin's Creed 4: Black Flag, and each is unlocked via a series of Templar Hunt side missions. The good news is we have a comprehensive guide below with instructions on how to find all those missions, and what you need to do to complete them. Spoiler - quite a lot of stabbing.
Want more piratical goodness? Check out our Assassin's Creed 4: Black Flag elite ship upgrades guide and the Assassin's Creed 4: Black Flag Mayan stela locations guide.
Where to find Templar Key #1: Julien du Casse

Assassin's Creed 4: Black Flag doesn't make you work too hard for this Templar Key. You'll find this one while playing the story. It's a required part of the This Old Cove mission (even though it's technically the key you pulled from Du Casse in the previous mission).
Where to find Templar Key #2: Hilary Flint
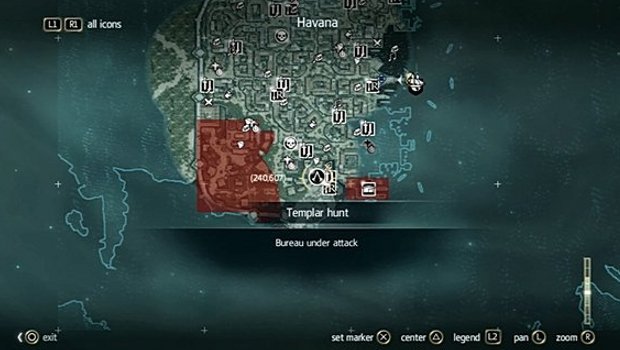
Once you've learned about the Templar Keys, you can begin collecting the other four. We'll start by returning to Havana. Head to the side mission called Bureau Under Attack - marked in the picture above - to meet Rhona Dinsmore, who needs help fending off some guards.
After the battle, speak to Rhona again for another mission, which will be called A Thief in the Market. This time, she needs you to catch a pickpocket. Head to the market and use Eagle Vision to locate the man in question. Once you've located him, catch and loot him.
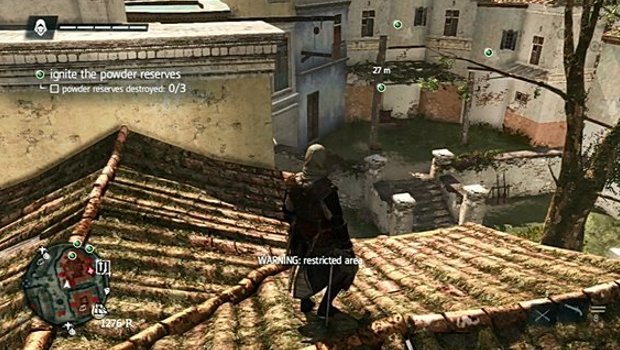
Speak to Rhona yet again. This time, she wants you to ignite some powder stores around the city for a mission called Arms Race. There are three to ignite, and each one is in a restricted area. Be swift and smart, and use rooftop entrances when possible. Once all three are ignited, you can return to Rhona for her final mission.
For her final mission - called Flint's End - Rhona gives you the chance to kill Flint and take his key. Follow Rhona to the docks, and she'll start distracting his men. Eventually, he'll run, and you can chase him down for the kill. Alternatively, you can charge in bravely (foolishly?) and take the fight right to Flint. In either case, you'll pick the key from his corpse.
Where to find Templar Key #3: Jing Lang
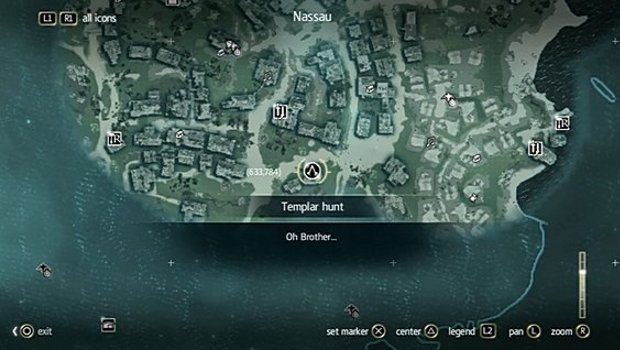
Return to Nassau for the second key. You'll meet up with another Assassin, Vance Travers, at the spot indicated above. For his first mission - Oh Brother - simply use Eagle Vision to find your targets in the marketplace. Keep a smart distance when eavesdropping on them, and you'll reach a restricted area. Climb to a rooftop nearby and use Eagle Vision to locate your next target - pouncing on him should be a piece of cake.
And now, you're working for that same target in the next mission, The Other Brother. Funny how that happens, eh? Head to the marker on the map, and follow Upton around. When it becomes a tailing mission, keep a safe distance and watch for thieves. Three will appear while tailing the brothers, but if you move to kill them as soon as they appear, you won't have any issues. Continue to tail Vance and eavesdrop when he meets up with Jing, then run to kill one last thief to end the mission without too much trouble.
The next mission - Upton's Sorrow - is just one big escort. Head to the marker to meet a very drunk Upton, then take out his attackers in the big bar fight. Escort him a bit more, and take out the guards that harass him. After that little squabble, the mission will end.
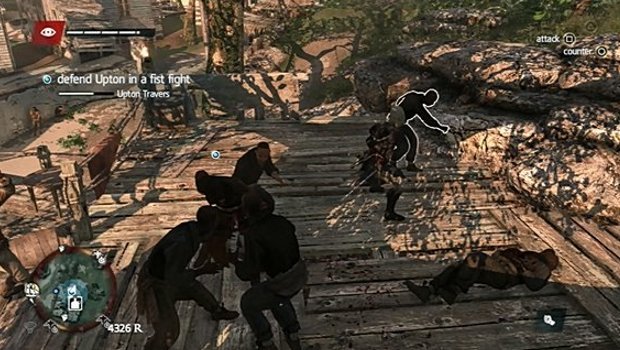
Head to the marker for the final mission - Queen of Pirates, King of Fools - before the key. Upton needs you to kill both Vance and Jing. Head for the swamps to the west and make your way to the small camp in the back. Kill Vance, and Jing will run away. Chase her down for the kill, or use your pistol to pick her off as soon as she bolts. Whichever you choose, you'll find the key on her body.
Where to find Templar Key #4: Kenneth Abraham
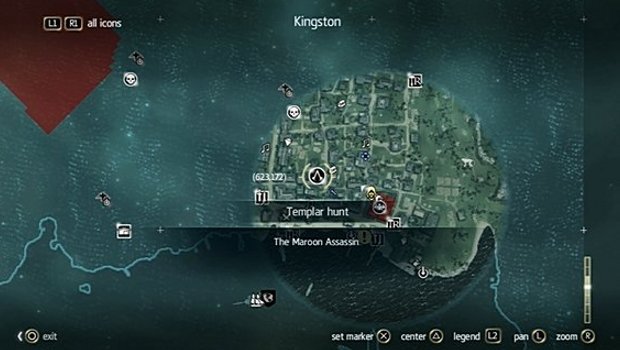
When you reach Kingston, you can find your next Assassin pal Anto and the mission The Maroon Assassin at the spot marked above. He'll first task you with eavesdropping on a conversation. Keep a safe distance while the men speak, then move across Kingston to another set of guards that you need to eavesdrop on. After the second conversation, the guards will sprint away. Quickly tackle one to end the mission.
Return to Anto for a second mission - Recruiting Maroons - this time he wants you to help free some slaves. Start by hiring the drunkards to battle the guards dead ahead (alternatively, you can rush in and just kill them all), then free the slave inside the restricted area. Repeat this process for the other two slaves: one is inside a fenced-in restricted area, and the other is being escorted by guards. Free all three to clear the mission.
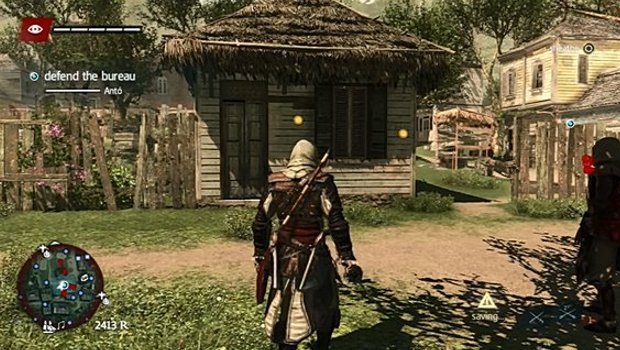
Ready your weapons and meet with Anto again. This time, you have to defend the bureau from waves of guards for the mission Under Attack. You'll have chances between waves to thin out the number of guards in the next attack. Use your combat moves wisely and quickly, and you'll clear the mission's three waves without any trouble.
Next up is the mission The Commander's Ruse, where you'll have to track down the man responsible for the slave attacks. Fun fact: he's also the guy with the next key. You'll start by tailing an increasing number of guards. When the group splits, keep tailing the duo in blue. Once they lead you to the plantation, you have to locate Abraham. Use Eagle Vision to locate him in the northeast, by some farm buildings. Kill him off to obtain his key.
Where to find Templar Key #5: Lucia Marquez
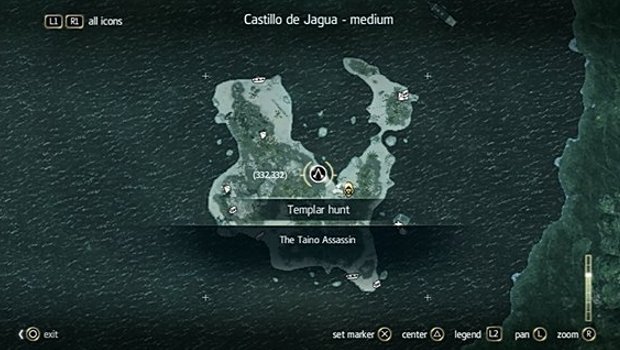
The quest for the final Templar key starts with the mission The Taino Assassin, obtained from Opia Apito. You'll find her on Cayman Sound, located at 327, 334. The island is heavily guarded, so be careful or battle-ready when sailing there. Her exact spot on the island is indicated above. She will challenge you to a hunting contest. To win, simply skin at least one more animal than Opia does - the trick is getting it down quickly. Once you do so, kill the white jaguar that shows up to complete the mission.
The next mission, Templar Ships, means finding Opia again. She's now moved to Grand Cayman, located at 397, 324. Fortunately, this port isn't guarded, so sailing there is easy. Speak to her at the docks to begin the mission, then follow her through the port. You'll then have to use Eagle Vision to locate a Templar called Alvin. Do so, then eavesdrop on his conversation. When it ends, pickpocket the indicated man to complete the mission.
After that, Opia is still in Grand Cayman, so return to her for the next mission Right-Hand Man. Follow her and duck into the nearby leaf pile when she says to hide. When your target runs, chase him until he escapes to his ship. Board the Jackdaw and take down the ship, then board and take him out. Now you can go after the true key holder.
Finally, you'll find Opia one final time on Pinos Isle, located at 345, 469. The isle is guarded by some ships, so be careful in your approach. Meet with her on the beach to start the last mission - The Trail of Lucia Marquez. You'll first tail a soldier into the ruins. Here, you'll have to take out some guards - dispatch them quickly by shooting the nearby powder kegs. Battle the second wave of guards that appears, then chase down Marquez. Take her down to snatch the last Templar Key.
How to unlock the Templar Armor
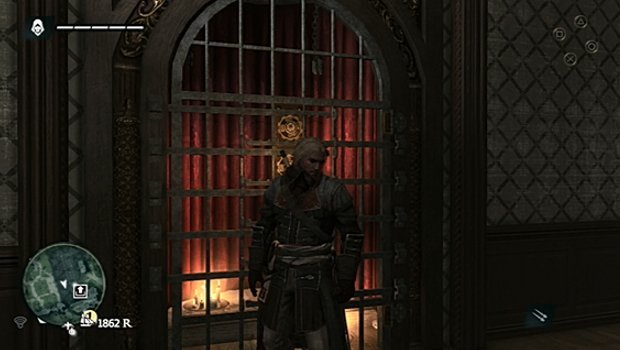
Now return to your base on Great Iguana. Head up to the manor atop the cliff James Kidd took you to during the mission This Old Cove. You can now open the five locks and obtain the Templar Armor inside. Enjoy your 25% damage reduction!
Need to get some upgrades for the Jackdaw? Follow our Assassin's Creed 4: Black Flag elite ship upgrades guide for some help, me hearty. Finished Black Flag and need something a bit more up to date from the world of Assassin's Creed? Check out our Assassin's Creed Valhalla guides...
Assassin's Creed Valhalla tips | Assassin's Creed Valhalla map | Assassin's Creed Valhalla romance guide | Best Assassin’s Creed Valhalla weapons | Assassin's Creed Valhalla legendary animals | Assassin's Creed Valhalla settlement guide | Assassin’s Creed Valhalla ending | Assassin’s Creed Valhalla Thor armor | Assassin's Creed Valhalla Treasures of Britain Excalibur
Sign up to the GamesRadar+ Newsletter
Weekly digests, tales from the communities you love, and more
Tony lives in Maryland, where he writes about those good old-fashioned video games for GamesRadar+. His words have also appeared on GameSpot and G4, but he currently works for Framework Video, and runs Dungeons and Dragons streams.
- Rachel WeberContributor
