Assassin's Creed Valhalla settlement guide: Every Ravensthorpe building explained
Here’s where to upgrade first with our Assassin's Creed Valhalla settlement guide
Weekly digests, tales from the communities you love, and more
You are now subscribed
Your newsletter sign-up was successful
Want to add more newsletters?
Join the club
Get full access to premium articles, exclusive features and a growing list of member rewards.
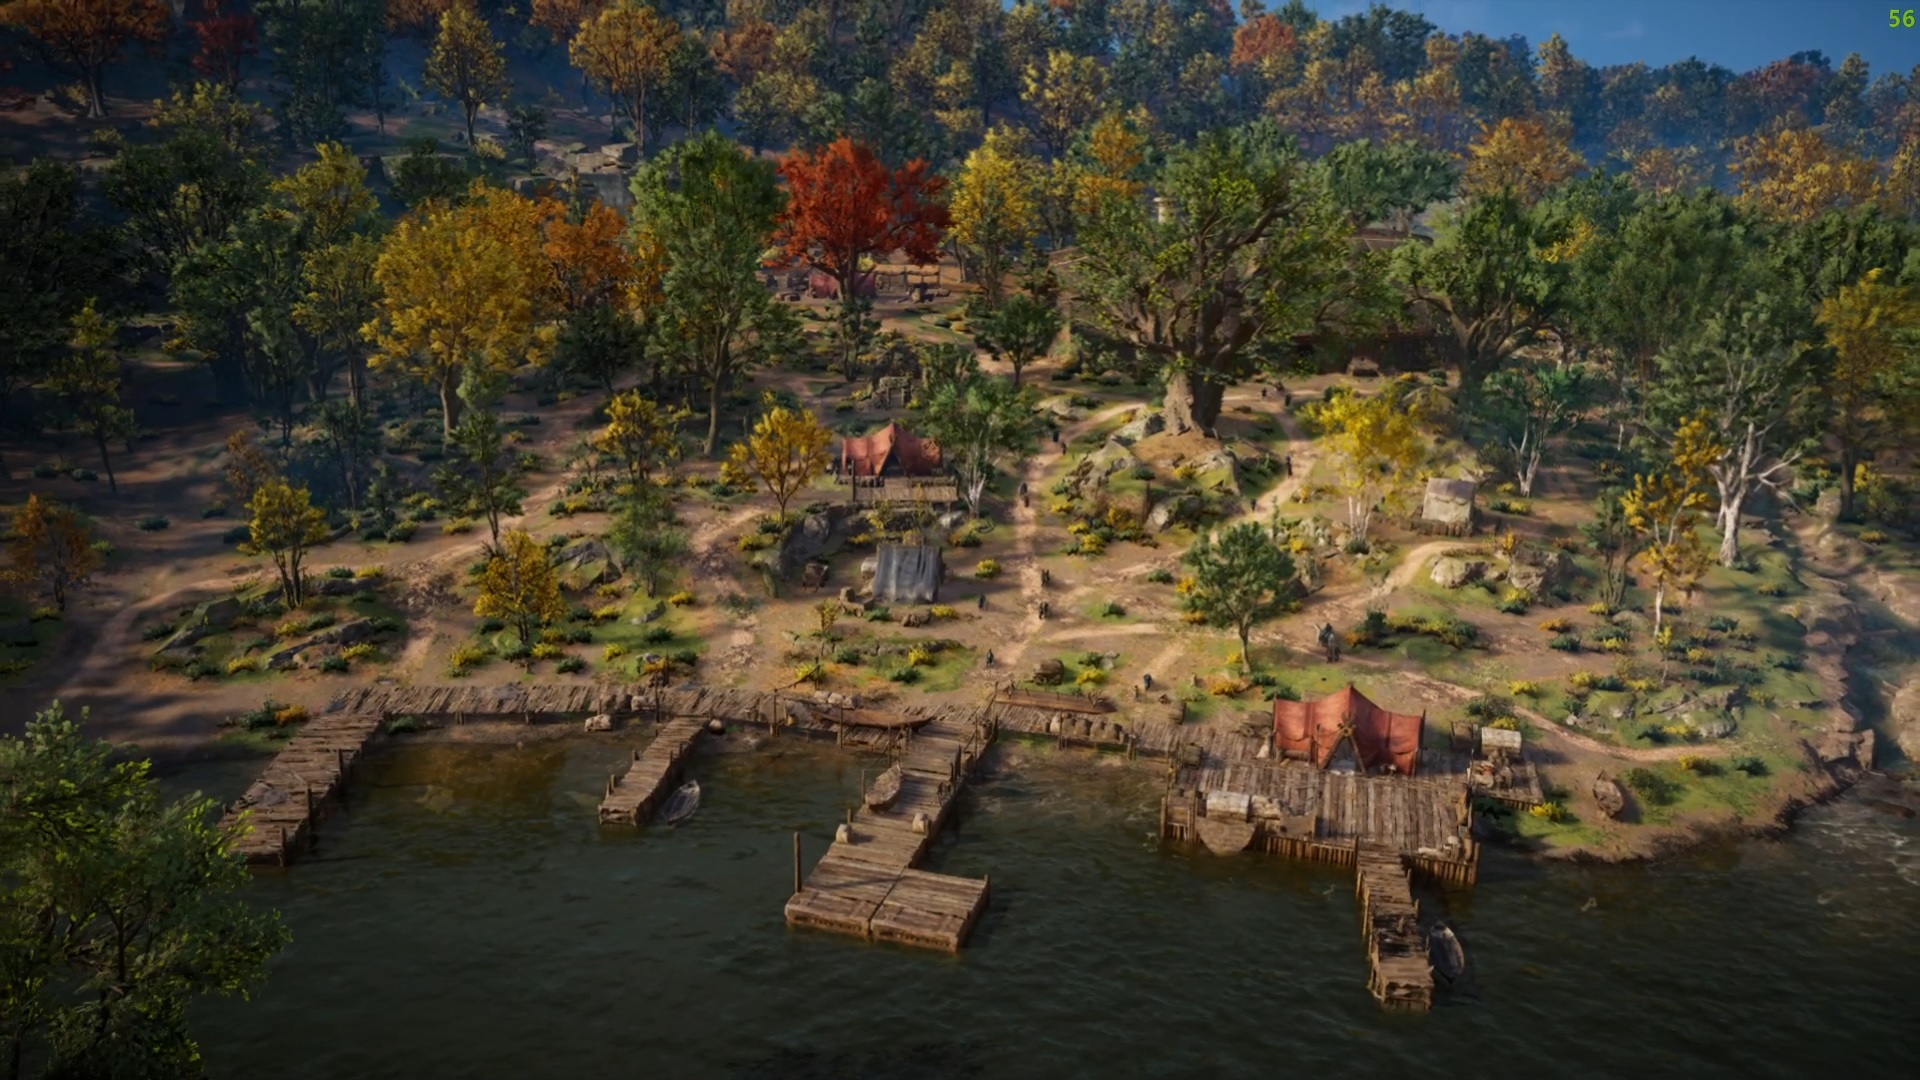
This Assassin's Creed Valhalla settlement guide is crucial if you want to build up Ravensthorpe and get all of the important upgrades. Every building serves a purpose at your home base in Assassin's Creed Valhalla and while some are obvious like the shop, others don't seem quite as pertinent at first. So we've written this guide to help you decide on what parts of your Assassin's Creed Valhalla settlement to focus on.
The Assassin’s Creed Valhalla settlement of Ravensthorpe starts off small. You’ll only have a longhouse and little else so you’ll have to go out into the world of Assassin's Creed Valhalla to find Supplies and Raw Materials. While Supplies can be found in various locations in chests, Raw Materials come exclusively from Raids so you’ll need to make sure you’re constantly steering your longship towards monasteries to keep your resources topped up.
Find some more of our Assassin's Creed Valhalla guides here:
Assassin's Creed Valhalla review | Assassin's Creed Valhalla tips | Assassin's Creed Valhalla map | Assassin's Creed Valhalla length | Assassin's Creed Valhalla best skills | Assassin's Creed Valhalla romance guide | Assassin's Creed Valhalla settlement guide | Assassin's Creed Valhalla silver | How to earn XP in Assassin's Creed Valhalla | Assassin's Creed Valhalla carbon ingots | Assassin's Creed Valhalla resources | Assassin's Creed Valhalla Orlog guide | Assassin's Creed Valhalla opal | Assassin's Creed Valhalla arrows | Assassin's Creed Valhalla legendary animals | Assassin's Creed Valhalla comb | Assassin's Creed Valhalla cargo | Assassin's Creed Valhalla Gorm | Assassin's Creed Valhalla Grantebridgescire Fly Agaric | Assassin's Creed Valhalla Leofrith | Assassin's Creed Valhalla traitor | Assassin's Creed Valhalla unseal the well
Remember, if you encounter a Raid and you’re on foot, all you need to do is select the crossed axes on your radial - raid-ial..? - menu and your longship crew will join you. Just make sure you find every chest, indicated by a gold barrel logo on your compass. You’ll know it’s all done when the music calms down and you get a ‘Raid complete’ message on screen.
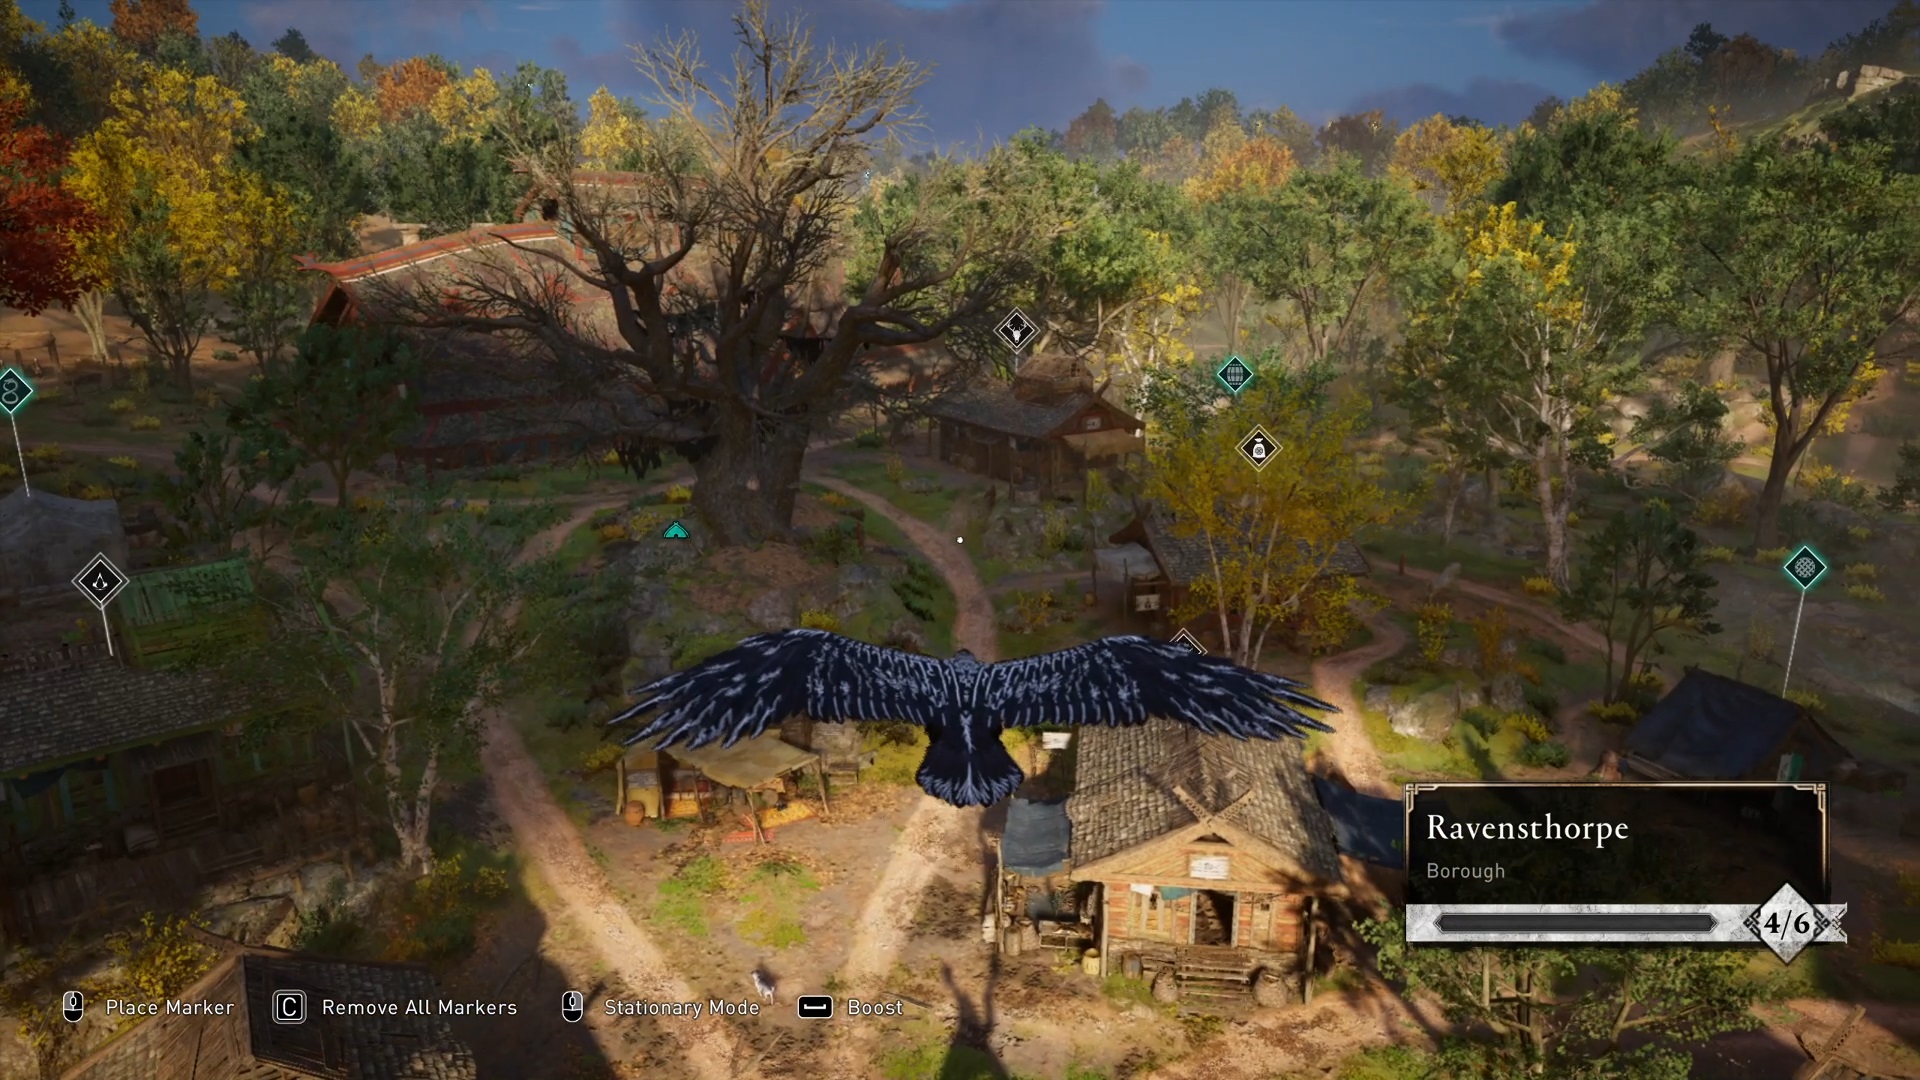
Your settlement has a few upgrades that will arrive as the story progresses and goes through six levels. There are also plenty of story evolutions too as you invest so the benefits aren’t exclusively in game rewards. If you’re ever in any doubt as to what has appeared, there’s information in Eivor’s room in the longhouse and you can always send up your raven to see which tents are available for upgrade.
And you don’t even need to go back to the sign outside to find out how many resources you need. Hover over it with your raven in stationary mode and you’ll find out how much you need to spend. Other than a couple of essential builds at the very beginning, the choice of where to upgrade first is very much up to you. Here’s our guide to each building to make sure you’re making the most from your hard earned Raid resources.
Weekly digests, tales from the communities you love, and more
For everything outside of Ravensthorpe, we have some more Assassin's Creed Valhalla guides for you to take a look at:
Assassin's Creed Valhalla review | Assassin's Creed Valhalla tips | Assassin's Creed Valhalla length | Assassin's Creed Valhalla silver | How to earn XP in Assassin's Creed Valhalla | Assassin's Creed Valhalla carbon ingots | Assassin's Creed Valhalla resources | Assassin's Creed Valhalla Orlog guide | Assassin's Creed Valhalla opal | Assassin's Creed Valhalla arrows | Assassin's Creed Valhalla legendary animals | Assassin's Creed Valhalla Gorm
Blacksmith
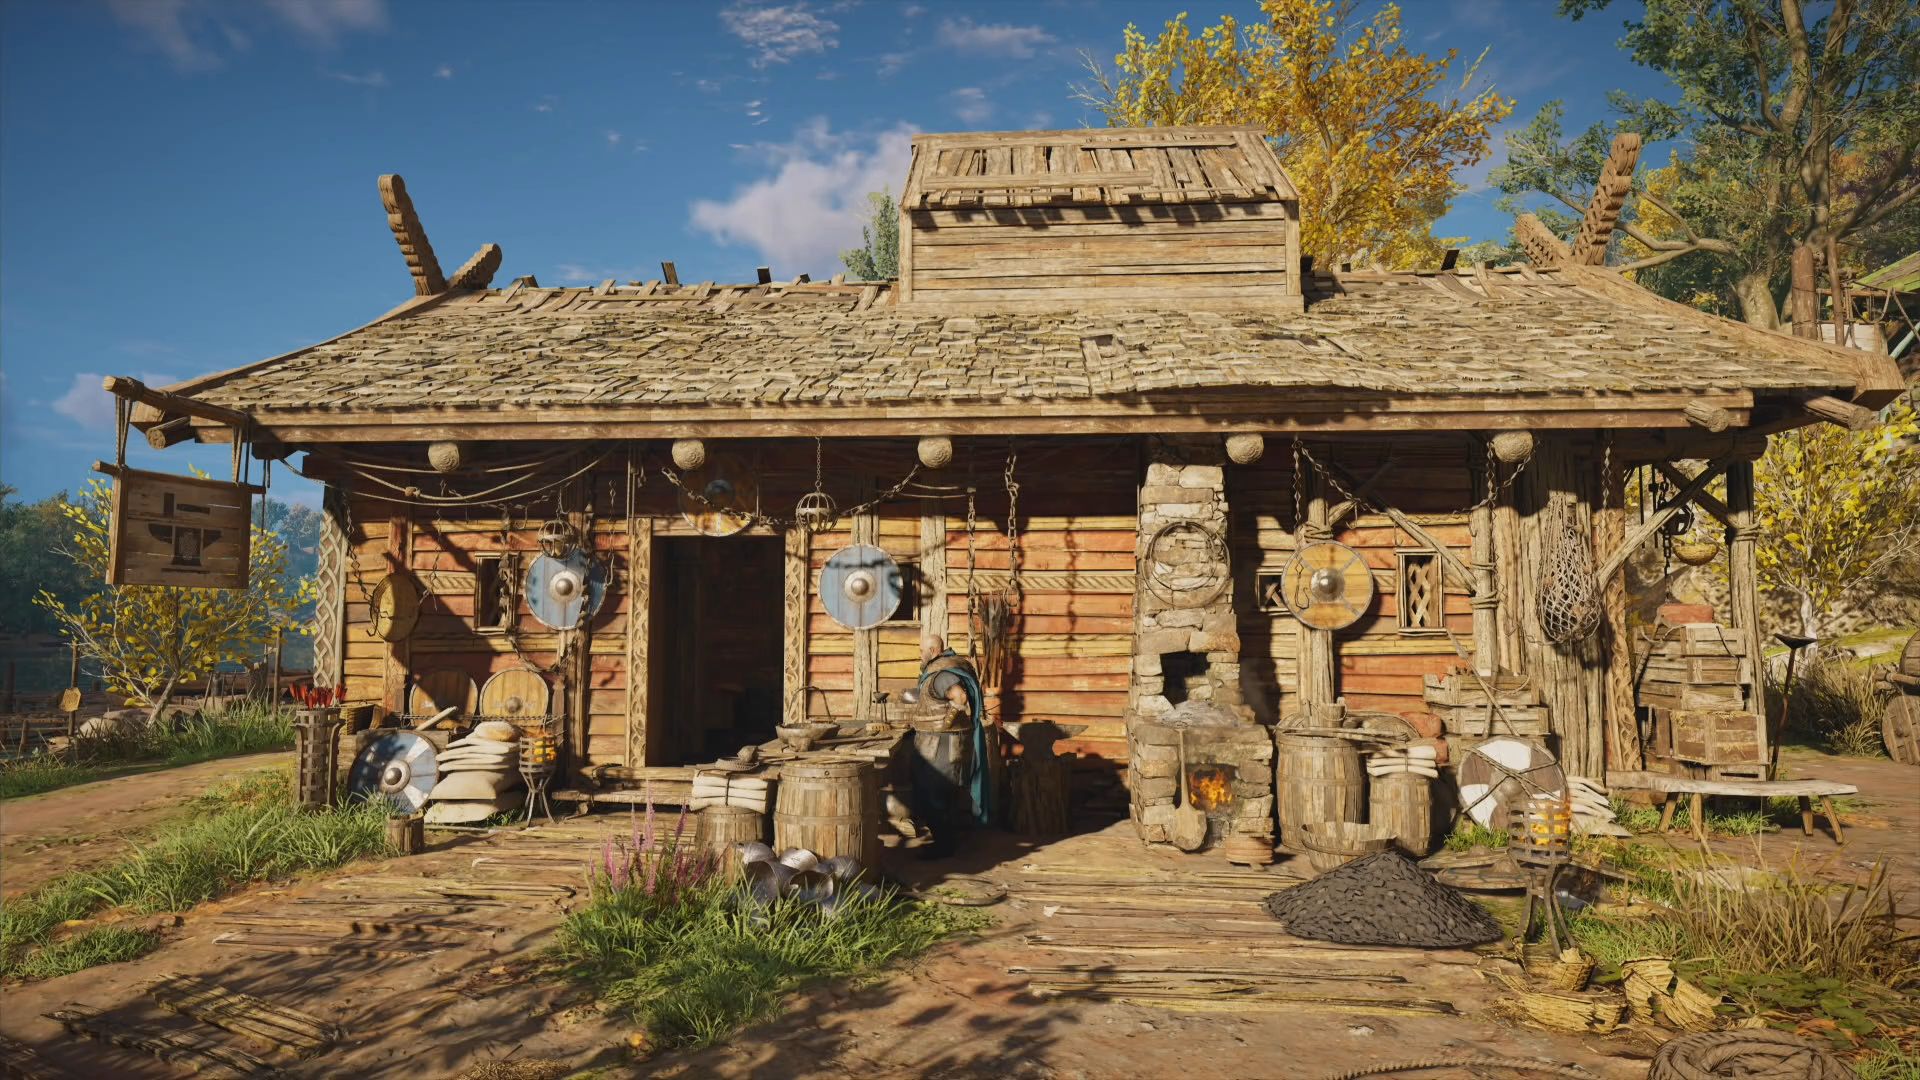
Gunnar’s forge is the first building you’ll upgrade as part of your growing settlement so there’s no avoiding constructing the Blacksmiths. Gunnar can upgrade your gear from regular to Superior, then up to Flawless and Mythical. Each level has miniature levels that you can improve with your own resources, but in order to reach Flawless, you’ll need nickel ingots and to get to Mythical, tungsten ingots are required. Later in the game, you’ll start finding these in chests across the world and the regular carbon ingots will become available at merchants.
Hidden Ones Bureau
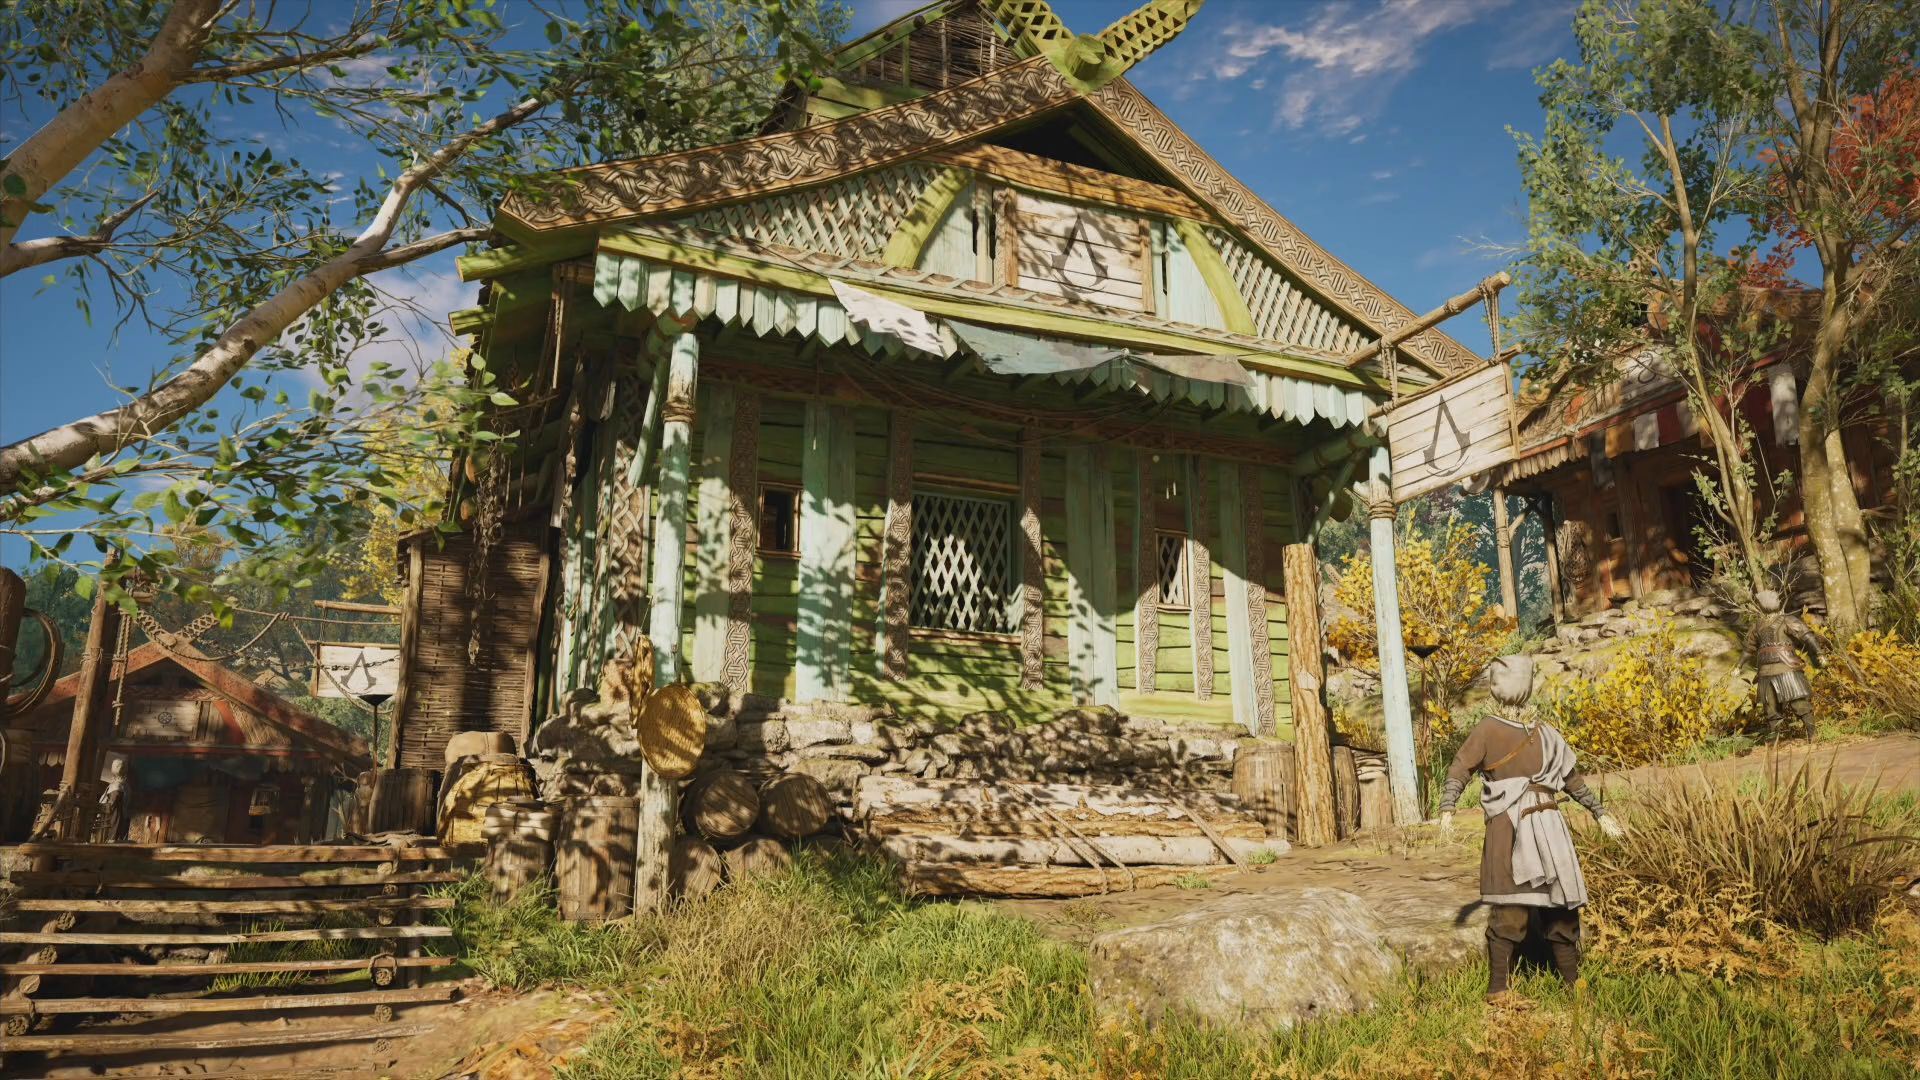
Again another unavoidable upgrade, Hytham’s Hidden Ones Bureau is an essential purchase to make sure you can go and slaughter the members of the Order of the Ancients across Mercia. Plus, once you’ve built it, a mini quest will pop up where Hytham will teach you the Leap of Faith. Now you don’t need to clamber down from high points like some kind of Muggle wearing a hidden blade... Hytham does pop up in the campaign but keep bringing him the medallions of the Order of the Ancients and he’ll give you new abilities and upgrades to your existing ones so remember to keep going back to hand in your spoils.
Barracks
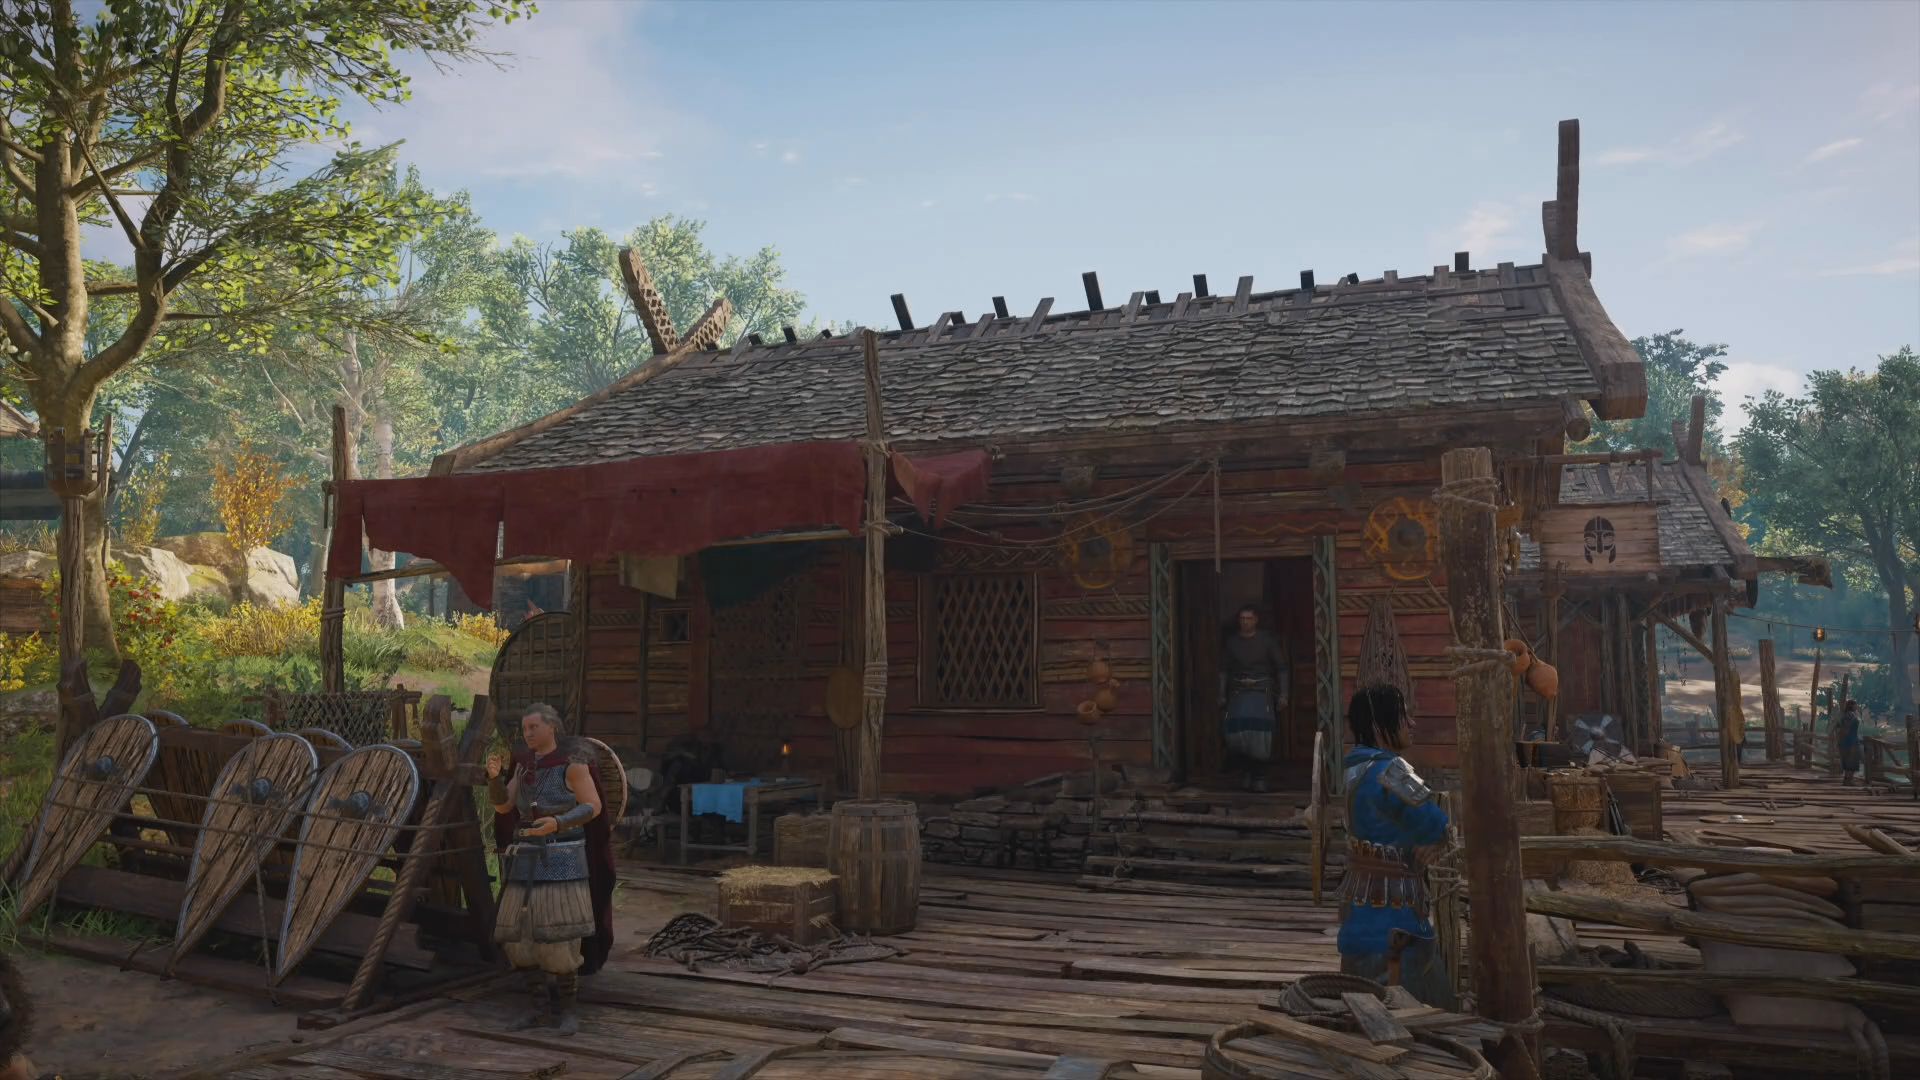
Run by Eydis, the barracks will let you create your own Jomsviking who’ll not only come with you on Raids but also crop up in other people’s games. If they hire them, you’ll get silver so keep checking in. This is also where you can organise your Raiding crew so if you’ve just added a new settlement member during the campaign, you can make sure they join you when you are out and about. This is also where you’ll find an Orlog table if you just can’t get enough of those dice and God Favors.
Trading Post
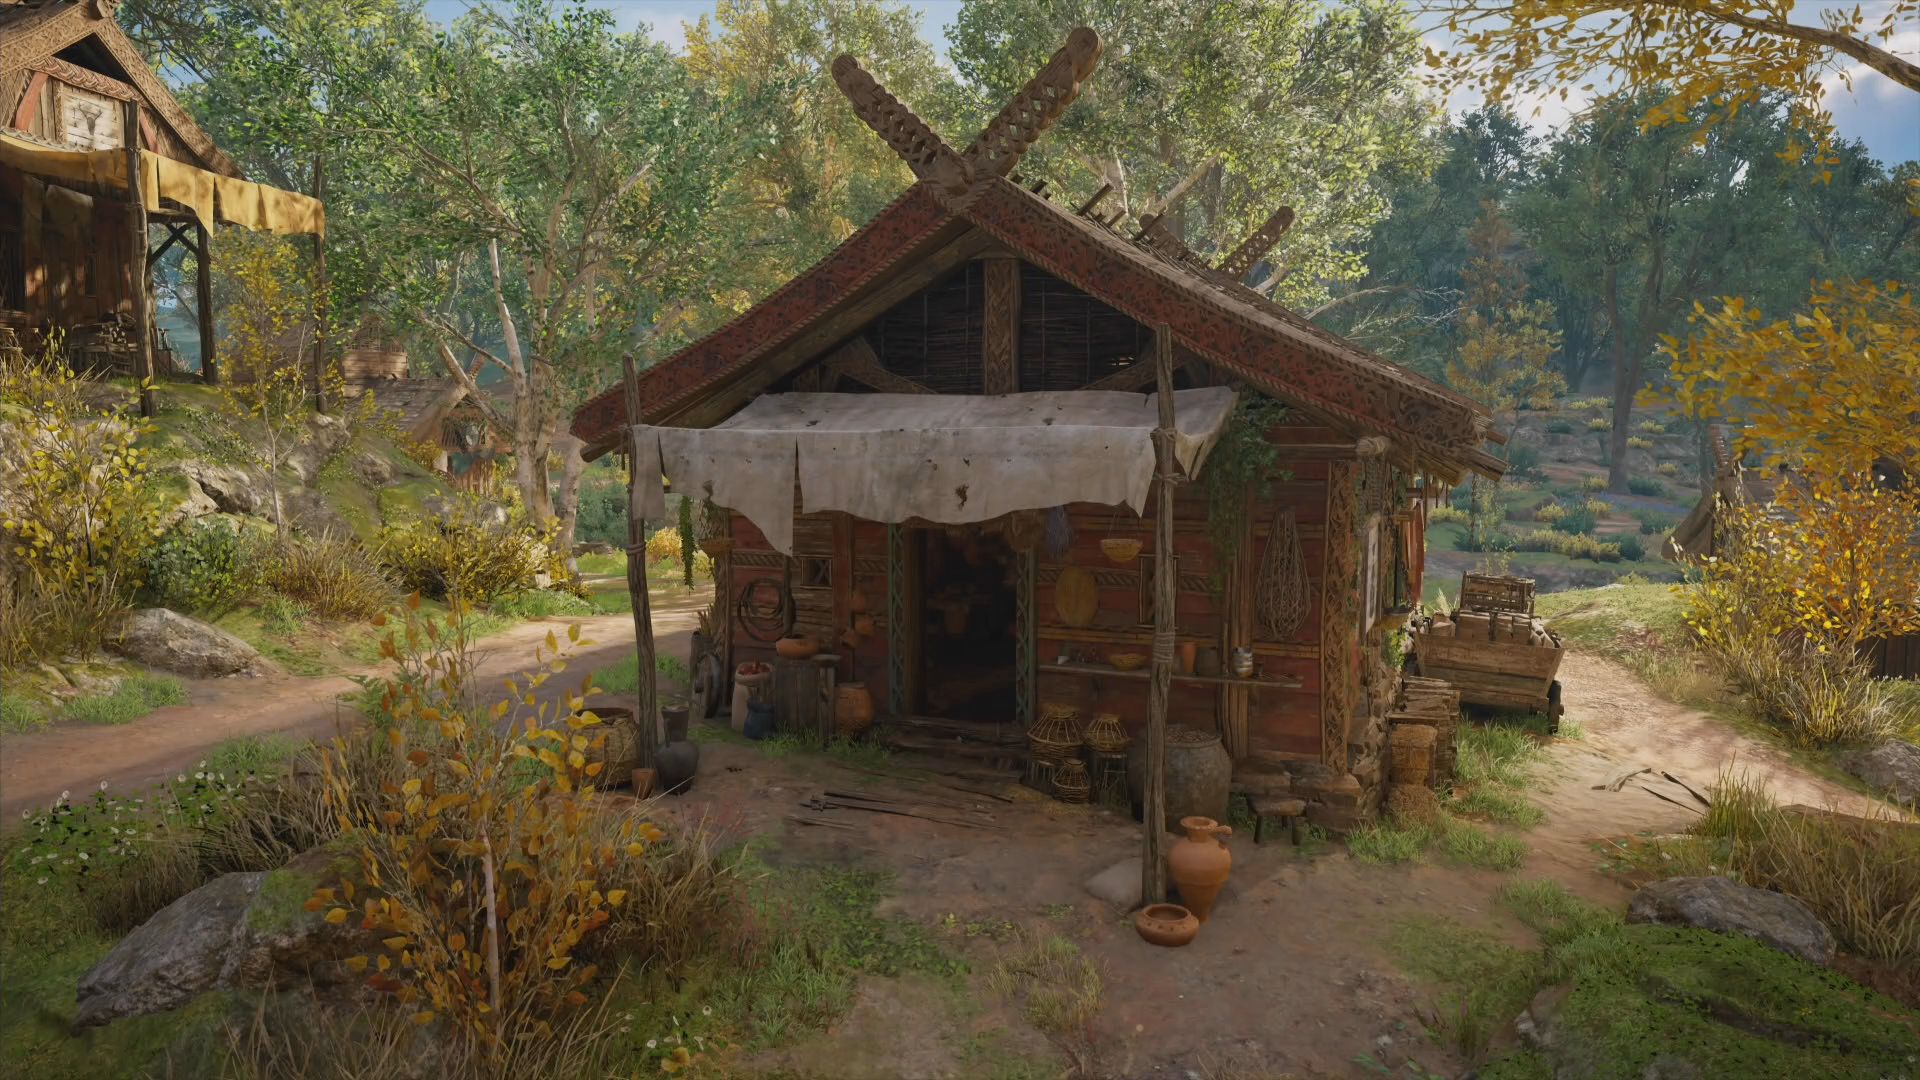
Another vital one here, you’ll want Yanli’s trading post to keep selling all your trinkets for silver and to buy all manner of tattoos and schematics. Later on in the game you’ll also be able to buy carbon ingots here to make it easier to upgrade your weapons and armour. There’s also the chance to buy arrows if you’ve somehow run out, as well as rations to make sure you’re sorted before you head back out pillaging. If you don’t want to spend on rations, there are plenty of berry bushes available in the settlement.
Stable and Aviary
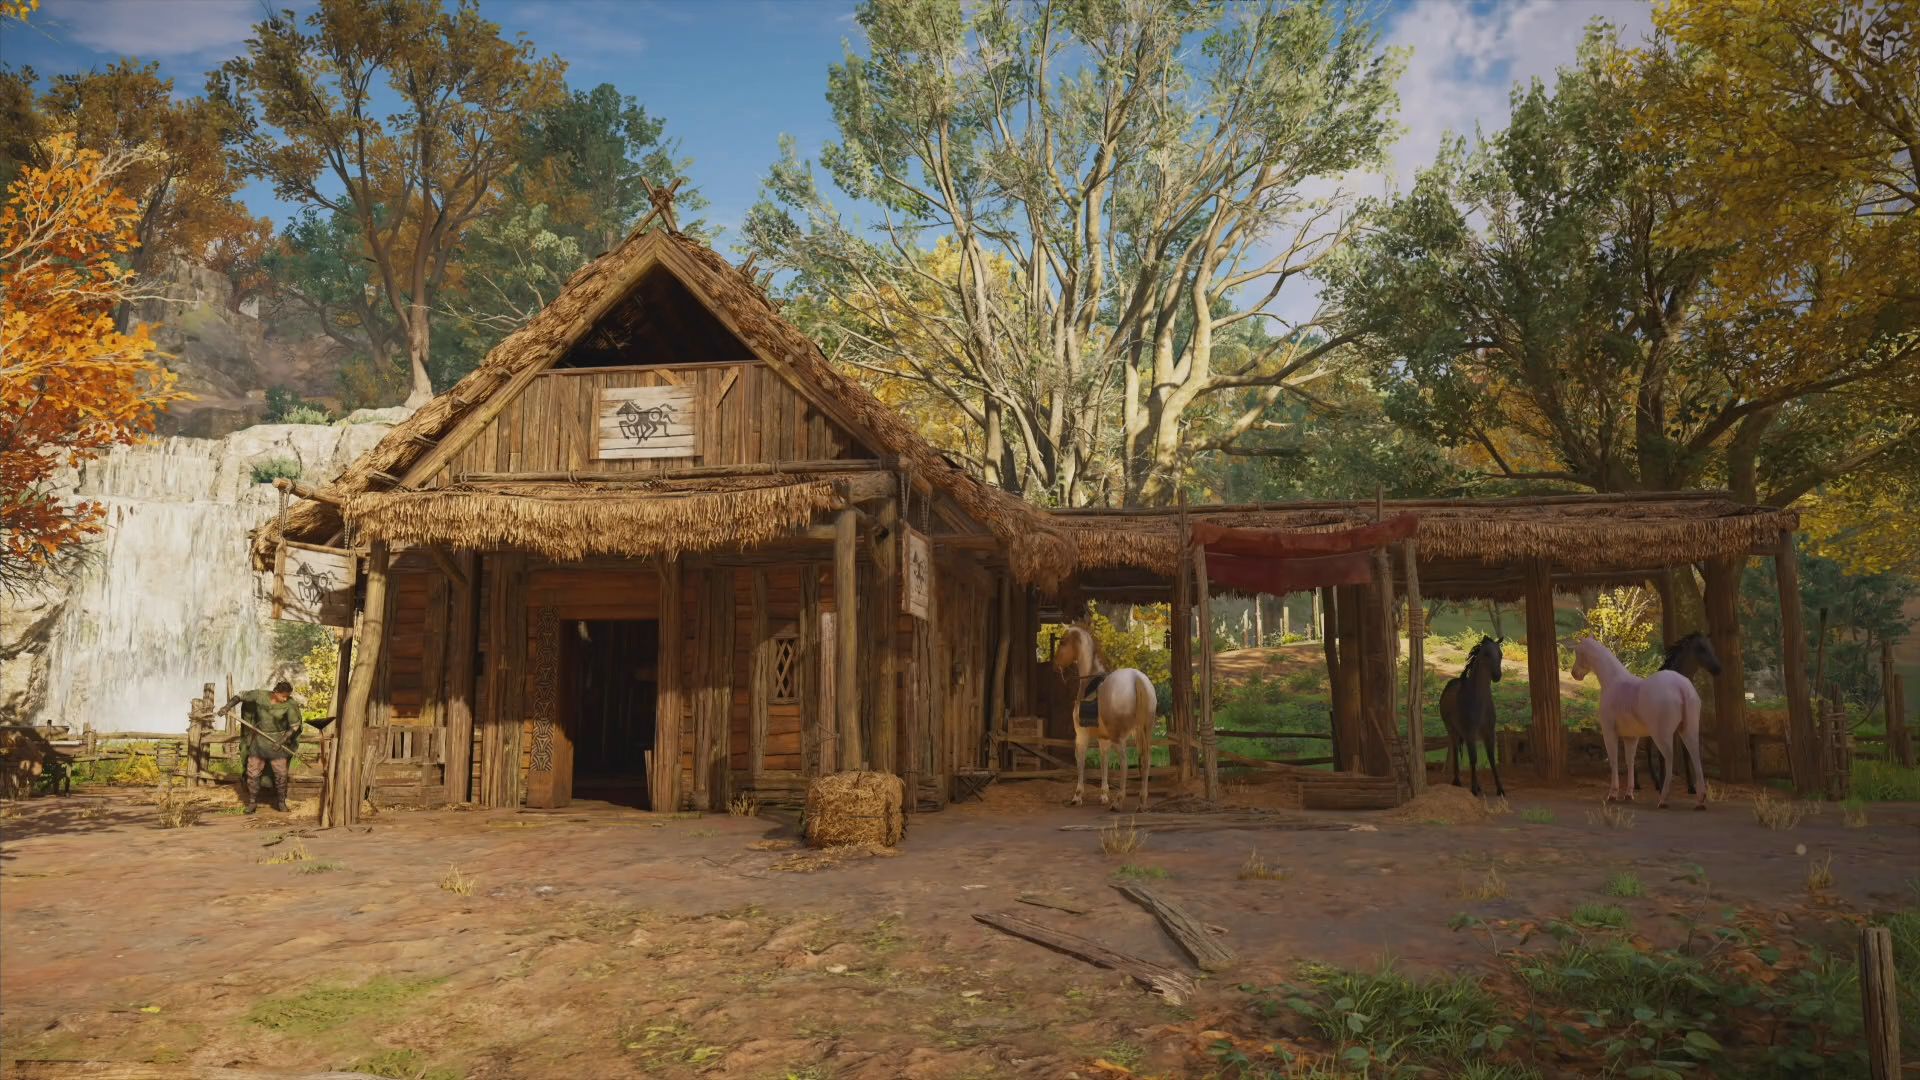
Rowan’s stable is where you can buy new mounts for hard-earned silver but also where you can teach your mount to swim and upgrade their stamina. This is where you can switch out your mount and change your raven if you’re feeling like you’ve not quite got the right feathered friend. Unlike Origins or Odyssey you can’t change mount on the fly so be sure you like who you’re heading out with.
Fishing Hut
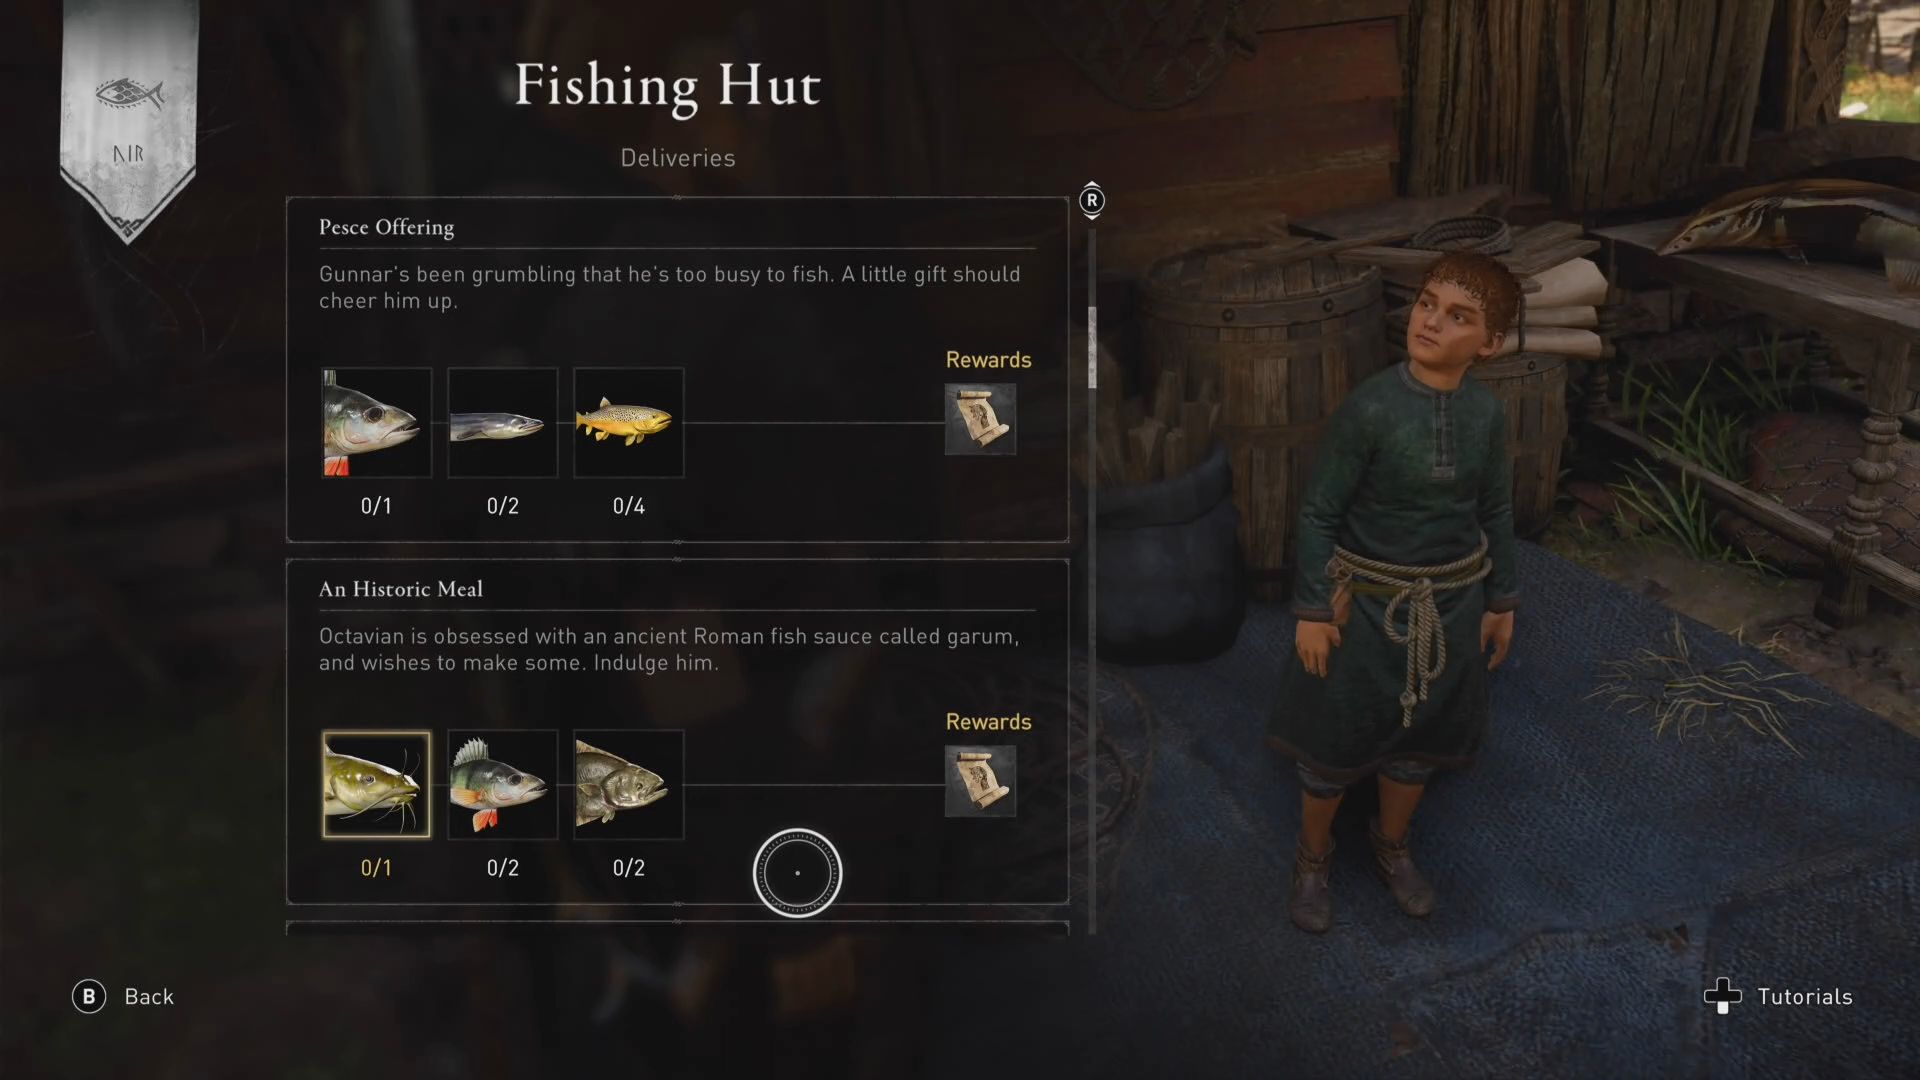
As one might expect, the Fishing Hut is where you’ll take fish to the adorable Arth, who has been left in charge by his grandfather. Building this unlocks the fishing line and gives you a shopping list of specific fish to earn rewards. It’s a nice way of passing some time that isn’t lopping off limbs so pick up the books of Fantastic Fish and Where To Find Them - should JK’s lawyers be in touch? - from the vendors scattered across England and get fishing for Arth’s extra rewards. Bear in mind that some fish are hard to catch with the line and you can always just use your bow or take a swing when you’re in the water. As uncivilised as that sounds.
Tattoo Shop
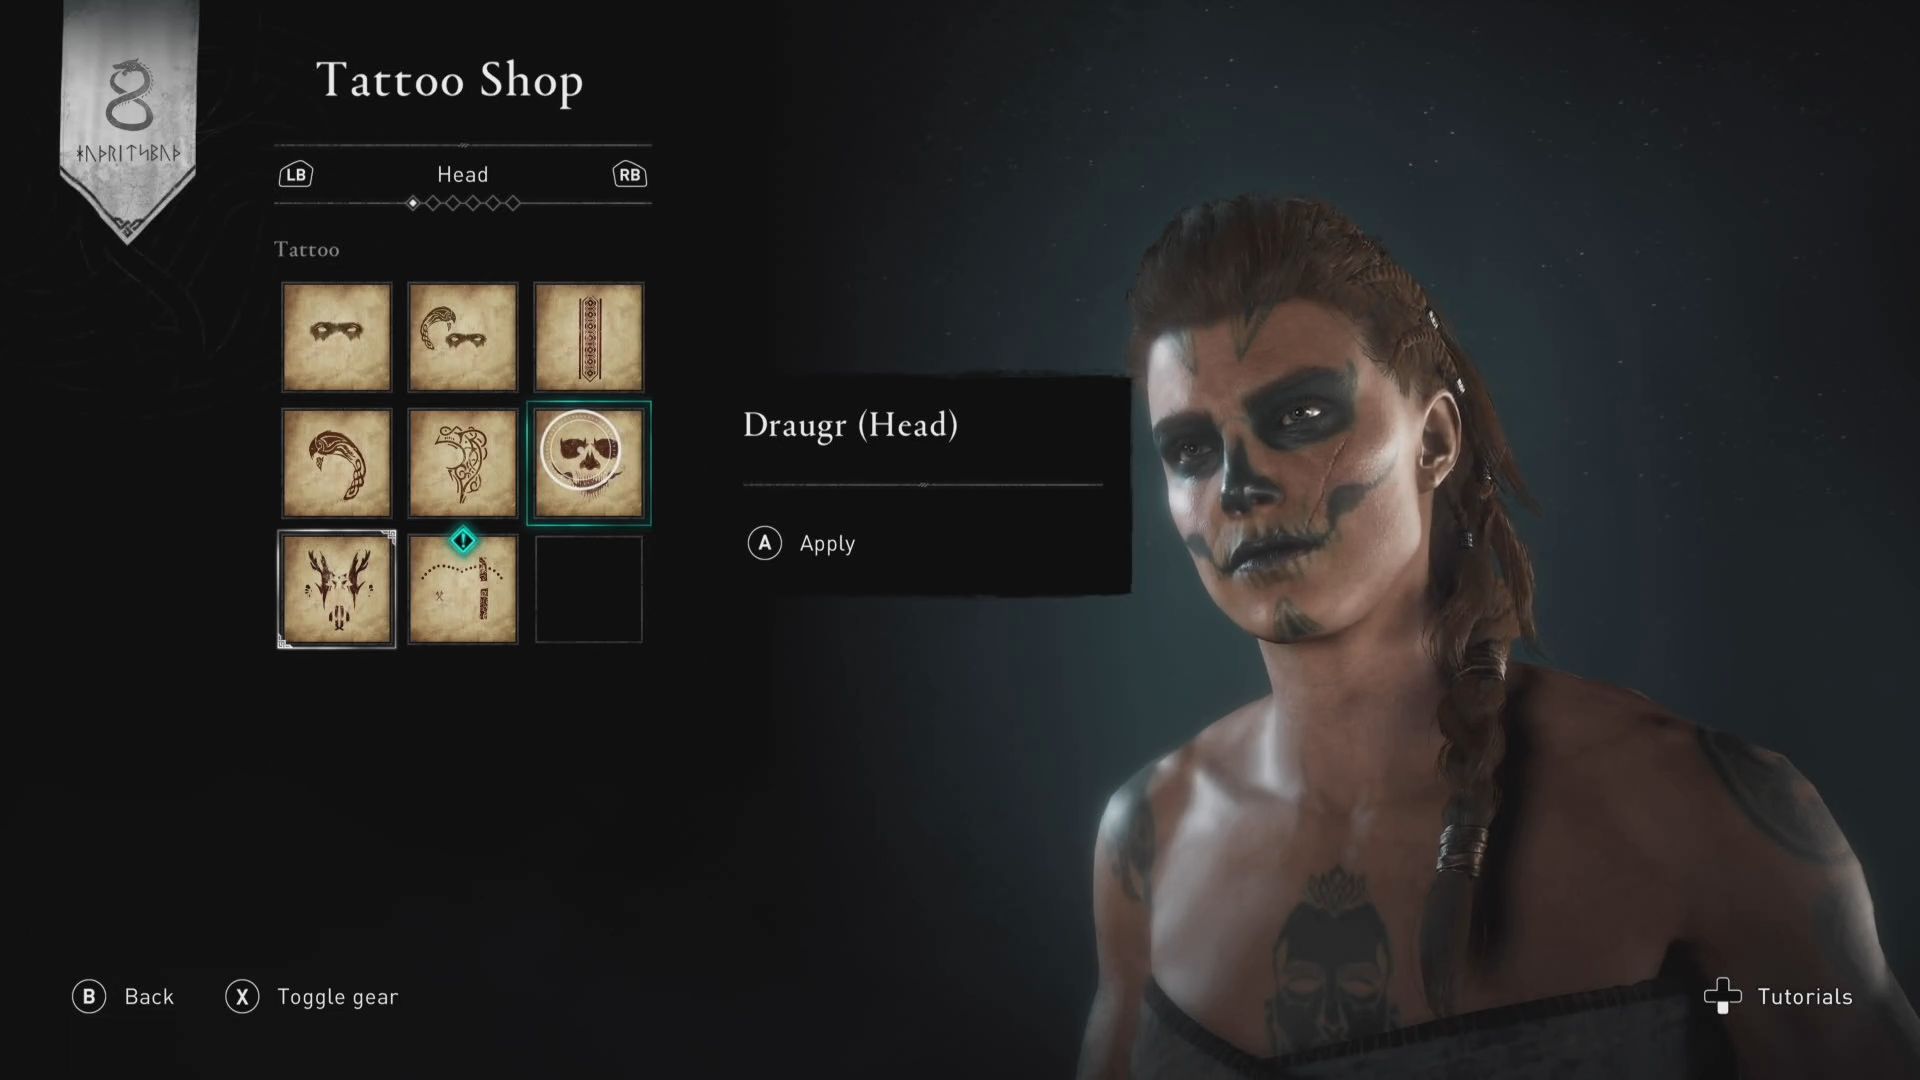
As you might expect, the Tattoo Shop isn’t going to give many useful in-game perks early on other than making your Eivor look as intimidating and phenomenal as possible. If you can hold out on changing your tattoos and hair, make sure you have your other vital buildings first. Make a point of chasing some tattoo parchments when you are out and you can celebrate the eventual opening with a whole lot of pain-free ink.
Shipyard
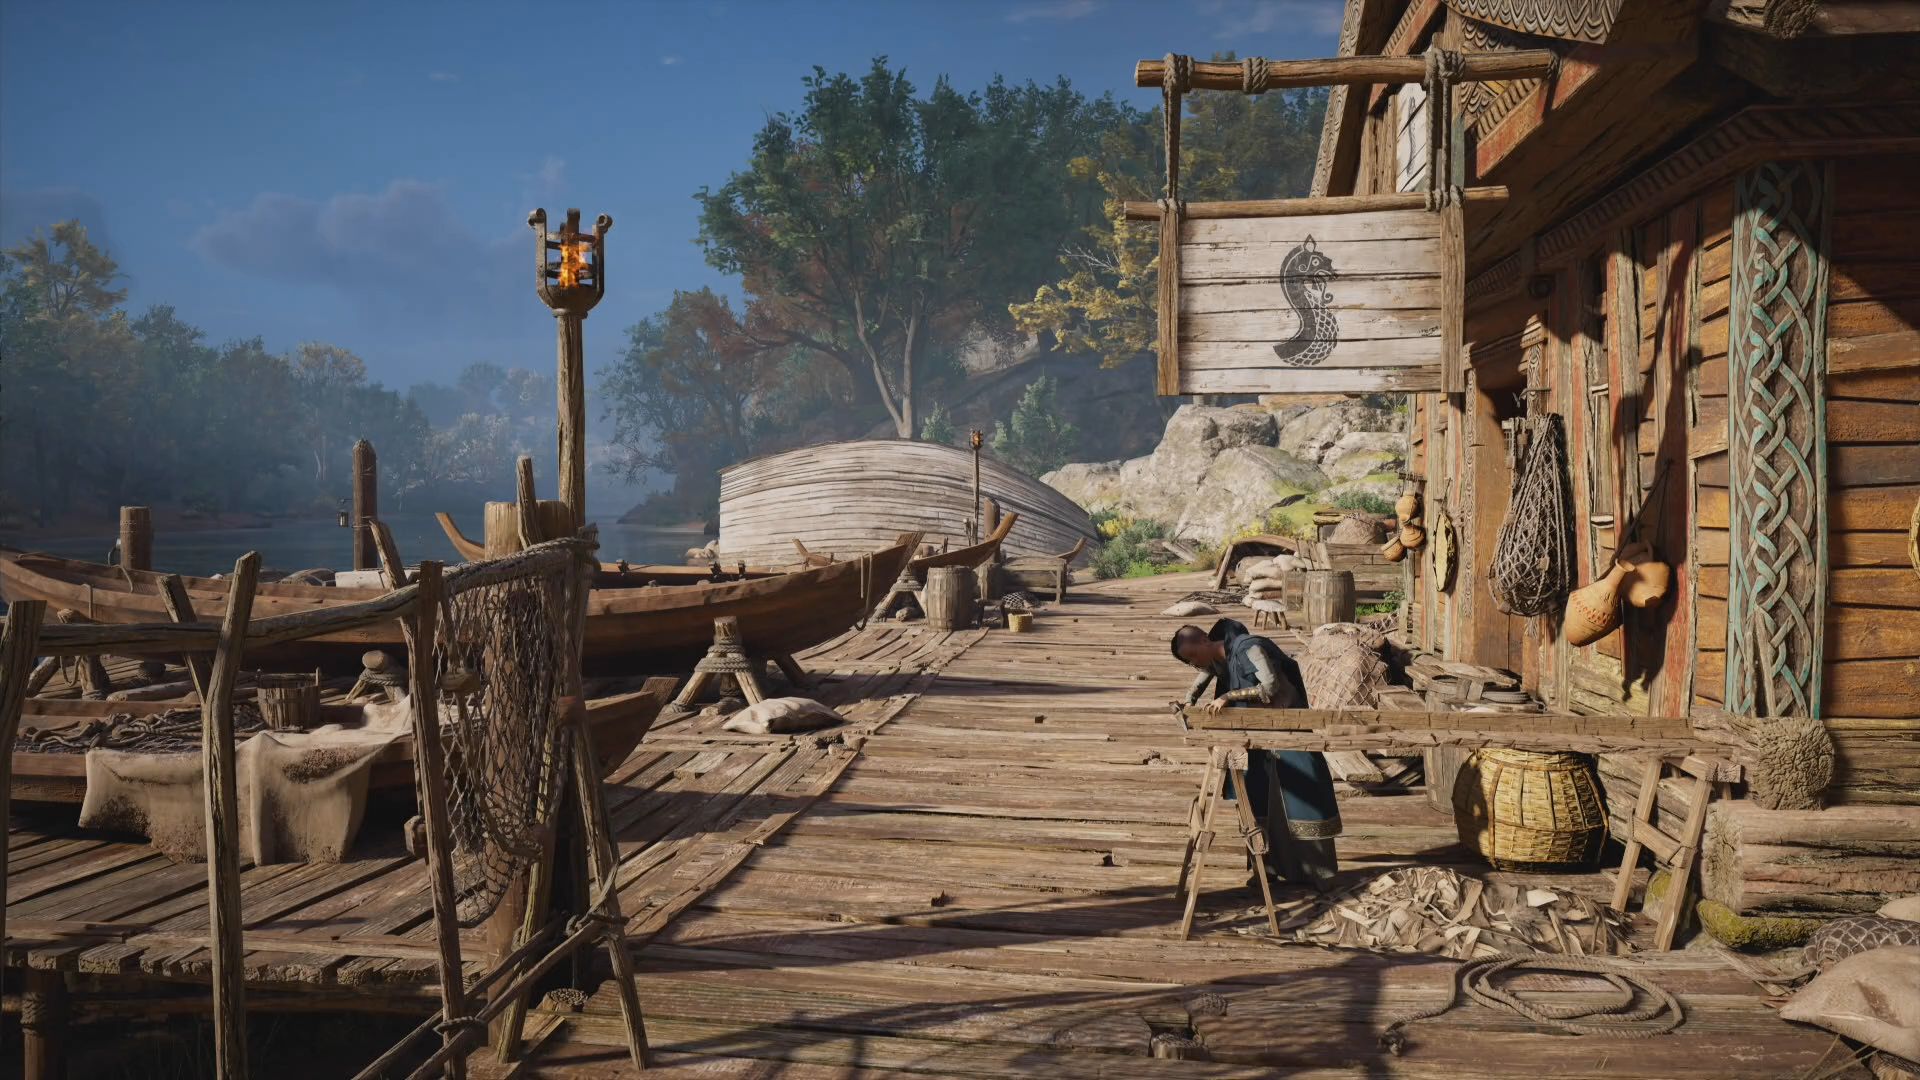
Again, your shipyard is another aesthetic only upgrade. This will let you tweak each part of your longship with schematics that you’ll find across England. Particularly rare ones come from Treasure Horde maps so keep an eye on those and you’ll be able to switch up sails until the, err, prows come home. This is another less worthy addition so do make sure you have other more important buildings in place before you spend your resources.
Cartographer
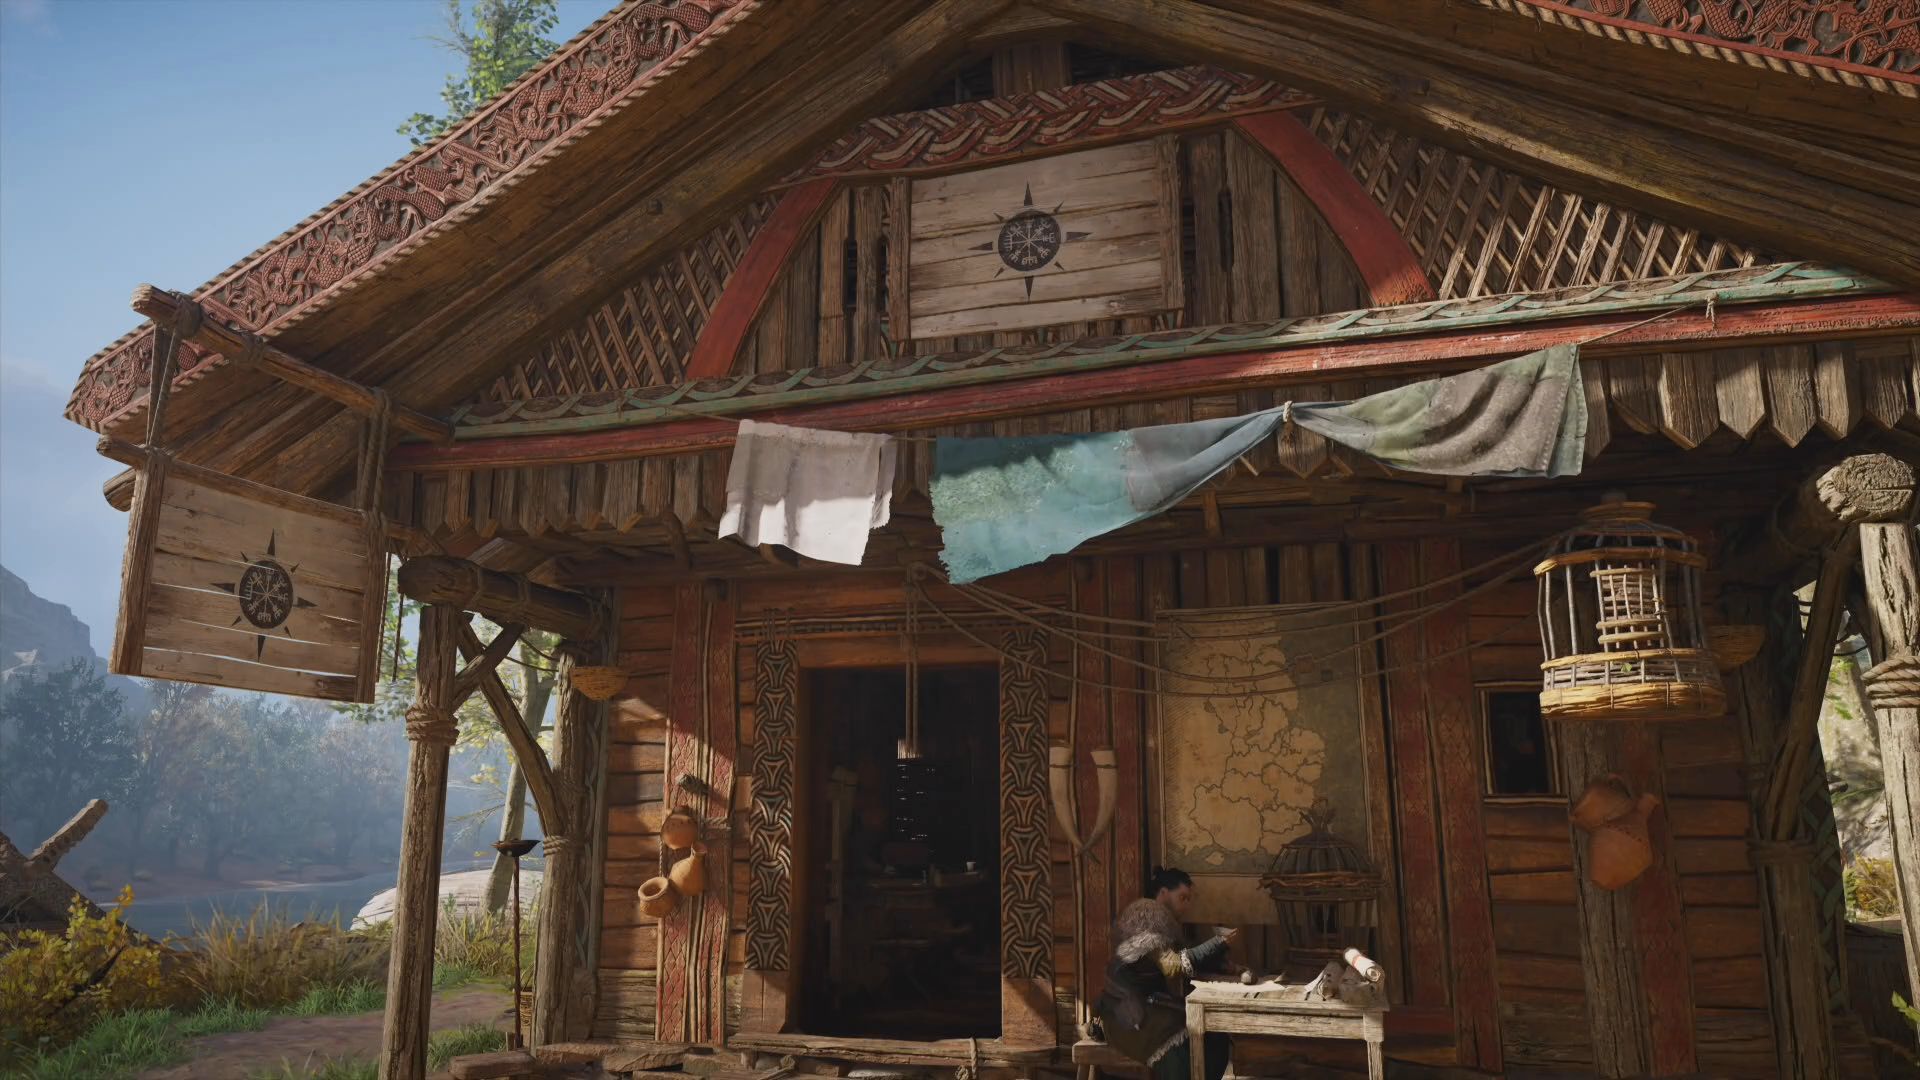
Now Olson is a particularly useful friend to have. The Cartographer is where you can buy maps to find ingot, gear and Book of Knowledge locations you might have missed during your explorations. Each map is separated by region and only costs 15 silver a pop so you shouldn’t have to save too hard to make sure you’ve populated your map.
Hunter's Hut
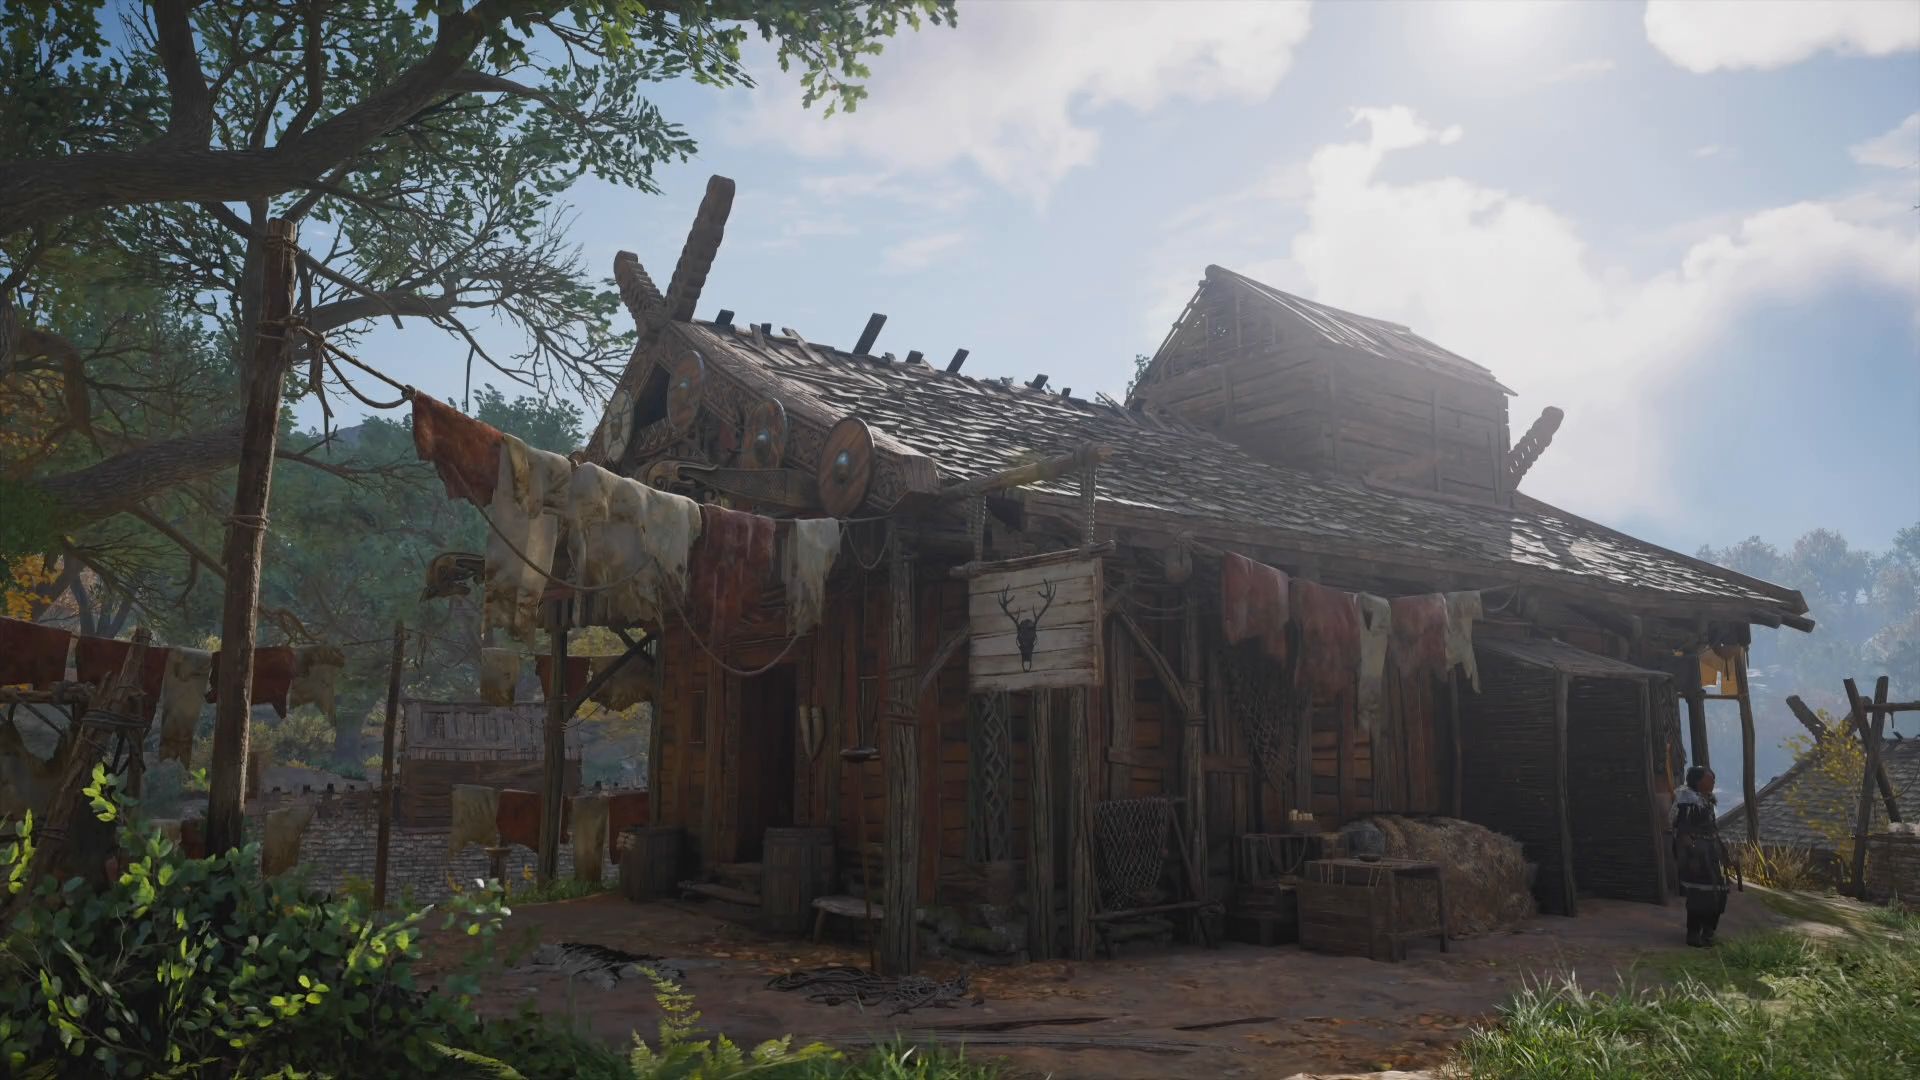
Much like the Fishing Hut, the Hunters Hut has a similar shopping list of deer hooves, animal guts and viper eggs to earn rewards. Catch up with Petra and Wallace and you can also turn in Legendary Animal hides for various shiny new things. Sadly though, they won’t give you the Legendary Animal locations, you’ll have to do them yourself. Or use our Assassin’s Creed Valhalla Legendary Animals locations guide.
Seer's Hut
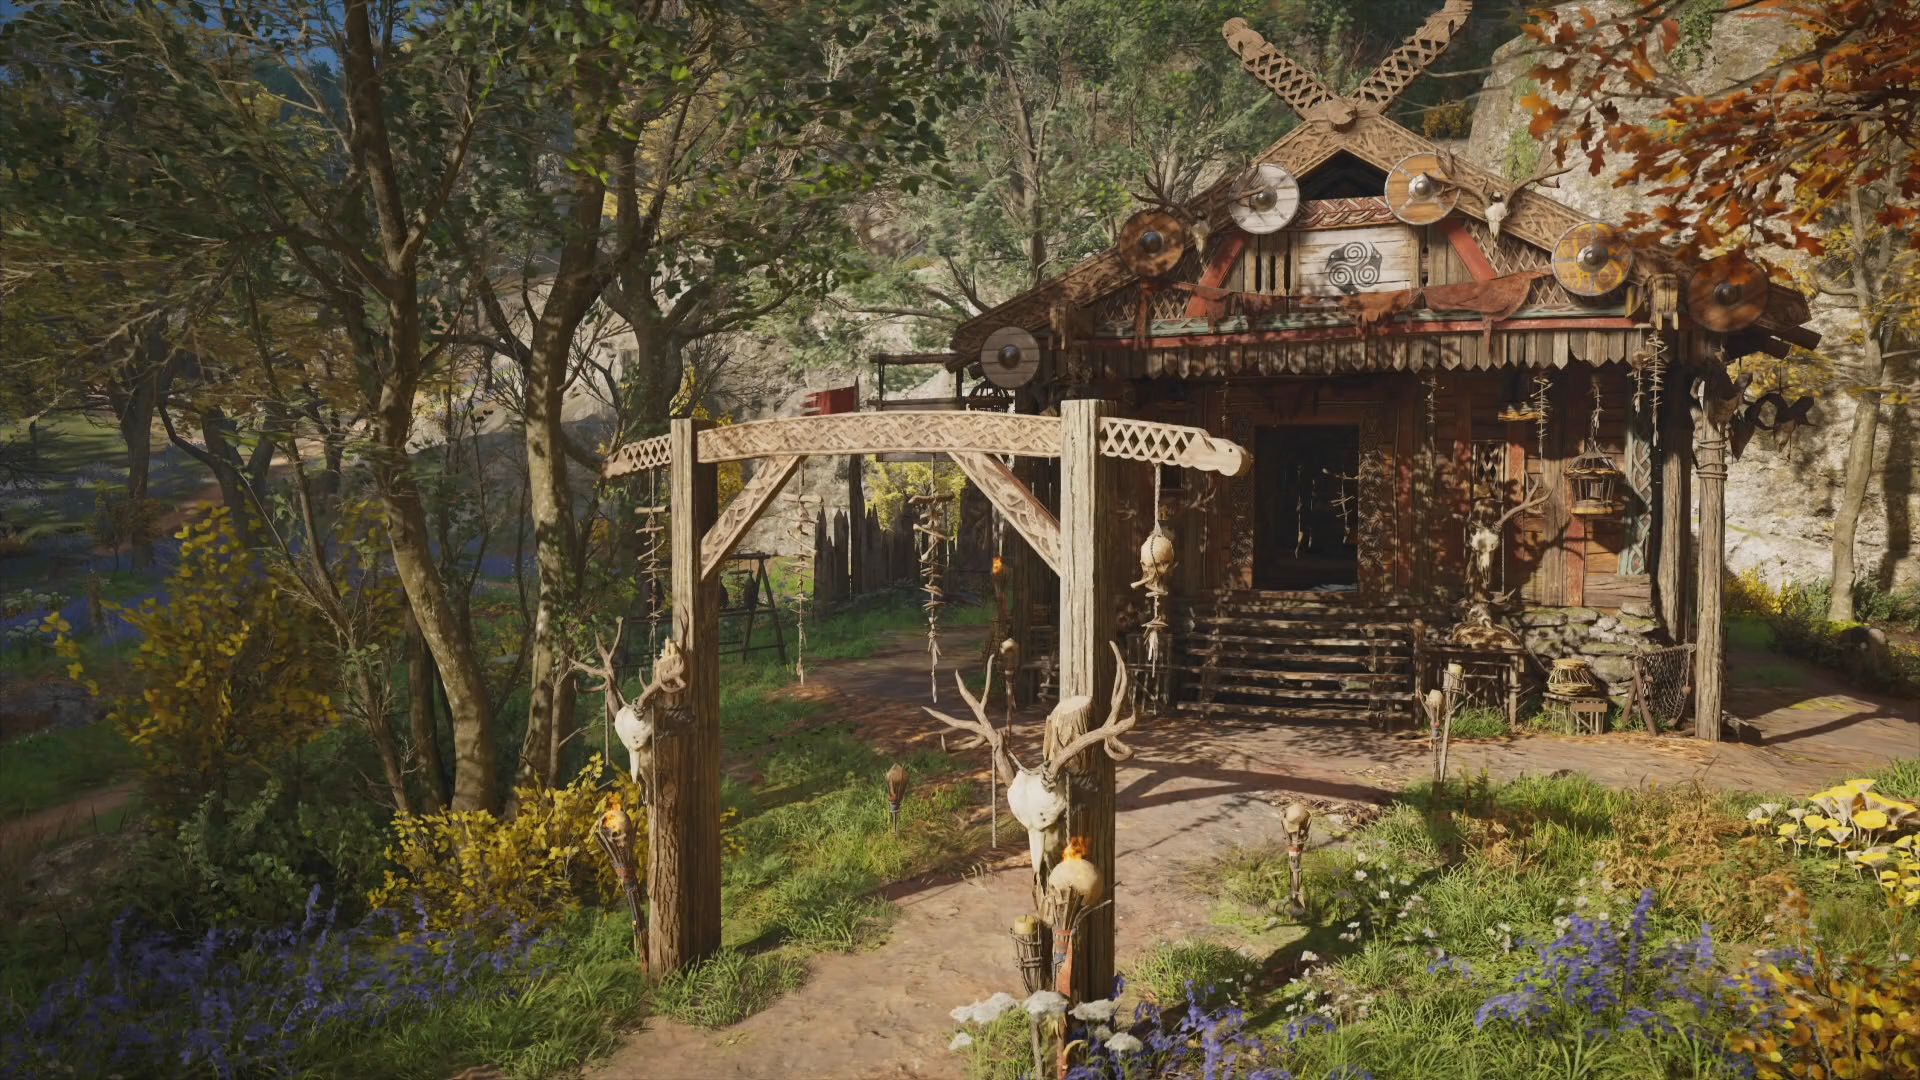
Valka is your gateway to two huge mythical realms so you’ll want to save some resources to unlock her house as soon as you can. Once you’ve crafted the potion to ‘travel’ so to speak you can always come and go from her house and you won’t need to finish these worlds in order to complete the main campaign.
Museum
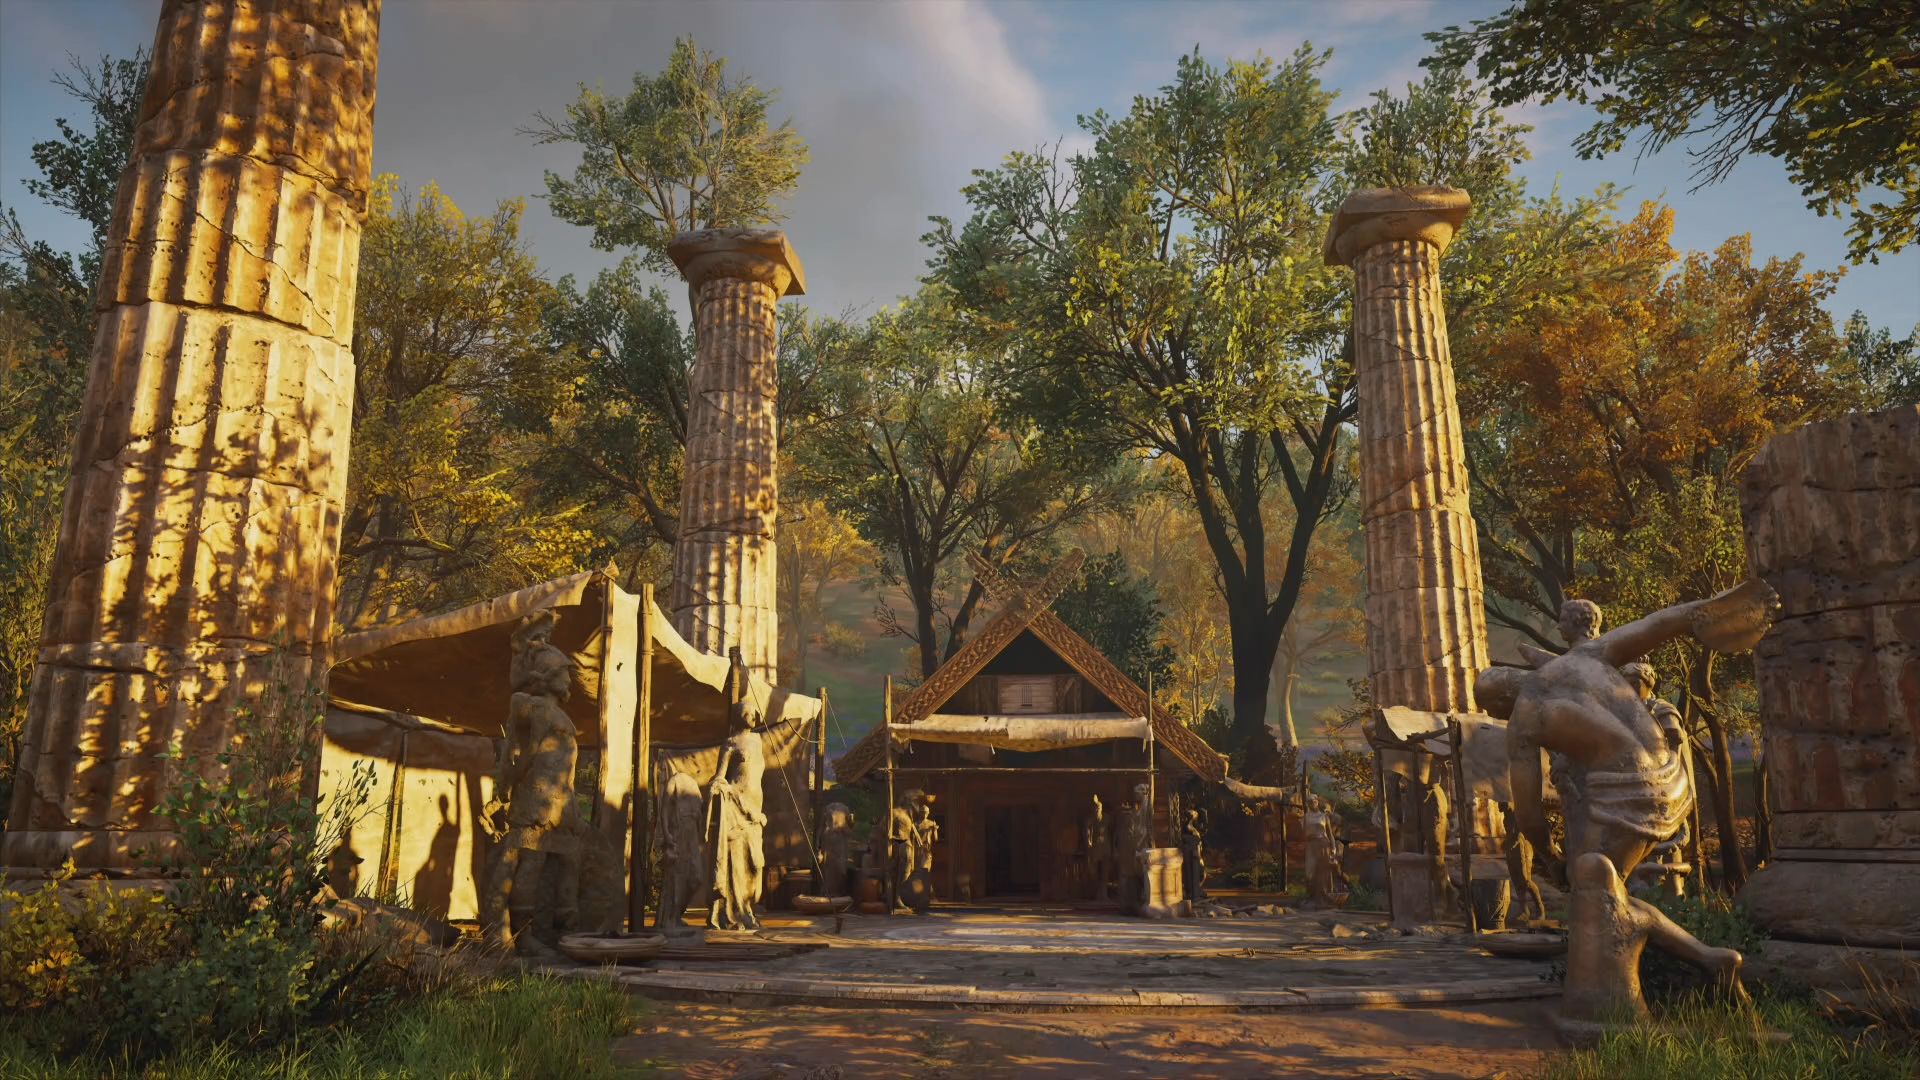
Here’s another ‘nice to have but not essential’ initial investment. The Roman obsessed Octavian is hungry to fill his Museum with the Roman Artefacts scattered around the world. Just like Hytham and Medallions, he’ll only take them in groups though so no need to ferry them back and forth independently.
Reda (Thousand Eyes)
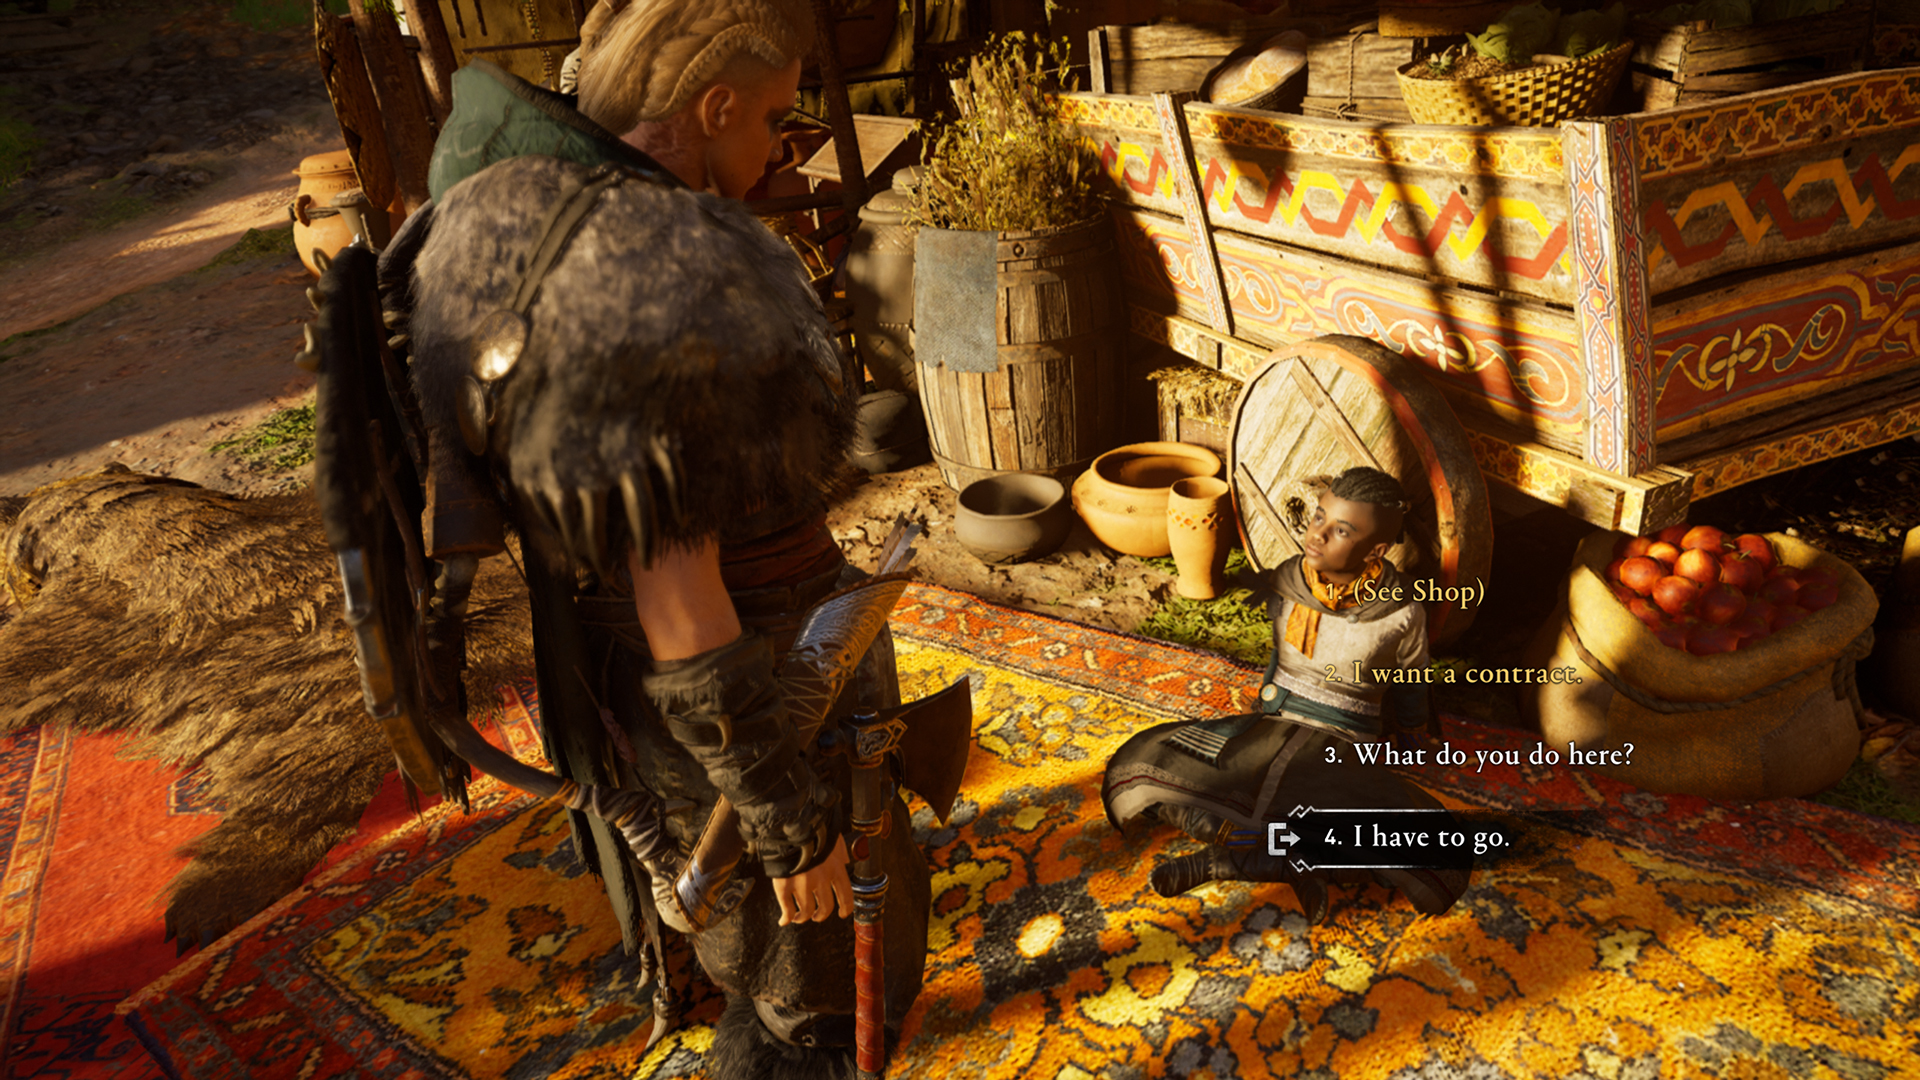
Ah yes, the dealer of Opal. The Thousand Eyes will base itself in your settlement after you’ve completed a few regions of England so there’s no need to worry about wasting vital resources. Here Reda will offer up contracts in exchange for Opal and a daily rotating selection of gear and items. Do you chance that skull face tattoo now or wait to see what he has tomorrow…? Also remember that once you have run out of quests from Reda, there are other Thousand Eyes children scattered in the cities of Jorvik and Lunden so you can always find more Opal. Just don’t ask why they know so much, so young.
Buildings to improve the feast buff
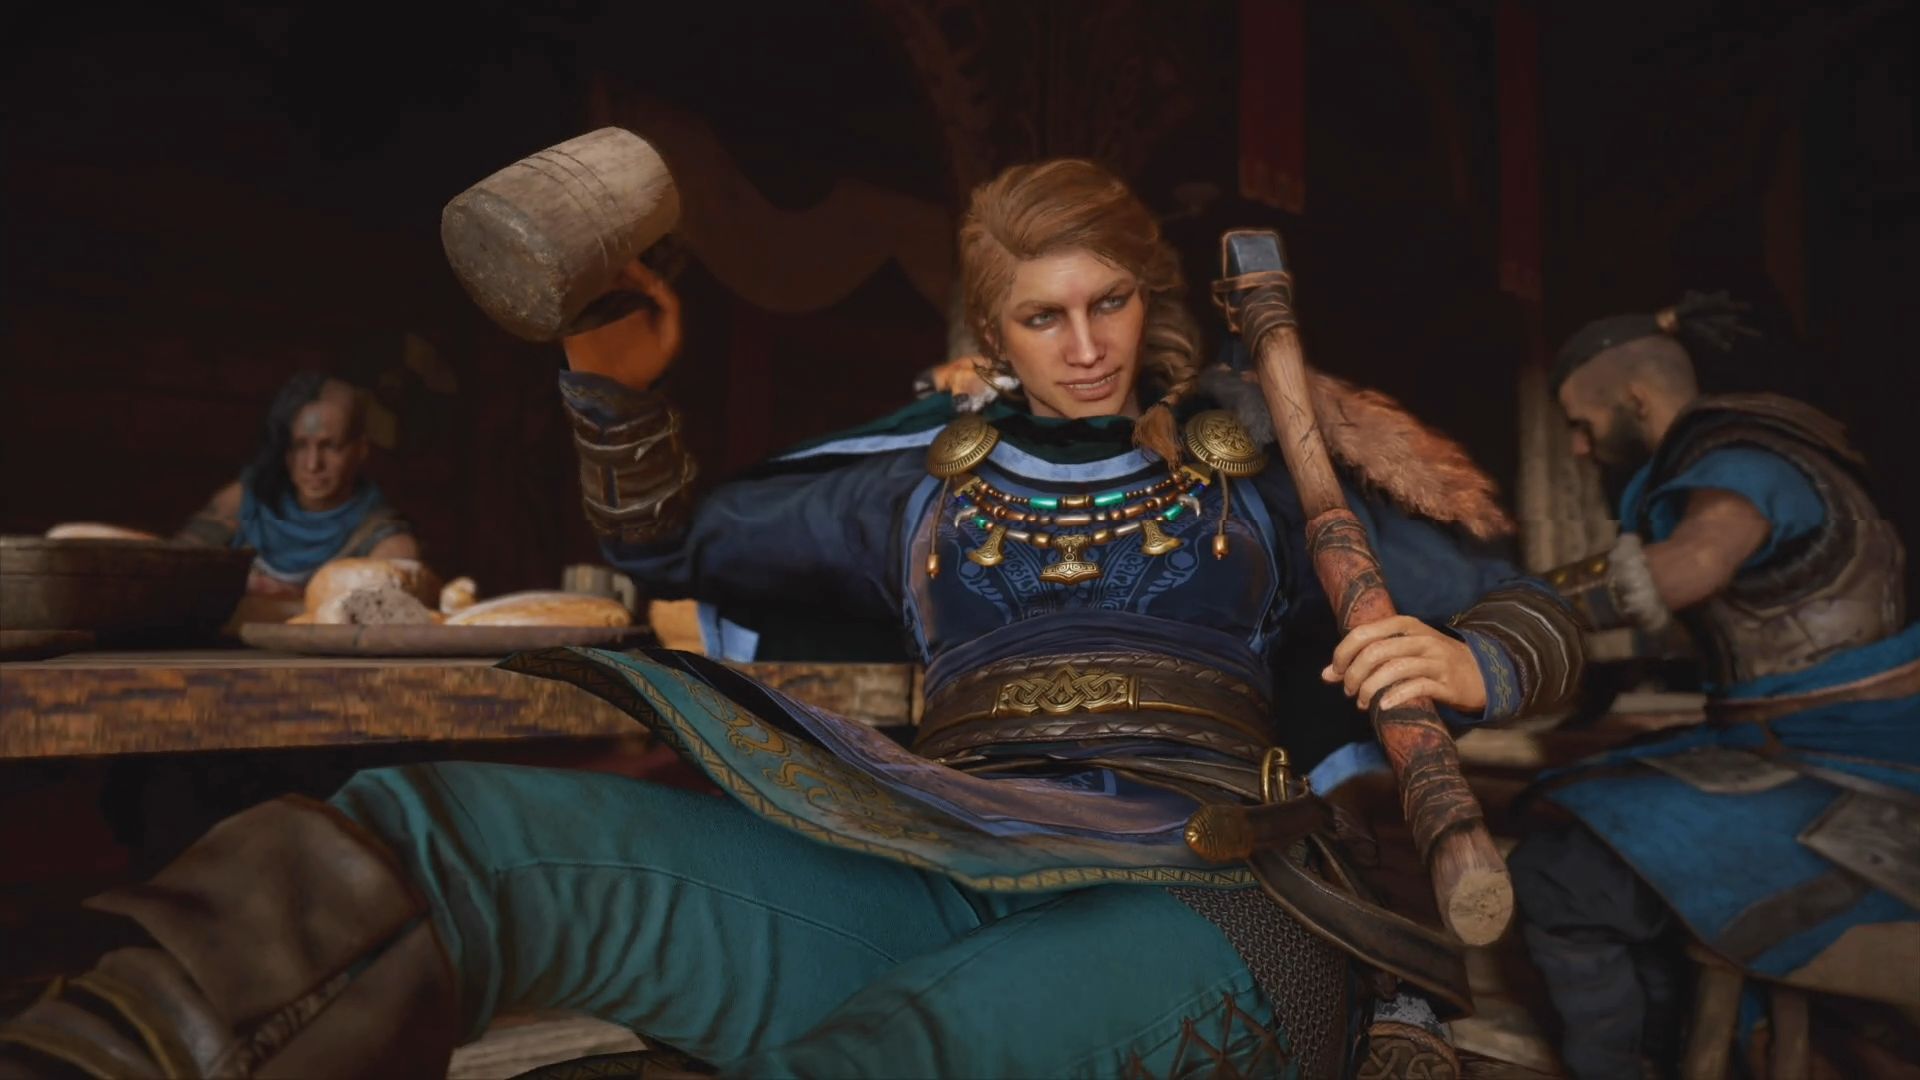
The below buildings all improve the feast buff when you ring the bell outside the longhouse and get together with your Viking crew. You can leave most of these until much later in the game but unlock at least one to unlock the ability to get clanging the bell in the first place.
By the end of upgrading all of these, having a feast will be an essential activity before you head out and try to take on any of those Legendary Animals. The officially named Feast Boost provides a long-lasting buff to ranged damage, health, armour and assassination damage so it’s absolutely worth the late game investment.
- Bakery
- Brewery
- Grain Farm
- Fowl Farm
- Karis House
- Alvis and Holger's House
- Hunwald and Swanburrow's House
- Cattle Farm
- Mayda's House
Settlement Decorations
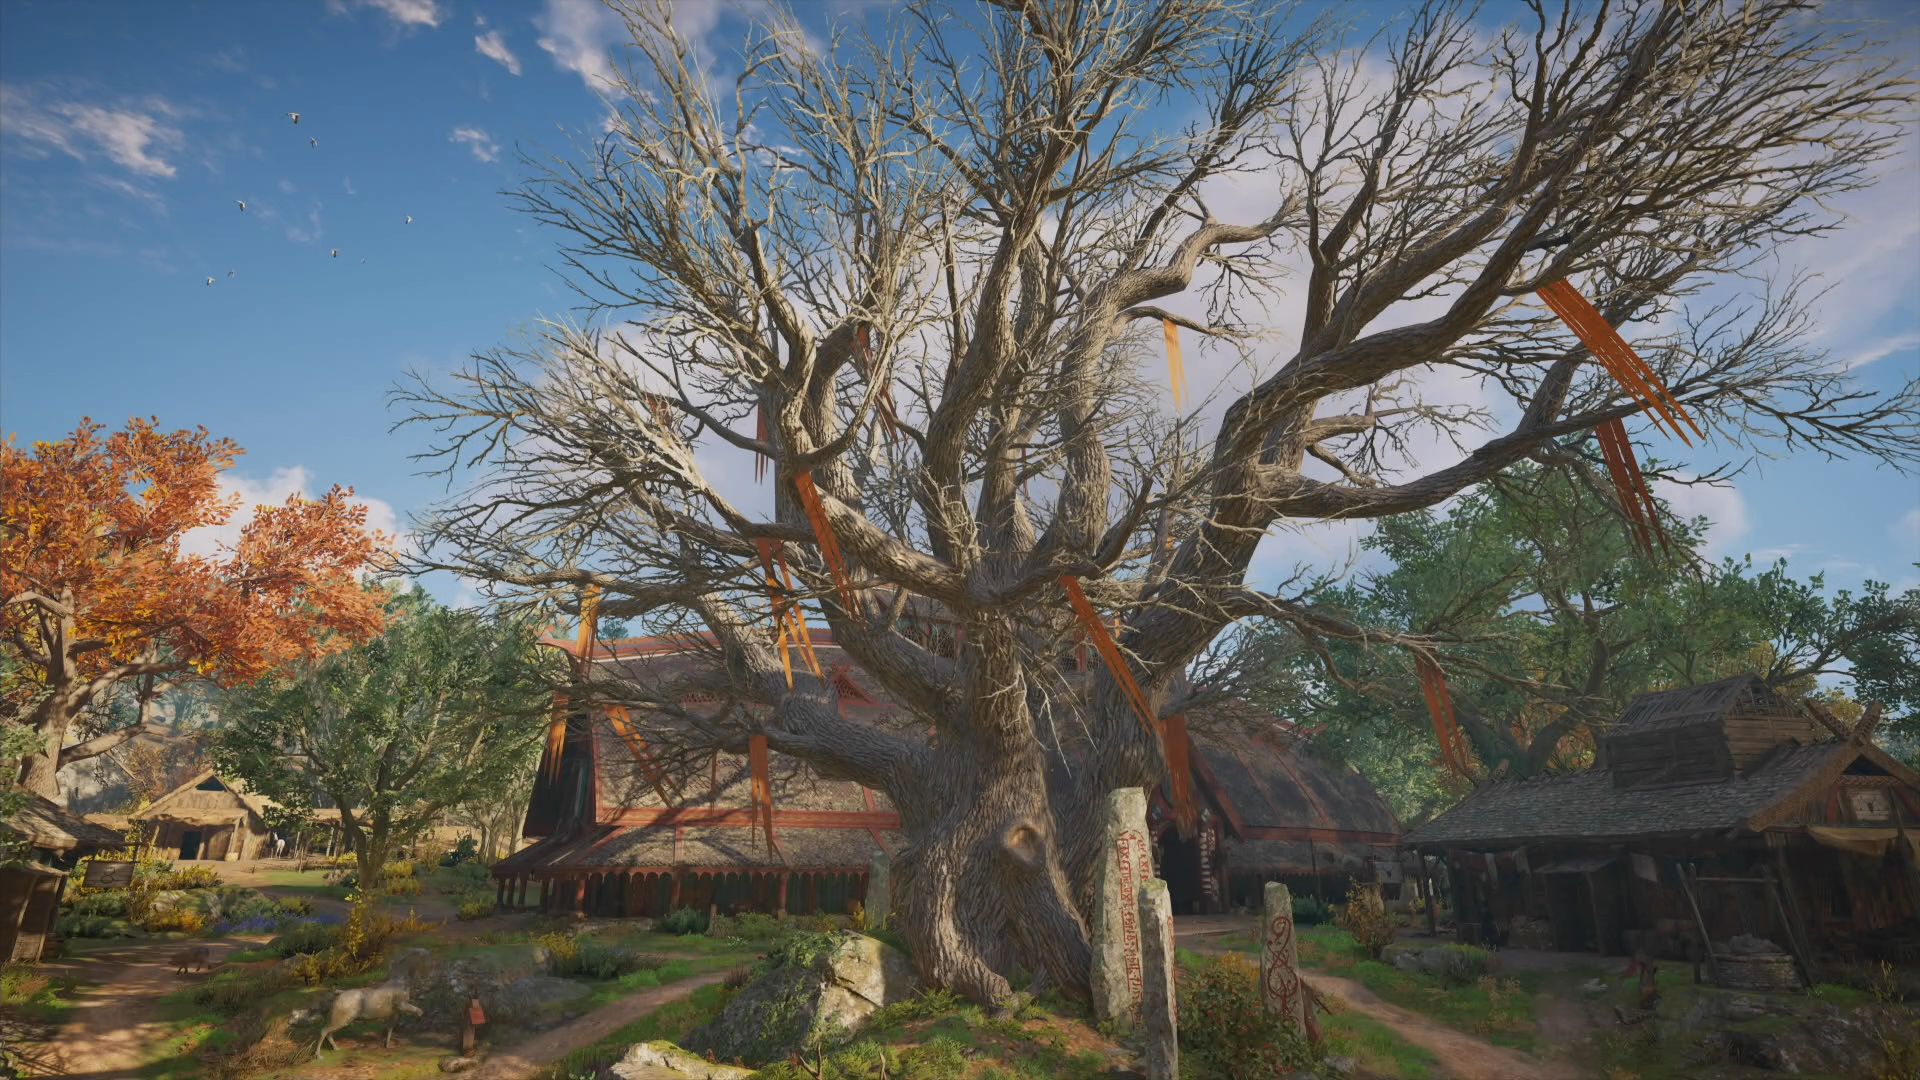
And finally, don’t forget to decorate your settlement. Wherever you see a small wooden dragon plinth you’ll be able to personalise that section of ground with decorations. You can get new ones by spending Helix credits in the store or by handing over Opal at Reda’s stall. Even the central tree in your settlement can be fully personalised at a later level so whether you want a Berserker feel or just something a little more leafy, you can make Ravensthorpe your own.

Louise Blain is a journalist and broadcaster specialising in gaming, technology, and entertainment. She is the presenter of BBC Radio 3’s monthly Sound of Gaming show and has a weekly consumer tech slot on BBC Radio Scotland. She can also be found on BBC Radio 4, BBC Five Live, Netflix UK's YouTube Channel, and on The Evolution of Horror podcast. As well as her work on GamesRadar, Louise writes for NME, T3, and TechRadar. When she’s not working, you can probably find her watching horror movies or playing an Assassin’s Creed game and getting distracted by Photo Mode.
 Join The Community


