How to build the museum in Animal Crossing: New Horizons
Reunite with our old friend Blathers by unlocking the Animal Crossing: New Horizons museum
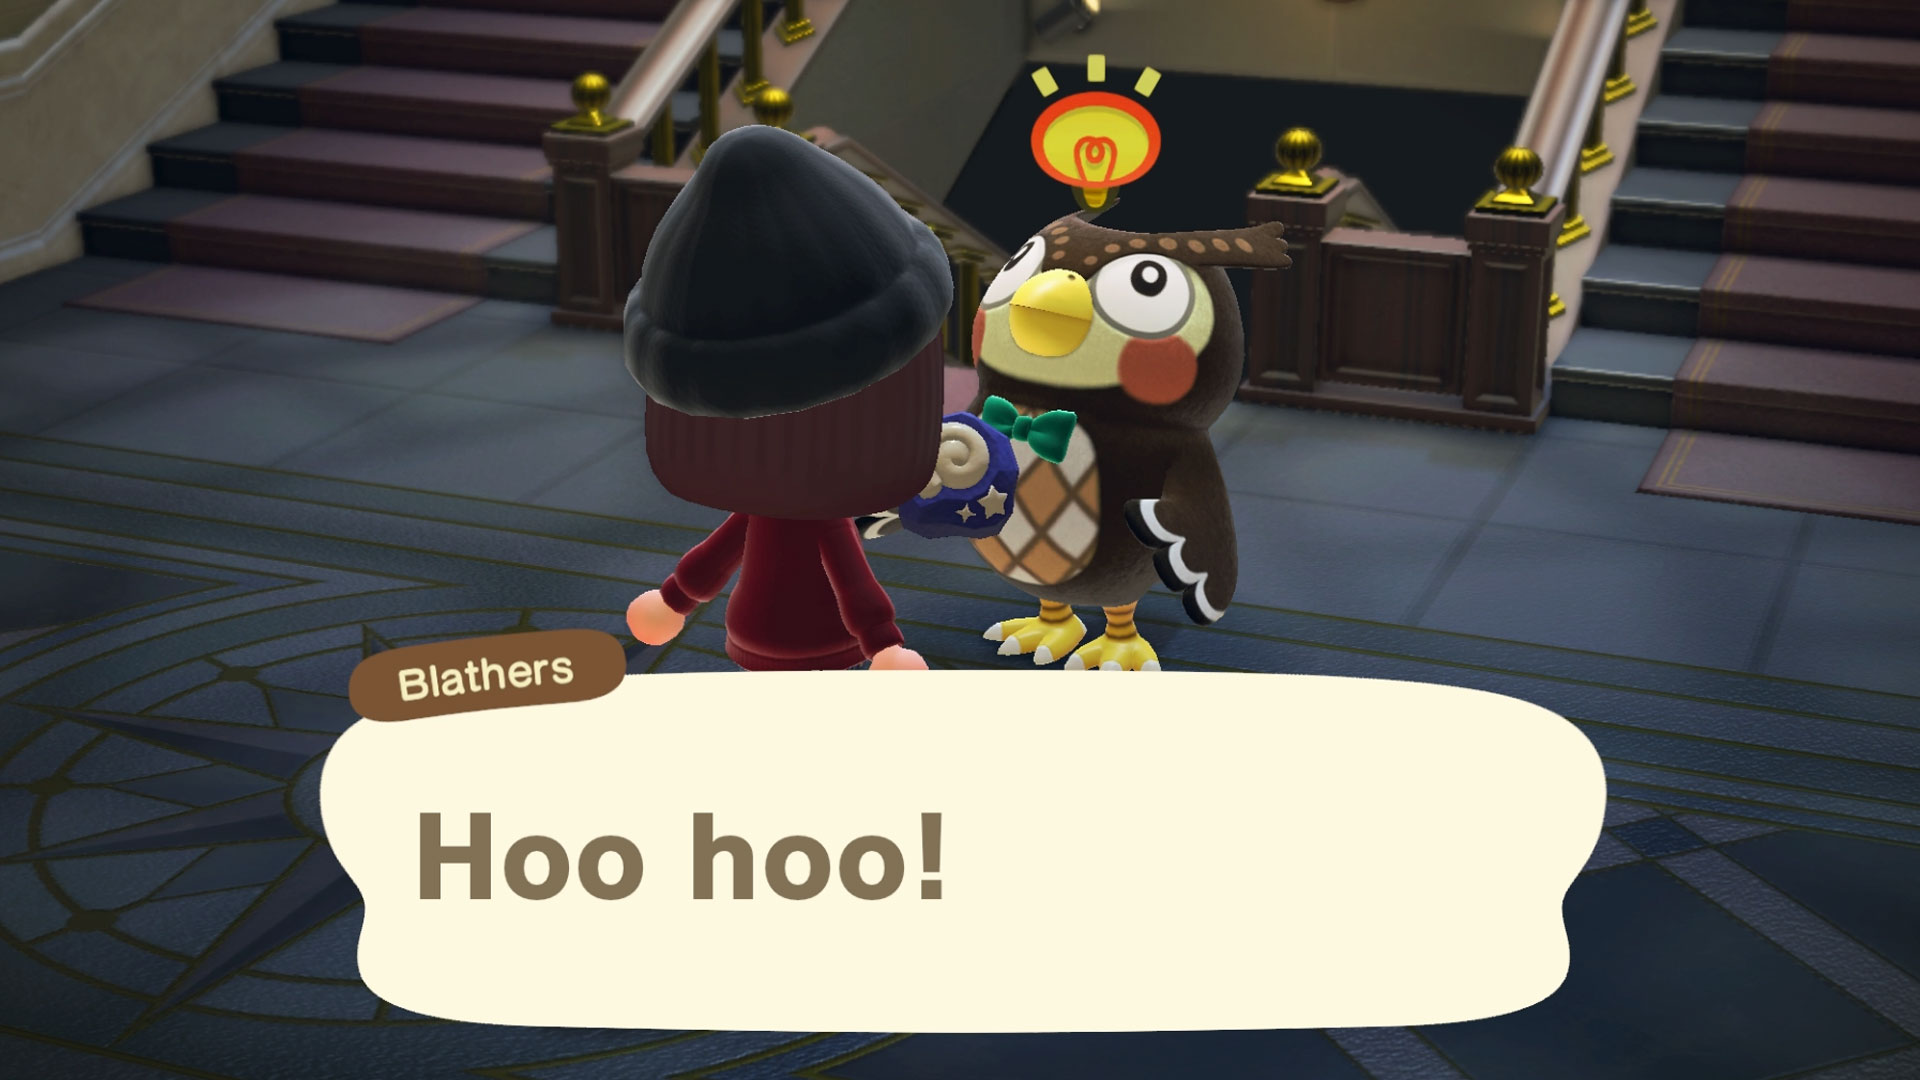
The Animal Crossing: New Horizons museum is a place of wonder and sleepy owls in the daytime. It's one of the staples of the Animal Crossing series at large, so we understand why building it should be first on your list. Yes, Blathers is back with a brand new museum that's curated with your donations of fish, bugs and fossils, and it’s had a complete update and revamp for the new game. Basically, the museum is bigger, better, and prettier than ever before.
But before you can start building up your exhibitions with the scaly, the creepy, the crawly and the boney, you'll have to make sure Blathers knows about your island and makes his feathery way over there. Here's what you need to do to unlock the Animal Crossing: New Horizons museum - and get some special additional unlocks along the way.
1. Give Tom Nook five fish or bugs as soon as possible
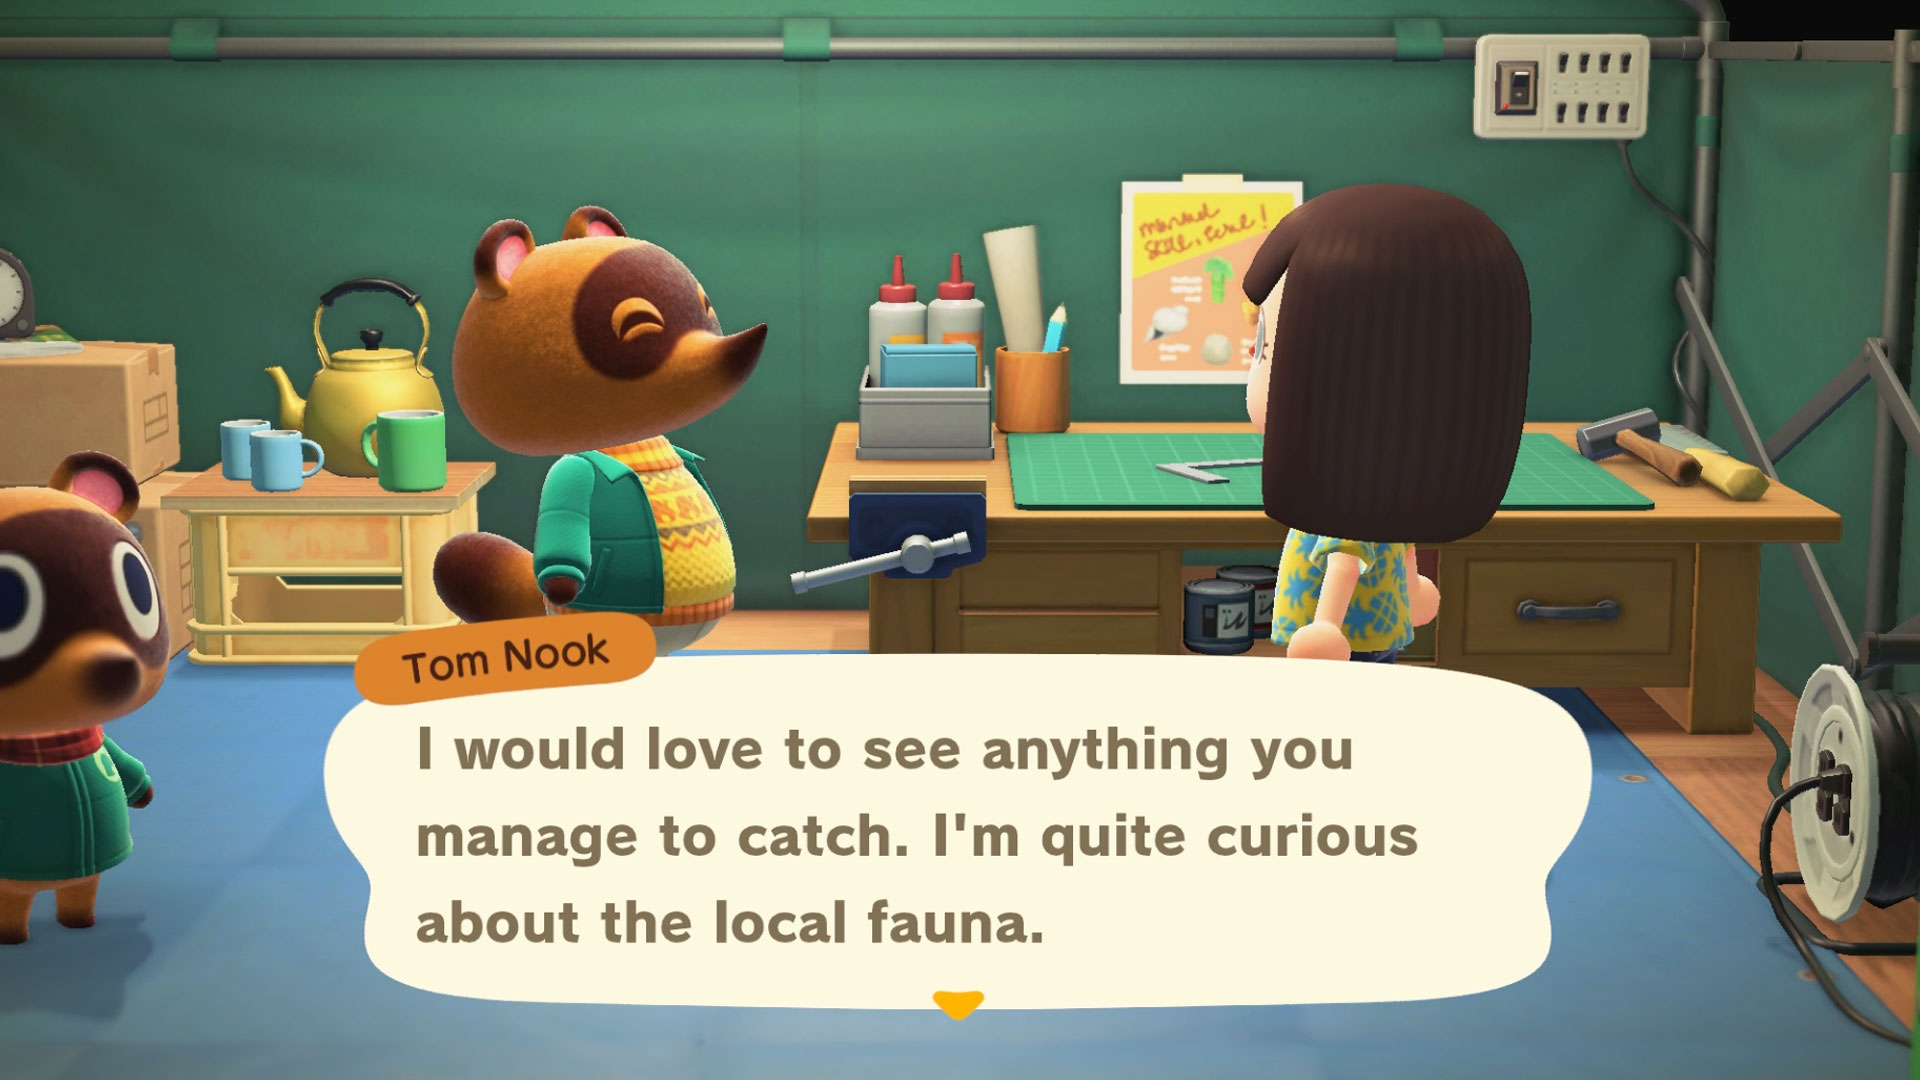
On your first 'full' day on the island, Tom Nook will give you a DIY crafting lesson, and during which he'll give you the recipes for the net and fishing rod. After you've crafted both for the first time, he'll mention that he'd "love to see anything you manage to catch".
"I'm quite curious about the local fauna," he adds.
Now, that might feel like an unusual comment for Nook, but don't dismiss it. Go out into your island net and and rod in hand, and bring back five fish or bugs (or a mixture of the two) to Tom Nook as soon as possible. When you speak to him, pockets full of live animals, there will be a new prompt that says "I found a creature!". Choose this, and give him five of them.
Nook will then get a call from our old pal Blathers.
2. Find a space for Blathers' temporary tent and eventual museum
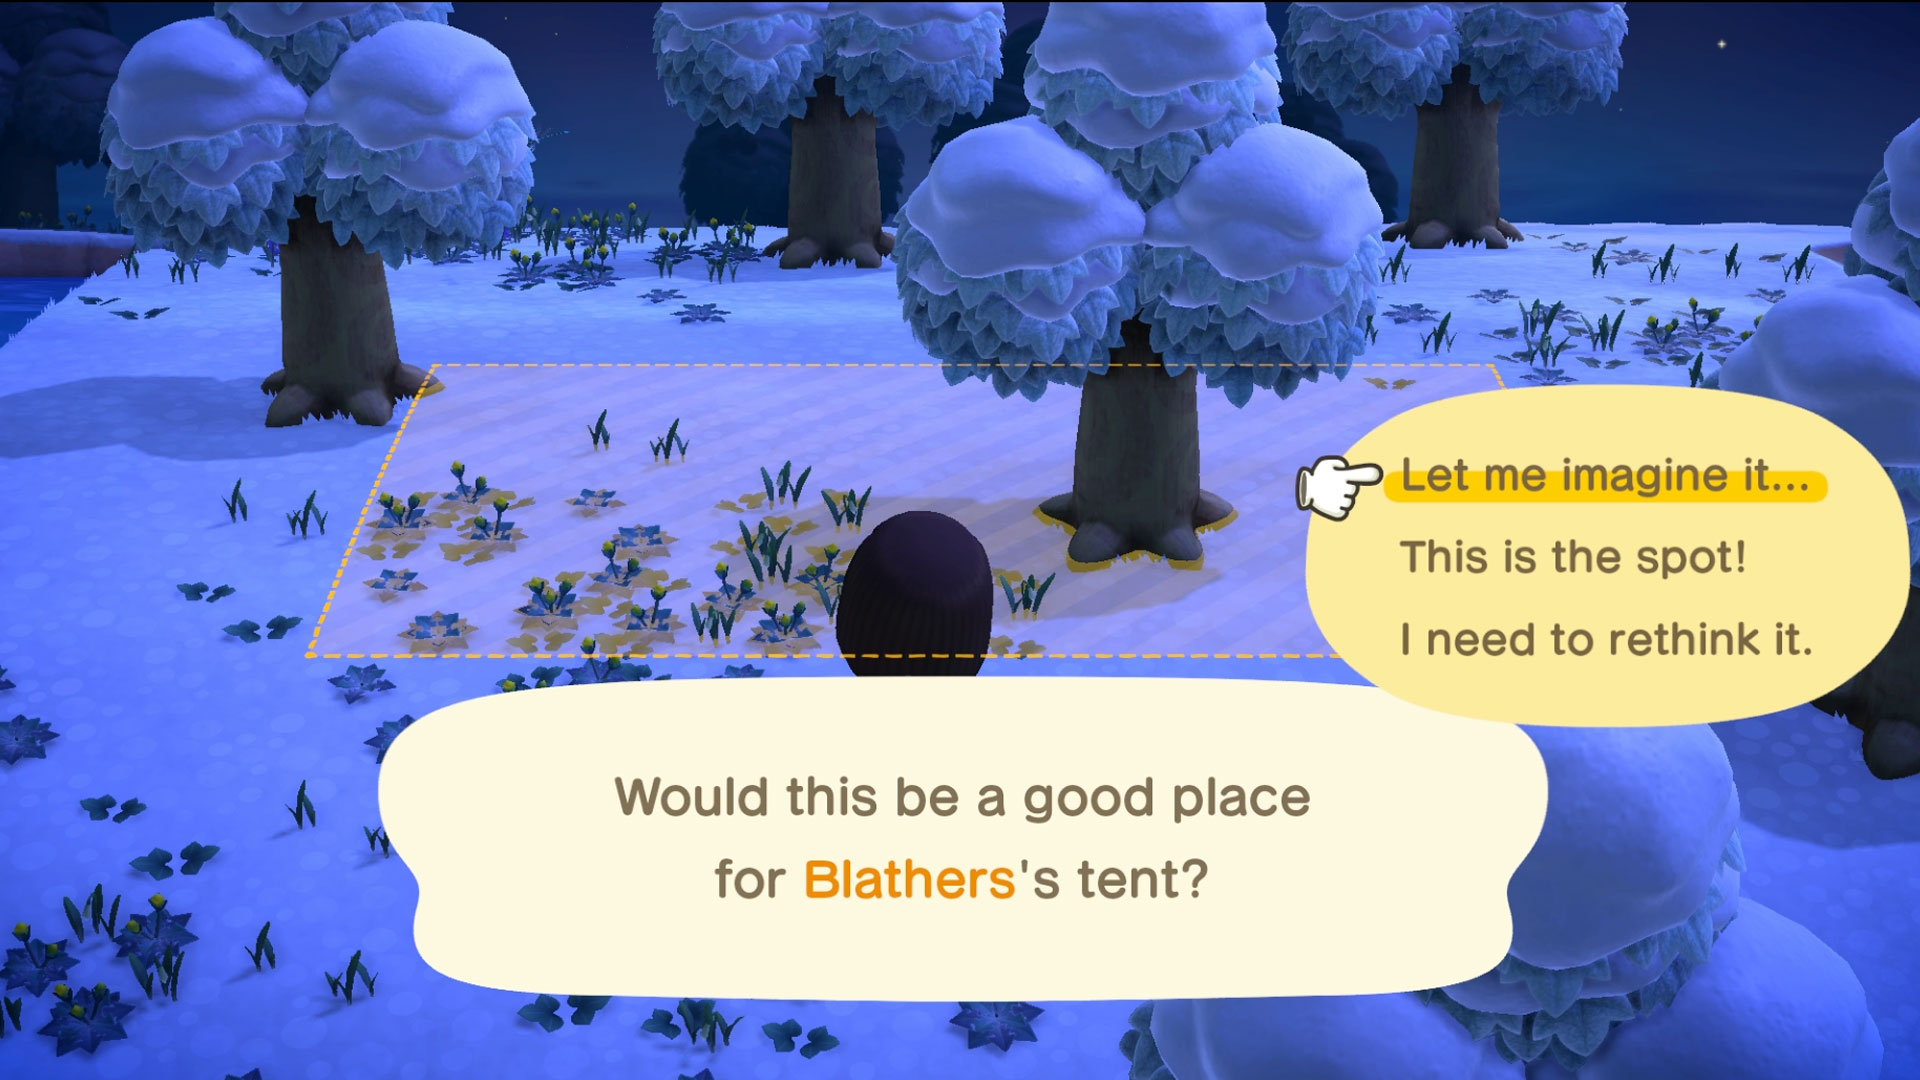
Turns out Blathers has his feathers set on creating a museum on your island, excited to discover what fauna and fossils you've got on your shores. But first, you'll need to find him a spot to place his tent. Just like you did with your own tent, you'll have to find him a spot for his.
But beware, wherever you decide Blathers can pitch his tent will eventually be the position of the museum itself, so pick wisely.
You'll have to wait until the next calendar day for Blathers to arrive in his tent, but when he does, make sure to go and talk to him straight away.
3. Provide him with more donations
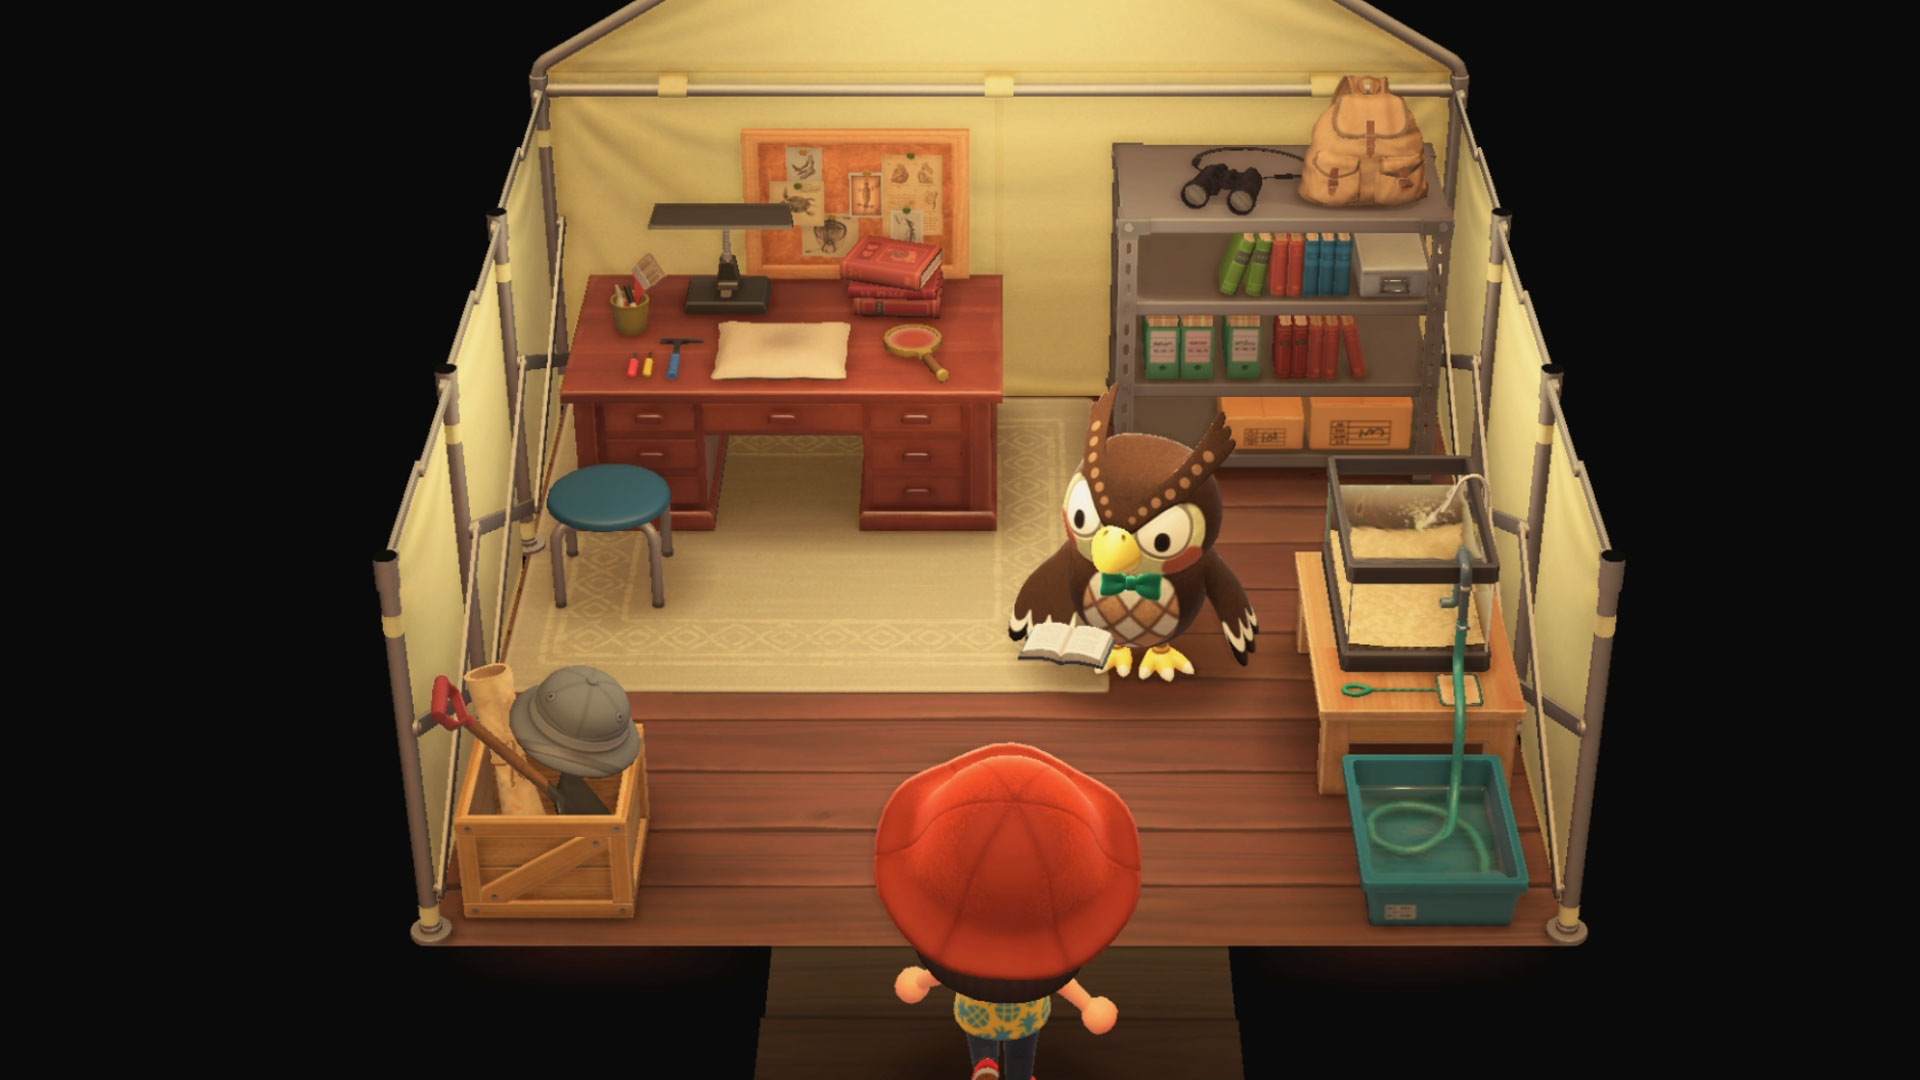
In order to open a proper museum, and not just a tent, Blathers needs to help to gather more exhibit entries. You're going to need to provide him with 15 more exhibits - we're talking fish, bugs and fossils - in order to get permission to open the fully-fledged museum.
In order to help you facilitate that, Blathers will give you the recipes for the Animal Crossing: New Horizons vaulting pole, a new tool that will allow you to leap over rivers to access more of your island, and the Animal Crossing: New Horizons shovel, so you can finally dig for fossils.
Once you've provided Blathers with enough critters and old bones, he won't take any more donations, and will get the permission he needs to open the museum.
4. Wait for the museum to be built
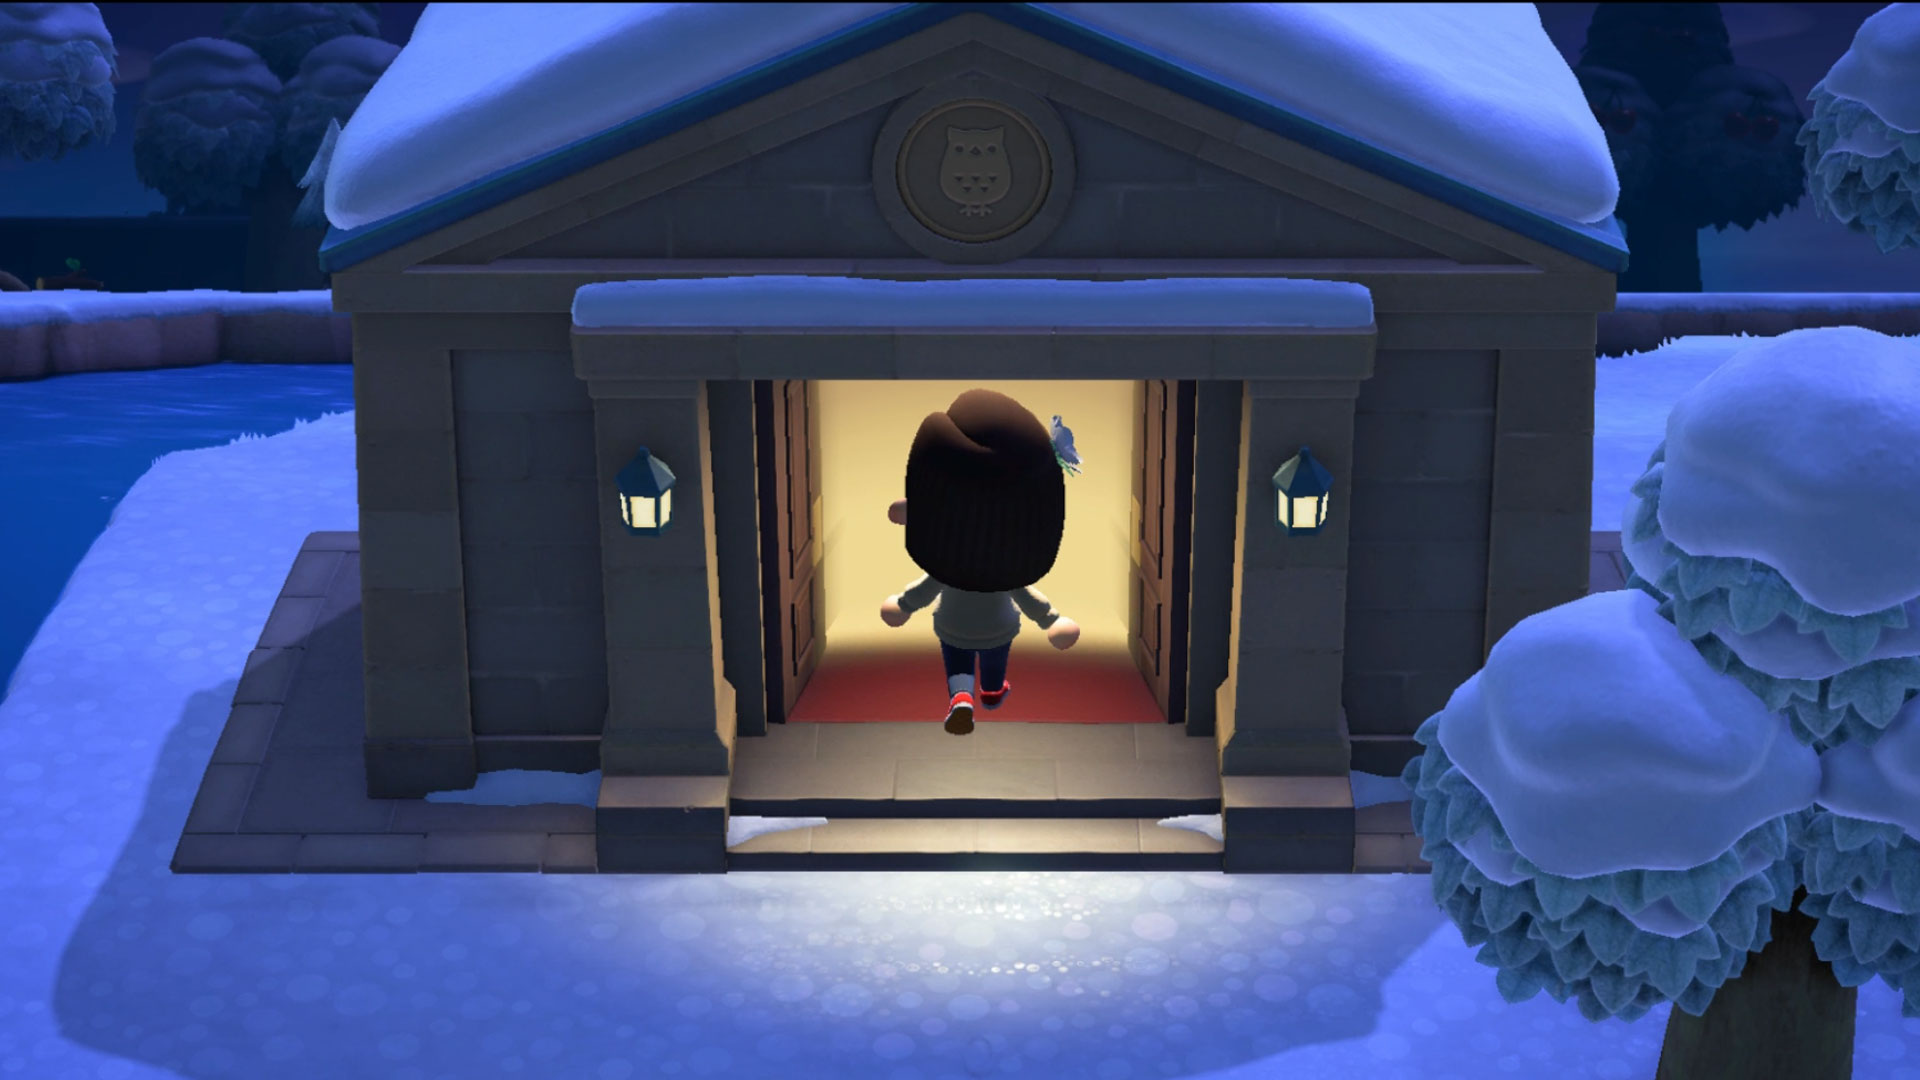
But there's a catch. Although the museum will feel tantalisingly real at that point, the museum won't actually open for a little while. The next calendar day after you provide Blathers with everything he needs for the permit, the museum will be under construction. It's not until the day after that - two calendar days after you last spoke to Blathers, that the museum will eventually open. But trust me, it's worth the wait.
If, in the interim, you catch more bugs and fish, or discover more fossils, it's worth storing them in your home until you can donate them to Blathers - at least if you're looking to eventually complete your museum. You can see what you have and haven't donated to the museum in your Critterpedia. Anything that has been previously donated is marked with a small owl icon.
- Animal Crossing: New Horizons tips
- Animal Crossing: New Horizons DIY recipes
- Animal Crossing: New Horizons fish guide
- Animal Crossing: New Horizons bugs guide
- Animal Crossing: New Horizons Nook Miles Rewards
- Animal Crossing: New Horizons iron nuggets
- Animal Crossing: New Horizons vaulting pole
- Animal Crossing: New Horizons shovel
- Animal Crossing: New Horizons ladder
- Animal Crossing: New Horizons fencing
- Animal Crossing: New Horizons magic wand
- Animal Crossing: New Horizons Isabelle
- Animal Crossing: New Horizons Resetti
- Animal Crossing: New Horizons KK Slider
- How to evict a resident in Animal Crossing: New Horizons
- Animal Crossing: New Horizons amiibo support explained
- Animal Crossing: New Horizons reactions
- Animal Crossing: New Horizons tailor
- Animal Crossing: New Horizons shop
- How to improve your Animal Crossing: New Horizons island rating
- Animal Crossing: New Horizons Island Designer app
- Animal Crossing: New Horizons character customisation
Sign up to the GamesRadar+ Newsletter
Weekly digests, tales from the communities you love, and more

Sam Loveridge is the Brand Director and former Global Editor-in-Chief of GamesRadar. She joined the team in August 2017. Sam came to GamesRadar after working at TrustedReviews, Digital Spy, and Fandom, following the completion of an MA in Journalism. In her time, she's also had appearances on The Guardian, BBC, and more. Her experience has seen her cover console and PC games, along with gaming hardware, for a decade, and for GamesRadar, she's in charge of the site's overall direction, managing the team, and making sure it's the best it can be. Her gaming passions lie with weird simulation games, big open-world RPGs, and beautifully crafted indies. She plays across all platforms, and specializes in titles like Pokemon, Assassin's Creed, The Sims, and more. Basically, she loves all games that aren't sports or fighting titles! In her spare time, Sam likes to live like Stardew Valley by cooking and baking, growing vegetables, and enjoying life in the countryside.
