Batman: Arkham City Riddler guide - how to find and solve every Riddler challenge
Our walkthrough to every Batman: Arkham City Riddler challenge! Riddles, trophies, cameras, balloons, and more!
Batman: Arkham City The Bowery Riddler Trophies
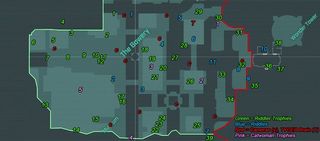
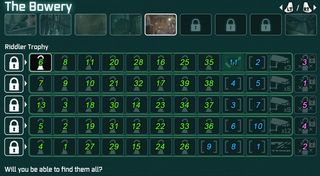
Above: Click for a huge version of this map
THE BOWERY - RIDDLER TROPHY #1
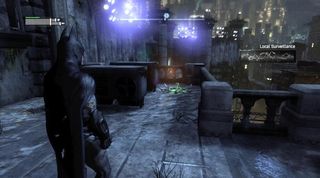
This trophy’s cage will automatically open, provided you stay a fair distance away. Use your Batclaw to grab the trophy.
THE BOWERY - RIDDLER TROPHY #2
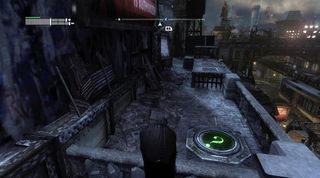
As soon as you stand on the nearby Riddler panel, you’ll have two seconds to do a running slide through the vents while the bars are retracted.
THE BOWERY - RIDDLER TROPHY #3
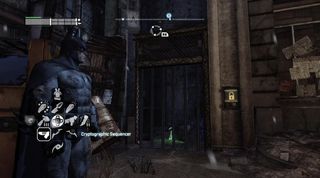
This trophy is behind some bars at ground level. Use your cryptographic sequencer on the nearby console.
THE BOWERY - RIDDLER TROPHY #4
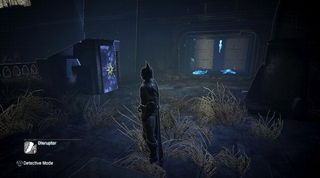
There’s a structural weakness just left of this danger zone. Blow the wall and climb into the maintenance vent. You’ll come out on the other side where the trophy awaits, safe from the sentry.
THE BOWERY - RIDDLER TROPHY #5
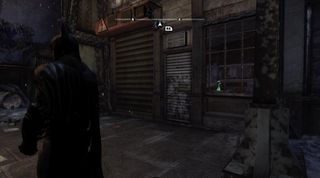
Just use your remote electric charge on this door at ground level to reach the trophy inside.
THE BOWERY - RIDDLER TROPHY #6
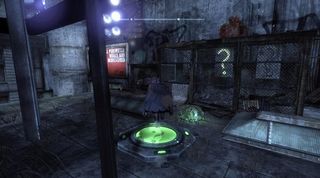
Before stepping onto the Riddler panel, slap explosive gel on all three Riddler switches. When you step on the panel, one of the switches will light up. Make sure to zoom in (click right stick) on that explosive charge so that you can detonate separately from the others. Do the same for the second and third switches when they light up.
THE BOWERY - RIDDLER TROPHY #7
This trophy is caged and surrounded by three panels. You need to get creative with your line launcher and land on the three panels without touching anything else--see the video. Make sure to drop from the line at the right time to avoid overshooting.
THE BOWERY - RIDDLER TROPHY #8
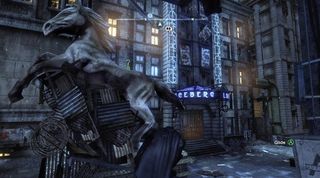
This trophy rests on the horse statue just outside the entrance to the Iceberg Lounge. Use your Batclaw to get it down.
THE BOWERY - RIDDLER TROPHY #9
This Riddler trophy is in the lower streets, very near #7. You need to do a dive bomb and pull up in order to glide over the electrified fence that stands in your way--see the video.
THE BOWERY - RIDDLER TROPHY #10
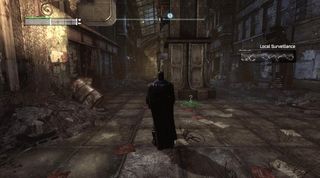
There are no traps or cages around this trophy, just look behind this support column.
THE BOWERY - RIDDLER TROPHY #11
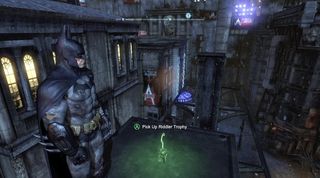
This trophy is resting atop the cable car track support column.
THE BOWERY - RIDDLER TROPHY #12
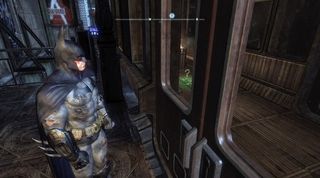
This one is inside a cable car. Hack the nearby console with your cryptographic sequencer to gain access to the trophy.
THE BOWERY - RIDDLER TROPHY #13
Stepping on the panel lights up the left Riddler switch. However, when you hit that switch, bars raise up and block you from throwing gadgets at a distance. You need to stand on the panel and use your line launcher: tight rope to get inside the cage. Once you’re in, you can throw Batarangs at both switches from your tightrope.
THE BOWERY - RIDDLER TROPHY #14

This one is out in the open, on the museum roof along the southern edge of the map.
THE BOWERY - RIDDLER TROPHY #15
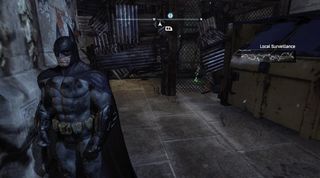
You can find this trophy at ground level. Just do a running slide under the small opening in the cage.
THE BOWERY - RIDDLER TROPHY #16
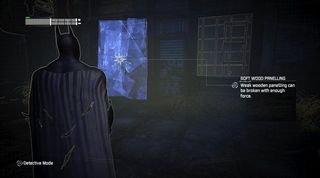
Check the lower streets, under the museum entrance. You can see a trophy through a window. Break punch through the soft wood panelling to the left of that window to gain access.
THE BOWERY - RIDDLER TROPHY #17
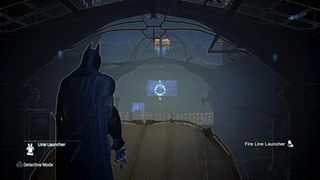
Stand on top of the entrance to the subway and face the museum. You’ll see some soft wood panelling that you can break through using your line launcher. Alternatively, you can leap from the bridge above the subway entrance and do a dive bomb glide to break in that way.
THE BOWERY - RIDDLER TROPHY #18
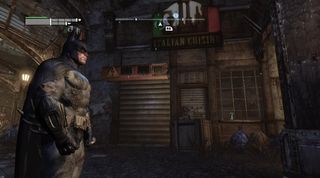
Check the lower streets for this small Italian cuisine shop. Use your remote electric charge on the door to get inside and nab the trophy.
THE BOWERY - RIDDLER TROPHY #19
This trophy is under the bridge but above the cable car tracks. There are six Riddler switches; use three quick Batarangs and then spin around and use another quick three. If you’re fast enough, the trophy cage should unlock and you can use the Batclaw to claim your prize.
THE BOWERY - RIDDLER TROPHY #20
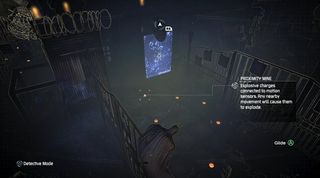
Search the lower streets for a cluster of proximity mines near a structural weakness. Use your disruptor: mine detonator to clear the area in front of the wall, then use your explosive gel to break through.
THE BOWERY - RIDDLER TROPHY #21
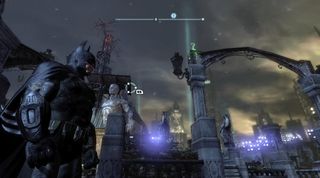
Look on top of one of the arches located on the roof of this building. Use your Batclaw to get the trophy down.
THE BOWERY - RIDDLER TROPHY #22

There’s a Riddler trophy through that window. Use your explosive gel to gain access.
THE BOWERY - RIDDLER TROPHY #23
Use your remote electric charge on the two generators to push and pull the trophy through the cage maze, stepping on the panel open the hatches when necessary.
THE BOWERY - RIDDLER TROPHY #24
The panel next to this caged Riddler trophy is one of three. The other two are on the sides of nearby buildings. Hop onto the roof of the building across from the trophy and glide into the first panel. Press A/Cross to bounce off the wall and glide into the second panel. Repeat, only this time land on the panel next to the cage.
THE BOWERY - RIDDLER TROPHY #25
This trophy is on the roof, near a switch that is completely caged in. Throw a Remote Batarang through the nearby open duct. Once you’ve exited the other side, turn around to find a second duct adjacent to the first. Navigate through this one to get to the switch. Make sure to use the brakes!
THE BOWERY - RIDDLER TROPHY #26
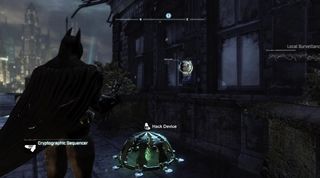
Simply use your cryptographic sequencer on the console to unlock the cage.
THE BOWERY - RIDDLER TROPHY #27
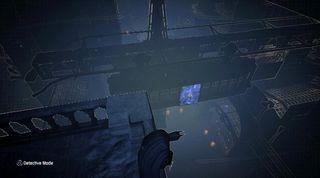
This cable car has weak wood panelling on one side. Simply glide into it from any high roof.
THE BOWERY - RIDDLER TROPHY #28
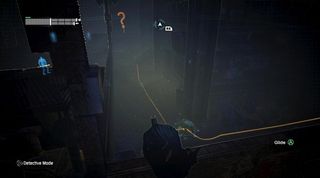
If you switch on detective mode you’ll notice there are two wires running from the trophy cage to two separate switches. Plant explosive gel on the one pictured above, then run over to the other switch. Detonate the gel, then use your Batarang on the other switch.
THE BOWERY - RIDDLER TROPHY #29
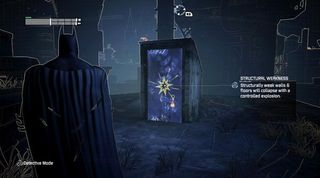
Use your explosive gel on the structural weakness. Simple stuff.
THE BOWERY - RIDDLER TROPHY #30
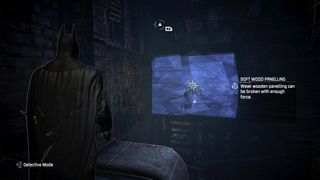
There is some soft wood panelling on the side of this building. Simply glide through it and grab the trophy on the other side.
THE BOWERY - RIDDLER TROPHY #31
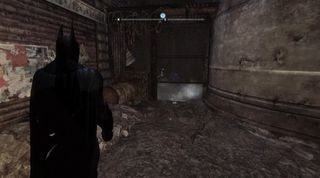
Use your freeze blast to stop the steam, then do a running slide under the fence.
THE BOWERY - RIDDLER TROPHY #32
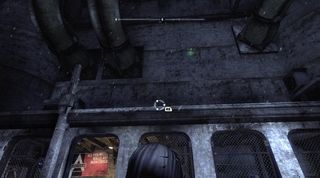
There’s a trophy up on the wall here. Use your Batclaw to get it down.
THE BOWERY - RIDDLER TROPHY #33
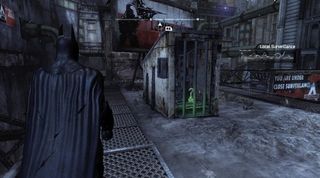
Use your cryptographic sequencer to lower the bars blocking this rooftop doorway.
THE BOWERY - RIDDLER TROPHY #34
There are three panels attached to this trophy cage. The first is on a roof to the south. Jump from that first panel down to the second, and then use your line launcher to reach the final panel.
THE BOWERY - RIDDLER TROPHY #35 (Processing Centre)
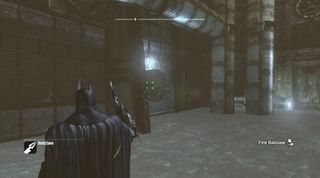
Use your freeze blast to create an ice raft at the pool, which is at the very bottom of the area. From your raft, use your batclaw to open the rusty hatch.
THE BOWERY - RIDDLER TROPHY #36 (Processing Centre)
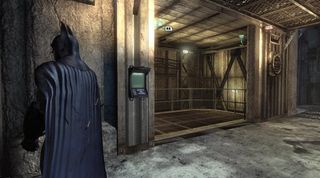
Inside the elevator on the ceiling. Hack the console on the left to open the doors. Use your batclaw to get it down.
THE BOWERY - RIDDLER TROPHY #37 (Processing Centre)
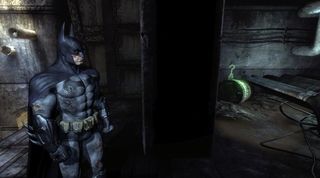
Destroy the structural weakness above the door at this location using your explosive gel.
THE BOWERY - RIDDLER TROPHY #38 (Processing Centre)
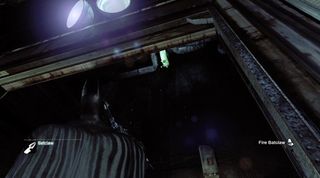
Enter the torture chamber and break the mirror. Look straight up at the ceiling. Use your batclaw to get the trophy down.
THE BOWERY - RIDDLER TROPHY #39 (Processing Centre)

Behind the heavy metal TYGER security doors. Use your cryptographic sequencer to hack the console on the left and open the door. Once inside, use your batclaw to get the trophy down from the ceiling.
The Bowery:
- Riddler trophies
- Catwoman Riddler trophies
- Riddle solutions
Jump to Section:
- Park Row
- Amusement Mile
- Industrial District
- Subway
- Steel Mill
- Museum
- Wonder City
- Physical Challenges
Current page: The Bowery Riddler Trophies
Prev Page Park Row Riddle Solutions Next Page The Bowery Catwoman TrophiesSign up to the GamesRadar+ Newsletter
Weekly digests, tales from the communities you love, and more
