All God of War artefacts and their locations
Where to find all God of War Artefacts for the Curator trophy
God of War artefacts are sets of collectibles, so don't be lured into a false sense of security by the seven names listed as each has a number of items to be found. There's plenty of exploring to be done and puzzles to be solved along the way, but it's definitely worth your while to track them down in God of War as a completed set of artefacts can be sold for a decent chunk of Hacksilver. As an added incentive for the completionists out there, if you dig deep through the whole game and uncover every artefact then the Curator trophy will be yours. So whether you're aiming for 100% completion or just want some extra coin for upgrades, these God of War artefacts locations will help you with your goal.
Check out our God of War artefact guide in the video below:
Lost and Found
LOCATION: Wildwoods
Around your home in the Wildwoods are four lost toys, which make up the Lost and Found artefact set. Hope they aren’t Atreus’ old toys.
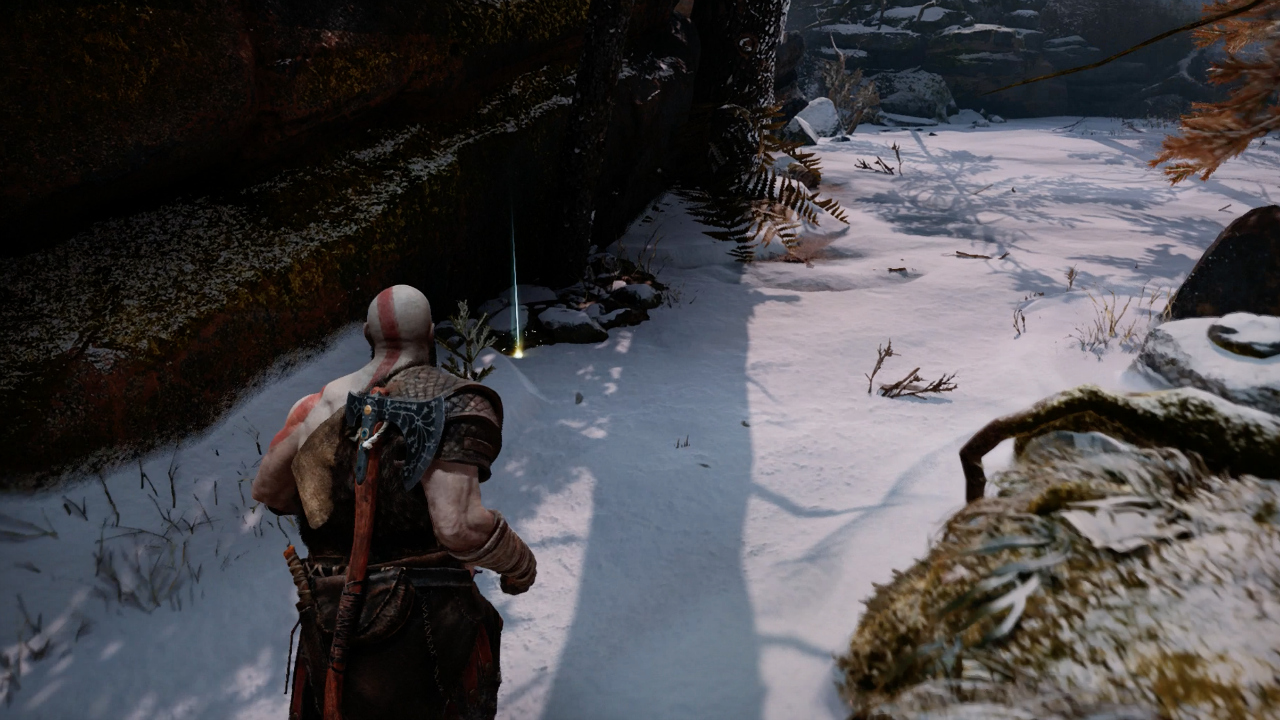
1. There’s one Lost Toy lying on the floor in the same clearing as your home, but on the opposite side.
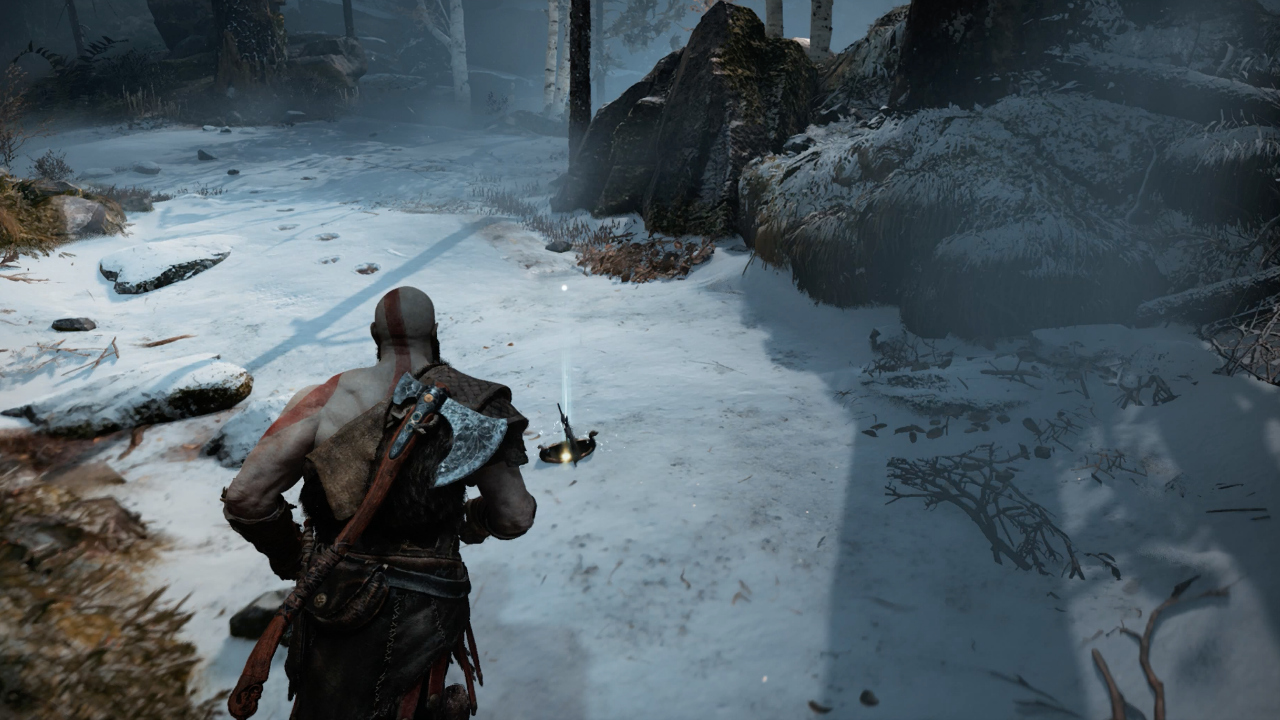
2. In the second clearing after you leave home, don’t go straight across the bridge. Instead go down the right hand side and underneath, and you’ll find a Lost Toy on the other side.
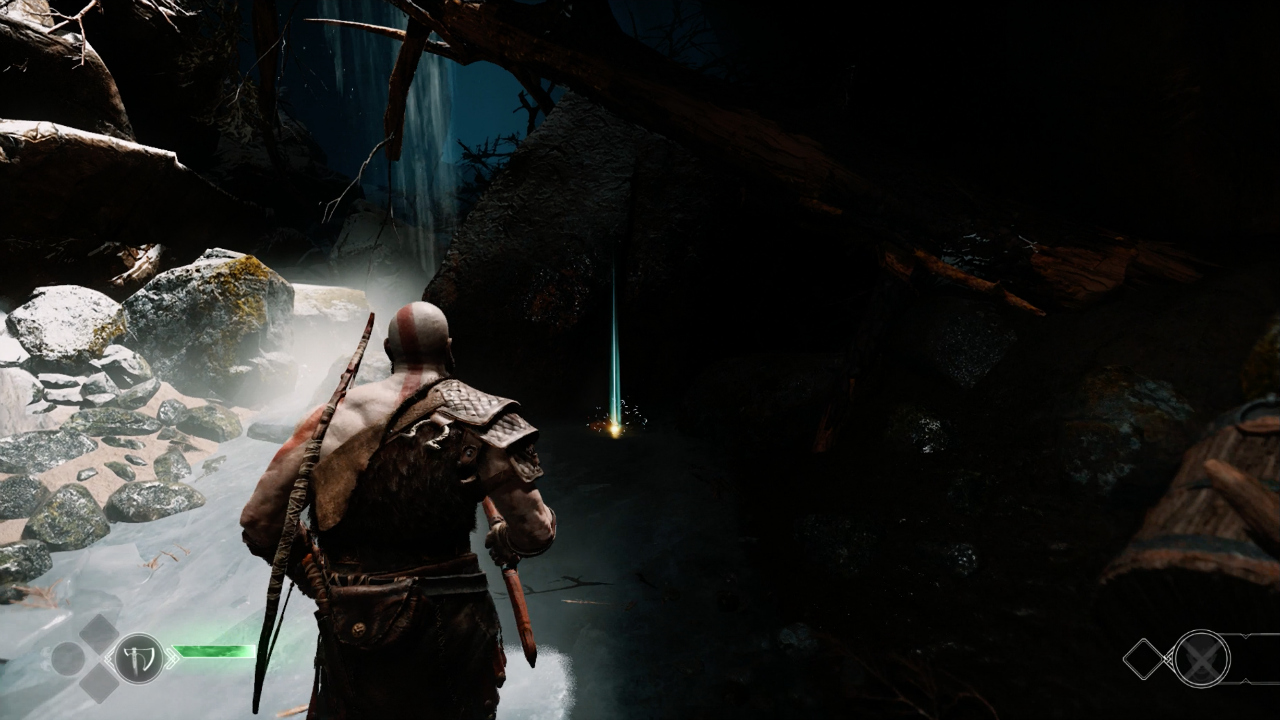
3. When you reach the circular stone structure in the Wild Woods, take the path to the right and keep left as you see the small, grassy platforms. Continue down here and go down the chain. Defeat the wolves, collect the loot and then you’ll find a Lost Toy on your right as you head back towards the chain.
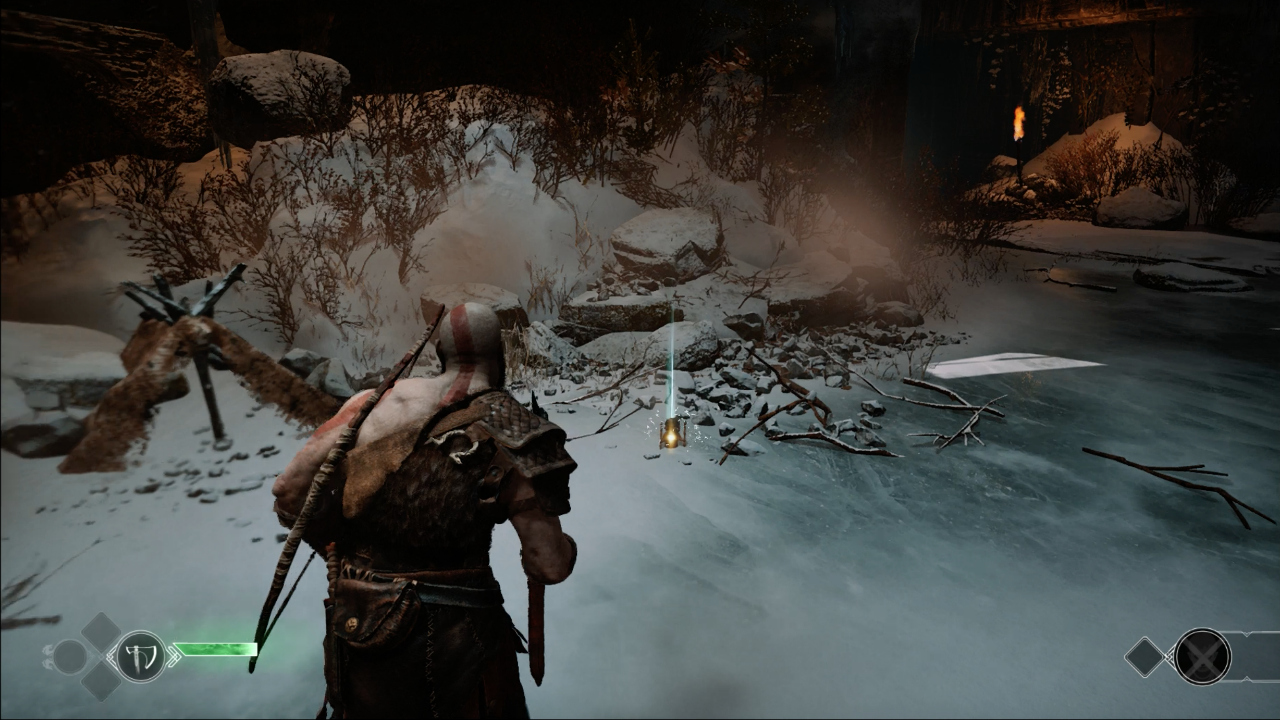
4. In the area where you do your first frozen cog door puzzle, there’s a huge door on the opposite one to the gate you need to pass through for the story. Head through here, kill some more wolves, and there’s a Lost Toy on the ground in the top right corner.
Faces of Magic
LOCATION: The River Pass
In the vast area of The River Pass there are nine masks to find that make up the Faces of Magic artefact set.
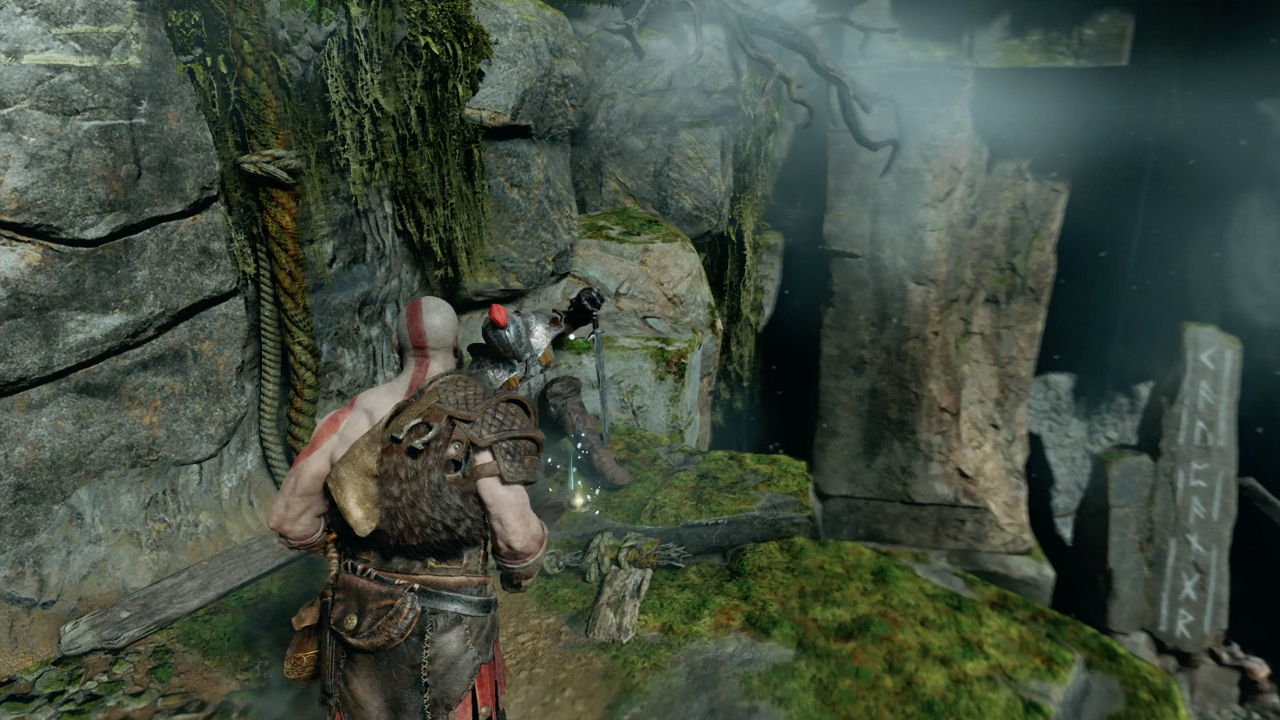
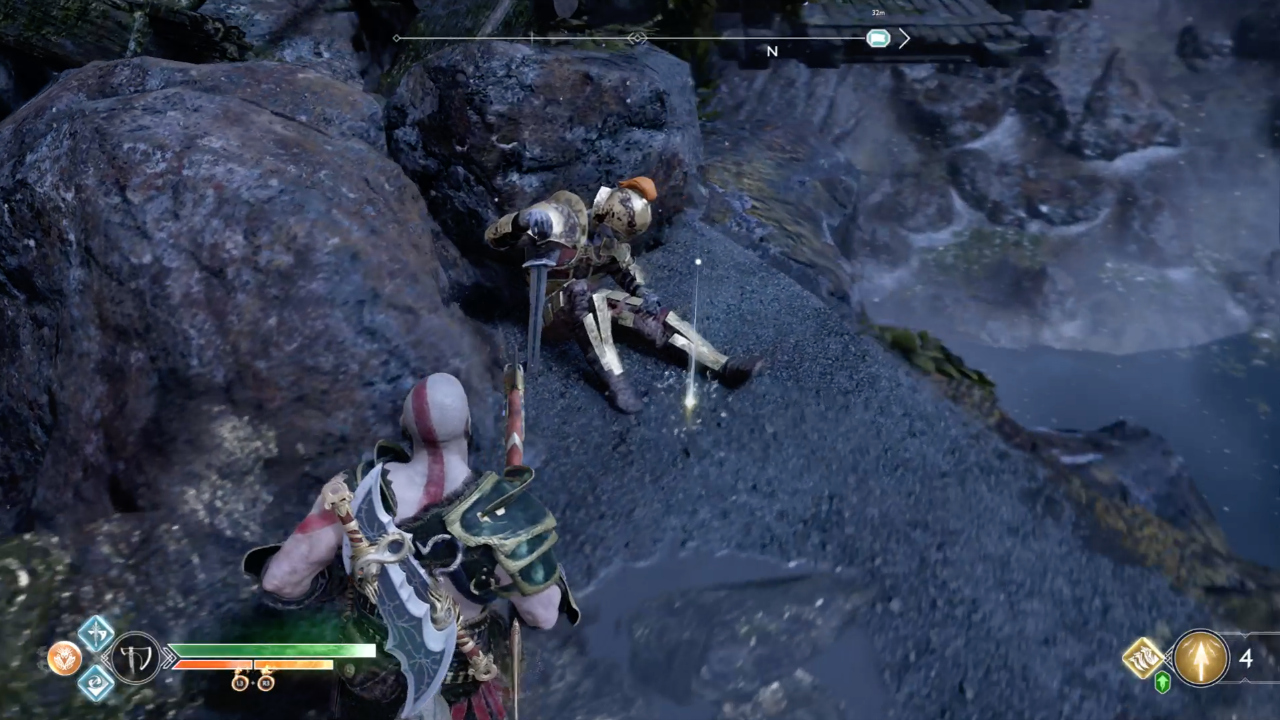
1. Head down the chain next to the Wildwood’s Edge Mystic Gateway. Follow the corridor along and pick up the first mask next to the downed knight.
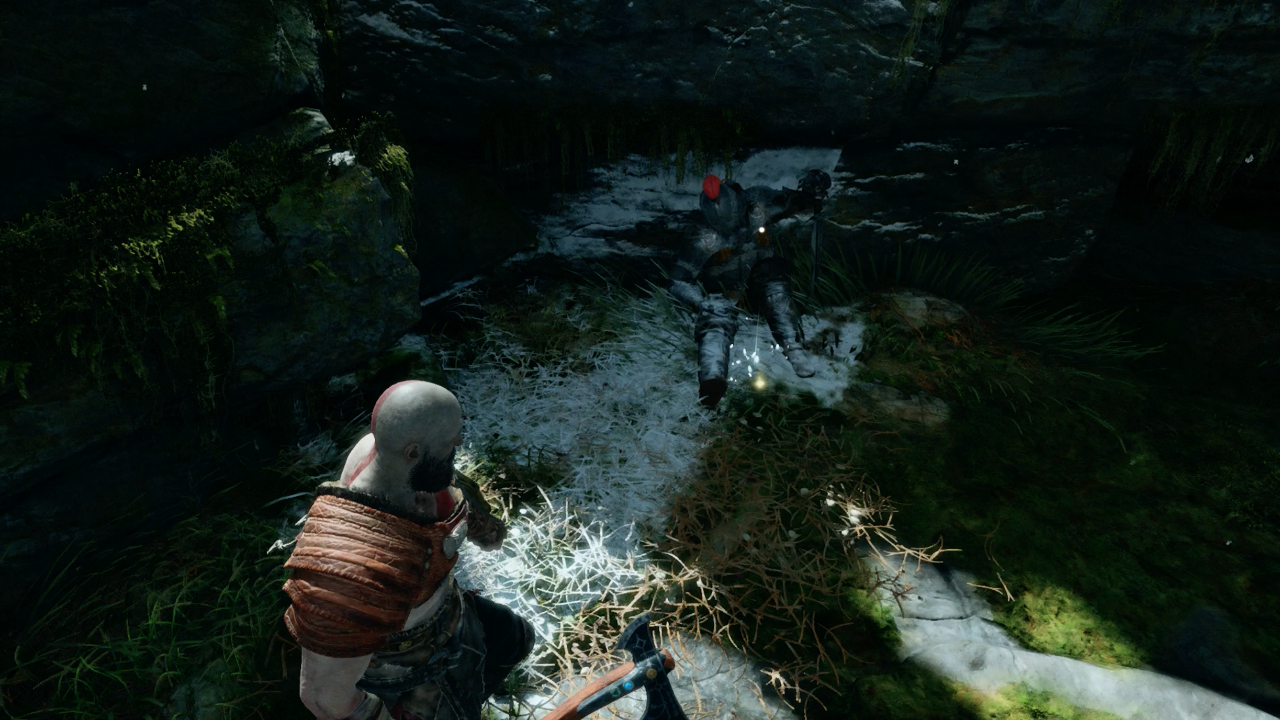
2. From Brok’s shop, head over to the right and drop down onto the platform with another dead soldier to find another Face of Magic.
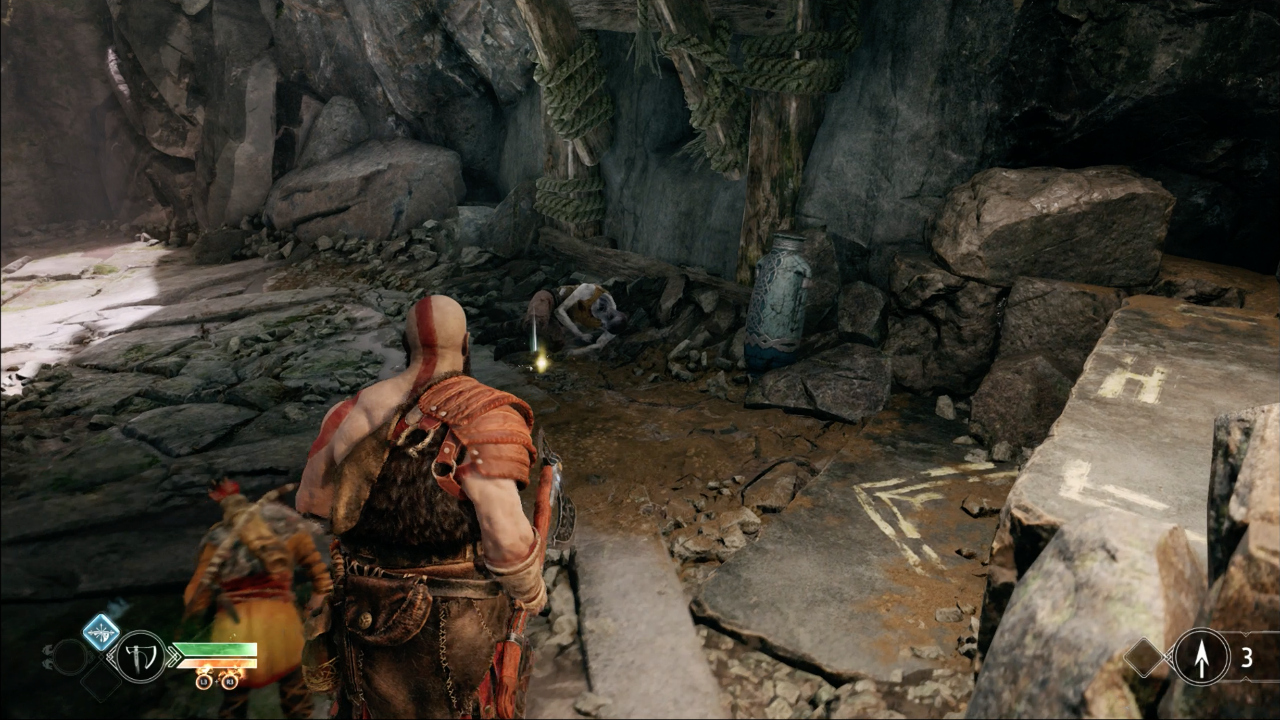
3. After the big spike puzzle, open the door that lets you out and clamber up the platform. Just to the right is the third scary mask.
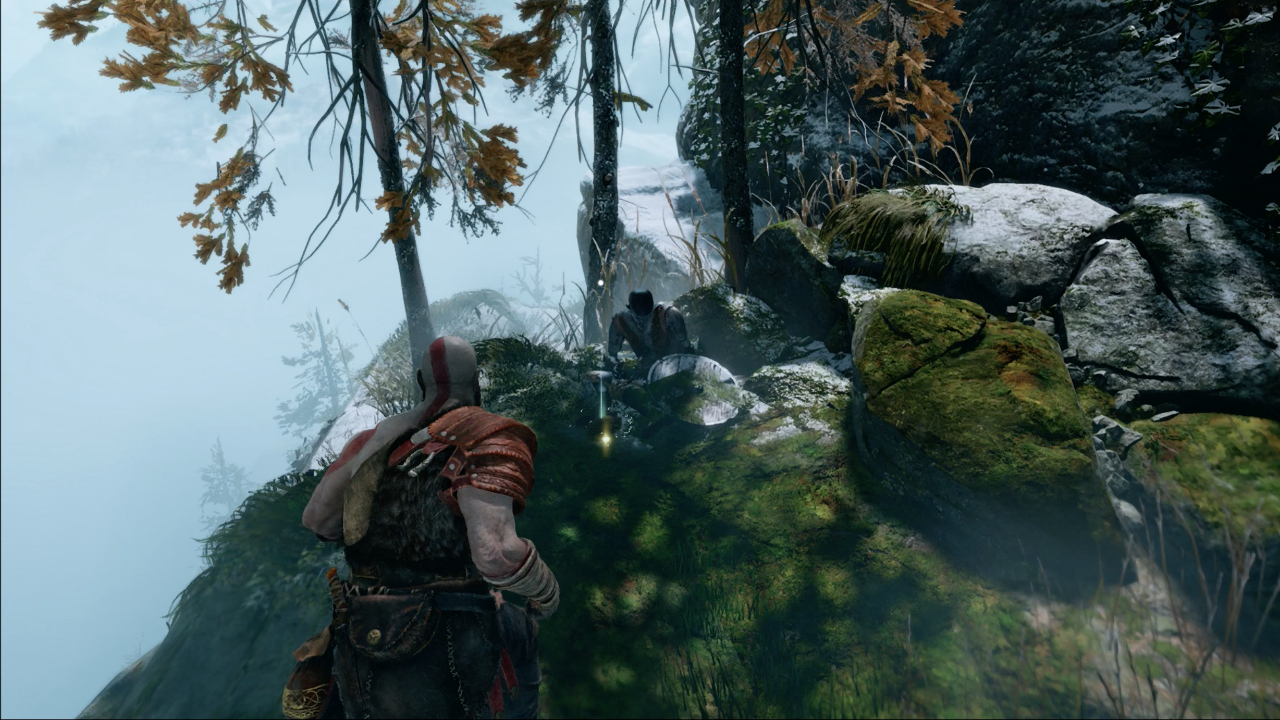
4. After you step into the fresh snowy air of the area outside the spike trap, head along the cliff edge and to the left, where there’s another soldier grasping a mask with his cold dead hands.
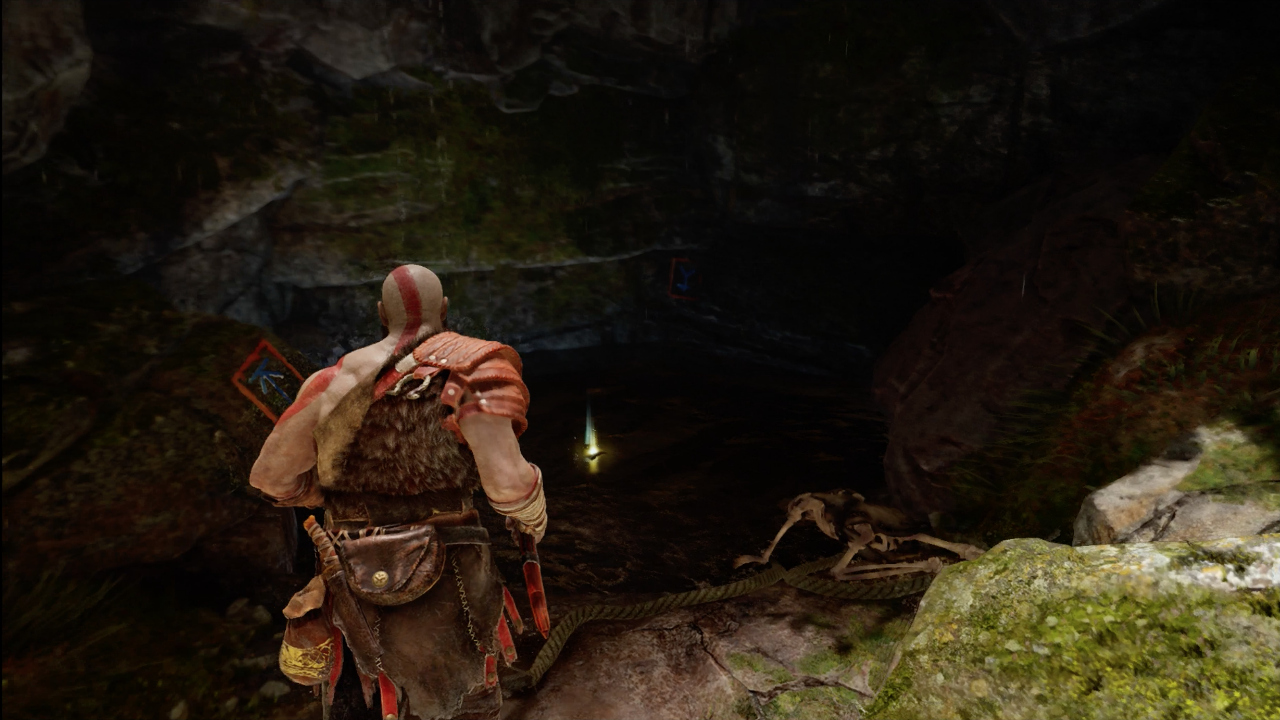
5. Inside the caves leading away from the area where you fight the second troll, there’s a small raised platform off to the left covered in runes. Climb all the way up and there you’ll find the mask.
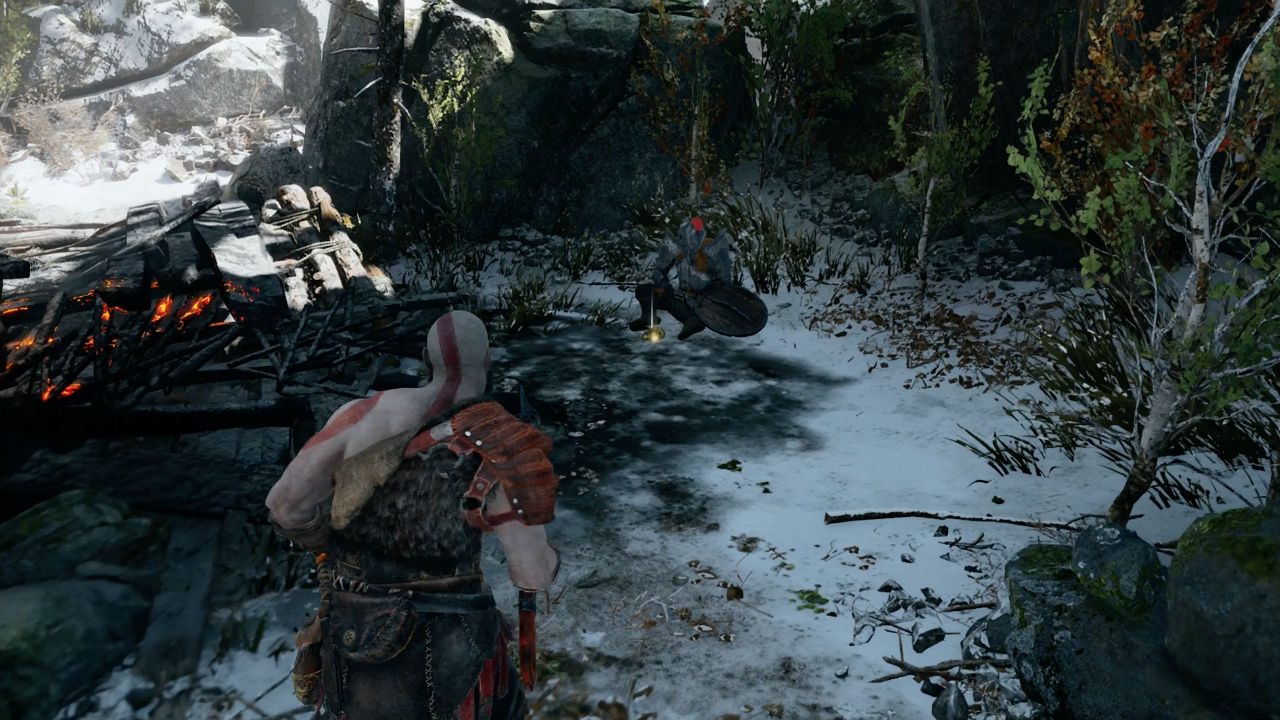
6. In the burnt out village, head over to the second to last hut - the one that falls down if you hit it - and go around behind it to find the mask.
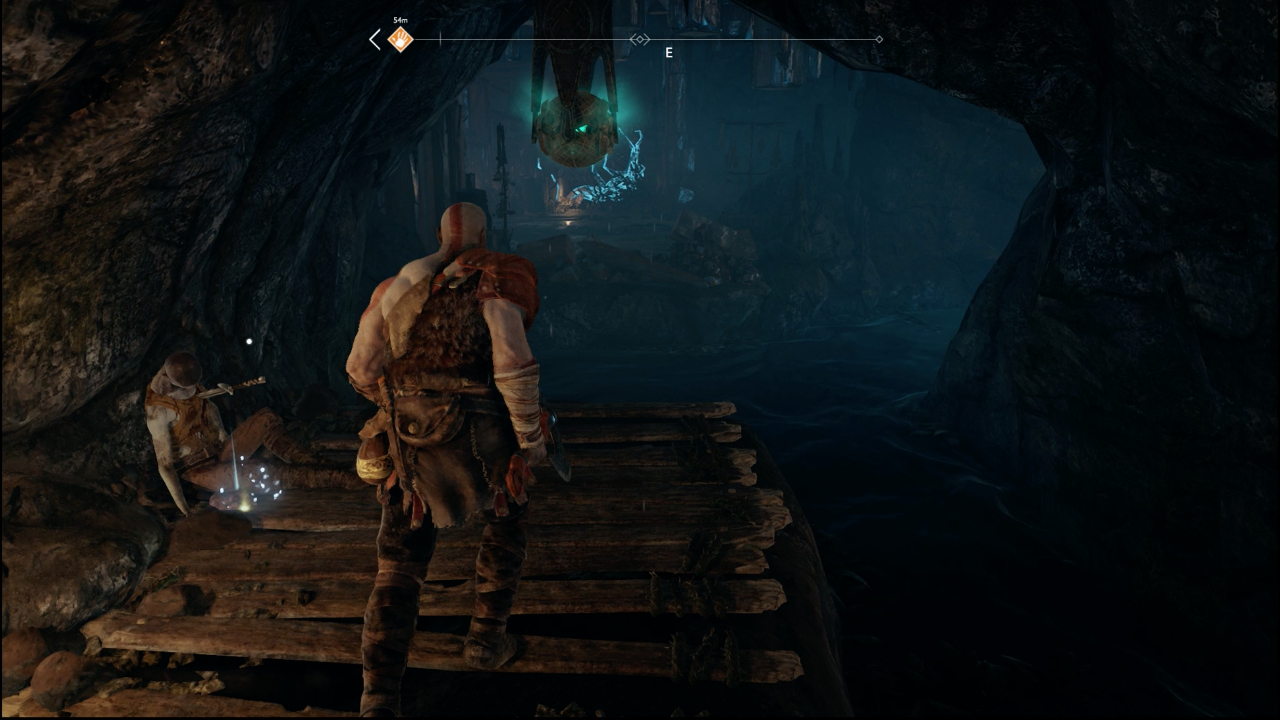
7. Take the giant block that’s down on in the Lower Witch’s Caverns and push it forward until it falls in the water. Use it to reach the platform where there’s a soldier guarding a mask.
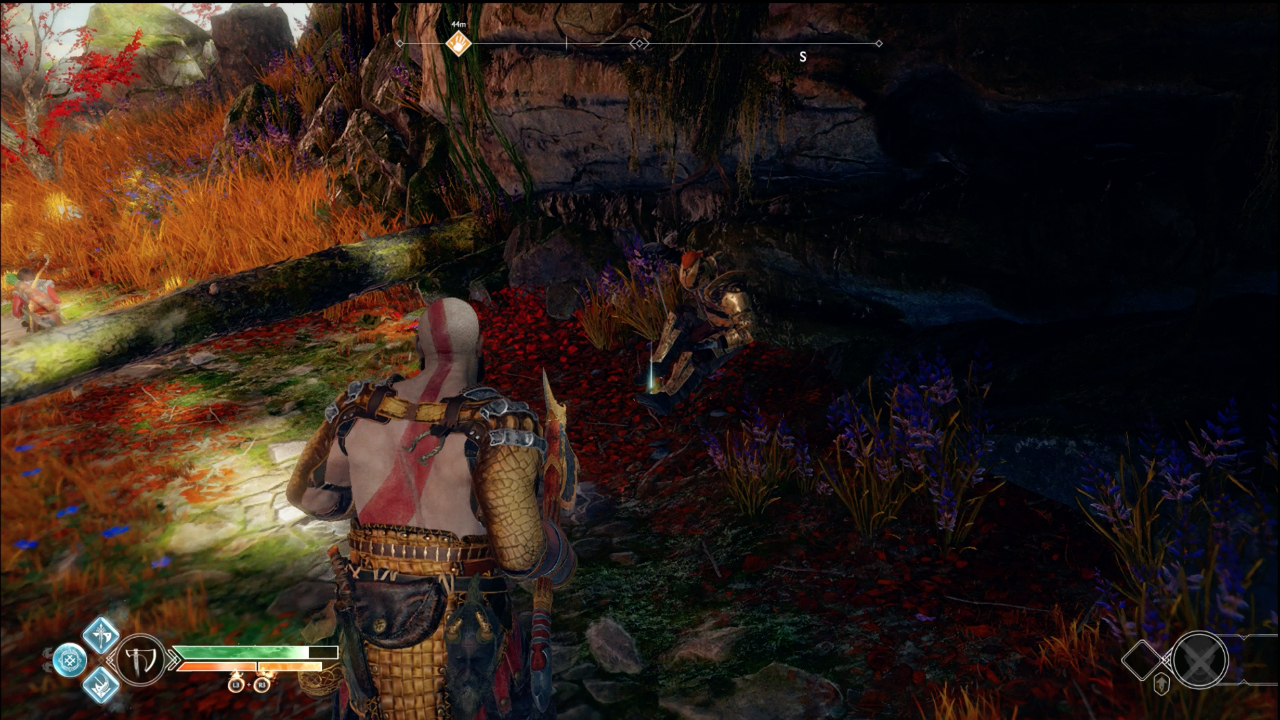
8. Down the slope from the well that leads from the Lower Witch’s Caverns to the Witch’s Woods, there’s another dead soldier with a mask you can nab.
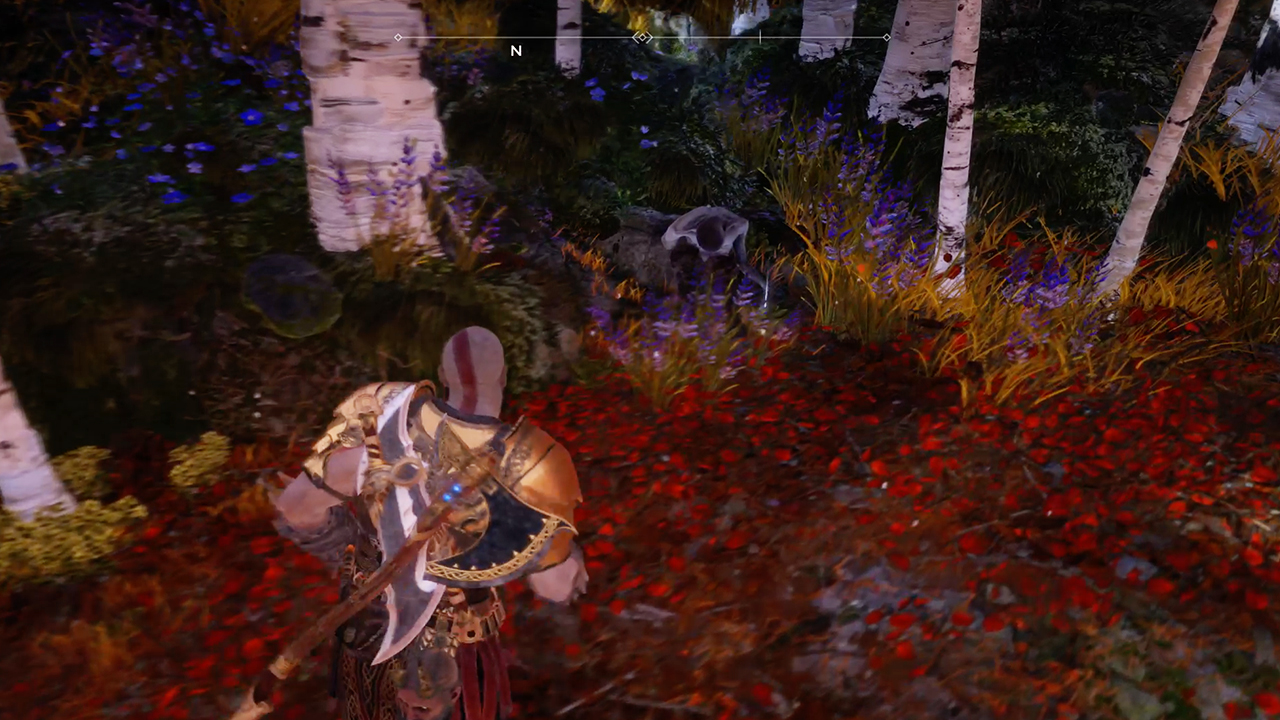
9. There's a second Faces of Magic in the Witch's Woods, but it's incredibly easy to miss unless you get yourself in the right position. Head up the chain to the platform with the Nornir chest on it. Go right up to the wall of trees in front of you and move your way slowly to the right, eventually you'll spot a downed soldier, and if you move slowly the prompt to collect the mask will appear.
Abandon Ship
LOCATION: Lake of Nine
Dotted around the Lake of Nine are nine beautiful figureheads that make up the Abandon Ship artefact set.
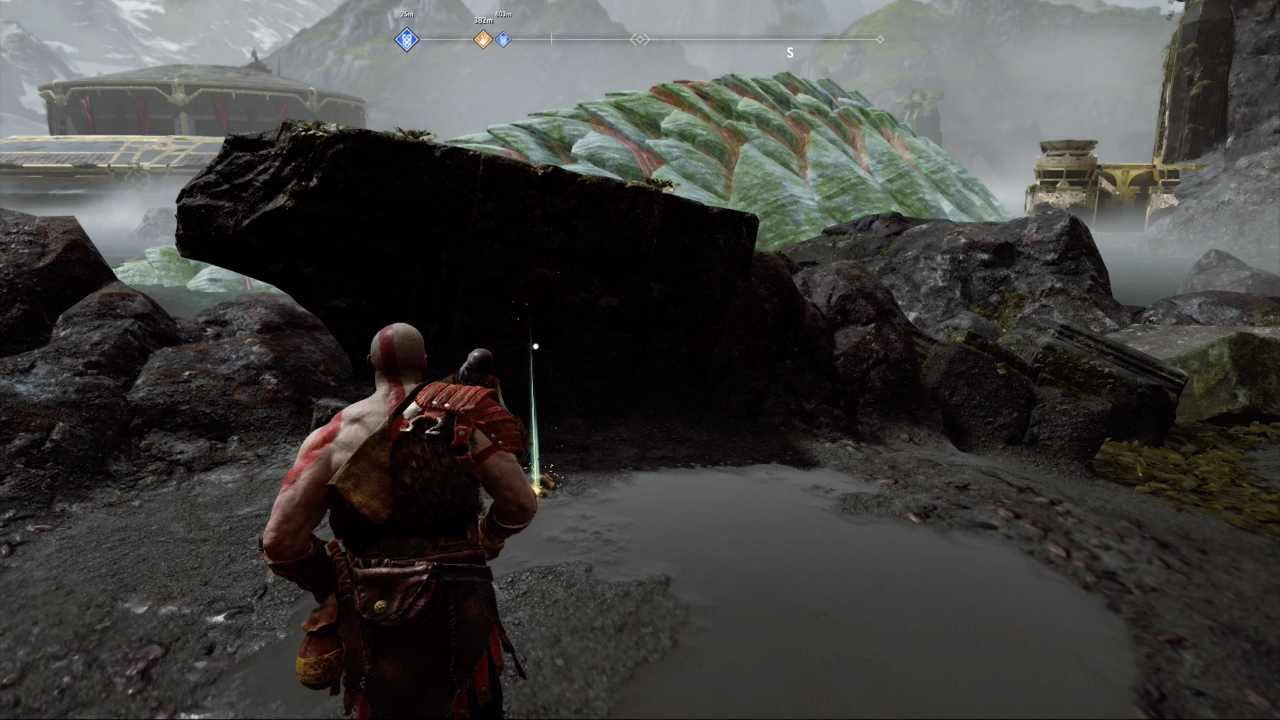
1. Over at the Forgotten Caverns, there’s a figurehead up on the higher platform that you access from the gold chain near the boat dock. It’s nestled in the rocks on the side opposite the chest with the spooky face on.
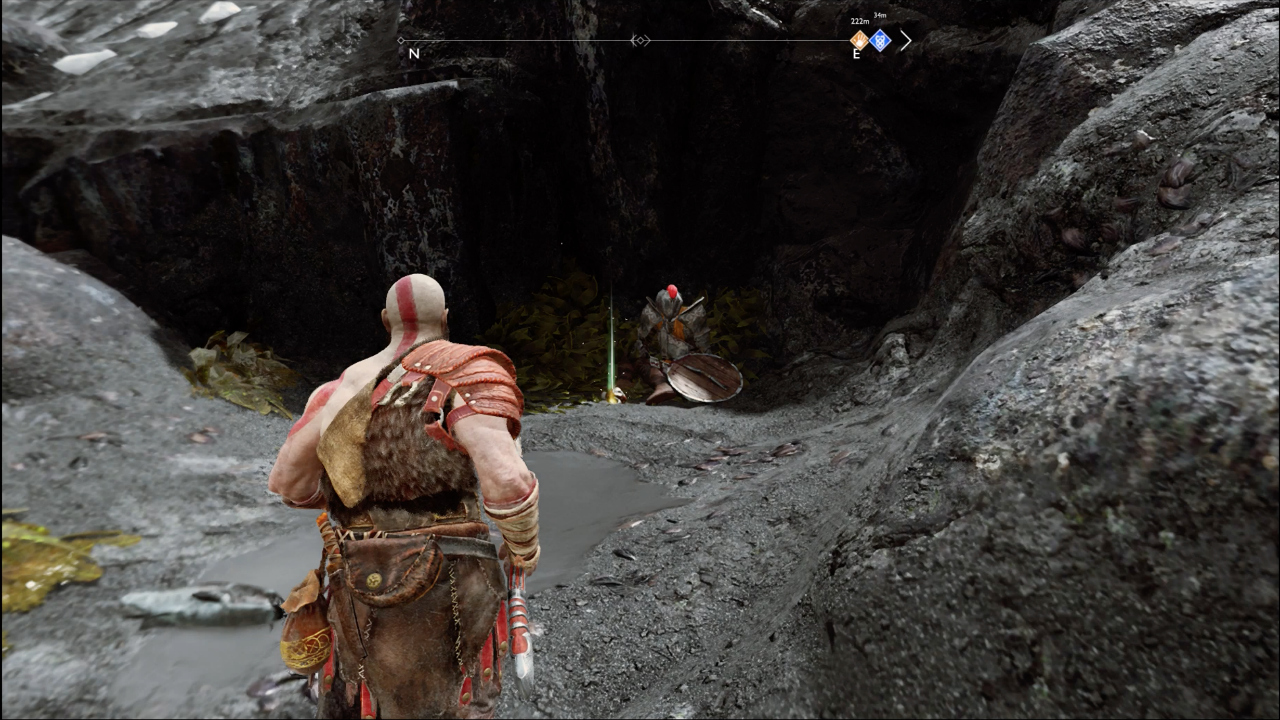
2. On the Cliffs of Raven, head for the chain by the dead giant. Up on that platform, next to the sipher chest, is another Abandon Ship figurehead next to the skeleton with the shield.
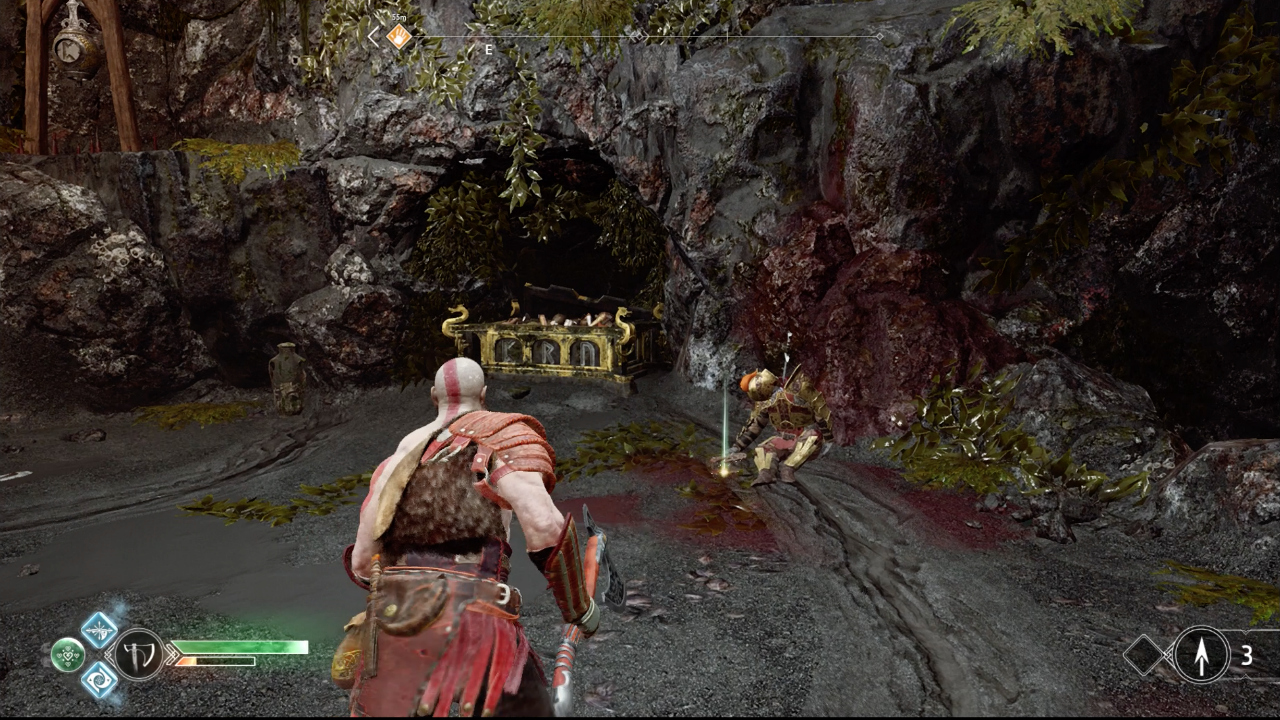
3. The Lookout Tower is home to another figurehead that’s handily trapped by some spikes. Use the wooden spinner above the Nornir chest on the beach to retract the spikes, and then claim your prize.
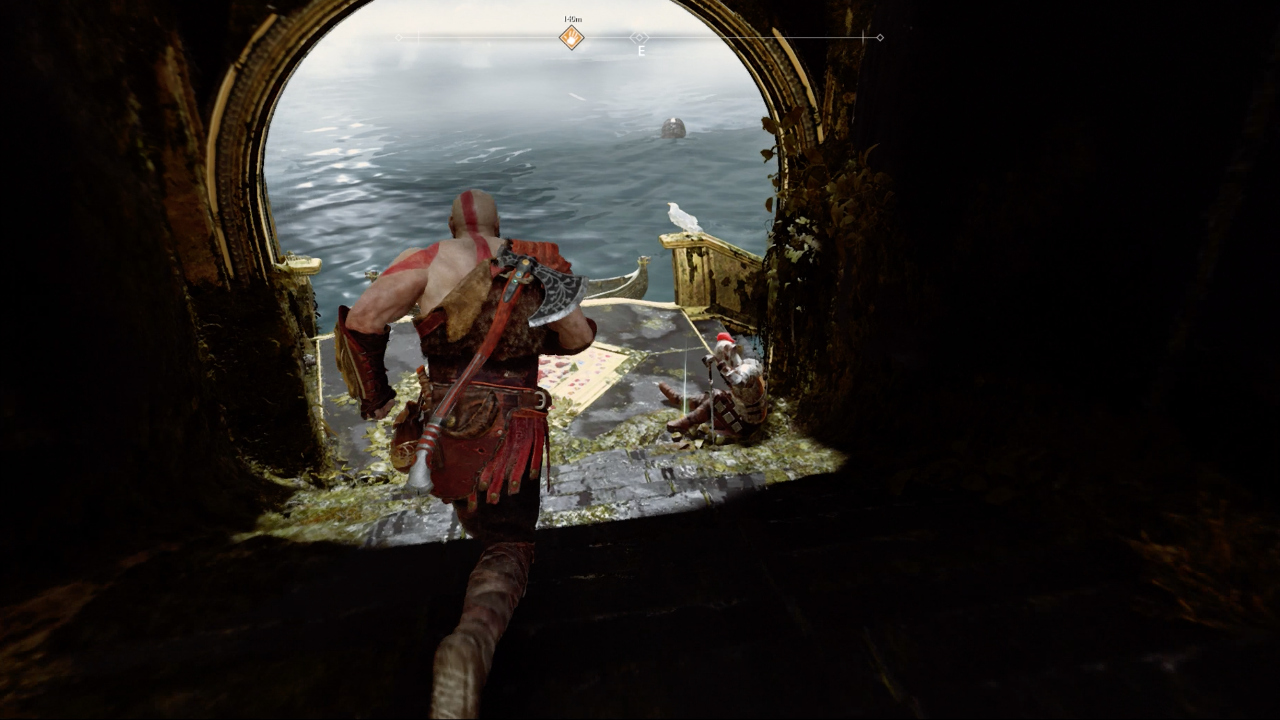
4. On the main bridge from Tyr’s Temple, head down the stairs to the left. There’s a dead soldier clutching a figurehead
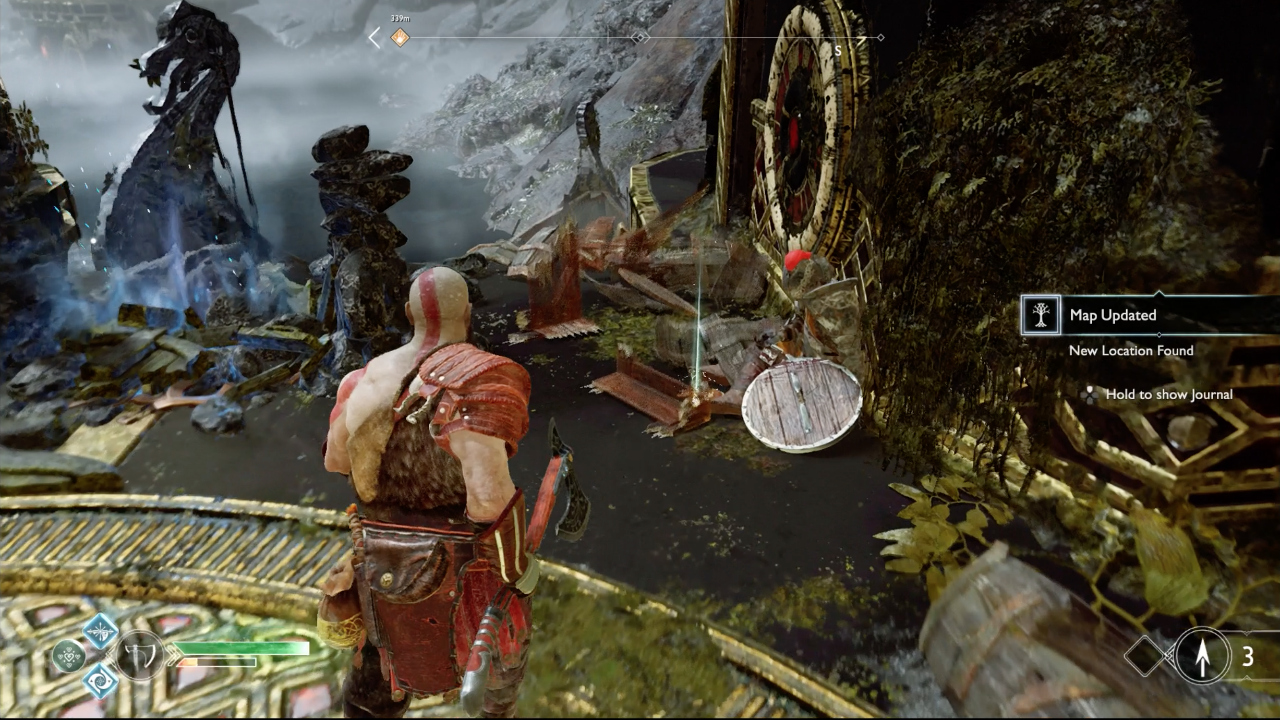
5. Head over to the dock at the Niflheim realm tower and go up the lift. There’s another figurehead lurking amongst the barrels next to a dead body to the left of the big door.
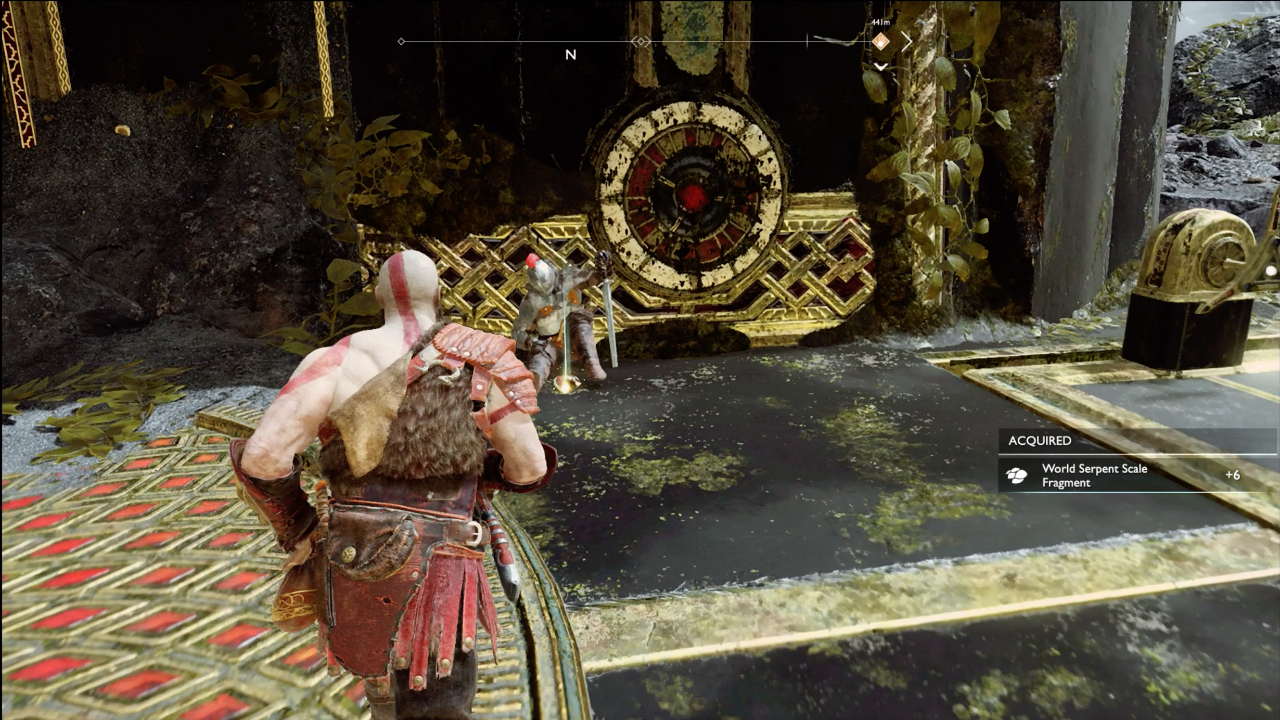
6. At the top of the Helheim tower there’s another Abandon Ship artefact, next to the dead soldier to the right of the giant door. You might just have to kill a few things before you can pick it up though.
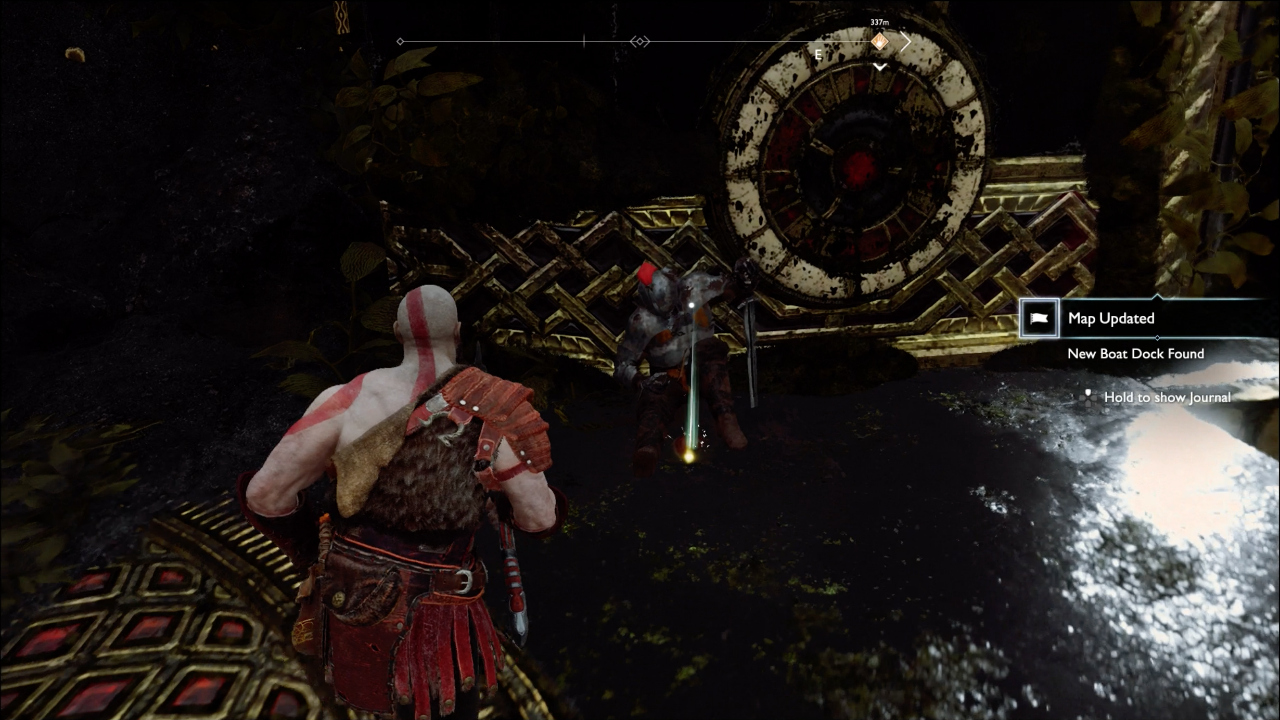
7. At the top of the Alfheim realm tower there’s a Mystic Gateway outside the main door, and just to the right of that there’s another dead chap with a figurehead.
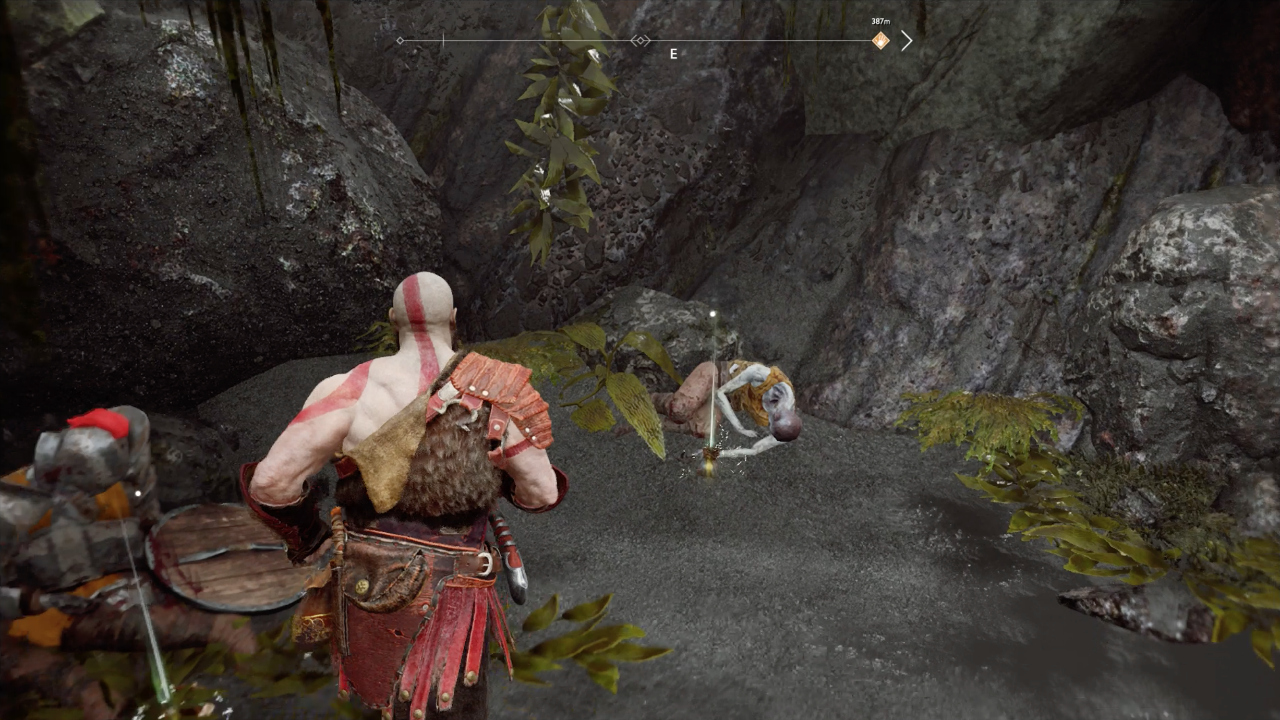
8. At the Stone Falls, there’s another figurehead by a dead guy lying at the very top on the left of the red chest. But there might be some witches there that try to stop you.

9. On the Isle of Death, climb all the way to the top area with the shipwreck. To the left of this area, there’s a pile of rocks. Use your axe to explode the red cask hidden among them to reveal the location of the figurehead beyond.
Horns of Veithurgard
LOCATION: Veithurgard
In the area of Veithurgard, to the east of the Lake of Nine, there are six elaborately decorated horns hidden away for you to find.
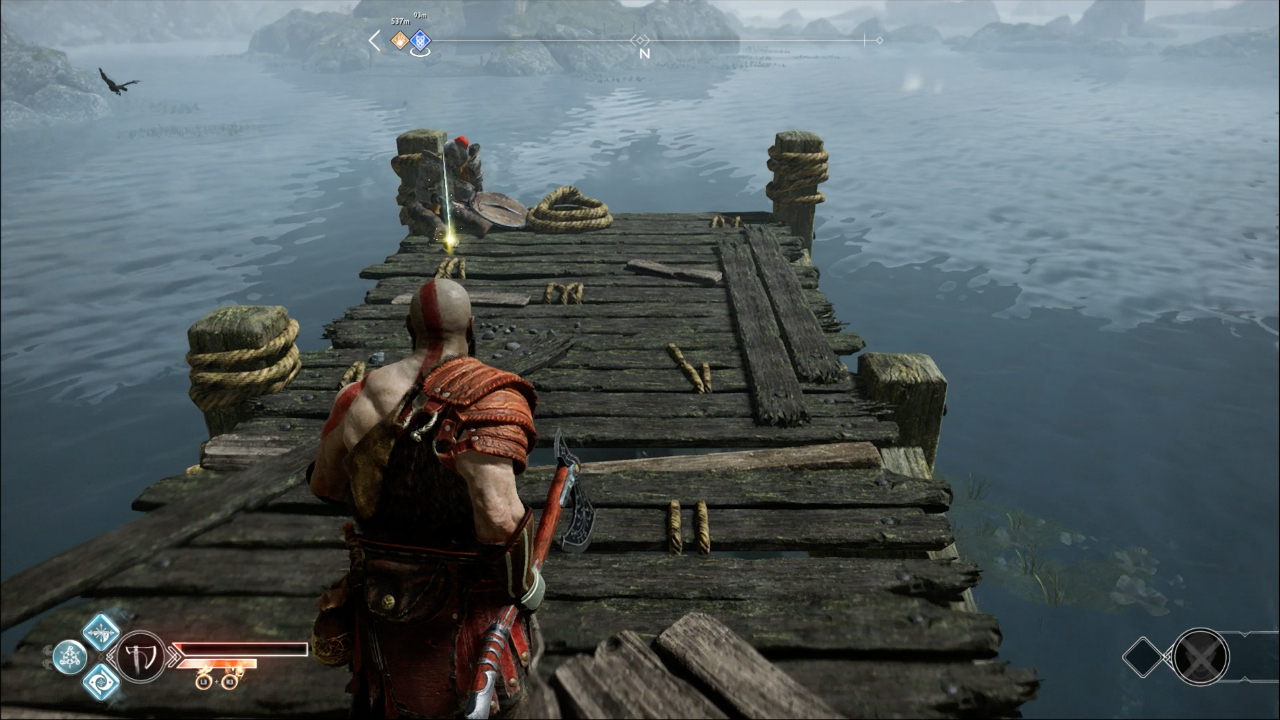
1. At the end of the pier right by the Veithurgard Mystic Gateway, there’s a horn sitting next to the dead body there.
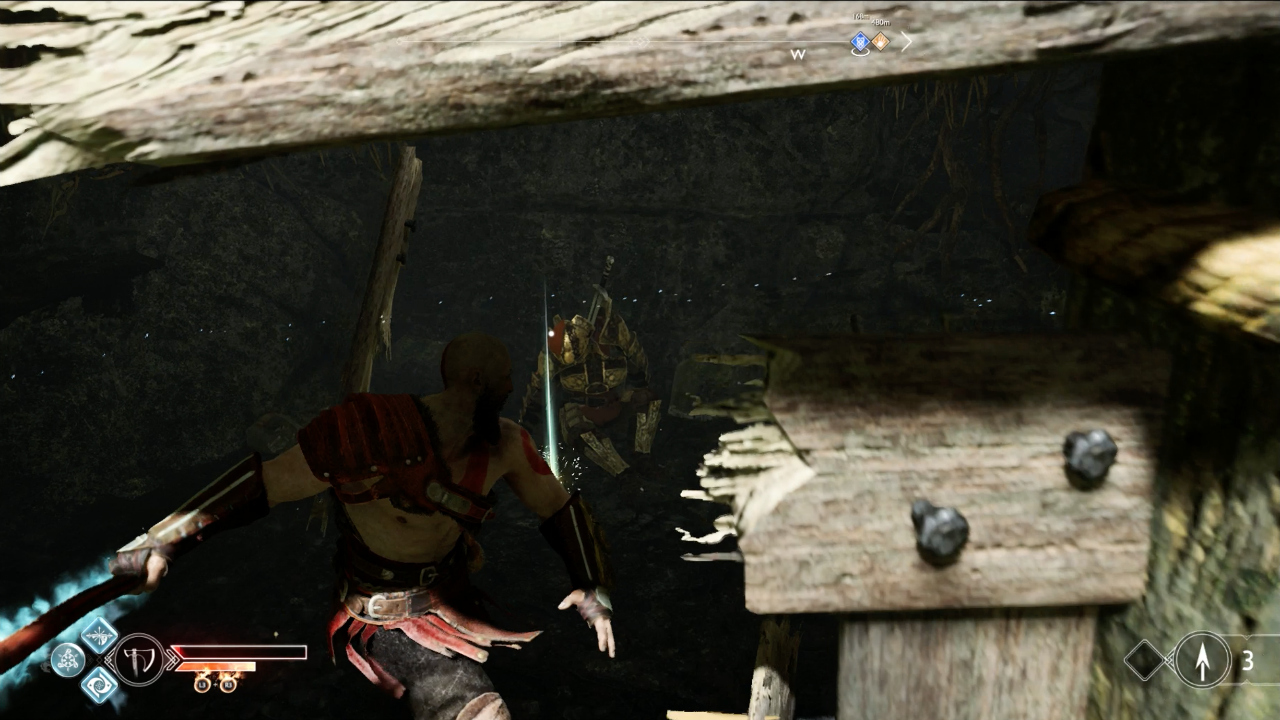
2. From the Veithurgard dock, head over to the right and use the door chain to fully open and lock the mechanism. This opens the gate around the other side. Go through here, and climb up the wall. Go along the path at the top, and then drop down again. Here you’ll see a small breakable fence. Behind that is a horn next to the body.

3. Near the dragon’s tether in Veithurgard, there’s a small wooden jetty by a waterfall with a soldier on it. Yes, you’ve guessed it, and another horn.
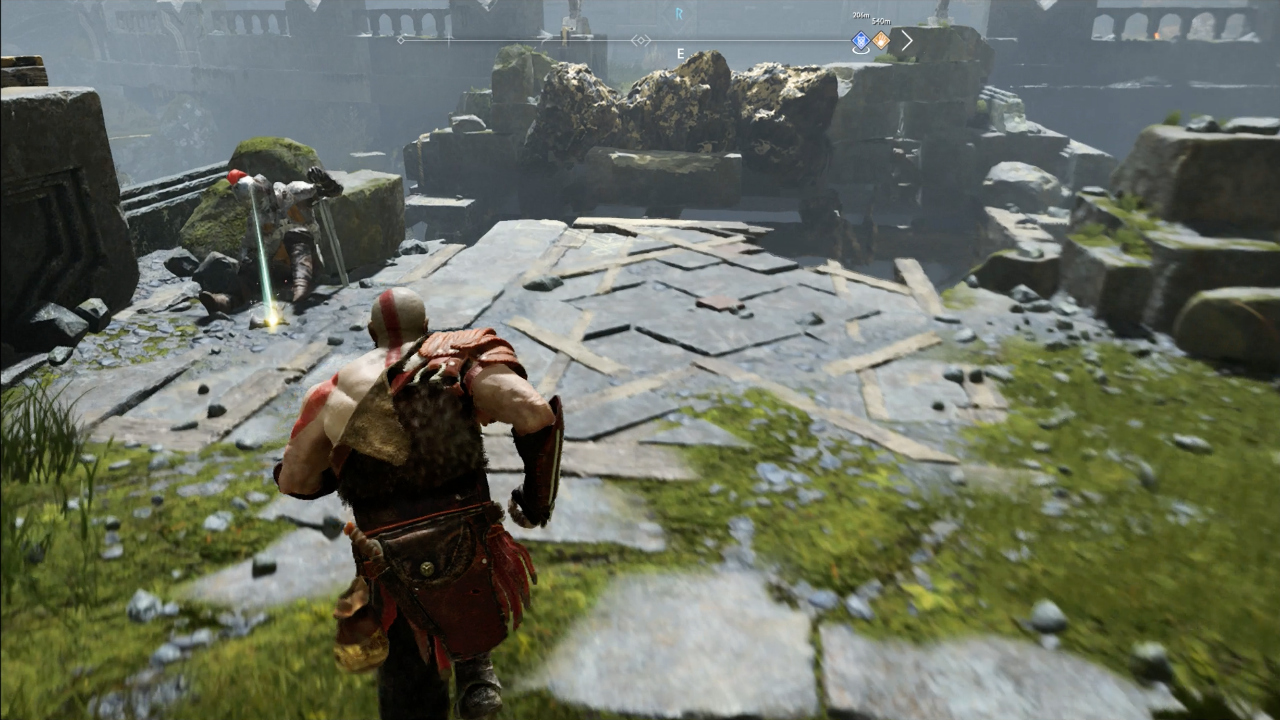
4. On the dragon side of the broken bridge in the centre of Veithurgard is another dead soldier with yet another horn.
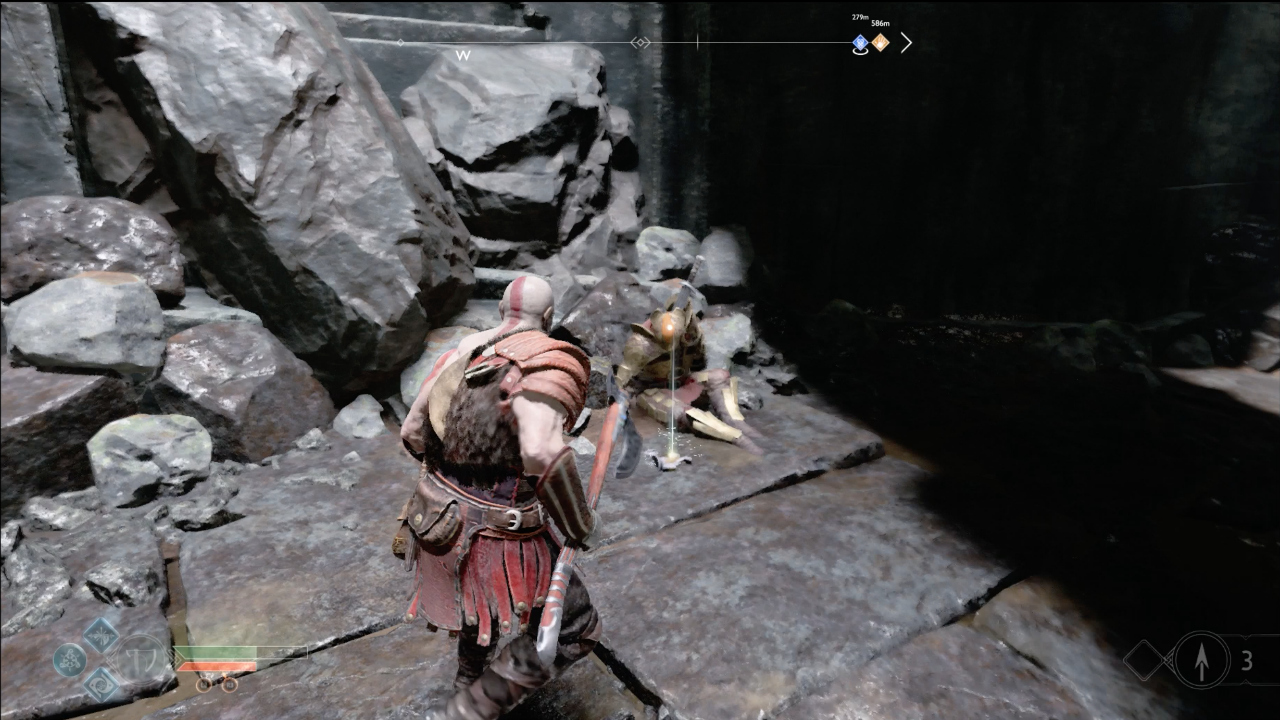
5. Inside the Veithurgard fortress, go through the door on the right. Drop down to the platform below and there’s the soldier you’re looking for right in front of you with the prize horn.
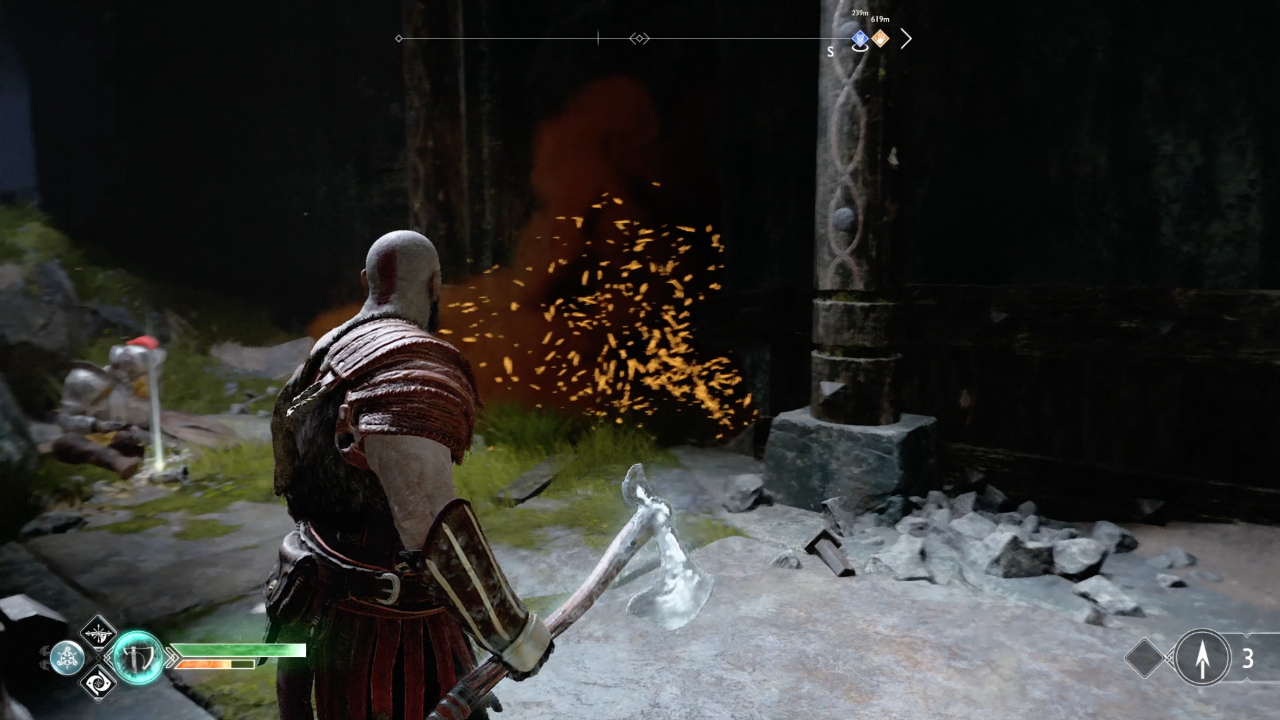
6. Up in the passage behind the shrine in the Veithurgard fortress is another horn laying by yet another dead soldier. What the heck happened here?
Spoils of War
LOCATION: Alfheim
Over in the realm of Alfheim, there are six abandoned relics that make up the Spoils of War artefact set.
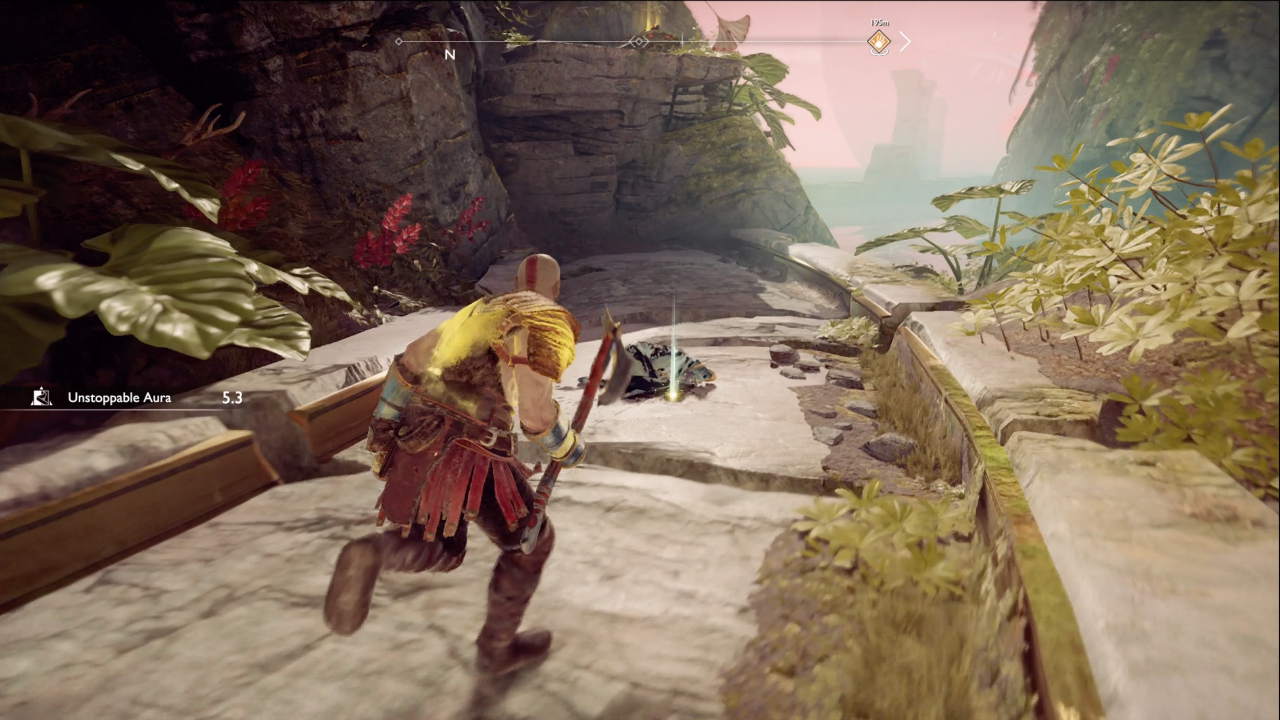
1. From the boat dock at the south west of the Lake of Light, head right and over to the stone pathway before the cave. There’s a relic there next to the body of an elf.
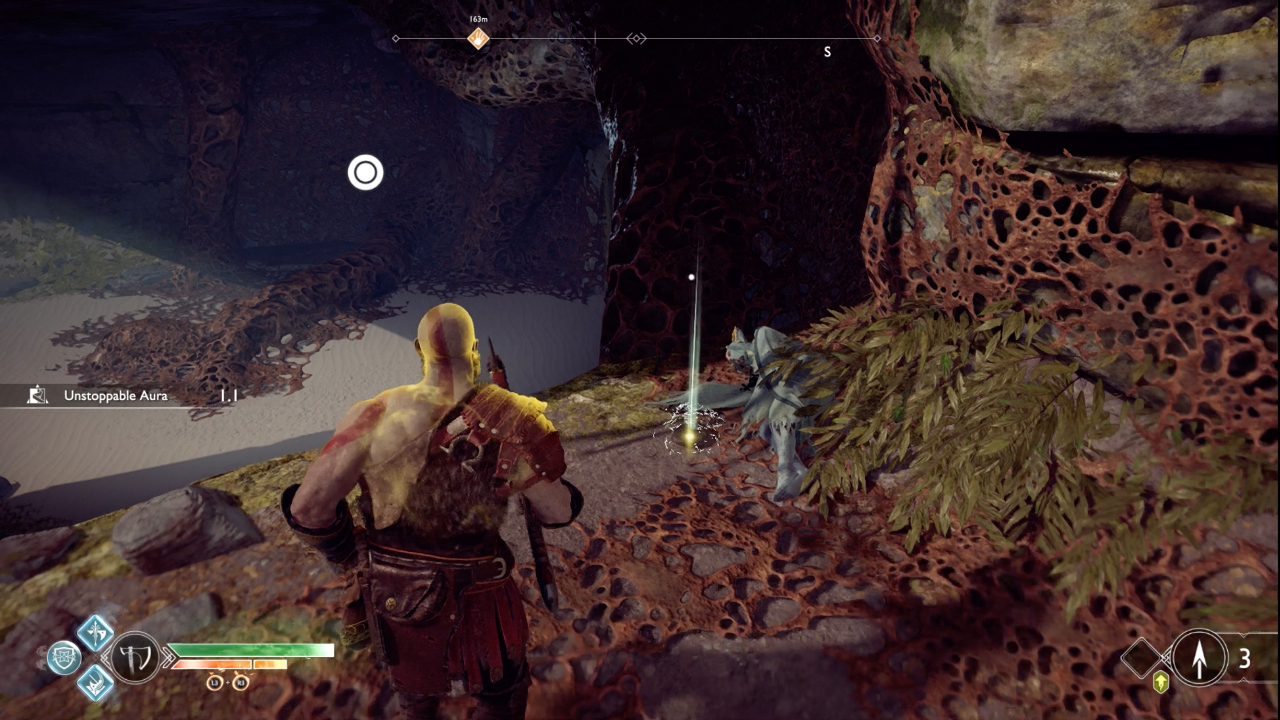
2. Over at the Light Elf Sanctuary, make your way up to the area that has (or did have) the realm tear. From the boat dock, go through the two timed gates up to the right, and then keep following the path round to the right, across the vine bridge. Here there’s a fallen elf still guarding a relic.
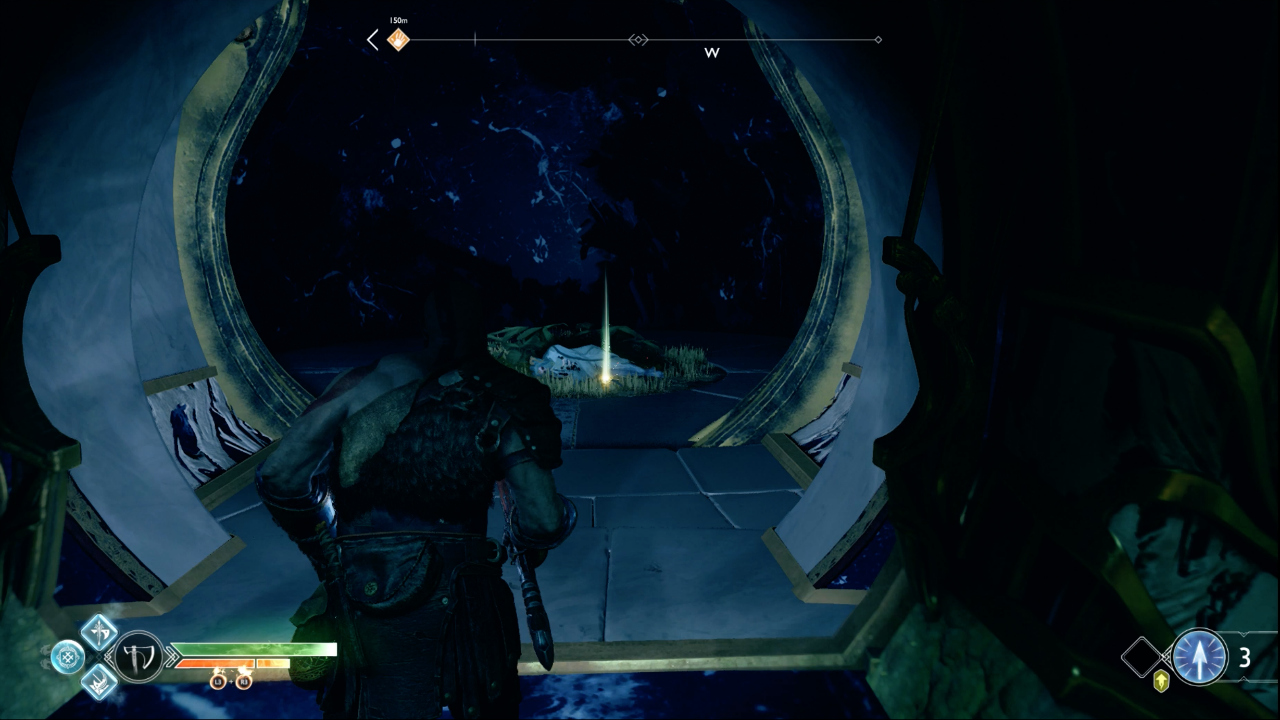
3. Take the lift down from the Light Temple to the lower levels. Down here in the darkness, find the room off the lift station that has a fallen elf lying on its side. Just in front of it is another relic.
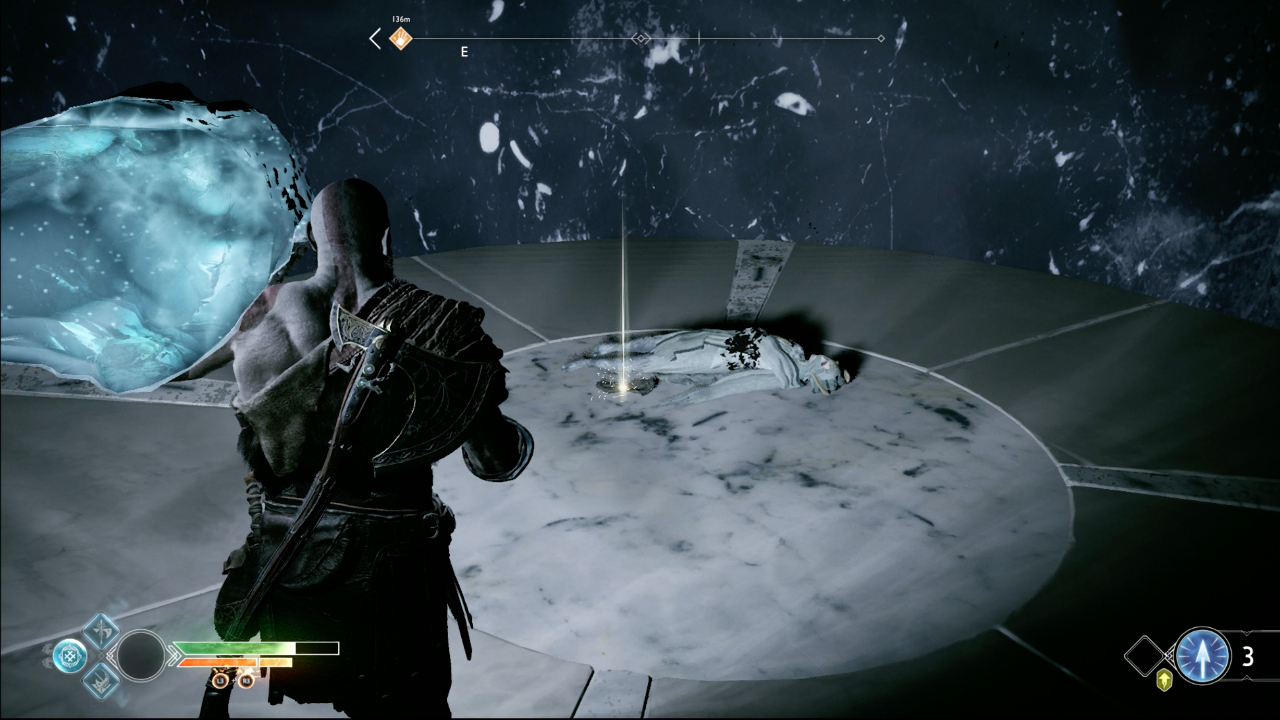
4. In the lowest level of the Light Temple, go right to the back where the path forks. Take the right hand path, grab the blue crystal in the room if you need it, defeat anything that tries to kill you and then go into the small room beyond to find the relic.
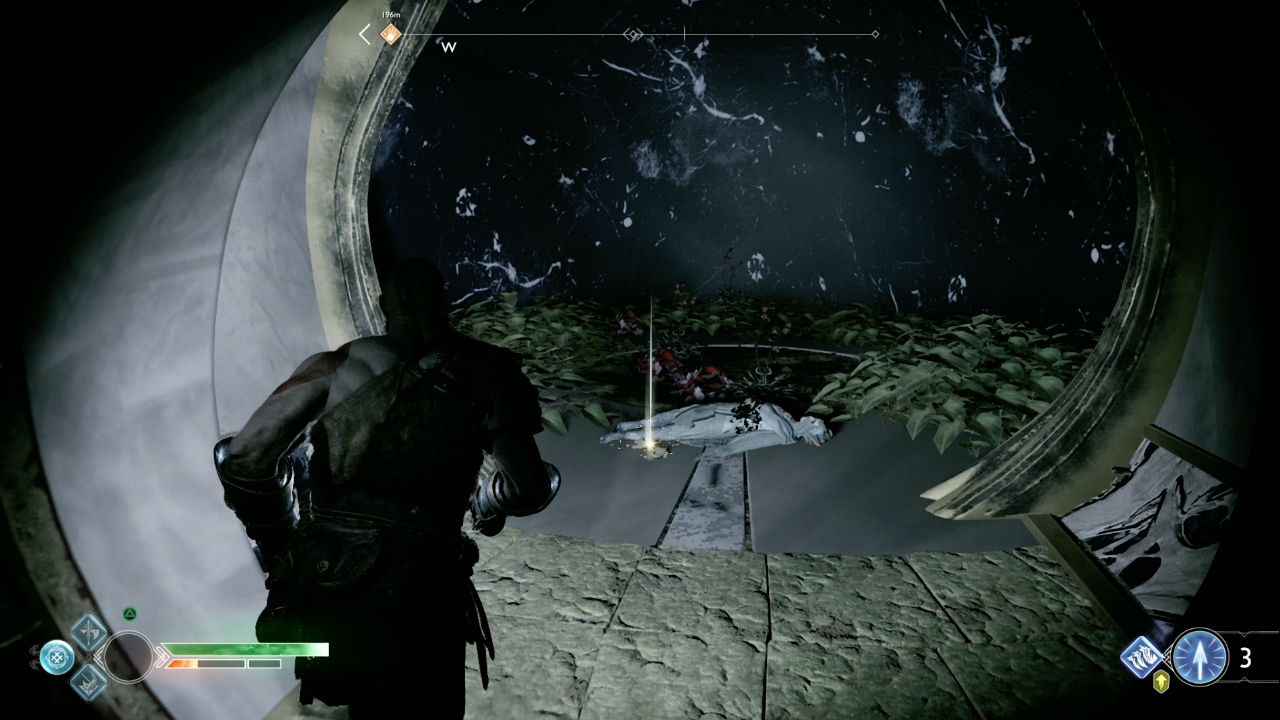
5. Again in the lower levels of the Light Temple, drop the platform so you can access the area to the left. Go all the way through, past the second platform cog, and there’s a dead elf with the fifth relic lying on the ground in the little room behind.
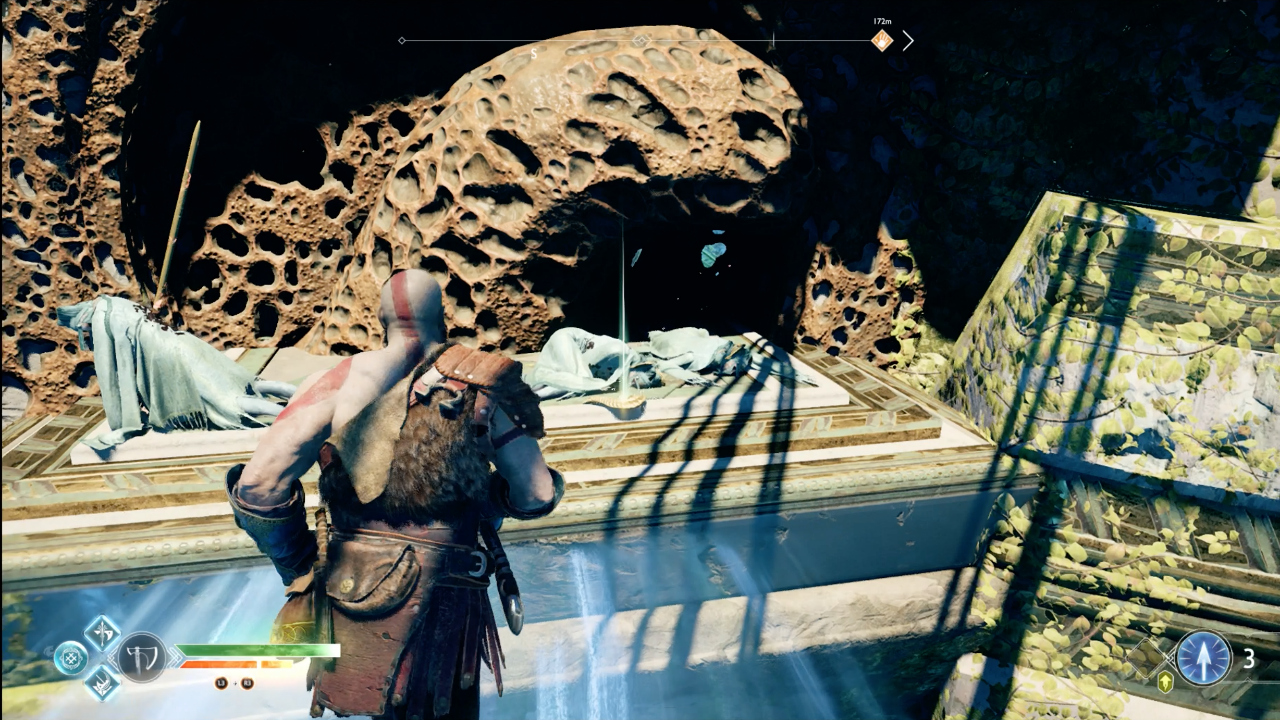
6. From the lift room in the lower level of the Light Temple, go through the door that takes you into the centre. Go across the two light bridges you’ve no doubt already created, and there’s the final relic by not one, but three dead elves. War’s bad kids.
Bottoms Up
LOCATION: The Mountain
Over in the mountain, there are six drinking cups to find that make up the appropriately named Bottoms Up artefact set. I knew i’d have gotten along with a giant.
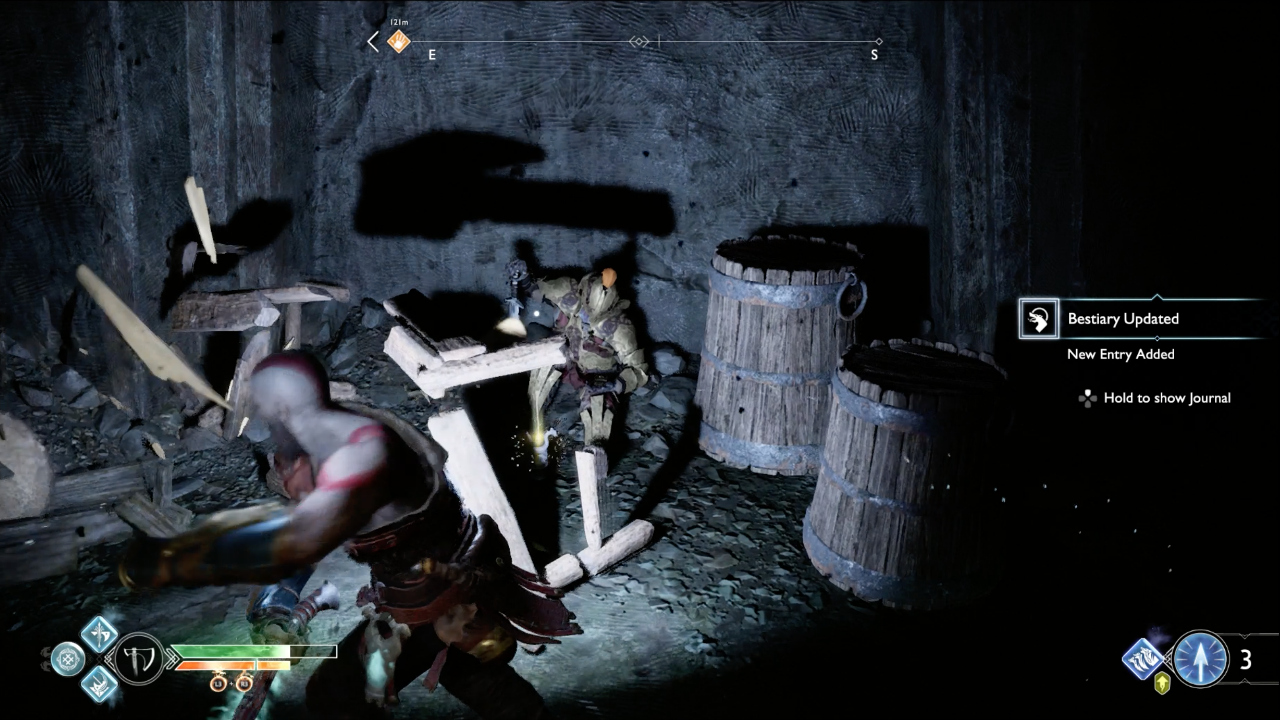
1. Go through the doors to the right of the stag statue, follow the path around, up and down until you reach the open area at the end. Go under the giant stone block, head over the bridge, and climb the platform. Now go straight until you reach the wooden blockage. Smash through that and the wooden barrels until you see the soldier, and the cup, beyond.
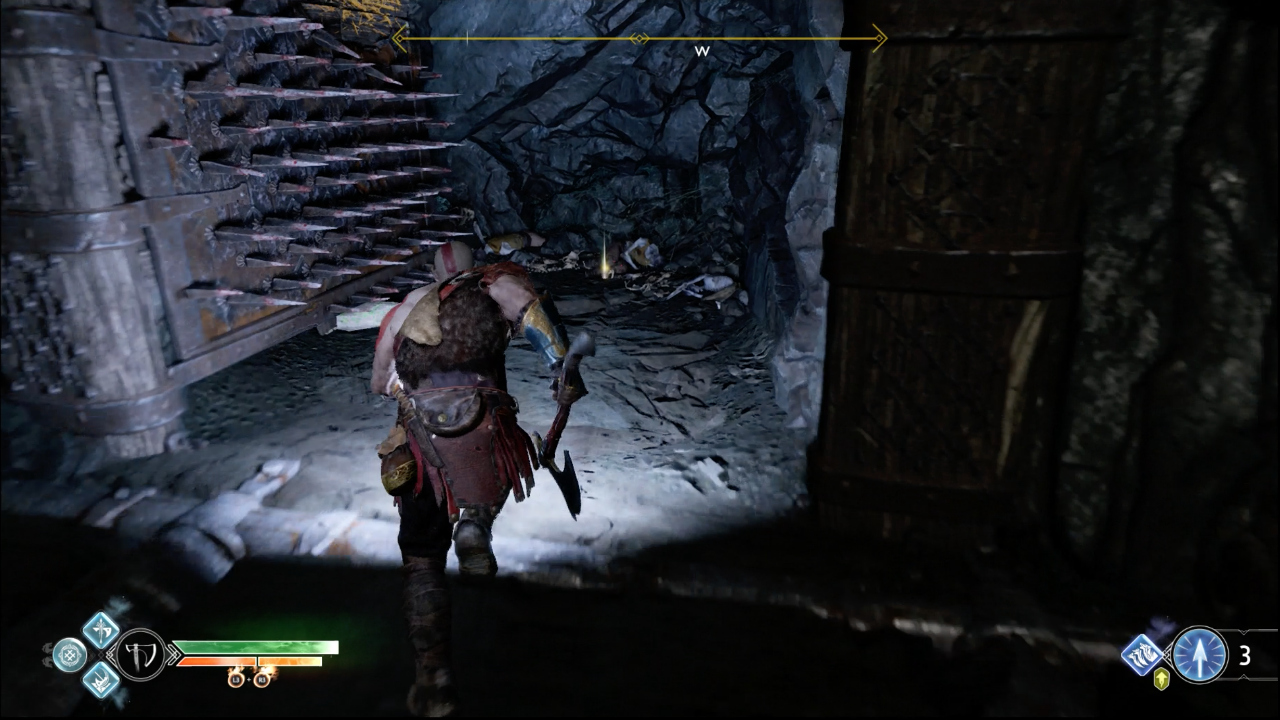
2. In the area where you find the giant block for the lift in the heart of the mountain, there’s a giant dead beast. Just in front of him is a spike door that you can move with your axe. Behind here is another cup.
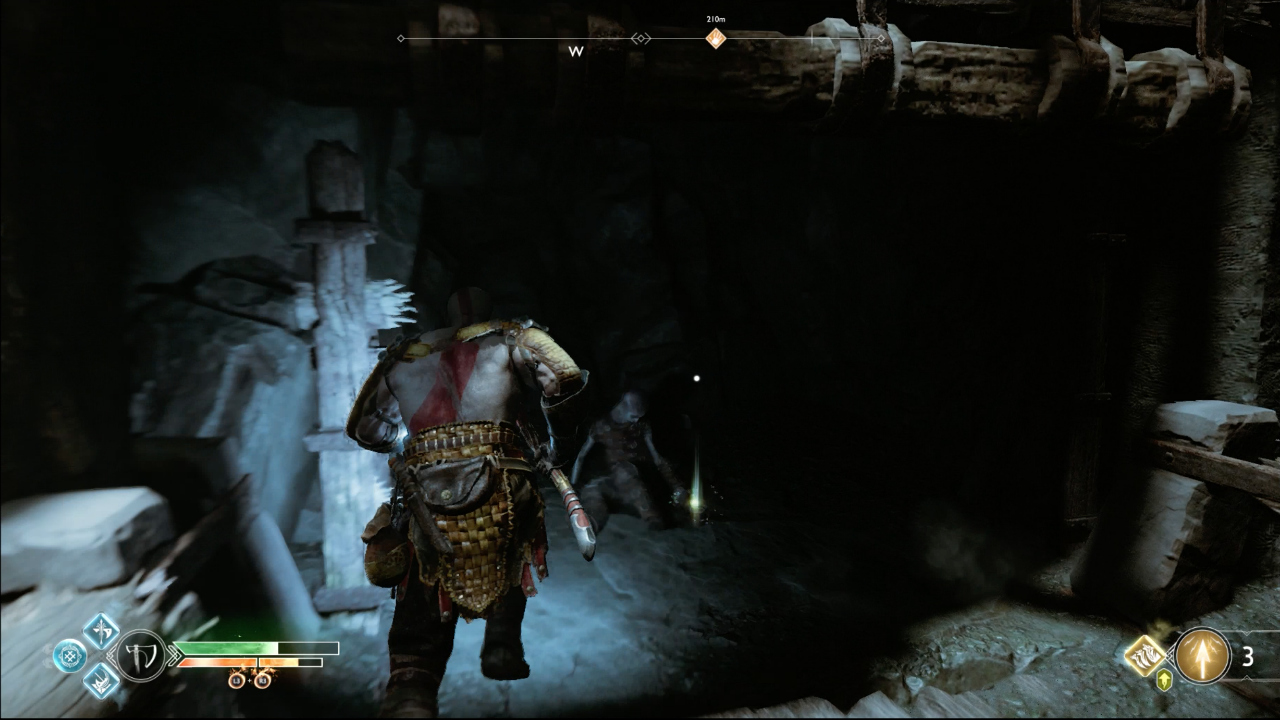
3. After you fight the dragon, you’ll find the area where there’s a puzzle involving a bucket of sap. Sneak behind the bucket itself and you’ll find a cup hiding there.
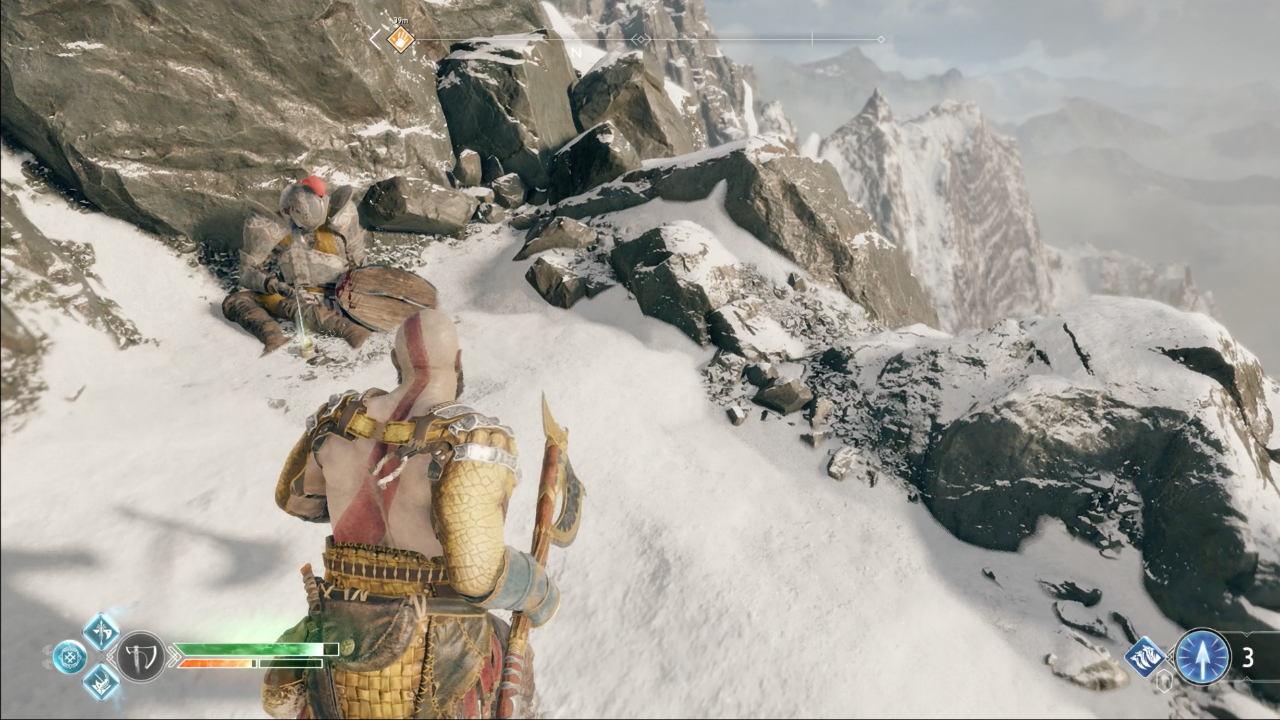
4. At the summit of the mountain, cross the snowy pass and before you start climbing to the very top, hang a left. Just by the rocks on the left down the path a little way is your next cup.
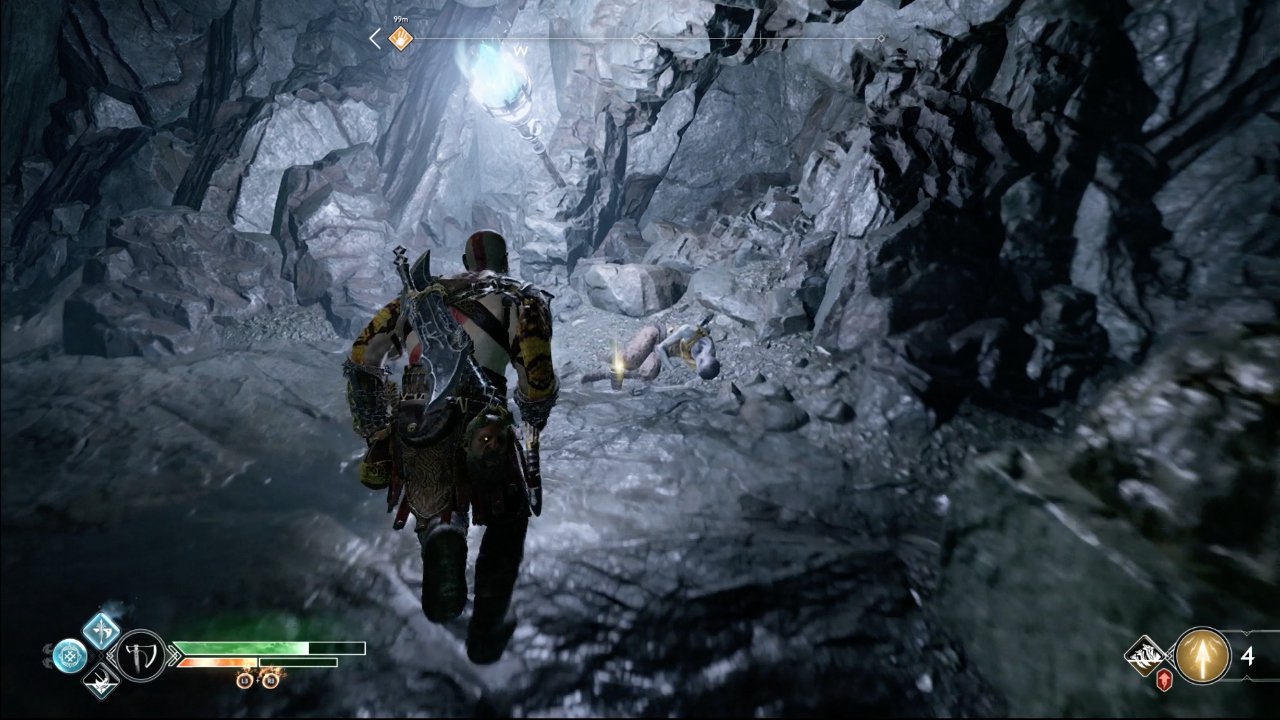
5. In the heart of the mountain at the bottom of the lift, there’s an area over to the left sealed behind some red sap. Explode it, and inside there’s a little room hiding away another cup.
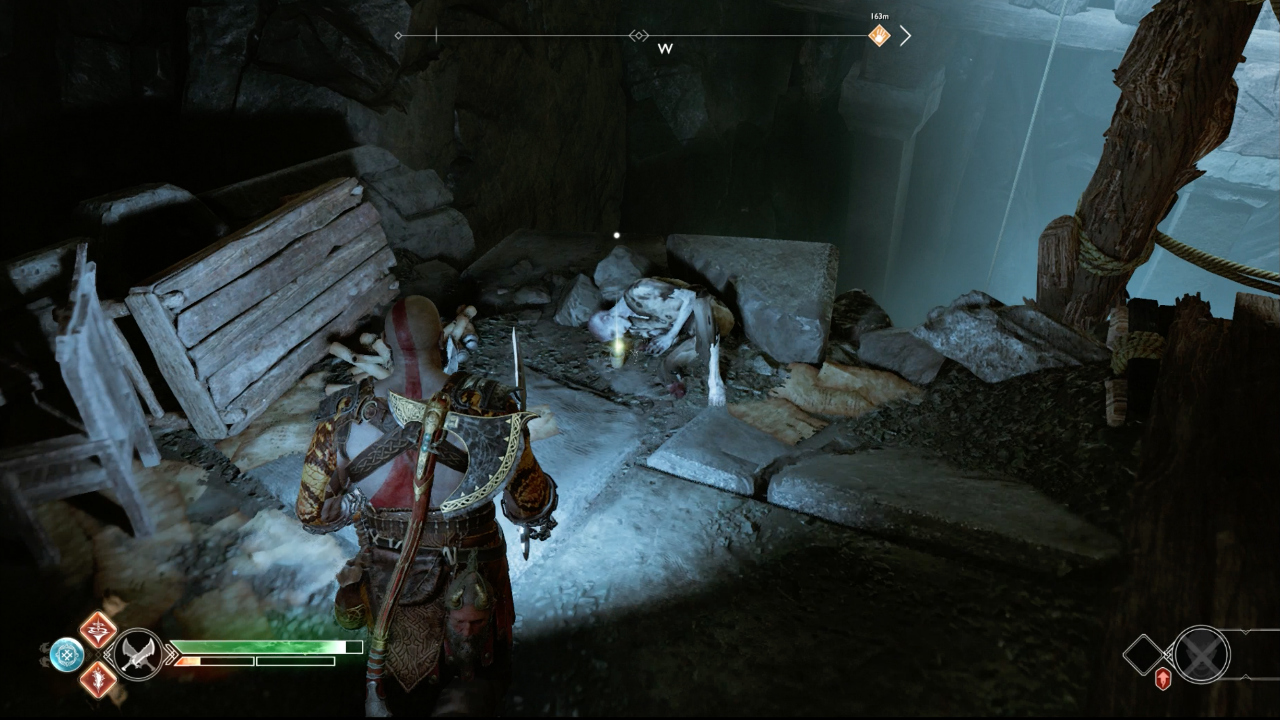
6. This one is pretty hard to miss in the story, but if you do, warp to the summit and go back to the snow bridge. From here, there’s a hidden prompt to go back down the mountain from the edge of the snowy mountain pass that’s very easy to miss. From here, head all the way back down past two lots of platforms, through the big gates, past Sindri’s Shop, along the narrow walkway and it’s there by the table.
Family Heirloom
LOCATION: Helheim
Over in Helheim, you’ll find the Family Heirloom set of artefacts, which take the form of strange brooches. There are five in total to find.
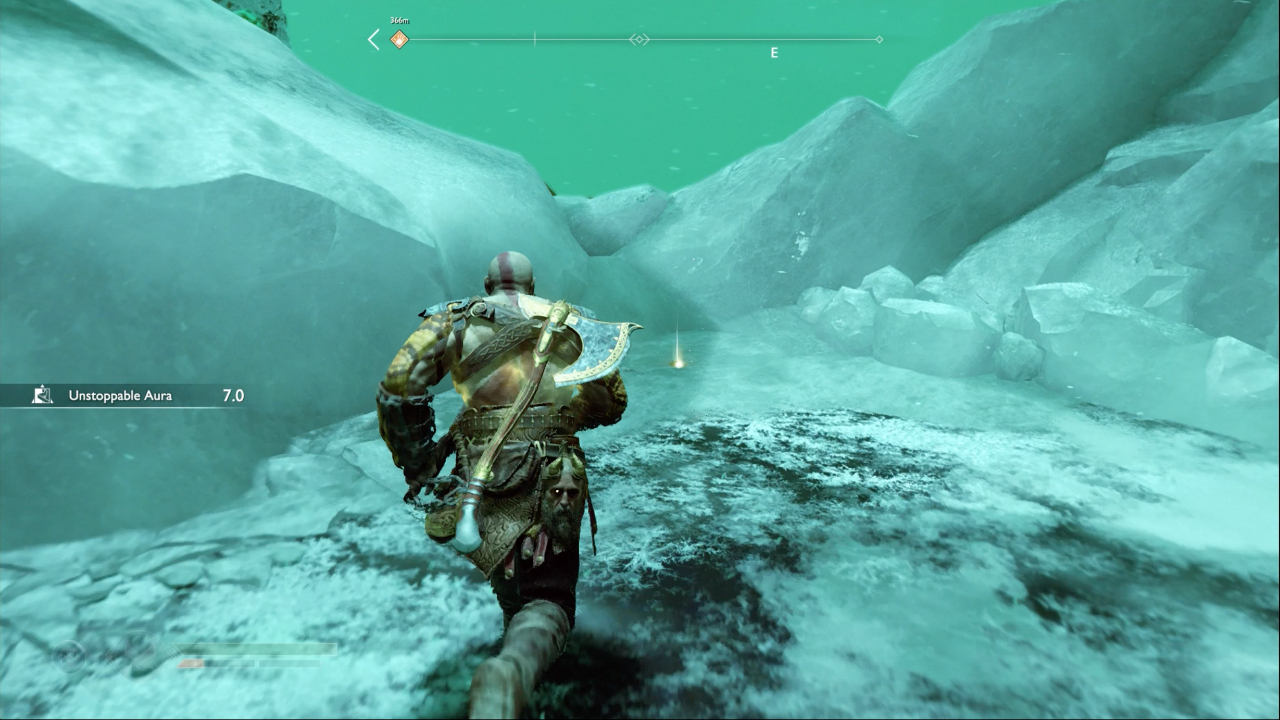
1. To the right of the main entrance to the realm of Helheim is your first Family Heirloom brooch, lying beside a pile of ice.
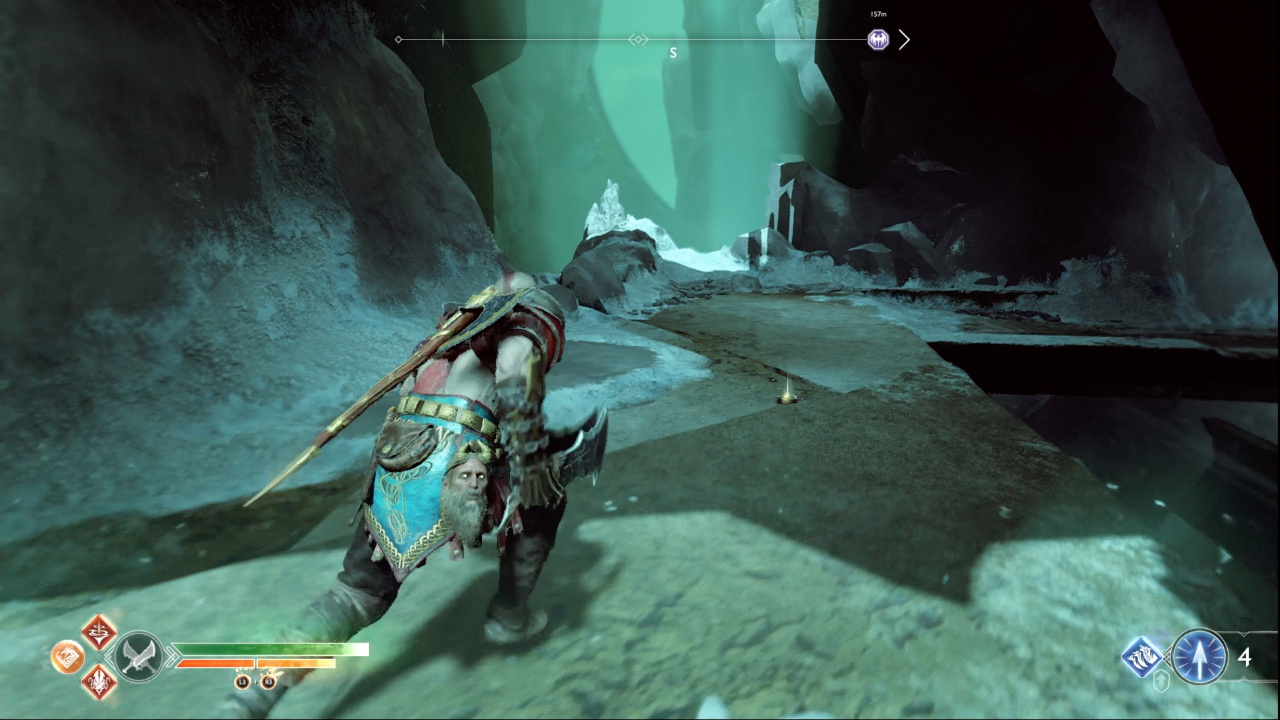
2. From the central area just after the main Helheim bridge, climb the first platform and head right past the explosive gate. Drop down the chain at the end, and leap across the gap before heading heading down another chain. Another brooch is lying on the floor down here.
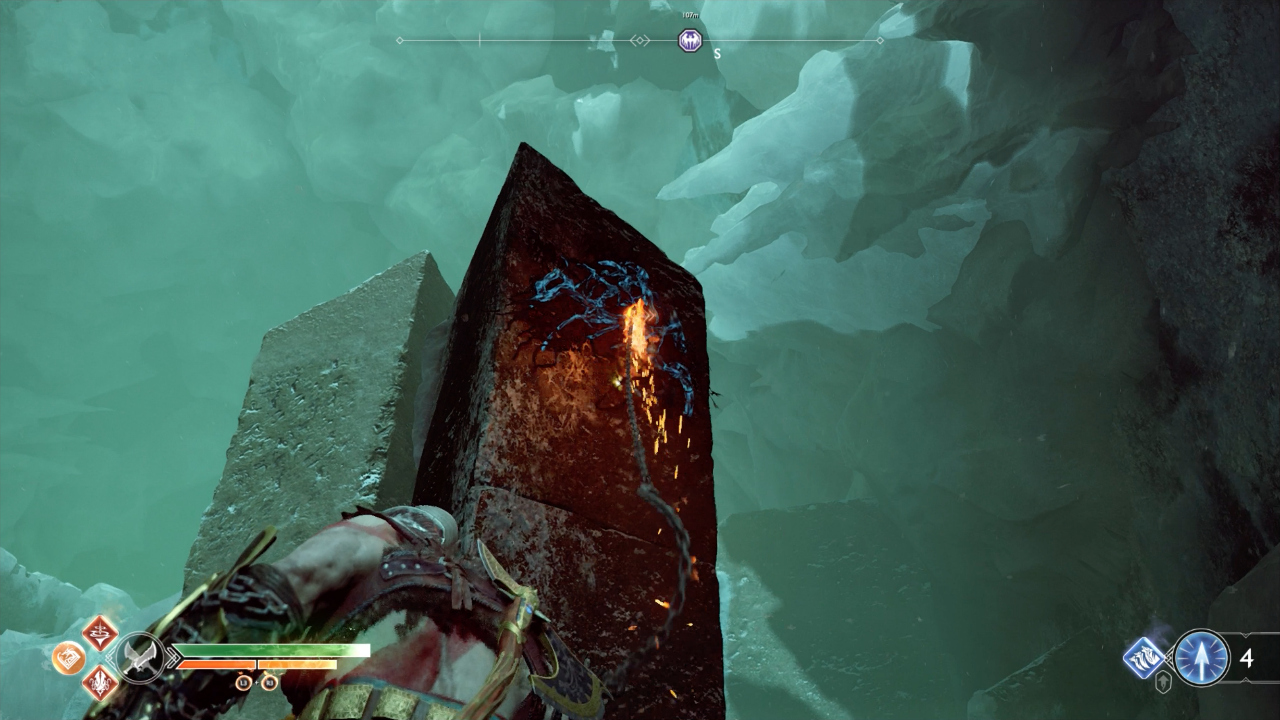
3. In the area down to the left of Helheim with all the weird glowing statues, go up the chain from the lowest platform and use your blades on the black branches at the top of the column. A brooch will fall out. How did it even get up there?
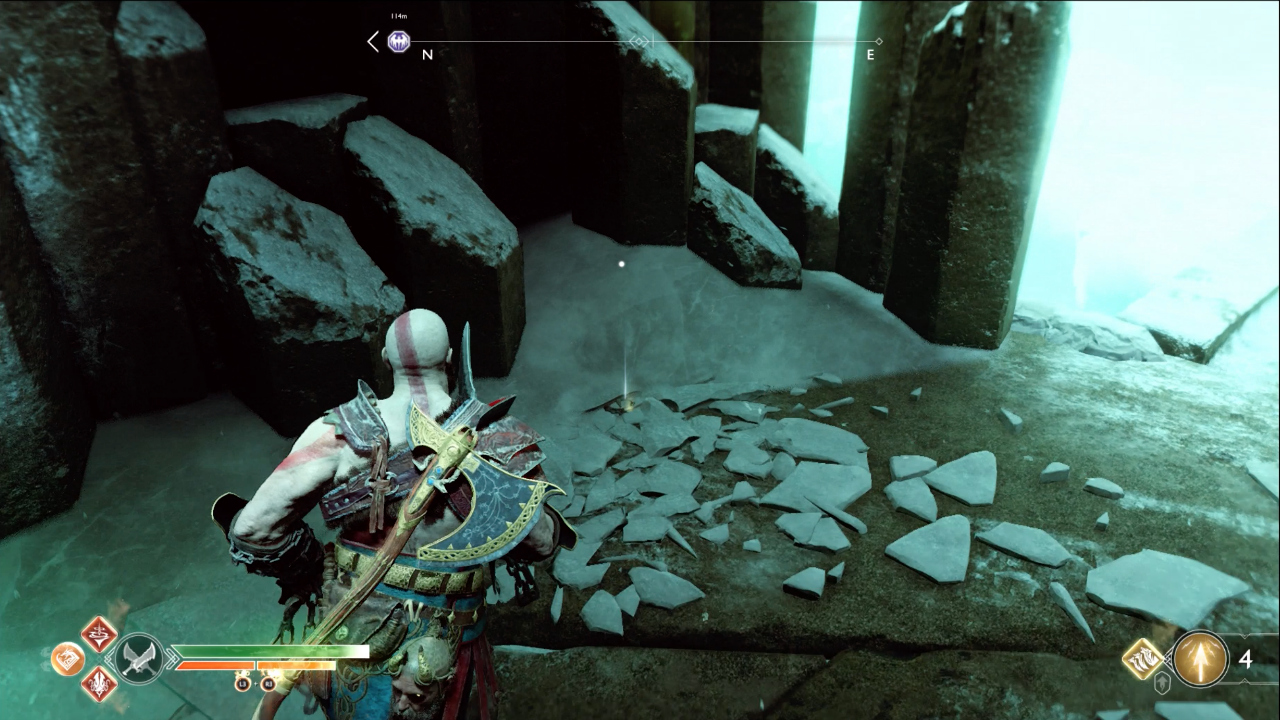
4. There's another Family Heirloom brooch right by the top entrance to the Helheim Hidden Chamber of Odin, near the creepy old man statue.
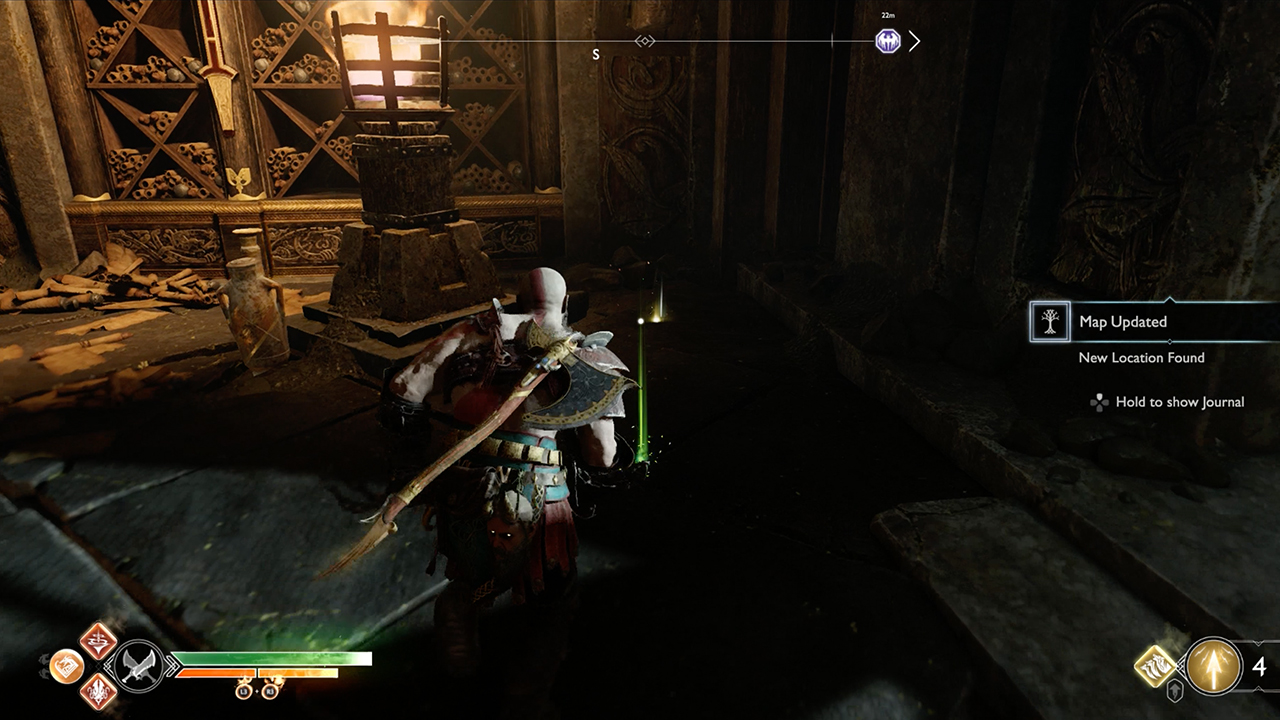
5. Head down into the Helheim Chamber of Odin itself, and head up the stairs at the back. Over on the left hand side, behind the brazier there’s the last Family Heirloom brooch.
God of War tips | Best God of War armor | God of War Jotnar Shrine locations | God of War Nornir chests guide | How to beat the God of War Valkyries | How to get the God of War Valkyrie armor | God of War treasure maps | God of War Niflheim tips | God of War Muspelheim tips | God of War Eyes of Odin guide | God of War ending | God of War secret ending | God of War secrets
Sign up to the GamesRadar+ Newsletter
Weekly digests, tales from the communities you love, and more

Sam Loveridge is the Brand Director and former Global Editor-in-Chief of GamesRadar. She joined the team in August 2017. Sam came to GamesRadar after working at TrustedReviews, Digital Spy, and Fandom, following the completion of an MA in Journalism. In her time, she's also had appearances on The Guardian, BBC, and more. Her experience has seen her cover console and PC games, along with gaming hardware, for a decade, and for GamesRadar, she's in charge of the site's overall direction, managing the team, and making sure it's the best it can be. Her gaming passions lie with weird simulation games, big open-world RPGs, and beautifully crafted indies. She plays across all platforms, and specializes in titles like Pokemon, Assassin's Creed, The Sims, and more. Basically, she loves all games that aren't sports or fighting titles! In her spare time, Sam likes to live like Stardew Valley by cooking and baking, growing vegetables, and enjoying life in the countryside.
