Borderlands 2 side missions guide
Get out and explore Pandora, one job at a time
Sanctuary
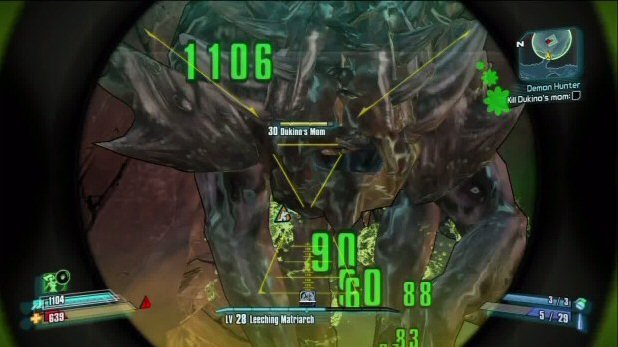
Demon Hunter
Experience: 1451 XP
Money: $154
Gear: Sniper Rifle
Once you return to Sanctuary from the Bunker, you will be able to receive this mission on the town bounty board. It seems there is a demon beast roaming around Lynchwood and you need to go check it out. When you arrive in Lynchwood, exit the station and make a right to the mine entrance. Take the elevator down and then you will find Dukino’s mom. Bring some hefty rockets and corrosive weapons with you as she can be a real pain to take down. One of the best spots to sit to whittle down her health is to crouch behind the panel where the button to operate the elevator is.
The mom’s beam attack and stomp attack and won’t be able to hit you while your back there, for some reason. Let her do her attacks and then wait for her to go and attack other enemies. As she walks away, open fire on her fleshy bits to do damage. If you try to use the rocks as cover, she will eventually destroy them and her stomp attack will still hit you there. Once you defeat her, go rub Dukino’s belly to turn in the quest.
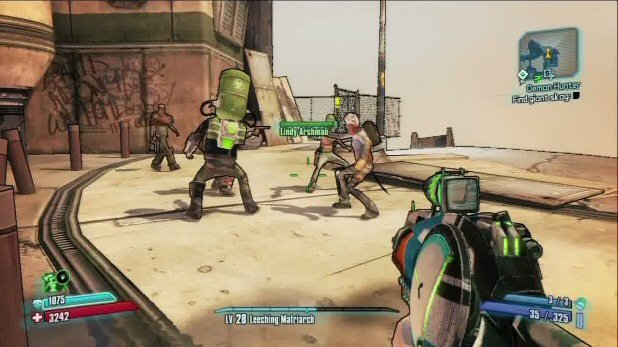
BFFs
Experience: 2885 XP
Money: None
Gear: Shield
Just outside of Scooter’s garage after the “Where Angels Fear to Tread” story mission, you’ll find these four in a Truxican stand-off. Question each of the people involved but only one will be telling you the truth. To make things easy, Jim is the thief. If you had any doubts, just look at the big dollar sign on his back. Shoot Jim and then turn in the mission to compete it.
Weekly digests, tales from the communities you love, and more
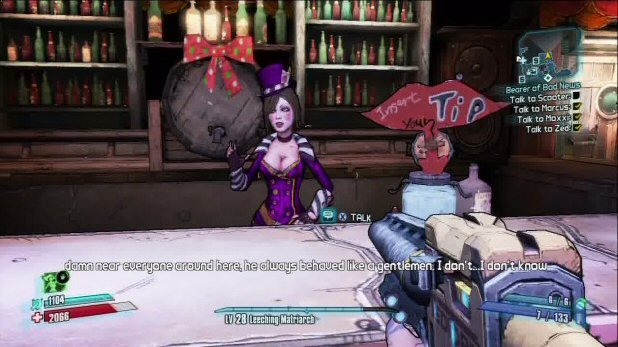
Bearer of Bad News
Experience: 2858 XP
Money: None
Gear: Rifle
Talk to Mordecai when turning in the “Where Angels Fear to Tread” story Mission and this will become available. All you will need to do is talk to Scooter, Marcus, Moxxxi, and Zed around Sanctuary. After you speak to them and you listen to their stories, you will need to tell Brick and Tannis in the Command HQ. Once you do, you will then have access to Roland’s armory and chest on the first floor of the HQ. Run down and check it out, taking what you need. Return to Mordecai to turn in the mission and complete it.
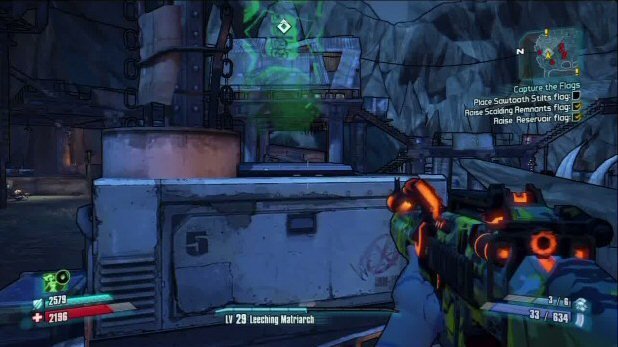
Capture the Flags
Experience: 6983 XP
Money: None
Gear: Customization
Talk to Brick in Command HQ and then make your way to Sawtooth Cauldron through Eridium Blight. Once in, head to the waypoints and you will need to first place the flag on the mast, and then operate the generator to raise it. You’ll also need to guard the generator as it raises the flags and it raises them slooooooow. If the generator takes too many hits, it’ll shut off and you’ll need to hit the lever to start it again. The three flags are found in the Reservoir, the Scalding Remnants, and the Sawtooth Stilts. To make things easier as there will be a ton of enemies that come while the flag rises, pull the lever and then hide somewhere only running back to the generator when it shuts off. Once you have gotten all three raised, you will be able to get out of dodge and return to Brick at the Command HQ to turn in the mission.
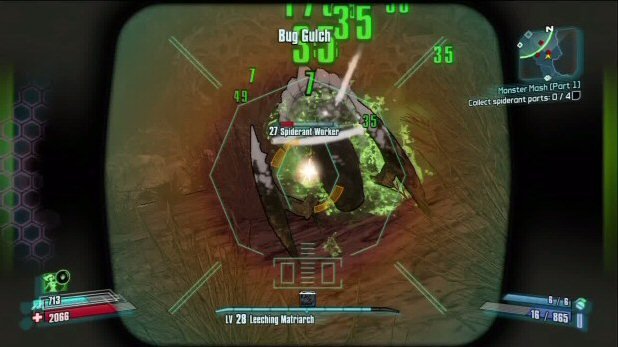
Monster Mash Part 1
Experience: 3491 XP
Money: $1074
Gear: Rifle/Grenade
Talk to Zed in his medical shop and for the first part of this mission you will need to head to The Dust to collect 4 Spiderant parts. Simply go to Bug Gulch behind Ellie’s Garage and kill the first 4 spiderant you see. Grab their parts that the y drop and make your way back to Zed to turn in the mission.
Lynchwood
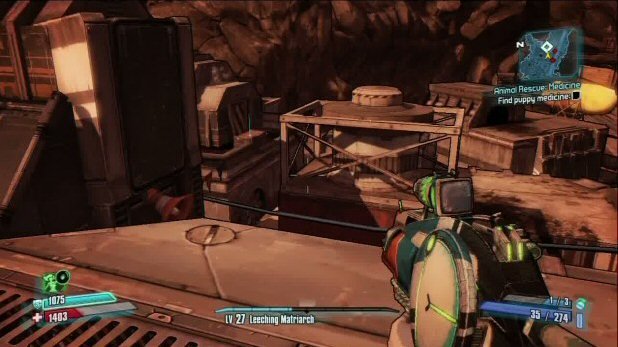
Animal Rescue: Medicine
Experience: 5319 XP
Money: $683
Gear: None
You can start this quest from Dukino the Skag, who is sleeping at the end of Main Street. Smash the chain holding him and then you‘ll need to find some puppy medicine. It can be found on top of the Pharmacy, but to reach it, you’ll need to hop across some rooftops. Start to the west of the pharmacy, atop the Bed, Breakfast, and Bullets building, and make running jumps across to reach it. Once you have it, return to Dukino and place the medicine on his blanket. Once he eats it, then you’ll need to grab him 5 Skagchews in Gunslinger’s Corner to the north. Grab the Skagchews from the vendors which are easy enough to spot and require no fancy footwork. Once you have all 5, return to Dukino and place the food in the chute. Dukino will inhale it and you will then need to turn the quest in to it to complete it.
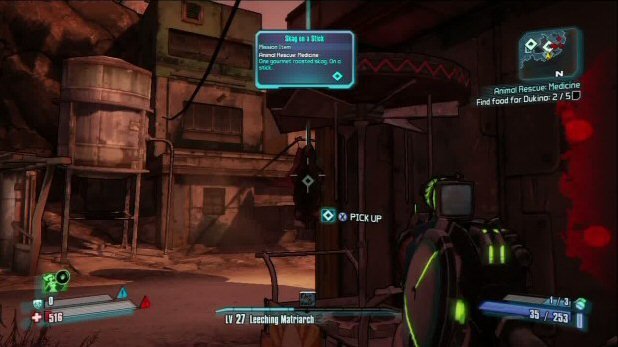
Animal Rescue: Food
Experience: 5319 XP
Money: $683
Gear: None
Now that Dukino is healed, you’ll have to get it some food, even though you just did in the previous mission. Travel to the Grinders and pick up 5 Skag tongues that will drop from random Skags. Most of the Skags in the area are armored ones, so bring some firepower to deal with them. Also not every Skag will drop tongues—oddly enough—so you may have to wait around for a while until you can pick up all 5. Once you have them, return to Dukino and feed them to him and turn in the quest.
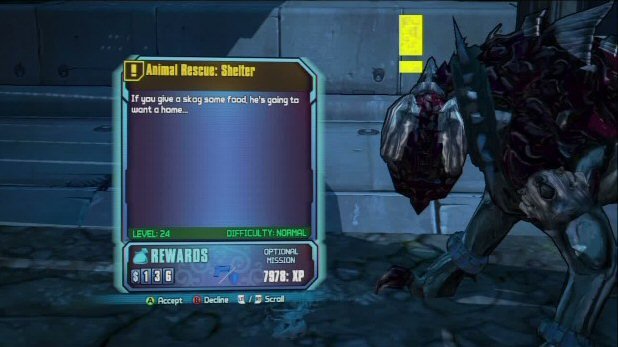
Animal Rescue: Shelter
Experience: 7978 XP
Money: $136
Gear: Pistol/Shield
Now that Dukino is fed, you will need to get him some shelter. As the mission begins, just follow him as he trots through Lynchwood. Eventually he will run through a hole in the rock near the elevator to the mine which you will then need to descend. Ride the elevator down and then proceed to clear the mine out of enemies. Once they are all taken out, return to Dukino for your reward and to turn in the quest.
The Fridge
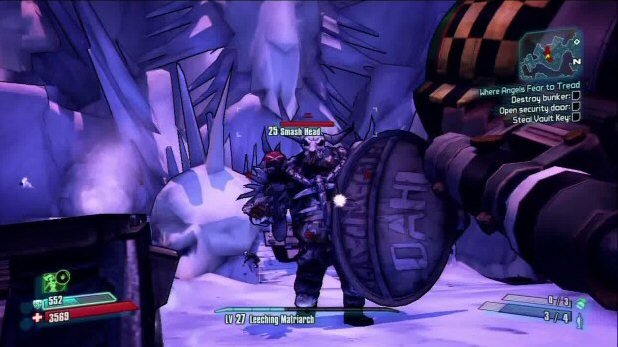
Note For Self-Person (Undiscovered)
Experience: 4934 XP
Money: None
Gear: Rocket Launcher
Make your way to the Fridge, and go all the way to the west entrance that leads to the Highlands-Outwash. Just before you reach it, some enemies will appear and among them will be a Goliath. Take down the Goliath before he changes into his rage form and he will drop an ECHO recorder. Listen to it and it will say that there is a weapon stash somewhere nearby. It is actually in the Crystal Claw Pit, through the Rat Maze, which is located just to the east of the Frigid Cleft, and where Laney White comes out of. Go to the east side of the Claw Pit and you will see the chest covered in ice. You will now be able to smash the blocks off the chest and pop it open. When you do however, Smash Head, the large creature standing behind the chest will come to life and attack. Take him and down and complete the mission.
Eridium Blight
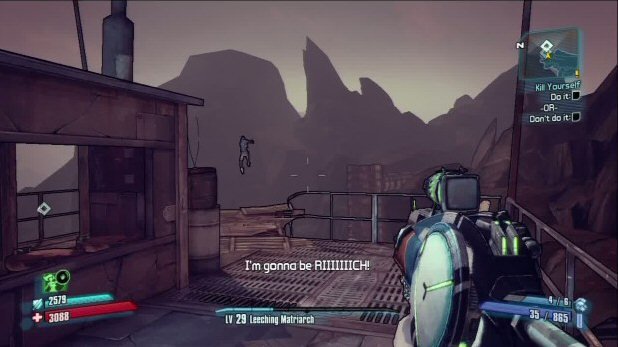
Kill Yourself
Experience: 3274 XP
Money: 12 Eridium
Gear: None
At the Eridium Blight bounty board, Jack will make you an offer to kill yourself or to not kill yourself. Go the north of Mount Hellsfont and there will be a ladder to take you to Lovers Leap. If you choose to jump, simply hop off the ledge. If you choose to not jump, press the button to the Hyperion Suicide line. I choose not to jump because Jack said if I jumped, I was his bitch….so, no. Return to the bounty board after pressing the hotline button to turn in the mission.
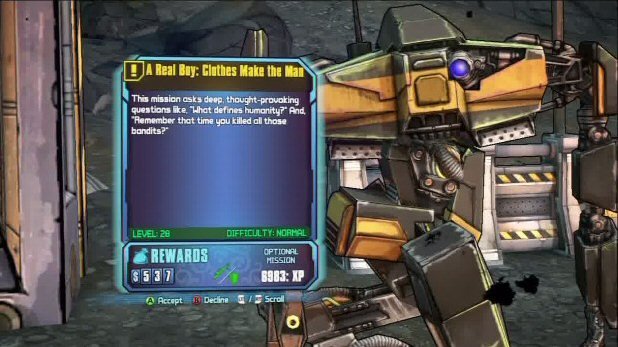
A Real Boy: Clothes Make the Man
Experience: 6983 XP
Money: $537
Gear: sniper Rifle/Shield
Speak to Mal in the Human Dwelling Place and he will ask you to grab him some clothes from the nearby bandits. Now you will need to collect a shirt, pants, and a hat. Make your way north to Mount Hellsfont and clear out the bandits there and grab the clothes that they drop. Don’t worry about the clothes at first as there will be a swarm of enemies that come at you. Drop them all and then go and pick up the clothes from the ground. Return to Mal once you have them and he will send you off again.
A Real Boy: Face Time
Experience: 6983 XP
Money: $537
Gear: Shotgun/SMG
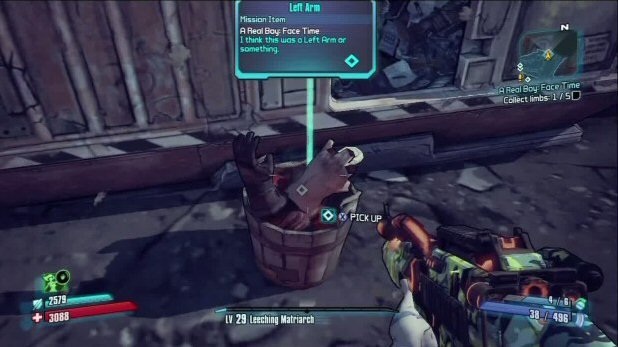
For the next part of this mission, you will need to collect 5 different limbs from the various bandit camps at Slamga Vapor Extraction and Slamga Refinery, and up the hill form the Slagma Refinery. Simply make your way to each waypoint and run into the camps, grab the buckets, and run back out. There’s no need to wait around and fight as the items are in plain view. Once you have them all, return to Mal and watch him use them in a rather disturbing way.
A Real Boy: Human
Experience: 6983 XP
Money: $537
Gear: Pistol
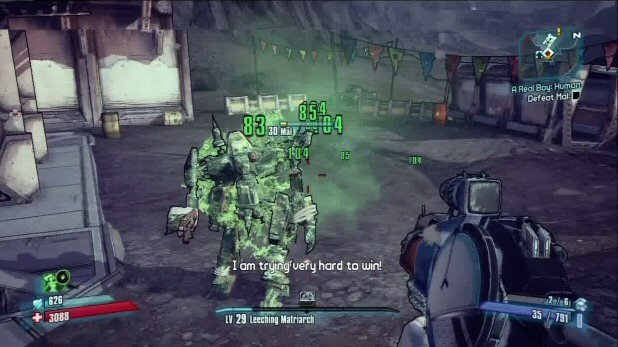
When you return to Mal with the human parts, the last thing to do is to kill him. He will say that he has finally learned what it is to be human and will attack you. Simply take him down and it will end this series of missions.
Jeff McAllister is a freelance journalist who has contributed to GamesRadar+ over the years. You'll typically find his byline associated with deep-dive guides that are designed to help you scoop up collectibles and find hidden treasures in some of the biggest action and RPG games out there. Be sure to give Jeff a thanks in the comments while you're completing all of those tricky Achievements and Trophies.
