Call Of Duty: Black Ops 4 Zombies IX map Easter eggs
How to find and unlock the IX Zombies map's hidden secrets
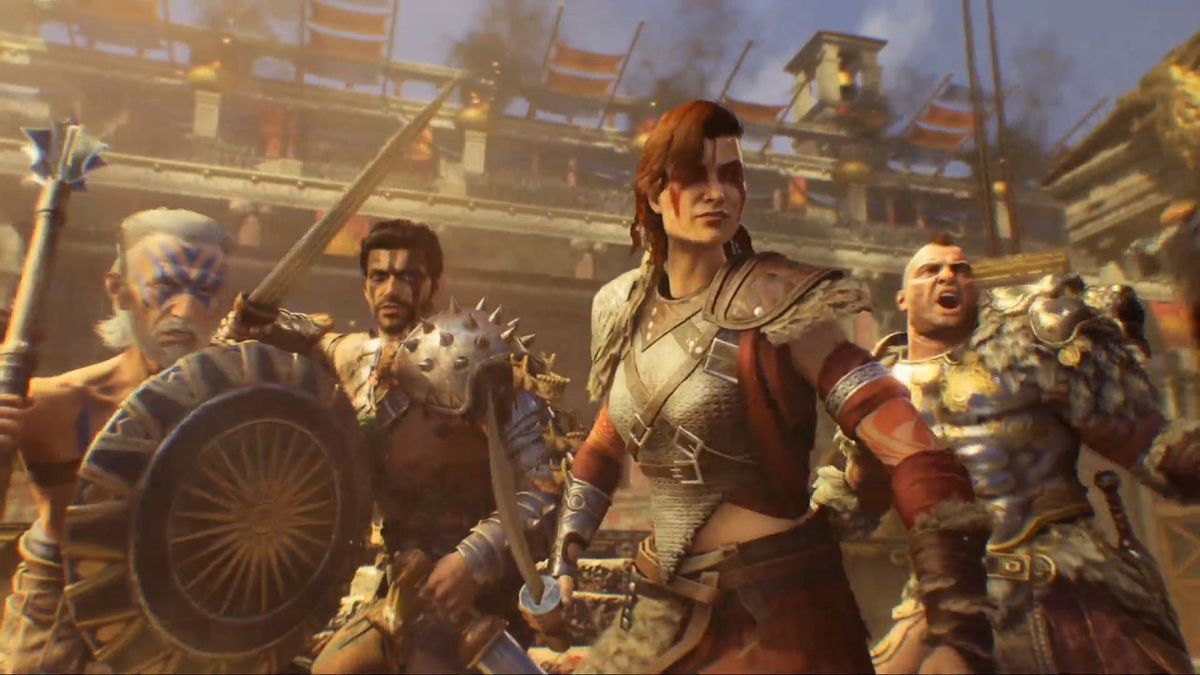
The Black Ops 4 Zombies IX Easter eggs take place inside a Roman coliseum and it is absolutely wild. Various new enemy types are introduced in this now-iconic Black Ops 4 Zombies map, along with an incredibly hard set of Easter eggs to solve. As always, there are a number of steps involved if you want to complete the entire thing, which is where this guide comes in handy. We've got everything you need to know about the Black Ops 4 Zombies IX Easter eggs, but grab a pen and paper because there's a lot to note down.
- Black Ops 4 Zombies Voyage of Despair Easter eggs
- Black Ops 4 Zombies Blood of the Dead Easter eggs
- Black Ops 4 Blackout Character Missions - unlock all Zombies characters
Unlocking Pack a Punch
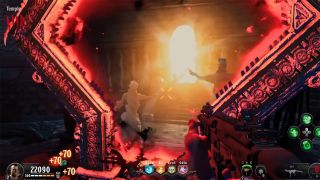
One of the first things you’re going to want to do is unlock the Pack a Punch machine. Found in every single Zombies map, the Pack a Punch machine allows you to spend 5,000 points on a serious upgrade for your gun. If you hurry, you can get it done in the first few rounds. Here’s what you want to do.
The IX map has four distinct towers, dedicated to four gods. There’s Danu and Ra on the right when you exit the spawn tunnel, with Zeus & Odin on your left. You can purchase entry to Danu and Ra right away, so head inside. You’re looking for a gong against the wall - they’re not hard to find. Interact with it and a zombie champion will spawn. When you slay each one, a skull will drop. Pick it up.
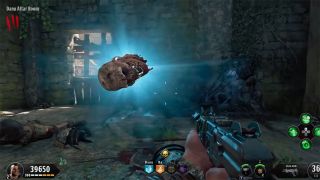
After you’ve done Danu and Ra, head underground and purchase your way through to the Odin tower, through the Temple and past the Crypts. Once there, you can slay the zombie champion in the Odin tower and purchase entry to the Zeus tower. When you’ve interacted with all four gongs and have four skulls, head back down to the Temple.
In the centre of the Temple is a crypt, surrounded by four poles. Place each skull on top of each pole and voila! The crypt will turn into the Pack a Punch machine. This is a vital step to ensure you have powerful enough weapons to complete the rest of the IX easter egg. You will need the Firebomb effect on one of your weapons, so this is a good time to pack your weapons as much as possible until you get it.
- Black Ops 4 Blackout Challenges
- Black Out 4 Dark Ops Challenges guide and how to complete them
- Black Ops 4 Blackout spawn points for all the zombies
Completing challenges
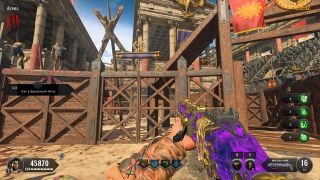
A number of the steps in this Black Ops 4 Zombies IX Easter egg can be completed in any order, but we recommend doing them as we list them in order to minimise faffing about later down the line. It’s a very good idea to obtain these challenges before you unlock Pack a Punch, then complete them as you’re going through the aforementioned gongs.
In the arena, you’ll see rolled up banners decorating the side of the arena. Melee attack the ropes holding them up and you’ll be given a challenge. They’re not difficult to complete and when you finish three of them, you’ll be rewarded with a bowl in the centre of the arena. This is a necessary part for a later step of the easter egg. Alongside the bowl will be a Pack a Punch Strife pistol called the Z-Harmony, which is super handy to have in the early rounds.
Constructing the Brazen Bull Shield
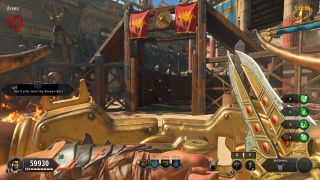
You don’t need the Brazen Bull Shield until much later in the easter egg, but it’s simple to construct so we’d recommend doing it while you’re unlocking Pack a Punch and completing the challenges.
To build the Brazen Bull Shield, you need to find three parts in three different temples, each with three different potential spawn points:
Temple of Ra
This part will always be in the Ra Altar Room.
- Left of the staircase in the corner
- To the right of the staircase
- Next to a pillar across from the staircase
Temple of Odin
- On the floor of the Cauldron Room
- On the shield rack on the ground floor entrance
- In the upstairs altar room, leant against a barrel of spears
Temple of Zeus
- At the bottom of the statue in the altar room
- In the outstretched hand of the statue in the ground floor entrance
- In the downstairs bath house on a shelf
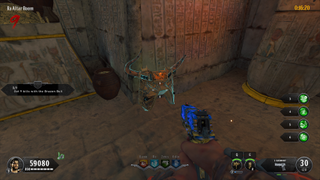
When you’ve got all three parts, make your way to the The Pit and construct it at the workbench. It costs 1,500 points to make, but when you have it, the shield helps deflect zombie hits and there’s a powerful melee attack. If you hold down the button to aim, you can shoot fireballs at the expense of moving slower. If the shield gets damaged or you run out of fireballs, you can repair it at the same workbench for 250 points.
Building the Acid Trap
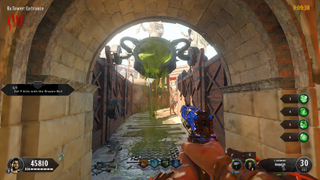
The next thing you need to is build the Acid Trap, which is where the bowl comes in. You need to find two more parts, the chains and the gear. Both items are in the underground temple:
- The chains can be found hanging on the wall underneath the balconies.
- You’ll find the gear in a corner near the stairs, beneath a skeleton in a hanging cage. It’s pretty big, so you shouldn’t miss it.
Now you need to head to the Ra temple entrance and interact with the skull switch on the wall. This will create the Acid Trap, which is the first step toward unlocking the Death of Orion wonder weapon.
Finding the Statue Head
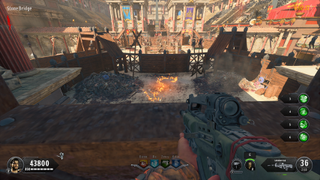
Now you need to find a Statue Head. It can spawn in one of four locations but you don’t necessarily need to search all four. Head down to the Temple where the Pack a Punch machine is and go through the doorway that got blasted open when the Pack a Punch machine unlocked. You should now be in the Danu-Ra Temple Entrance.
Look toward the metal grating, behind the small podium in between the stairs. You’ll be able to see a burning bowl down at the bottom of the inaccessible stairs. Shoot it and it should fall off of the podium it’s sat on.
From there, head to the Stone Bridge linking the Danu and Ra towers. Look off the bridge toward the arena and it should’ve created a flaming arrow on the ground, pointing to one of the four towers. That tower is where you will find the Statue Head. Here is where the head will lie in each tower:
- Danu - Down the stairs and in the puddle of water.
- Ra - In the Burial Chamber behind one of the braziers in the corner.
- Zeus - In one of the corners of the bath, inside the bath house.
- Odin - Underneath the enormous cauldron.
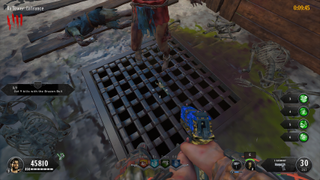
Once you’ve got the Statue Head, go back to the Acid Trap at the Ra temple entrance. In the middle of the path is a grate, used to drain away the acid during the Acid Trap. Place the Statue Head on the grate and turn on the Acid Trap. The acid will descend, melting the head. In its place will be a Scorpion Key. When the trap has finished, you can pick up the Scorpion Key.
Obtaining the Golden Vase
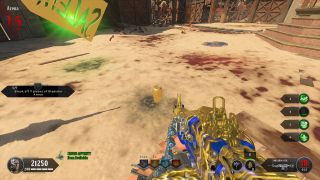
Next, you want to head to the middle of the arena and raise your crowd affinity to the highest it can be. This is indicated by the thumb in the bottom left corner of your HUD. Once it’s got green sparks flying off, you have maximum crowd affinity. This can be achieved by things like not getting hit by zombies, killing champion zombies, getting kills with your special weapon, and completing the challenges then meleeing the rewards you’re given rather than accepting them.
When you get maximum crowd affinity, the announcer should mention that you have “received a gift from the gods”. Somewhere in the arena will be a Golden Vase - there’s no indication as to where it lands though so just search around the main arena for it when you hear that voice line. Once you find it, make your way into the Danu temple.
Poisoning the Mystery Box and obtaining Death of Orion
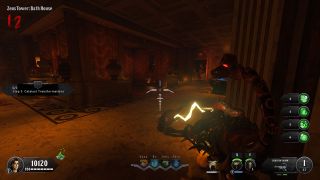
Head downstairs to the Arboretum, with all the trees. On the second tree, there is a tiny hole on the surface. Melee attack it to insert the Scorpion Key into the tree. Then place the Golden Vase below where you’ve inserted the Scorpion Key.
This will start to drain poison from the tree. Note that it takes an entire round to complete this process, so this is a great time to go and Pack a Punch your weapons to try and get the Firebomb effect if you haven’t already.
When the vase is full of poison, pick it up and head to the Mystery Box, wherever it may be. Use the poison on the Mystery Box then when it turns green, use the Mystery Box properly and the next weapon you should receive is the Death of Orion wonder weapon. We recommend Pack a Punching it straight away, in order to upgrade it to the Serket’s Kiss. You also need the Kill-O-Watt effect for a much later step, so try to get that in the early rounds.
Knocking the pyre loose
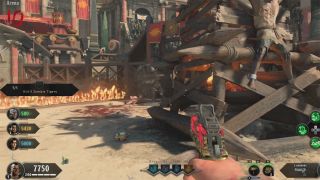
Now you’ve finally got the Death of Orion wonder weapon, the Brazen Bull shield and you’ve unlocked Pack a Punch, it’s time to tackle the main Black Ops 4 Zombies IX Easter egg. You need to lure a gladiator zombie - one of those bigger chaps throwing axes at you - to the main arena. Entice him to throw an axe at one of the burning wooden pyres by crouching behind one.
When he hits the wooden structure with his axe, a burning piece of wood will fall off. Pick it up and make your way to Odin’s Tower, specifically the large cauldron in the basement. Place the burning wood on one of the hooks hanging over the cauldron, then wait. For a couple of full rounds, actually - this step takes a while, so don’t forget about it and move on to the next step.
Obtaining dung
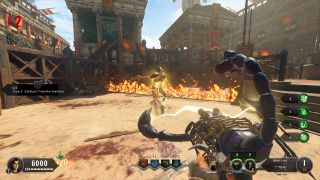
Remember earlier on when you had to get maximum crowd affinity to receive the Golden Vase? Now you need to lower the crowd affinity to the minimum possible. You can do this by walking into the fire traps, getting damaged by zombies, and throwing grenades at the crowd. When you receive the lowest possible crowd affinity, they’ll throw dung into the arena. Pick it up (just try not to get any on your hands...).
Finding the skull
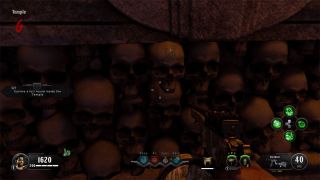
Go back underground to the Temple with the Pack a Punch machine. There’s hundreds of skulls decorating the walls. How do you find the one specific skull that you need? Thankfully, the fine folk at the /r/CODZombies subreddit have produced this image that shows the 10 possible spawn points for the skull. It’s got a symbol on its forehead, so you can be sure you’ve got the right one.
When you find it, equip your specialist weapon and interact with the wall to dislodge it. Now you’ve got to grind that bad boy up into dust.
Making bone meal
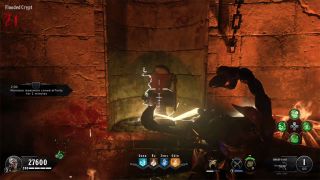
The next step is to go to the Flooded Crypt and find the Skull Grinder. It’s always in the Flooded Crypt, but it can spawn in a few different places. It’s usually pretty easy to find though so just search the entire area.
When you find it, place your newly obtained skull inside, then shoot the Skull Grinder with a few fully charged shots from the Death of Orion. You’ll know you’ve done it correctly when electricity flows over the Grinder.
After a few shots, the skull will have turned to bone meal. Grab it and make your way to the bath house in the Zeus Tower.
Mixing it all into fertiliser
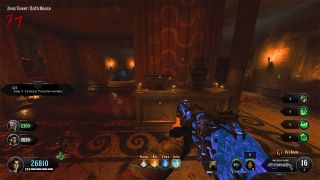
You’ve now got to combine all three ingredients (dung, bone meal, pyre) into one lovely, delicious fertiliser. In the Zeus bath house is a bowl - throw all the ingredients in and wait for a couple of rounds. When it’s complete, green smoke will start emitting from the bowl. Again, due to the wait, use this time to Pack a Punch your weapons further, repair your Brazen Bull shield, and just rack up points.
When you’ve got the fertiliser, head to the Danu Tower Arboretum, the same place you placed the Scorpion Key for the Mystery Box poison. There are two distinct puddles on the floor, with some dry ground between them. Place the fertiliser on this dry ground, then yet again, wait for a couple of rounds. Eventually, it will start to produce green smoke just like before.
Now this is the time you need that aforementioned Firebomb effect on one of your weapons. You essentially need to kill a zombie or two on top of the fertiliser with Firebomb. If it doesn’t work the first time, try a few more because it’s proven to be quite inconsistent. If it’s worked correctly, blue cracks will start appearing on the floor. Get everyone in the game to stand on these blue cracks and prepare for carnage.
Danu Tower Trial
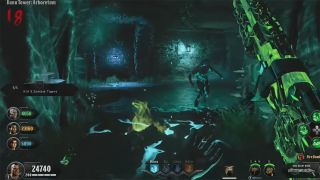
It’s worth noting that this is another step that seems inconsistent - in order to start the trial, all players stood over the blue cracks need to either interact with the fertiliser, or you all need to get specialist kills. One or the other (or a combination of both) should work. You’ll know if it’s worked or not because you’ll all be teleported to an alternate reality version of the Danu Tower Arboretum in black and white.
When you get teleported, zombies will swarm you. You need to survive while also shooting at three bright red pods that appear at the very top of the tree trunk in the middle of the room. Eventually, all three pods will be destroyed. Next you need to go up a floor and do the same thing again - destroy the red pods. After you’ve done it for a third time on the third floor, you’ll be teleported back to the normal version of the map.
Finding the bull symbols
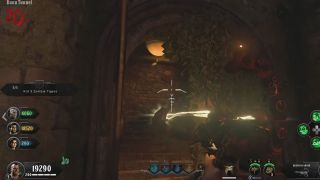
This is where the Brazen Bull Shield is required, so make sure you’ve got it. You need to fire at four bull symbols around the map with the Brazen Bull Shield fireballs, but they can spawn in nine different locations:
- Arena - Where you first entered the arena, this symbol can be found above the gate, on the larger building behind the tunnel.
- Odin-Zeus Bridge - Stand on the bridge between the two towers and look toward the Zeus Tower. The symbol should be visible on the side.
- Odin-Zeus Temple Entrance - Underground in the temple entrance for Odin & Zeus is a crumbling arch with hanging ivy. The symbol should be behind the ivy.
- The Pit - Look through the zombie window right behind the workbench used for creating the Brazen Bull Shield. It can spawn on the wall to the right.
- The Temple - Up the stairs and through one of the zombie windows, the symbol is on the wall.
- Flooded Crypt - In another inaccessible area where zombies come from, you can see it through an open door at the back of the crypt.
- Danu Tunnel - Right outside the Arboretum is a half-open gate. Look through and it may have spawned on the wall.
- Ra Burial Chamber - Through another zombie window, it’s hanging on the corner pillar of a wall above a lantern.
- Danu Altar Room - Look through the window facing the crowd and look to the right. The symbol can spawn below the crowd.
Once you shoot at each symbol, a champion zombie will spawn. Kill it for each one then, when you’ve done all four, a laser beam will come out of the Ra statue directed at an obelisk found in the Ra Altar Room. Get your pen and paper out because this is where it gets tricky.
Ra Tower Trial
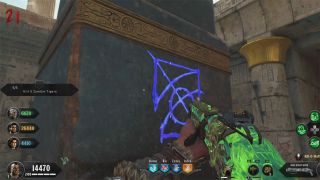
On the obelisk, a blue symbol will have appeared. It can be one of seven different symbols as seen here in this image courtesy of /r/CODZombies. Everyone in the game needs to interact with the obelisk, which will cause three symbols to flash on the obelisk. Note them down in the order they appear. These symbols tell you which special zombies you need to kill in order.
For example, using the image for reference, if you got Tiger, Poison, Fire, Gladiator, you would first need to kill a Tiger. Follow that up with a Poison zombie, then a Fire one, and finally a Gladiator. You can kill as many normal zombies as you like in this timeframe, but the only special ones you kill must be in your designated order.
Once you’ve done this for the first time, four more symbols will appear on the obelisk once you interact with it and you have to do the same thing all over again. Once you’ve killed all eight special zombies in the right order, the Ra Tower Trial will be complete.
Finding the lightning poles
Now we need to mention here that recently, Treyarch may have slightly changed this step. In this video by a popular Zombies YouTuber, he explains how this step of the IX easter egg has been modified slightly. We’re going to explain the guide as it was at the start of the game, while explaining what you may need to do differently.
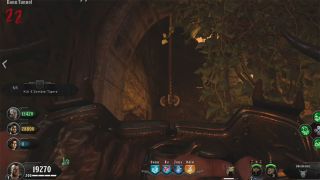
The basic gist of this step is that underground, there are four lightning poles that you need to shoot in order to make them penetrate the surface and appear in the main arena. Here are where you can find the poles:
- Danu Tunnel - From the Flooded Crypt exit, this pole is on the right-hand side through a zombie window, partially obscured by vines.
- Odin Tunnel - Above the statue in the wall, the pole is hanging from the ceiling.
- Collapsed Tunnel - Leaving from the Danu-Ra Temple Entrance, this pole is through the first zombie window on the right.
- Cursed Room - The first window on the left when leaving from the Crypts has the final pole.
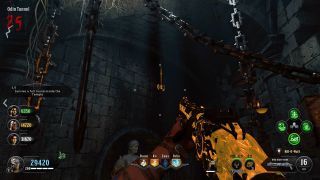
Originally, to make these poles rise above ground, you had to shoot them then have your entire team go to the stone pillar in the middle of the arena and interact with it. That would teleport you underground, where you’d have to go back to the Arena for the next step. It doesn’t make much sense to go above ground, get teleported below, then go back to the surface again, so it seems like Treyarch have made this subtle change.
Now, before you shoot the poles to make them rise above ground, everyone in the lobby needs to interact with the stone pillar first. You will then be locked underground until all four poles have risen, when you can go back to the Arena again.
Either way, once you’ve done that, it’s time to equip your Serket’s Kiss with the Kill-O-Watt effect.
Filling the poles with souls
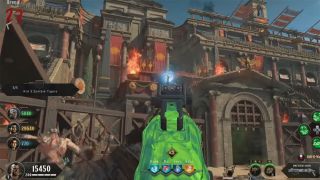
Around each of the four lightning poles is an electric circle. You need to fill up the lightning poles by capturing zombies inside the circle with the Serket’s Kiss Kill-O-Watt ability, then killing them. As you gradually fill up each one with zombies, the circle will disappear and the tops of the poles with have blue sparks.
When all four poles are full of zombie souls, four blue orbs will appear in the middle of the podium. Have everyone interact with each of the orbs and you’ll be teleported to another alternate reality version of the Arena.
This is a special wave where only special zombies will spawn like Gladiators and Brawlers, but every players has unlimited use of their special weapon. Once you survive the round and defeat all the enemies, you’ll return to the normal map, ready for the final trial.
Finding three more symbols
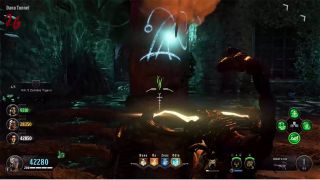
In the final stage before the ultimate boss fight, you need to find three more symbols on the map and shoot them with your Death of Orion/Serket’s Kiss. Thankfully, these symbols don’t have a random spawn, you will always find them in the following locations:
- Danu Tunnel - On the pillar in the middle of the path, you need to shoot the bottom of the symbol to get the correct angle.
- The Crypts - Through the broken wall zombie window, with corpses around the base, you need to shoot it from the right-hand side so you’re almost shooting through the hanging chain.
- The Pit - The symbol is actually in the Odin Tunnel but you need to walk into The Pit and aim through the crack in the wall, shooting the symbol directly below the hanging hook.
You’ll know you’ve done it correctly when the symbol lights up blue, then stays lit up. If it fades shortly after shooting it, you need to do it again.
Final Trial
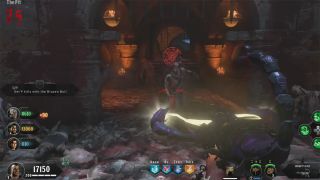
In order to start the final trial, you need to have everyone in your game go to The Pit. There’s a large metal grate on the floor with a pressure plate right behind it. Everyone needs to stand on the pressure plate, aim at the grate and interact with it. This will kick off the final trial.
This one is another wave-based trial, you don’t have to do anything funky except survive. There’s a few different waves with different types of zombies, followed by some Blightfathers that show up at the end. When you’ve survived till the end of this trial, you should be able to pick up a key on the original grate. That will teleport you back to your original map and resume a normal Zombies wave.
Wrath and Fury
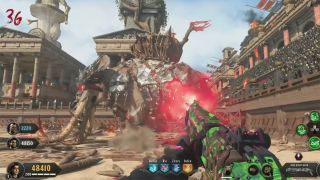
Before you interact with the red portal in the middle of the arena, make sure you’re stacked with ammo, Pack a Punch guns, perks and anything else to help you in this fight. You’ll be facing off against two enormous elephants: Wrath and Fury, along with all of their minions.
There are several waves of enemies that appear before Wrath and Fury show up, containing Gladiators, Tigers, Special Zombies, and everything else. When the elephants do finally show up, you need to shoot at their armour plating to remove that, along with aiming for their heads.
Once you’ve defeated both Wrath and Fury, along with all of the smaller enemies, the final cutscene will commence and you’ll get the achievement for completing the main IX easter egg.
If you're done with Zombies after all of that, why not check out our Black Ops 4 Blackout tips?
Sign up to the GamesRadar+ Newsletter
Weekly digests, tales from the communities you love, and more
Give me a game and I will write every "how to" I possibly can or die trying. When I'm not knee-deep in a game to write guides on, you'll find me hurtling round the track in F1, flinging balls on my phone in Pokemon Go, pretending to know what I'm doing in Football Manager, or clicking on heads in Valorant.
