The Callisto Protocol weapons and where to find them
From core gear to optional extras, these are the guns you want in Callisto Protocol
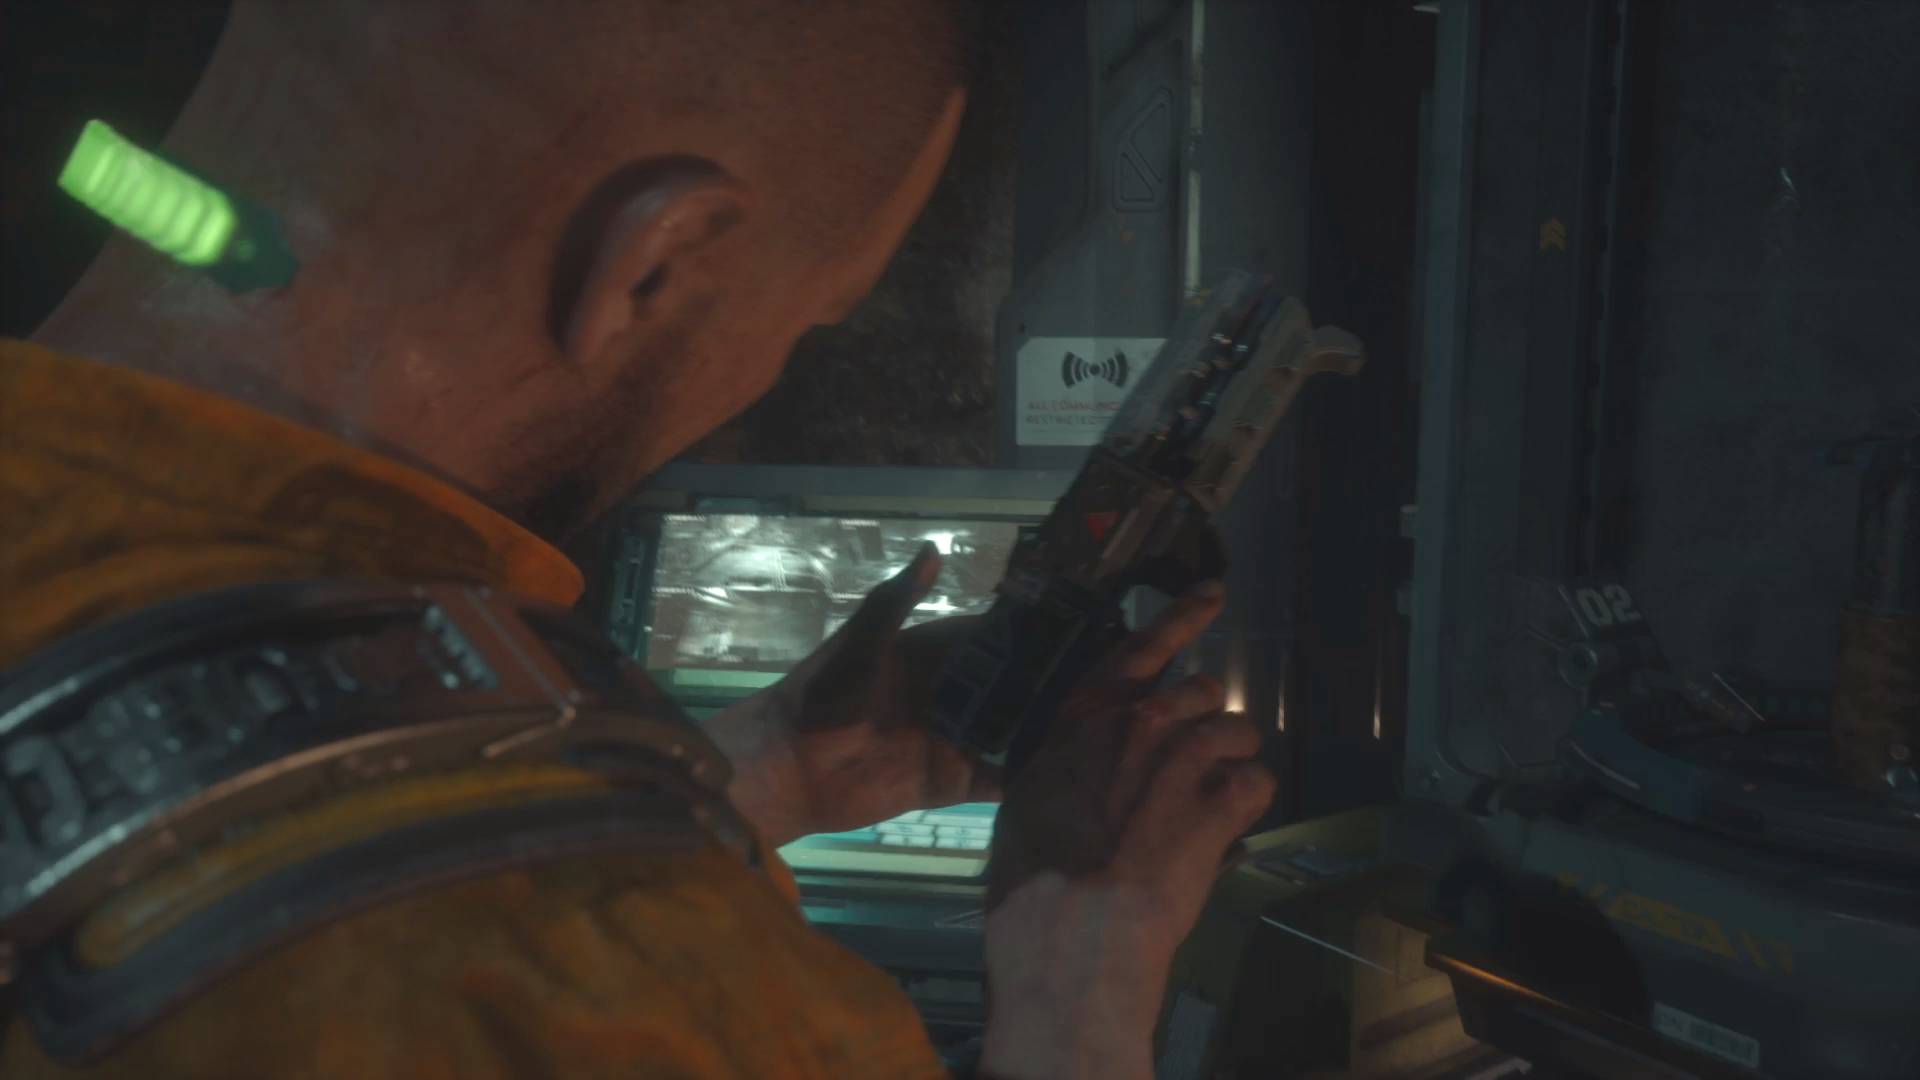
There are plenty of Callisto Protocol weapons at your disposal, so it pays to know how they work and where to get them. There are some that you'll pick up as part of the storyline, such as the stun baton and hand cannon, while others require more work to add to your arsenal by finding schematics then crafting them at a Reforge station. You can track down these additional guns in a number of locations, so they're not completely lost if you miss them the first time around, but as the combat is a brutal affair it's better to get them as soon as possible for your own protection.
Below, I've listed what I think are the first places you can find them. What you go with depends on how you play and what works for you, but in my opinion the best Callisto Protocol weapons are:
- Stun Baton - your only melee option and you'll be using it a lot
- Hand Cannon - your go-to weapon with good power and range
- Riot Gun - this basic pump shotgun is your go-to damage dealer
- Skunk Gun - great for damage but limited in range and ammo
There are plenty of options though, so let's take a look below at all of the Callisto Protocol guns and weapons roughly in the order you can find them.
And, if you need some more general Callisto Protocol tips overall, we've got that covered as well.
Stun Baton

The Stun Baton is the first proper weapon you'll unlock, about 45 minutes or so into the game. It replaces the temporary pickaxe weapon you begin with when you head to the armoury to look for weapons. It's story beat so you can't miss it. This basically works the same as the pickaxe but lets you upgrade abilities at a Reforge.
How you want to upgrade it depends on your use. We'd advise focusing on the Riot Control Swing and Increased Velocity Alloy Sheath paths, as these max out the damage you can do. The Blocking Counter Attack will still see you taking damage initially and it's expensive to get the final Blocking Feedback Damage upgrade that makes it worth using.
Stun Baton upgrade path
- Riot Control Swing - Unlocks a slower but heavier attack on R1/RB (300 CR)
- Damage Upgrade level 1 - Increases damage output (900 CR)
- Damage Upgrade level 2 - Increases damage output again (2700 CR)
- Damage Upgrade level 2 - Increases damage output again (2700 CR)
- Damage Upgrade level 1 - Increases damage output (900 CR)
- Blocking Counter Attack - Unlocks follow up attack after blocking an enemies final blow (300 CR)
- Blocking Protection - Take less damage while blocking (900 CR)
- Blocking Feedback Damage - Damage enemies when blocking (2700 CR)
- Blocking Feedback Damage - Damage enemies when blocking (2700 CR)
- Blocking Protection - Take less damage while blocking (900 CR)
- Velocity Alloy Sheath - Increases length of combo (300 CR)
- Block Break - Breaks opponent's arm if they try to block attack (900 CR)
- Targeting Module Upgrade - increases chance of aim snapping to critical area after combo (2700 CR)
- Block Break - Breaks opponent's arm if they try to block attack (900 CR)
Hand Cannon
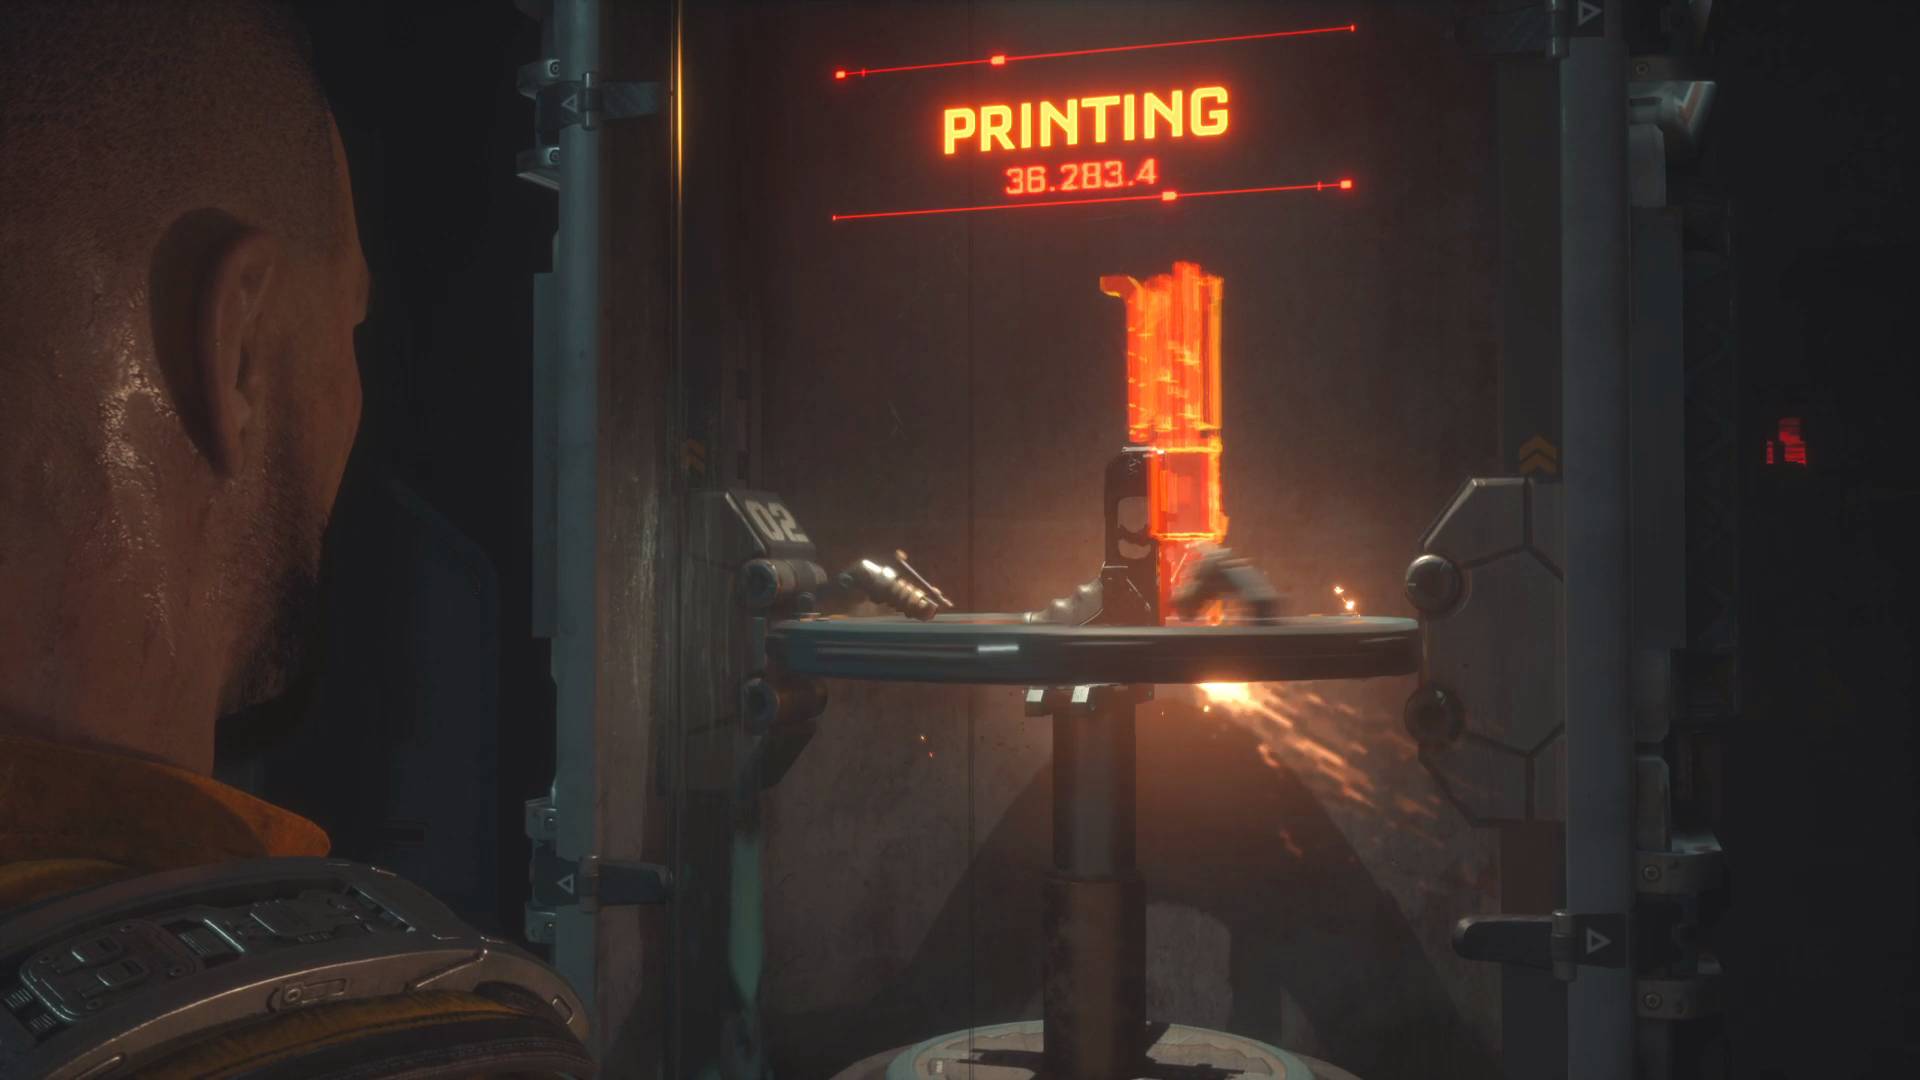
The Hand Cannon will probably be one of your main weapons for the entire game. Again, you'll unlock it as part of the story so you can't miss it. The Magnum Rounds Damage Upgrade and the High Capacity Magazine give it some kick and up to 10 shots before reloading, making it a gun you'll still be using right to the end.
Hand Cannon upgrade path
- Stability Upgrade - Reduces recoil (200 CR)
- High Capacity Magazine Upgrade - increase clip size to 10 (200 CR)
- High Capacity Magazine Upgrade - increase clip size to 10 (200 CR)
- Magnum Rounds Damage Upgrade - Increases damage (600 CR)
- TK23 Boom Bullets - Explosive rounds alt fire (1800 CR)
GRP
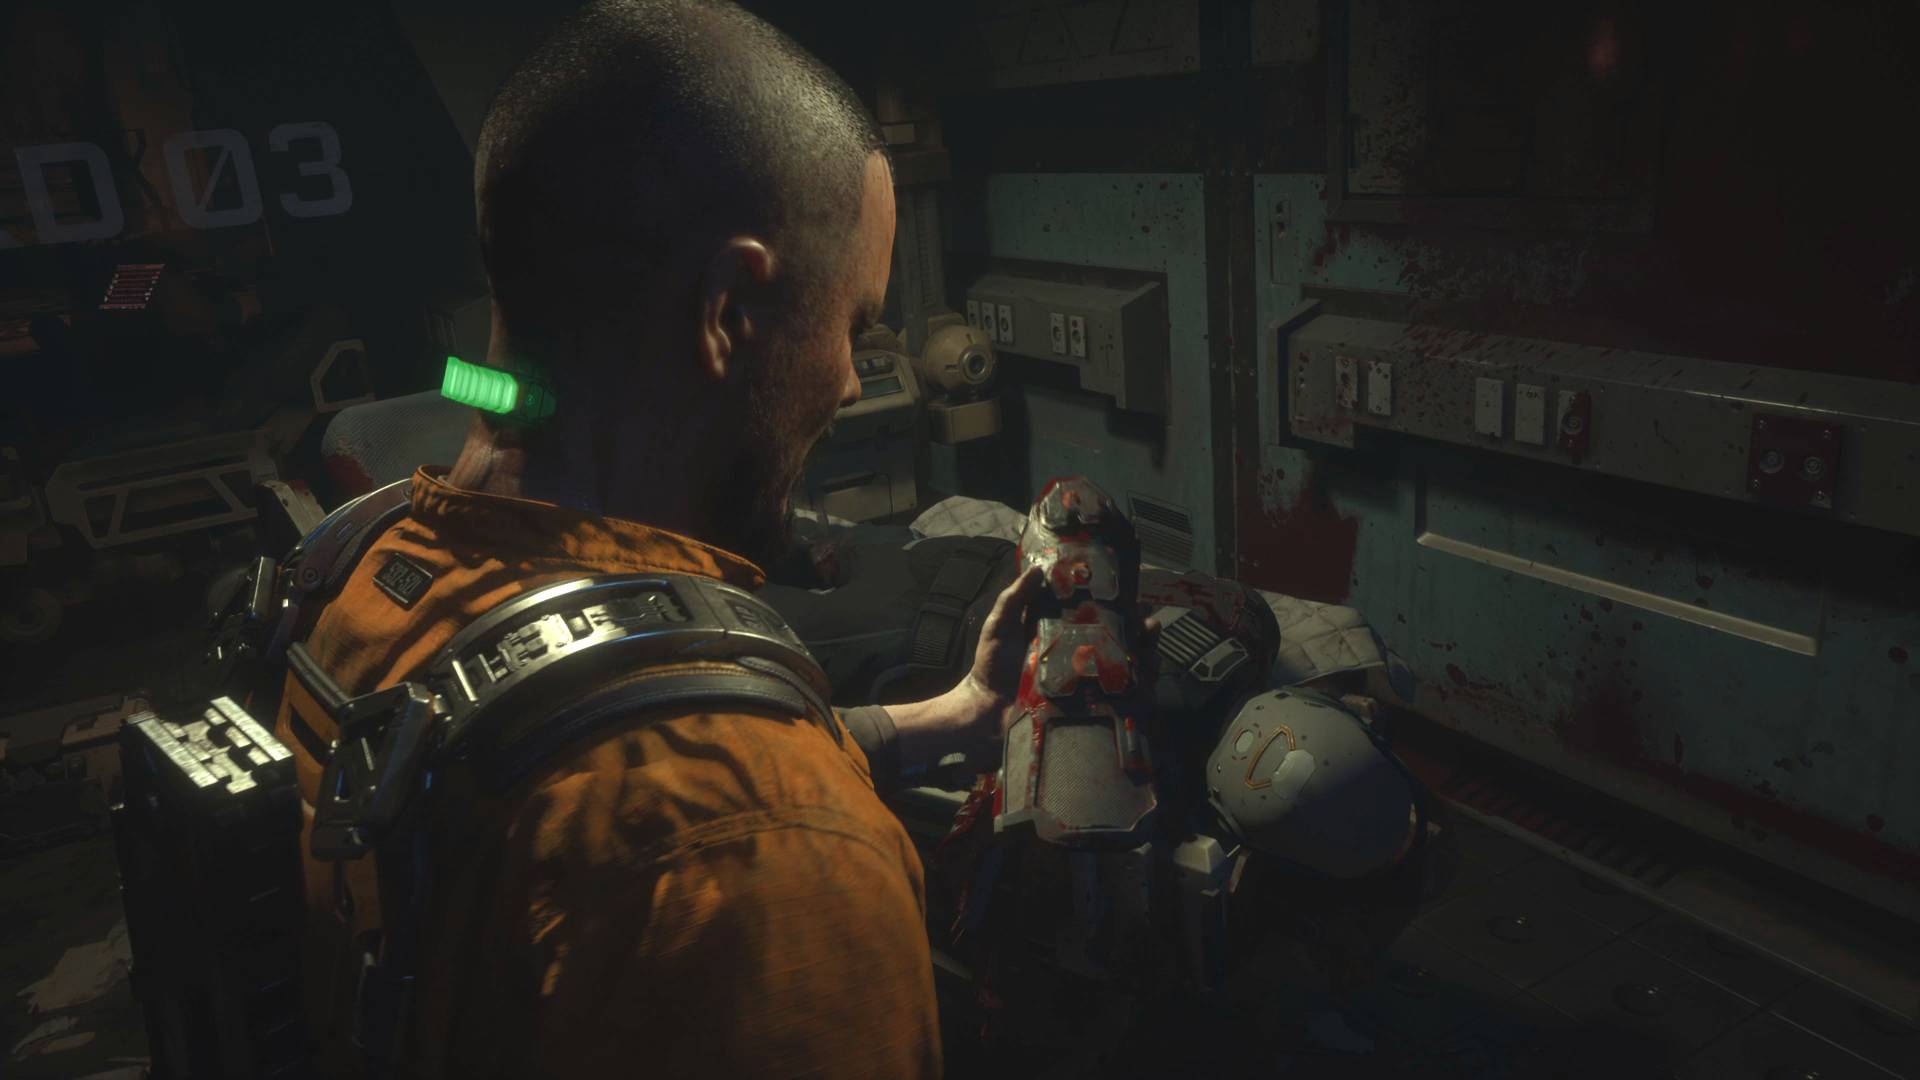
The GRP, or Grip, is the last essential core piece of gear you can't miss as part of the story. You'll find it during the mission to reach the back entrance of the Medical area. You can use it to pick up and throw things like explosive canisters, as well as enemies. The latter can help you create much needed space in a fight. To use it best offensively, look out for spiked walls, spinning fans and big drops to fire opponents into. Focus on the GRP Recharge Speed Upgrade so it charges quicker and the GRP Velocity Upgrade (for more damaging throws) to get the best use of it in combat.
GRP upgrade path
- GRP Recharge Speed Upgrade, small - Increases the recharge rate (300 CR)
- GRP Recharge Speed Upgrade, medium - (900 CR)
- GRP Recharge Speed Upgrade, max - (2700 CR)
- GRP Recharge Speed Upgrade, max - (2700 CR)
- GRP Recharge Speed Upgrade, medium - (900 CR)
- Energy Upgrade, small - Increases the energy capacity (300 CR)
- Energy Upgrade, medium - (900 CR)
- Energy Upgrade, max - (2700 CR)
- Energy Upgrade, max - (2700 CR)
- Energy Upgrade, medium - (900 CR)
- GRP Velocity Upgrade - Increases the launch strength (300 CR)
- GRP Velocity Upgrade - (900 CR)
- GRP Velocity Upgrade - (2700 CR)
- GRP Velocity Upgrade - (900 CR)
Skunk Gun
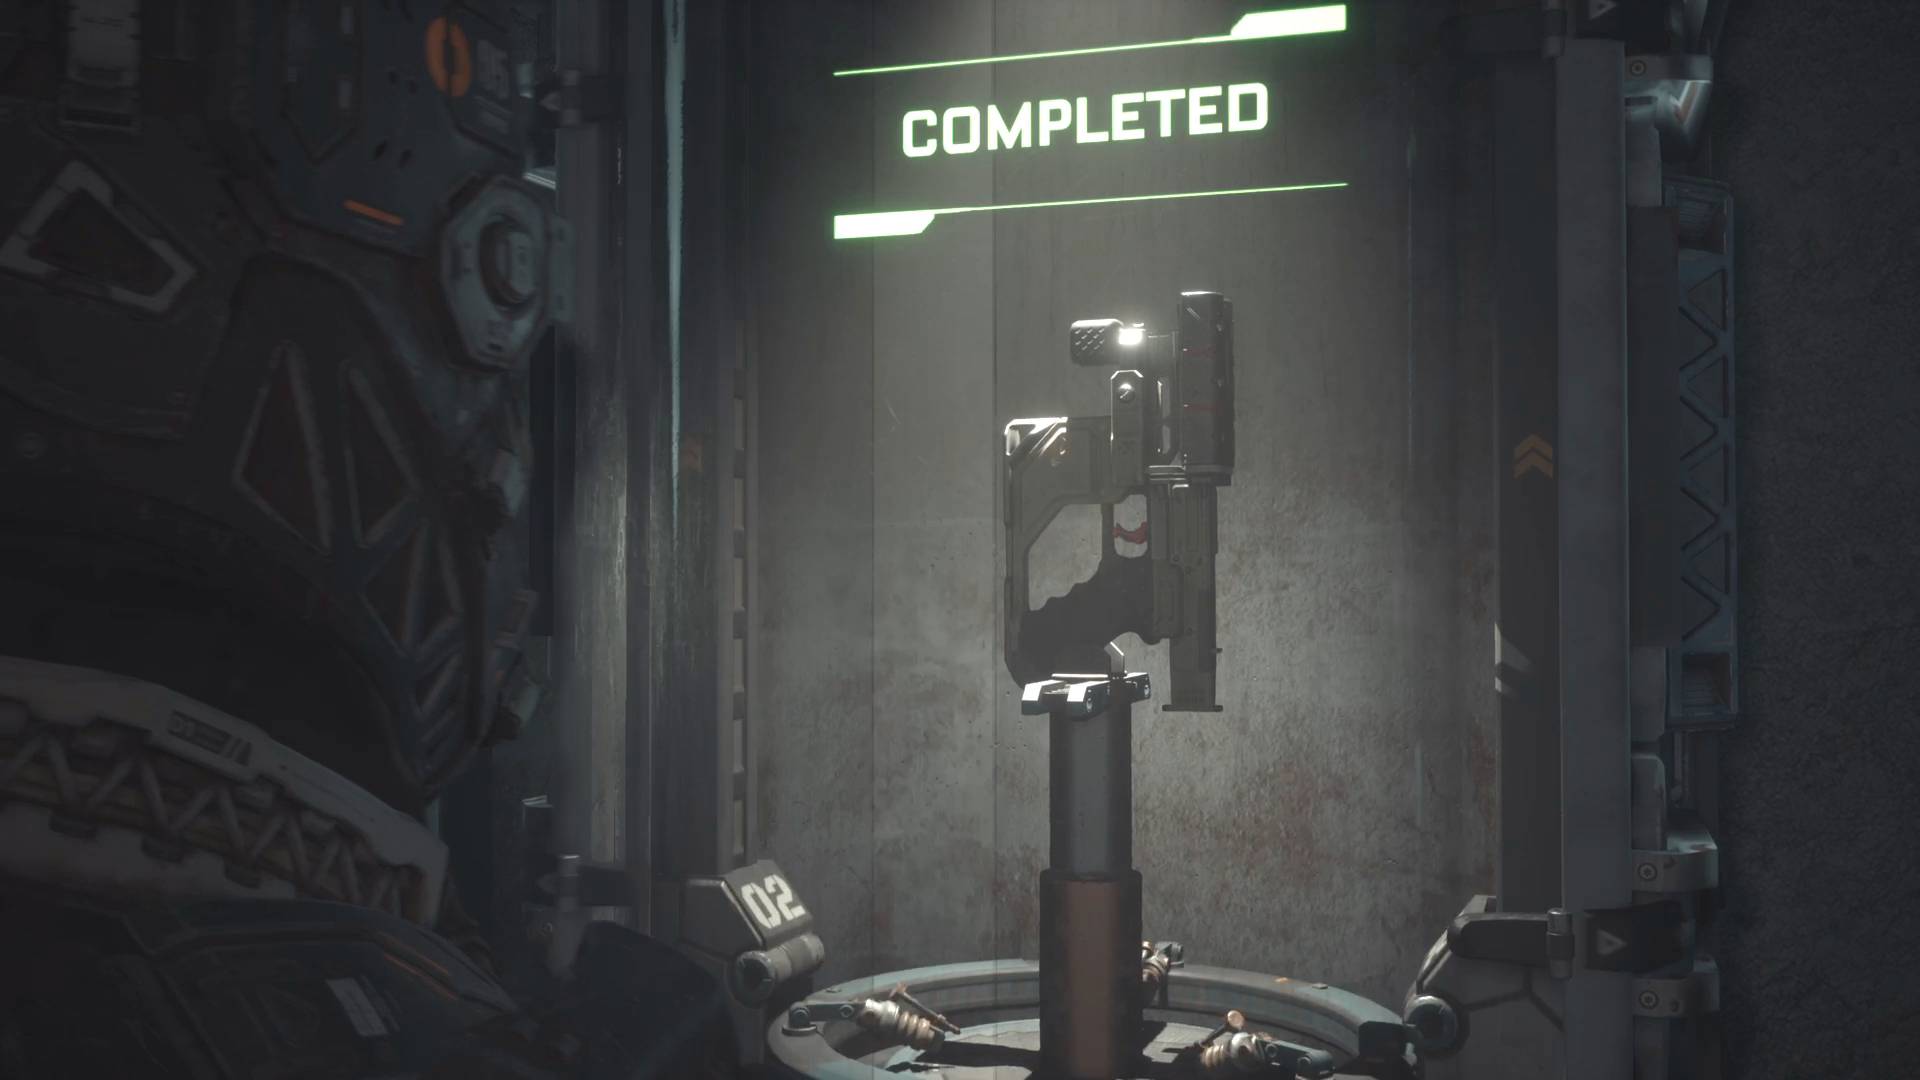
The Skunk Gun is one of the first optional weapons you can find. These optional guns can be found in multiple places and you might find them sooner rather than later depending how hard you look. For the Skunk Gun you can find it shortly after the falling elevator. You'll reach a cargo area that ends in a dropped down area full of enemies and a door that needs a fuse to open. The fuse is nearby but if you pick it up and backtrack to the start of the area you'll find a gate you can use the fuse on - climb through the air vent and you'll find the Skunk Gun schematic on the other side. Take that to a Reforge to craft it.
The Skunk is a shotgun pistol that's extremely good at short range, countered by its low magazine size. As with most guns you want the High Capacity Magazine Upgrade, which will give you four barrels instead of two, and the Magnum Round Damage Upgrade to get the best from it.
Skunk Gun upgrade path
- High Capacity Magazine Upgrade - adds two two extra barrels (400 CR)
- Stability Upgrade - Reduces recoil (1200 CR)
- Magnum Round Damage Upgrade - damage increase (1200 CR)
- Magnum Round Damage Upgrade - damage increase (1200 CR)
- Swarming Rounds - alt fire homing bullets (3600 CR)
Riot Gun
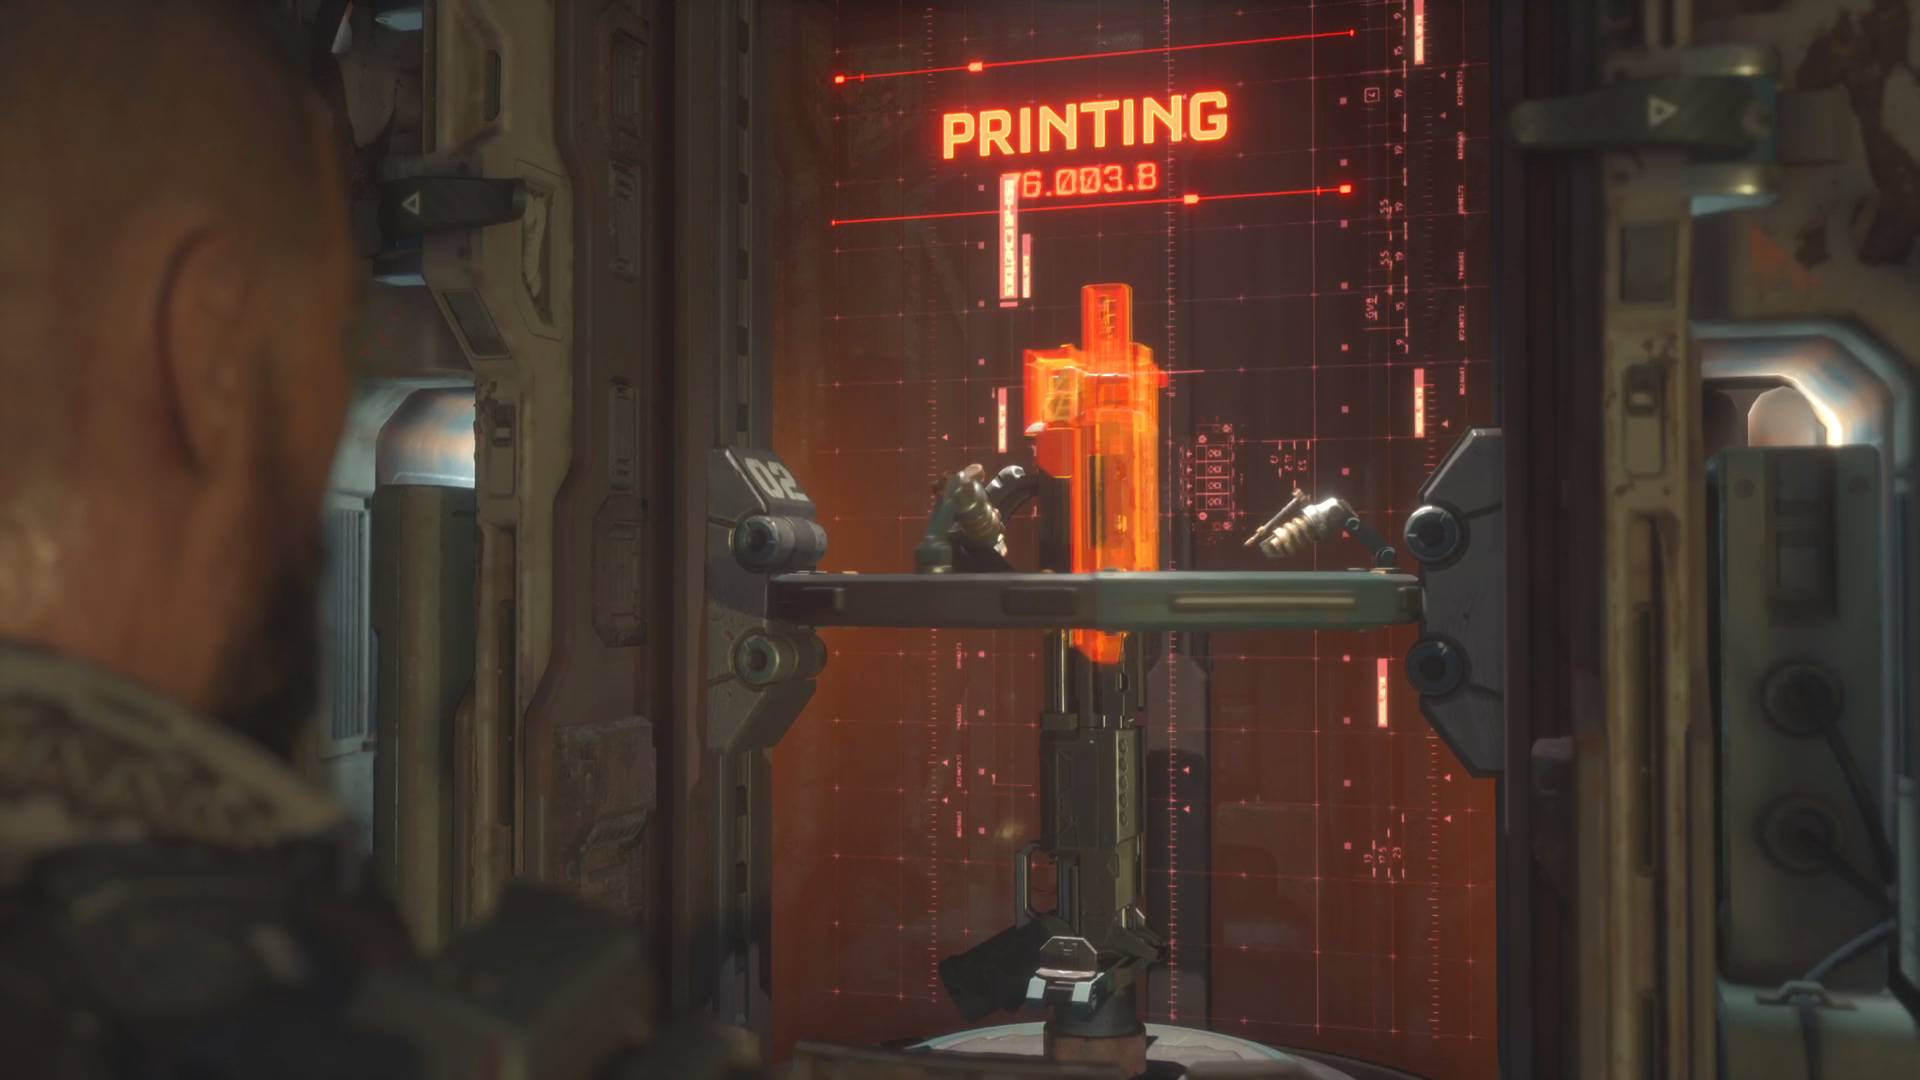
The Riot Gun is basically a pump action shotgun that you receive as part of the story so you can't miss it. It's got better range and less damage compared to the Skunk Gun but it's your go-to damage dealer in most situations. Prioritise the High Capacity Magazine Upgrade to get the most out of it.
Riot Gun upgrade path
- Stability Upgrade - reduces recoil (300 CR)
- Magnum Rounds Damage Upgrade - increases damage (300 CR)
- Magnum Rounds Damage Upgrade - increases damage (300 CR)
- High Capacity Magazine Upgrade - Adds an eight shot drum (900 CR)
- Explosive Rounds Upgrade - Explosive ammo alt fire (2700 CR)
Tactical Pistol
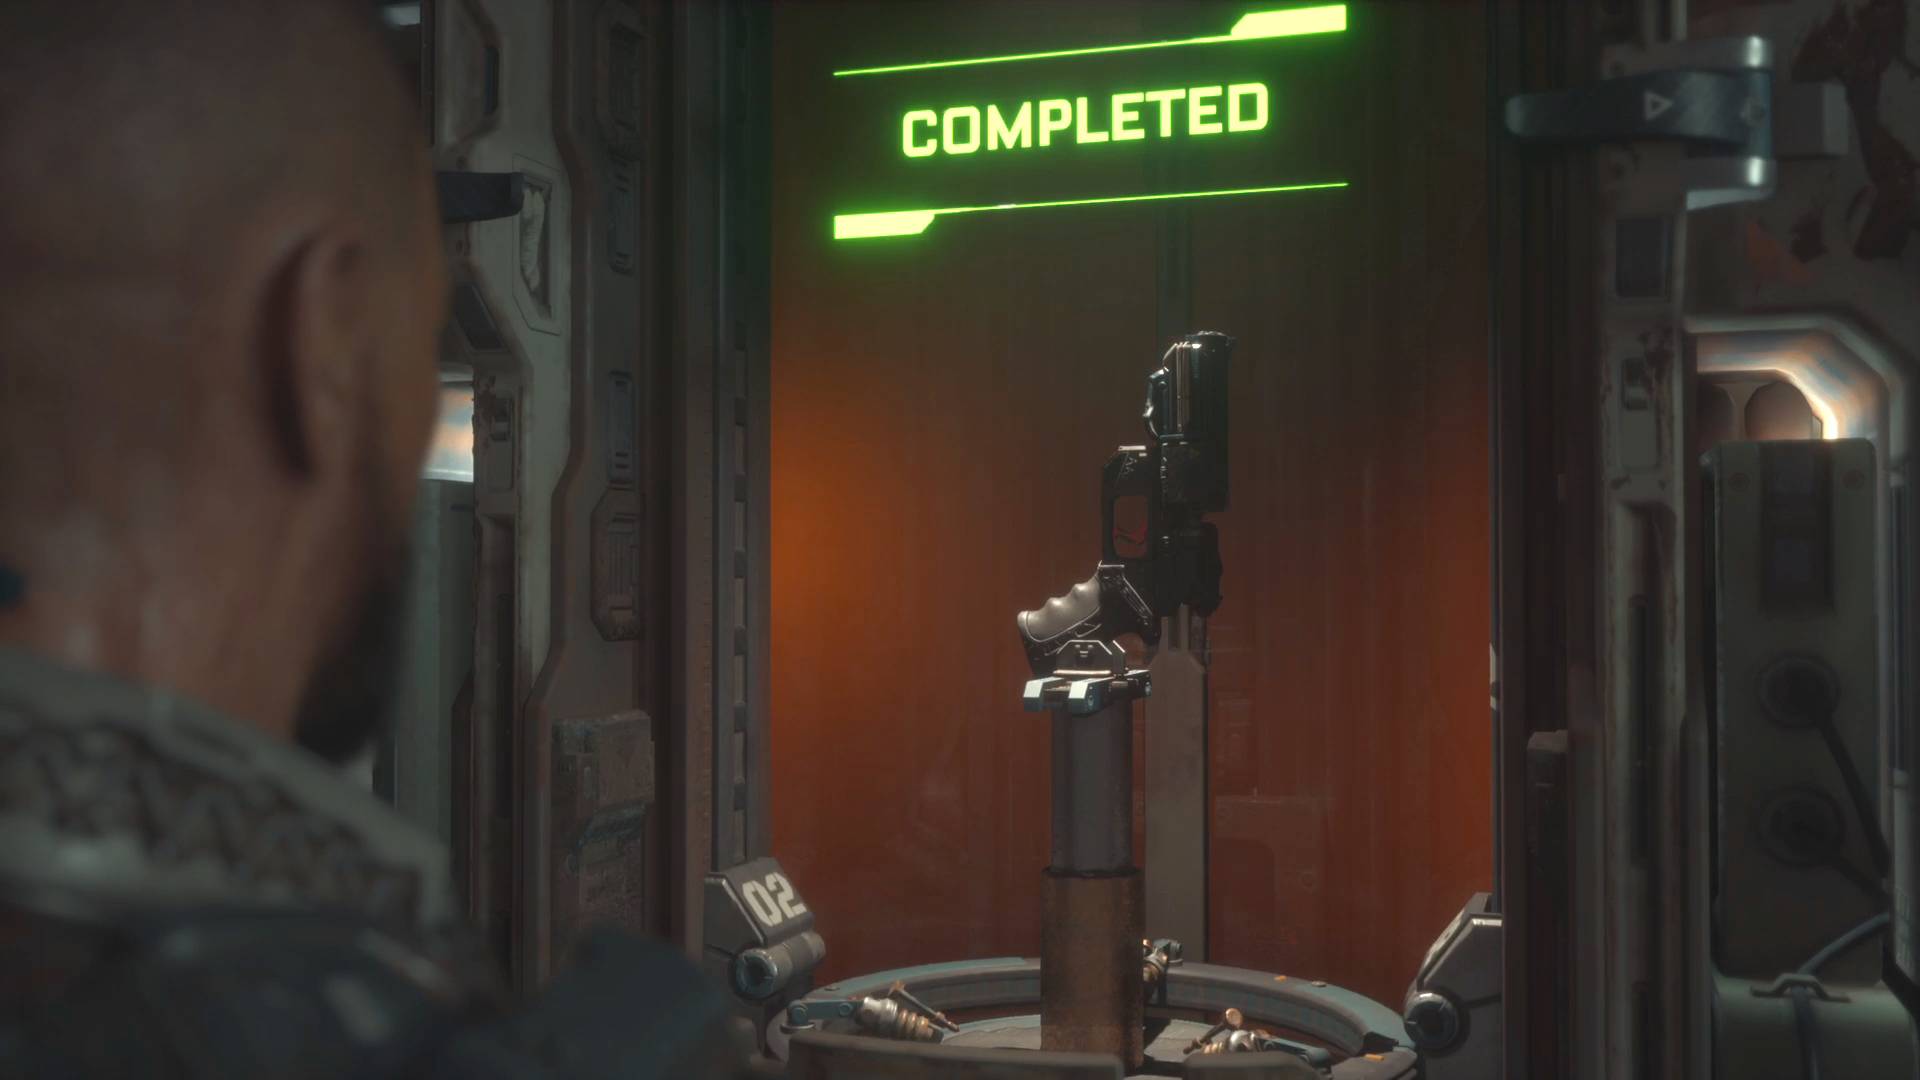
You'll find the tactical pistol in the underground area you fall into where you wake up hanging upside down. Keep moving through this area until you reach a corridor-like room with spiked walls all along one side and several blind enemies wandering around. Get to the other side and through the door there. You'll know you're going the right way if you have to squeeze through a narrow doorway with two sleeping enemies on either side. Head through there and you'll find the Tactical Pistol schematic on a desk on the right hand side.
It's a low damage, but high fire rate weapon that can actually lay on a lot of damage with a quick trigger finger. Again, focus on the Magnum Round Damage Upgrade and High Capacity Magazine Upgrade to maximize its potential.
Tactical Pistol upgrade path
- Magnum Round Damage Upgrade - damage increase (300 CR)
- High Capacity Magazine Upgrade - increases clip size to 10 (900 CR)
- Stability Upgrade - Reduce recoil (900 CR)
- Stability Upgrade - Reduce recoil (900 CR)
- TK33 Burst Mode - five round burst fire alt mode (3600 CR)
Assault Rifle
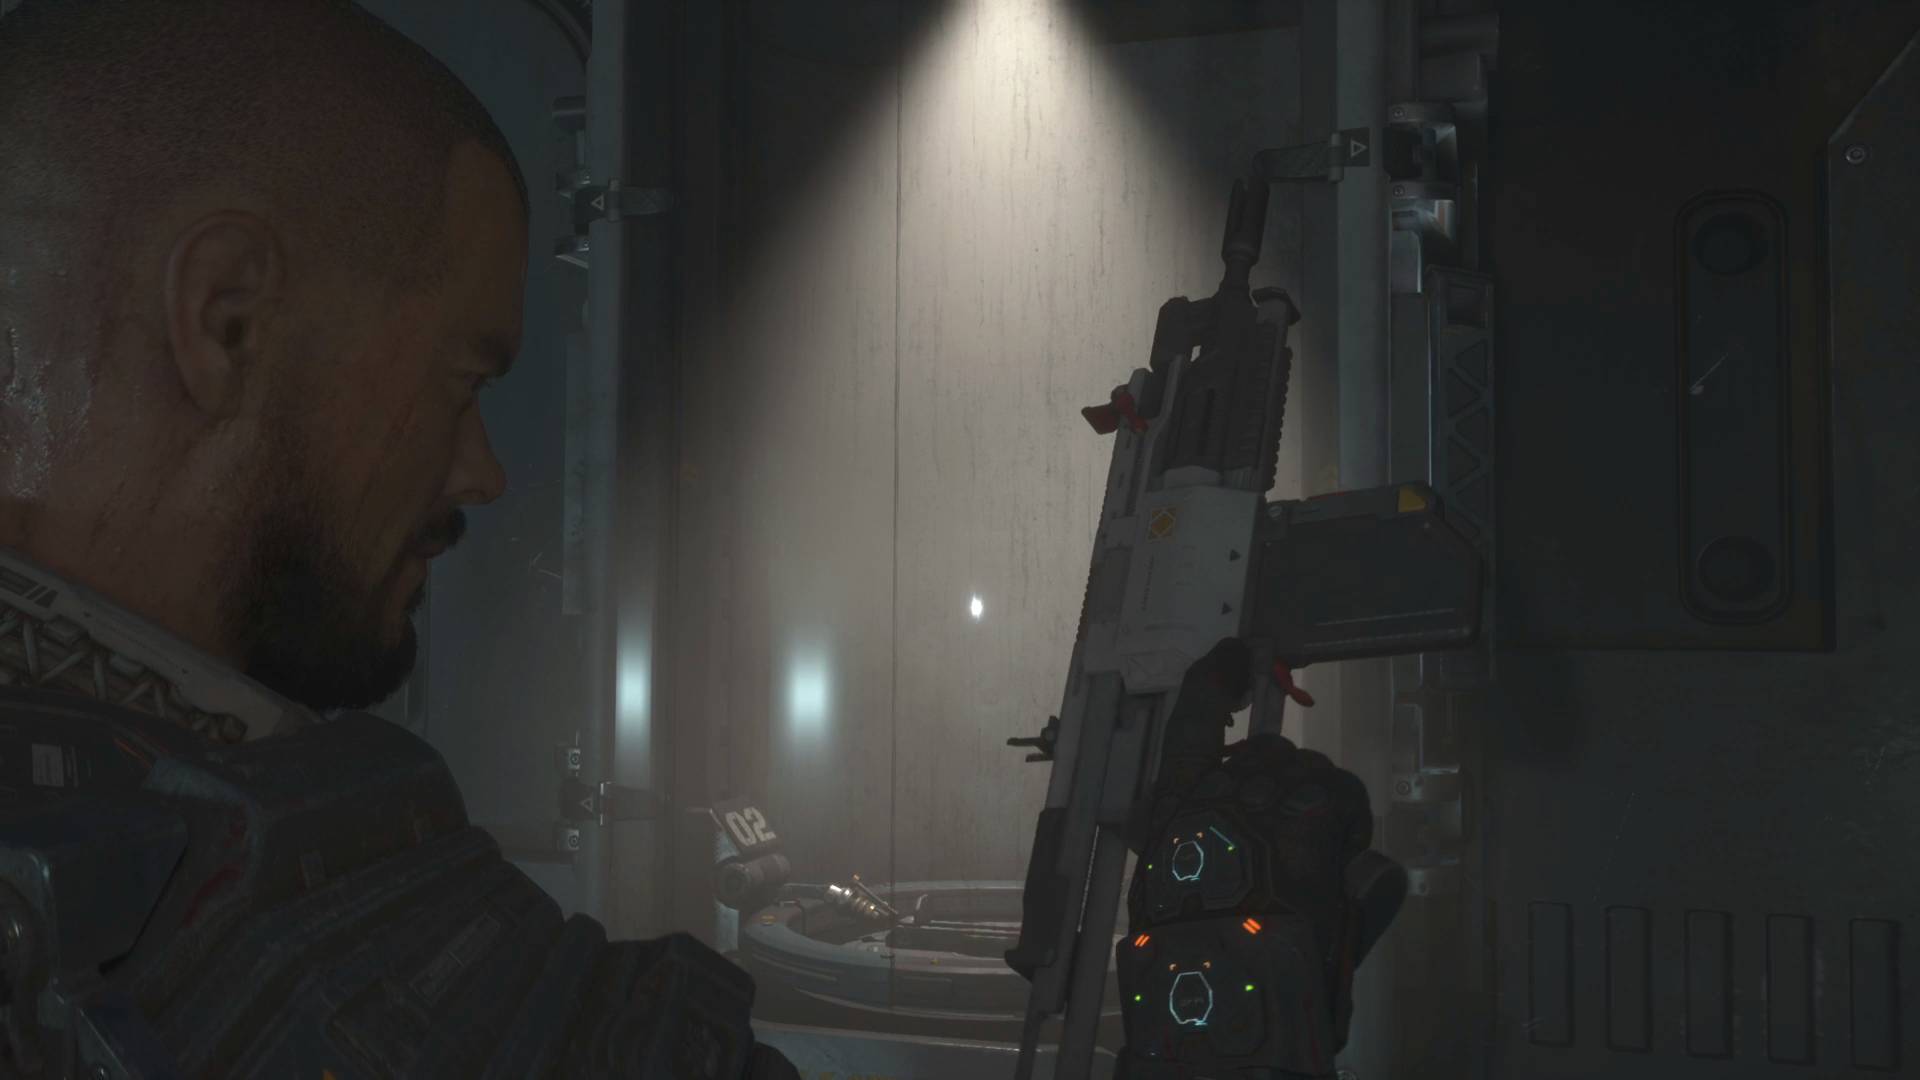
You'll find the Assault Rifle Schematic in the Colony level when you reach the miners' settlement made up of cargo container-style housing. Find the building with the General Store sign, and head through and out the other side - on the left you'll see a bathroom with a flickering light, the Schematic is in front of the mirrors.
The assault rifle has a lot of recoil on its three round burst, so you really want the Stability Upgrade to get the best out of it.
Assault Rifle upgrade path
- High Capacity Magazine Upgrade - increases ammo count (500 CR)
- Magnum Rounds Damage Upgrade - Increases damage (1500CR)
- Stability Upgrade - Reduces recoil (4500 CR)
- TK63 Homing Rounds - Homing bullet alt fire mode (4500 CR)
- TK63 Homing Rounds - Homing bullet alt fire mode (4500 CR)
© GamesRadar+. Not to be reproduced without permission.
Sign up to the GamesRadar+ Newsletter
Weekly digests, tales from the communities you love, and more

I'm GamesRadar's Managing Editor for guides, which means I run GamesRadar's guides and tips content. I also write reviews, previews and features, largely about horror, action adventure, FPS and open world games. I previously worked on Kotaku, and the Official PlayStation Magazine and website.
