COD: Black Ops Rezurrection DLC guide
In space, no one can hear you scream on your headset
Shi No Numa
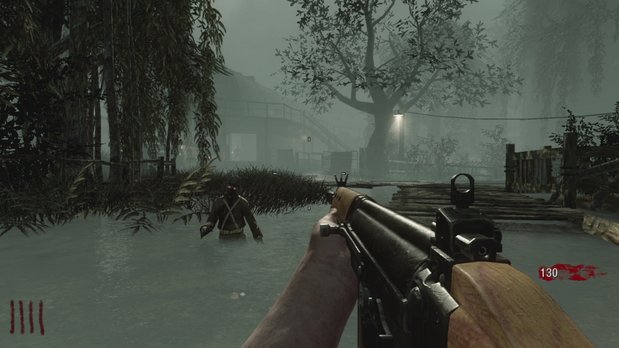
We’re not sure who told game developers that swamps are fun. Shi No Numa’s dense foliage, fog, deep water, and unlimited shades of brown make it one of the more difficult zombie maps. Zombie’s not only come through the standard barriers, but also from beyond fences, under the water, and from behind trees. Yay! At least the power is already on when the level begins...
The layout is simple in concept: a central hub (where you start) surrounded by four outlying structures. It costs 1000 points to open one of four doors leading out of the hub, then an additional 750 to gain access to a hut. Just because you’re outside the hub doesn’t mean that you’ll have access to the other huts though. Each hut is blocked off from the others, meaning you’ll have to spend quite a few points if you want access to all four.
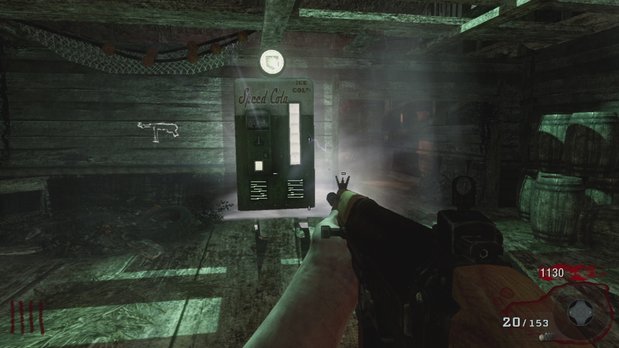
Each hut features a random perk inside. This makes finding the yummy juggernog an annoying game of chance.
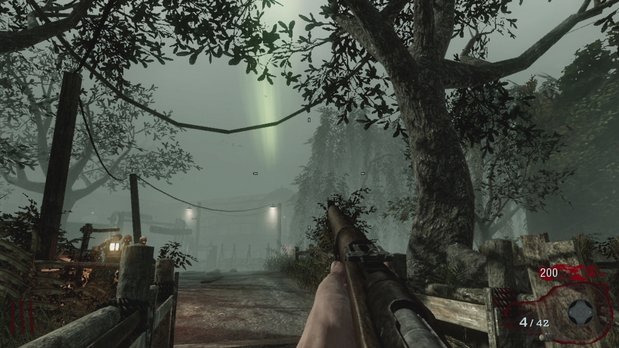
You can discern the location of the mystery box at any time by simply looking to the sky. The column of light will tell you where to find the box. This is especially useful if the box is in one of the huts as opposed to the central hub.
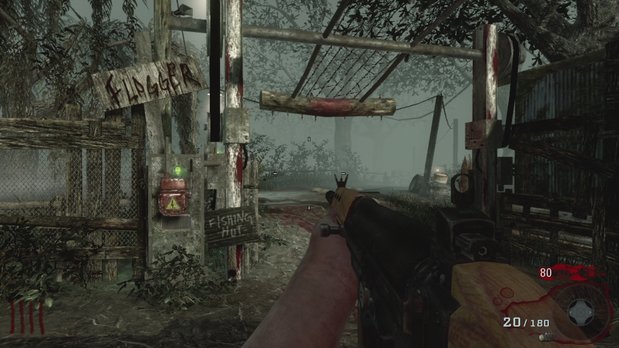
The Flogger is a very cool trap involving two rotating spiked logs. It’s near the gate that leads to the fishing hut (which you have to open before activating the trap) and costs 750 to turn on. It only lasts about 30 seconds, but will instantly kill any zombie that wanders into it. It can be turned on from either side.
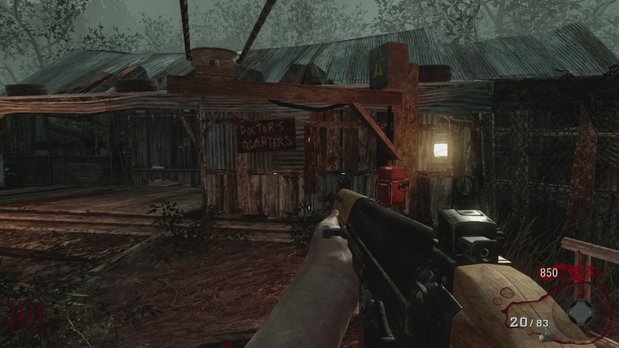
The zipline goes from the second floor of the hub to the doctor’s quarters. You need to turn it on from the doctor’s quarters before you can use it.
Der Riese
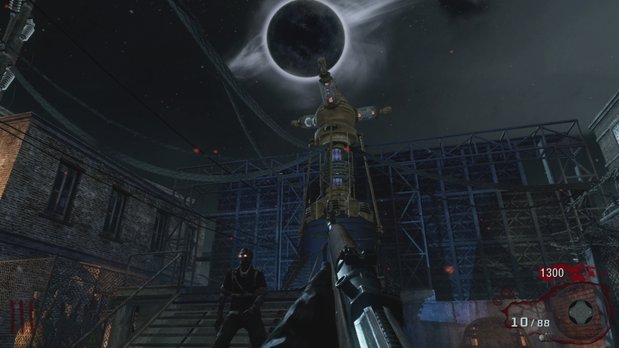
The classic zombie factory is back. Newcomers should be warned that In between waves there’s a chance of an all-hellhound wave. These can actually be a reprieve as there aren’t many dogs per wave and they are easy to kill. It’s also important to know that while the teleporter pad near the beginning of the level is immediately useless, it later serves as a central hub to three other teleporters scattered throughout the map.
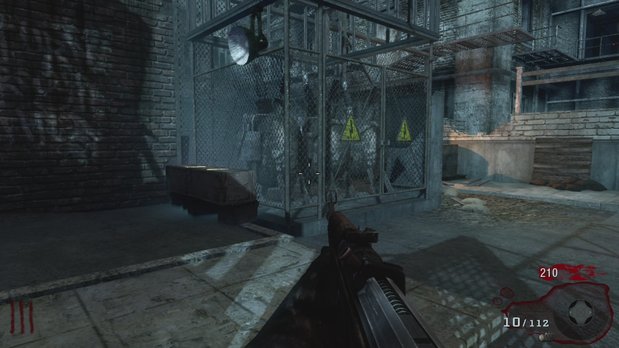
It’s not hard to find the power switch here. Just choose one of the two doors from the start of the level and continue on until you find some stairs to take you to the second level. From there, you can drop down into the pit where the power switch is. Turning on the power drops the barriers leading back to where you started the level, and lowers the drawbridge connecting the two second story areas.
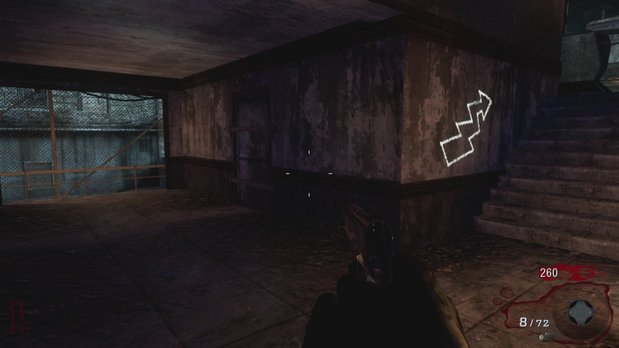
Above: The juggernog is just through here before the stairs
If you want the juggernog asap, face the teleporter at the beginning of the level and choose the door to the right. If you take this path, you’ll pass the juggernog before you reach the power switch.
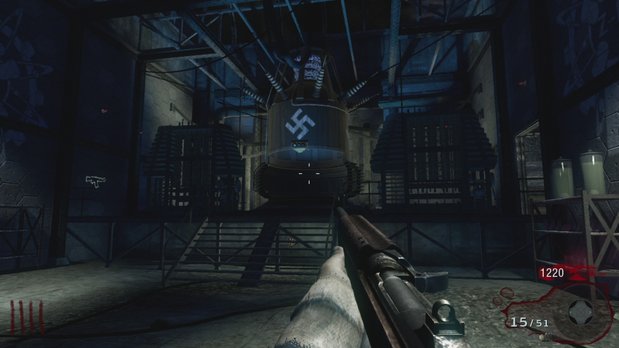
From the area with the power switch, you can open another door for 1250 that leads to one of three teleporters in this level. If you activate a teleporter, you’ll have 30 seconds to rush back to the mainframe where you began the level and complete the link. Doing so may cause a free power up to spawn about one hundred feet away.
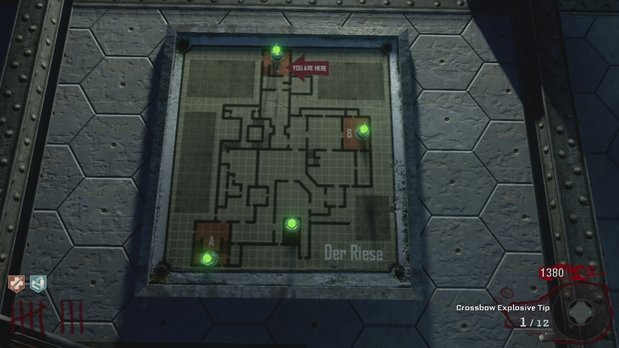
See the map above for the complete layout of the level. The central mainframe (where all the teleporters lead) is at the bottom center.
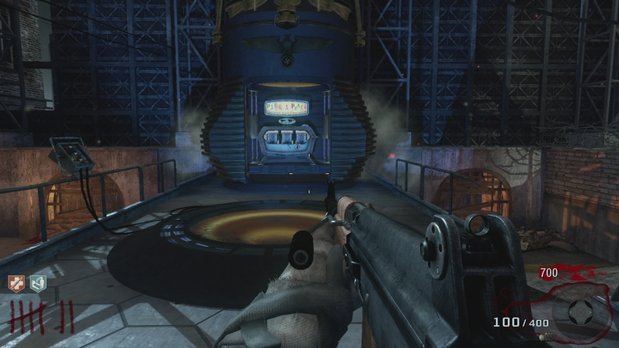
If you link all three teleporters to the central mainfram successfully, the pack-a-punch machine becomes accessible.
Aug 31, 2011
Sign up to the GamesRadar+ Newsletter
Weekly digests, tales from the communities you love, and more
