Control walkthrough and guide to help complete the game
How to reach the end of the game and beat all side missions
After you've completed the Fridge Duty mission, speak to Langston again to obtain Langston's Runaways. Note that you can only complete this mission once you've done A Matter of Time.
Japanese Paper Lantern
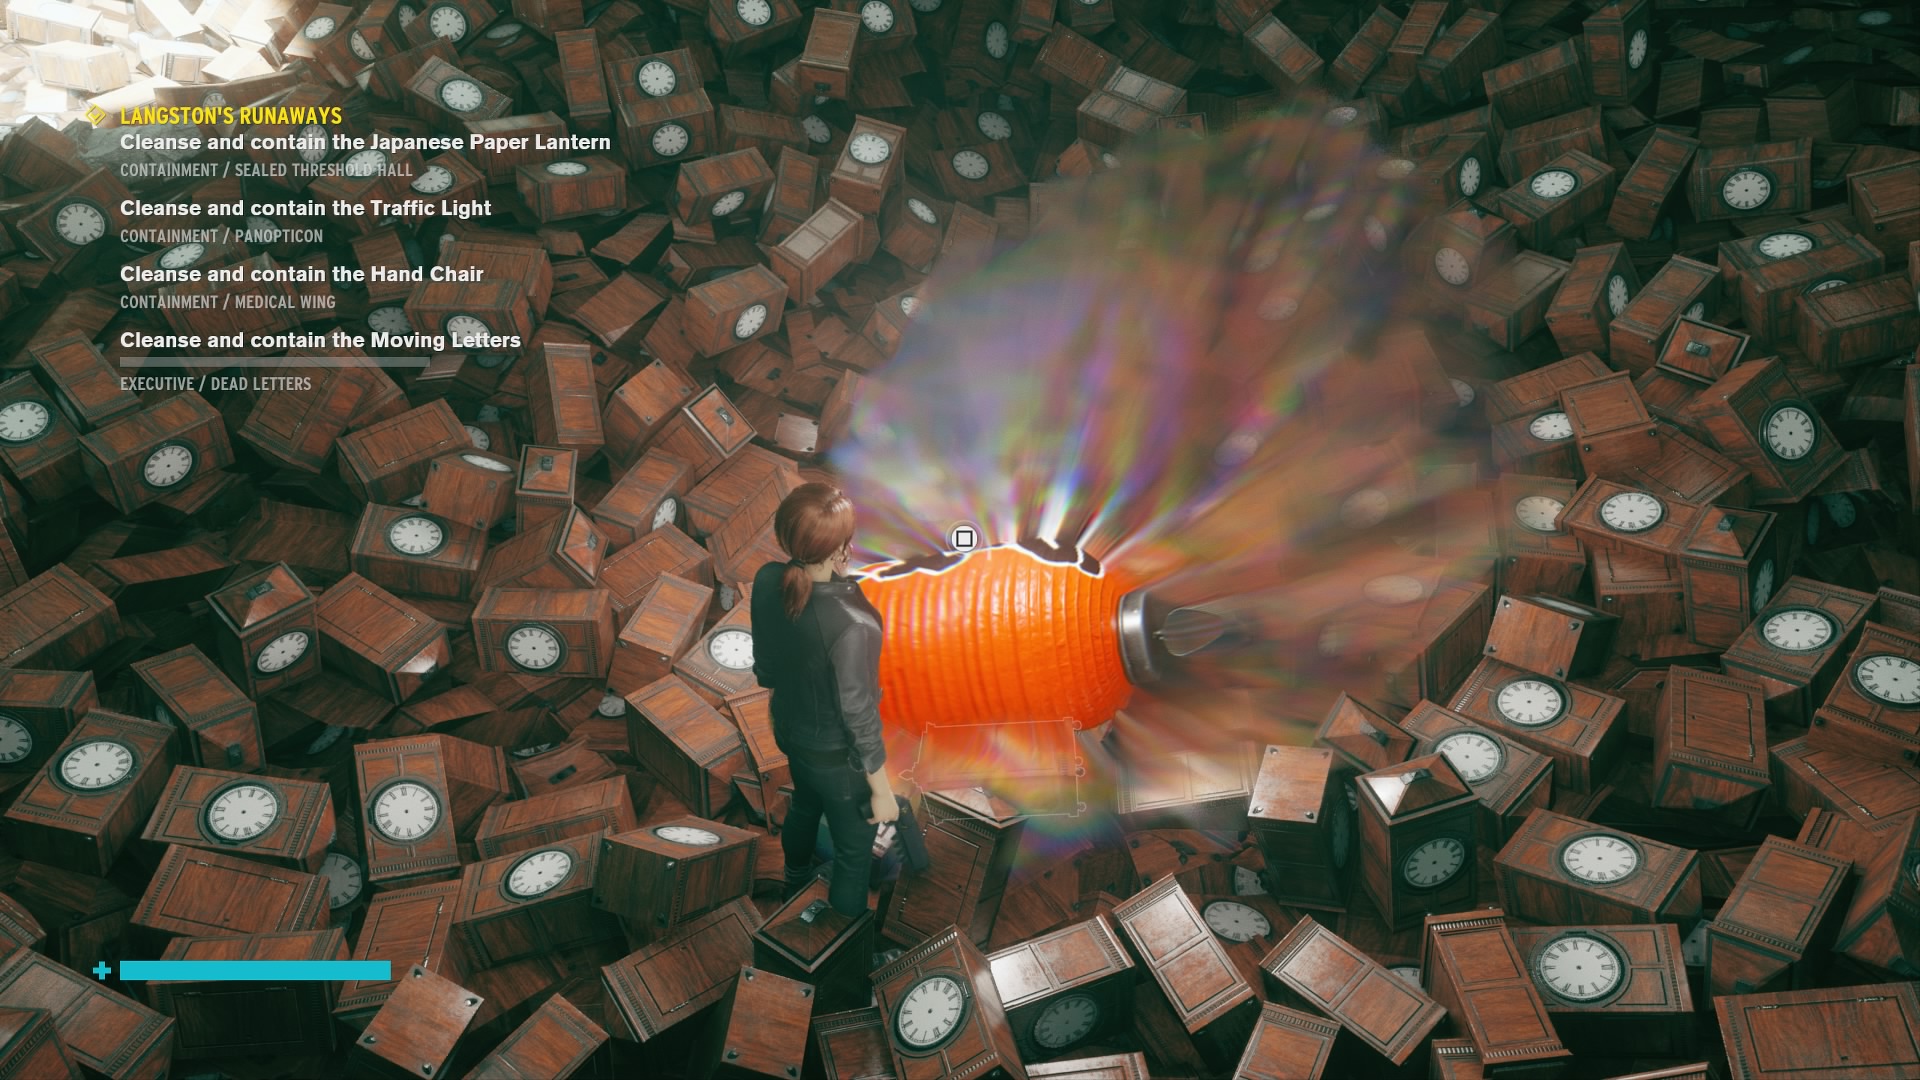
Fast travel to the Sealed Threshold Entrance then run up the staircase of clocks until you reach the Sealed Threshold Hall, full of clocks and also some more enemies. Clear them out then interact with the Japanese Paper Lantern in the middle of the room to complete the objective.
Traffic Light
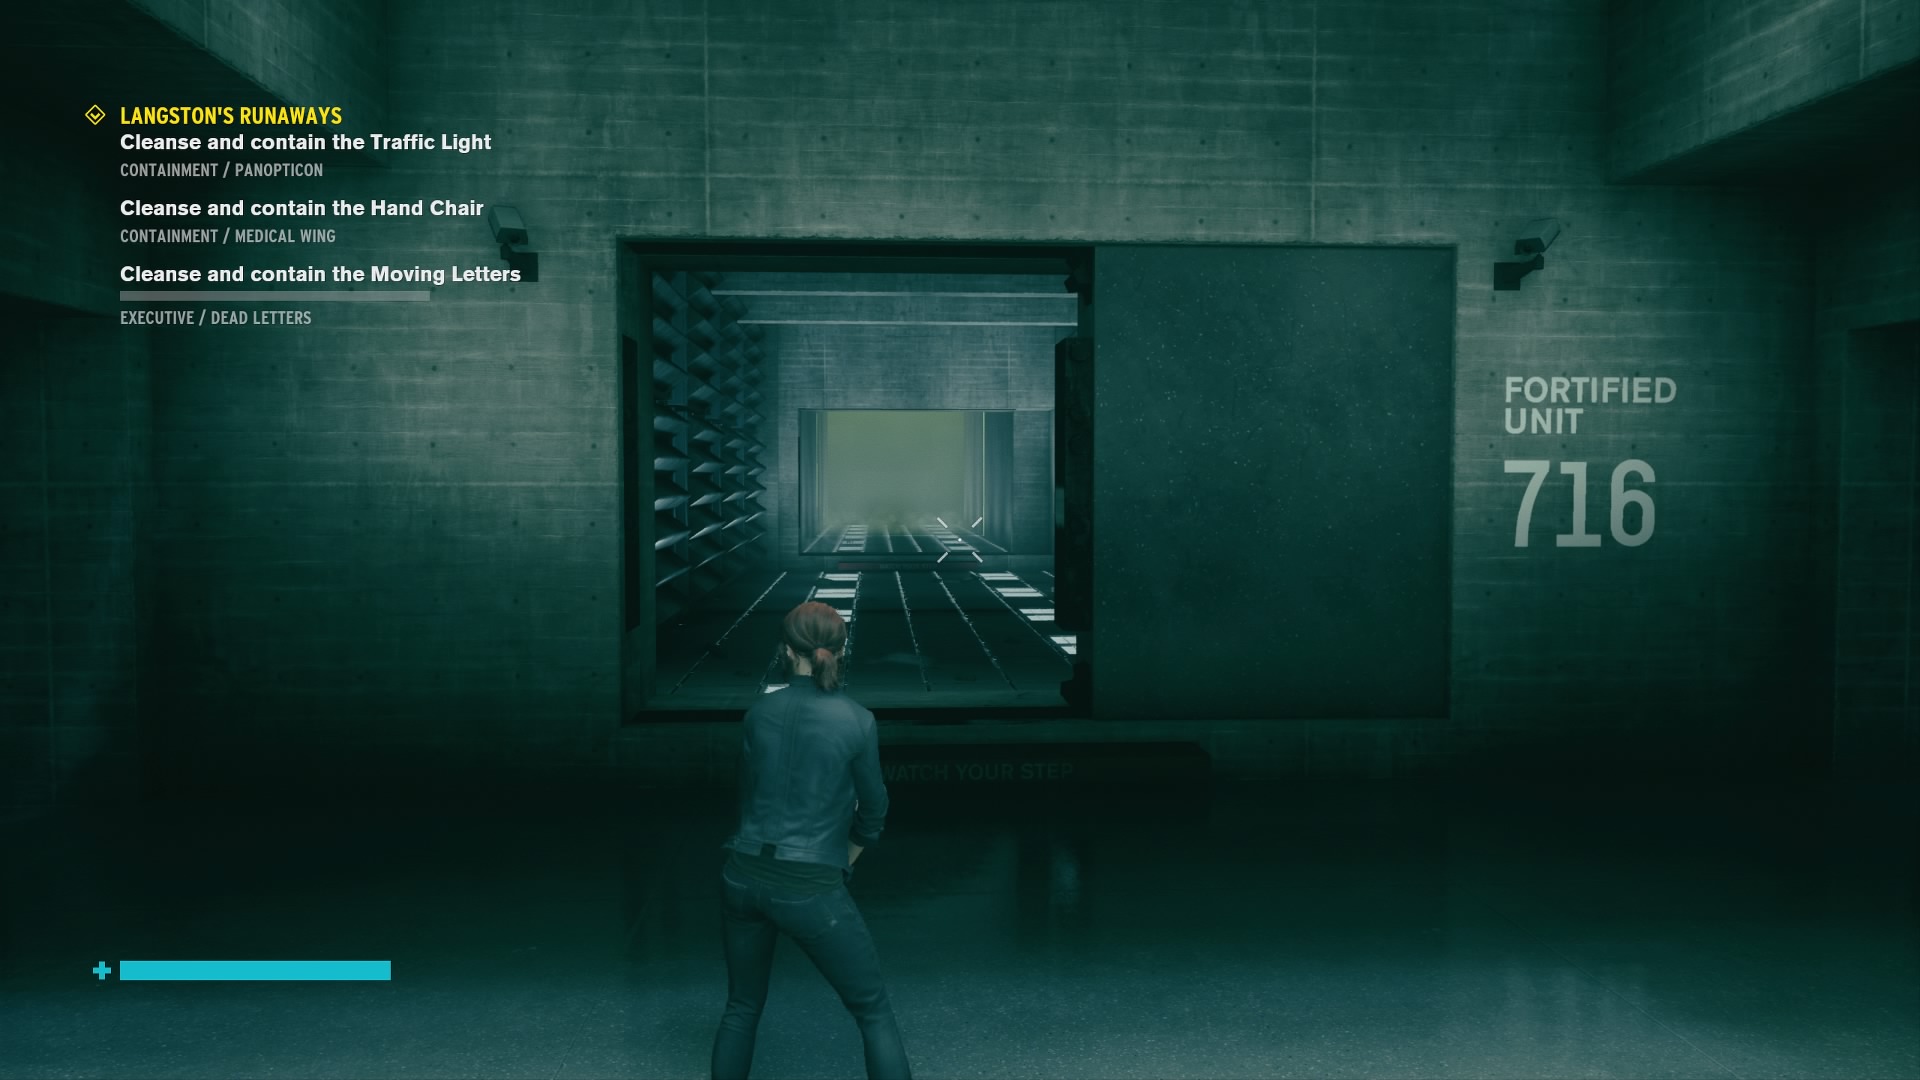
Next up is the Traffic Light, found in the Panopticon. Head up to the fourth floor and at one end, you'll find the Twisted Passage. You'll be able to see the Traffic Light flashing at the end. There's a trick to this; you can only move when the Traffic Light is green. If you try to reach it while it's red, you'll be sent back to the start.
It's not too tricky once you know how to do it, just make sure you stop moving when it turns amber and don't go again until it's green. When you reach it the first time, it'll flee into the next room, at which point you just have to follow the same rules. When you get to it, interact with it to cleanse it and voila! Another Altered Item down.
Hand Chair
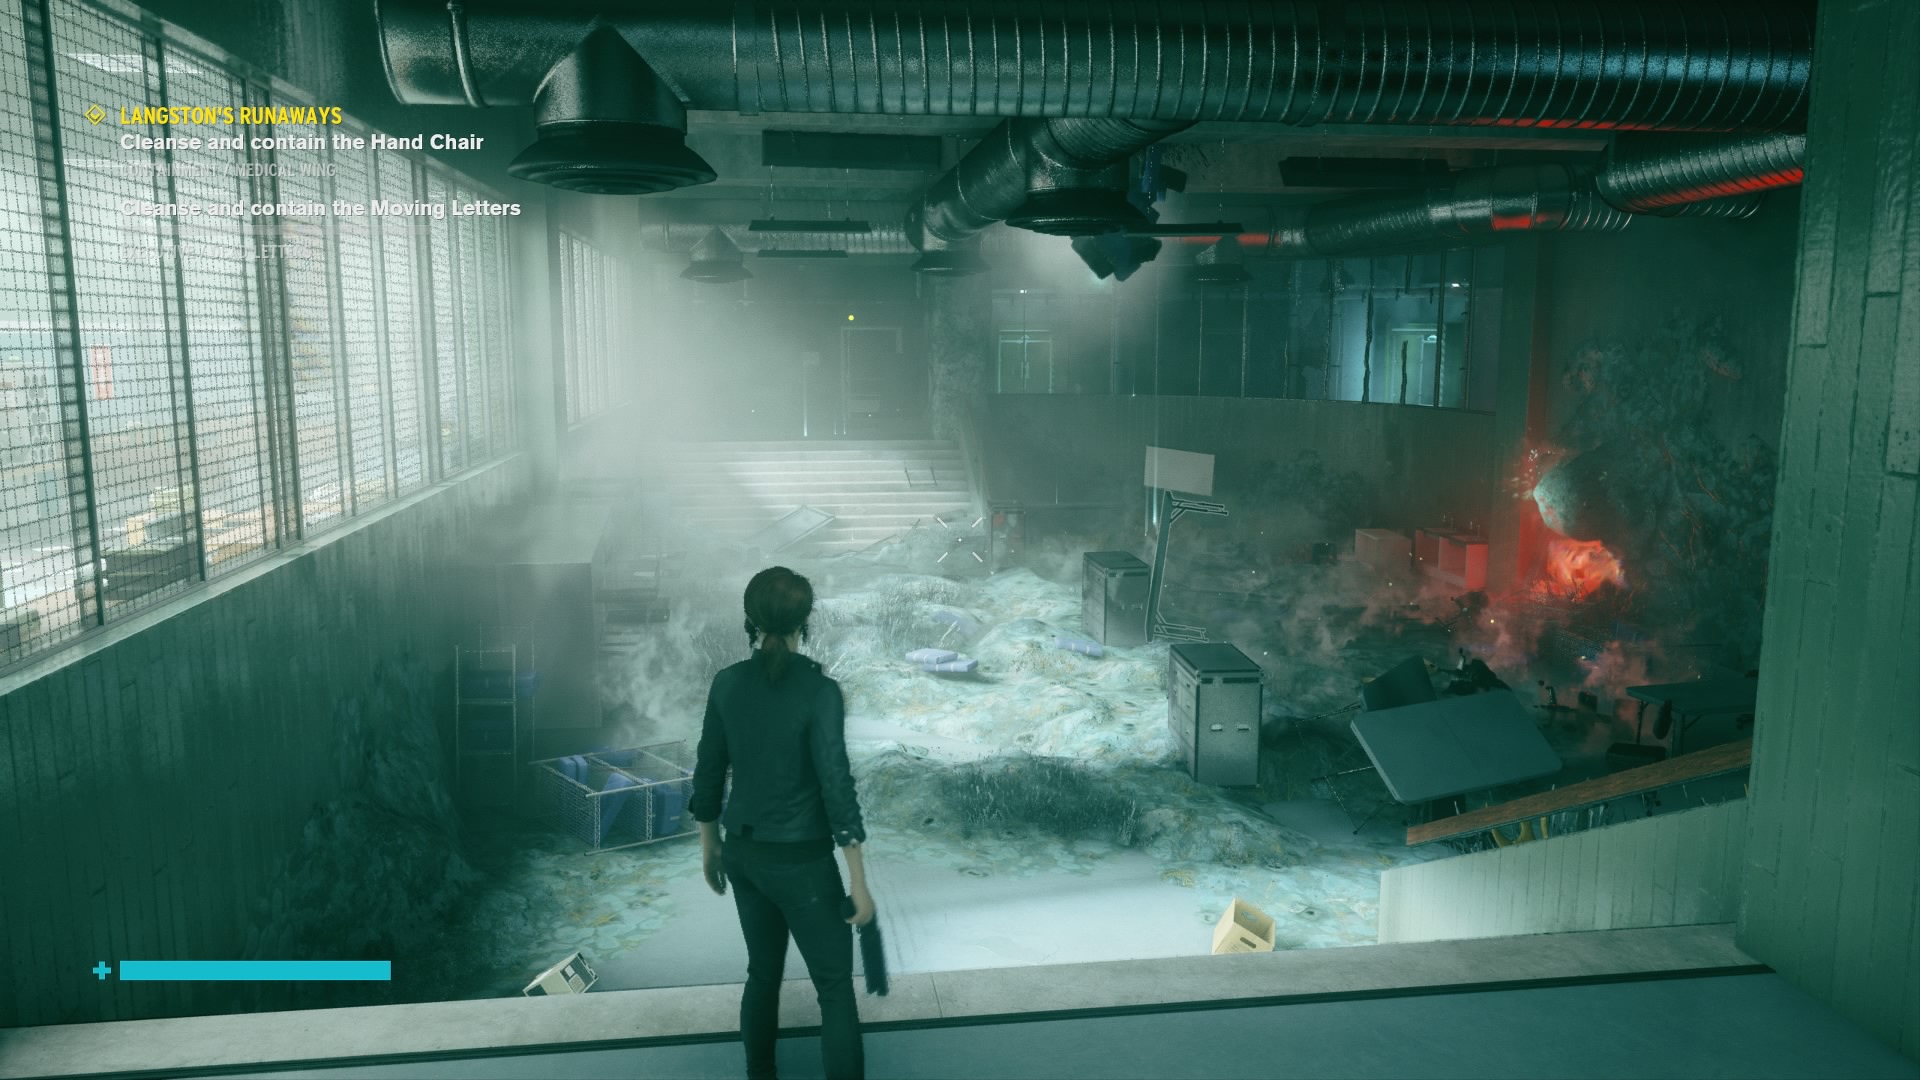
For this one, head through Security and into the Medical Wing. In the room covered in Mold is a literal chair shaped like a hand stuck to the ceiling. Destroy the pulsing red Hiss things stuck to the wall, then shoot at the chair to make it fall, where you can interact with it and cleanse it.
Moving Letters
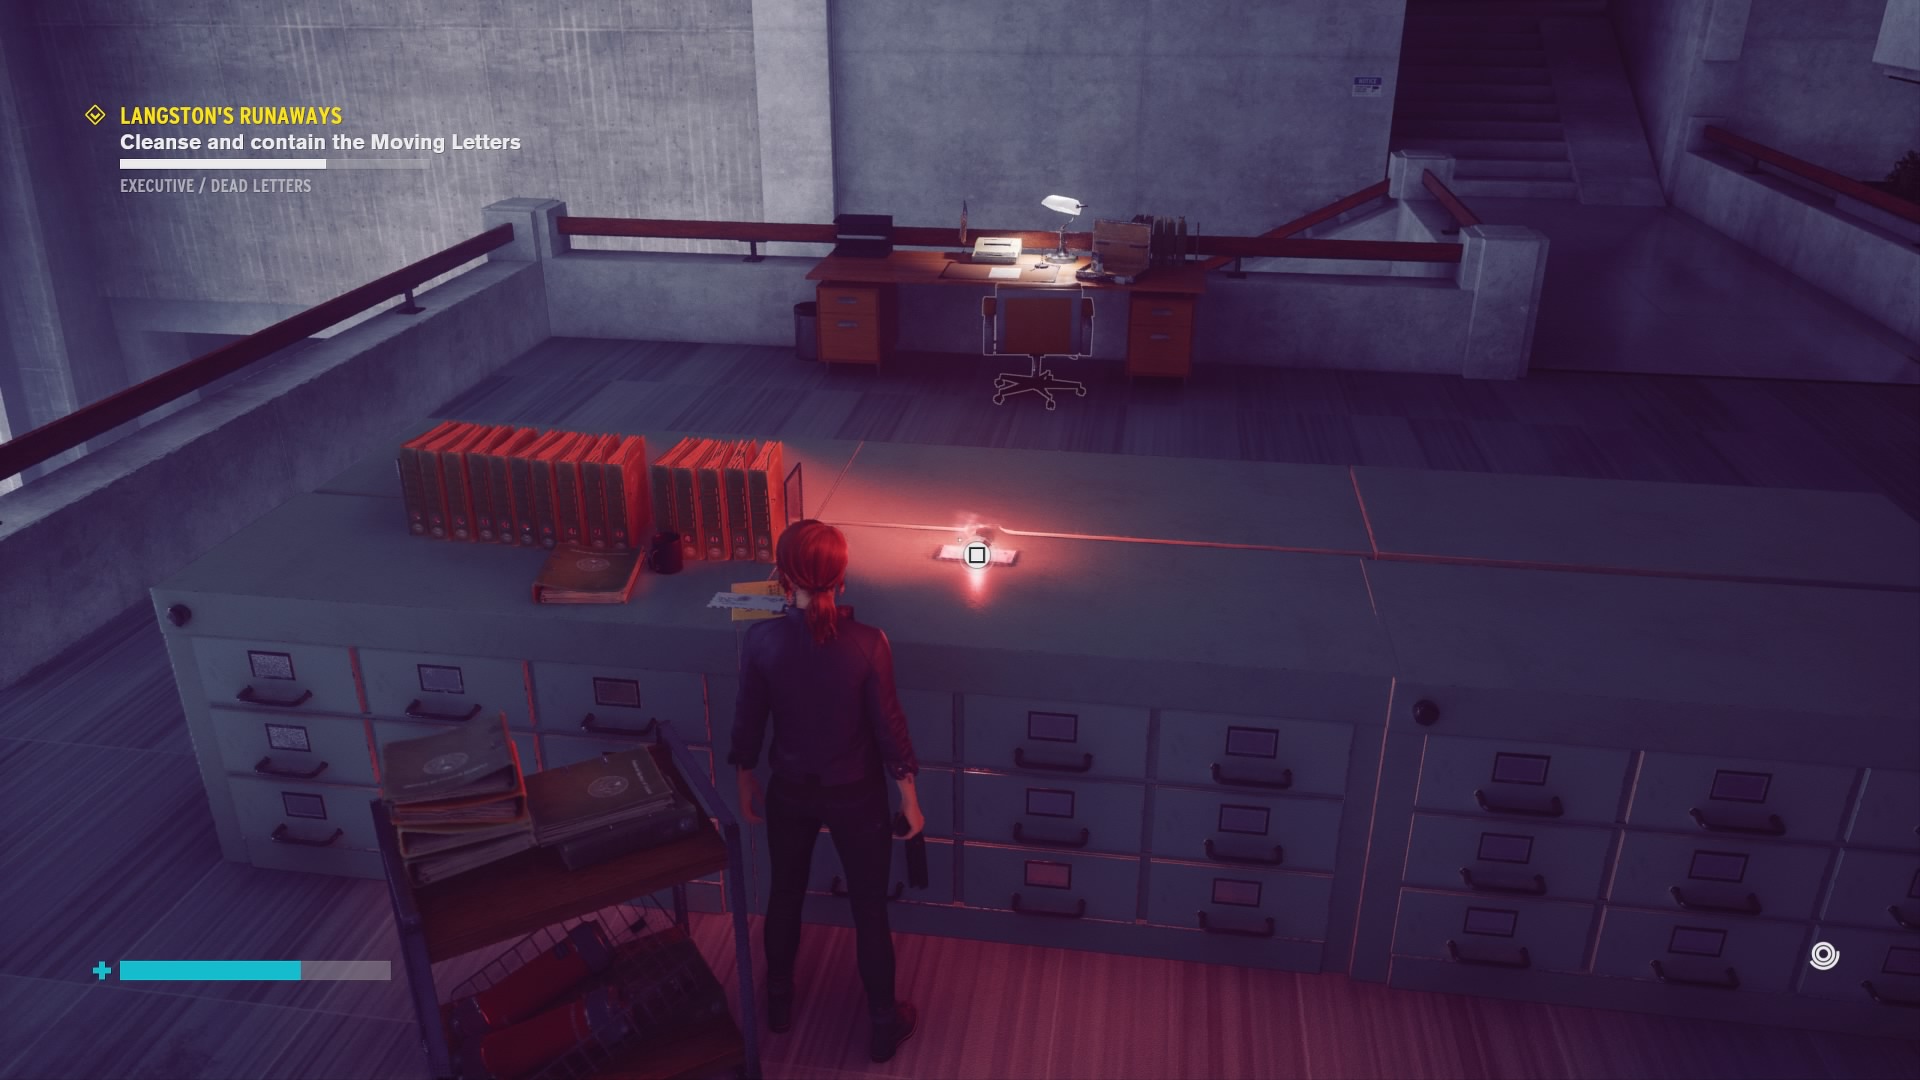
Fast travel over to Dead Letters in Executive for this last one, you'll be able to see the first letter right in front of you at the top of the stairs. Kill all the enemies then interact with it and it'll start dashing about the place. All you need to do is be waiting in one of the places it stops. Climb on top of the drawers then as soon as it stops at your feet, hold square once, then hold it again to cleanse it.
The second letter is about halfway up the stairs in an office. Again, wait in one of the places it stops, and interact with it twice. Do it again for the third letter which is right at the top of Dead Letters and then return to Langston down at the Panopticon Entrance.
Flamingo
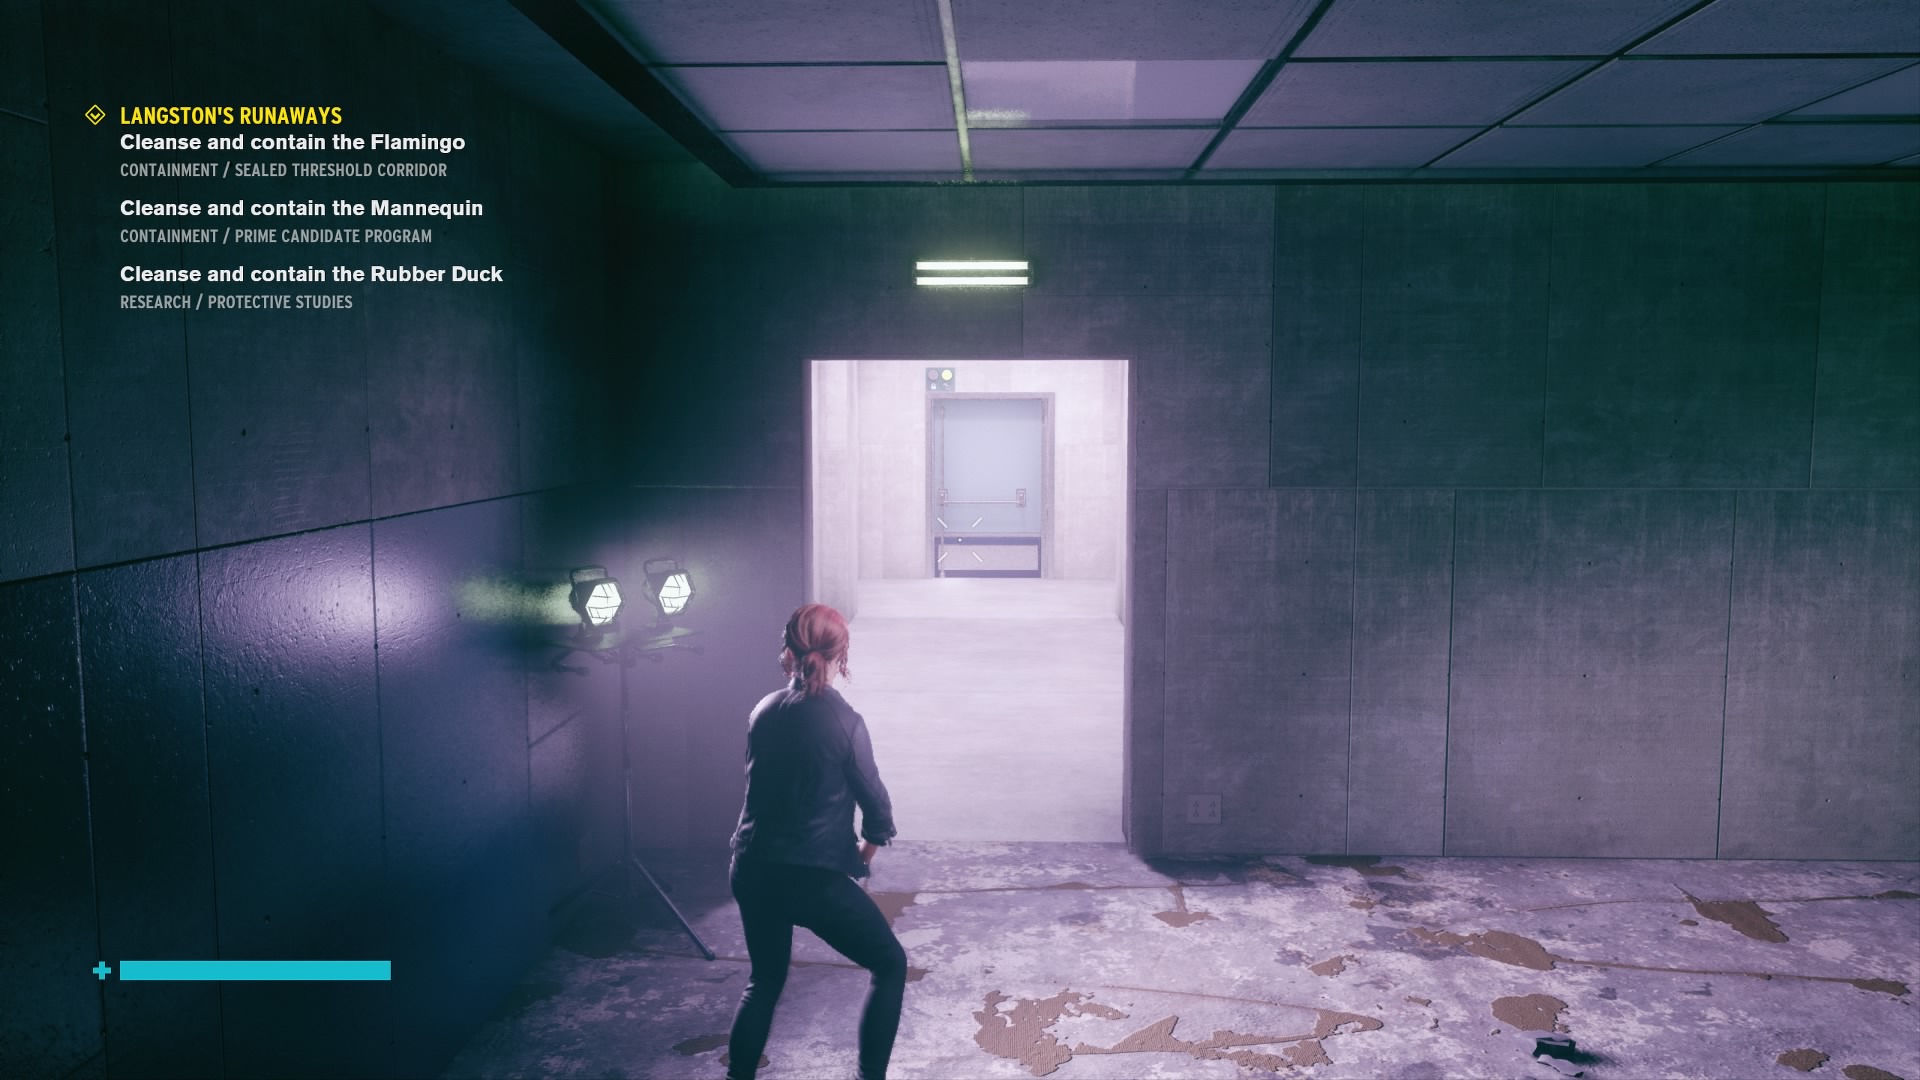
Of course, Langston has three more Altered Items for you to go and get. Over to the Sealed Threshold Corridor for the Flamingo. Turn around from the direction you spawn in facing, and head through the door into the next room with all the empty offices. One of them will be lit up purple., so go through the following door and you'll be able to see the Flamingo peeking round the corner. Run up to it and... whoa. Use Levitate to zoom through the moving walls and cleanse the Flamingo.
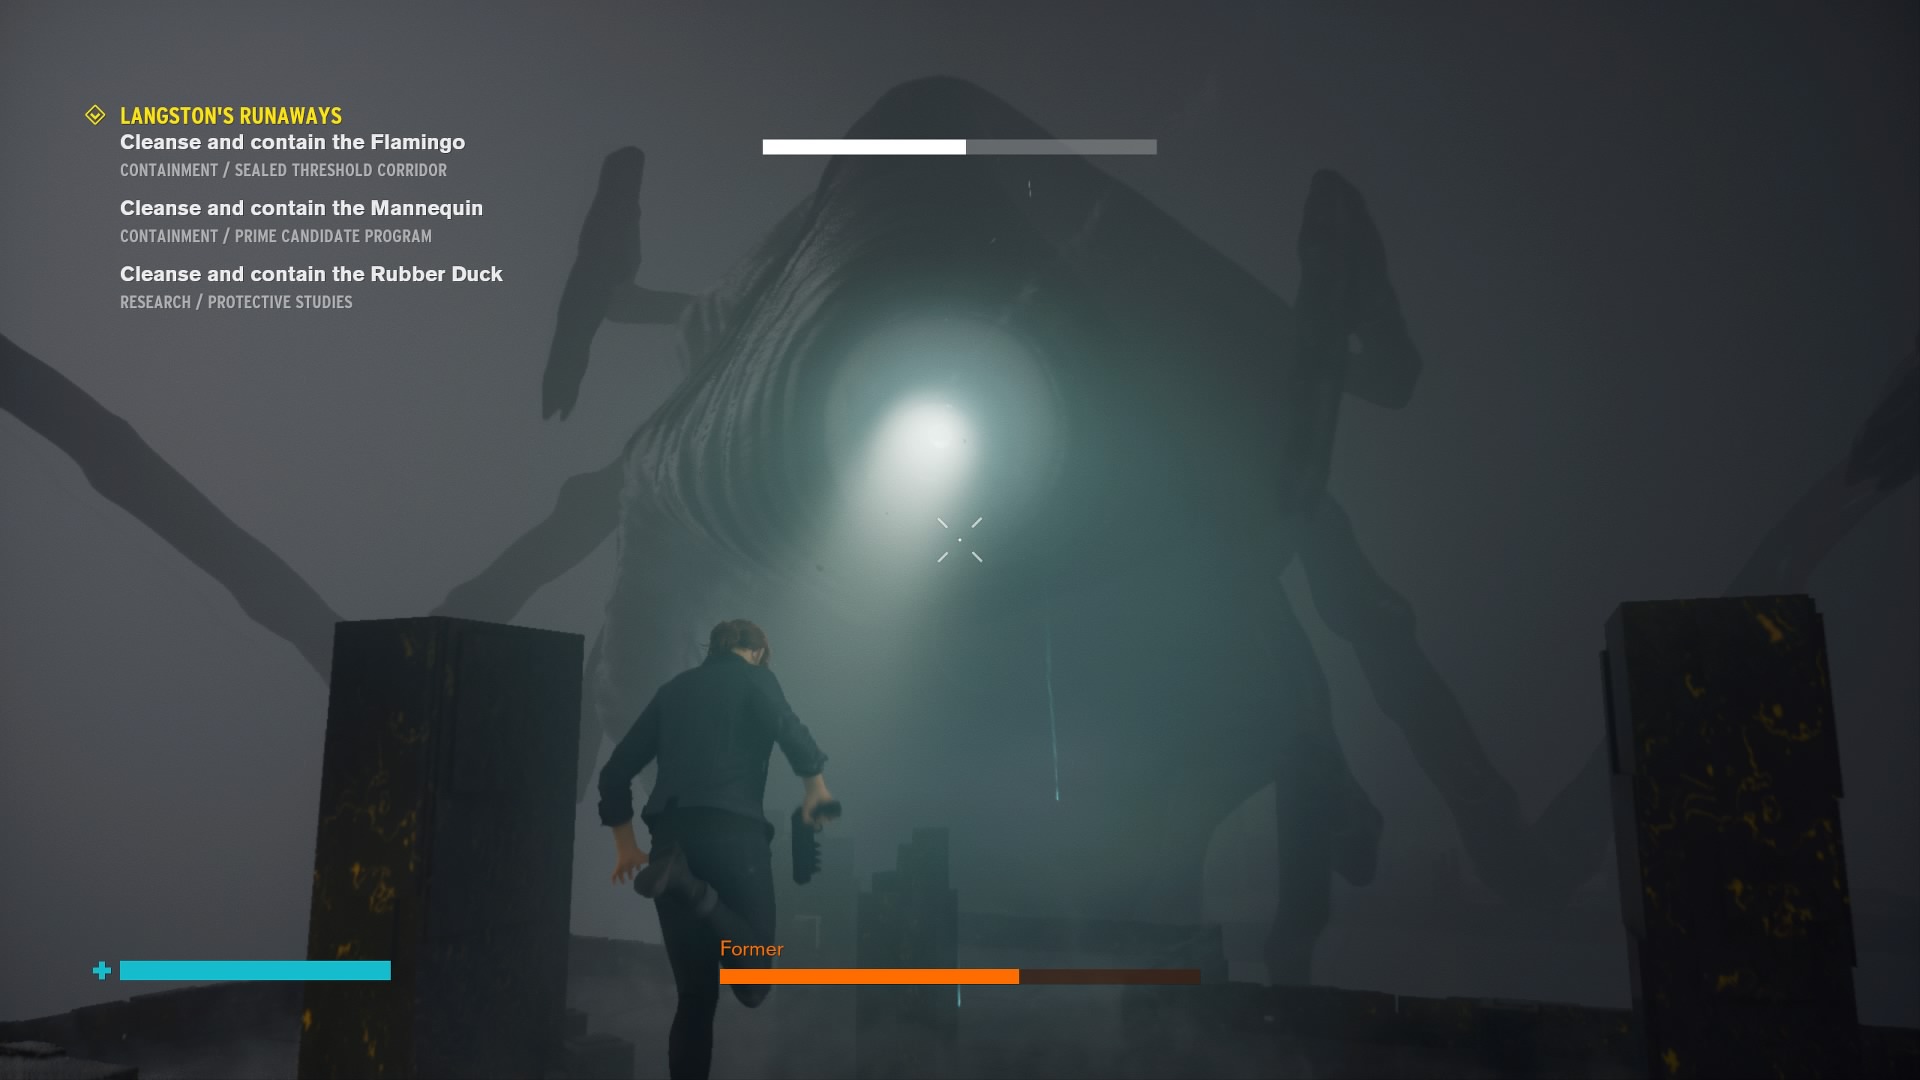
Surprise boss fight time! You're up against Former once more, but don't worry, it's not that much tougher than the last time you fought it. It can, however, destroy the floor beneath you so be careful to not fall off. Use Launch and shoot it right in it's big fat eye to deal the most damage, and Evade whenever it tries to stamp on you. It shouldn't be too tricky of a boss fight.
Mannequin
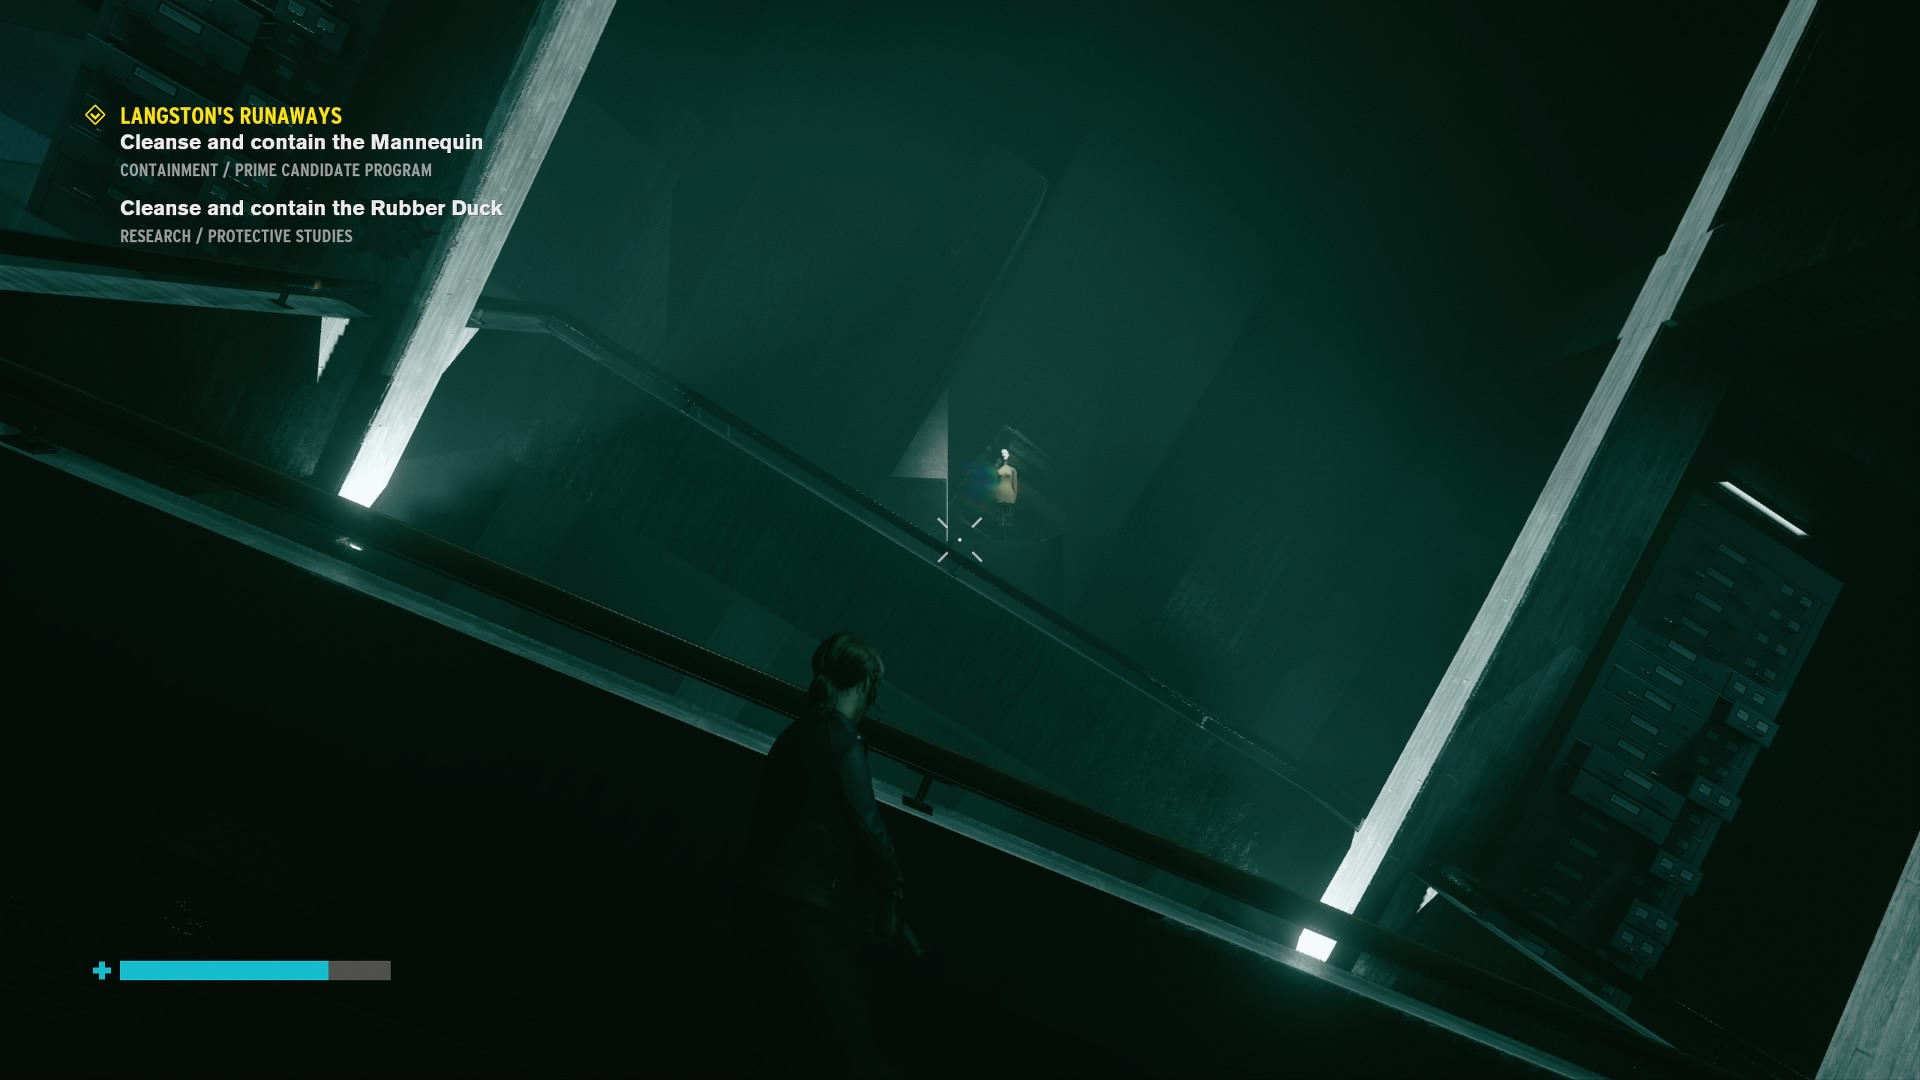
Back over to Logistics now. Go forward into Security, through the Medical Wing again, then into the Prime Candidate Program. At the very end of the long twisting tunnel is the Mannequin. Approach it and the screen will go bright, before a bunch of mannequins appear throughout the room.
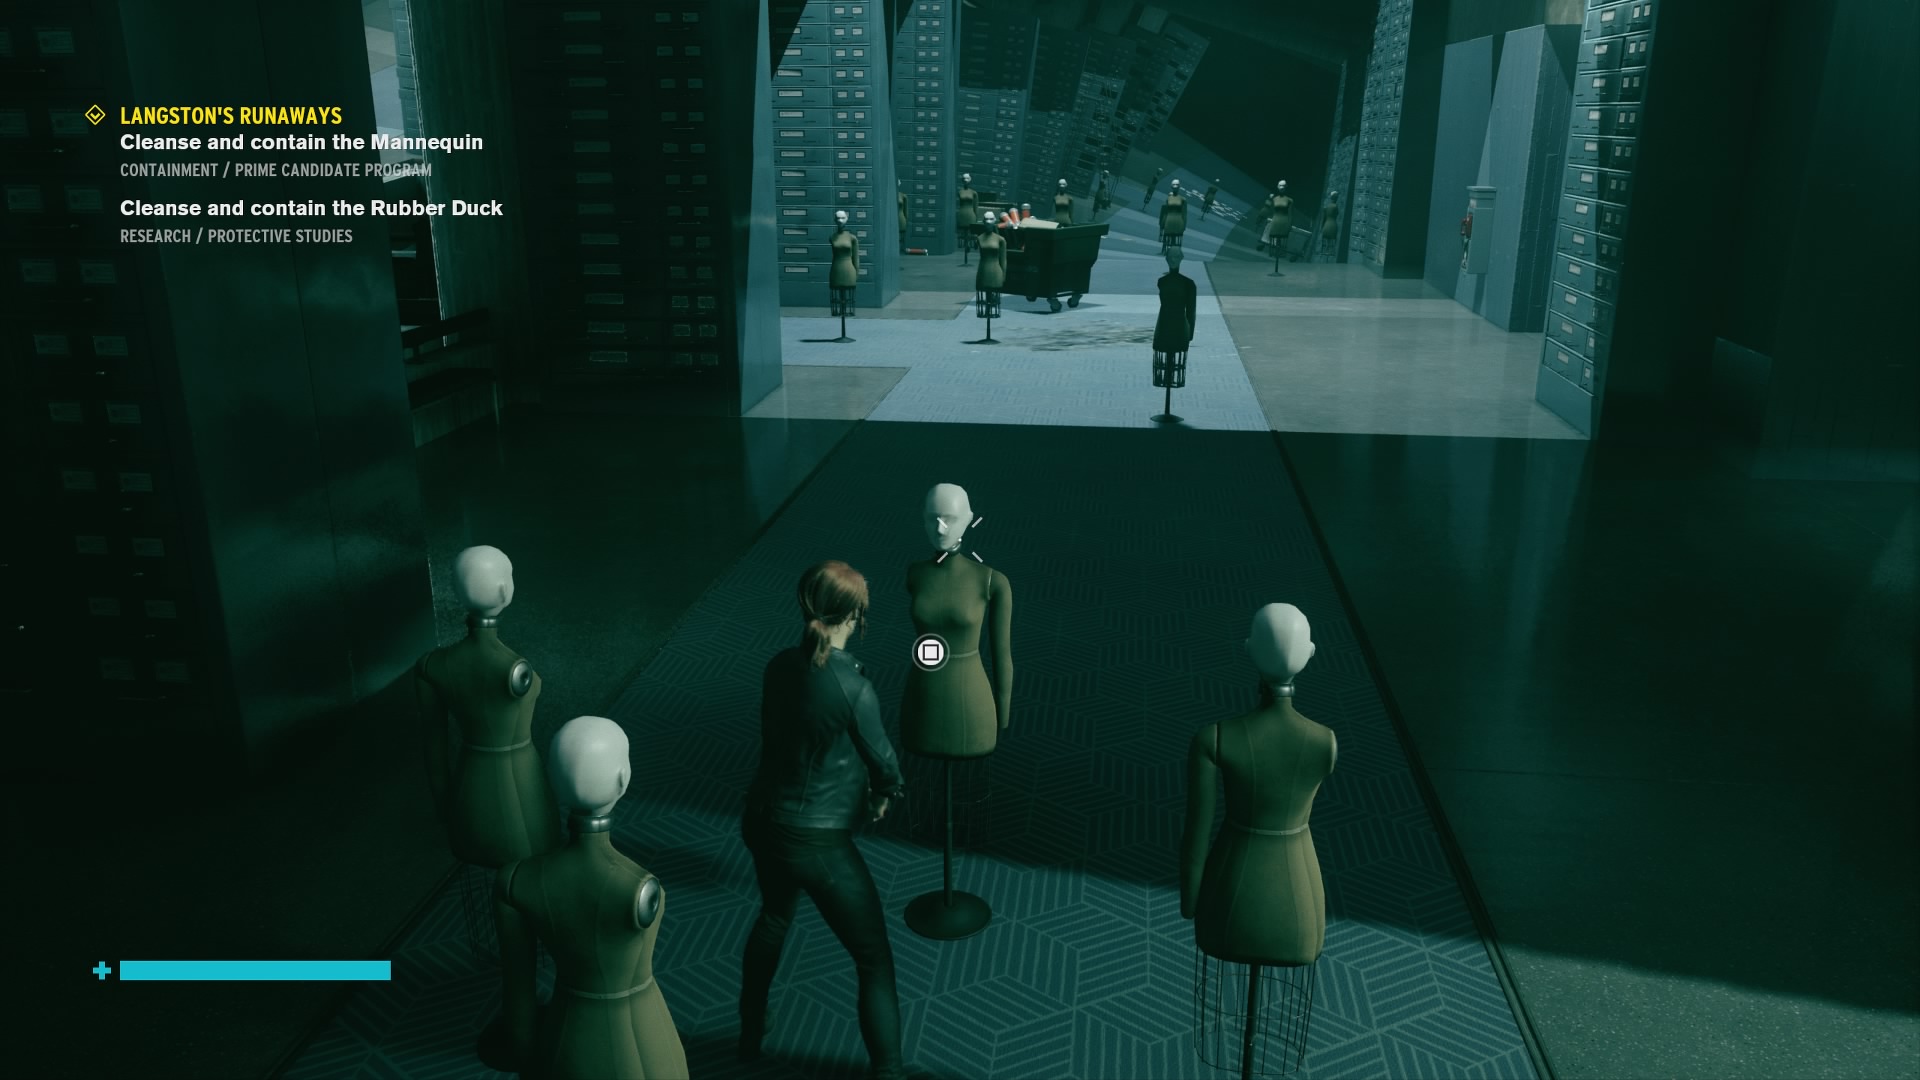
You just need to find the correct one to cleanse, pictured above. It's on the left-hand side at the very end, near the doorways to the other part of the Prime Candidate Program area. Interact with it then head off to the nearest Control Point to reach the Rubber Duck.
Rubber Duck
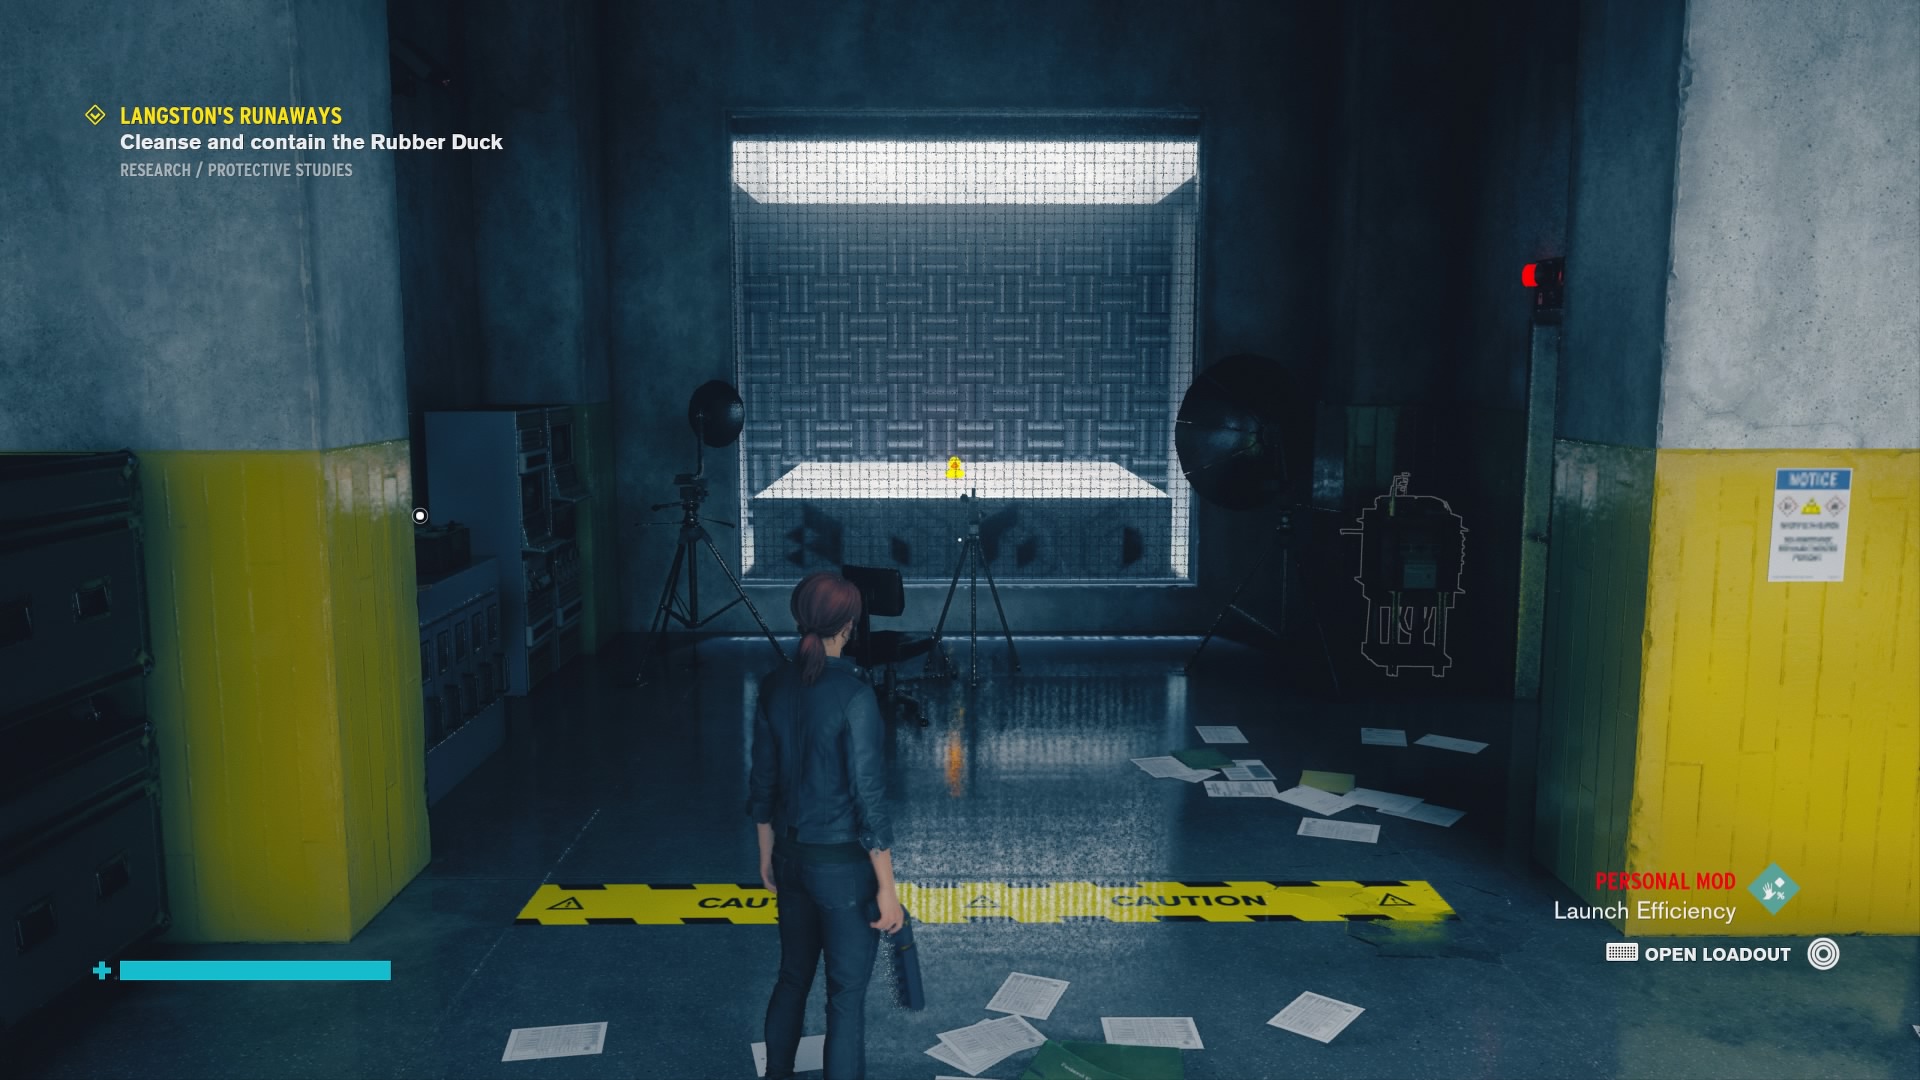
Fast travel to the Ritual Division in Research, as this is the closest Control Point to Protective Studies. Head through and kill all the enemies that appear, and you'll be able to see the Rubber Duck in a cell at the back of the room. The problem is, you can't get in there.
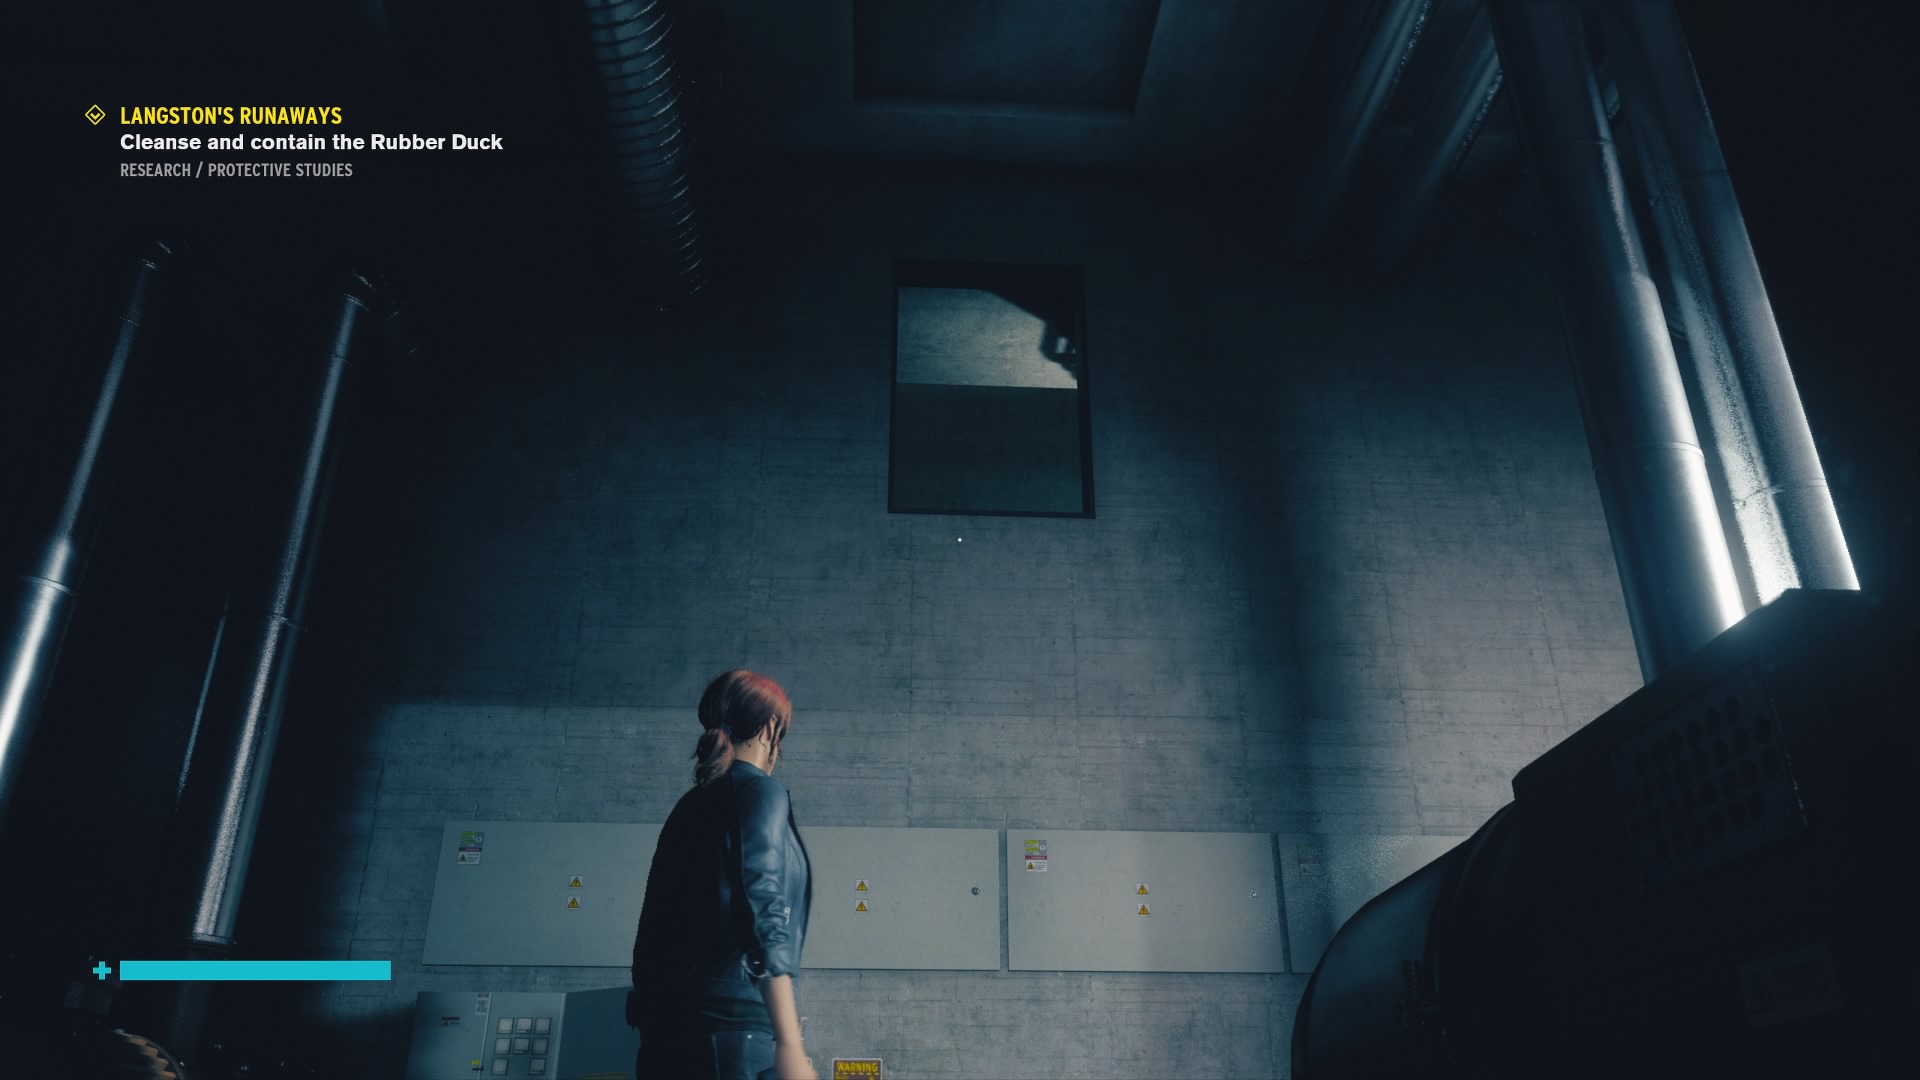
Go down the tunnel until you're in the section in front of the HRA Lab, and go in the room opposite obscured by a few crates. With Levitate, you can reach the ledge at the top (pictured above) and clamber into the pipes. Run to the end and you'll be in the room with the Rubber Duck, but it will teleport away as you approach.
It'll keep teleporting down the corridor as you approach until it reaches the other end, before turning back around. Just run after it until it lets you get close enough to cleanse it, then return to Langston in the Panopticon once more.
Main Missions:
Control walkthrough: Welcome to the Oldest House
Control walkthrough: Unknown Caller
Control walkthrough: Directorial Override
Control walkthrough: Old Boys' Club
Control walkthrough: Threshold
Control walkthrough: My Brother's Keeper
Control walkthrough: The Face of the Enemy
Control walkthrough: Finnish Tango
Control walkthrough: Polaris
Control walkthrough: Take Control
Side Missions:
Control walkthrough: Old Friends
Control walkthrough: Fridge Duty
Control walkthrough: Self-Reflection
Control walkthrough: Mr Tommasi
Control walkthrough: Old Growth
Control walkthrough: A Matter of Time
Control walkthrough: Langston's Runaways
Control walkthrough: The Enemy Within
Control walkthrough: Mold Removal
Control walkthrough: What a Mess (all missions)
Sign up to the GamesRadar+ Newsletter
Weekly digests, tales from the communities you love, and more
Give me a game and I will write every "how to" I possibly can or die trying. When I'm not knee-deep in a game to write guides on, you'll find me hurtling round the track in F1, flinging balls on my phone in Pokemon Go, pretending to know what I'm doing in Football Manager, or clicking on heads in Valorant.
