Dark Souls Remastered full walkthrough guide: every area, boss, secret and more
Survival tips for Dark Souls Remastered - how to beat the game from start to finish
Dark Souls Remastered full walkthrough: THE CATACOMBS
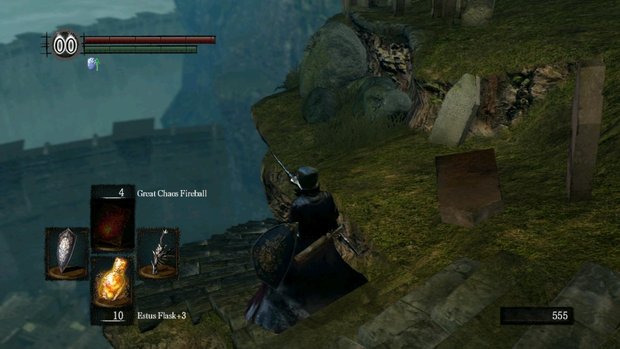
The catacombs are found by passing through the graveyard at Firelink Shrine (look for descending stairs near the cliff’s edge). Skeletons inside the Catacombs can be revived if there is a Necromancer nearby – unless you strike them down with a divine weapon. We already showed you where to find the Divine Ember (beyond the Moonlight Butterfly’s lair), so it’s just a matter of choosing a weapon and speaking to Andre the Blacksmith in the Undead Parish. Astora’s Straight Sword, which you should have if you’ve been following this walkthrough, has a natural divine effect. You can make it through the Catacombs without a divine weapon, but we don’t recommend that.
If you have been following this walkthrough you should have an Occult Club; Andre can convert it to a Divine Club +5 for a meager sum and no additional materials.
Be careful not to fall when descending the spiral steps. The floating skulls will explode if they get too close, so maintain your distance or move quickly. Eventually you’ll reach what seems like a dead end drop-off. Look for a ladder to your left.
Continue until you see a hole in the wall to your left. Through here you’ll find a bonfire and a Necromancer. These enemies shoot flames, but are otherwise easy targets. Defeating them means skeletons in their area will not revive (assuming you did not already kill them with a divine weapon.) Necromancers do not respawn. Press the switch in this room to open a door in the other and proceed.
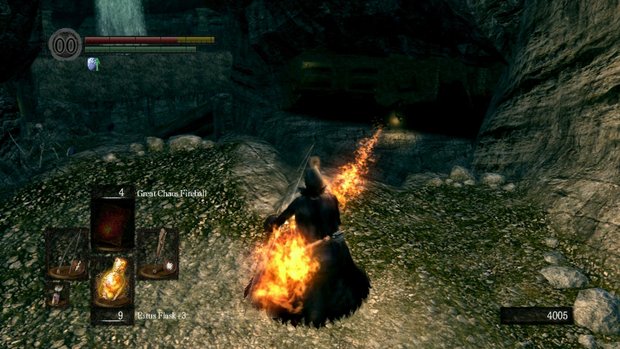
In the next open area, you’ll see a Necromancer across the way to your right. If you have the means, take him out from here to prevent the nearby skeletons from reviving. Continue on. Eventually, you’ll emerge outside again. There will be an impassable spiked bridge to your left. Take the route to your right until you find a switch which will rotate the bridge, making it crossable.
When you get back to the bridge, two skeletons and a Necromancer will be waiting for you on the other side. Take them out and proceed down the staircase, checking the rooms on your right. One of the them contains a lever, which you should push. Continue your descent until the steps end.
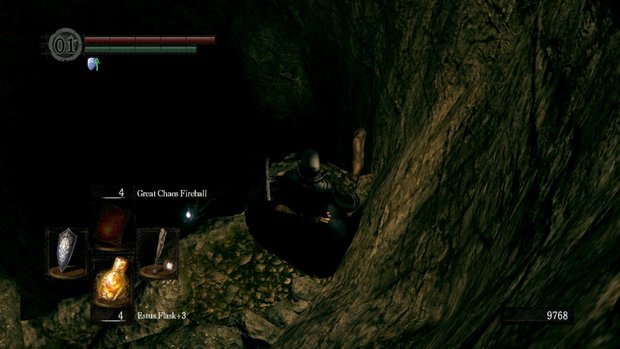
This is where things get tricky. We’re going to take a shortcut now, since there will be plenty of opportunities to explore the upper Catacombs during backtracking. Simply walk off the edge of the stairs (seen above) and you’ll land safely on a barely-visible ledge below. Alternatively, you can drop straight down through the hole in the brick roof at the bottom of this pit. Note that you must fall straight through (which triggers a cutscene) otherwise you will die. Falling straight through only works the first time, as there will be no cutscene in subsequent attempts and you will simply die.
OPTIONAL: If you don’t take our shortcut, you can continue through the catacombs and find the Darkmoon Seance Ring. Look for obviously weak brick wall to smash through and follow the path to a Giant Skeleton, who guards the ring. In that same hallway, look for another smashable brick wall. Going through it leads to the Tranquil Walk of Peace Miracle, and extremely useful tool for PVP.
Also, behind the Titanite Demon you encounter later in the level, you’ll find three Eyes of Death. With at least one eye in your inventory, you can hop into a nearby open coffin and be transported to Gravelord Nito’s lair, where you can join his covenant, the Gravelord Servant Covenant. If you defeat Nito (boss of the Tomb of Giants) before doing this, you cannot join this covenant for the rest of the current playthrough.
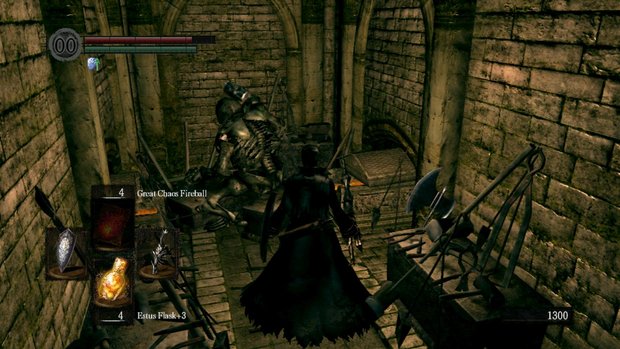
The skeleton you meet is Vamos The Blacksmith. Leave the room to find yourself in a dark, open area. Be very careful of the many pinwheel skeletons roaming the area (there are several) and the two exploding skulls. There is also a Silver Knight guarding this area that will not respawn once defeated. Continue until you get to the fog door.
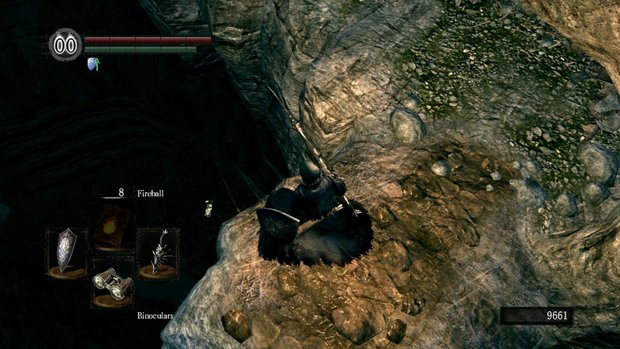
OPTIONAL: If you do not take the Vamos shortcut, you’ll eventually come to the area pictured above. Look down for a summon sign (if you are human). This is the sign of Paladin Leeroy. We recommend you summon him before proceeding through the door, though the boss is easy enough without his help.
BOSS – PINWHEEL
This is VERY simple. Rush the original Pinwheel (rolling under any magic projectiles), put your weapon in both hands, and hack away. There’s not much else to say other than this fight should be over in under a minute. Pinwheel will drop one of three Masks, so make sure to look for the item, as it is the only thing you do not acquire automatically upon victory.
You now have the Rite of Kindling, which allows you to further kindle bonfires and surpass the maximum allowance of 10 Estus Flasks.
Jump to Section
- Firelink Shrine
- Undead Burg part 1
- Undead Burg part 2
- Undead Parish part 1
- Undead Parish part 2 (First Bell)
- (OP) Grinding for Souls & Finding Goodies in Darkroot Garden
- Lower Undead Burg
- (OP) Returning to the Undead Asylum
- The Depths
- Blighttown
- (OP) Exploring Blighttown's Swamp
- (OP) Undead Dragon & Valley of the Drakes
- Quelaag's Domain (Second Bell)
- (OP) Moonlight Butterfly & the Divine Ember
- (OP) Darkroot Basin, the Hydra, and Dusk
- Sen's Fortress part 1
- Sen's Fortress part 2
- Anor Londo part 1
- (OP) Painted World of Ariamis part 1
- (OP) Painted World of Ariamis part 2
- Anor Londo part 2
- Return to Firelink Shrine & Placing the Lordvessel
- Sif and the Darkroot Garden
- New Londo Ruins
- Tomb of the Giants part 1
- Tomb of the Giants part 2
- (OP) Dark Sun Gwyndolin & the Blade of the Darkmoon Covenant
- Duke's Archives
- Crystal Cave
- Demon Ruins part 1
- Demon Ruins part 2
- (OP) Great Hollow & Ash Lake
- Lost Izalith
- (OP) Sanctuary Garden (New Content)
- (OP) Oolacile Sanctuary & Royal Wood (New Content)
- (OP) Oolacile Township (New Content)
- (OP) Chasm of the Abyss (New Content)
- (OP) Black Dragon Kalameet (New Content)
- Kiln of the First Flame & Gwyn, Lord of Cinder
Current page: Dark Souls: The Catacombs
Prev Page Dark Souls: New Londo Ruins Next Page Dark Souls: Tomb of the Giants Part 1Sign up to the GamesRadar+ Newsletter
Weekly digests, tales from the communities you love, and more

