Darksiders II: Book of the Dead Pages, Stones, Gnomes and collectibles guide
Maps and more to help you locate every Boatman Coin, Book of the Dead Page, Stone, Relic, Scroll, and Gnome
Leviathan’s Gorge
Why you can trust GamesRadar+
Relic of Etu-Goth #1
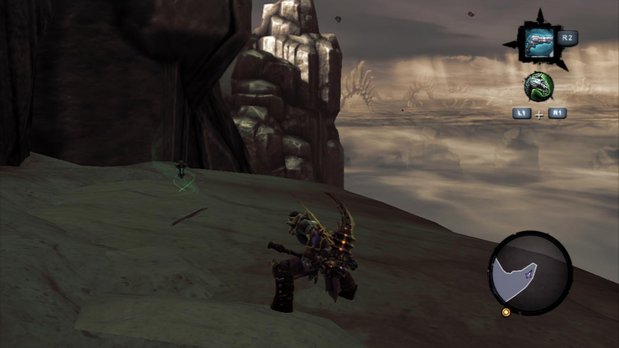
(Leviathan’s Gorge) Before crossing the long bridge leading south, check the eastern cliff for a relic.
Stone of Power #6
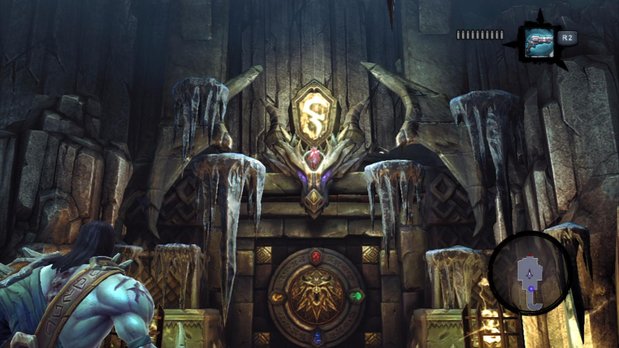
(Lair of the Deposed King, B4) Descend the spiral staircase until you can go no further and pass through the door you find (level B4). You’ll emerge with the door to the second Death Tomb right in front of you. Look above that door to find a stone.
Boatman Coin #45
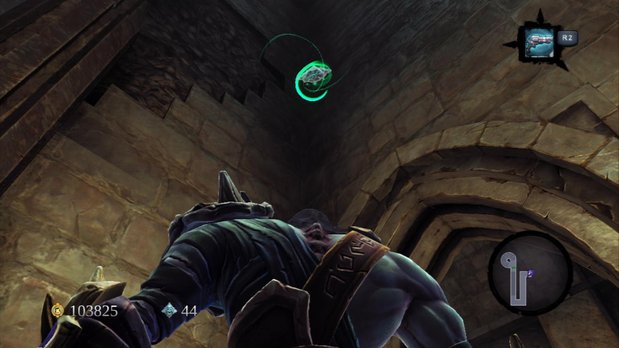
(Lair of the Deposed King, B3) Go back up to level B3 and through the door you find there. When you reach the chest containing the Skeleton Key, look straight up to spot a coin; run up the wall and jump off to claim it.
Soul Arbiter’s Sacred Scroll #1
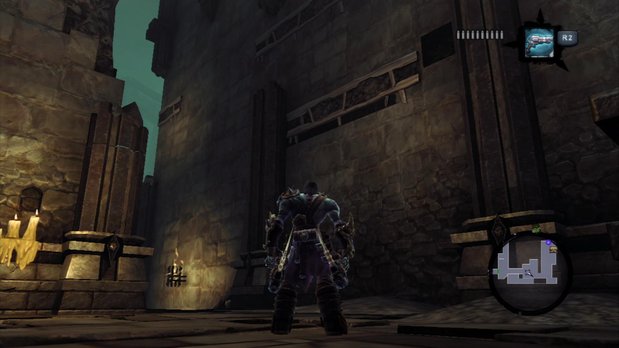
(Lair of the Deposed King, B2) Go to level B2, proceed east down some stairs, then look for this series of handholds. Follow them to a scroll.
Relic of Etu-Goth #2
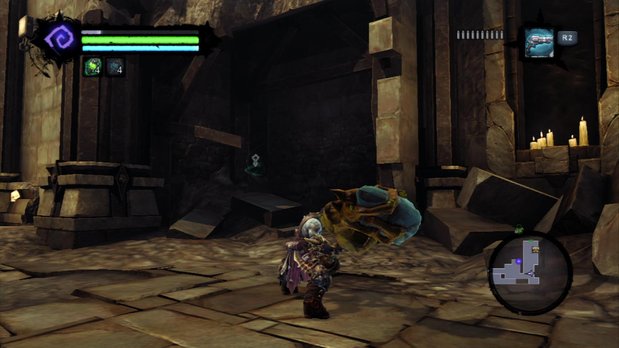
(Lair of the Deposed King, B2) From where you spotted the handholds required to reach Scroll #1, continue east and drop down from the broken stairs. Immediately turn around and grab this relic.
Boatman Coin #46
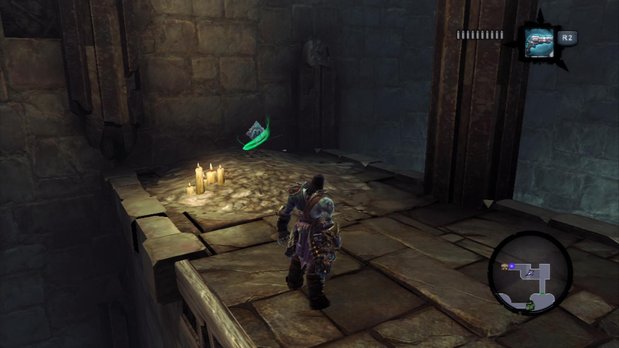
(Lair of the Deposed King, B2) As you make your way west across the northernmost room of level B2, you’ll notice some crates on a narrow ledge. Break them to reveal a coin.
Soul Arbiter’s Sacred Scroll #2
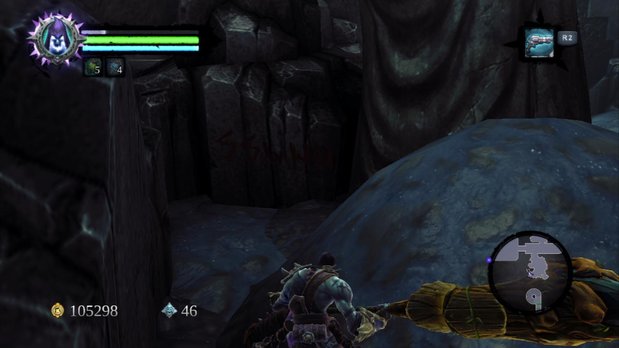
(Lair of the Deposed King, B3) After riding the elevator down, search the southern room for a relic. This time you’re not looking for a floating object. You’re looking for some red painting on the stones.
Boatman Coin #47
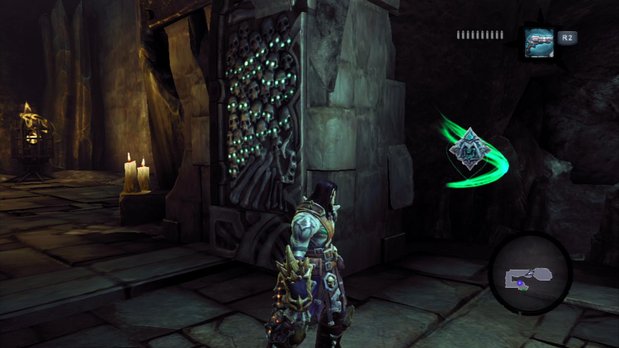
(Breach, B1) Look to your immediate left just after passing through the first set of doors on level B1.
Boatman Coin #48
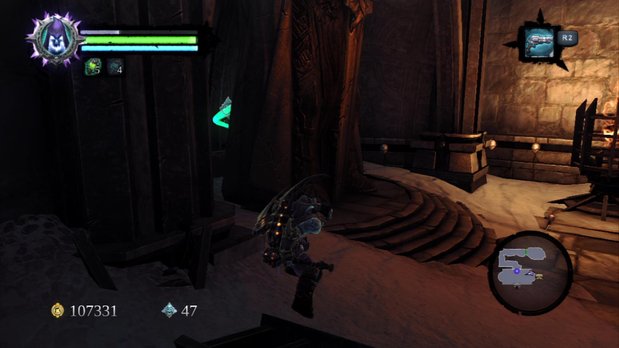
(Breach, B1) Check behind the statue on the eastern side of the dungeon’s final room.
Stone of Resistance #3
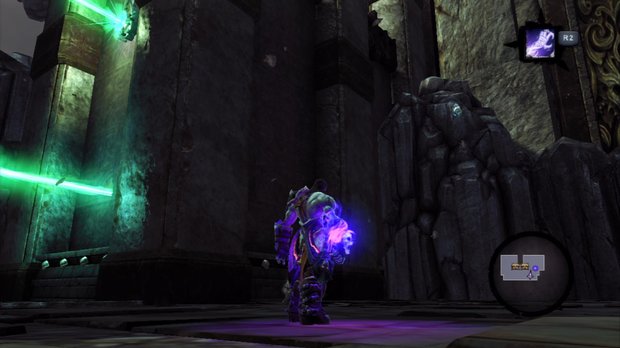
(Breach, 2nd fl) Grab the bomb from behind the western statue and destroy the corruption crystals above. Scale the wall and climb to the roof. On the east side, you’ll find this stone.
The Maw
Boatman Coin #49
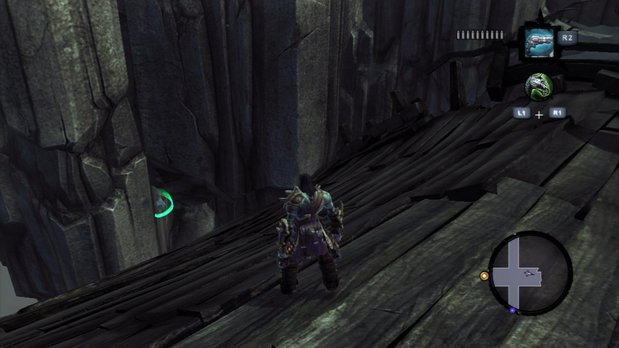
(The Maw) At the bridge intersection, head east to the very end of the destroyed section to find a coin.
Boatman Coin #50
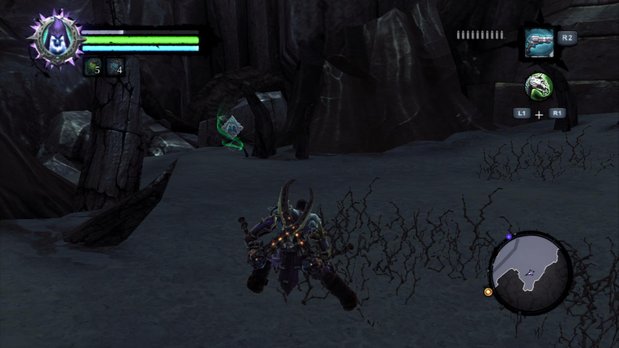
(The Maw) Take the bridge that leads west and take a left once it ends.
Boatman Coin #51
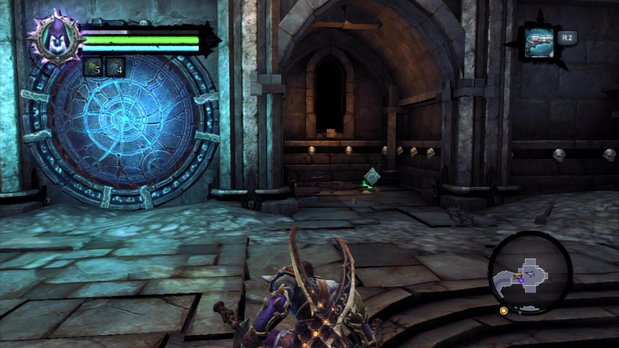
(The Maw) From coin #50, instead of heading south towards your objective, ride to the northwest section of this area. Enter the structure and, after dealing with some skeletons, destroy the crates you see to reveal a coin.
Stone of Power #7
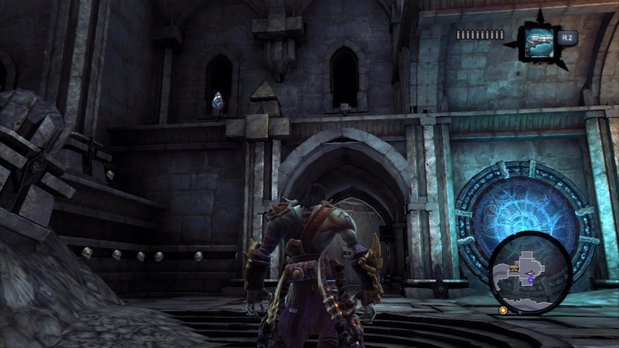
(The Maw) In the same room where you found coin #51, face the portal on the west side and look up and to the left.
Relic of Khagoth #1
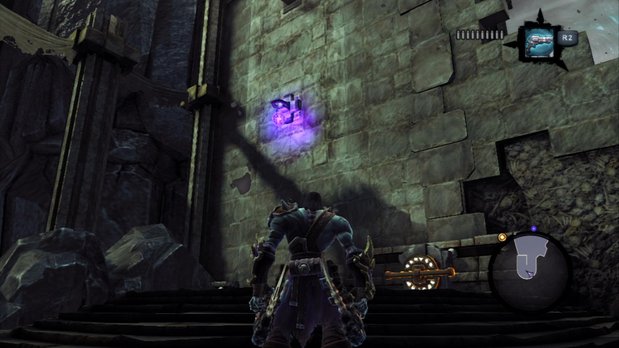
(The Maw) Head to the southernmost point of the area (just past your objective marker, which lies to the west) and push the switch you find there. This makes some handholds temporarily appear on the wall to the switch’s left. Climb them to reach the relic.
Stone of Mystics #16
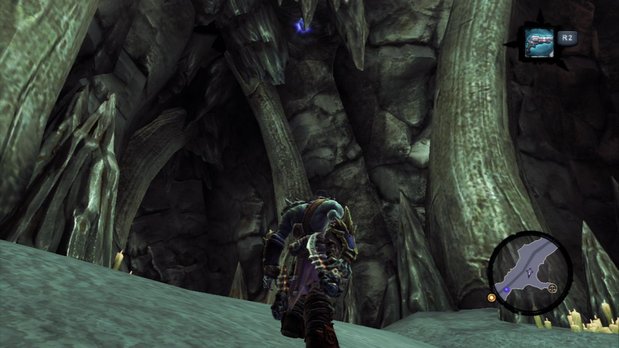
(The Maw) As you make your way southwest along the section marked “Serpent’s Peak,” keep your eyes on the ceiling. There’s a stone attached to one of the stalactites.
Sign up to the GamesRadar+ Newsletter
Weekly digests, tales from the communities you love, and more

