Darksiders shards and artifacts guide
Hoard these collectibles to attain max power
Lifestone shard
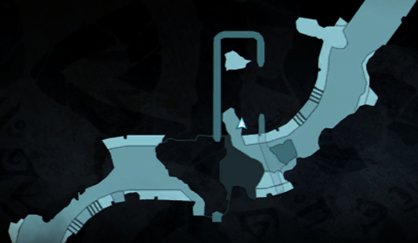
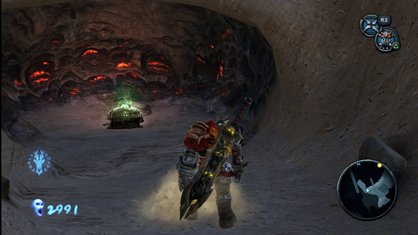
Requires: Tremor Gauntlet
Look for the blue crystals above and behind the pipe when you first emerge into The Ashlands (before the Vulgrim location). Smash with the Tremor Gauntlet and grab your shard.
Lifestone shard 2
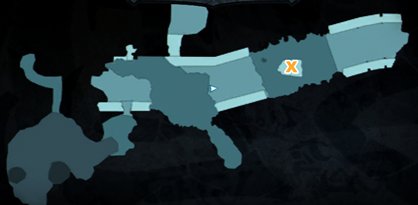
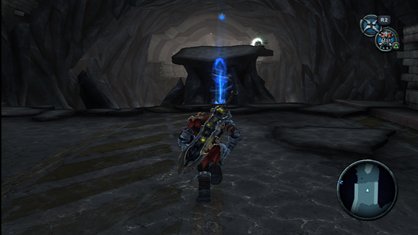
Simply glide up to the rocky platform where you see the chest. There's more loot further down the tunnel, but you'll have to come back when you have the Chain.
Lifestone (full)
Defeat the Stygian to claim a whole Lifestone!
Wrath shard
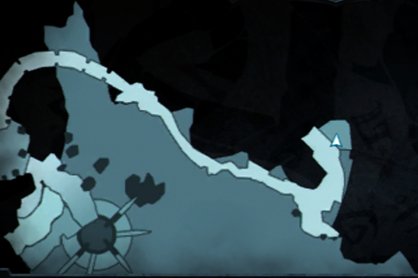
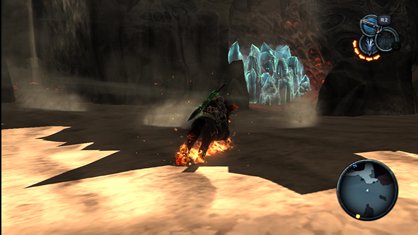
Requires: Ruin
Ride ruin along the cliffs on the upper right part of the map, and look for the telltale blue crystals. Smashy, smashy!
Artifact: Soldier

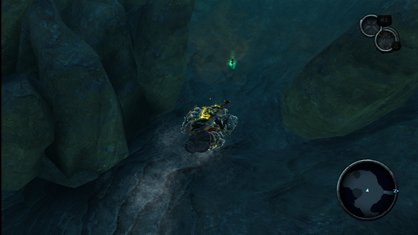
In the watery cavern below the second tower, dive down to the bottom to find the Soldier artifact.
Artifact: Soldier 2
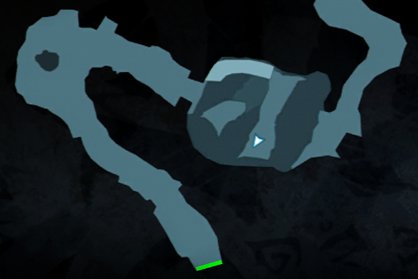
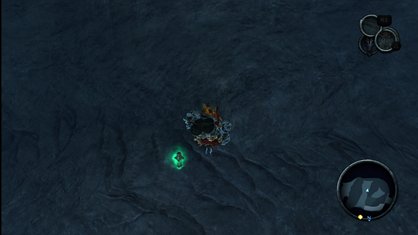
Jump into the pool and dive under the stone arch.
Artifact: Soldier 3
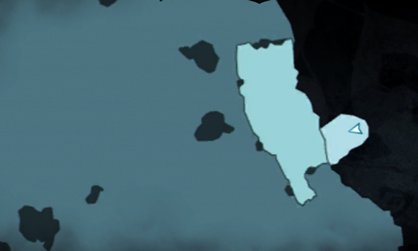
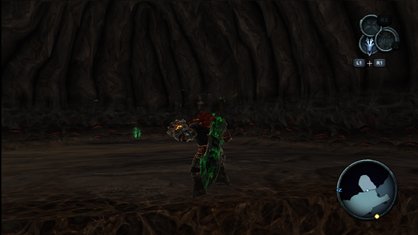
Requires: Ruin
Ride Ruin over to the cliffs on the right edge of the map and look for the elevator sphere. Dismount and glide up to the ledge, then climb the Demonic Growth to the left.
Overlord Artifact

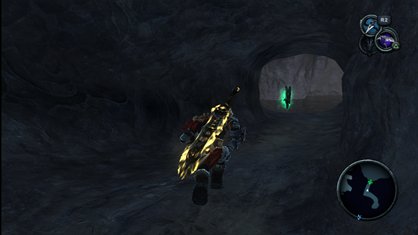
Requires: Abyssal Chain
From the top of the first tower, use the Abyssal Chain to cross over to the top of the second tower. Stop the drill bore, then jump down into the bore hole and follow the short cavern to the Overlord artifact.
Contents:
The Crossroads/Scalding Gallow/Choking Grounds and The Broken Stair/Twilight Cathedral/Drowned Pass/Anvil's Forge/The Hollows/Dry Road/The Ashlands/Iron Canopy/The Black Throne and Eden
Sign up to the GamesRadar+ Newsletter
Weekly digests, tales from the communities you love, and more
