8 essential Dead Cells tips to know before you play
Survive longer and fight farther in this difficult 'roguevania'

As the name would imply, you're going to be dying a lot in Dead Cells, the demanding 2D platformer that blends roguelite progression with Metroidvania-style level layouts. But death isn't the end - and with these trusty Dead Cells tips, you'll be getting more mileage out of every run as your headless warrior scales up to the top of this cursed castle. As is typical of most roguelikes, knowledge is power in Dead Cells, sparing you from any unnecessary deaths that come with slowly figuring out crucial mechanics through trial and error. So before you go off dying for no reason and lose all those valuable cells you've been collecting, take heed of these spoiler-free tips and live to fight another day. Or at least, one more level.
1. Keep rollin', rollin', rollin'
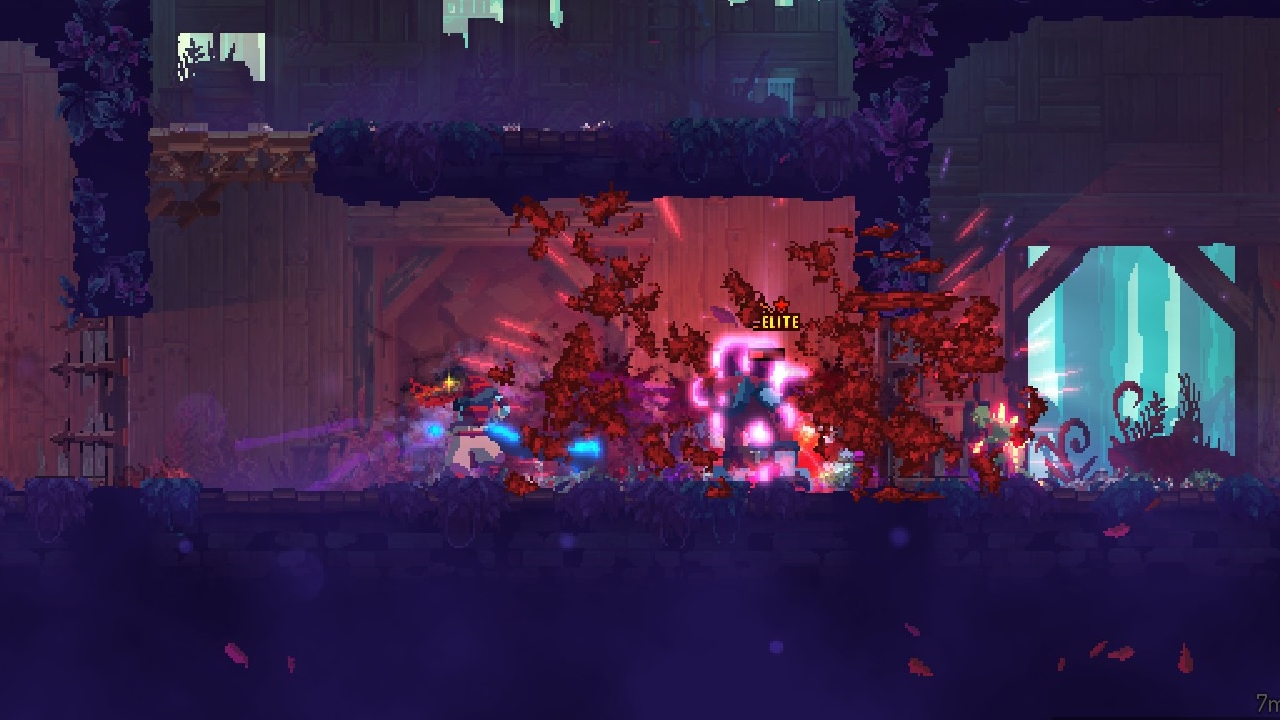
Please pardon the Limp Bizkit reference, but constant dodge rolling is the best way to ensure a longer life in Dead Cells. The invincibility frames on the dodge roll are quite generous, and if you roll into an enemy's body, you'll automatically get pushed to the other side, usually putting you clear out of their attack animations. Rolling every which way is also a speedy way to bypass groups of enemies if your health is low or you're looking to access Timed Doors (more on those later). Best of all, rolling has a ridiculously short cooldown, so you can tuck and tumble quite freely as you explore the vast levels.
2. Always ground pound when falling
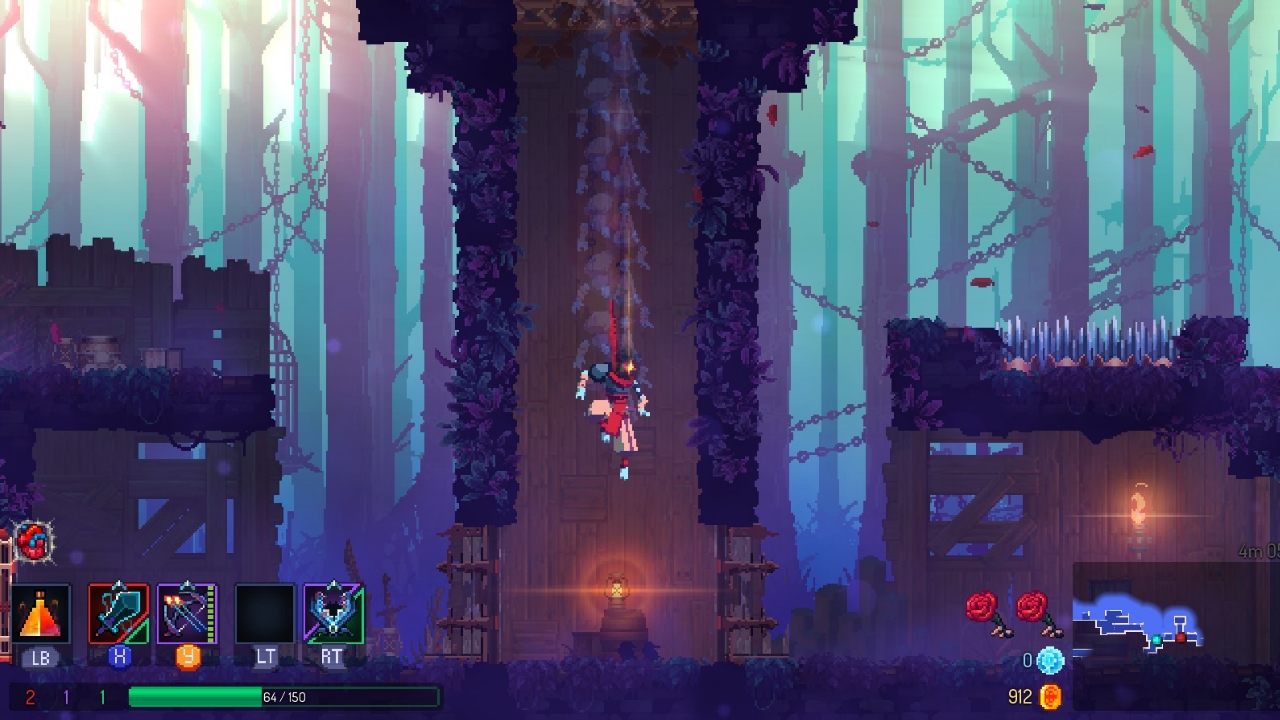
Here's a mechanic that isn't explained too well in-game. By tapping down and the jump button anytime you're in midair, you'll perform a ground pound (aka jump attack, slam drop, or whatever you want to call it) that'll send you zipping downwards at a much faster rate. Make a habit of doing this any time you need to drop to a lower level, as this practice has two major benefits. For one, falling too far can often put you in a stunned state when you land - and if there are enemies nearby, you'll likely lose a huge chunk of health (or just straight-up die) while you're incapacitated. But ground-pounding eliminates your chance to be stunned from a drop, so it's a no-brainer safety measure. And two, the ground pound actually does a good bit of damage and can stun enemies you land on, or even kill them outright in the earlier levels. You only stand to gain from ground pounds, and have everything to lose by neglecting them.
3. There's no shame in taking the life-saving Mutation
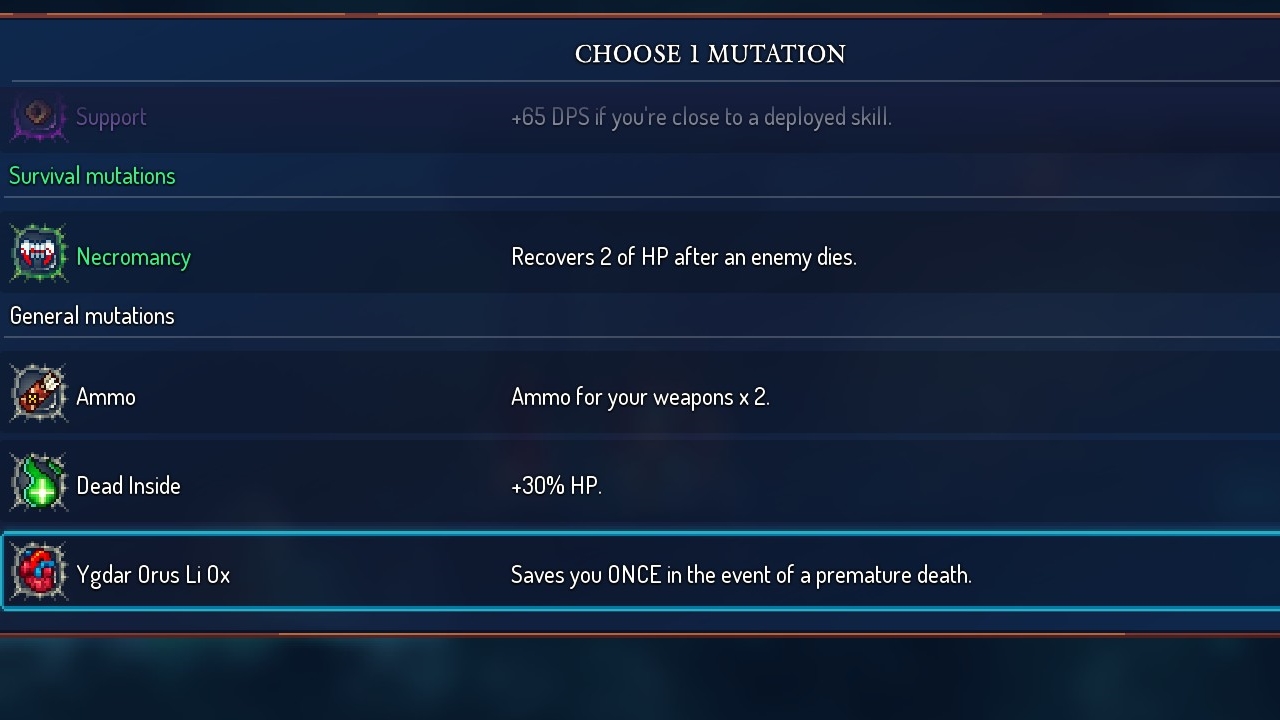
In the safe zone between each area, you'll get a chance to unlock a new mutation (up to three total) from that little goblin Guillan. These will massively boost your killing potential, as most serve to amp up your damage or reduce your ability cooldowns - but you may also notice the Ygdar Orus Li Ox mutation at the bottom, which is only available after finishing the first stage. This mutation, represented by a gruesomely realistic pixelated heart, will instantly revive you with a small chunk of health whenever you take fatal damage, giving you a fighting chance to continue your run. If you feel like you'd be on baby mode for taking this, or you're giving up a more beneficial upgrade, don't worry. It's well worth taking it as you get a feel for each level's enemy types and come to grips with the combat - and once it's expended, you can simply replace it with one of those other mutations you had an eye on, giving it effectively zero drawback over the course of a full run. Oh, and I prefer to pretend that Ygdar Orus Li Ox isn't a corny YOLO joke.
4. Unlock the random weapon upgrades ASAP
Whenever you meet up with The Collector to spend those precious blue cells, you might be tempted to take upgrades that help you accumulate spare change, like Gold Recovery and Recycling. But both of those are basically worthless compared to the random weapon upgrades, which give you a starting item from your collection that'll be worlds better than the default sword, bow, and shield that you'd typically take into the first level. By guaranteeing that you start each run with a better inventory, you'll quickly master the early levels, able to breeze through enemies that once gave you trouble thanks to your greatly increased damage. Your souped-up clear times should also build the confidence you'll need to take on the demanding late-game stages.
5. Only spend cells on items you think you'll actually use
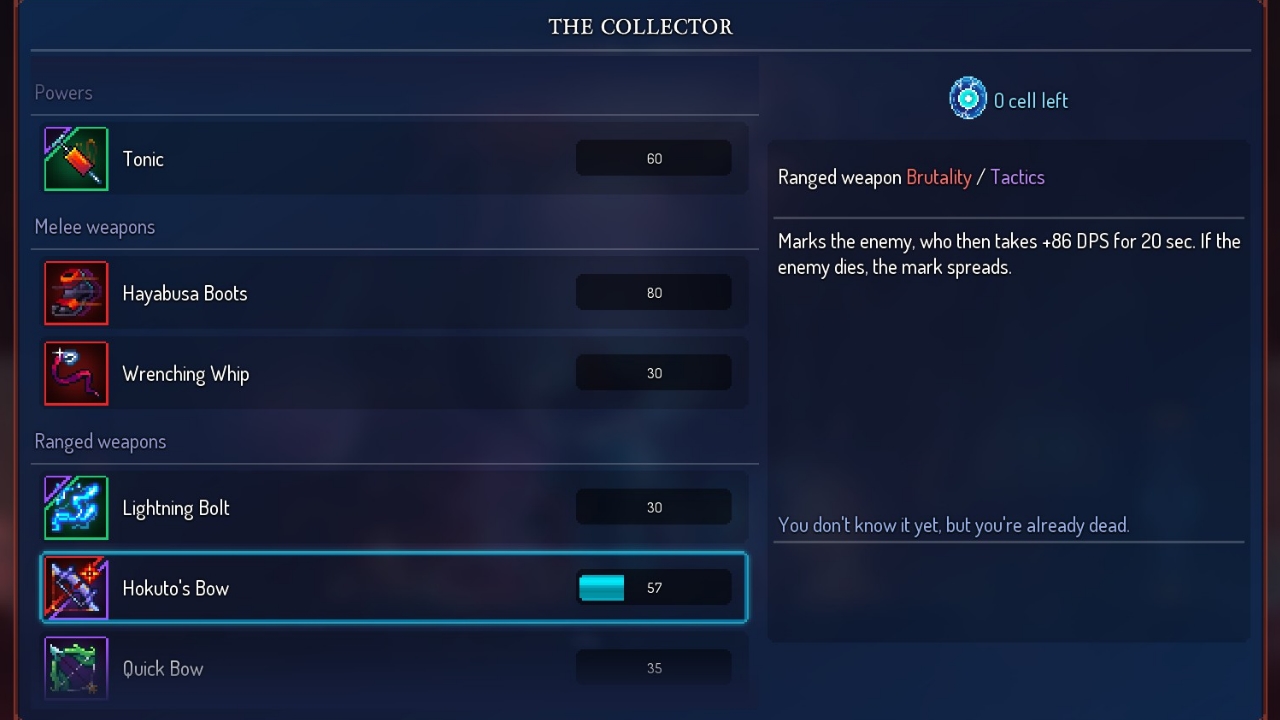
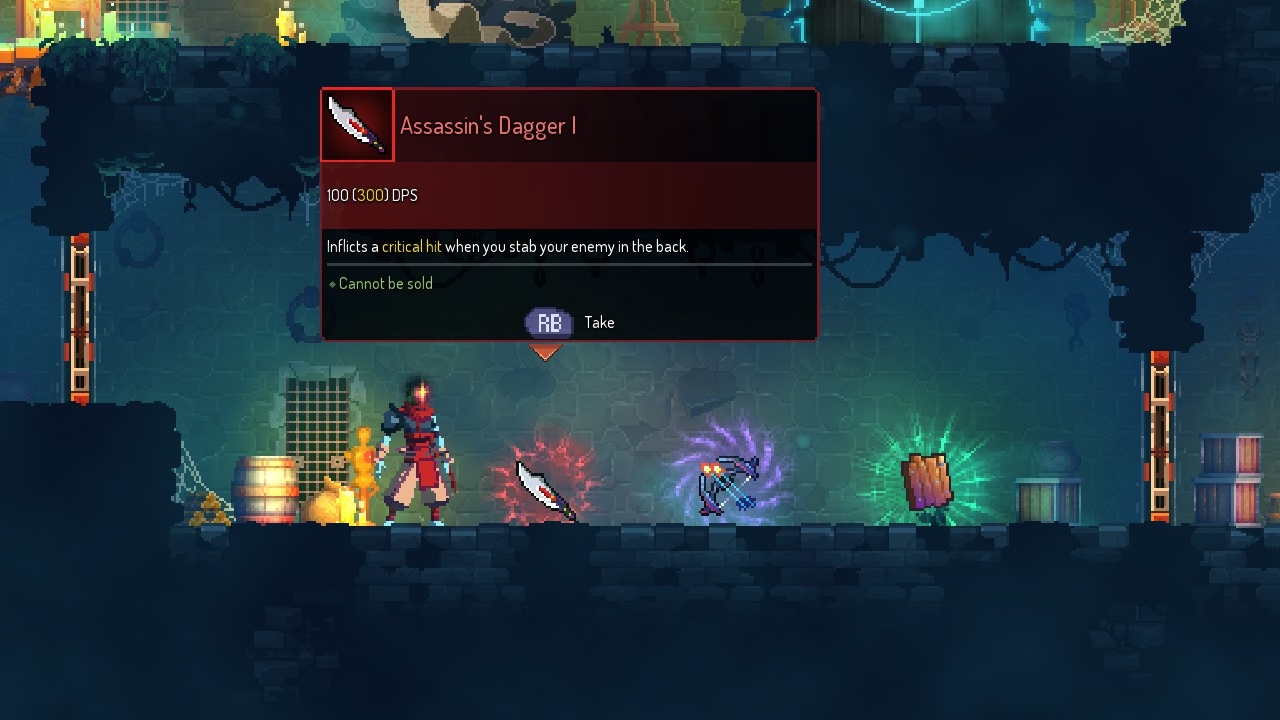
An inherent part of the random starting weapon upgrades is that they'll only draw items from within your pool of known recipes. And if you end up spending your cells on items for completion purposes (or just for the heck of it), you'll quickly find that you've diluted your starting item selection with weapons you don't actually want. As you start to amass a collection, try to use as many different weapons as you can out in the wild, and see which ones best fit your playstyle. For instance, I'm quite partial to the daggers, which give a guaranteed crit when attacking an enemy's back - something that's quite frequent with all the rolling you'll be doing to dodge incoming damage. Only when you feel like experimenting for fun should you start unlocking weapons you don't have much attachment to. Relatedly, you should probably avoid all sandal and whip recipes, as both these melee weapons have awkward attack animations and extremely niche strengths that make them hard to use effectively.
6. Stay on the attack to regain some lost health
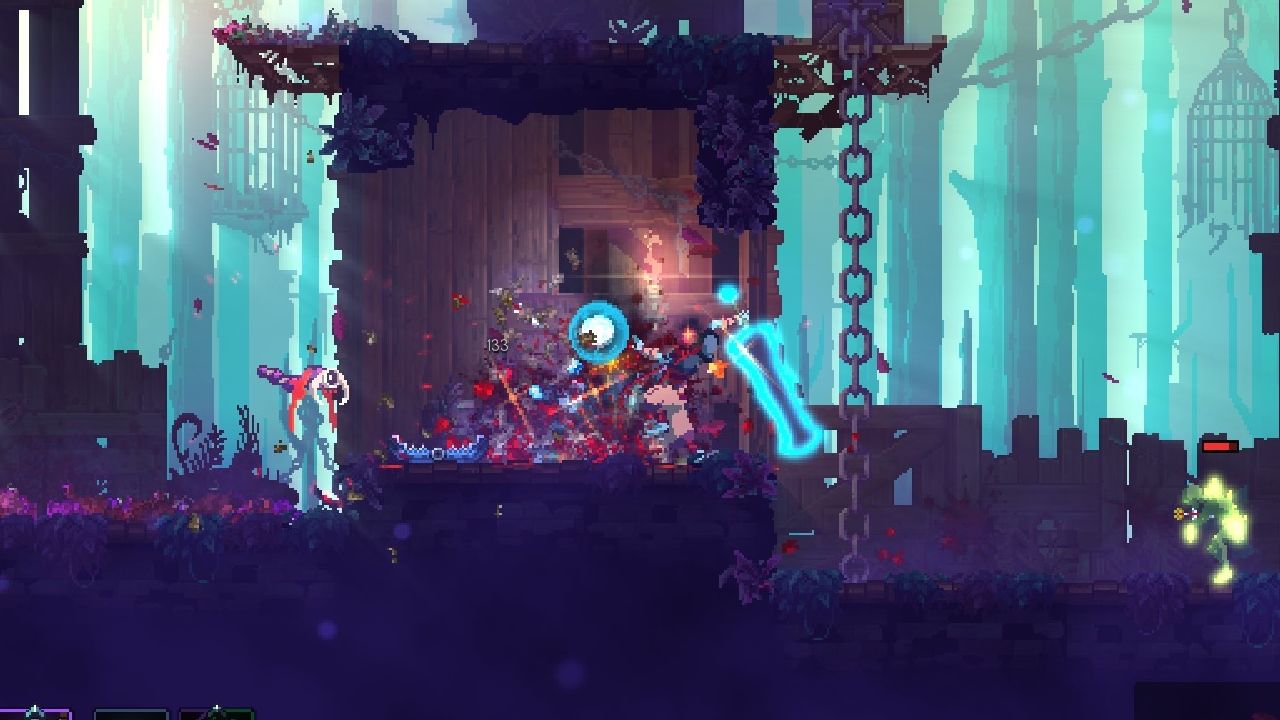
Dead Cells borrows a page from Bloodborne's book with this somewhat nonobvious design: if you get hit by an enemy attack, you can quickly fight back to regain a large chunk of the damage and mitigate your HP losses. This is represented by the yellow section that dips into your green health bar whenever you're damaged; do some slicing and dicing of your own, and you'll see the green health retake the yellow damage with each swipe (provided you're actually hitting your target). In practical terms, this means that it's better to stay and fight if you're under siege, rather than running away and making future encounters that much harder. It can be scary to keep swinging when you just took a near-fatal blow, but fighting through the pain will actually bolster your chances of long-term survival, especially if your potion is out of charges.
7. Don't feel like you have to pick up every scroll you see
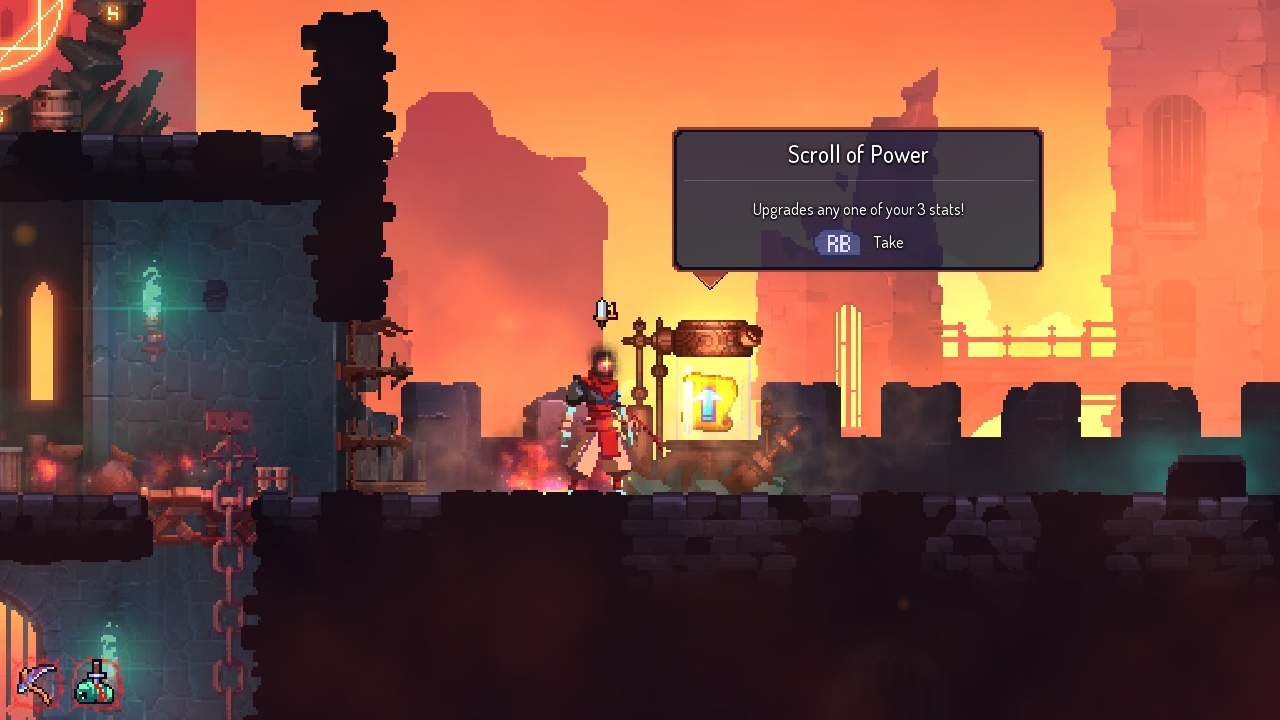
Here's another unintuitive mechanic in Dead Cells. Given that each scroll provides a sizable damage increase, improves most mutations, and gives you a big health boost, you'd think that it'd make sense to seek them out and collect every one you can. Not so. With each scroll you acquire, you're also buffing the enemies' stats in future levels - and if your gear is lagging behind your level, you'll likely find yourself overwhelmed by even the most basic baddies in later stages. Instead of snagging scrolls at every opportunity, try to gauge if you actually need the damage or health increase - and if not, it's probably best to simply move on so that you don't inadvertently scale the enemies past your own abilities.
8. It's worth rushing things to access the Timed Doors
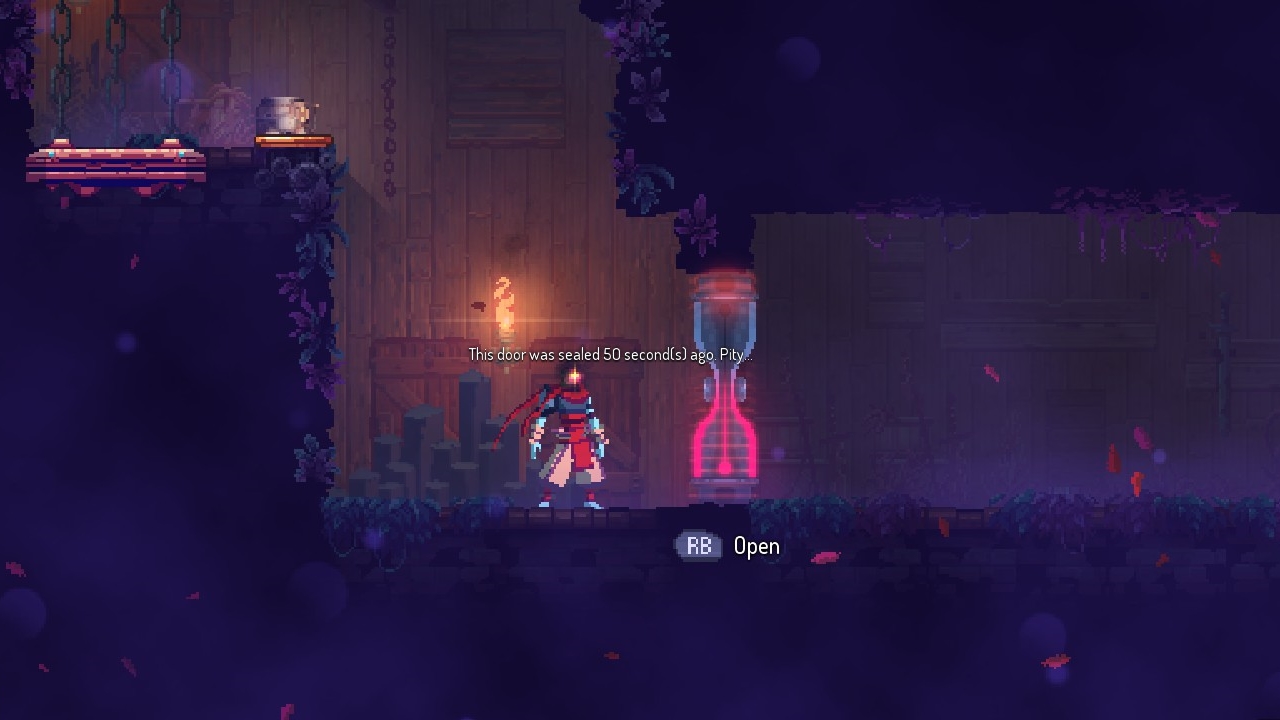
Once you've got a few runs under your belt, you might start to notice that the quest for cells can be somewhat... grindy. If you want to upgrade your potions or acquire recipes quicker, you'll need to up your cells-per-run returns - and that's where the Timed Doors come in. You'll likely spot them during your first few trips through the second and third levels: hourglass-shaped doors with a ticking timer above them, showing how much time you had to reach and unlock it. While it might seem more beneficial to scour every level before moving to the next, it's actually more efficient to blitz through early stages so you can reap the rewards locked behind the Timed Doors. Once you're comfortable with the enemy types in the early levels, push yourself to reach the Timed Doors consistently so you can amass cells that much faster.
For more great titles that hit consoles this year, check out our list of the best games of 2018.
Sign up to the GamesRadar+ Newsletter
Weekly digests, tales from the communities you love, and more
Lucas Sullivan is the former US Managing Editor of GamesRadar+. Lucas spent seven years working for GR, starting as an Associate Editor in 2012 before climbing the ranks. He left us in 2019 to pursue a career path on the other side of the fence, joining 2K Games as a Global Content Manager. Lucas doesn't get to write about games like Borderlands and Mafia anymore, but he does get to help make and market them.

