Dead Island Collectibles guide
Use our maps to find more IDs, excerpts, and tapes than you can shake a severed fist at
Prison
The prison is the final area of the game, and the point of no return. You should have your achievement/trophy by now, but there are 20 more collectibles to find here in case you don’t.
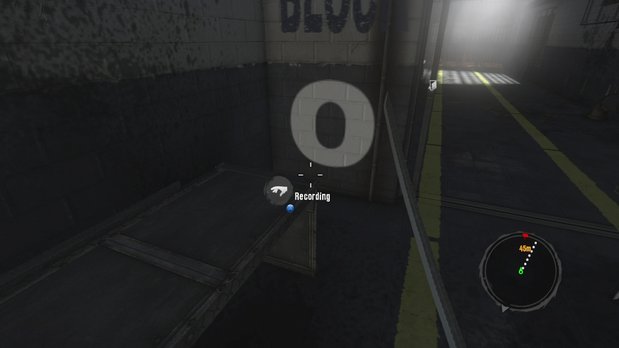
#131 (Tape #10) Near the beginning, on a metal bench. Look for the big “0” painted on the wall.
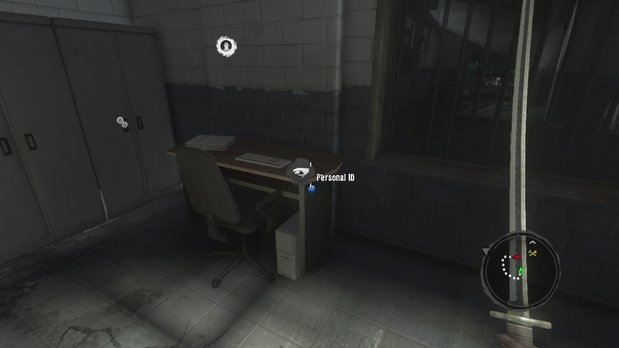
#132 (ID Card #95) As you are escorting Alvaro during the “The Green Mile” mission, he’ll remark about a Thug blocking your path. Take out that Thug, then go into the room behind it that is now open. The ID card is on the desk.
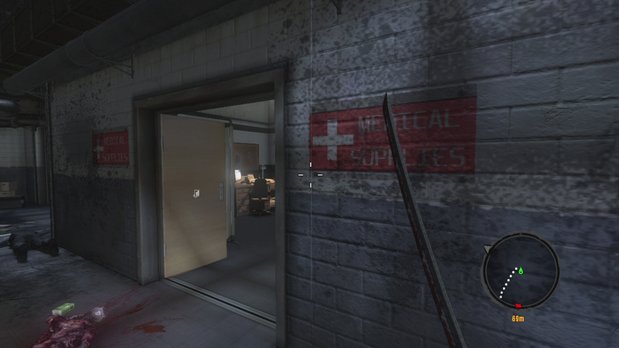
#133 (ID card #88) When you accept the “Full Metal Jacket” quest you’ll be able to go the second floor. Once you climb the stairs, head right and look for the medical supply room. The card is on a desk inside.
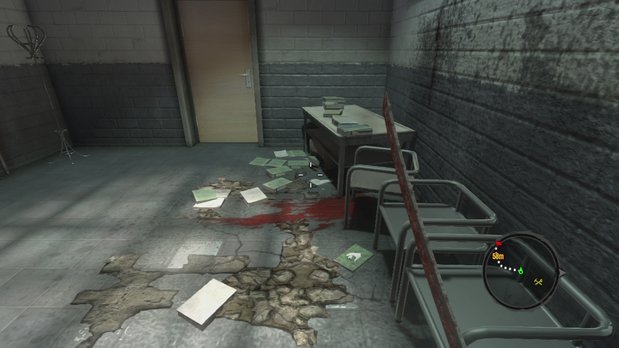
#134 (Banoi Herald Excerpt #39) Exit the medical supply room and go straight ahead through a series of doors. You’ll reach a door you can’t open. On the ground next to it, you’ll find this excerpt.
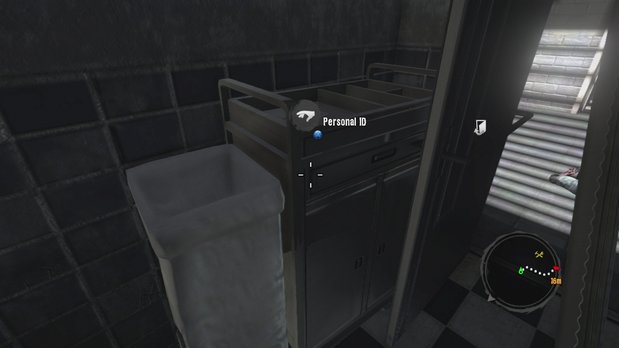
#135 (ID Card #94) After you turn in the master key to Kevin, he’ll actually open up all the doors in that corridor. The room across the workbench room has an ID card in it.
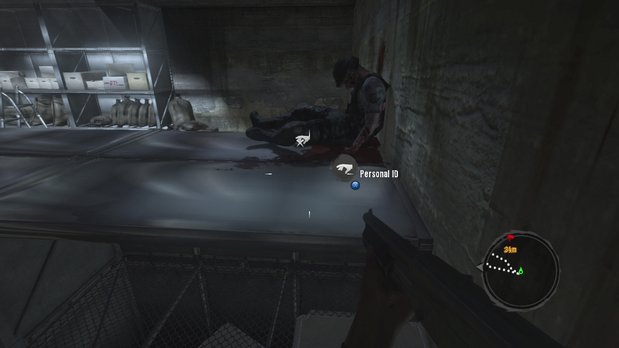
#136 (ID Card #87) Once you accept the “Dante’s Kitchen” main quest, you can get to the kitchen. Inside the kitchen storage room, look to climb up on top of the shelves. There is a dead cop against the wall, and the ID is right next to him.
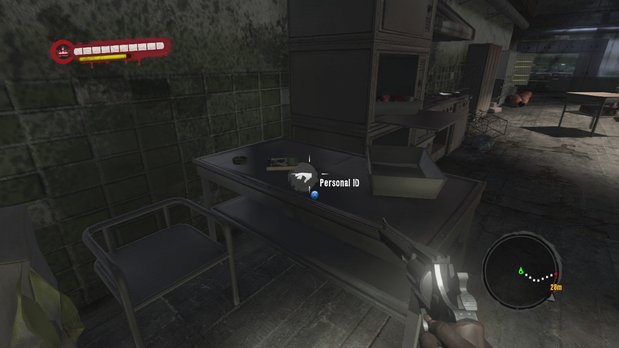
#137 (ID Card #96) Inside the kitchen, look for this ID on a metal table against the wall.
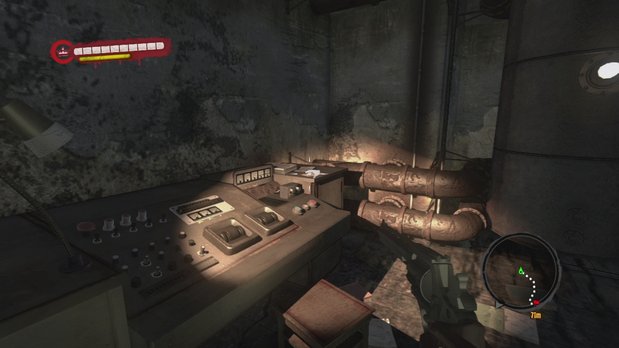
#138 (ID Card #97) When you accept the “Devil’s Labyrinth,” you’ll be directed to the basement. Soon after entering the basement, look for this control panel on the left.
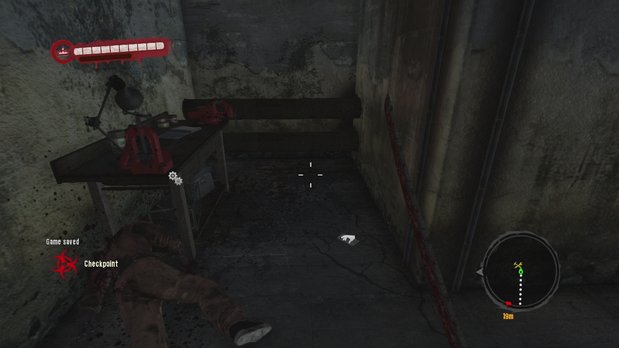
#139 (ID Card #86) As you’re making your way through the basement, keep an eye on your minimap for a workbench. On the ground next to the workbench is an ID.
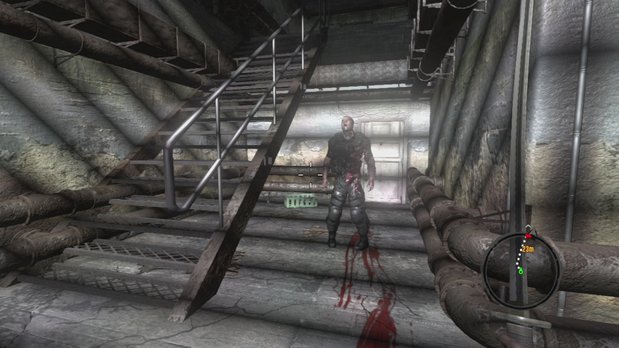
#140 (ID Card #90) Continue through the basement and past the laundry room. Eventually you’ll run into a Thug near a staircase. Kill the Thug, then grab the ID Card next to the door before ascending.
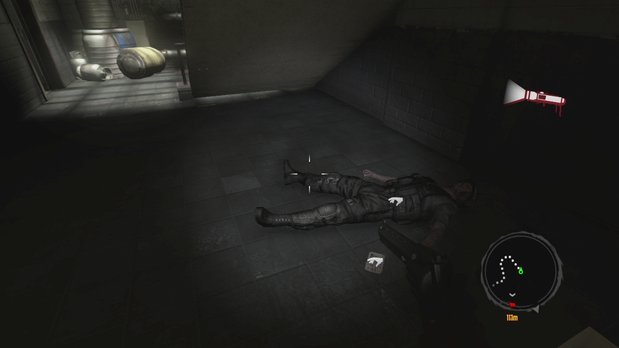
#141 (ID Card #92) Just before you enter the sewers during the “Devil’s Labyrinth” quest, make sure to check underneath this staircase for an ID.
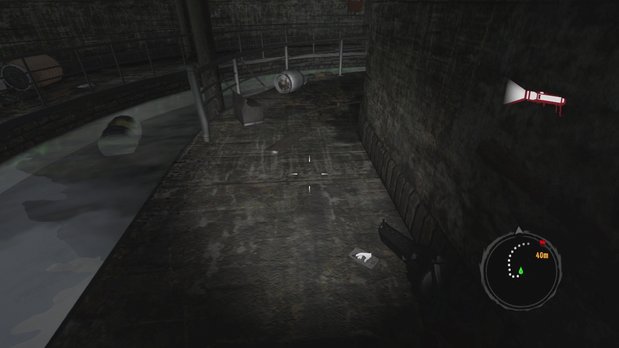
#142 (ID Card #98) As you make your way through the sewers, check the ground near where the first Floater is. There’s an ID card on the right.
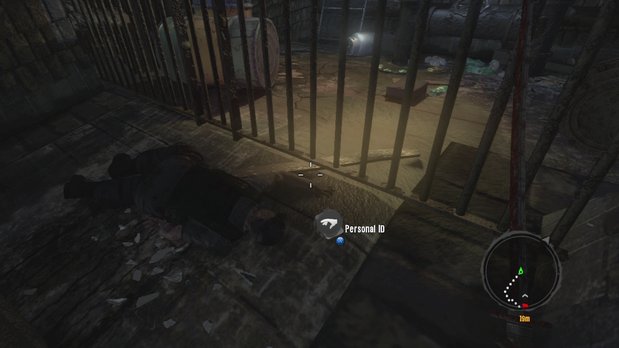
#143 (ID Card #89) While going through the sewers, the objective will change to “Go Up.” When it does, continue forward instead of climbing the ladder to your right. Check near the dead cop for another ID.
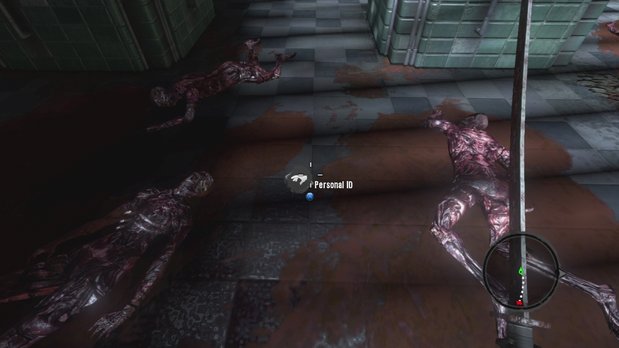
#144 (ID Card #99) As soon as you climb the ladder out of the sewers, turn around. On the ground nearby you’ll find this ID.
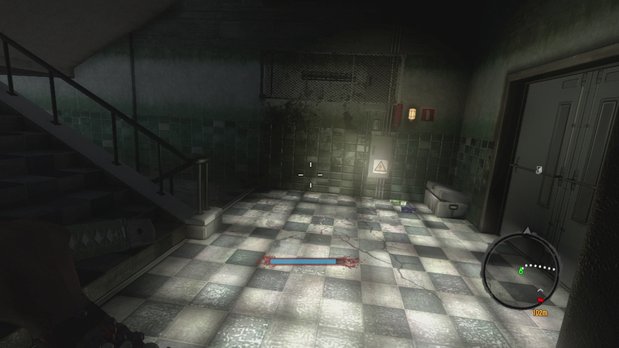
#145 (ID Card #91) In the early stages of the “Chasing the White Rabbit” quest, you’ll come upon a chest, some ammo, and winding stairs to the left that lead up and down. Go up the stairs to find an ID card next to a mattress.
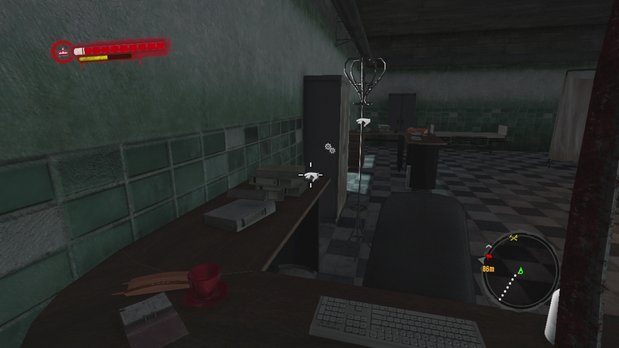
#146 (ID Card #93) Once on the second level, enter the first room on the left. Make a quick left and check the desk for an ID.
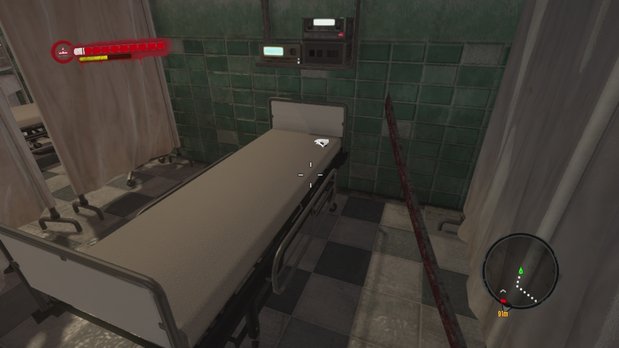
#147 (Tape #11) On a bed in the same room as the previous ID.
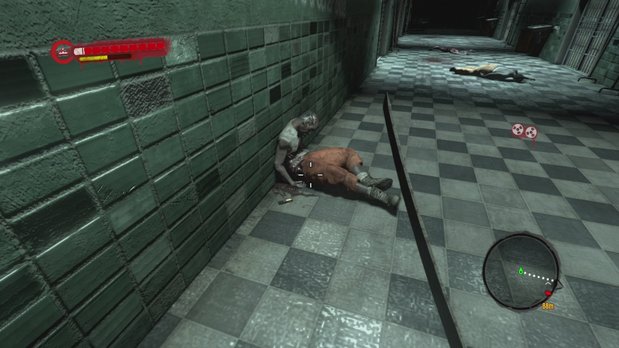
#148 (Tape #12) Exit the room mentioned above and turn left. Along the wall is a corpse, and next to that corpse is another tape. We had trouble actually picking this one up, but keep at it. Move around until you get to the perfect angle for the prompt to appear.
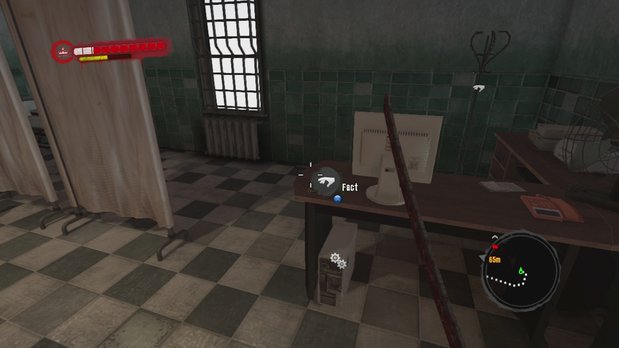
#149 (Banoi Herald Excerpt #38) Continue down the main corridor until you see a small hallway to your right. Turn down in and enter the door on the left. Once inside this room, check the desk for an excerpt.
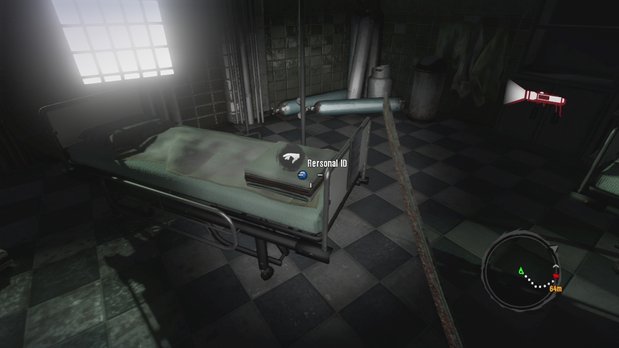
#150 (ID Card #100) One of the rooms on the left side of the main corridor has an ID card in it. Check the foot of the beds.
Sept 14, 2011
Sign up to the GamesRadar+ Newsletter
Weekly digests, tales from the communities you love, and more


