Demon's Souls walkthrough and step-by-step guide to Boletaria
Our walkthrough will make getting through Demon’s Souls easier
Stonefang Tunnel 2-1 walkthrough - Smithing Grounds
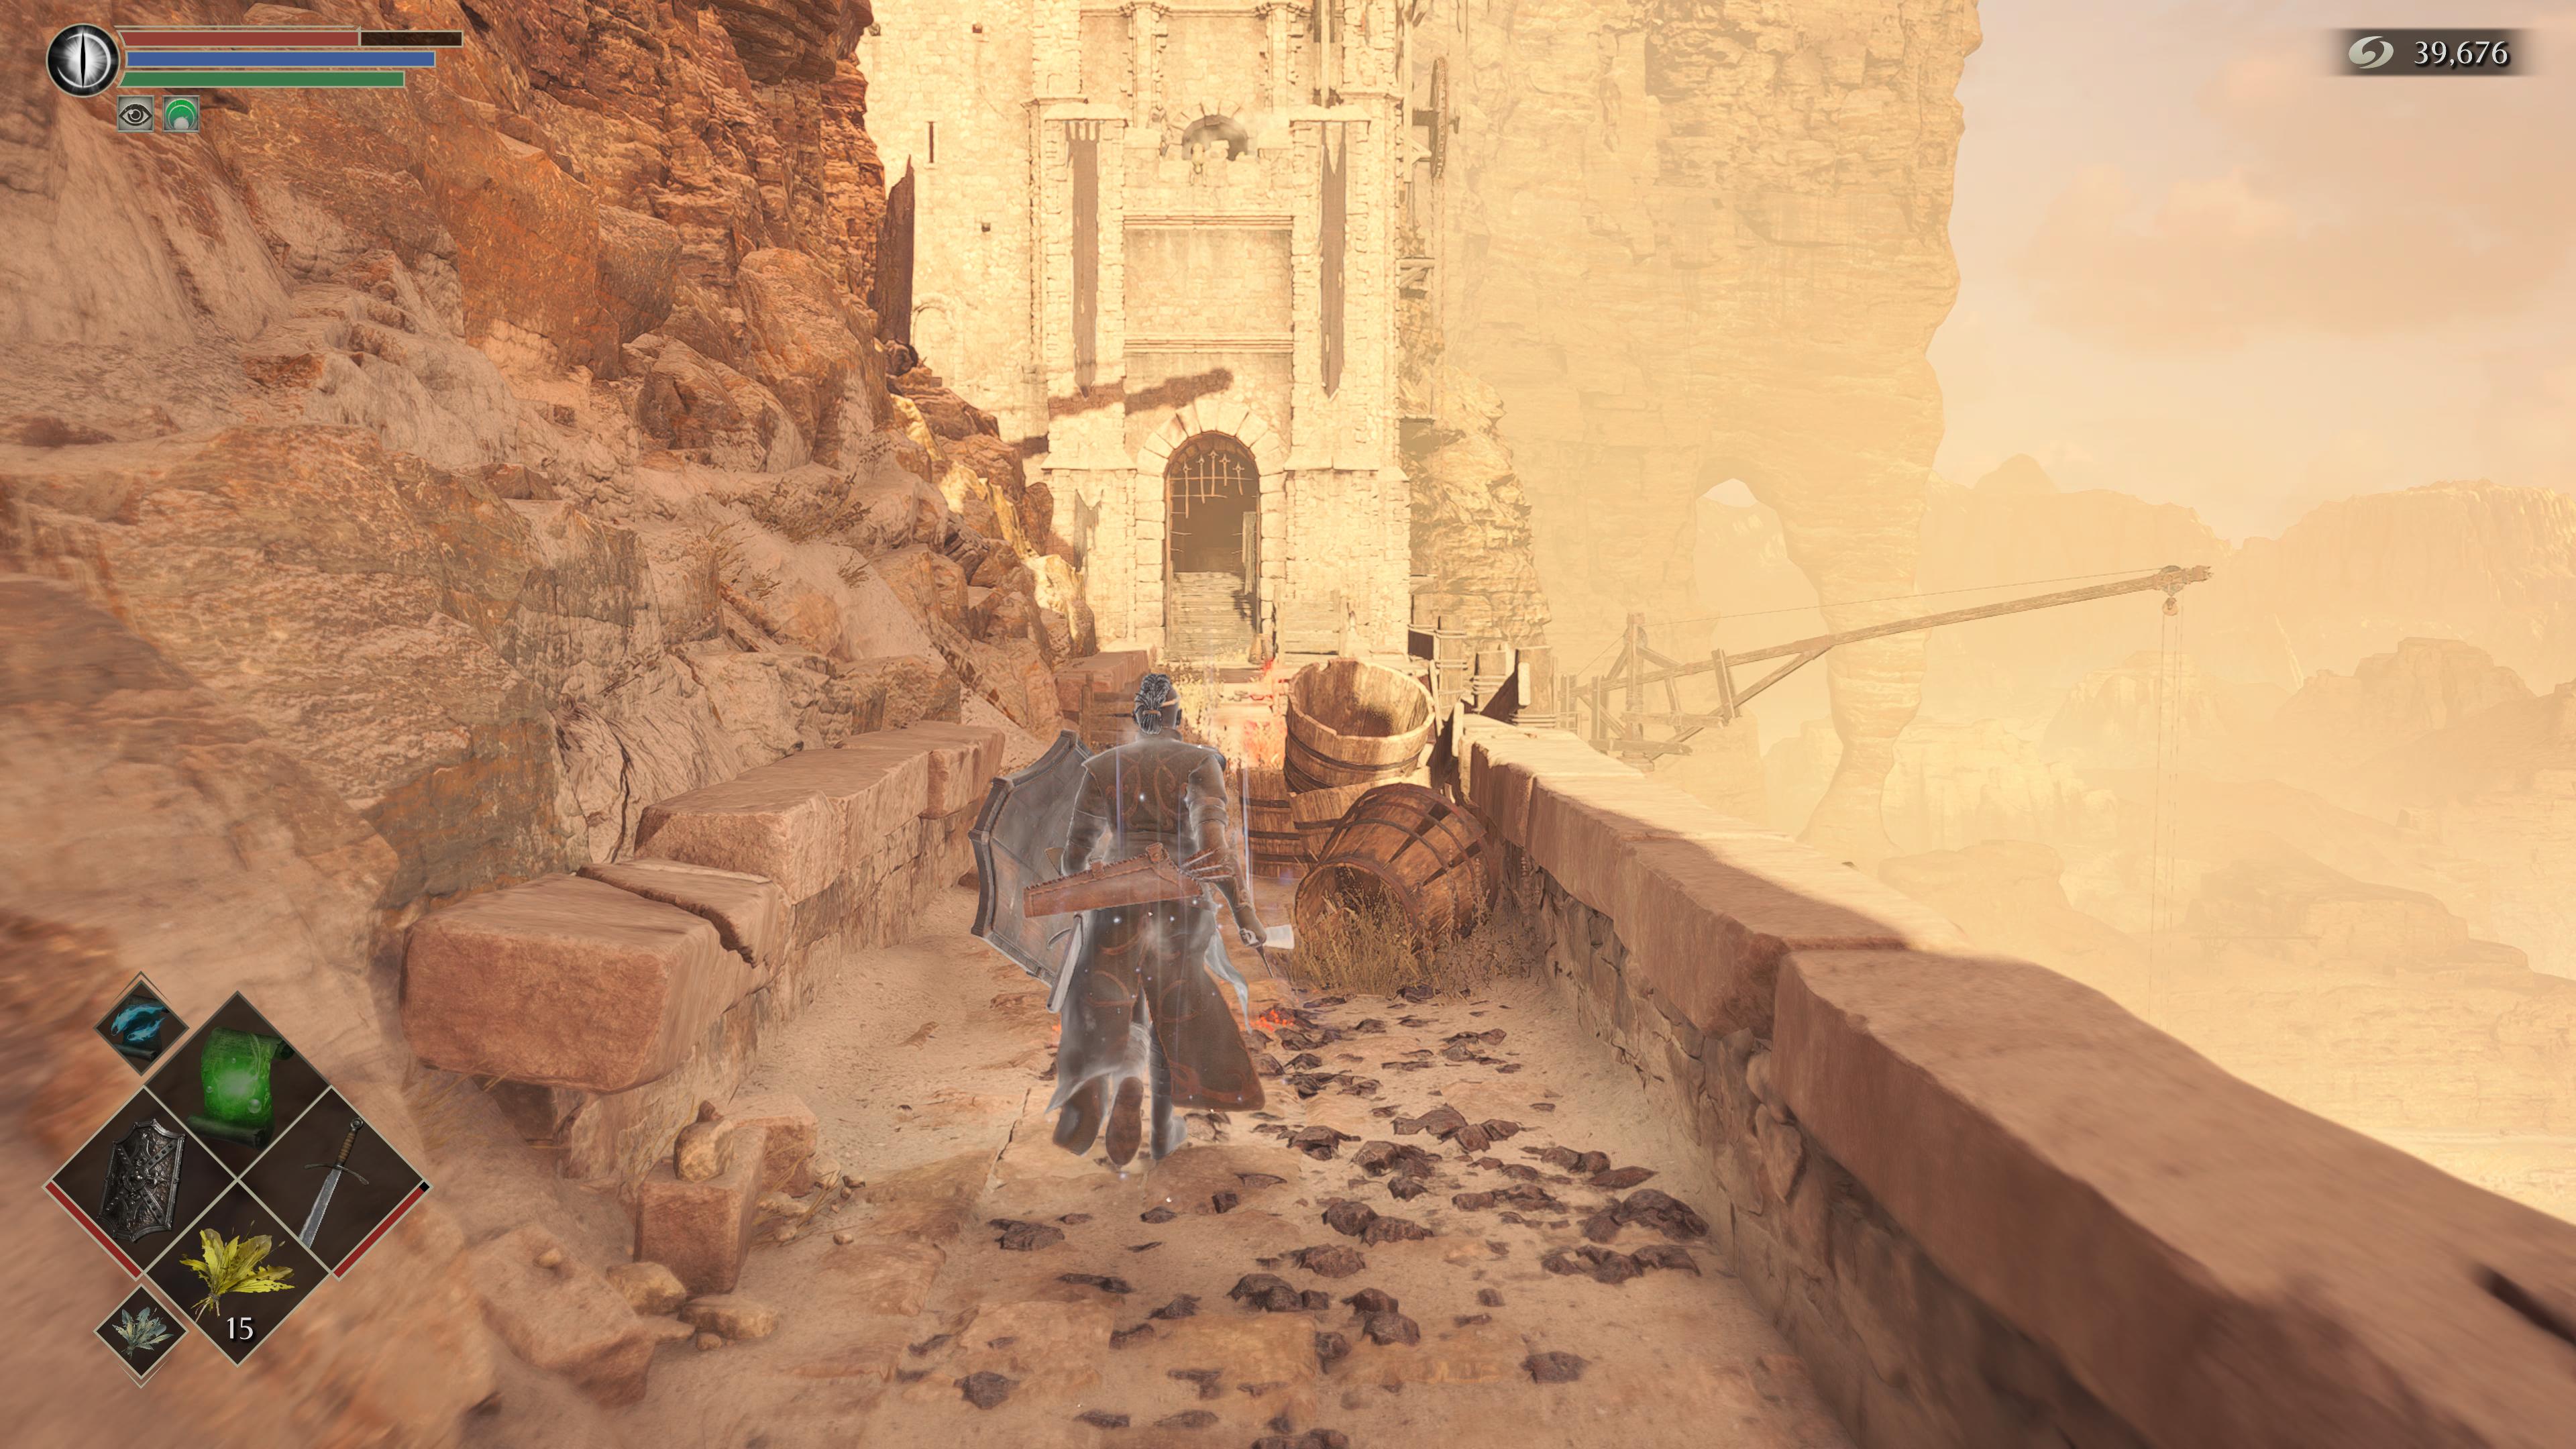
From the start of 2-1, head up to the top and take note of the stopped platforms in the room nearby. We’ll come back to this point a little later. Instead, head towards the large structure ahead, and watch out for the falling rocks.
Go inside, make your way through the Scale Miners, dogs, and Fat Official and then head upstairs through the narrow corridors. Go up two more flights of stairs and you’ll see a large, closed gate across from a platform. Across from this gate is another Fat Official, so take him out if you’d like and then roll off the platform to the floor below and interact with the lever to open the gate. Now, head through it by doubling back and making your way through the fog.
Go up two floors and you’ll come to a large group of Scale Miners ahead. You’ll see a fog path to the right, but skip it for now. Also, take note of the lava pool on the right, which is currently blocked. Go towards the miners and keep going until you end up outside. From here, make a right and then you’ll see a lever you can pull that will initiate the rotating platforms we mentioned above. Take the platform down to reach Blacksmith Ed, an NPC who upgrades your weapons to certain paths using materials found around the world. Now, head back to where the large group of Scale Miners were and go through the fog beside them.
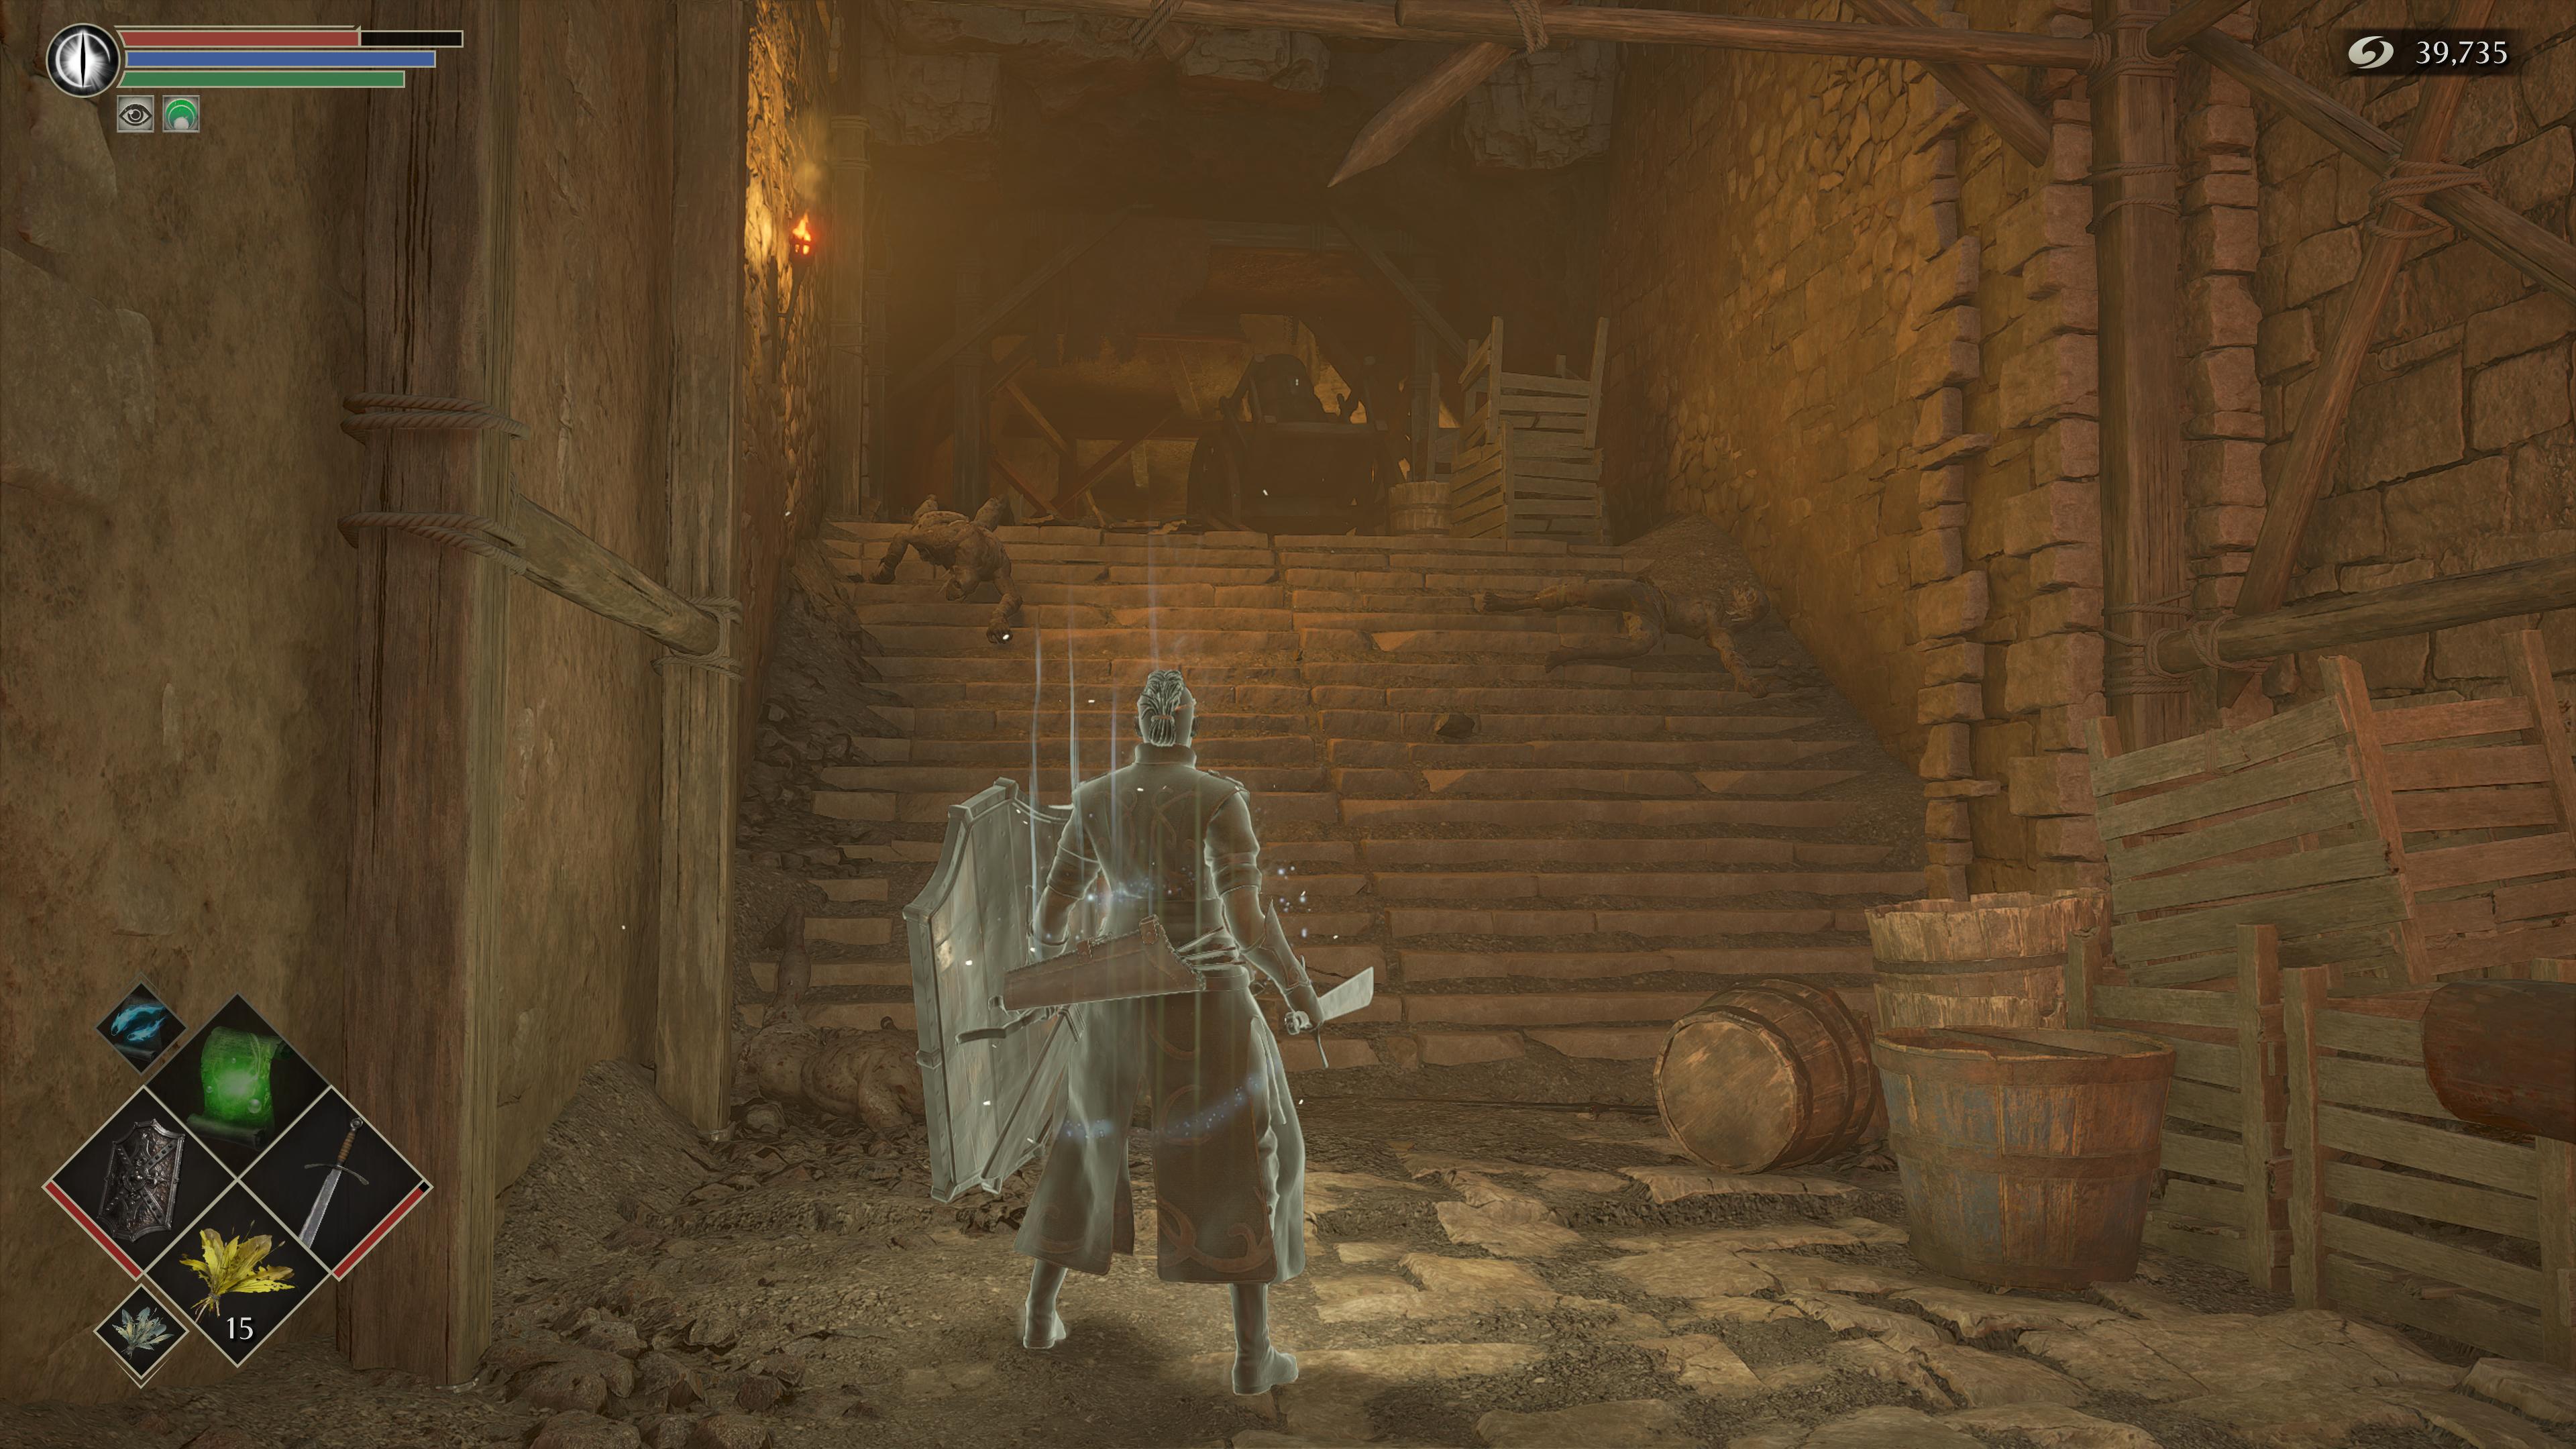
Now, keep following the path, past the room of Miners and you’ll come to a huge open area. Once here, turn left around a corner and you’ll see two Miners throwing more rocks at you. Run up to them, grab their attention and back away to pick them off one at a time.
Follow the path behind them, up to a section where you’ll find flaming geckos on a structure and then go down on the opposite side. Keep going down, past the dogs and you’ll come to another group of Miners and a final lever for you to pull, next to a rotating wheel. Pulling it will pour water on the lava blocking your path.
Head back to the lava pool mentioned above (in front of the last fog gate), and follow the newly uncovered path. Go upstairs and then you’ll come across a new path that leads back down, where you’ll find another Fat Official blocking a fog gate, with numerous barrels surrounding him.
Wait for him to destroy the barrels, then defeat him or simply run past, through the fog. Keep going until you reach a large elevator with a lever you can pull to take you down to the boss ahead.
Armor Spider boss
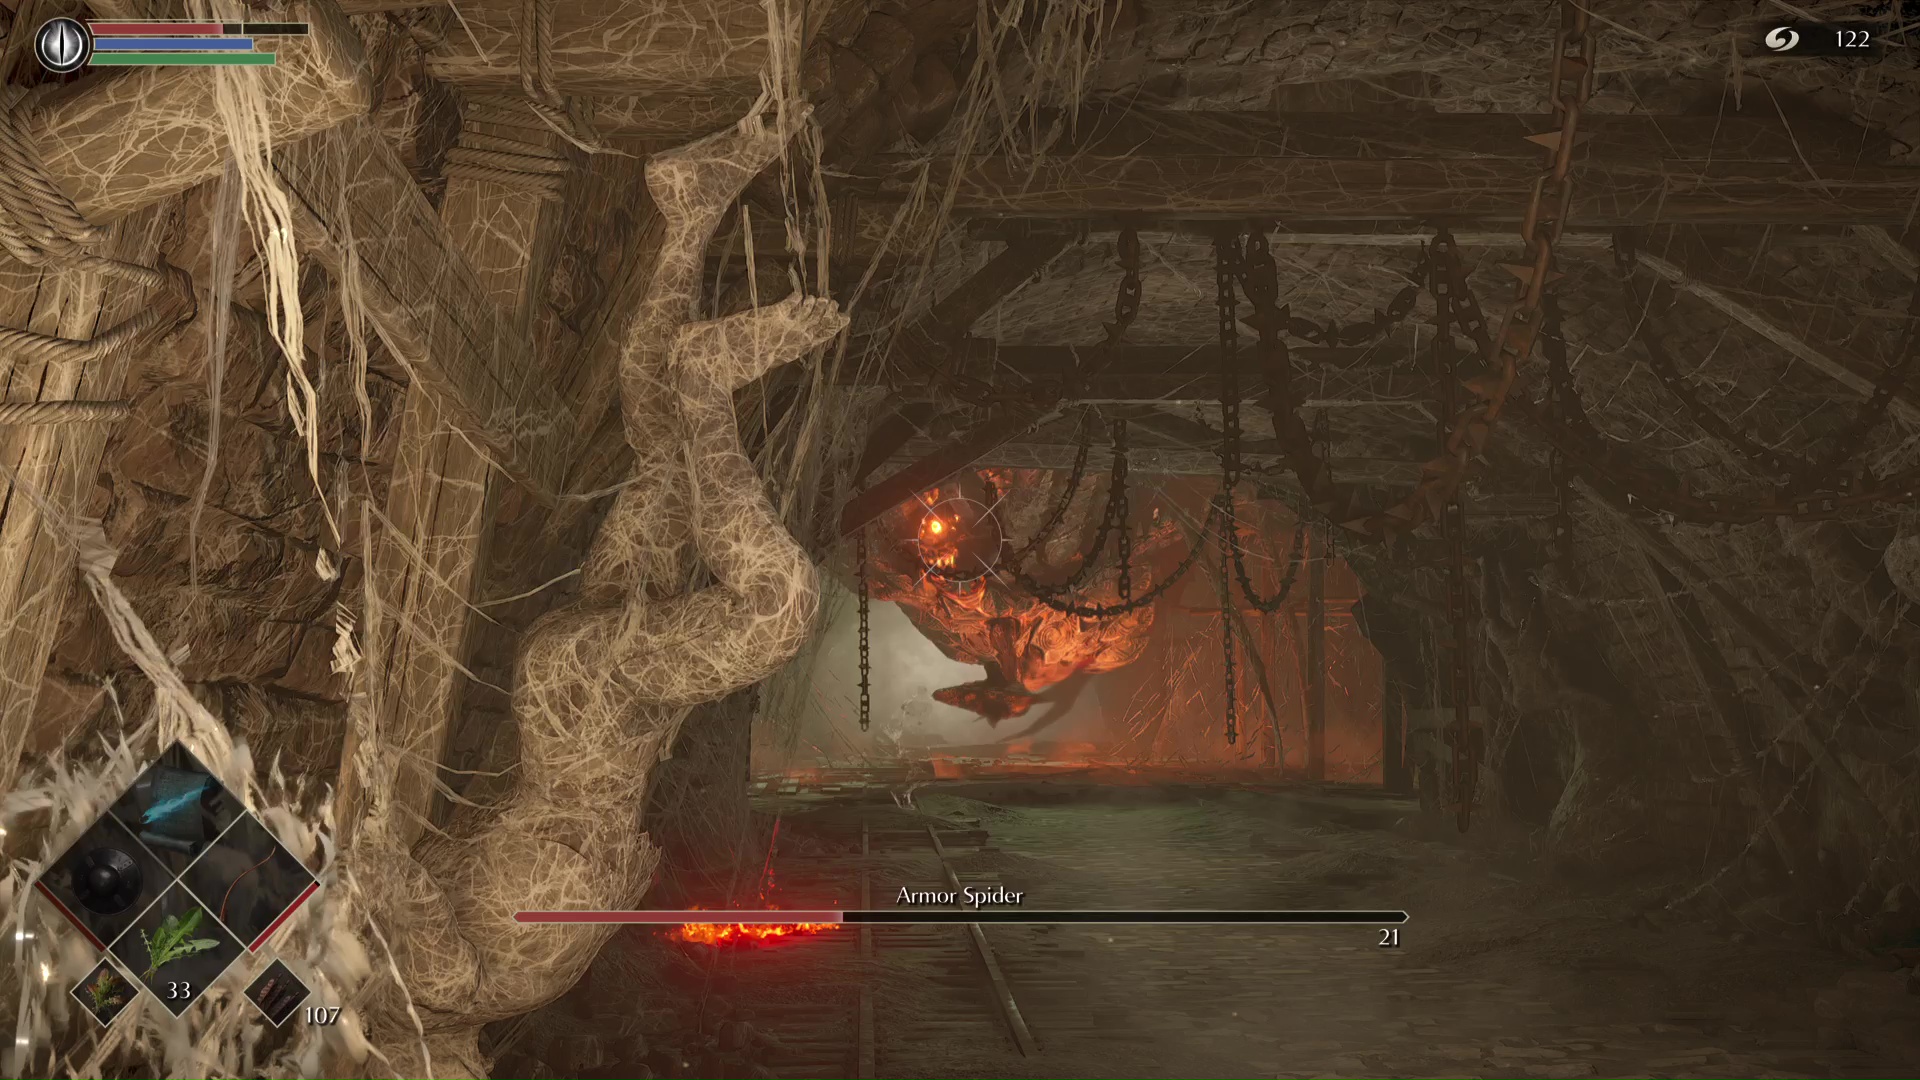
There are two ways to defeat Armor Spider - the easy way and the hard way. The easy way involves you shooting around 50 arrows at it from a spot where you can’t get hit. This is definitely a “cheese” tactic, but one we highly recommend. To do so, stand on the left, to use a webbed up body as cover. From here, you’ll take barely any damage and you can kill the boss with ease (it’ll just take a few minutes).
Otherwise, you can do your best to dodge through its fireballs and webs to make your way right up to the Armor Spider to strike it with melee attacks. Get in a few hits, then either block or roll through its strikes and repeat the process. It helps if you use Sticky White Slime , an item you can find and rub on a weapon to add temporary magical essence, to deal more damage.
Armor Spider Archstone 2-2 walkthrough - The Tunnel City
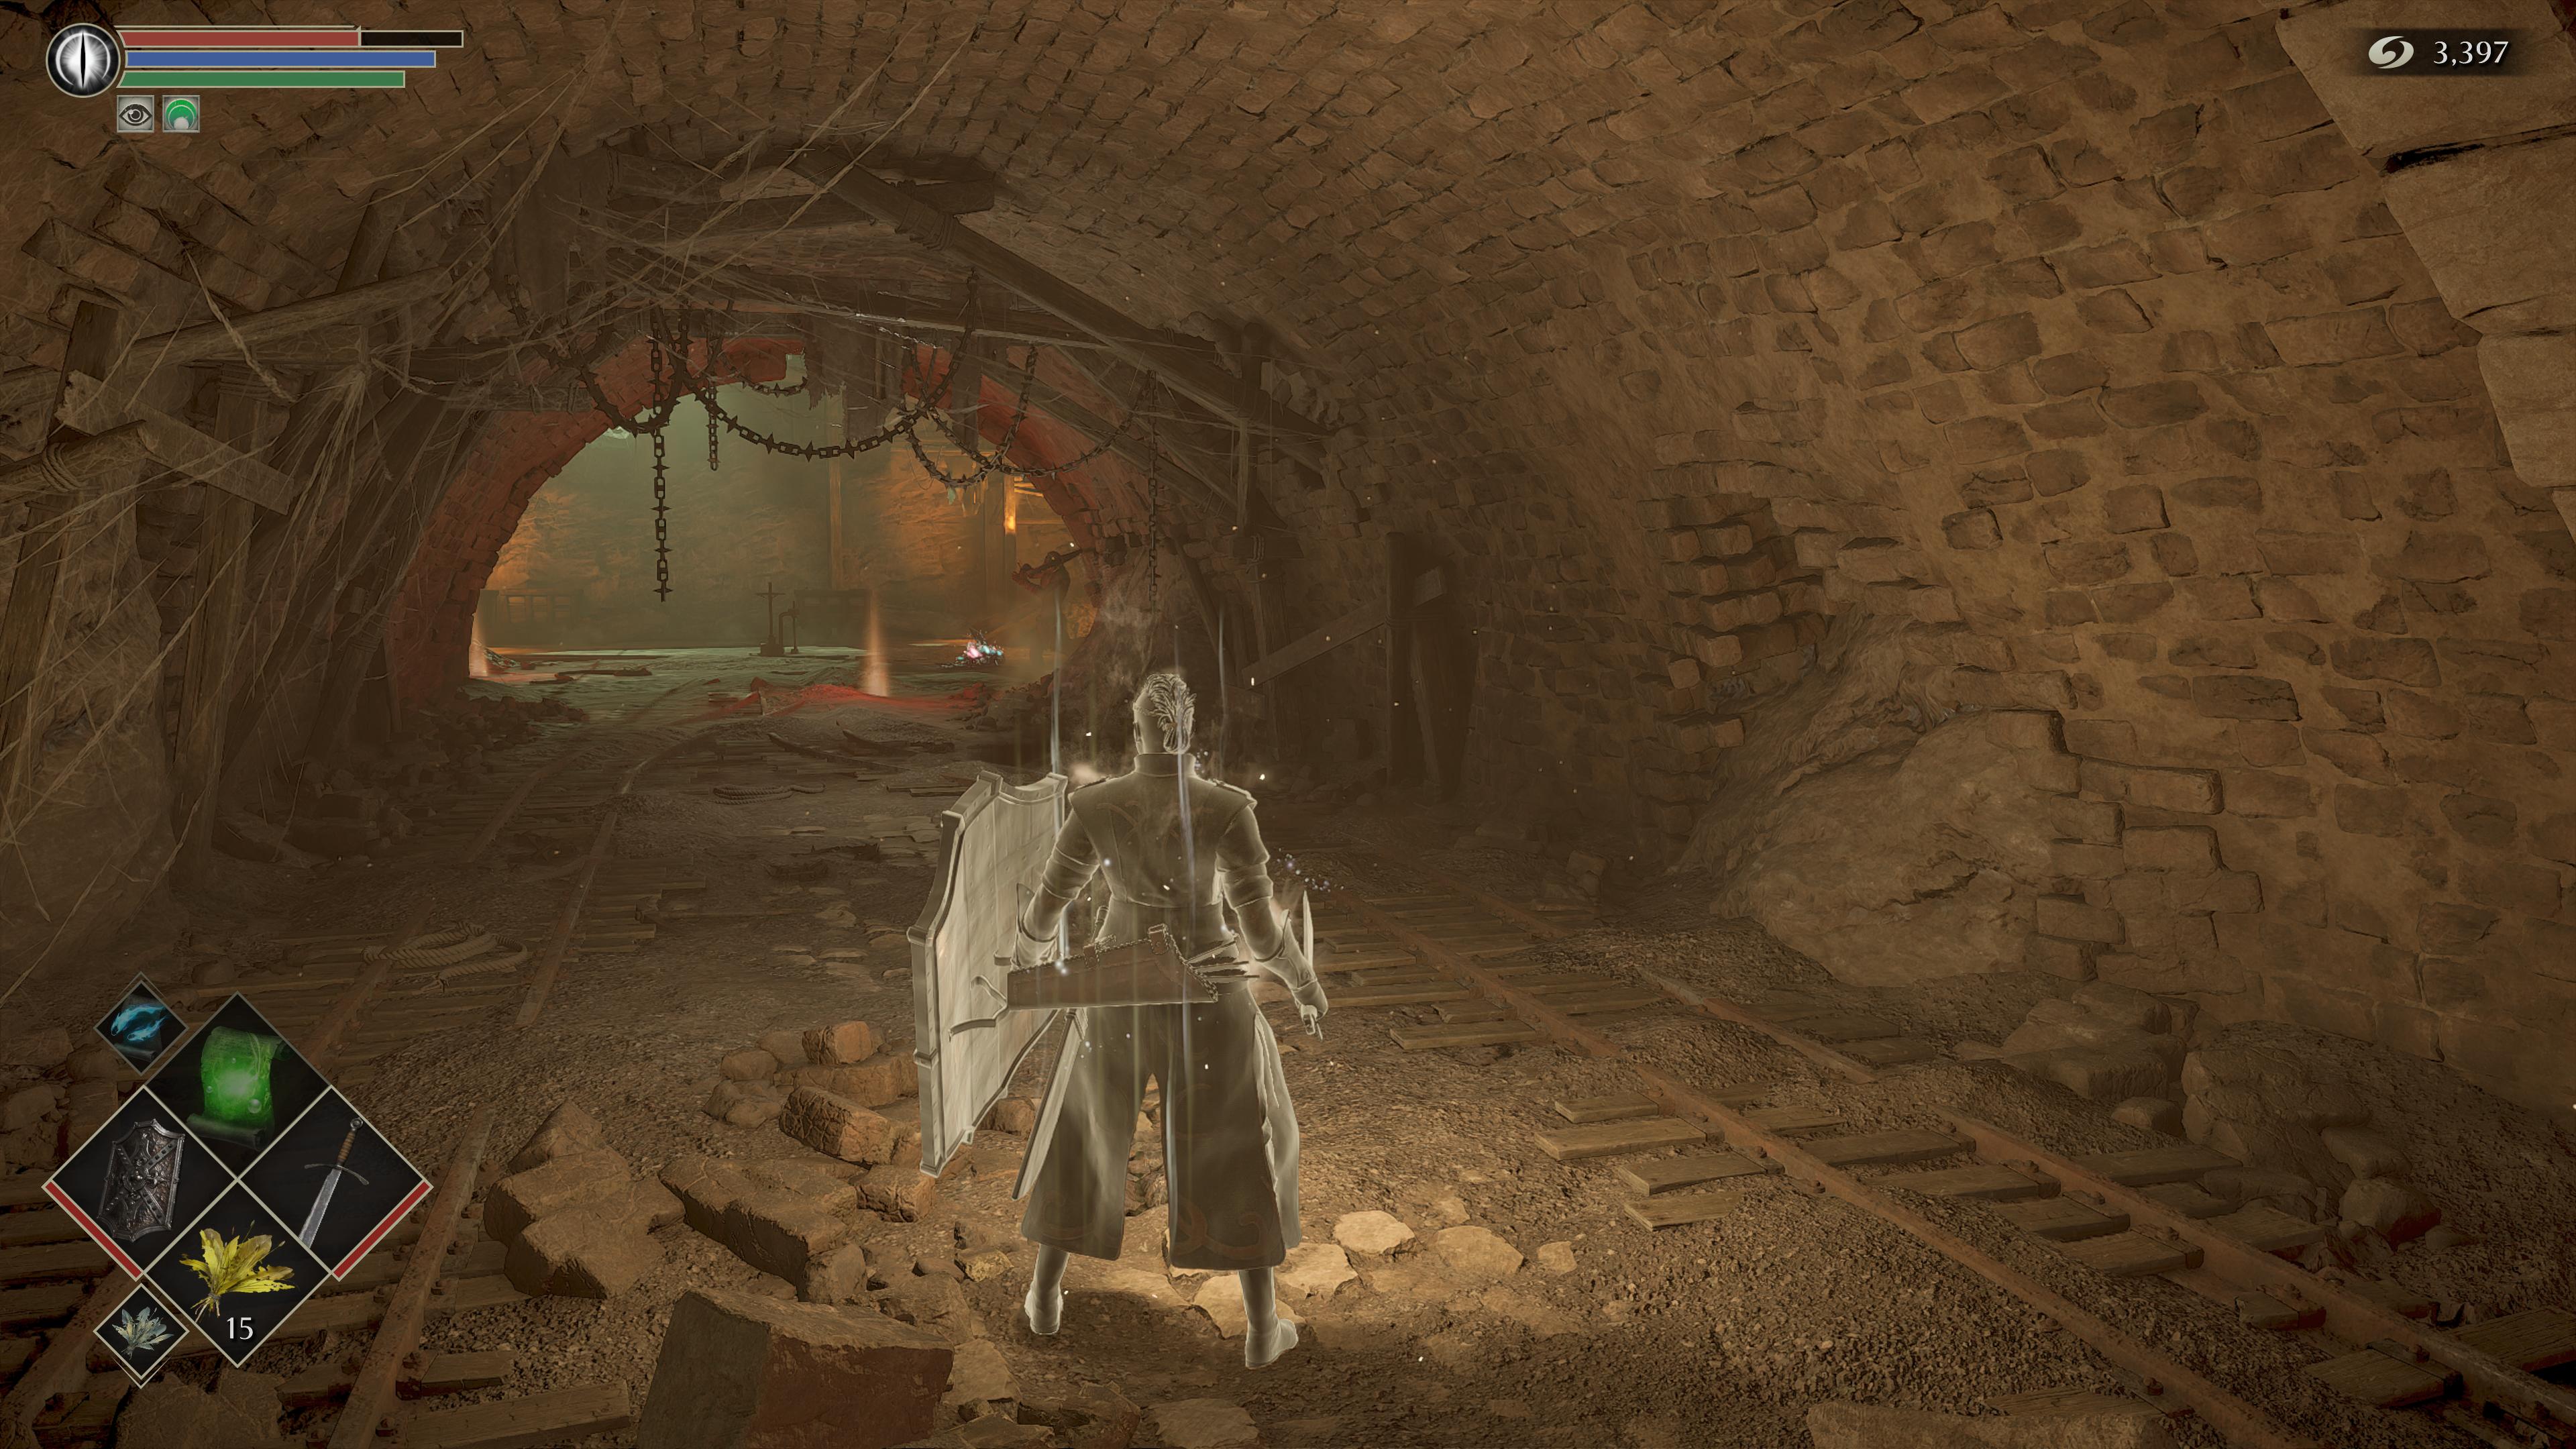
Before you proceed any further, though, head back to Nexus and deposit everything except for the essentials. Drop off your upgrade materials and any weapons/armor you won’t need. You’ll be picking up a lot of heavy items in this section. Then, head to 2-2. Head forward and then make your way down the left path, while being cautious of the exploding carts - run past them so you're nowhere near when they go off.
Past the Fat Official, take the elevator down and lure the Black Phantoms ahead. Ride the elevator back up and the two will (for some reason) jump down the hole. Then ride it back down to indulge in the Crystal Gekko pit. After you kill them you can return to this location several times to continue gathering resources.
After you've finished, head all the way back up using the elevator and continue along the path until you get outside. The idea here is to drop off from the right side, next to the Rock Worm to your right. Drop down and make sure you get behind the Giant Bearbug sitting in front of Patches the NPC. If you stick behind it, the creature won’t hurt you. As soon as it’s dead, back away and wait for its corpse to explode. Then grab the Ring of Flame Resistance from where it stood.
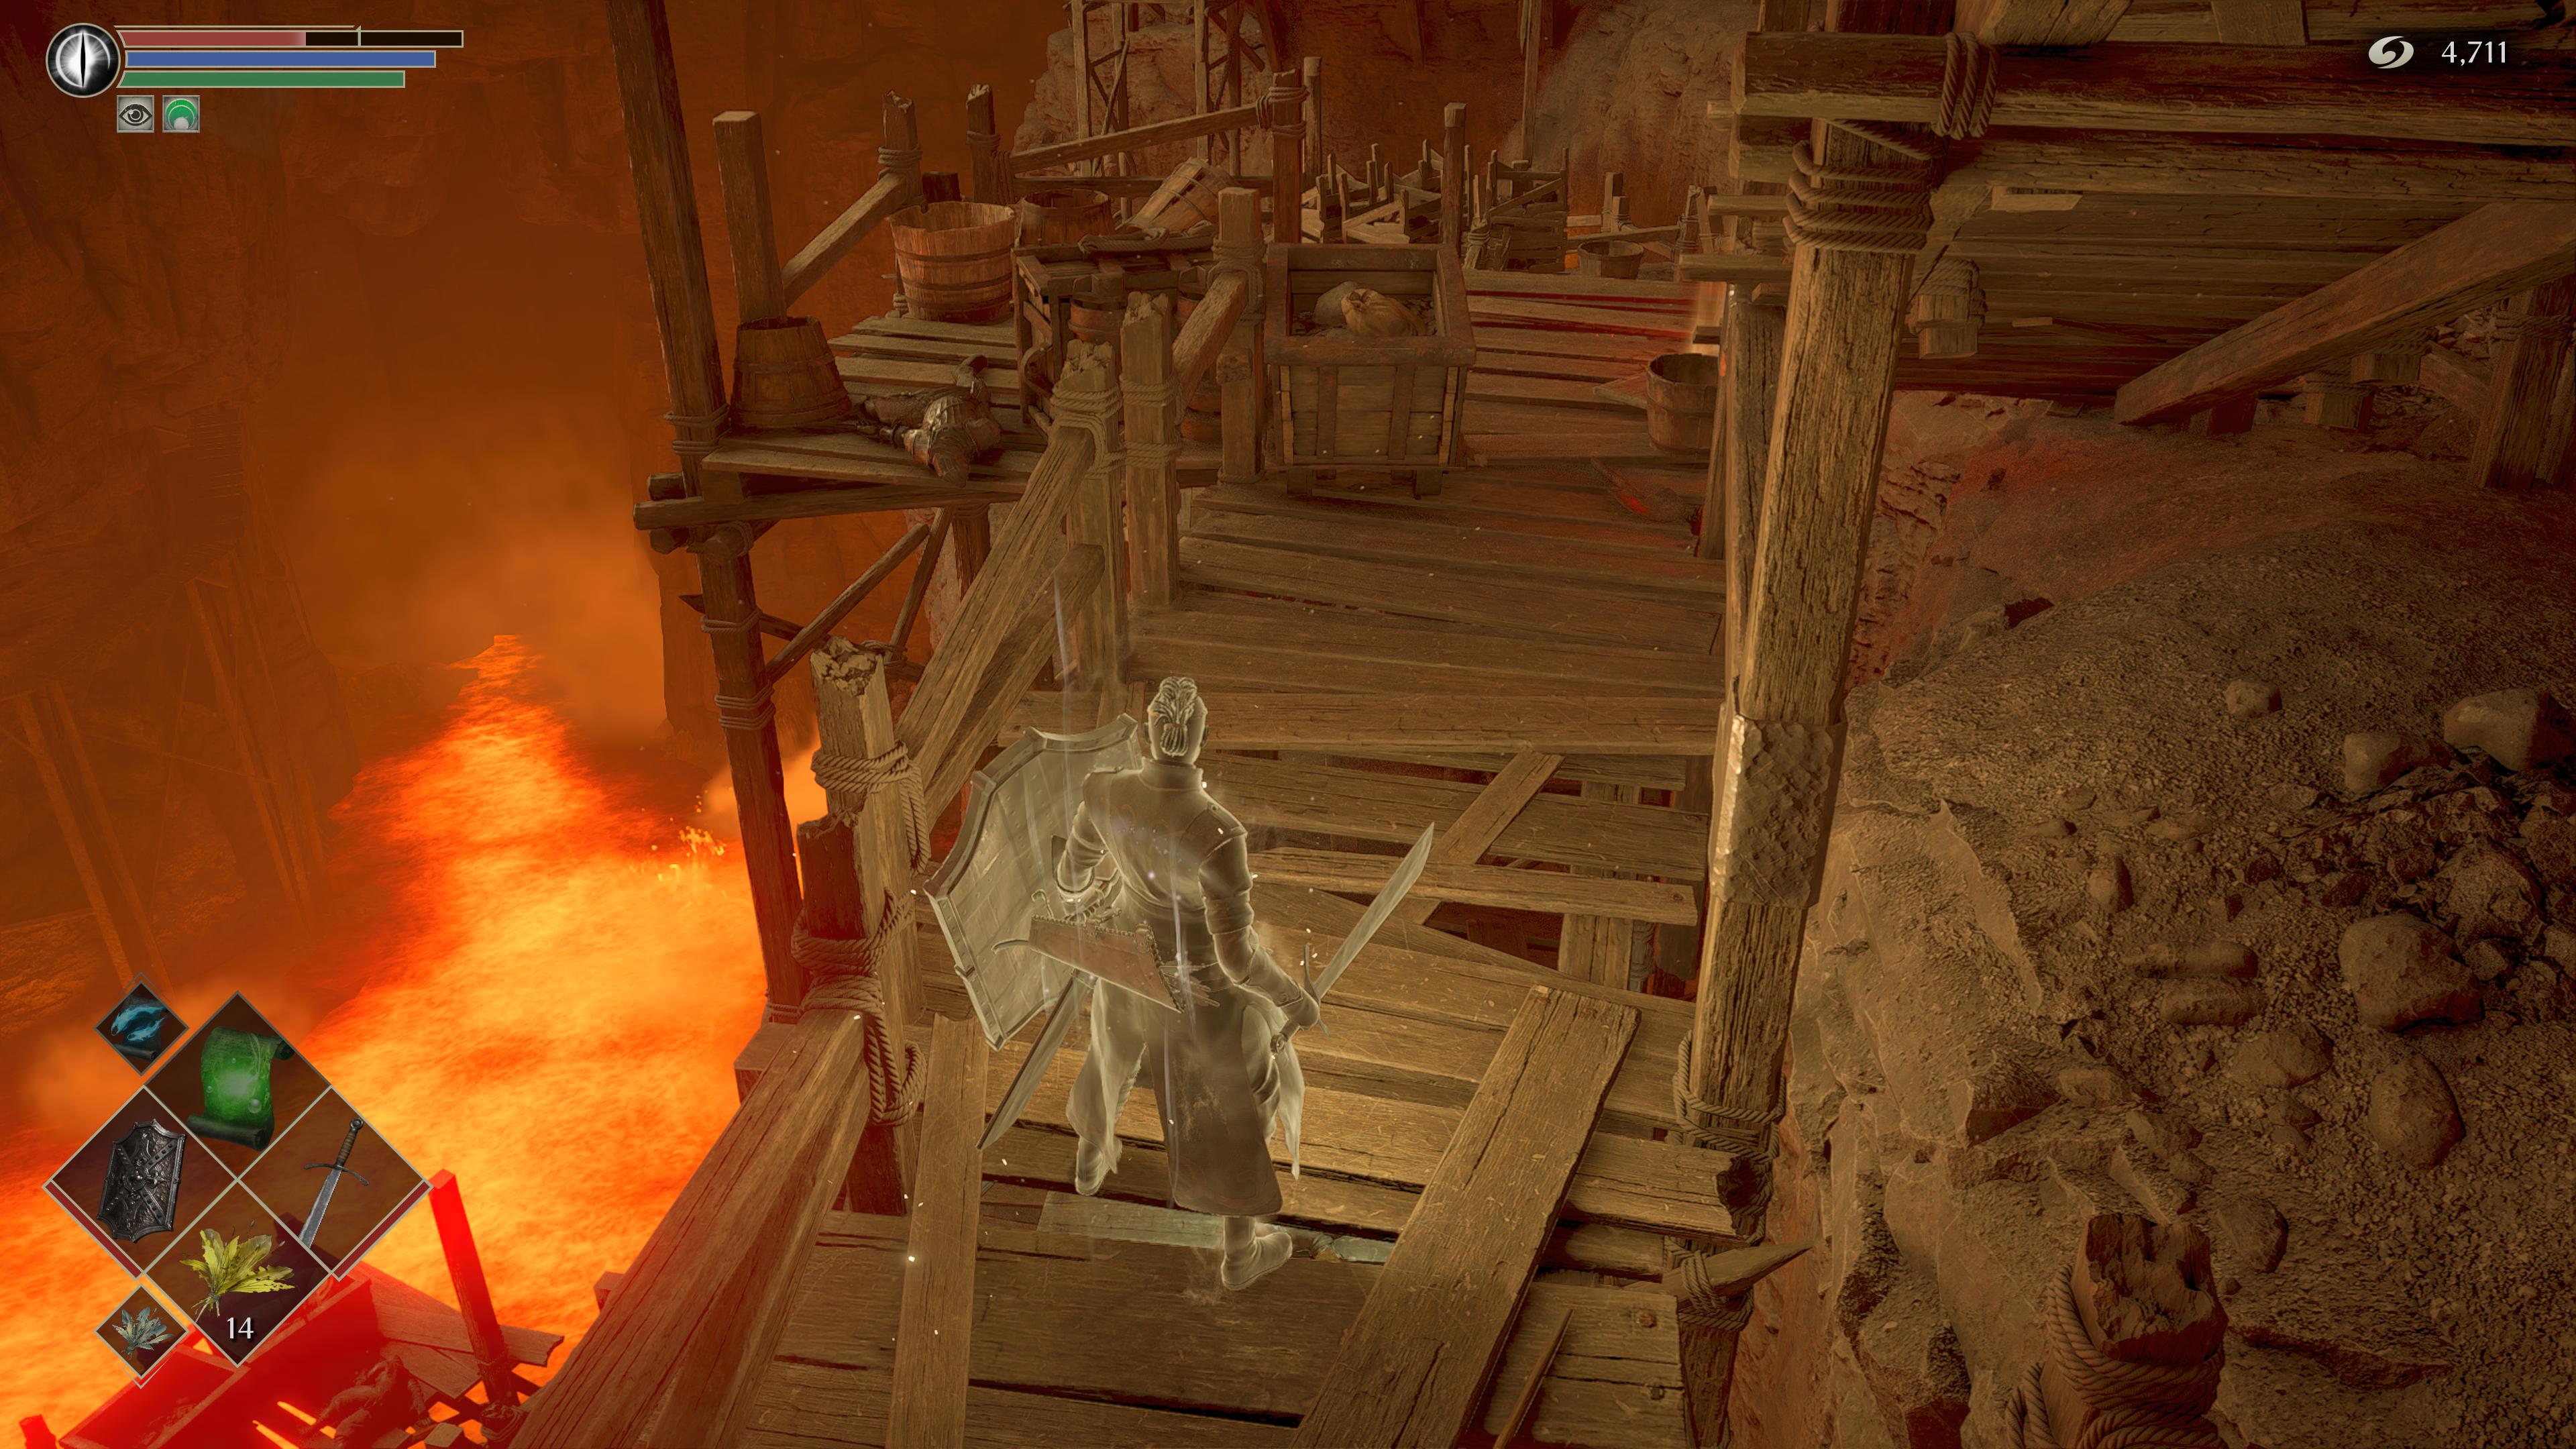
Keep dropping down and you’ll find the Filthy Man NPC on the side of the cliff, who sells Sharpstone and Hardstone materials. Then, keep making your way down until you reach what seems like a Rock Worm graveyard with a fog gate nearby.
Cross the gate and you’ll come to a tunnel that might make your heart sink, due to how confusing it is. However, we’ll let you in on the path ahead. From the start, go straight and at the fork, turn left. You’ll come to another fork guarded by a Bearbug - either path will work. Then at the next junction, turn right and follow it until you can turn left. Then take this all the way to an open area where you can drop down. (Before the end of the final stretch, make sure you grab the Dragon Long Sword+1, as it’s very powerful.) Keep in mind, this cave area is full of goodies, but the path we described is the quickest way to the end.
Drop down, kill the Rock Worms in the circular room, and follow the tunnel ahead. Keep in mind, you can reach the circular room full of Rock Worms by taking the right path from the previous Archstone. From this circular room take the tunnel ahead, turn left to kill another set of Rock Worms and grab the pair of Hands of God. Then, go the other way where you’ll come to the next boss.
Flamelurker boss
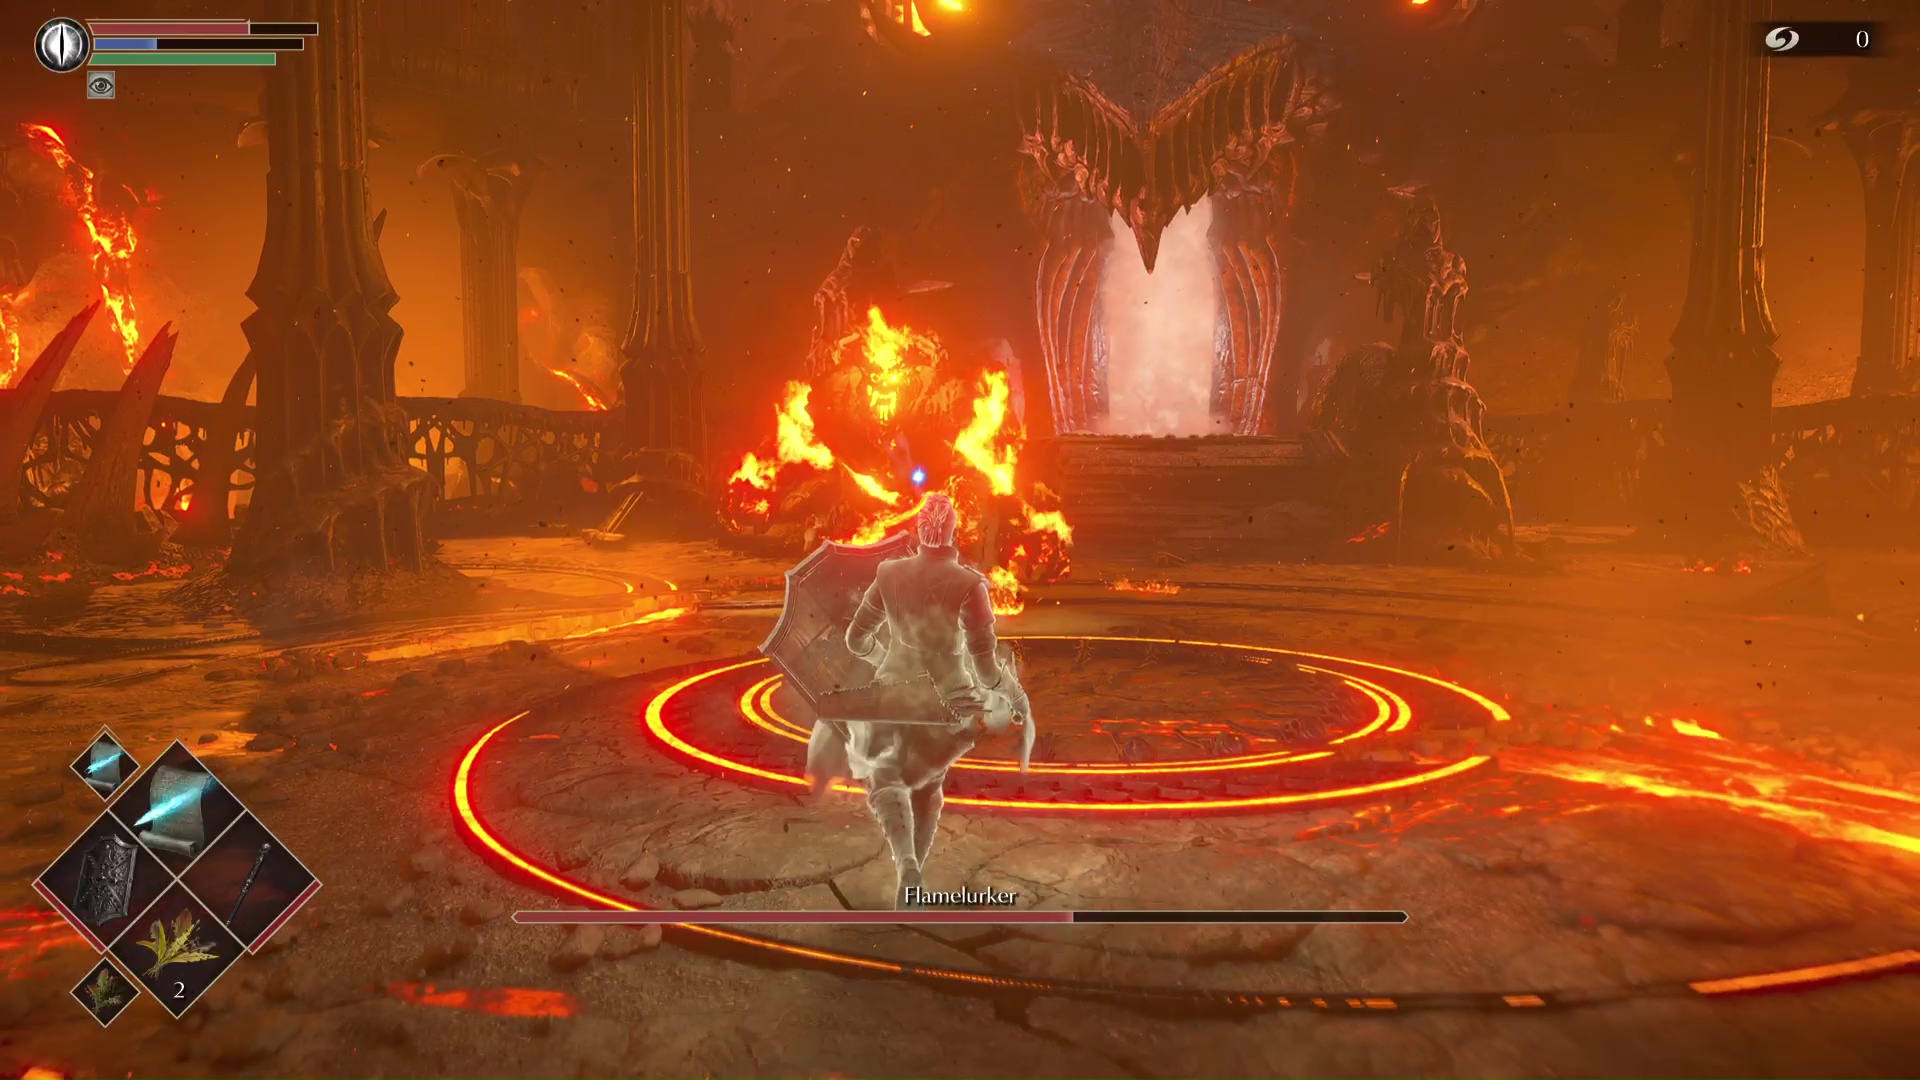
Unlike like the Armor Spider boss, the Flamelurker cannot be cheesed. This boss is extremely deadly and deals high fire damage, but he tends to get stuck on the geometry of the map - leaving him open for attacks. As soon as you walk through the fog to start the fight use magic or some sort of long range attack on the boss. It will come to you.
Then, run behind it while avoiding it’s slams to get a few melee hits in. If you’ve got magic, you’ll have an easier time with this boss, as you can stay at mid range to deal high amounts of damage. It’s tough to recommend going all in with melee if you don’t have a high damage weapon, so stick to magic and you’ll have a better time.
Dragon God boss
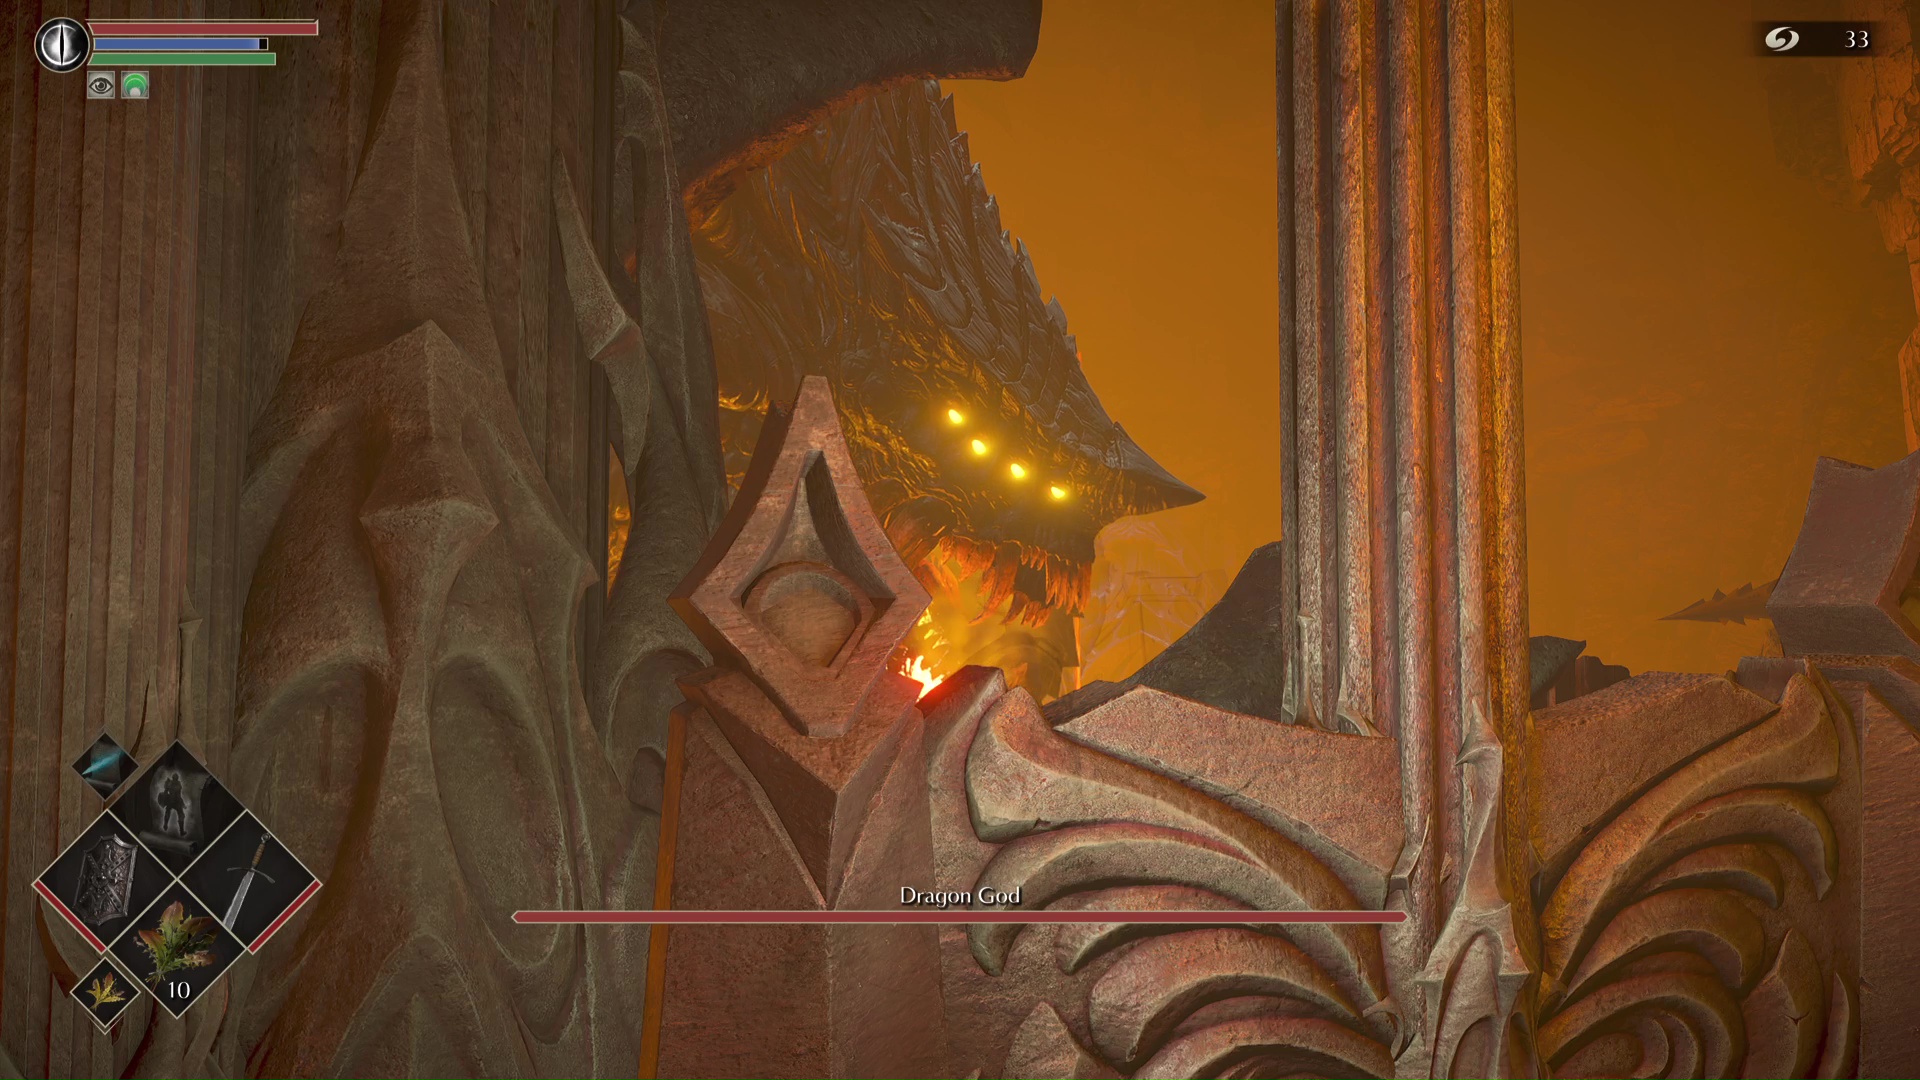
The next section leads right into another boss fight. This time, it’s against the Dragon God and you’ll be pleased to know it’s nowhere near as difficult as Flamelurker. The main goal of this fight is to reach the left and right sections of this area, where you can shoot the boss with ballistas.
The trick is to only move when the boss’ eyes are yellow and when he’s looking away. His eyes will be red while he’s attacking. Start by going to the right, wait for him to look the other way and destroy the rubble. Keep doing this until you reach the ballista. After you shoot him, head downstairs and repeat the process all the way up to the second ballista. Shoot him again.
Then, when he goes down, attack his horn - but be cautious of his breath as it can damage you. Wait for it to disappear then attack the horn and back away. Do this a few times and he’ll go down. After he’s down explore this area and grab any items you might’ve missed.
Jump to Section:
- Demon's Souls walkthrough: Tutorial
- Demon's Souls walkthrough: Boletarian Palace (part 1)
- Demon's Souls walkthrough: Stonefang Tunnel
- Demon's Souls walkthrough: Tower of Latria
- Demon's Souls walkthrough: Shrine of Storms
- Demon's Souls walkthrough: Valley of Defilement
- Demon's Souls walkthrough: Boletarian Palace (part 2) and End Game
Current page: Demon's Souls walkthrough Stonefang Tunnel 2-1
Prev Page Demon's Souls walkthrough Boletarian Palace 1-1 Next Page Demon's Souls walkthrough Tower of Latria 3-1Sign up to the GamesRadar+ Newsletter
Weekly digests, tales from the communities you love, and more
Joseph loves Nintendo and horror games. With the Nintendo Switch, he's ready to get spooky anytime, anywhere. He specializes in covering Call of Duty: Warzone and action RPGs like Dark Souls, so you can bet he's looking forward to Elden Ring, the brainchild of George RR Martin and Hidetaka Miyazaki. You can find Joseph's work at GamesRadar, Digital Trends, Inverse, and PLAY Magazine. When he's not writing about video games he can usually be found petting his cats and listening to some Progressive Metal. He thinks Meshuggah is tight.

