Demon's Souls walkthrough and step-by-step guide to Boletaria
Our walkthrough will make getting through Demon’s Souls easier
Shrine of Storms 4-1 walkthrough - Island’s Edge
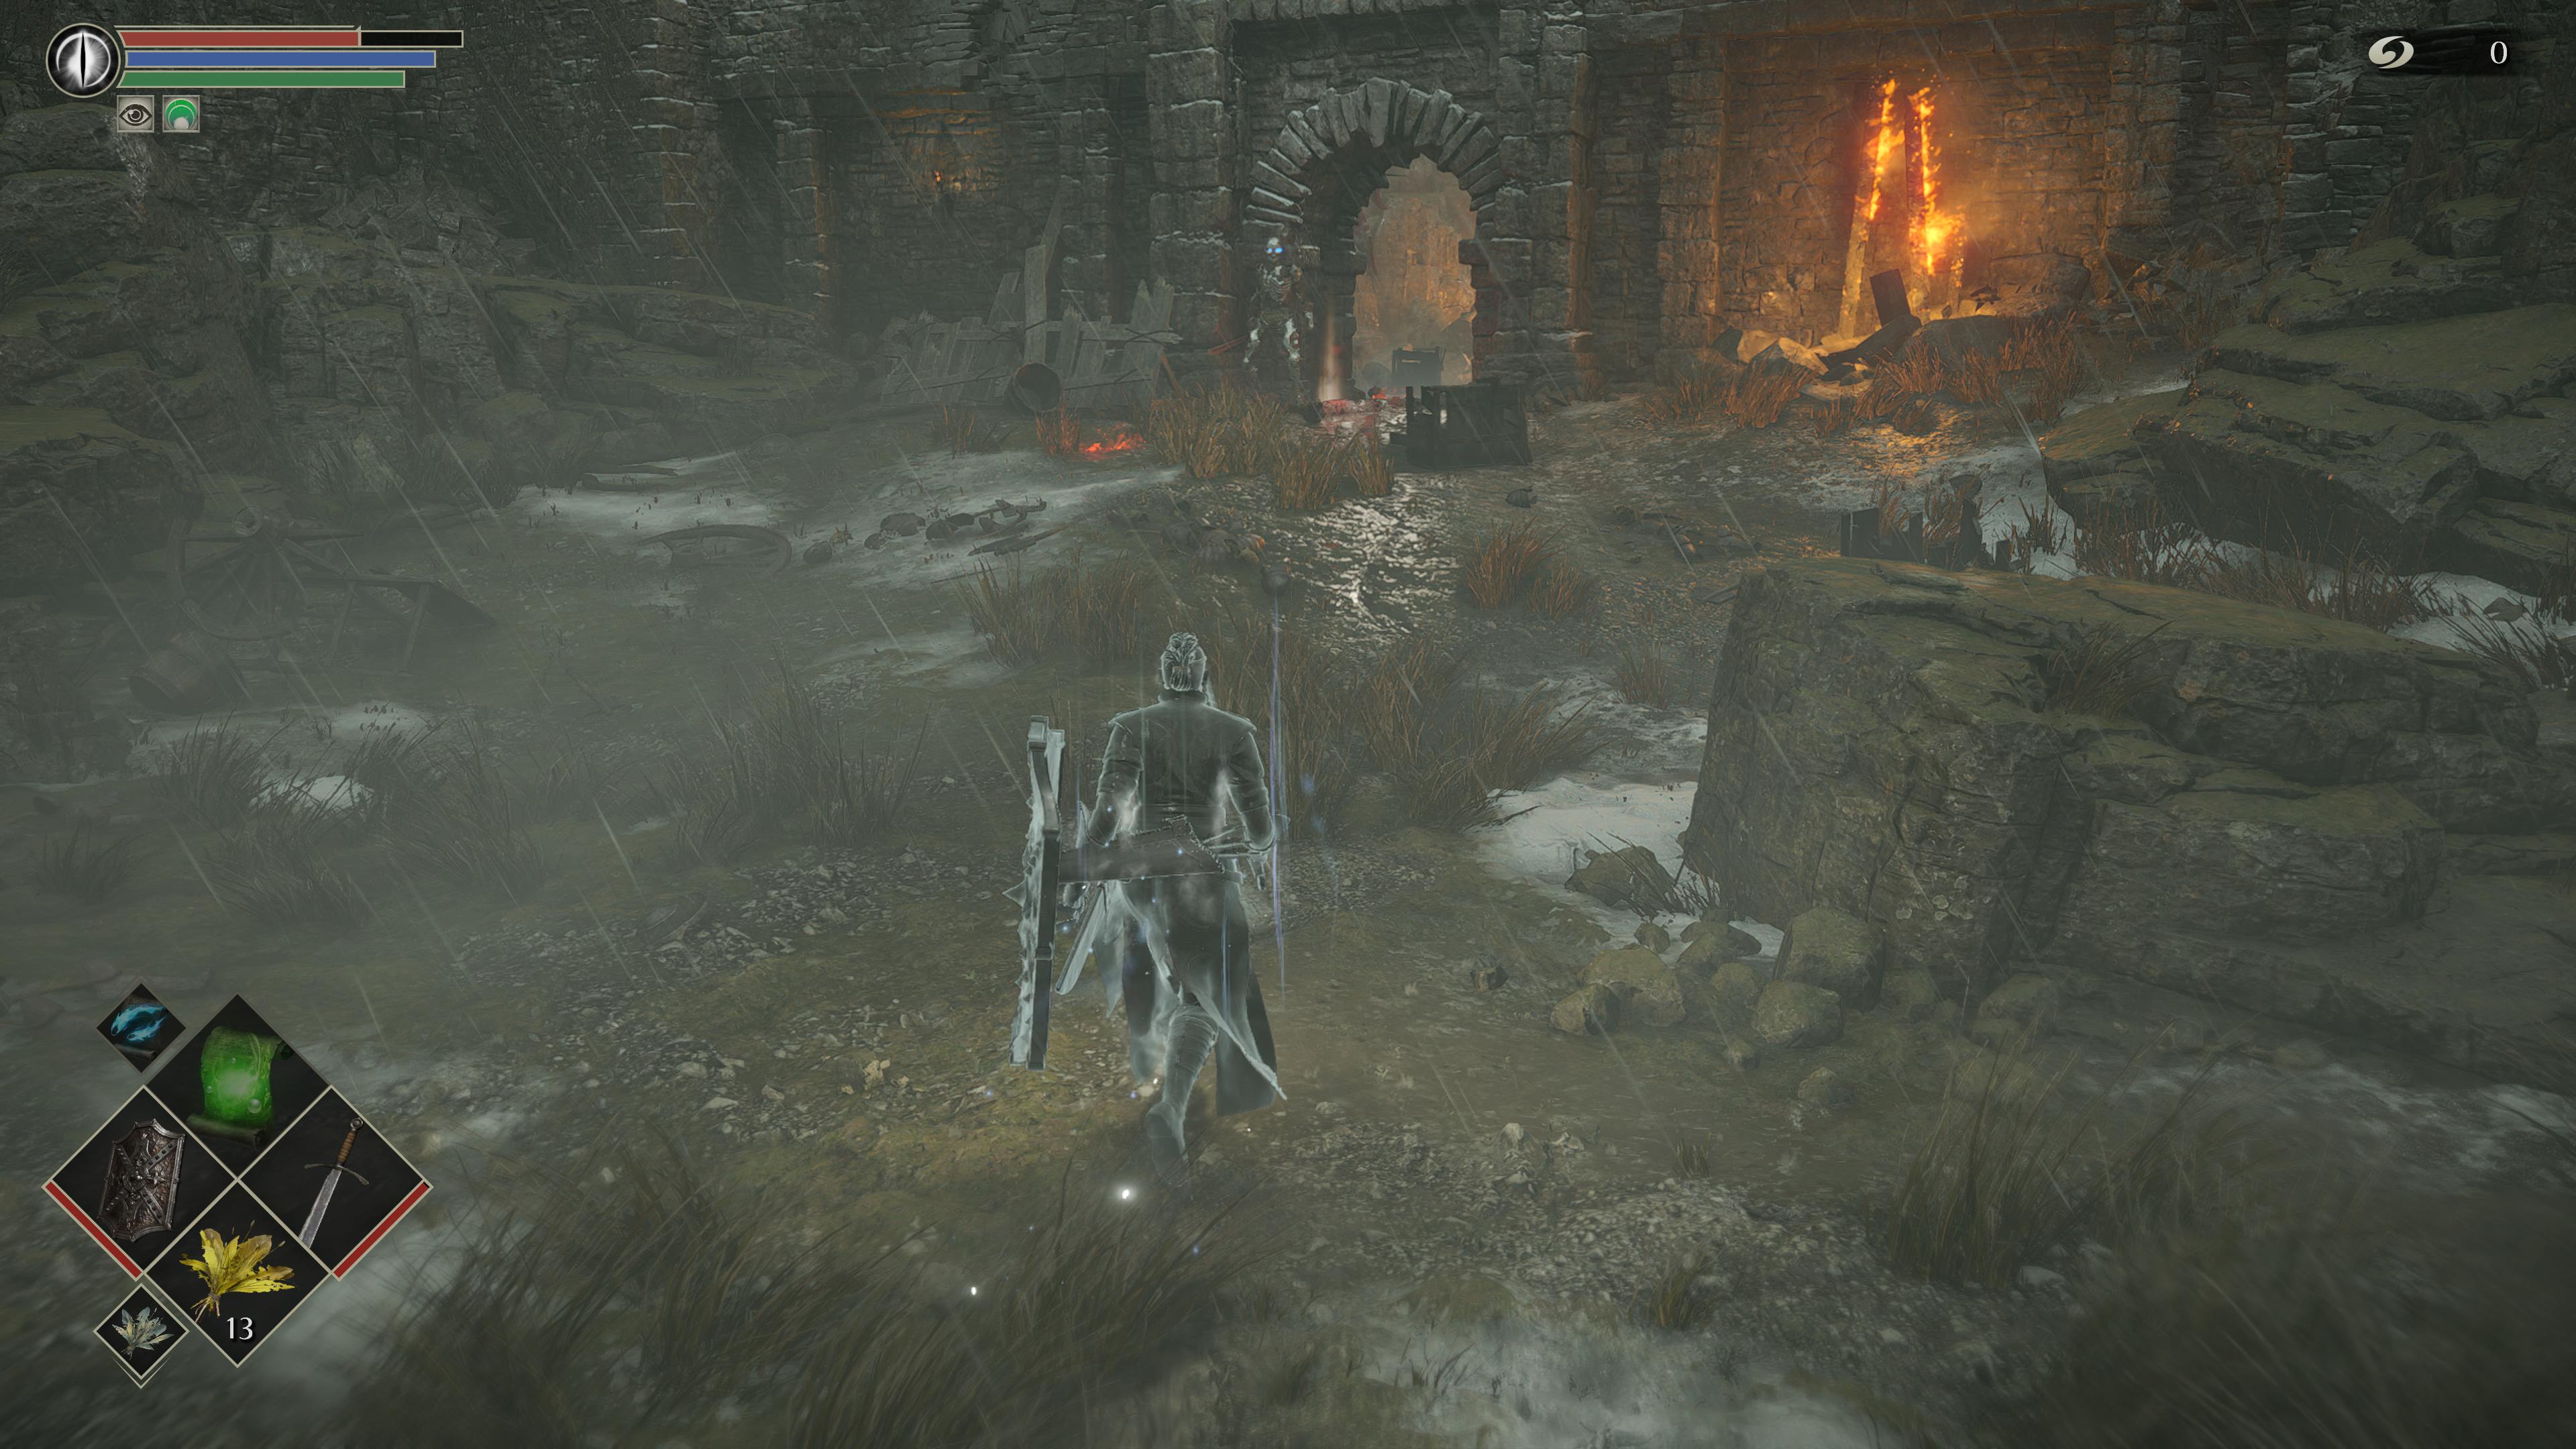
The main thing you need to watch out for in Shrine of Storms are the Storm Beasts that fly around and shoot spikes at you. If you’ve got some sort of long range weapon, now is a great time to make use of it. Also, having an upgraded Dragon Longsword or Crescent Falchion won’t hurt. Head forward and up the steps while being cautious of the skeletons. Try to take them out one at a time (Thief's Rings helps here). Before the fog gate, grab the Talisman of God to the right. This allows you to cast miracles.
Cross the fog and head forward where you’ll see a familiar face. That’s right, it’s the Vanguard from the tutorial level. Taking him out right now will be cake compared to then. Essentially, you need to stick behind it, get a few hits in and back away while it does it’s stomp attack. Then, go through the fog behind where the Vanguard stood to proceed. Keep in mind, if you take the path below the Vanguard, you’ll reach a section with illusory walls that will lead to the Compound Long Bow, one of the best in the game. We highly recommend grabbing it.
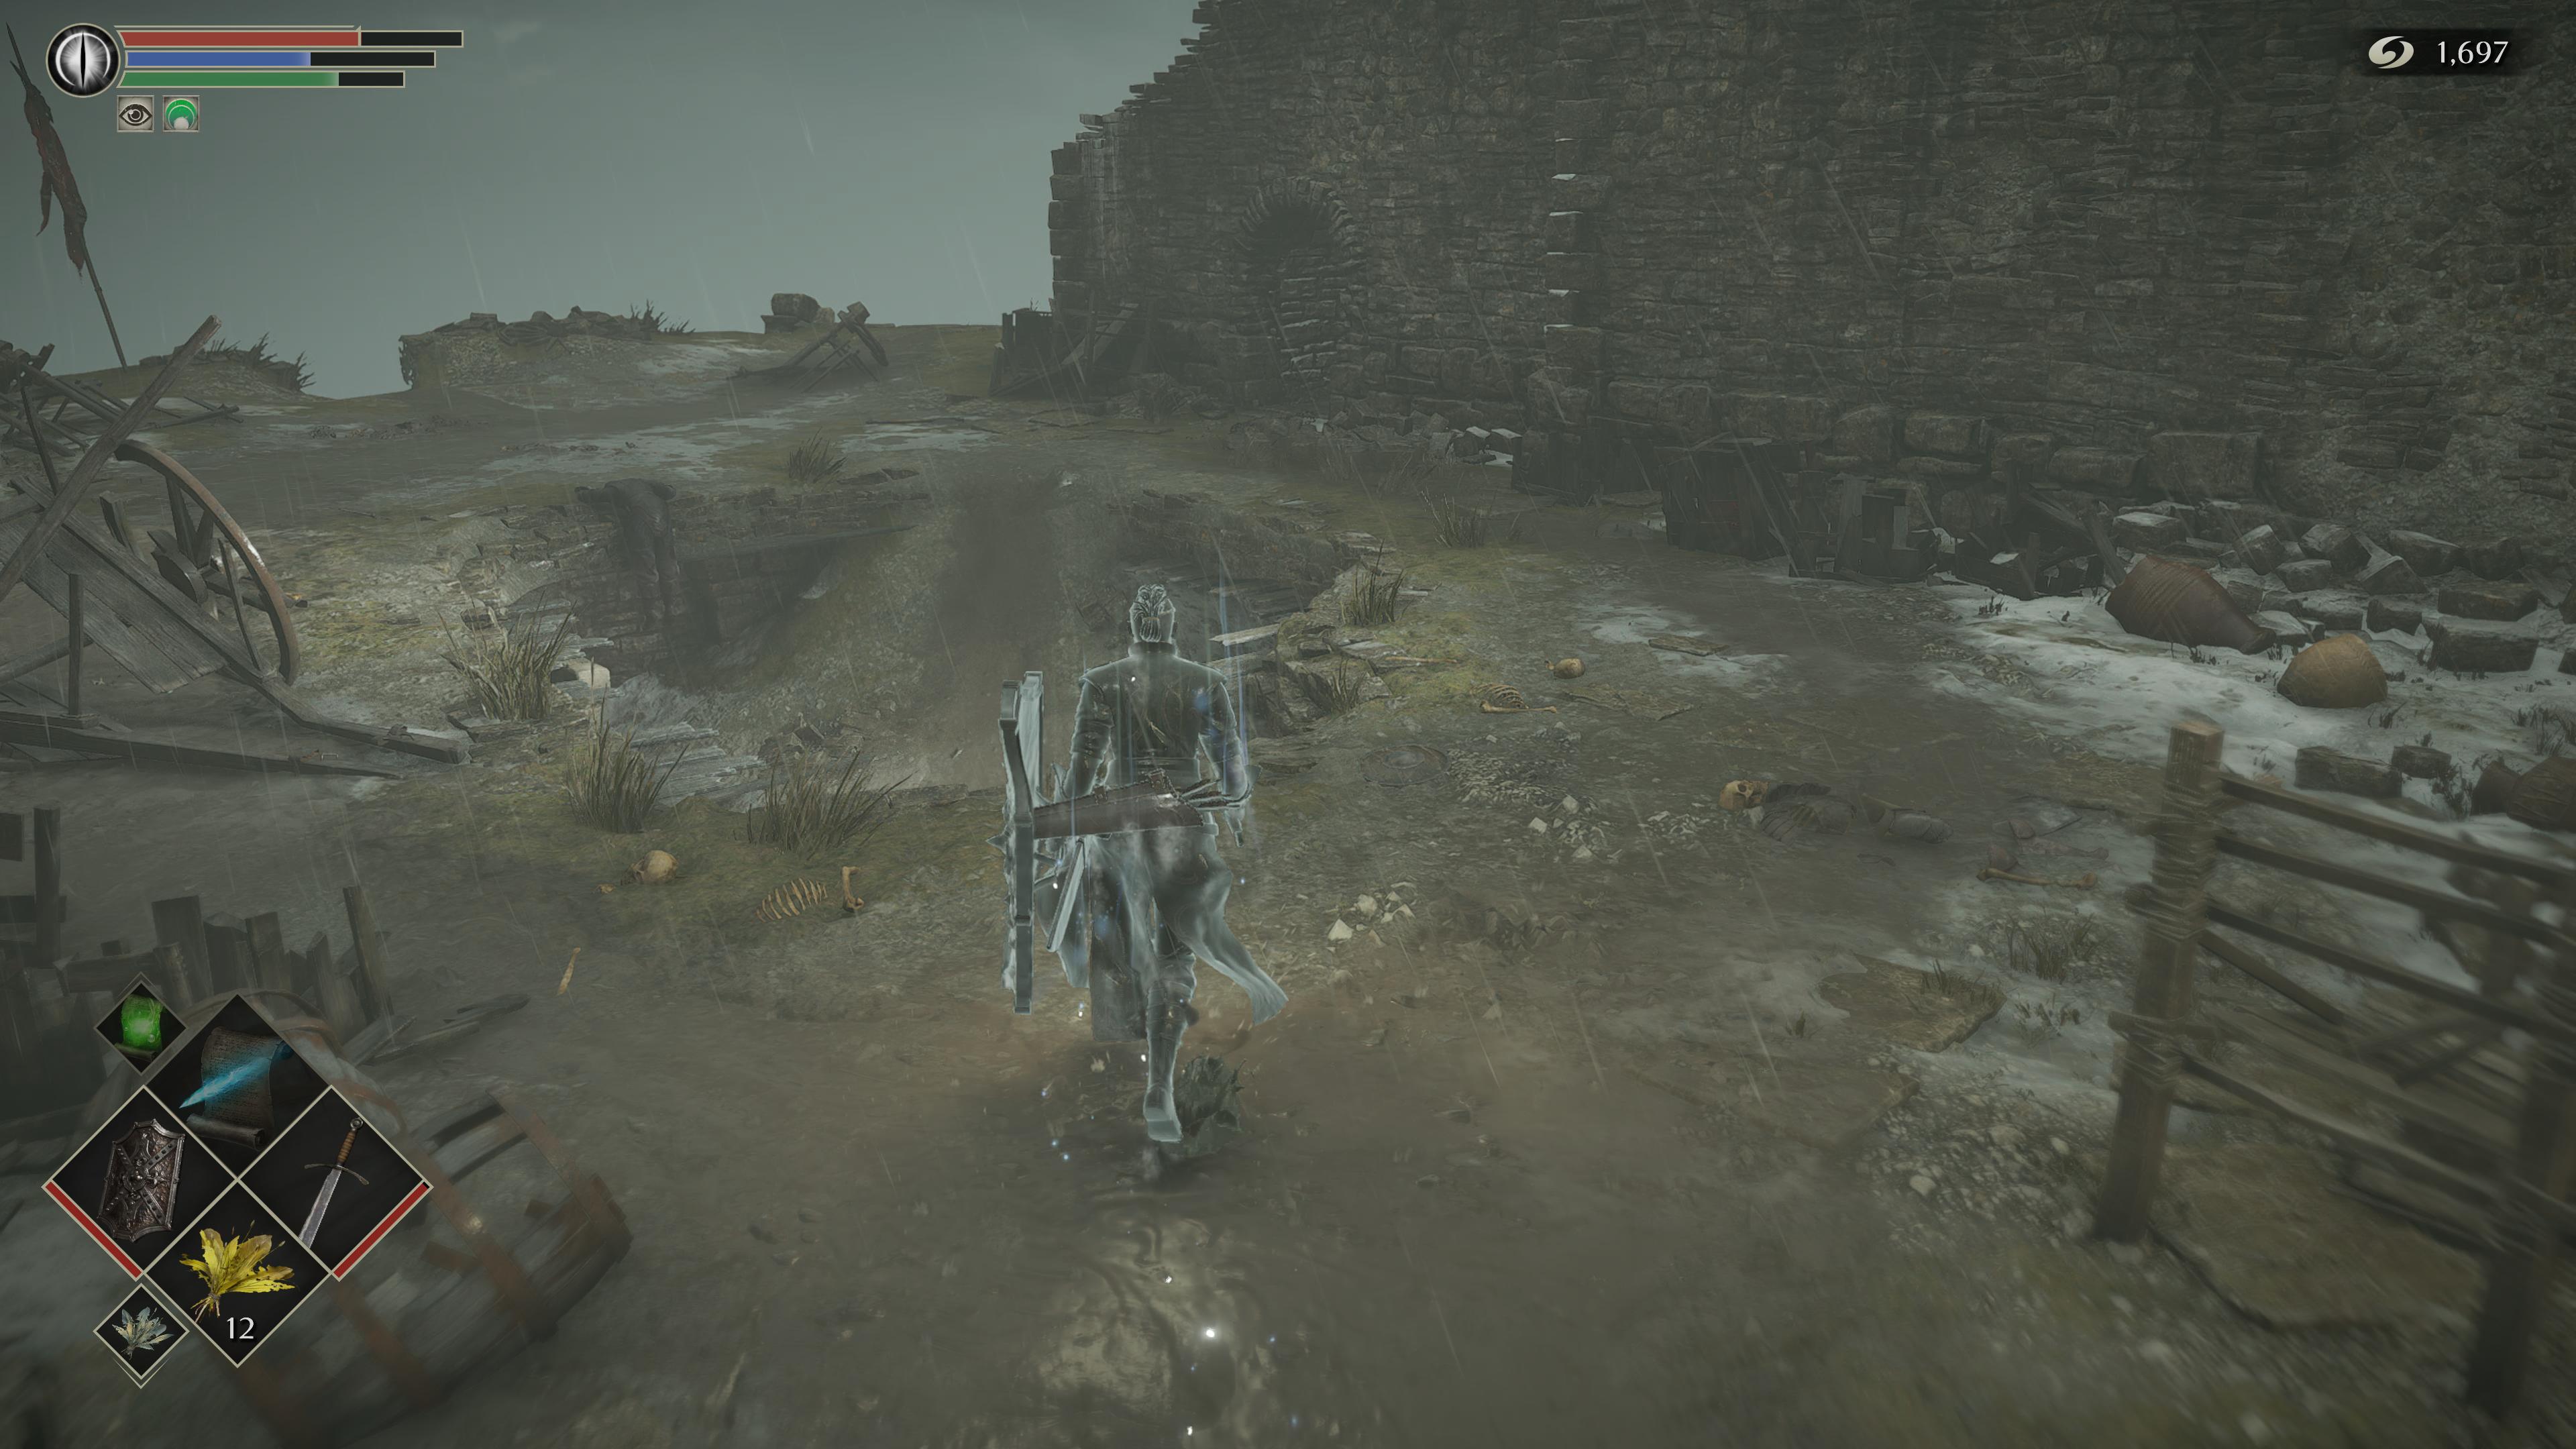
After the fog follow the path up some stairs and climb the ladder ahead. Make sure you’ve got full health here, because you might get hit with a spike or two from above. At the top, turn right and roll off the side of the platform to reach the rubble below and then roll off again to get to a lower level that leads ahead.
Follow this narrow path along the cliff while being cautious of the spikes from the Storm Beasts. Either go around or take out the Gold Skeletons and keep making your way forward. Cross the fog and go to the hallway below the steps in front of you. Be careful, as there’s a pressure plate that triggers a set of three arrows that will fire towards you from the front, so put your shield up to guard.
To the right is a path that leads down some steps and a Dual Katana Black Skeleton along the way. Take it out and get ready for the boss.
Adjudicator boss
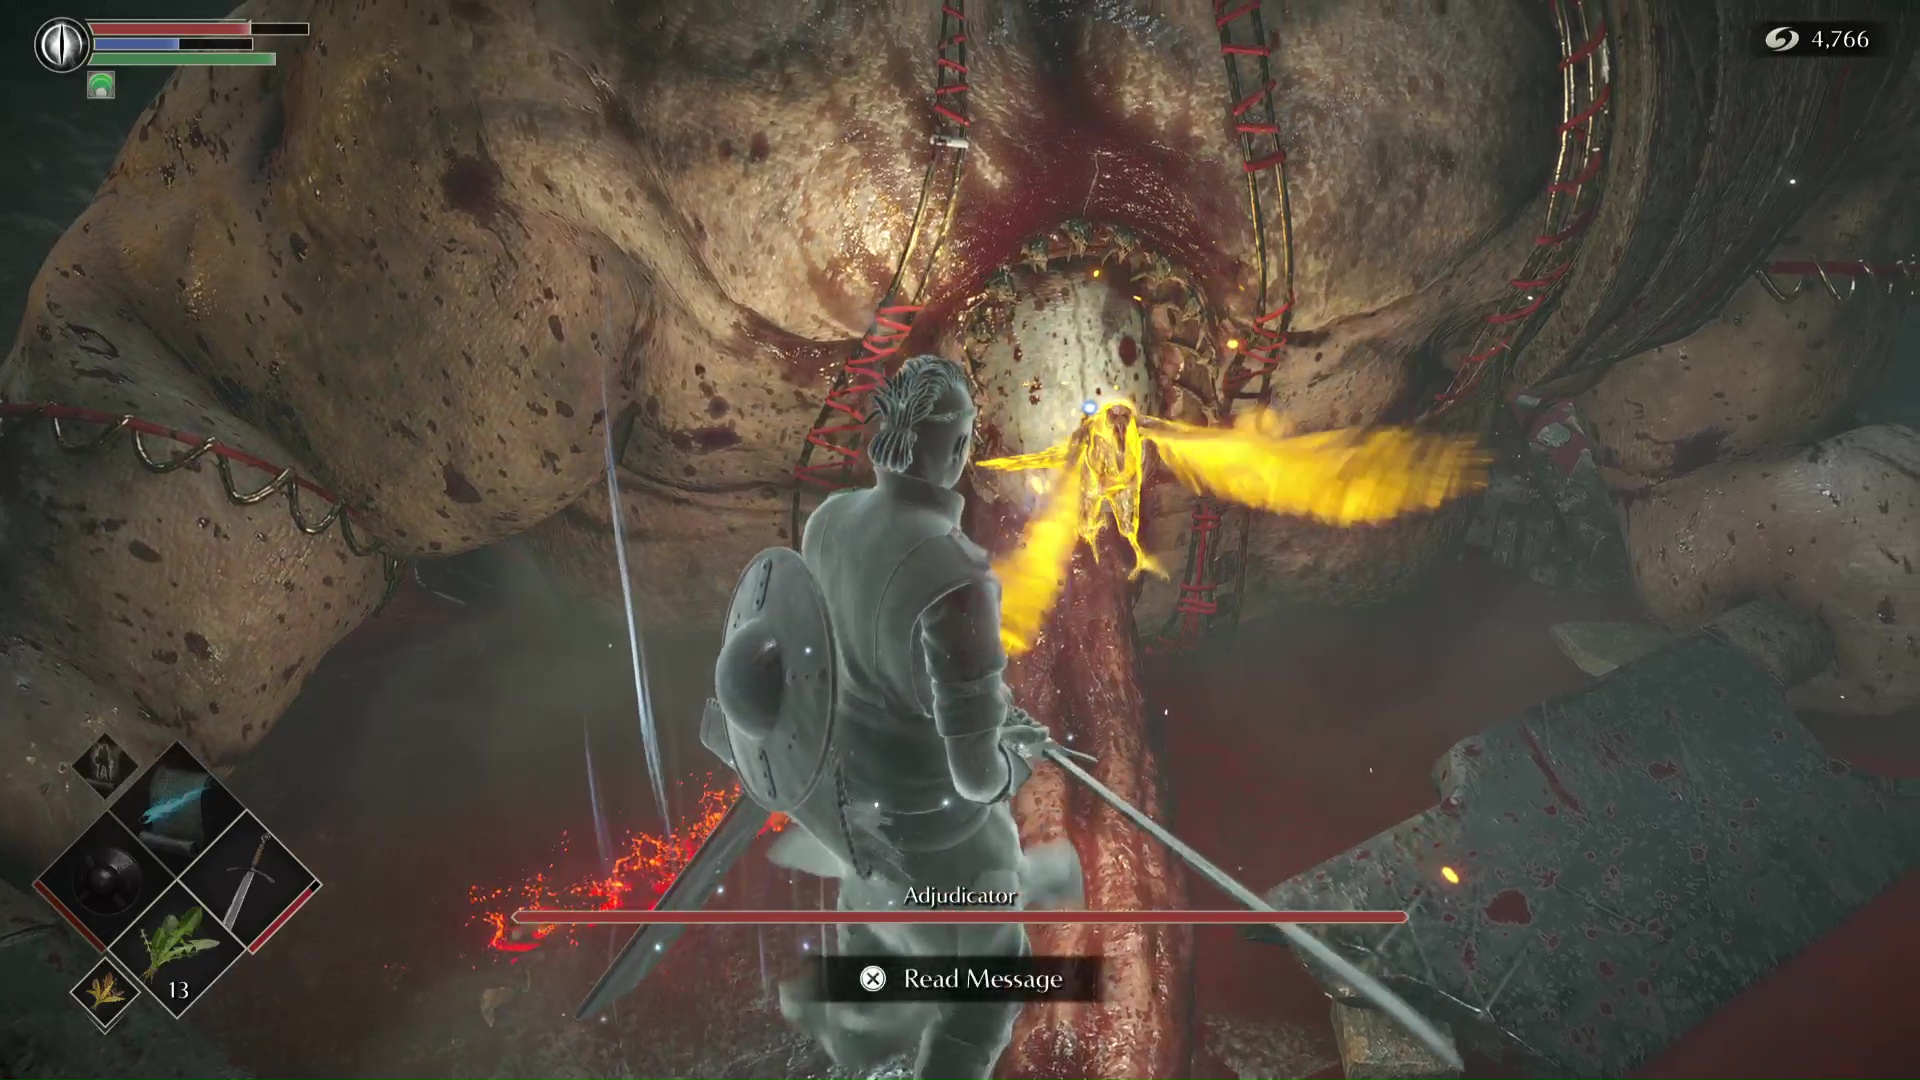
Fortunately, the Adjudicator is yet another easy boss. There are a couple strategies to taking it out, but know that the only way to damage it is to attack its head. This means you can stay up top and take pop shots at its head with arrows, or run down to the bottom level to attack its bleeding gut to get it to fall so its head is exposed. You can then get some easy melee attacks in.
The melee method is faster, while the long range bow method is safer if you know where to stand. If you’re going to use melee, make sure you two-hand your weapon to attack its gut. Then, it’ll fall on its face. Attack its head as much as you can and it’ll go down quickly. If you’re staying up top, watch out for its long range tongue attacks. Use cover to avoid taking damage and be aware that the boss can destroy some of the floor around you.
Adjudicator Archstone 4-2 walkthrough - The Ritual’s Path
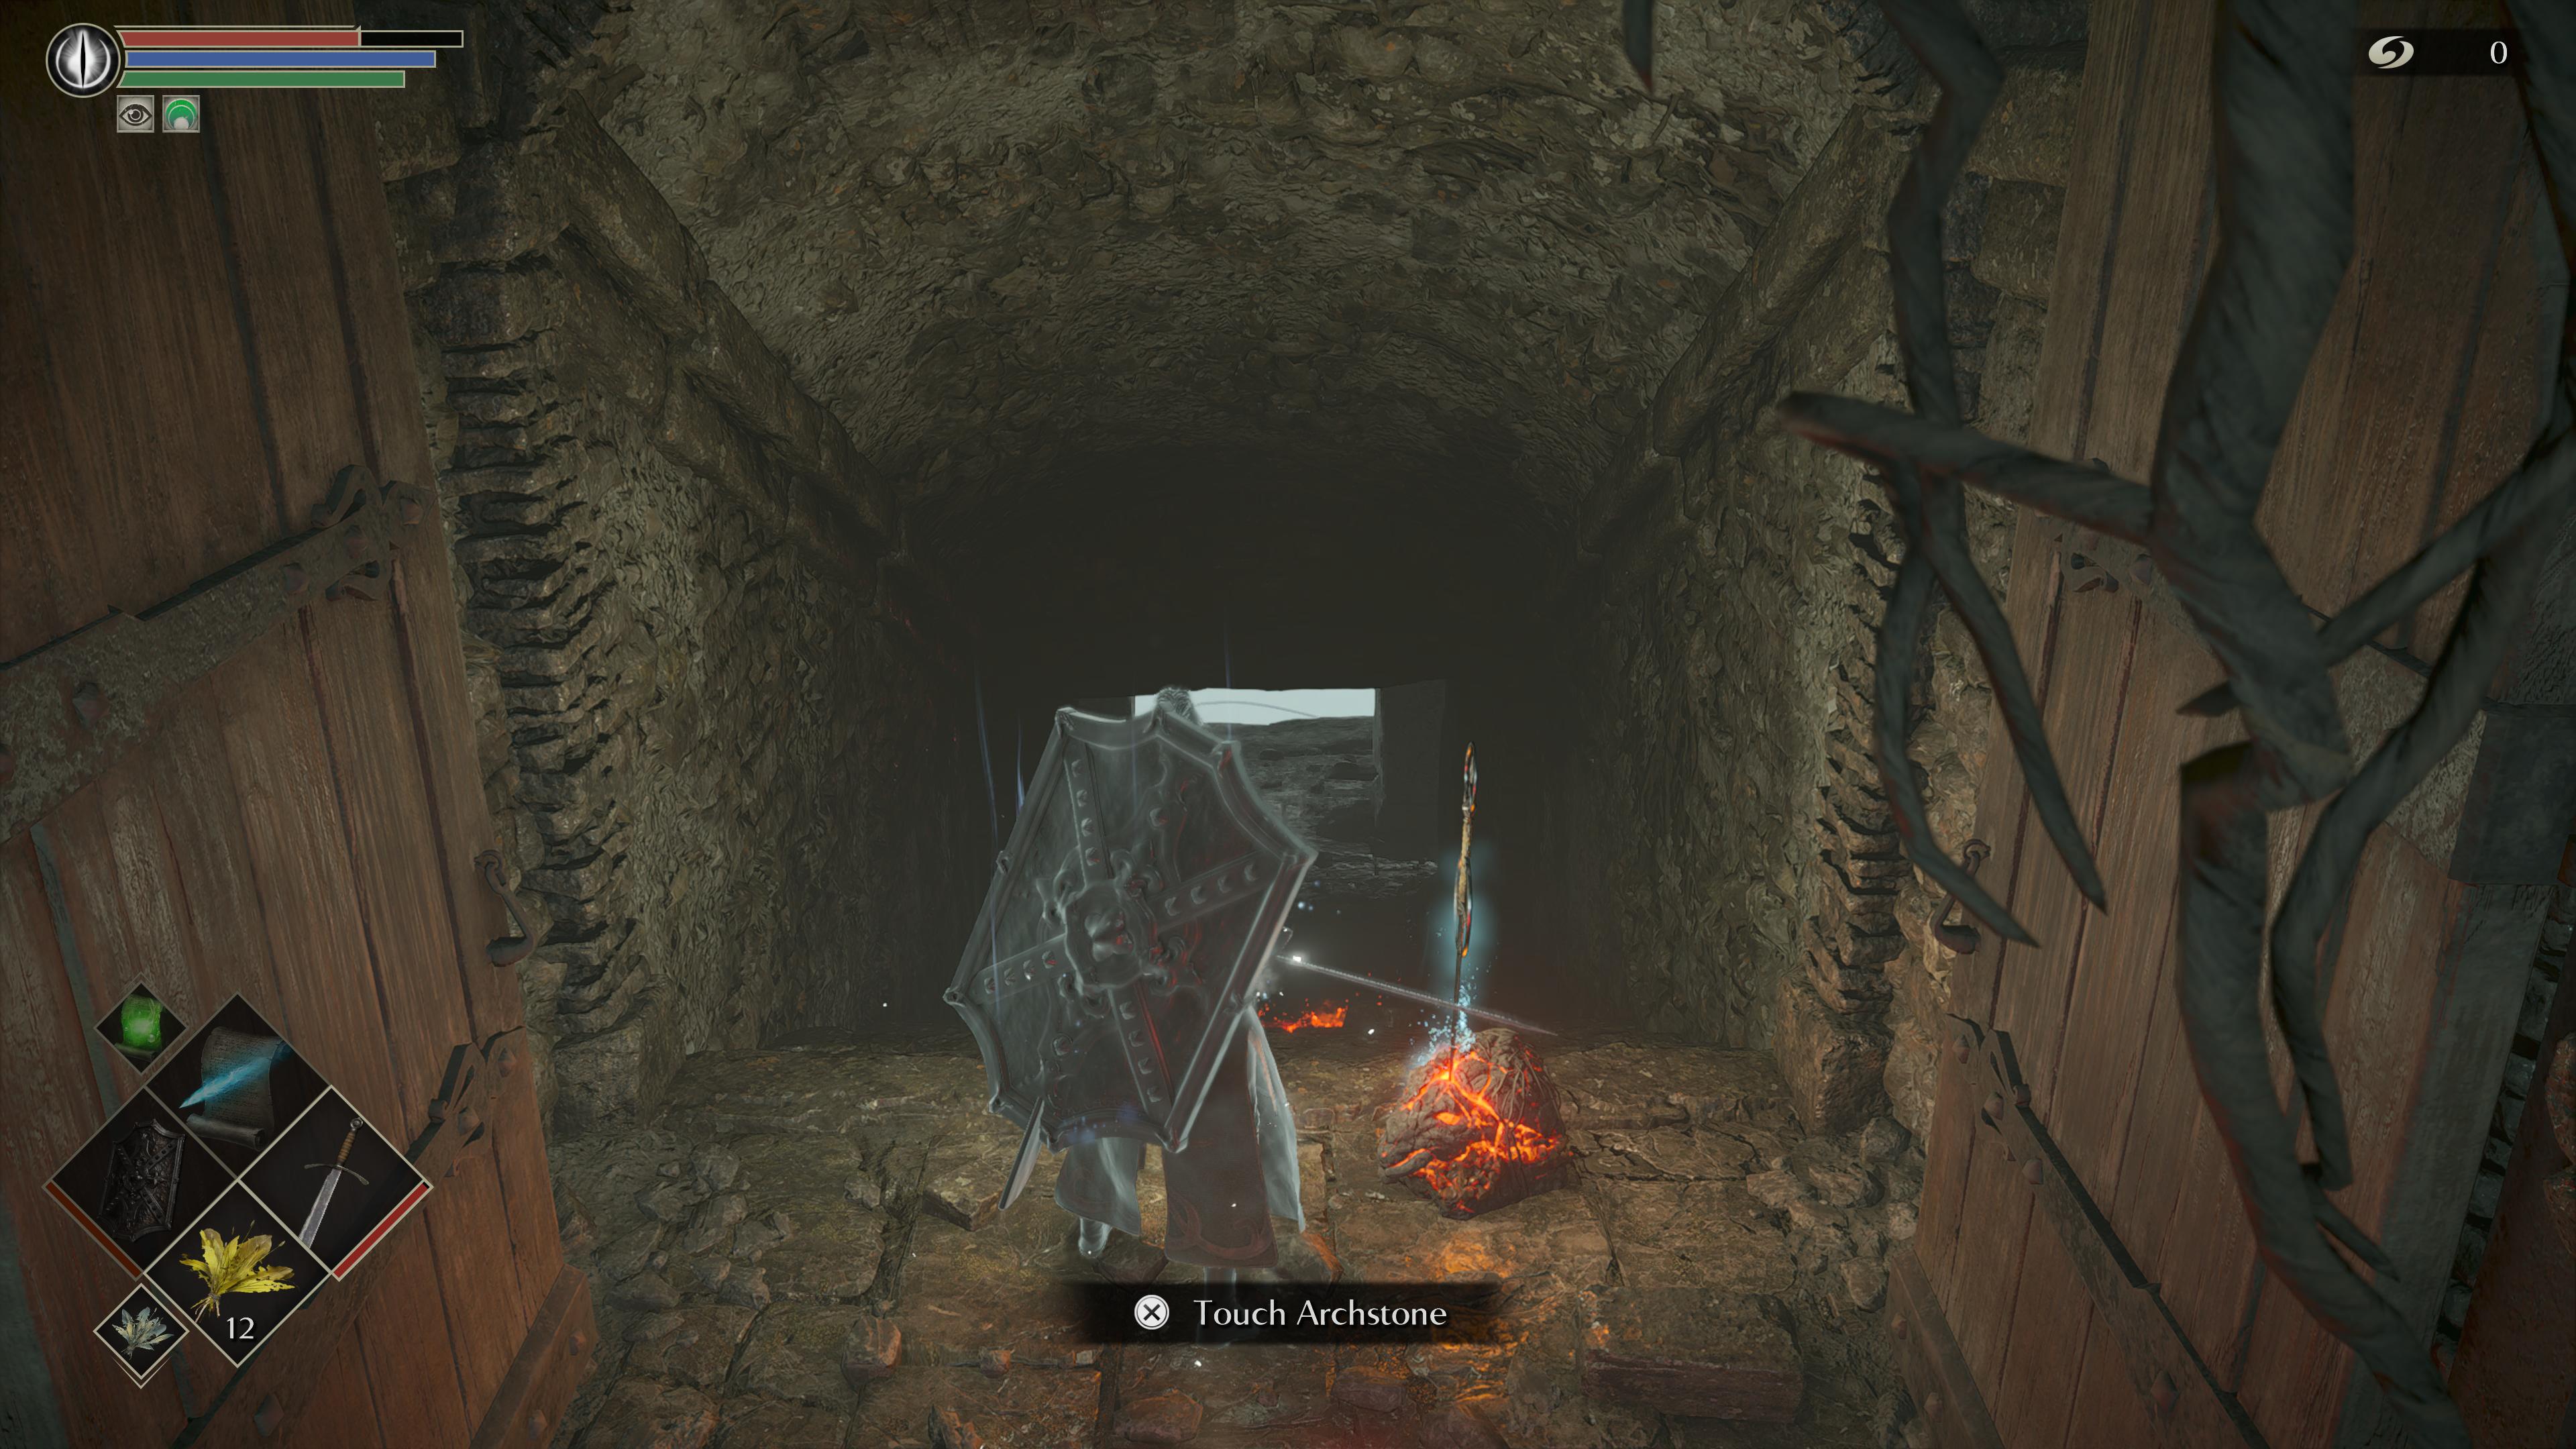
This segment is arguably the most difficult of the entire world, simply due to the darkness and tough enemies, along with the narrow platforms that can lead to an untimely death. Go forward and outside, onto the platform below, and enter the dark structure by stepping on the pressure plate.
Make your way to the bottom of this section and you’ll see a Reaper with a scythe. Behind the Reaper is an altar with yet another pressure plate on the back side, so step on it and it’ll open up a door on the opposite side of this room. Make your way outside, past the dead Storm Beast corpses, and carefully eliminate the skeletons you come across one at a time.
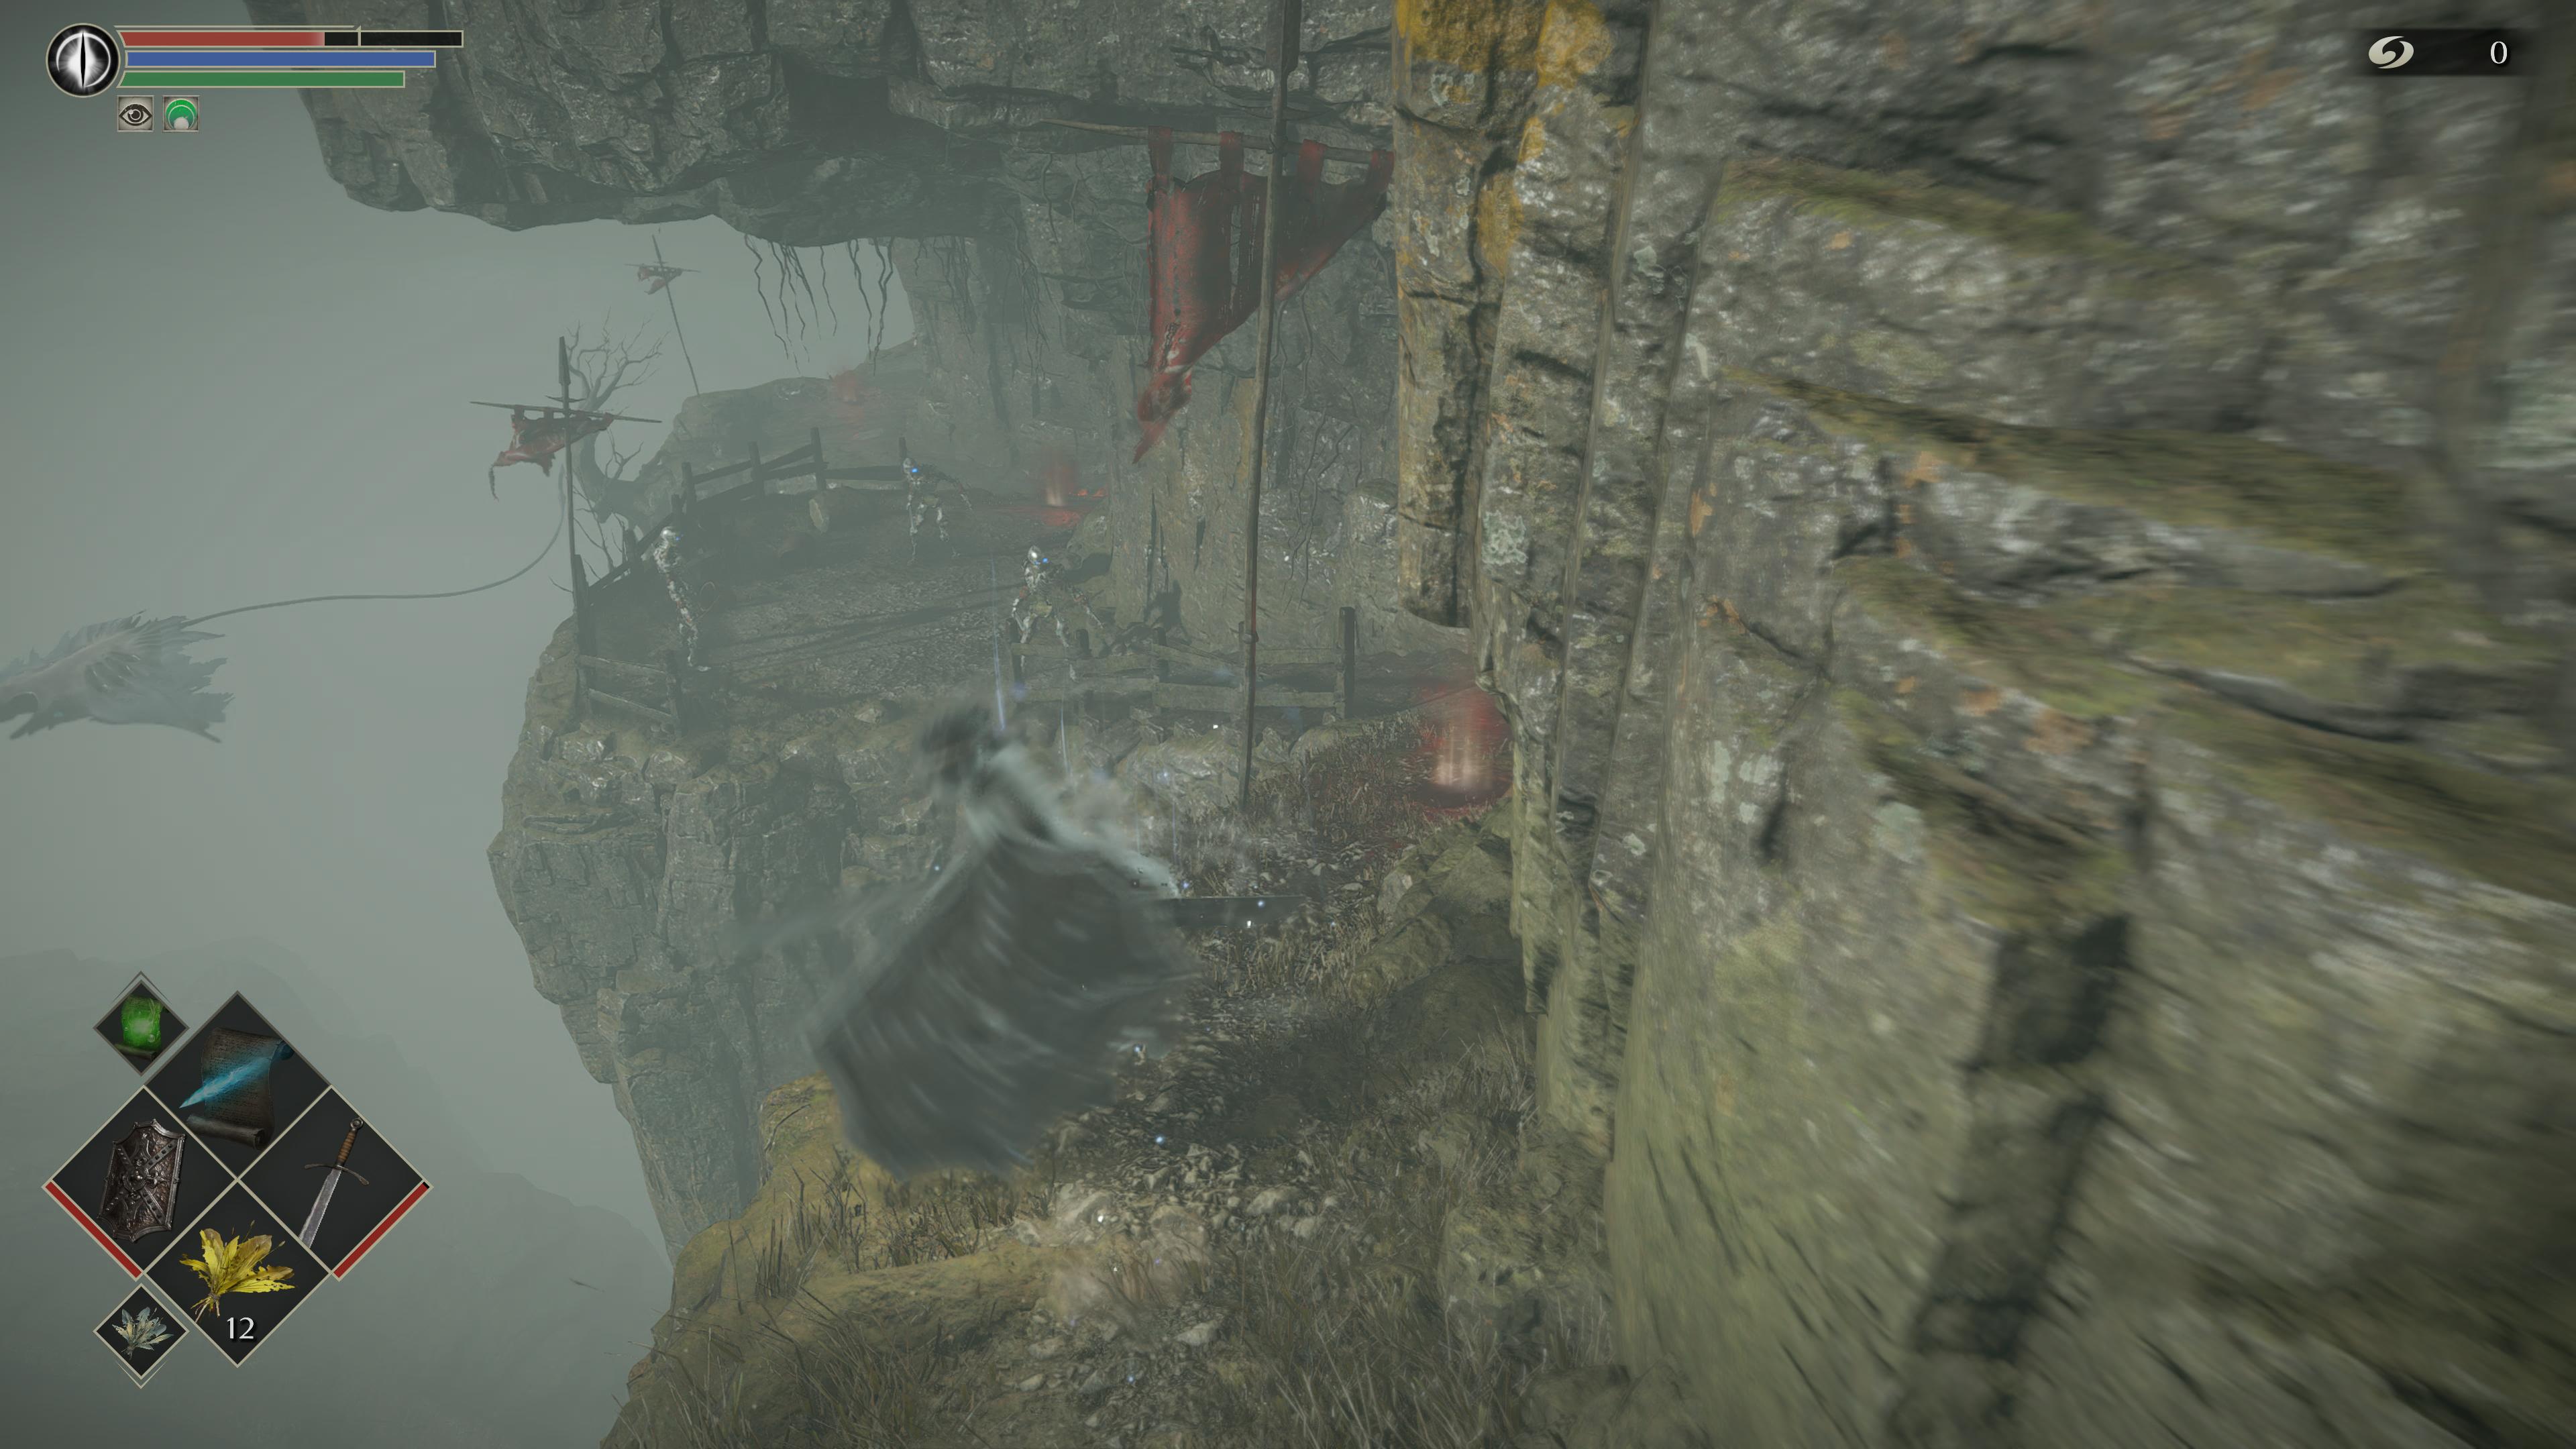
Cross the fog and make your way down the narrow stairs. Hold up your shield as the Shadowlurkers in this area shoot powerful beams at you. Block them and then rush the enemies. Keep following the path down and you’ll come to another fog door. Cross it to reach an outside section. Continue along and you’ll end up back inside where you’ll find another Reaper and more Shadowlurkers. Behind them is another tunnel that leads below - which takes you to the Phosphorescent Slug room.
Here, your main job is to get to the opposite side of the room. Cross the narrow walkway, grab the Sticky White Slime, and take a left. Then take this path to a tunnel ahead that seems to be illuminated by a sparkly material. Keep going, take the steps, and you’ll end up at the next boss.
Old Hero boss
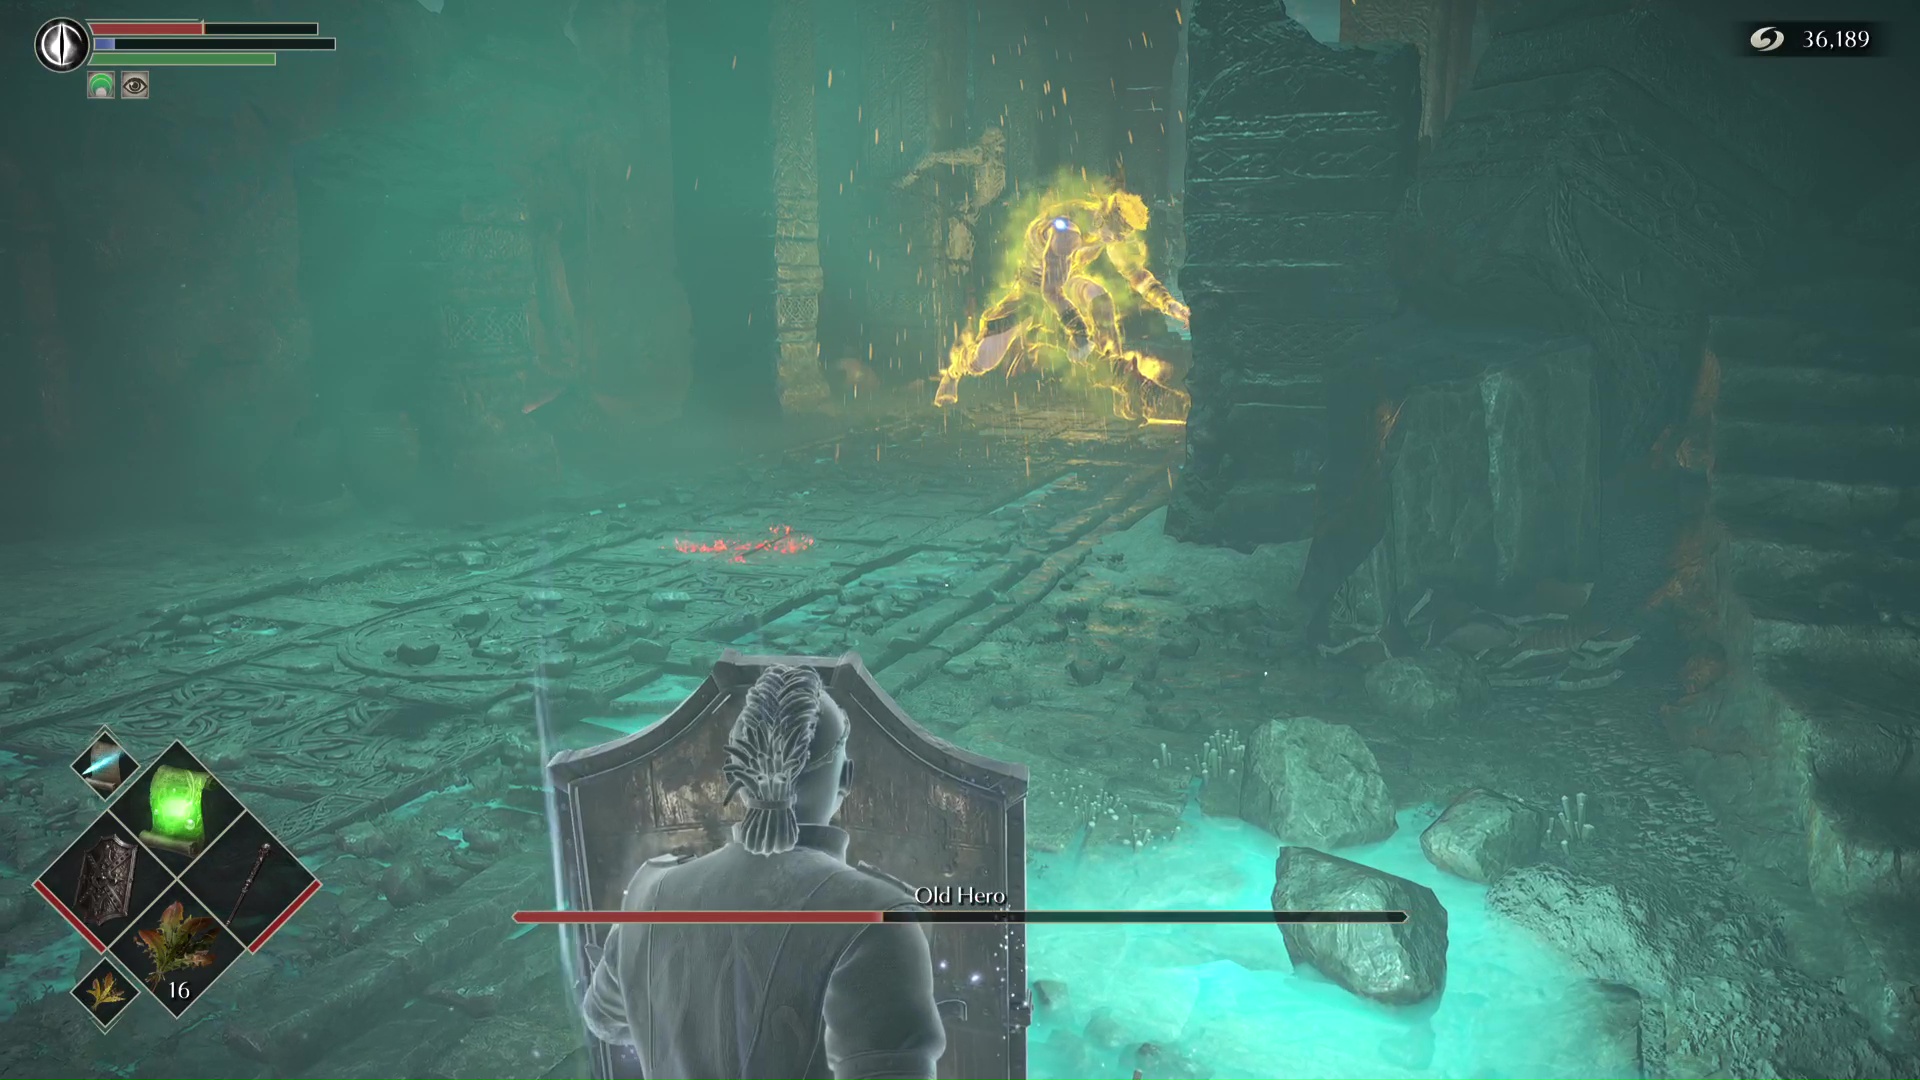
The Old Hero is a pushover due to the fact that he’s blind. This means he can only hear you. If you equip the Thief’s Ring, you can walk right up behind him, get a few strikes in, and back away as he roars. Rinse and repeat this process to take him down easily.
If, for some reason, you don’t have the Thief’s Ring, make sure you maneuver around the boss by walking instead of sprinting. Get behind and use long range attacks and then use the pillars to separate you from the Old Hero.
He’s also weak to poison and you can cheese the boss by continuously using Poison Cloud on him. Ideally, you should be two-handing your weapon during this fight to deal more damage. You shouldn’t need to block if you’re getting a few hits in and running away.
There are multiple strategies, but we highly suggest to use the Thief’s Ring, as it makes this boss a cakewalk.
Storm King boss
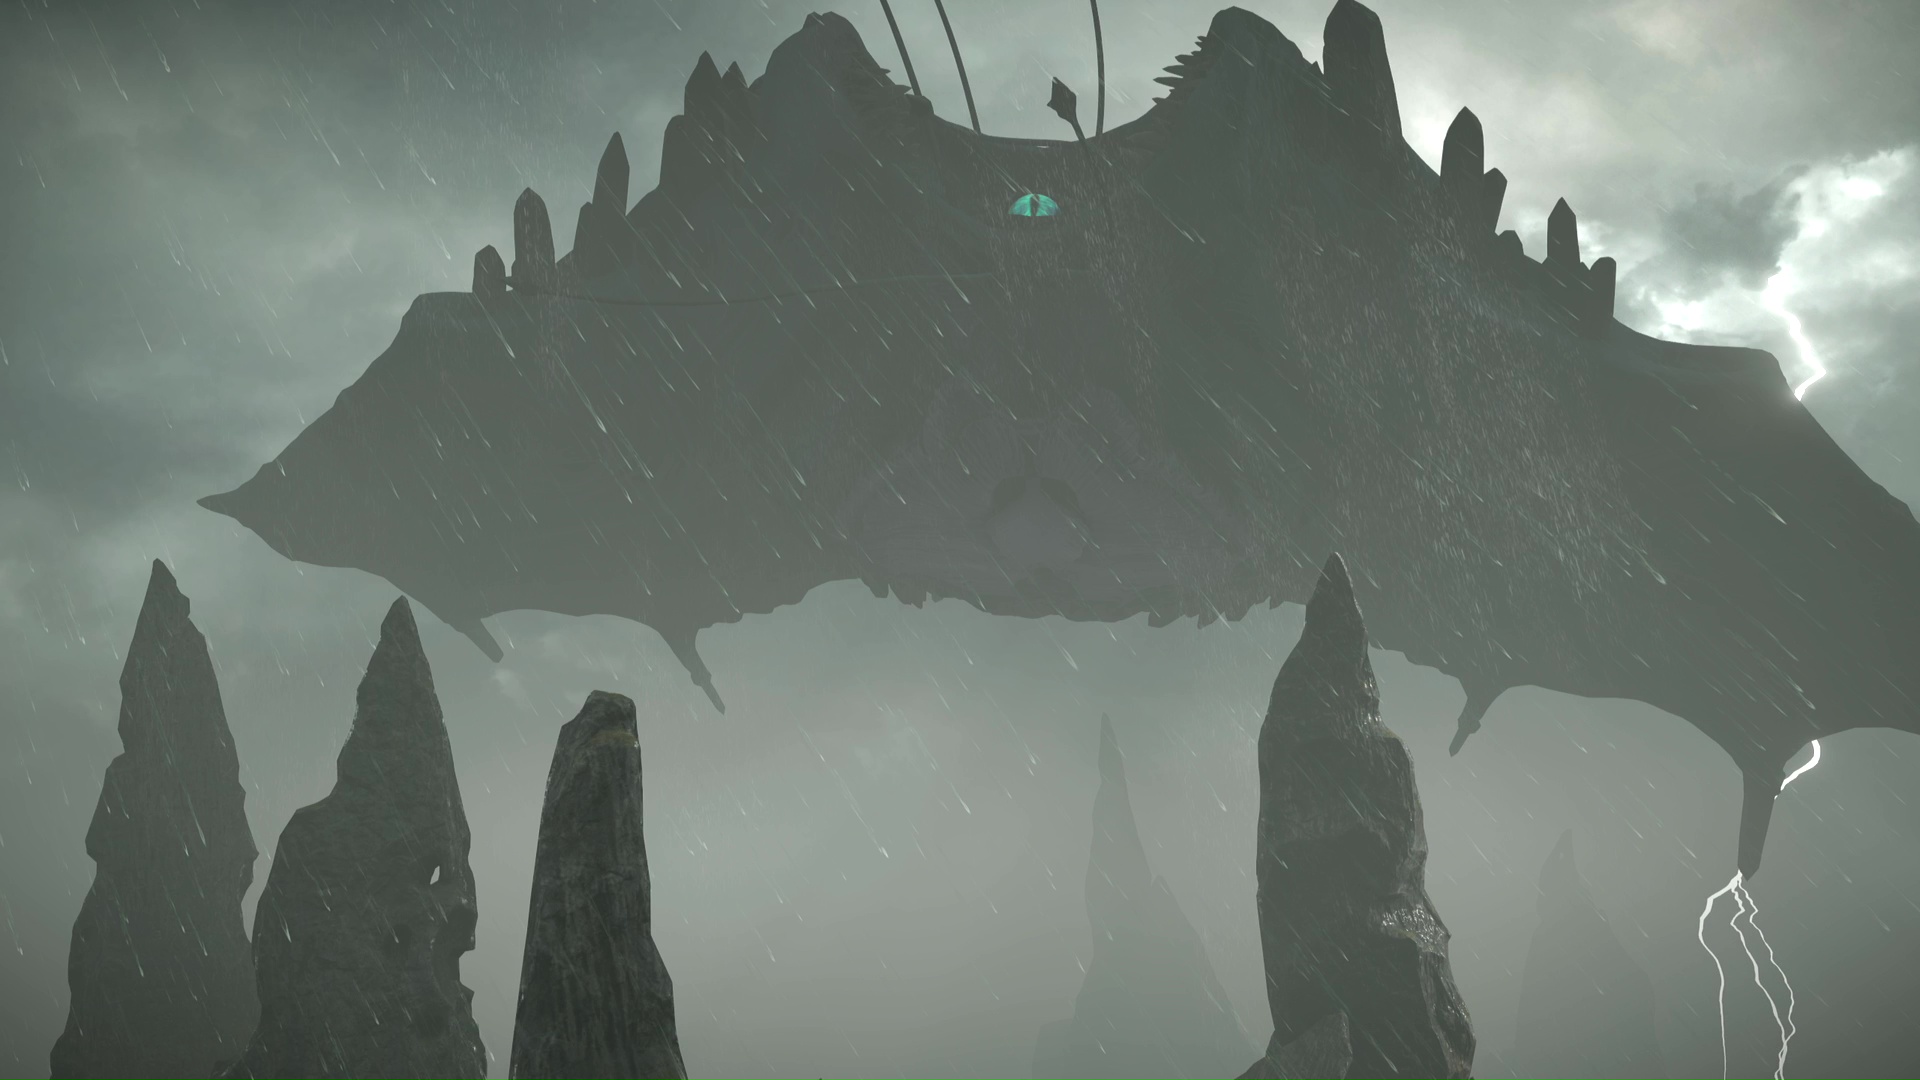
Finally, the next section is yet another boss and once again, it’s not terribly difficult if you come prepared. For starters, we suggest you bring a bow with you - preferably the Compound Long Bow (which is acquired from 4-1). Stock up on around 100 arrows or so before the fight.
At the start of the fight, you should aim to take out as many Storm Beasts as you can. This will make your life easier when facing off against the Storm King. Make sure you take off the Thief’s Ring for this part so the Storm Beasts will come to you.
Zoom in and take them all out one by one and eventually, the Storm King will appear. There are two main strategies you can use to take the boss down. The most common method is to go down to the bottom of this area and to the left to find the Stormruler, a sword that does long range damage.
It’s effective against the Storm King, but it’s hard to use since you have to charge it up and aim it correctly. If you’re right behind the boss, you should be able to pull off an attack with the Stormruler. Make sure you use the geometry in this area to take cover from the Storm King’s long range spikes.
The other method is to keep using arrows or magic and we find this to be the most effective. Again, get under it, lock on, and fire away. Depending on which bow you’re using and how much you’ve upgraded it, this process might take a while, but it’s much easier to land an attack using this method than with the Stormruler.
Magic works great, too, but again - your mileage may vary depending on the catalyst you have, along with your stats, so using a bow might be easier. Once it’s dead, warp back to the Nexus to start the next area!
Jump to Section:
- Demon's Souls walkthrough: Tutorial
- Demon's Souls walkthrough: Boletarian Palace (part 1)
- Demon's Souls walkthrough: Stonefang Tunnel
- Demon's Souls walkthrough: Tower of Latria
- Demon's Souls walkthrough: Shrine of Storms
- Demon's Souls walkthrough: Valley of Defilement
- Demon's Souls walkthrough: Boletarian Palace (part 2) and End Game
Current page: Demon's Souls walkthrough Shrine of Storms 4-1
Prev Page Demon's Souls walkthrough Tower of Latria 3-1 Next Page Demon's Souls walkthrough Valley of Defilement 5-1Sign up to the GamesRadar+ Newsletter
Weekly digests, tales from the communities you love, and more
Joseph loves Nintendo and horror games. With the Nintendo Switch, he's ready to get spooky anytime, anywhere. He specializes in covering Call of Duty: Warzone and action RPGs like Dark Souls, so you can bet he's looking forward to Elden Ring, the brainchild of George RR Martin and Hidetaka Miyazaki. You can find Joseph's work at GamesRadar, Digital Trends, Inverse, and PLAY Magazine. When he's not writing about video games he can usually be found petting his cats and listening to some Progressive Metal. He thinks Meshuggah is tight.

