How to level up fast in Destiny 2
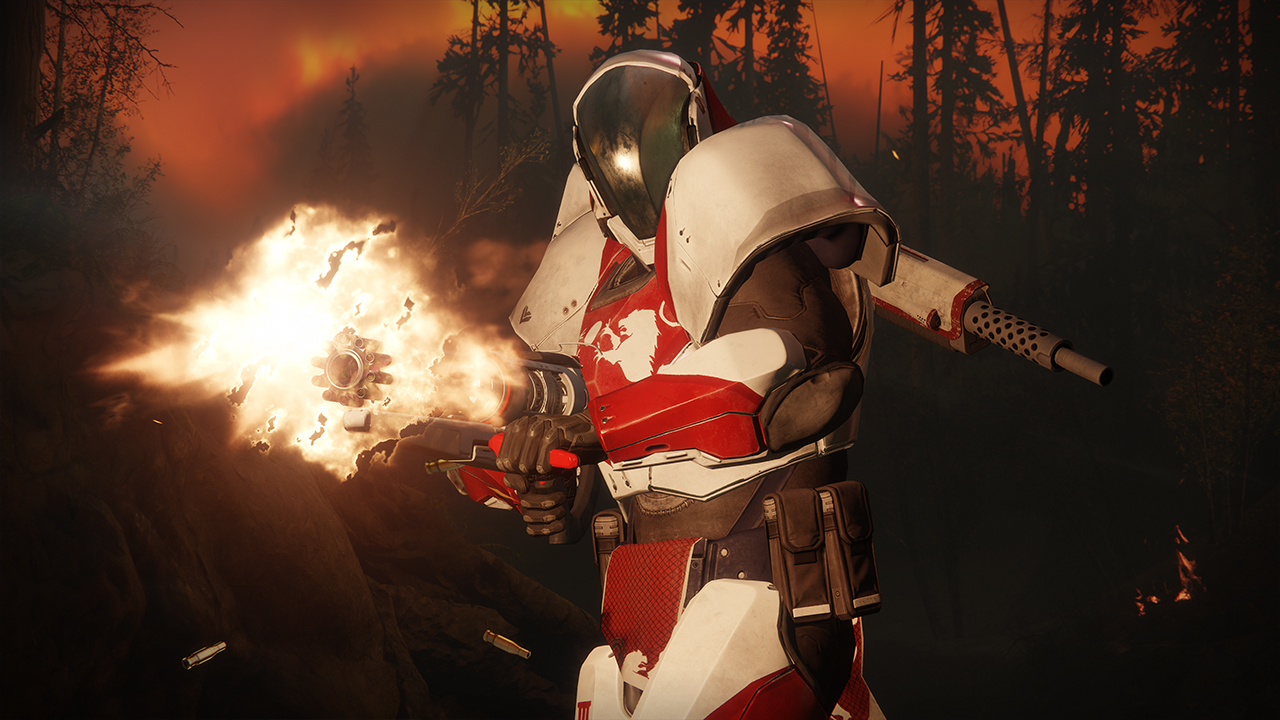
The Destiny 2 journey is long. Several worlds, and a generous level cap, are ahead of you. The Nightfall demands Power in exchange for entry, and the new Leviathan Raid demands even more. So you’re going to need to know how to level efficiently. Destiny 2’s levelling systems are friendlier than those of the original game, but they’re also very different. Whether you’re a returning Guardian or a newcomer, there’s a lot to learn.
- How to complete Destiny 2's Leviathan raid
- Destiny 2 guide: complete campaign walkthrough and guide
- Essential Destiny 2 tips: things we wish we knew before we started
From the early stages of the campaign, right through to the post-20, higher-level journey, there are a lot of tips, tricks, secrets and techniques to be aware of, so whatever point you’re at, this guide has you covered. Read on, and we’ll get you Raid-ready in (relatively) no time.
Do not get too attached to your guns and armour (at first)

Seriously. Don’t do it. Until you start getting a healthy amount of Legendaries at level 20 (and for a fair while after that, really), you cannot afford to care. Uncommon and Rare gear cannot be Infused to a higher Power level, meaning that whatever level it starts at, that’s where it will stay. Which means that you will eventually outgrow that gear, and have to leave it behind anyway, You’re only making it easier on yourself by minimising emotional attachment. It’s like not naming the litter of puppies you know you’re going to give away to new homes.
What you should do instead, during those first 15 or so hours, is get attached to weapon types. Use the necessity of switching up to properly explore each weapon archetype, discover which versions of it you like. Do you prefer a fast, spammy auto rifle, or a slower, more accurate one? And do you like your grenade launchers to have a wide blast radius, or do you prefer sticky grenades and faster-acting proximity detonators? Work out what kind of perks make your gear the most fun and effective, and use that knowledge to understand your own play-style. Do all of this, and you’ll have a much easier time picking and choosing the keepers when the Legendaries eventually do start to drop.
Always buy the new gear in campaign
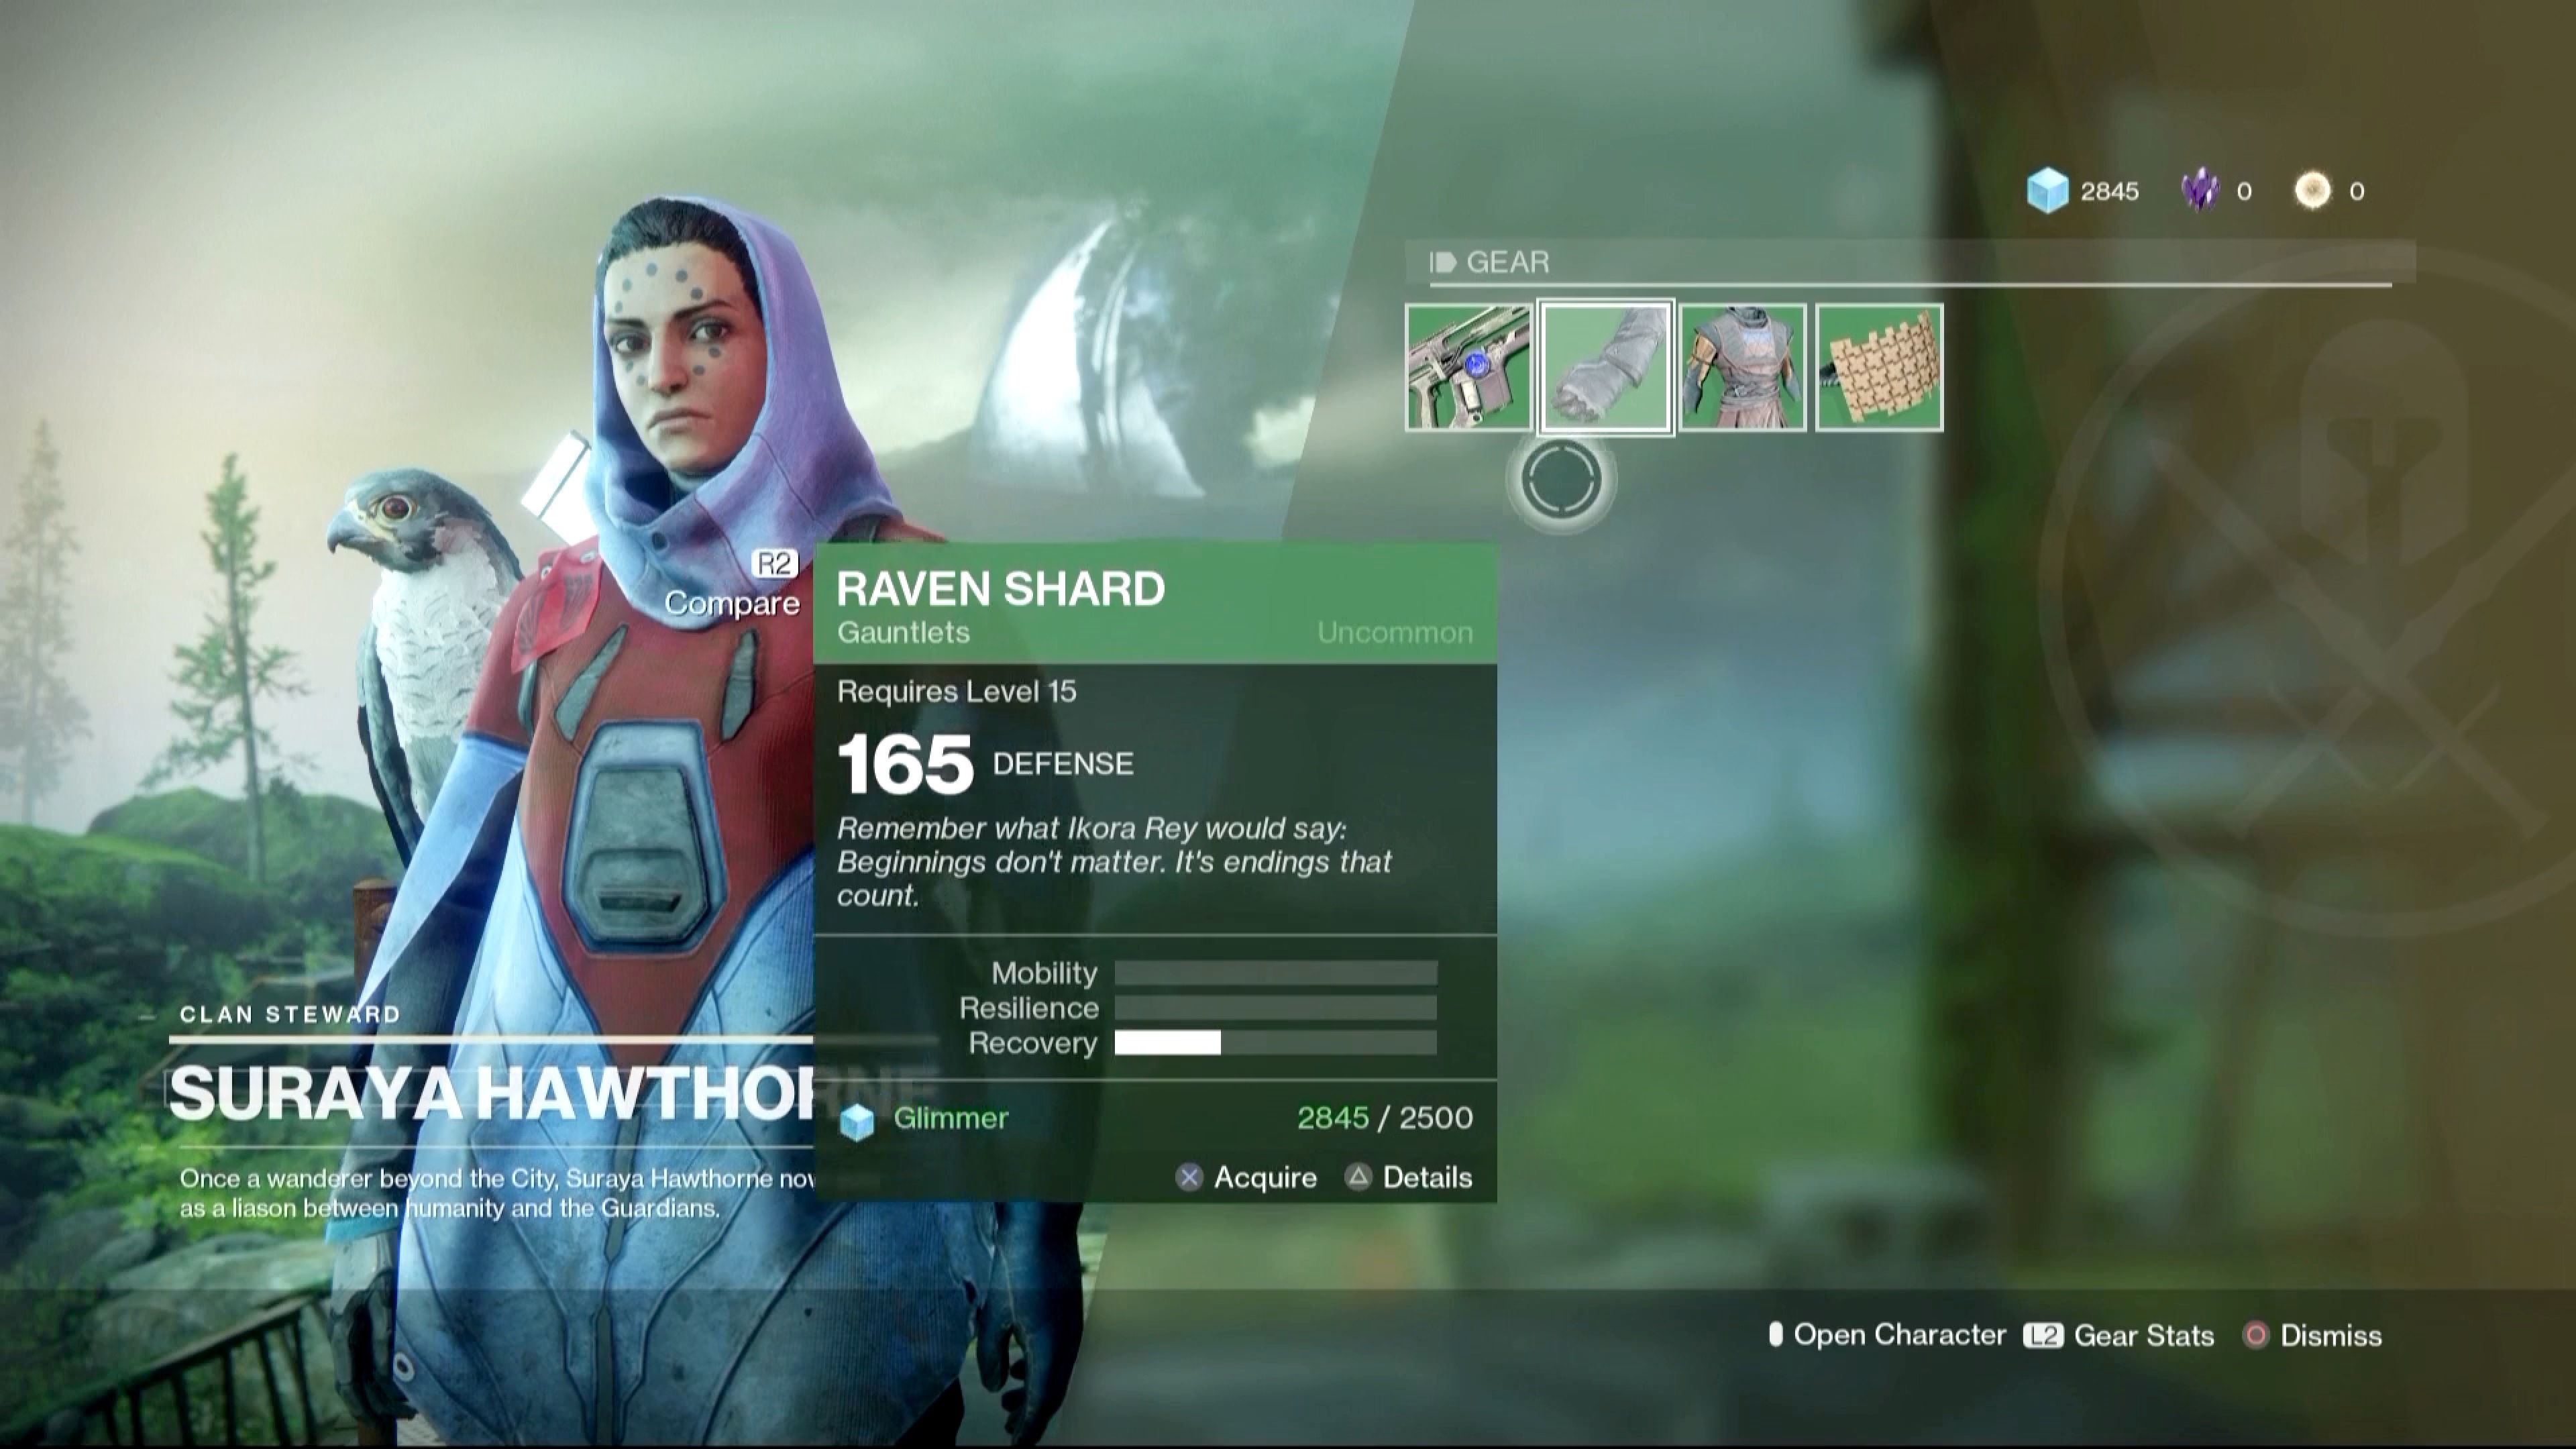
If you’re working through the campaign, pay attention to the help that Destiny 2 is giving you. Every time you complete the first story mission on a new planet, you’ll gain access to that planet’s NPC’s shop. Here, you should buy everything you can afford. And you’ll likely be able to afford most of it. The vast majority of this stuff will be significantly better than whatever you’re currently carrying, so see what they’ve got and replace everything you can.
Keep collecting Tokens
Tokens are where it’s at. Tokens are all. While you will get immediate, Legendary and Exotic drops after (and sometimes during) activities, they won’t come frequently or consistently enough to be your sole diet. Instead, you need to be collecting those Vendor rewards by cashing in Tokens. Where, in the first game, their slow levelling made Vendor rewards an occasional bonus to be collected every so often amid your main business of chasing drops, in Destiny 2 the opposite is the case. Turning in Tokens will level up your loyalty fast, and loyalty levels lead to loot.
You’ll get planet-specific Tokens from most activities, and you’ll also find them in Region Chests and Lost Sector stashes, so explore and treasure hunt as you keep busy with the big stuff. Keep checking the map as you go. There are opportunities hidden everywhere. You can also top up loyalty by accruing a stash of the local area’s naturally occurring collectibles, ie. Dusklight on Earth, Microphasic Datalattices on Nessus. Though they’ll increase your standing more slowly. And do not forget to keep visiting weapons dealer Banshee-44. Every time you junk a gun you don’t want, you’ll get weapon parts. Banshee will take weapon parts as a loyalty currency. Nothing in Destiny 2 is ever wasted. Though it’s worth remembering that ‘fresh’ gear drops – as opposed to Engram-encrypted ones – will scale to be useful for your current level, so you might want to stockpile currency until you’re really hankering for a high-level boost.
Sign up to the GamesRadar+ Newsletter
Weekly digests, tales from the communities you love, and more
And similarly...
Try to do Challenges and Milestones later rather than sooner
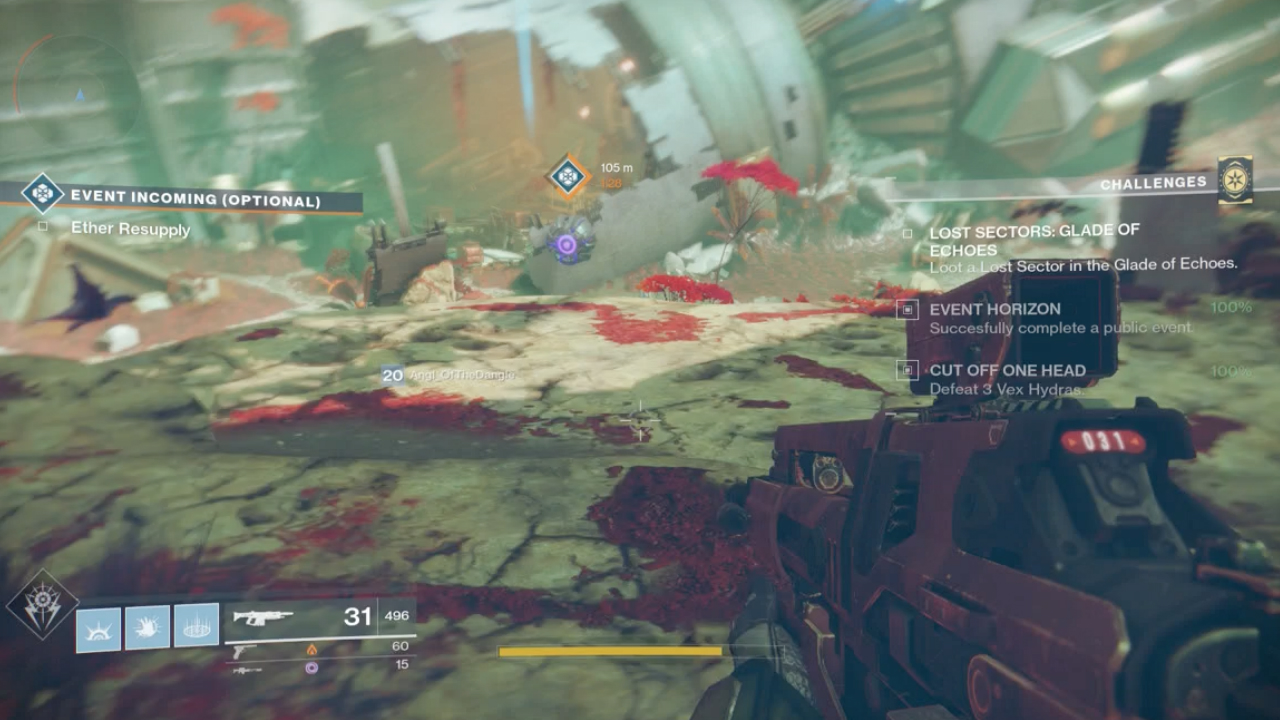
You’ll unlock the ability to complete Challenges and Milestones (little mini-objectives that appear in every location and activity-type) at a certain point late in the campaign. But don’t jump into them straight away. Like every drop opportunity in Destiny 2, the rewards you’ll get for completion scale with your current level, so it’s worth holding off on them until you’re really eager for high-level gear. Do be aware though, that weekly Milestone progress will be cancelled if they’re not cashed in before the weekly reset on Tuesdays, so don’t commit to one unless you really intend to finish it. And, given the scaling factor, when you do leap in to completing them regularly, you might want to make cashing them in the last thing you do each week.
- Destiny 2 Chest locations guide - every Region, Lost Sector, and Cache
- Destiny 2 Scannable Object locations guide - find every bit of hidden lore
Buy a Fireteam Medallion
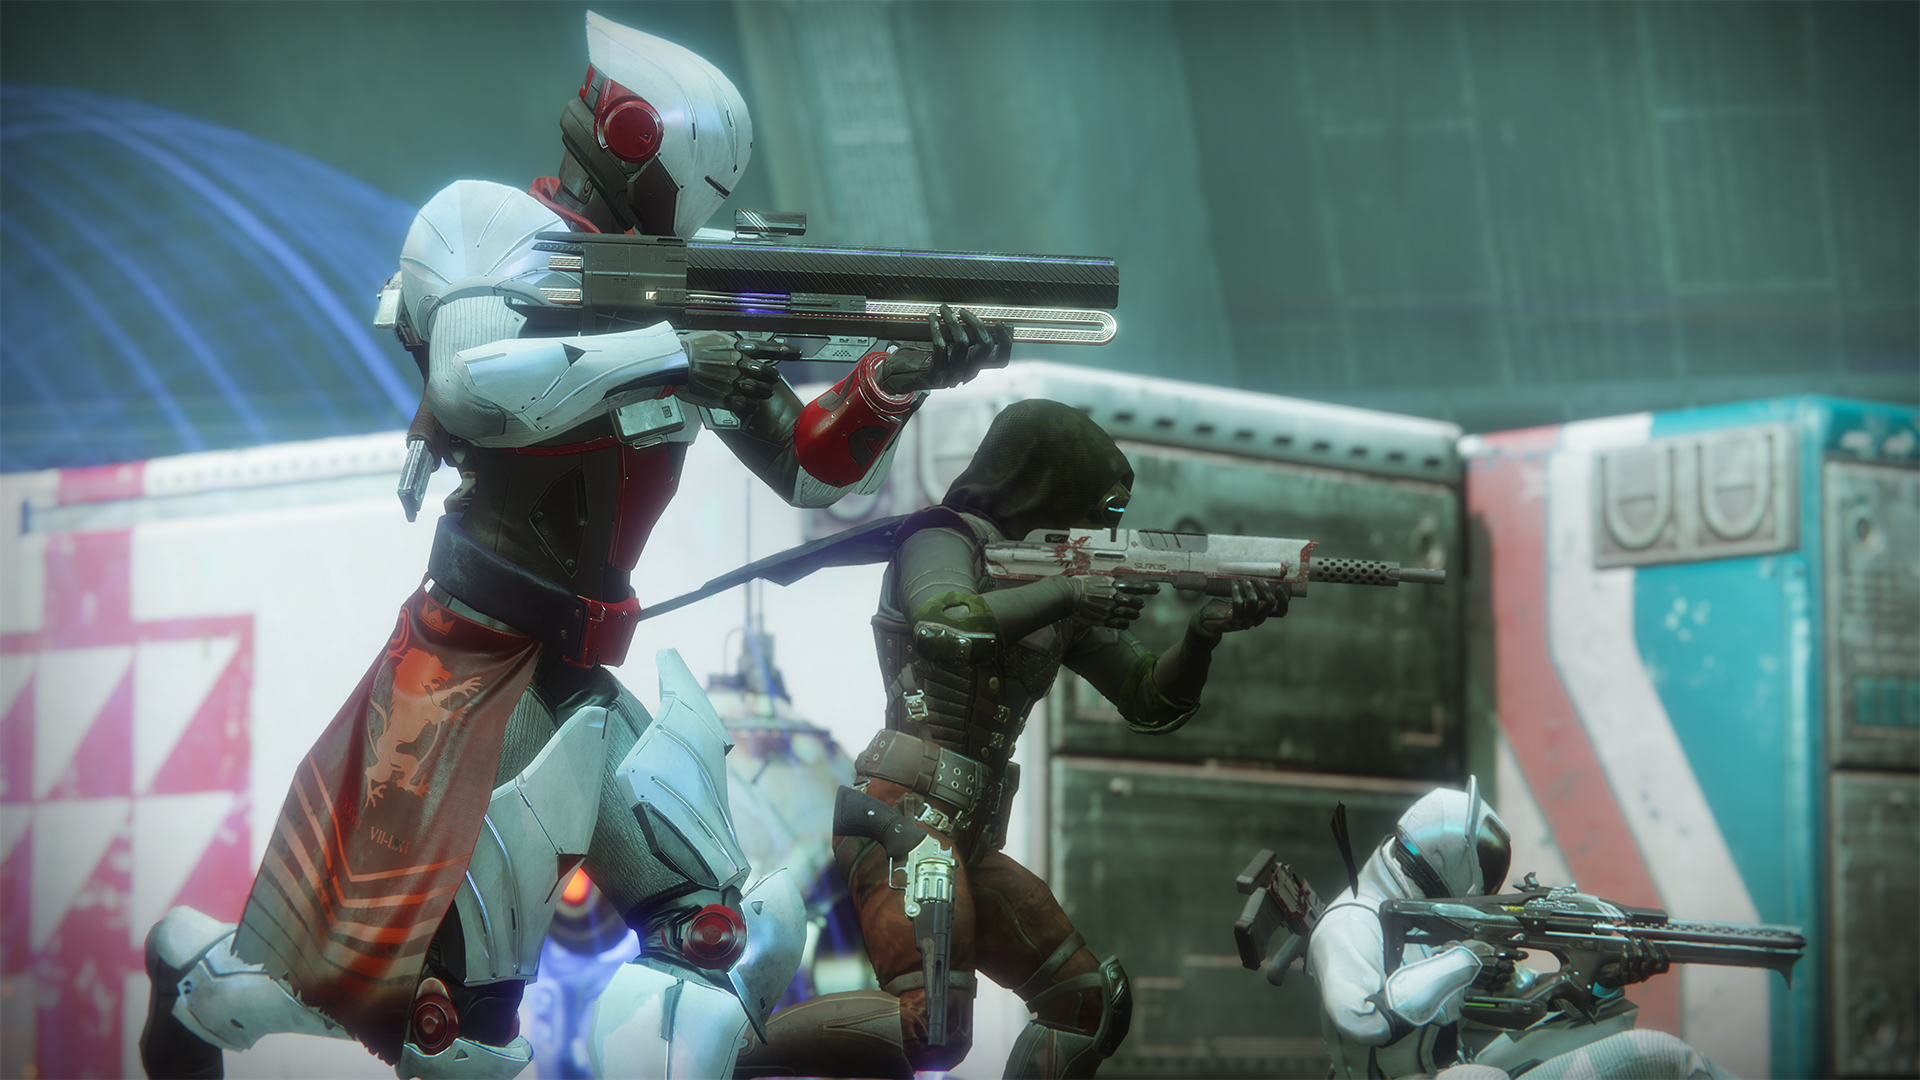
These are really useful in stacking the odds of getting good drops. Once activated, they’ll boost the XP accrual and gear drop chances from strikes, public events, and Crucible matches for your entire fireteam, and the effect will last for four hours. If you (and ideally a few friends) are going in for a heavy session, Fireteam Medallions are something to really keep in mind. You’ll have to buy them from Tess Everiss, but the good news is that they only cost 50 Bright Dust, which you’ll get by dismantling the ships, Sparrows, etc. that come from her Bright Engrams, so there’s no need to spend any actual money on them.
Upgrade your public events to Heroic
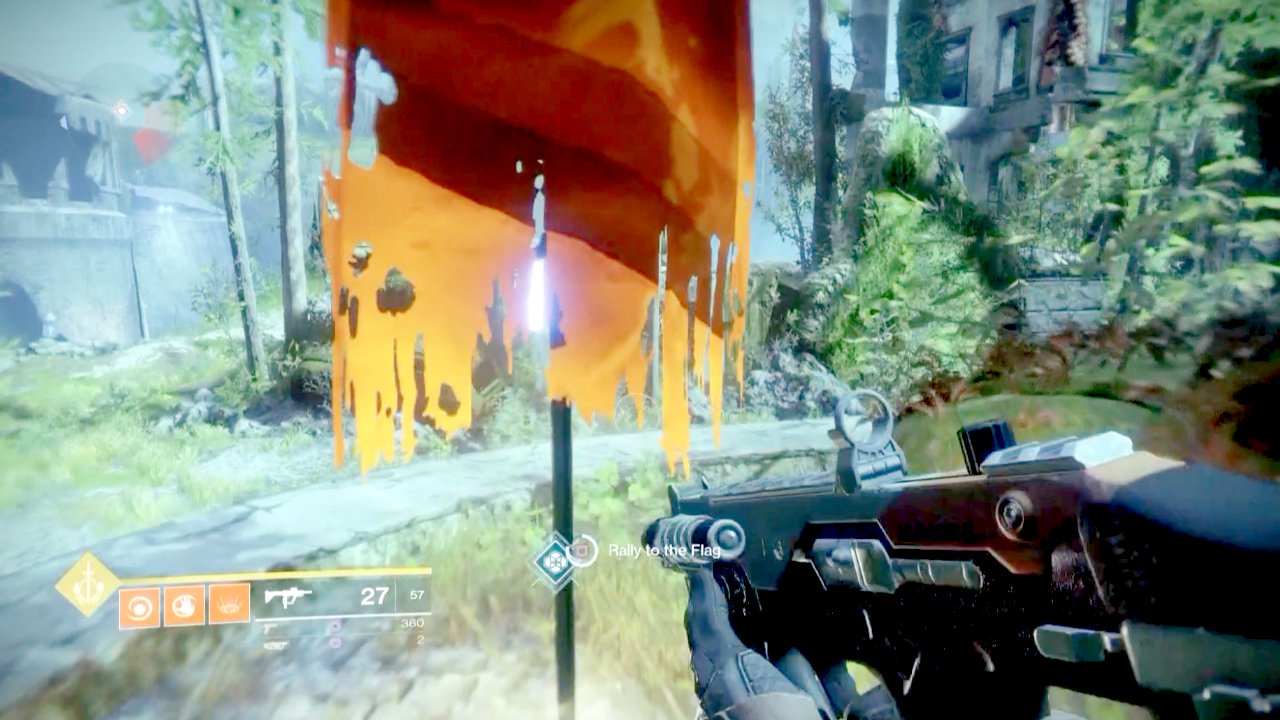
All public events will drop chests containing tokens and gear when completed, but if you want to make them really profitable, you’ll need to upgrade them to Heroic status. To do this, you’ll need to fulfill certain invisible criteria during the events themselves. You can find out exactly what they are in our how to trigger Heroic public events guide, but you might be wise to take a fireteam with you. If you end up tackling the public event with a bunch of Guardians who aren’t in the know, the chances are that it’ll be over before you get anywhere near activating the Heroic trigger.
Know the importance of Legendary Shards, and how to get them
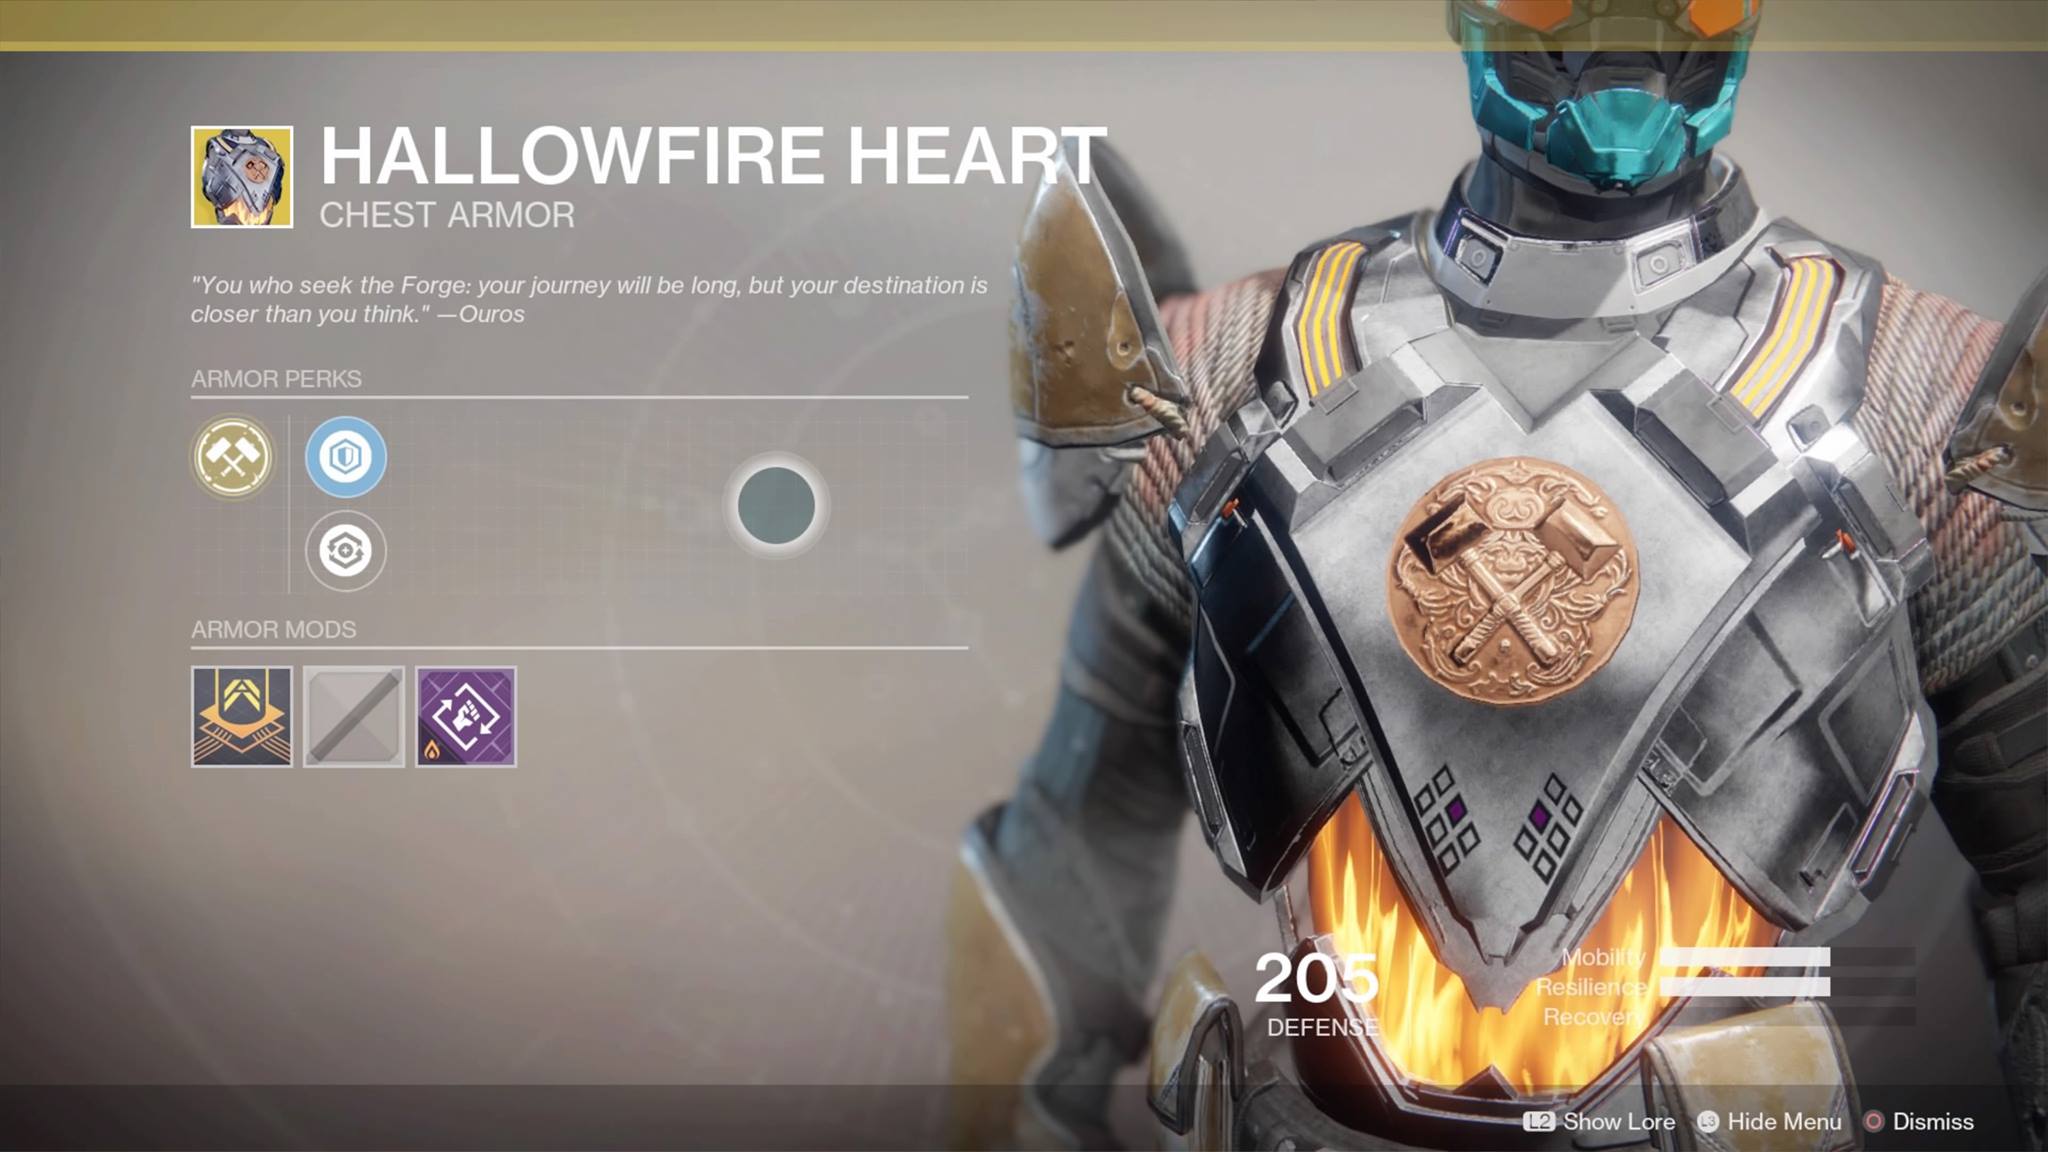
Getting the Legendaries and Exotics you want is only half of the job. While they will tend to boost your level immediately, you’re going to need to keep Infusing your favourites in order to keep them up to standard, and keep yourself growing.
To Infuse, you’ll need two core ingredients. You’ll need a higher level weapon or piece of armour of the same type you want to Infuse (this is where you get the er from), and you’ll need Legendary Shards to fuel the process (between one and four, depending on the gear involved). There are multiple ways to get hold of the latter (full details can be found in our how to get Legendary Shards post), but the most immediate method is to break down unwanted Legendary or Exotic gear. As for the gear you’ll use for the Power, those are somewhat less costly, as the tier doesn’t matter as long as the Power level is high enough. A decent Rare piece will do just as well as a Legendary or Exotic.
And on that note…
Keep a ready supply of Infusion gear
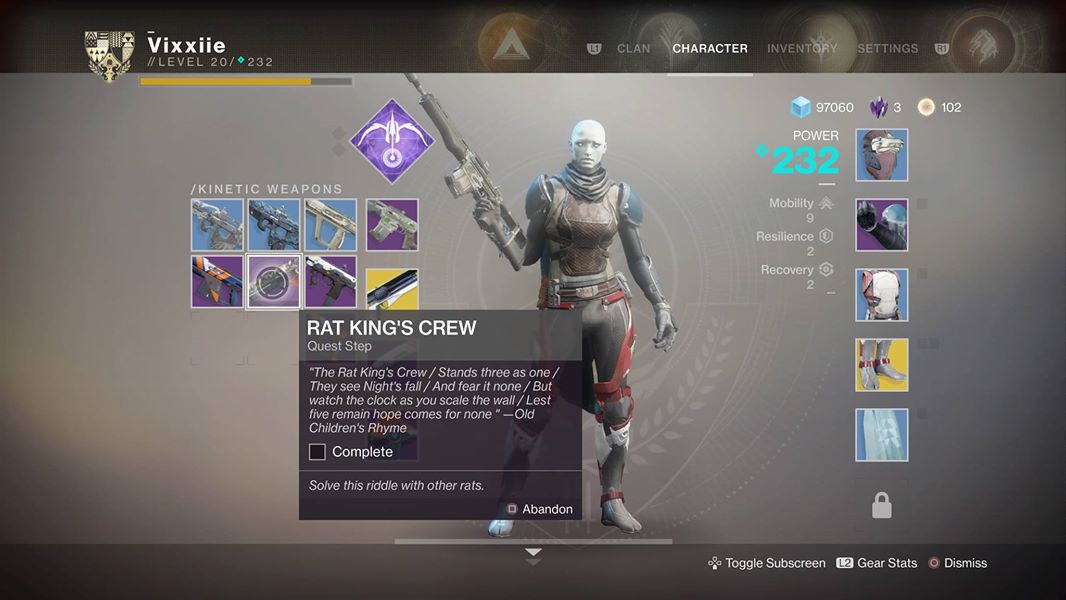
It’s tempting to immediately junk any bit of unwanted gear as soon as it drops. Maybe you already have a perfectly good submachine gun with better perks than the one that’s just landed in your inventory. Maybe you just don’t like the look of that chest armour. But don’t bin that stuff straight away. To speed along the Infusion process, it’s a good idea to always keep one piece of unwanted, high Power gear in each slot in your inventory, ready and waiting for when you have enough Legendary Shards to infuse your favoured item. You don’t want to be sitting on a load of Shards and have to wait for the right item to power the process.

