How to complete Destiny 2's Leviathan Raid
Our guide to beating the very first raid in Destiny 2
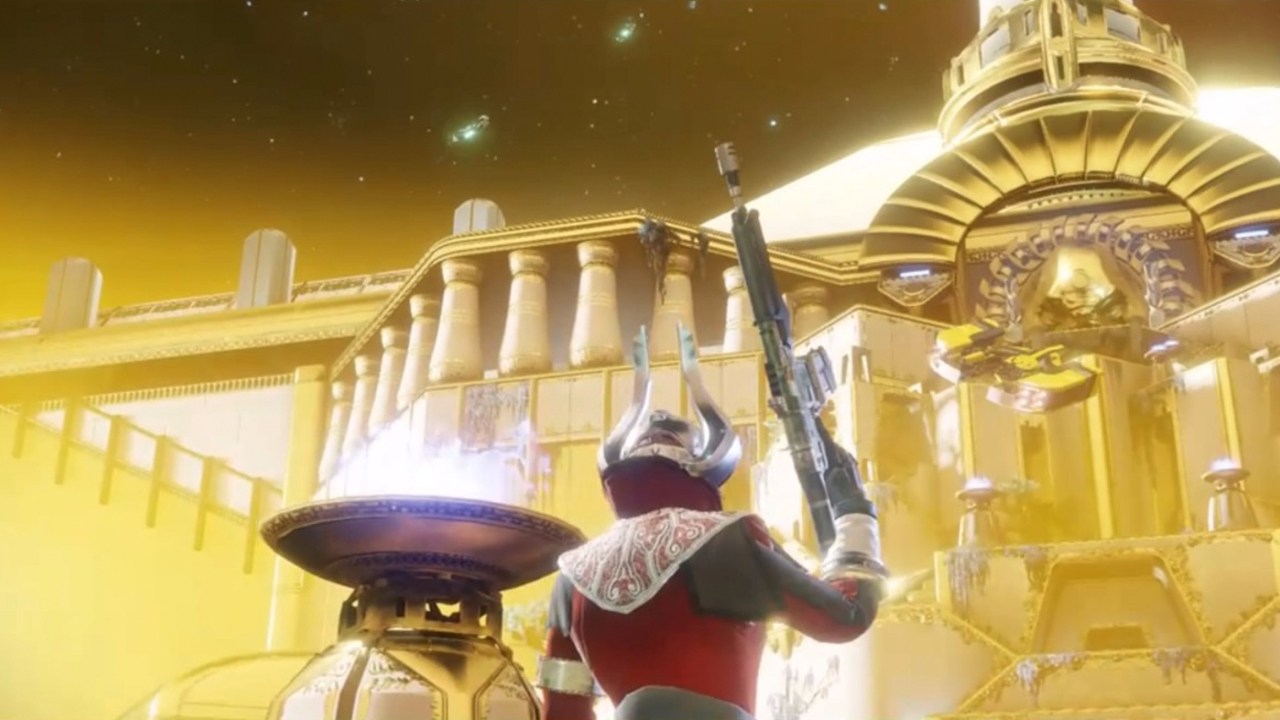
The Leviathan Raid is one of Destiny 2’s most difficult ordeals, packing plenty of trials to put Guardian Fireteams through their paces. Much like in the original game, completing raids can often take hours depending on the state of your team and even then it isn’t the easiest thing to pull off, with waves upon waves of enemies standing between you and success.
In the case of the Destiny 2 Leviathan Raid, you will need to work through the stages to unlock trial keys. You can then use these keys to enter new areas inside the Golden Pyramid, where you’ll encounter bosses and other events you’ll have to overcome.
Don’t worry if this all sounds daunting though, because below the intrepid GamesRaiders clan of GamesRadar have put together this essential guide to overcoming Calus’s trials. With this guide on hand, you’ll have a much greater chance of finishing the raid, so be sure to read on!
- How to level up fast in Destiny 2, in time for the Leviathan raid
- How to trigger heroic public events in Destiny 2
1. Enter the Royal Pool
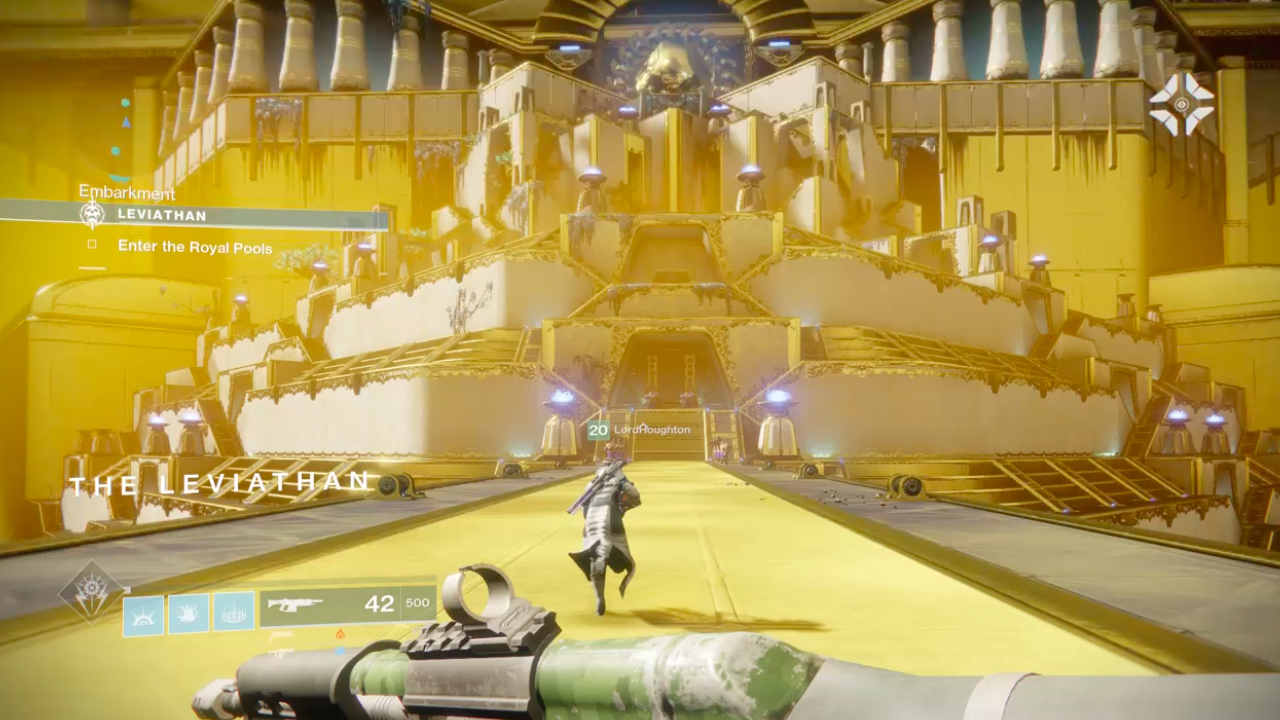
The beginning of the Raid is easy enough, if you can draw your eye away from the golden splendour of the stage itself. Run around the outside of the building, up the slopes, taking out the Egyptian-themed Cabal enemies as you go. These fellas won't harm you until you shoot them, but we already know you're going to attack them - and vice versa.
Head towards up, up up and towards the big gold door and proceed towards the next section.
2. The Leviathan Castellum Part 1
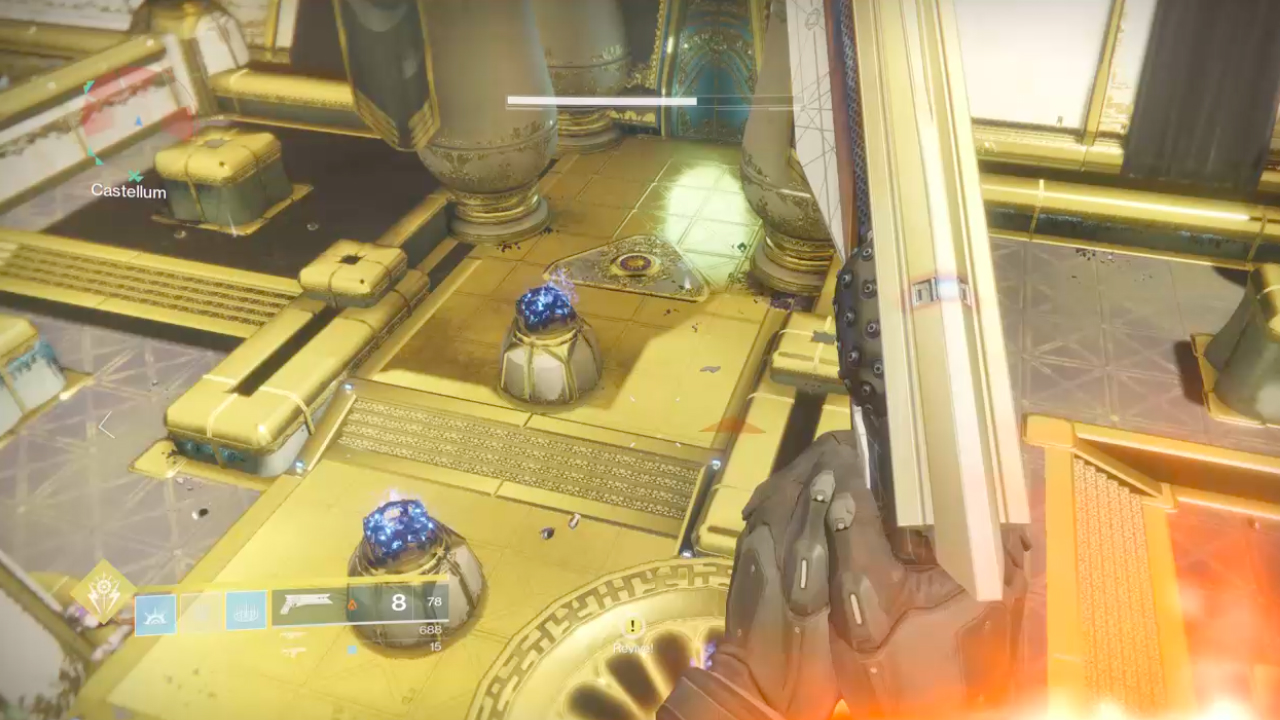
The Leviathan Castellum is where it really gets started - well more so than the original area anyway. There's a central area that is marked with a triangle where you're going to have to place three Standards, all of which you're going to need to get to, carry there and protect.
We had success by splitting into two distinct teams. Four of us held the central space, defending it against all the Cabal, while the two most powerful Guardians headed for the Standards. That latter, smaller team will have to fight off the shielded Cabal guarding said Standard and then carry it back to their awaiting Fireteam.
The problem is that if the defending team let any Cabal into that central zone, they will steal one, and then all of the Standards if you don't protect the zone until all three Standards have been placed there by the carriers. Tip for the protectors is to look out for the Councillor psion inside a bubble, who protects his pals with shields. Head into his bubble and hit him with a melee attack to ensure that you can attack all the other guys.
Once you've done that, you'll be able to pass through the big door and gather your rewards from the first of many loot chests, from which you'll definitely gain a Calus Token.
- Destiny 2 Chest locations guide - every Region, Lost Sector, and Cache
- Destiny 2 Scannable Object locations guide - find every bit of hidden lore
3. The Pleasure Gardens
This part of the raid is all about stealth. That well known Destiny mechanic. There are a few enemies to clear out initially but the real threat are the dogs patrolling the area. You won't be able to hurt them initially, so focus on avoiding them and learning the patrol routes as you do so. Like the baths, a dead player will eventually kill the team and you only have one revive each.
To progress here you'll need some players to find and pick up the large seed-like 'empowering spores' from the safe room under the statue while others head up to the higher platforms where you can see the pools of light. The players with the spores must take them to the plants in the area, and the players on the platforms must use the prism weapons they find to direct light at the plants. When you get it right the light will hit the plants and seeds and infer a damage buff on any nearby players. These will stack, up a 60 times limit from different plants, so you can repeat the process a few times before taking on the dogs, which will now be easier to kill.
Be warned though, as the hounds have a psyonic attack that will kill everyone unless you can get away. They unleash it if they see you sneaking about and also, obviously, when you start attacking them. Helpfully, when it happens Calus will graciously open up his safe room you can bolt into to survive. This will only happen three times though, so if you haven't cleared the dogs by then it's a wipe.
Complete this and you'll get a trial key.
4. The Leviathan Castellum Part 2
Yay, back to the area you in were before the baths. It's the same process as before, although the locations of Standards and the area to take them to will have swapped around. Otherwise, same deal as before - some of your team protect the main area while the rest fetch. Remember to keep an eye out for the bubble shield guys and you should be okay.
Once you're done you'll open up a door to a new area. It's fun.
5. The Gauntlet
Racing fun times now with a platforming puzzle section. There are four platforms that need to be stood on to activate glowing psionic charges. Two players will need to then grab those, at which point they'll be teleported to an circular area running around the chamber to run a - wait for it - gauntlet.
Here's the thing: those psionic charge will eventually explode and kill everyone unless you pass through the gauntlet gates correctly, which will reset the charge's timer.
To get the gates right the player inside the gauntlet will have to tell the players outside which row has a red circle. The other players will then have to shoot the targets on the gates from the other rows - so shoot the targets the red circle isn't on. The runner can then jump though the circle to stop the explod-o-timer. When you complete the run you'll appear back in the main room and have to slam the charge in the central area.
You'll have to repeat the process until all of you end up running the gauntlet and slamming the middle room - the final stage that'll end this area and earn another key.
6. The Leviathan Castellum Part 3
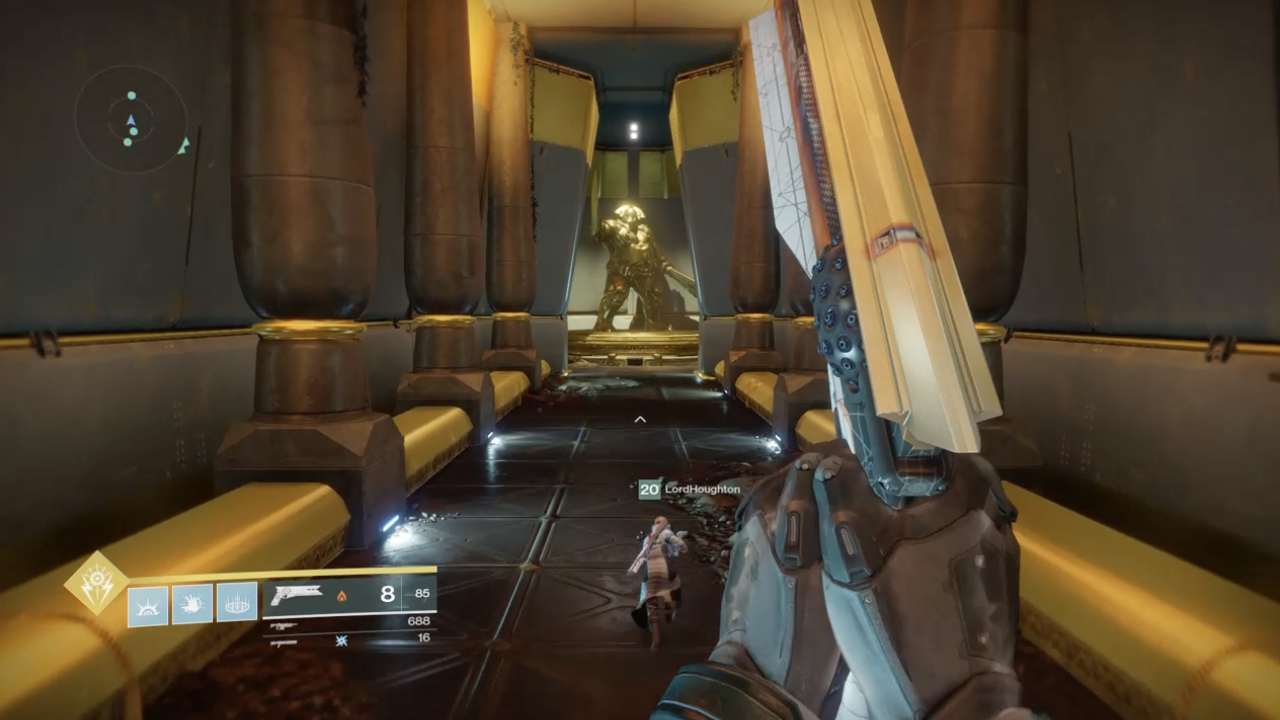
Here. Again. Same deal as before: get the standards, kill everything especially the bubble shield guys and when it's done you'll open up another door.
7. Royal Pools
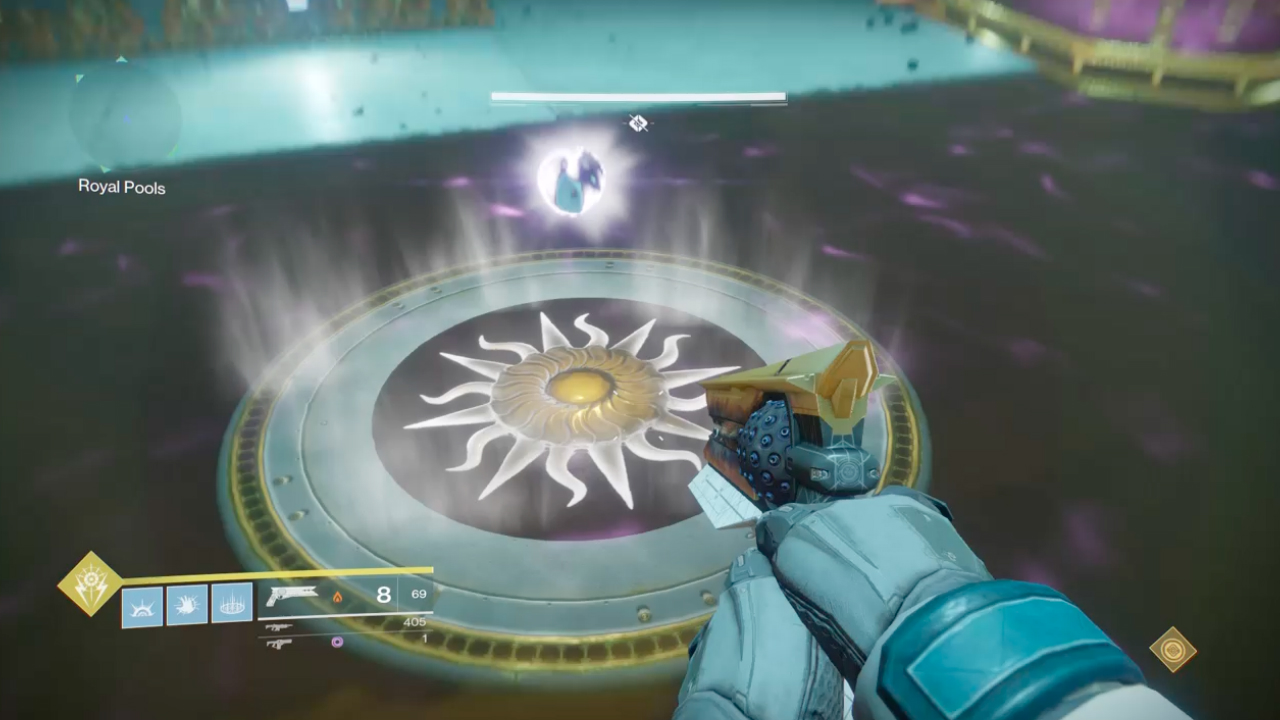
This is where the raid mixes in puzzle solving with plain old battling. At each corner of the Royal Pools is a pressure pad that gives you a protective buff called Psionic Protection. It only last 50 seconds, and then you'll be susceptible to the poisonous goo that lurks in each of the Royal Pools. There's also a central pad where the protective buff constantly restocks, which you're going to have to run back and forth to.
You're going to need to split up here, with one Guardian on each of the corner pads at all times - only swapping out to restock that buff ball. To start the event, you'll need to press all five pads at once and then whoever triggered the central one will need to roam and help the other Guardians with the sixth member of the Fireteam.
You'll be facing Bathers and other Cabal as the chains near each plate wind down, with a big white pad moving towards the ground. As soon as all four pads are as far down as they'll go you'll hear a noise. At this point everyone needs to go into the central room and stand on that pad. This should enable you to now shoot the nine purple cisterns.
Now's a good time for healing rifts and supers as it'll get pretty busy, pretty fast. Use what you can to focus your damage on the cisterns while staying alive.
Take as any as you can out before one of the bubble shield psions appears. Again you can melee him pretty easy but immediately start looking for another, floating in the air somewhere. You'll need to eliminate him as quick as possible before he kills the entire team.
It's very unlikely you'll clear all the cisterns in one go so prepare to go back to the pad cycling to move the chains. Woefully you'll get it done on the second cycle where you'll receive some loot and a trial key.
8. The Leviathan Castellum Part 4
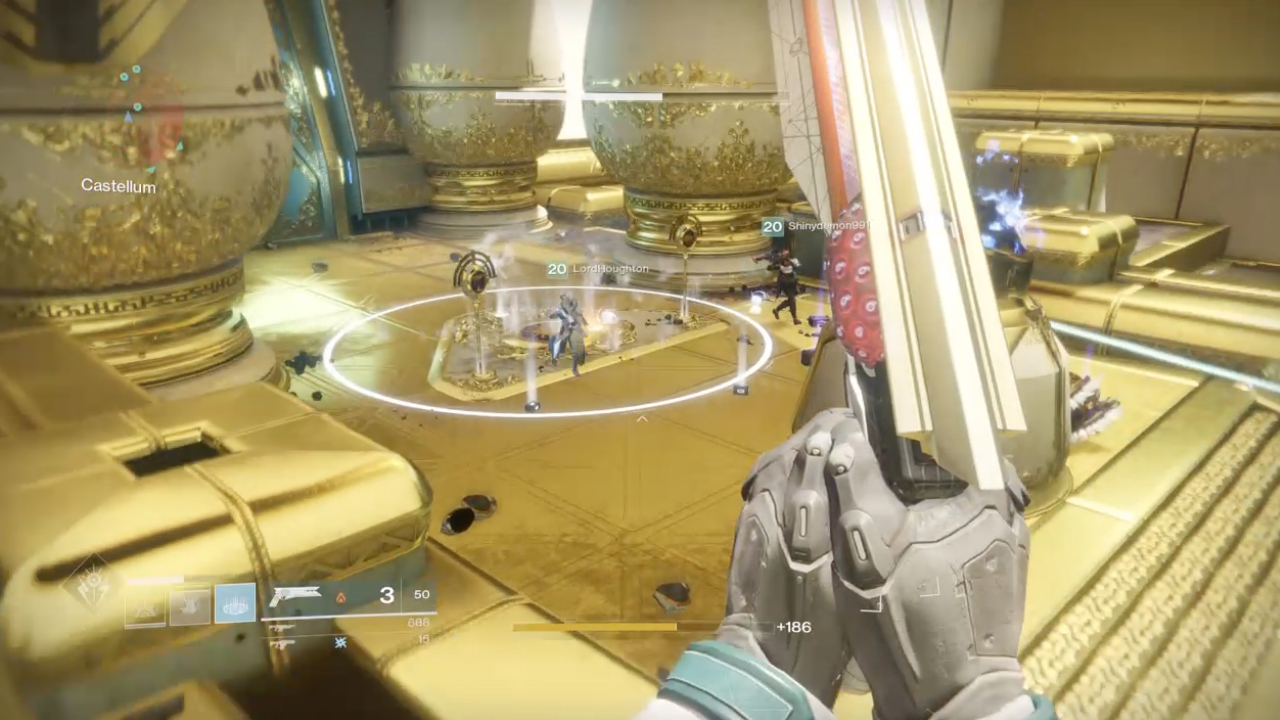
Yes. Again. Standards. Bubble shield guys. Kill everything. Complete it once more for the final door...
9. Emperor Calus
Say hello to the big boss man. And then kill him. If only it were that easy. As you'd expect for a raid boss this is a complicated, multistage battle so pay attention.
First you'll have a big fight in the throne room. You might need to shoot Calus' cup out of his hand, or annoy him in some other way to start it, but when you do prepare for a Castellum level onslaught.
Eventually, four bubble shield guys will appear on four podiums with different symbols. First time around you need to kill them all, but be prepared for what comes next.
When the four psions are dead the team will be teleported to a strange location with a huge projection of Calus head. There are three portals you can use to return three people, thus splitting the team. Those left behind will see a symbol on Calus forehead matching the ones on the psions' podiums. BUT, each player will see a different one. You'll have to shout them out to the players left in the throne room who must kill the bubble shield guy that isn't called out. So if the giant head has an axe, dog and cup, shoot the sun psion.
This will happen multiple times and activate a progressively closer barrier that prevents anyone being sucked into the giant head. Timing is critical here as if you get it wrong, everyone in the giant head dimension is sucked to their doom and it's a wipe. It's also vital to kill the floating psions that appear here.
After a while everyone in the giant head dimension will be up against the last barrier which will disappear, leaving you free to attack the flying skulls that fly out of Calus giant head. Focus on these as each one powers up a 'force of will' modifier you'll need in a moment.
After fighting for a time, portals will appear and the giant head people can go back to the throne room. Now you need to use the podiums to activate the force of will power buff. You'll all need to use one podium at a time as they run out and if you split up you just won't have enough overall time to do any damage. When you get Calus down to a third he'll explode and reveal this is only a robot version.
Once robo-Calus is unmasked you'll have a few mobs to deal with and the process will repeat - kill all the psions, teleport to giant head land and do it all again. The important change here is that robo-Calus now has a charged attack that will kill everyone if it fires. So everyone in the throne room needs to hit him as hard as they can when you see him start to light up.
This process of attacking the giant head to get a damage buff to hurt robo-Calus via the podiums can repeat for as long as it takes, but ideally you don't want to do it more than three times. After that harder enemies will appear so aim to get a third of robo-Calus' life down each cycle. Also beware that as he dies he'll try and unleash that charged attack again, so be ready to hammer that out of him before it fires.
Done that? Good. You've finished the raid.
Sign up to the GamesRadar+ Newsletter
Weekly digests, tales from the communities you love, and more

I'm GamesRadar's Managing Editor for guides, which means I run GamesRadar's guides and tips content. I also write reviews, previews and features, largely about horror, action adventure, FPS and open world games. I previously worked on Kotaku, and the Official PlayStation Magazine and website.
