How to complete the Destiny 2 Preservation mission and puzzle
Complete the Destiny 2 Preservation mission and the secret symbol puzzle within
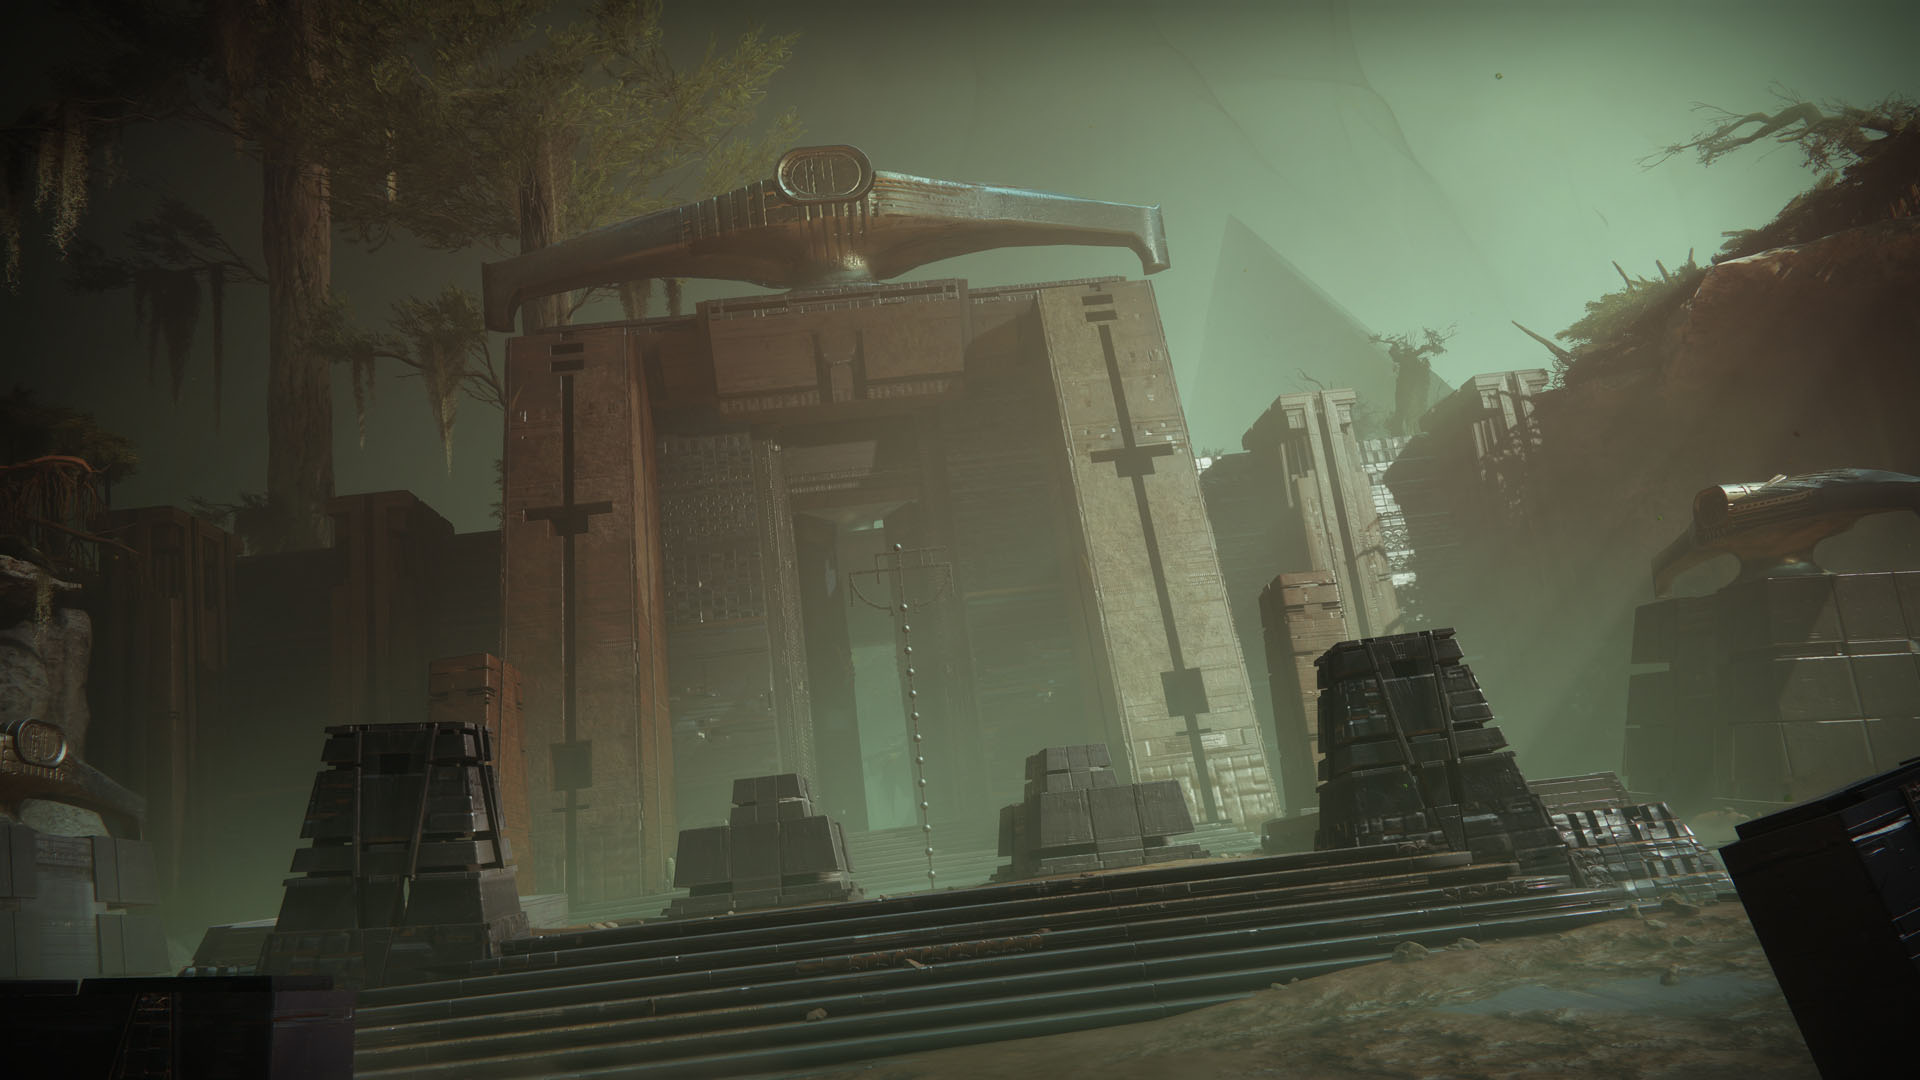
The Destiny 2 Preservation mission tasks players with infiltrating a Pyramid Ship to clear out Scorn, but you can also complete a puzzle to get an Exotic Ghost Shell. To play this mission, you need to have the Report: Pyramid-Inspect quest from the Mars Enclave Evidence Board. The whole mission actually takes place in the same swamp and Pyramid areas in Savathun’s Throne World as the Vow of the Disciple Raid, so completing Preservation is a good way to get a feel for the most basic Raid mechanics. Here’s what you and your fireteam need to do to complete the Destiny 2 Preservation mission and solve the symbol puzzle within to get lore entries for the Raid Exotic Ghost Shell.
- How to get the Imperious Sun Exotic Ghost Shell
- Preservation puzzle guide
- Preservation secret lore entry locations
How to unlock the Destiny 2 Preservation mission

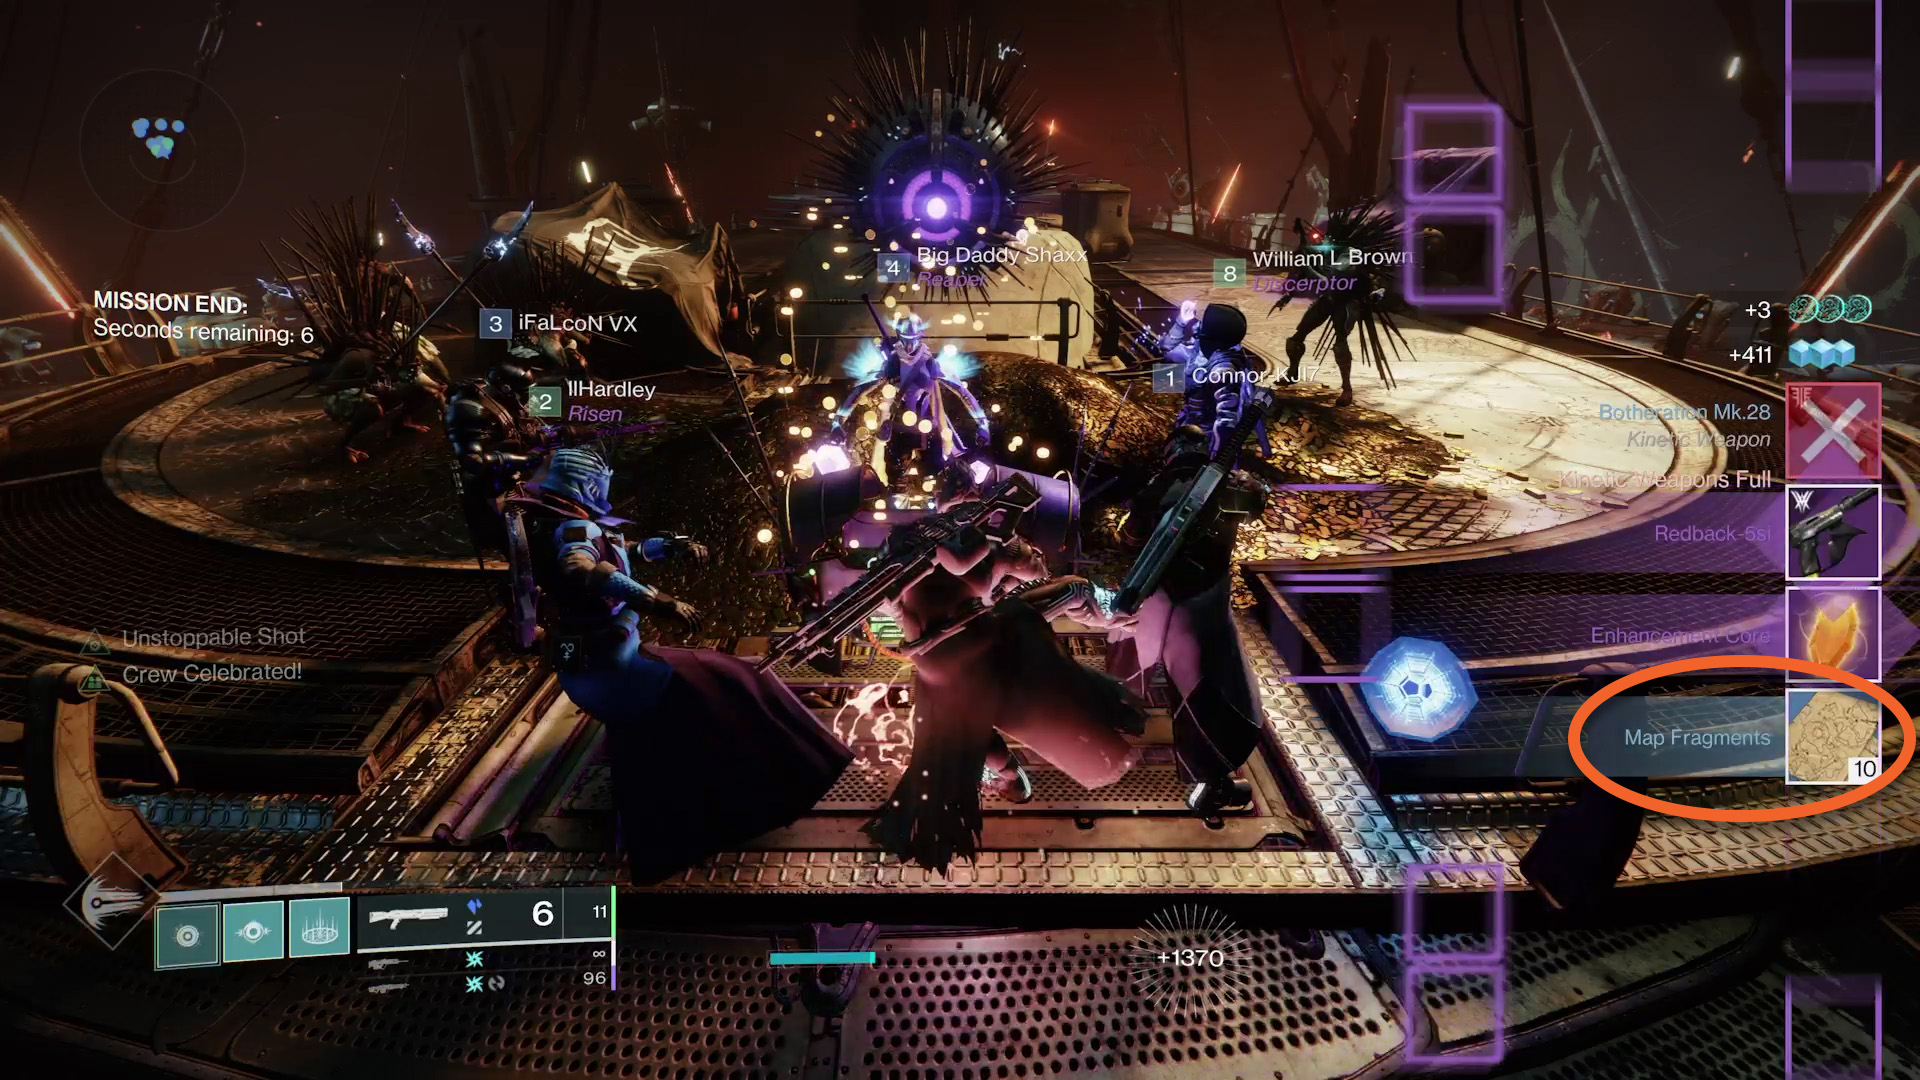
Here's how you can get Destiny 2 Map Fragments and Treasure Coordinates if you're looking to craft Treasure Maps for Season of Plunder loot
The Destiny 2 Preservation is only accessible if you have a special mission from the Evidence Board at the Mars Enclave. Head there and grab the ‘Report: Pyramid-Inspect’ mission, which will task you with completing the Preservation mission. If you can't see the Pyramid-Inspect report on your Evidence Board, make sure you've completed the Hard Evidence quest in Savathun's Throne World first.
Now, open the Destinations page, select Savathun’s Throne World, and then navigate up towards the Vow of the Disciple Raid node. You’ll notice the Preservation mission node just below. Select that and then you’ll load into the mission. While you can complete this mission solo, it will take significantly longer than doing it with two other players and you will not be able to complete the symbol puzzle to get progress towards unlocking the Exotic Ghost Shell.
How to get the Imperious Sun Exotic Ghost Shell
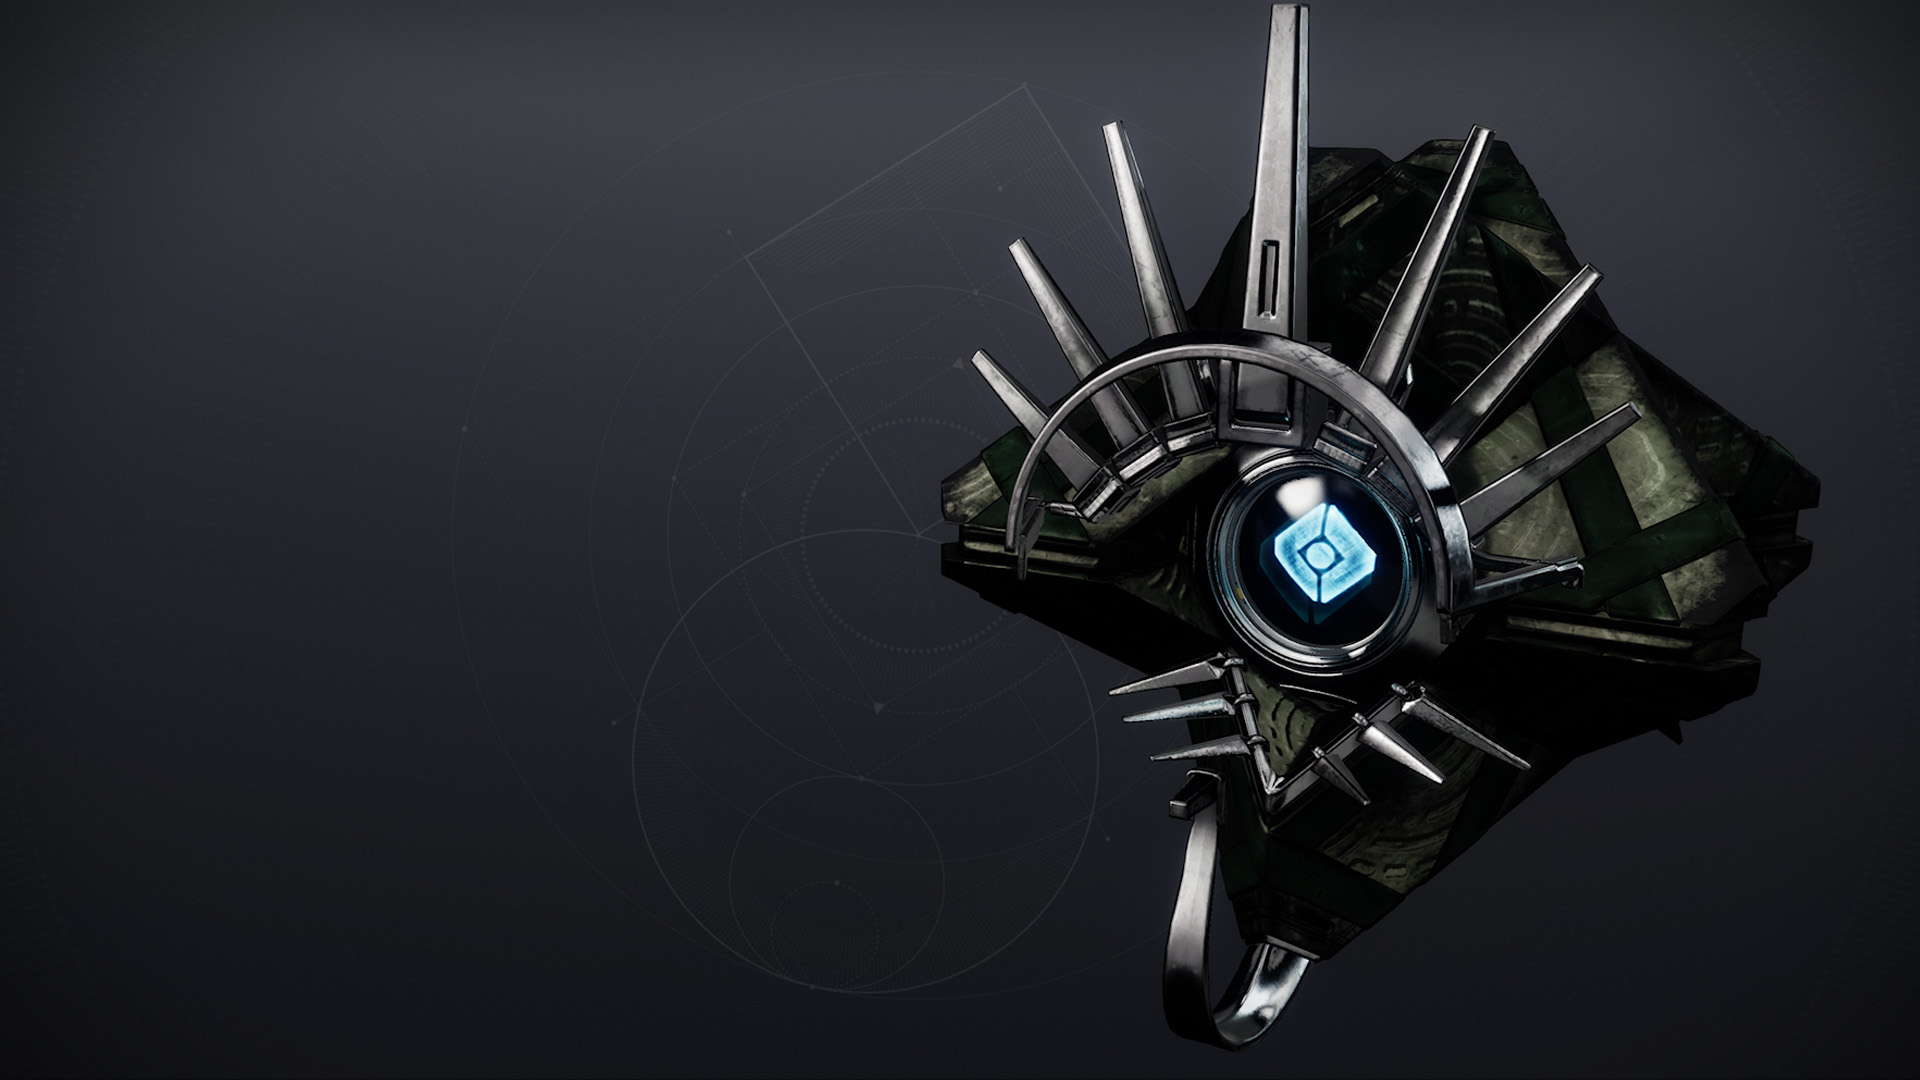
To get the Imperious Sun Exotic Ghost Shell, you need to collect all 10 entries of the Shattered Suns lore book. You can unlock five entries of this book by completing the Destiny 2 Preservation puzzle five times, and then you can unlock the other five by collecting secret audio diaries at the end of Preservation. As well as a walkthrough for the whole mission, we’ve got details on how to complete the puzzle and where all five audio diaries are below to help you get this Ghost Shell easily.
Do note that you can collect all five Destiny 2 Preservation audio diaries in a single run of the mission while on your own, but the puzzle can only be completed once per run and you’ll need at least two other players to help you. This means you’ll need to run the Preservation mission at least five times, although you don’t have to complete it fully and there’s no limit on how many times a week you can do the puzzle – you can just complete the puzzle, return to orbit, and start the mission over again.
Destiny 2 Preservation Approach walkthrough
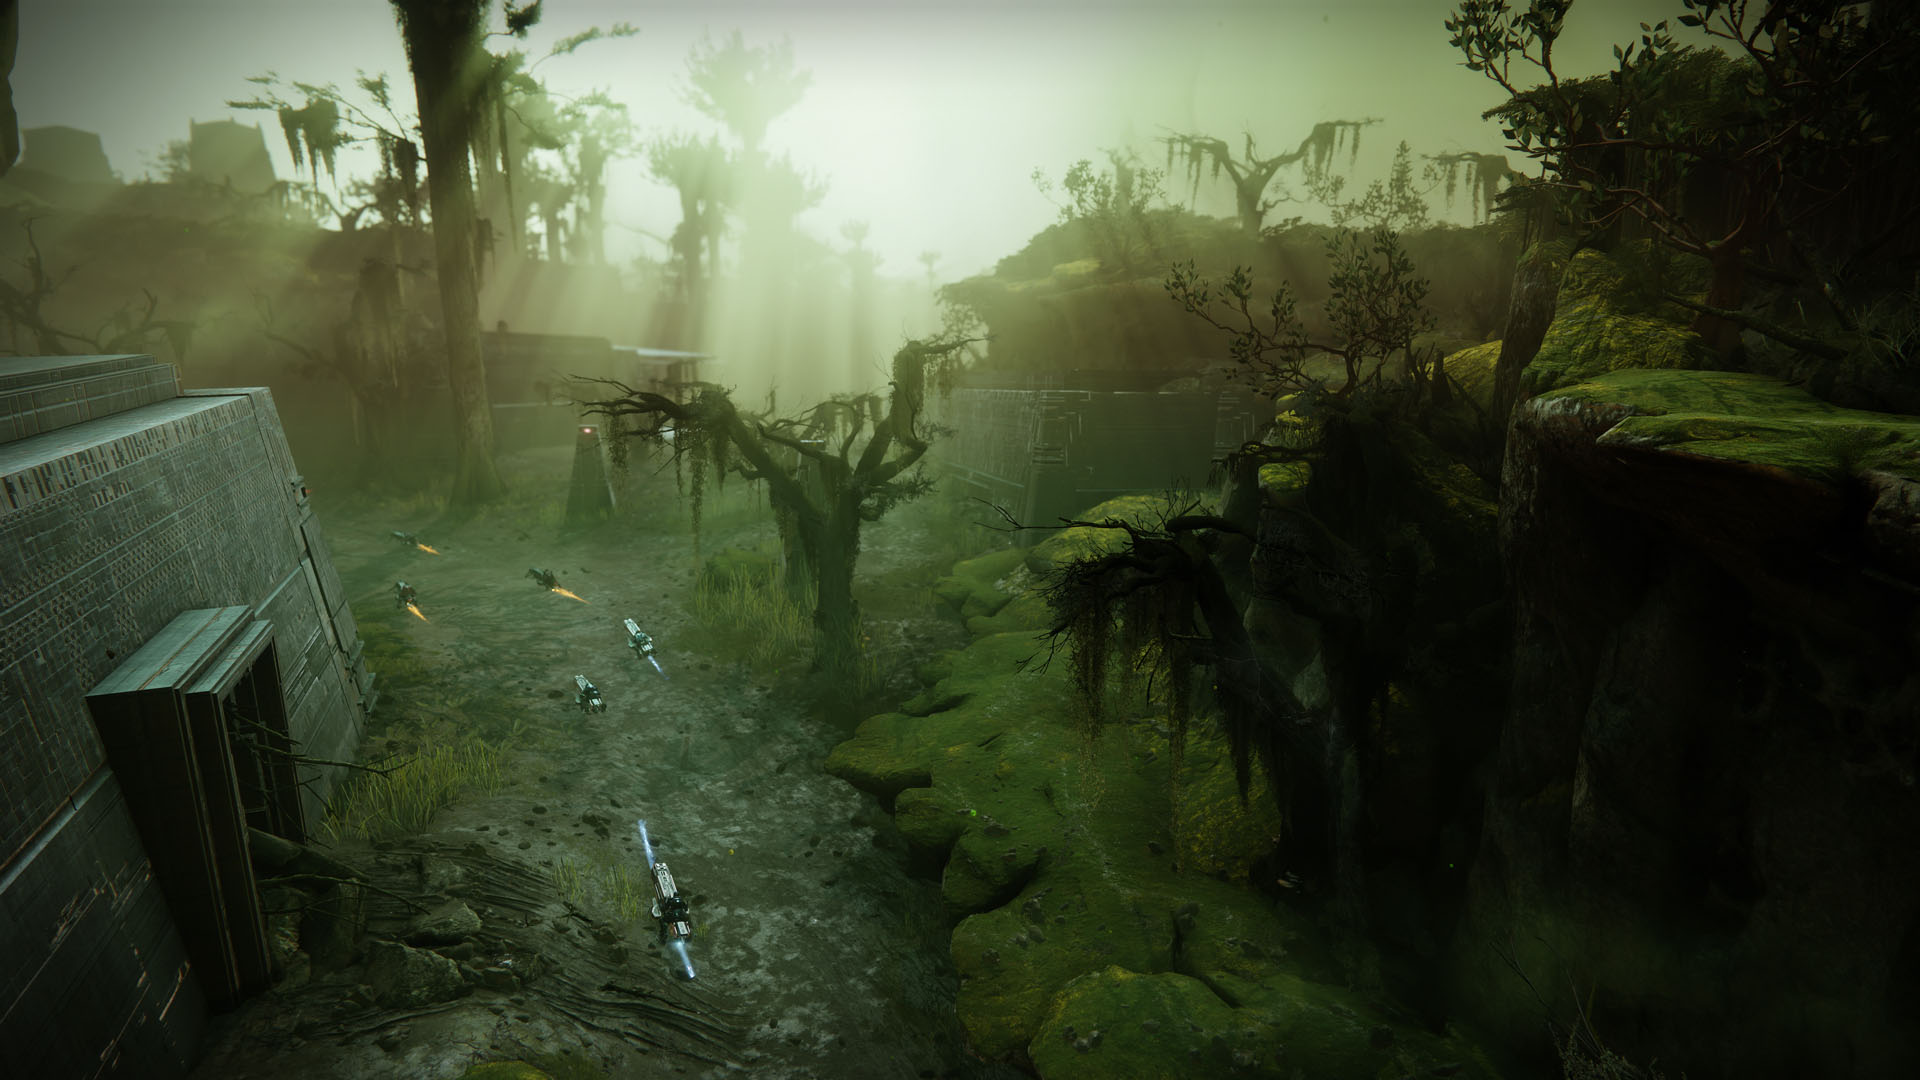
The first thing to do when you load into the Destiny 2 Preservation mission is to destroy the Projection of Savathun to open the gate, allowing you to drive through the swamp into an area called Disciple’s Bog. You’ll eventually find a large, hovering, black slab with a spiralling, drill-like mechanism on it – we’ll refer to this as the Payload.
When you first reach the Payload, it won’t be able to move and you’ll spot a message in your text feed saying, “Drown in the deep…”. This will cause Scorn to spawn in, including a large Abomination called the Knowledge Bearer.
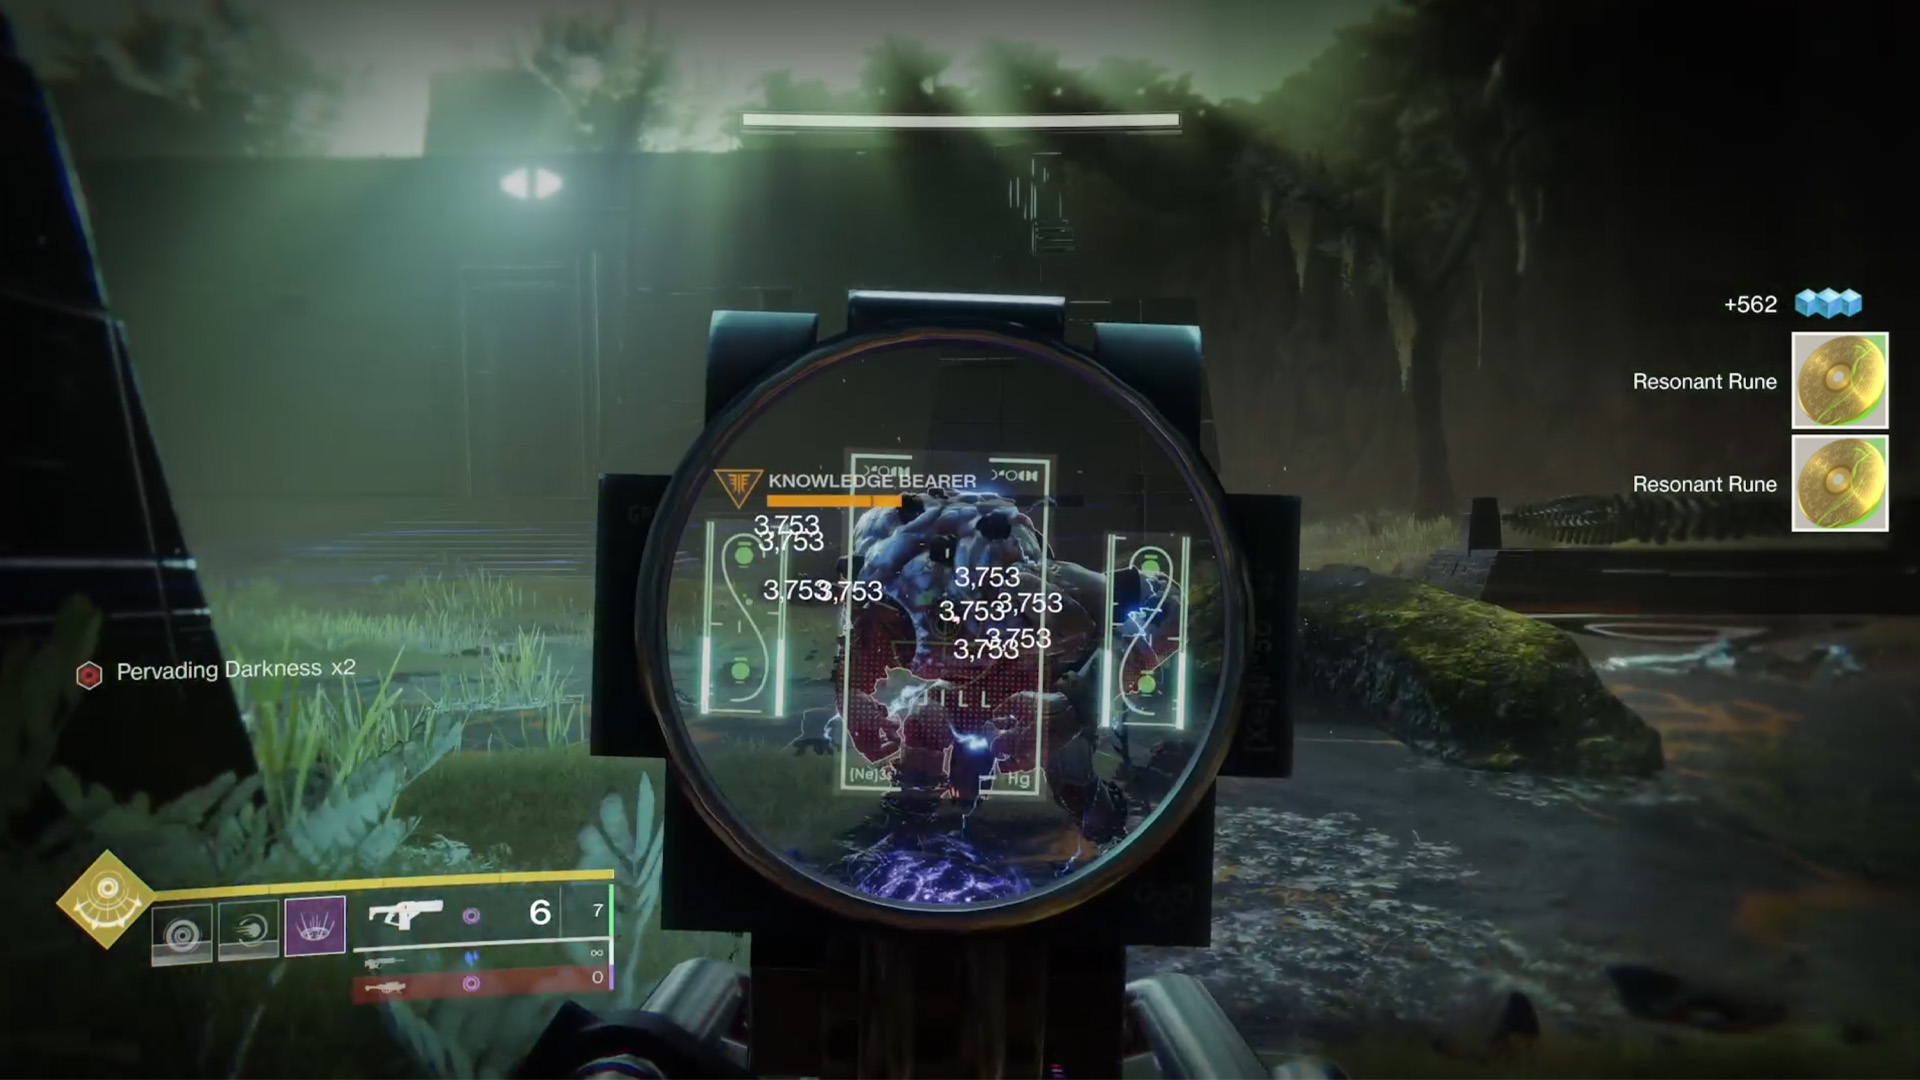
Note that stepping away from the Payload whenever there is a Scorn Knowledge Bearer around will cause you to get a stacking debuff called ‘Pervading Darkness’. Each stack limits your vision further, but it’s instant death when you reach 10 stacks. You can remove Pervading Darkness by standing inside the orange ring that surrounds the Payload. Pervading Darkness also stops building up whenever a Knowledge Bearer Abomination is killed and the “Rise from the deep…” message appears, telling you it’s safe to roam.
Eliminate the Scorn enemies and the Knowledge Bearer to also cause nine Knowledge Spikes to appear around your current area – these are small black spikes with a glowing, orange aura, so they’re generally quite easy to spot. You need to pick all of them up just by running through them and then take them to the Payload to automatically deposit them. Unfortunately, you can only carry up to three at once, so you’ll need to do a lot of running around if you’re completing this mission alone.
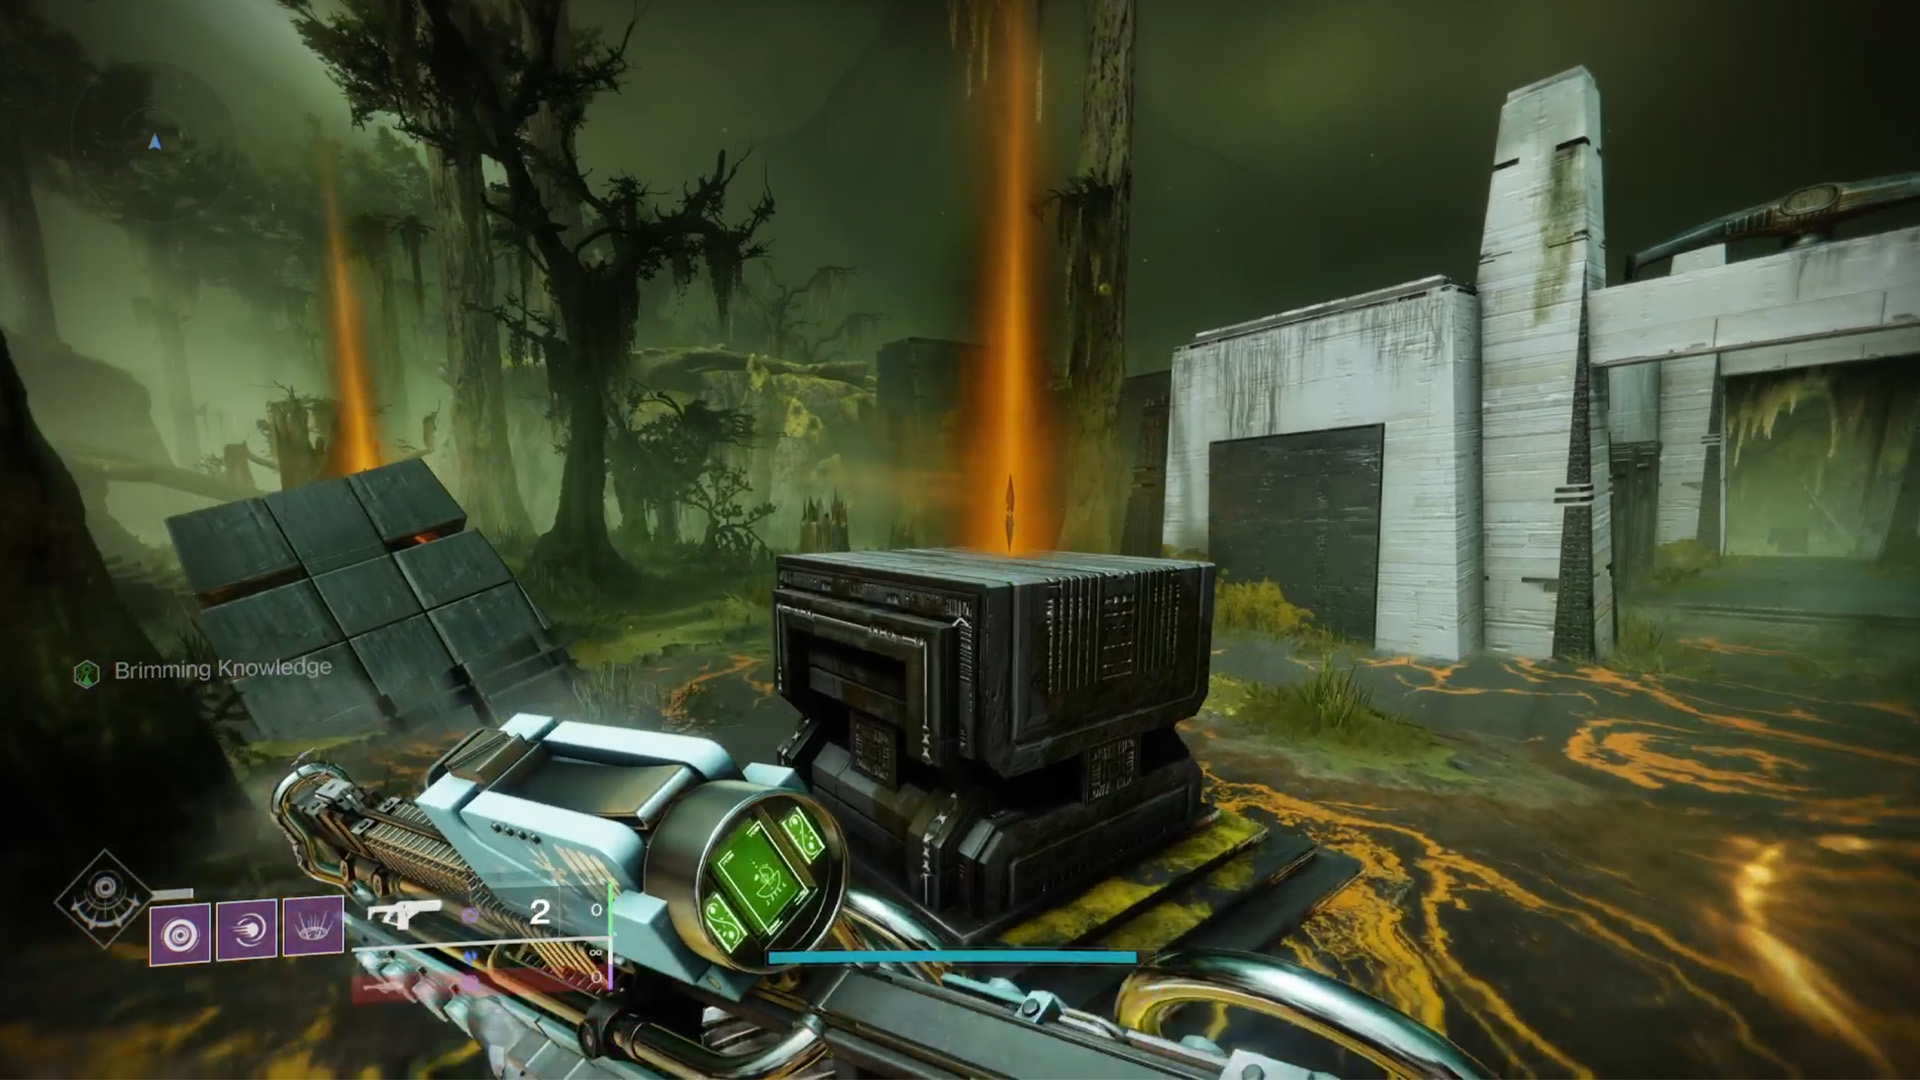
Once the Payload has received all nine spikes, it’ll start moving and you just need to follow it to its next stopping point where you’ll have to kill another Knowledge Bearer and deposit more spikes. In total, you’ll have to defeat six Knowledge Bearers and collect 54 Knowledge Spikes - quite tedious for solo players – but you’ll eventually reach the main entrance to the Pyramid. Make your way through the Pyramid’s interior until you reach a room full of vertical tablets with symbols on them. This is where you'll complete the Destiny 2 Preservation mission puzzle.
How to complete the Destiny 2 Preservation puzzle
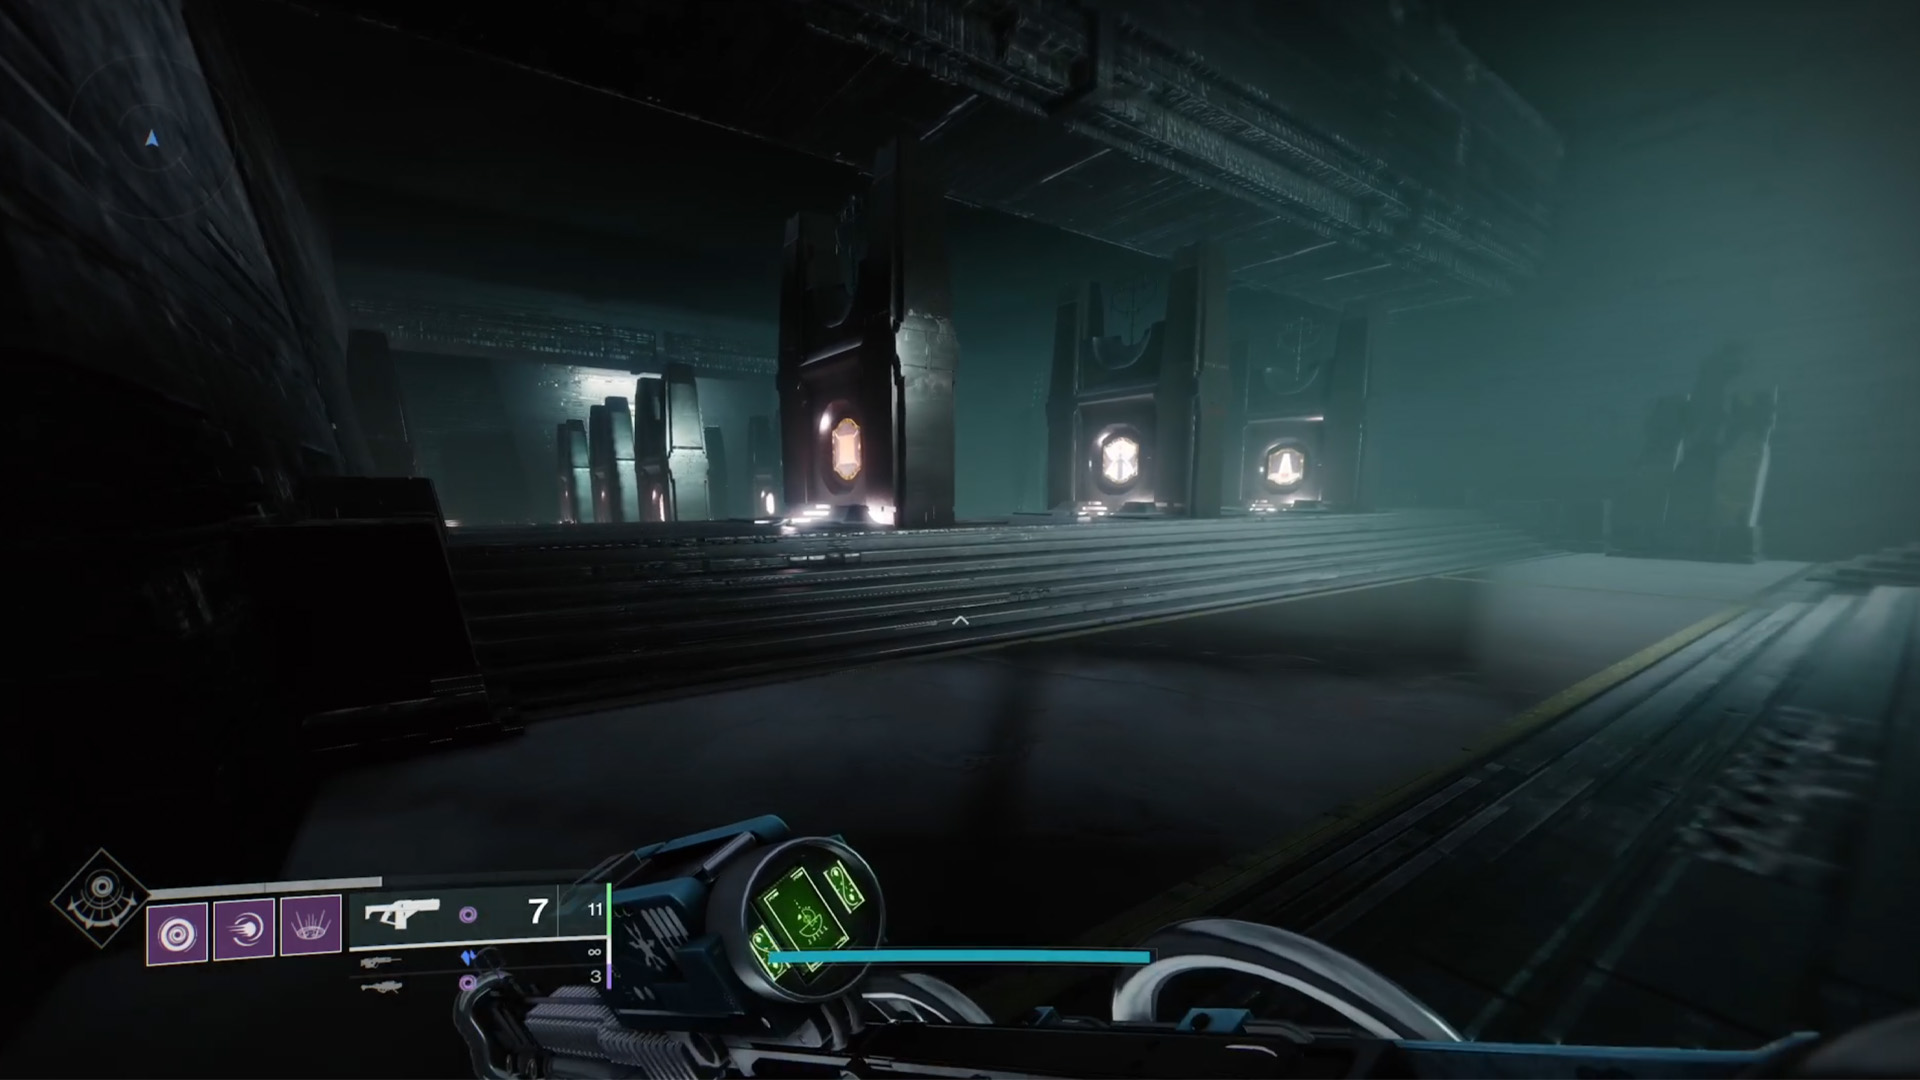
The Preservation puzzle requires you to interact with a few symbol tablets to enter a code and solve the puzzle. Remember, you cannot complete this solo, so make sure you've got two other Guardians in your fireteam who can help. This puzzle can also be solved in the Vow of the Disciple Raid where you'll have up to five other players ready to help.
Before solving the puzzle, you first need to find the symbol code. On the wall to the right of the entrance to the puzzle room, you’ll notice that there are some tall windows, all of which are blocked off by bars except for one. Jump through the clear window to get into a small room with a wall that has four columns of three symbols on it.
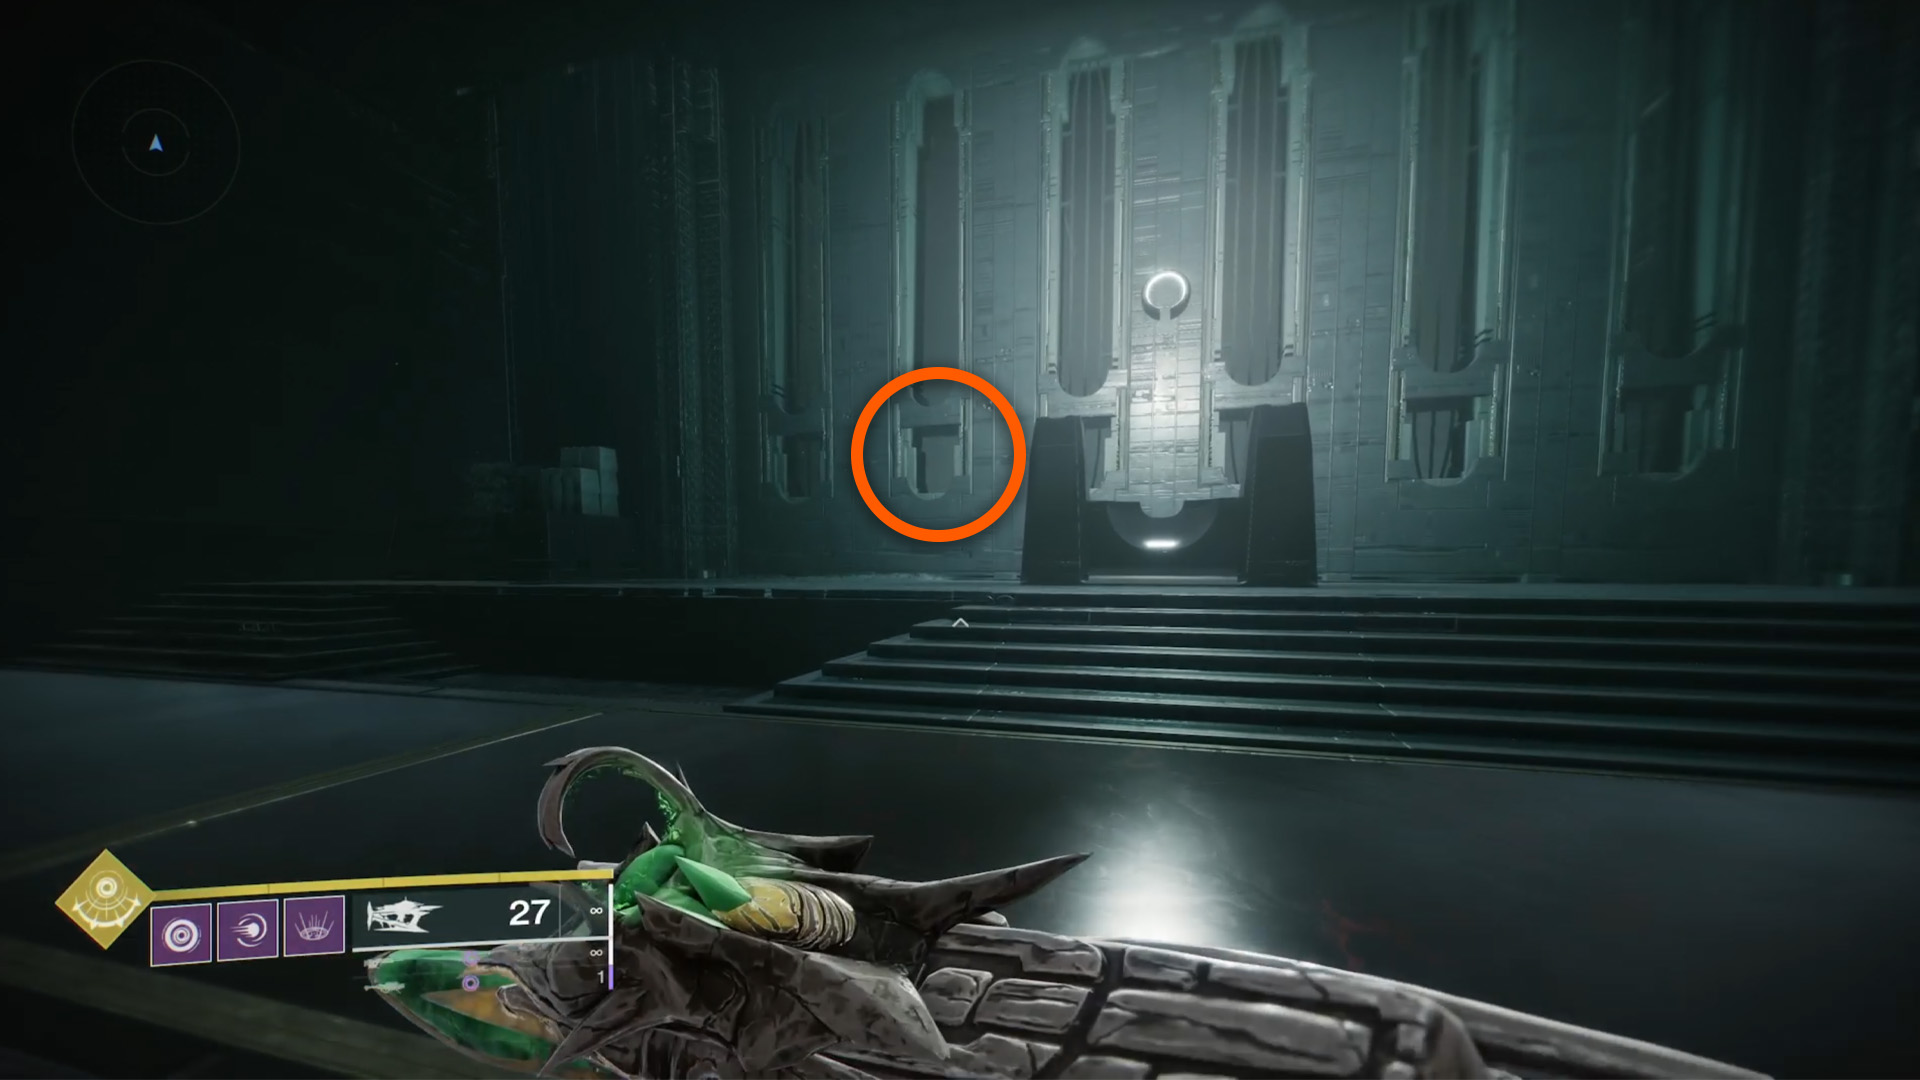
Think of each column as a command that you need to follow to correctly enter a code. The top symbol in each column is always the Guardian symbol and can be ignored. The middle symbols in each column are also always the same and tell you how you need to interact with the symbols in the main puzzle room - the Enter symbol (grey triangle with a red semi-circle below) means someone must simply stand in front of the symbol, making sure that the symbol's name appears under their motion tracker. The Commune symbol (dark triangle with green lines fanning out above it) means you must follow the ‘Activate’ button prompt in front of the symbol. Finally, Kill (white triangle stabbing a red circle) means you must shoot the symbol.
Finally, the bottom symbol in each column is always random and indicates which symbol tablet you need to interact with in the main puzzle room. Here’s an example of what each column, from left to right, might look like:
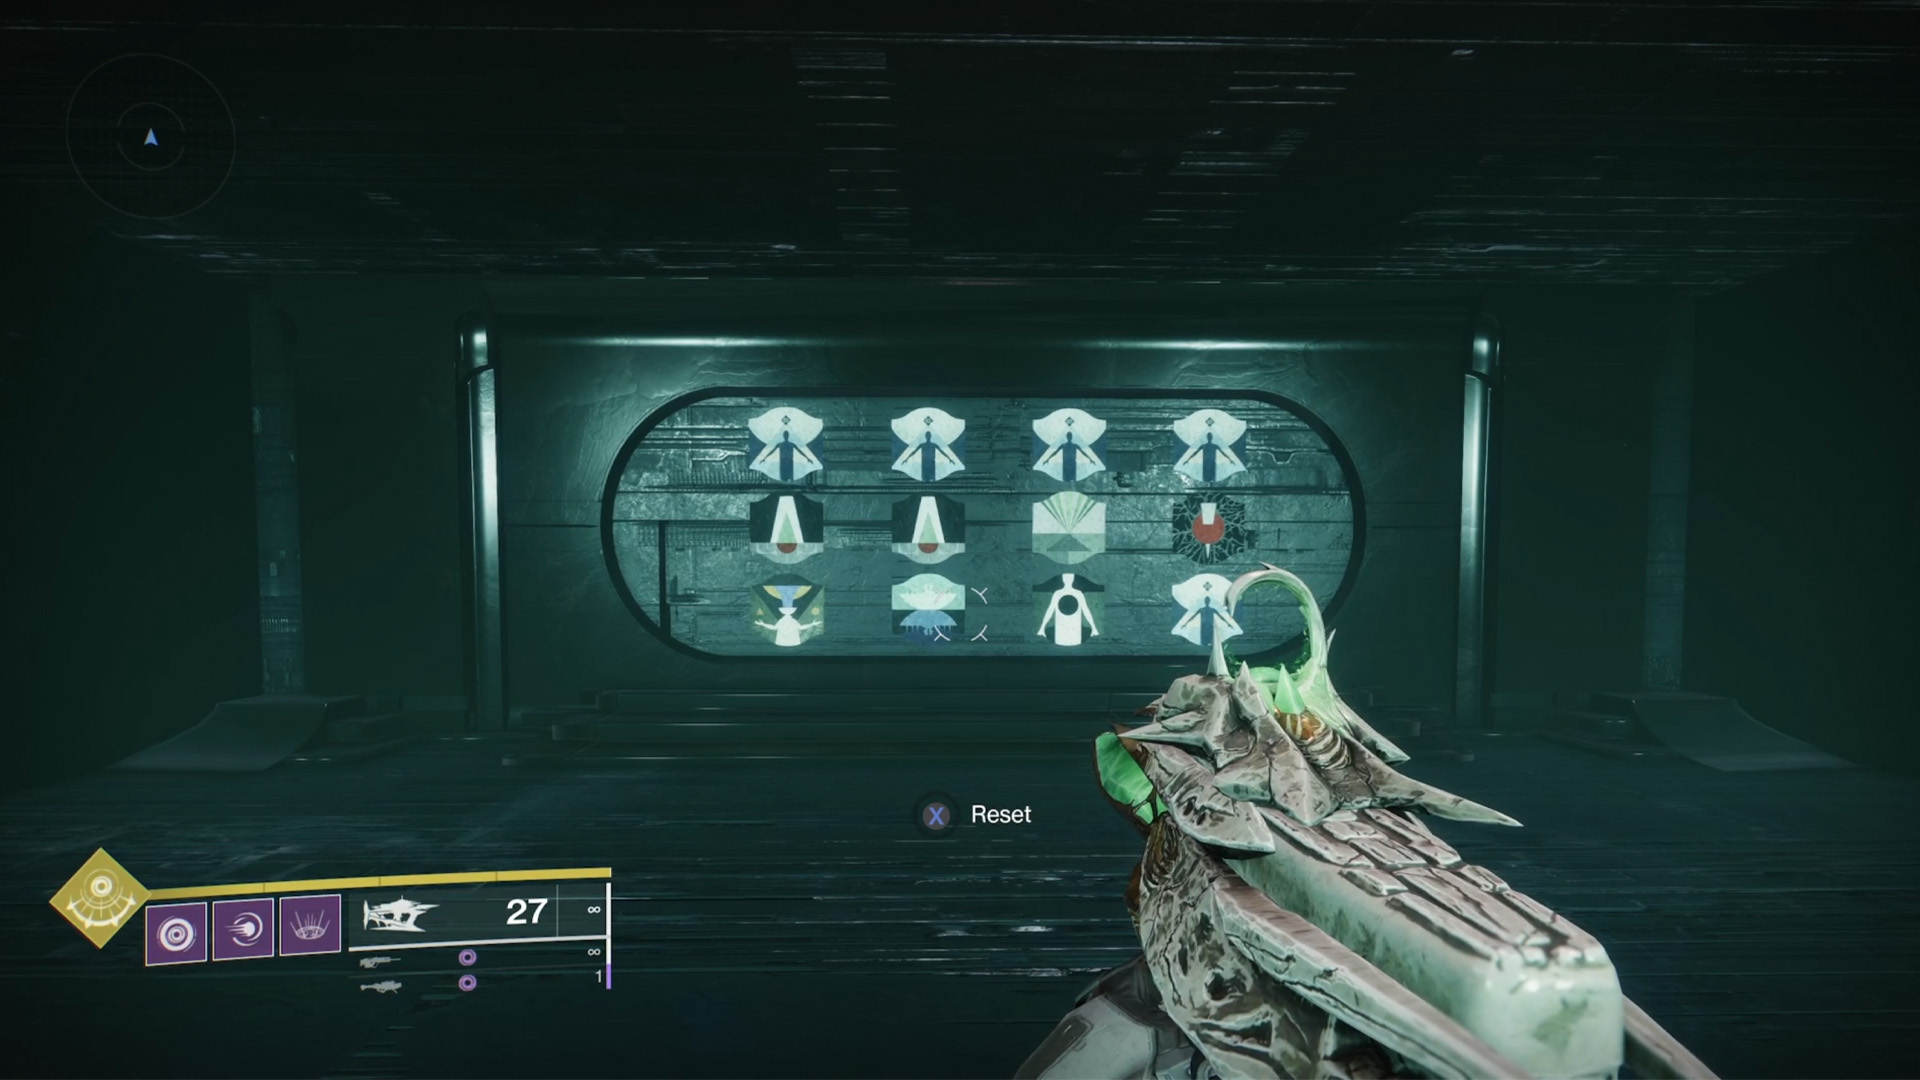
- Column 1: Guardian, Enter, Drink = stand in front of the Drink symbol.
- Column 2: Guardian, Enter, Ascendant Plane = stand in front of the Ascendant Plane symbol.
- Column 3: Guardian, Commune, Grieve = follow the ‘Activate’ button prompt on the Grieve symbol.
- Column 4: Guardian, Kill, Guardian = shoot the Guardian symbol.
With that example code in mind, here’s what you’d need to do to complete the puzzle:
- Player 1 stands directly in front of the Drink symbol, such that ‘Drink’ appears under their motion tracker.
- Player 2 stands directly in front of the Ascendant Plane symbol that the name appears under their motion tracker.
- Once Players 1 and 2 are in position, Player 3 then stands in front of the Grieve symbol tablet and activates the symbol using the button prompt.
- The player that can most easily see the Guardian symbol tablet should then shoot the symbol as quickly as possible to activate it and complete the code. Bear in mind that Players 1 and 2 cannot move from their symbol tablets but Player 3 can move if they need to. If you are completing this puzzle in the Vow of the Disciple Raid, you can just have a fourth player ready to shoot the final symbol instead.
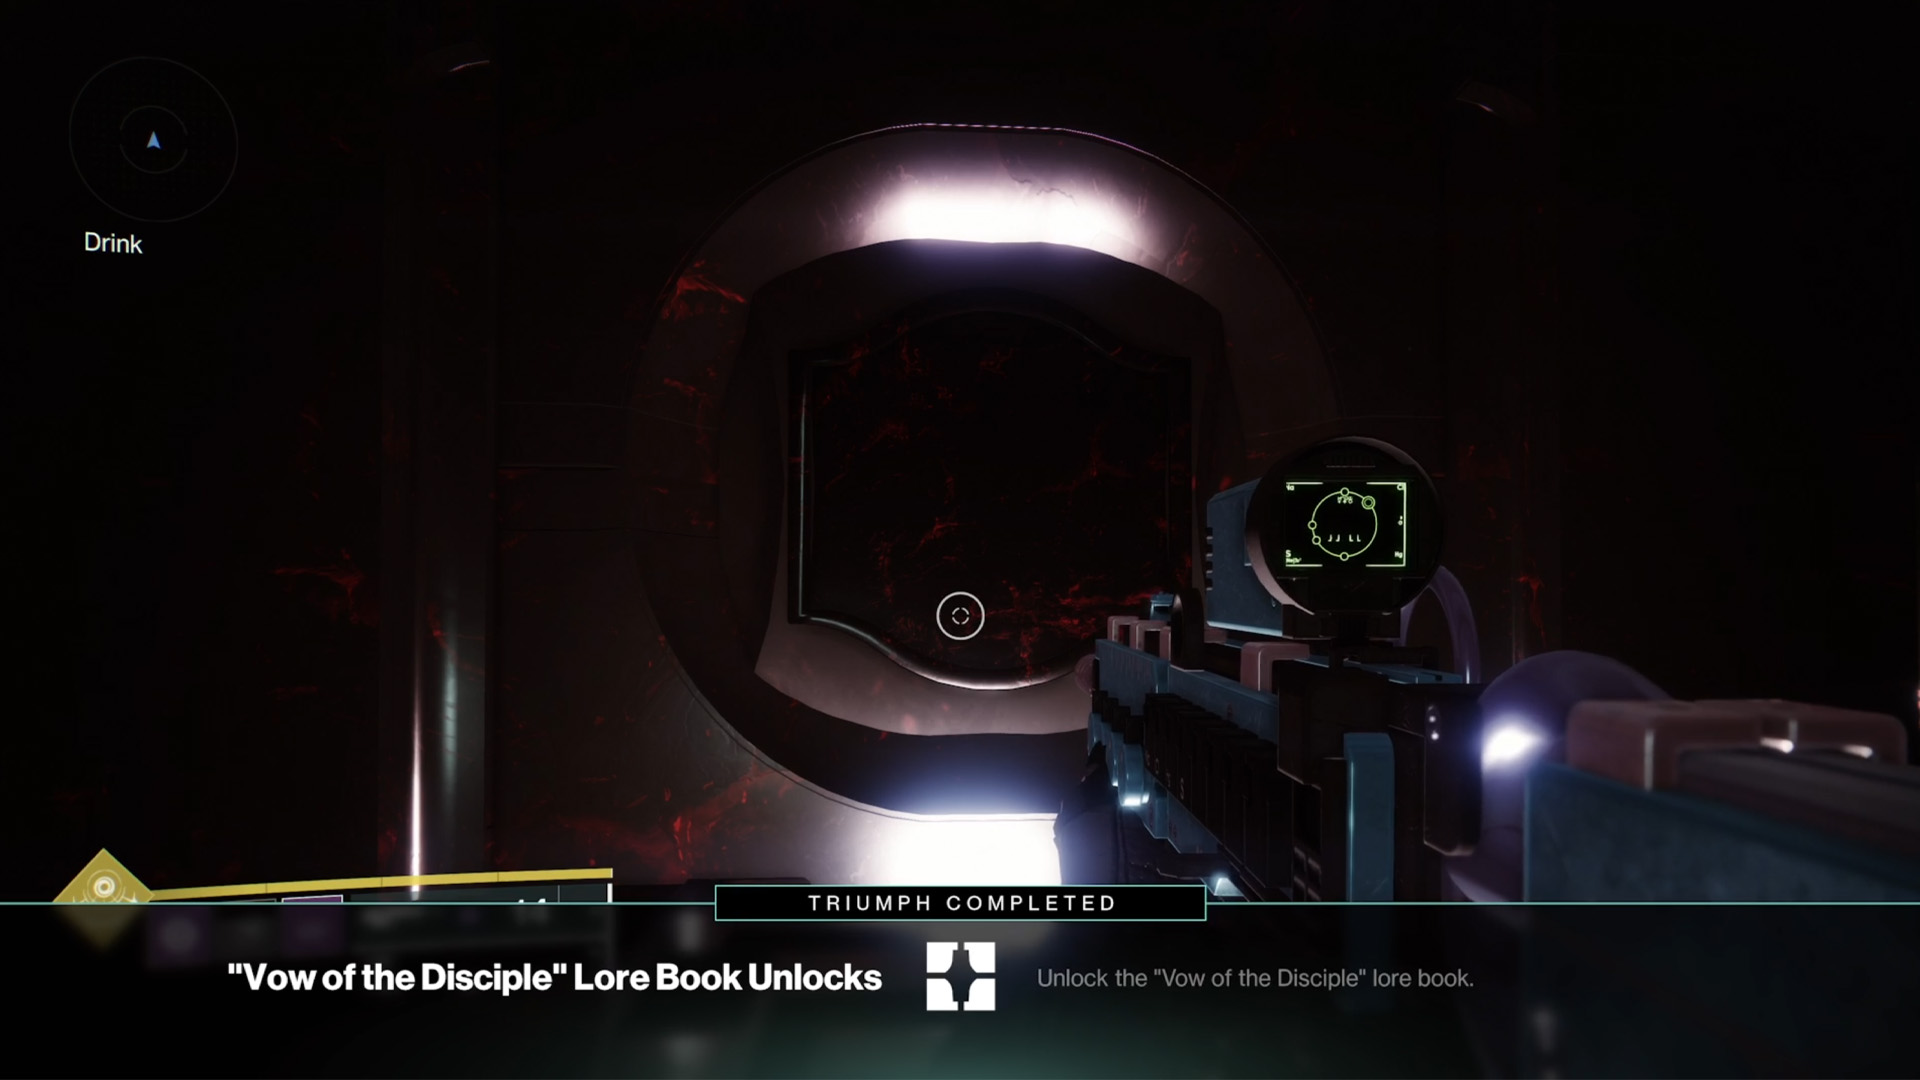
If you quickly and correctly followed your code, you’ll get a lore entry, and all the symbol tablets will go blank. If nothing happens, it’s likely that you entered the code incorrectly. You can reset the puzzle by going back into the secret room through the window and standing in front of the code to get a button prompt that allows you to reset the symbol tablets and try again. If you’ve already completed Preservation for the week, you can return to orbit after solving the puzzle and restart the mission to complete the puzzle again if you need to for the Imperious Sun Exotic Ghost Shell.
Preservation Acquisition walkthrough
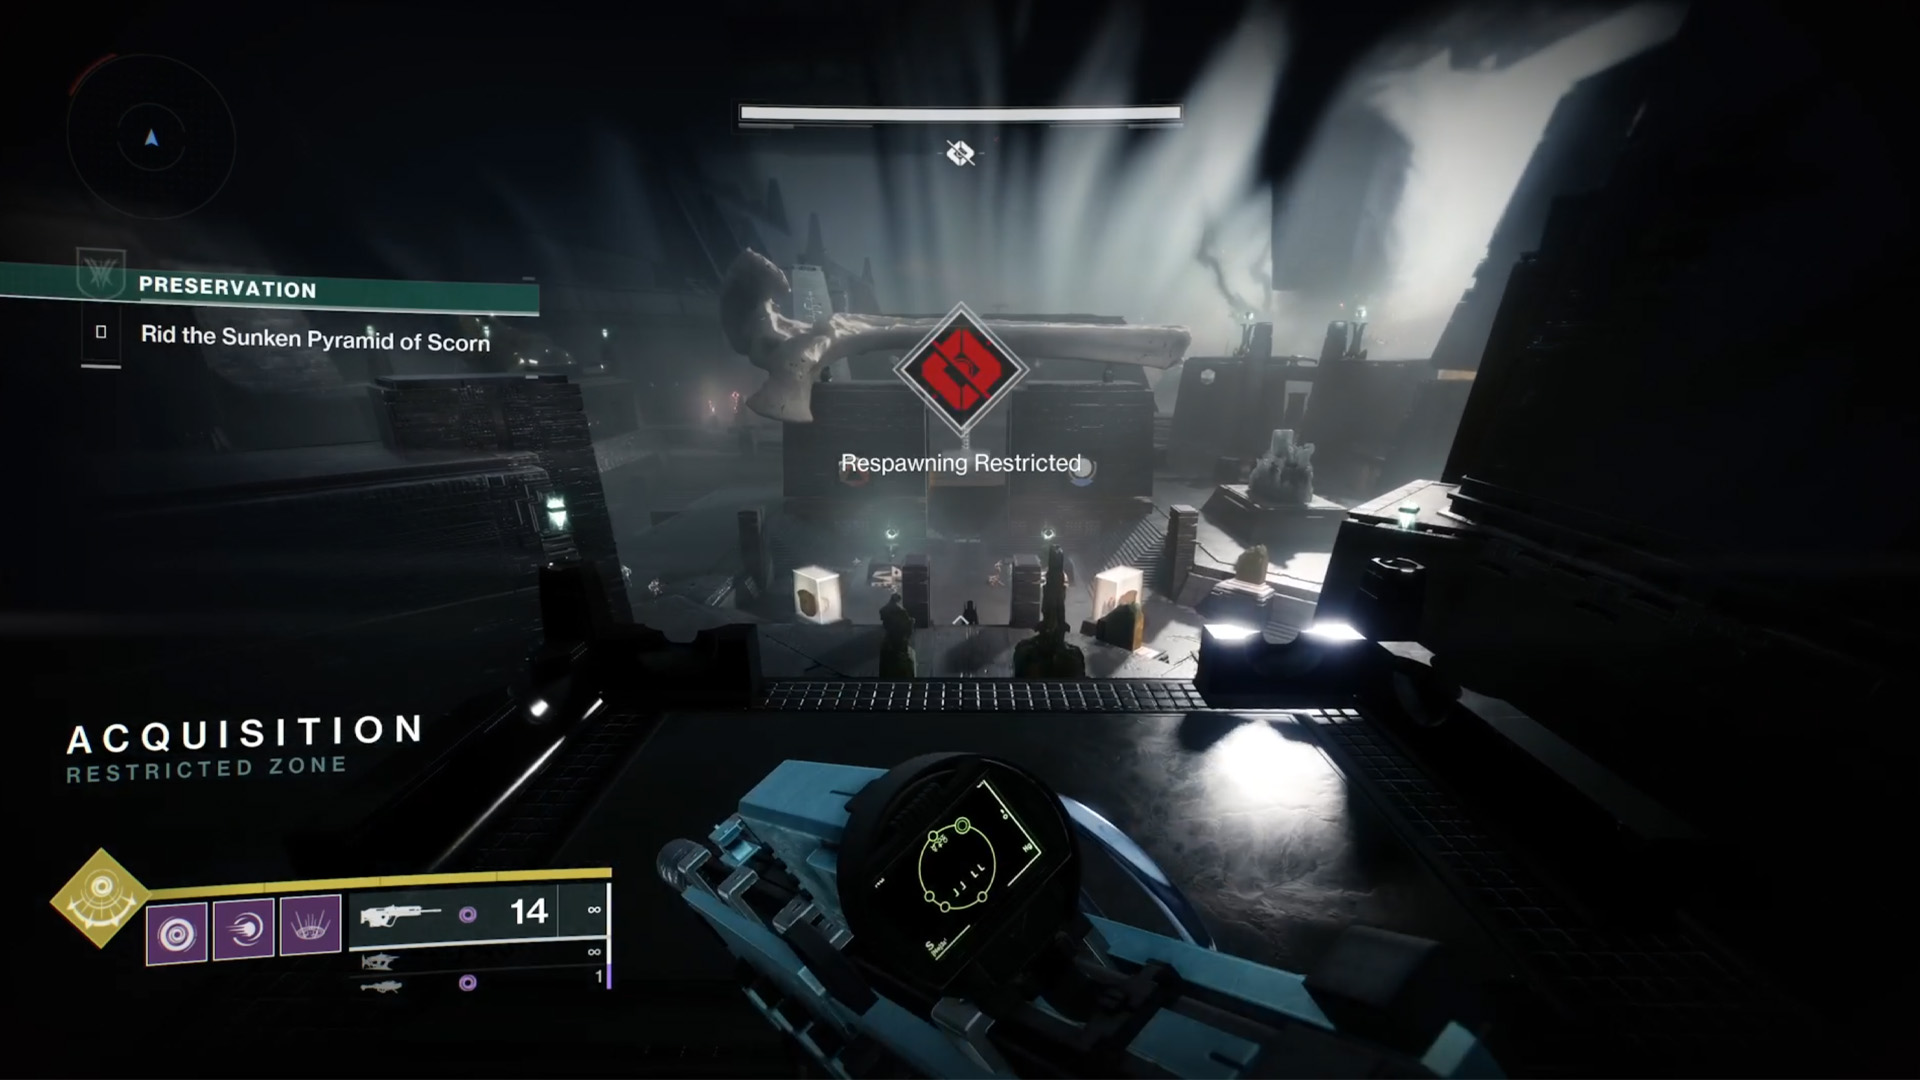
After leaving the puzzle room and walking through some corridors, you’ll arrive in a massive area with lots of doors with symbols above them and some Scorn enemies dotted around. To clear this section, all you need to do is defeat the Scorn but prioritize the Chieftain inside the room with the Gift symbol (red hands and a black triangle) above its door and the Abomination in the room with the Stop symbol (a red square) above its door.
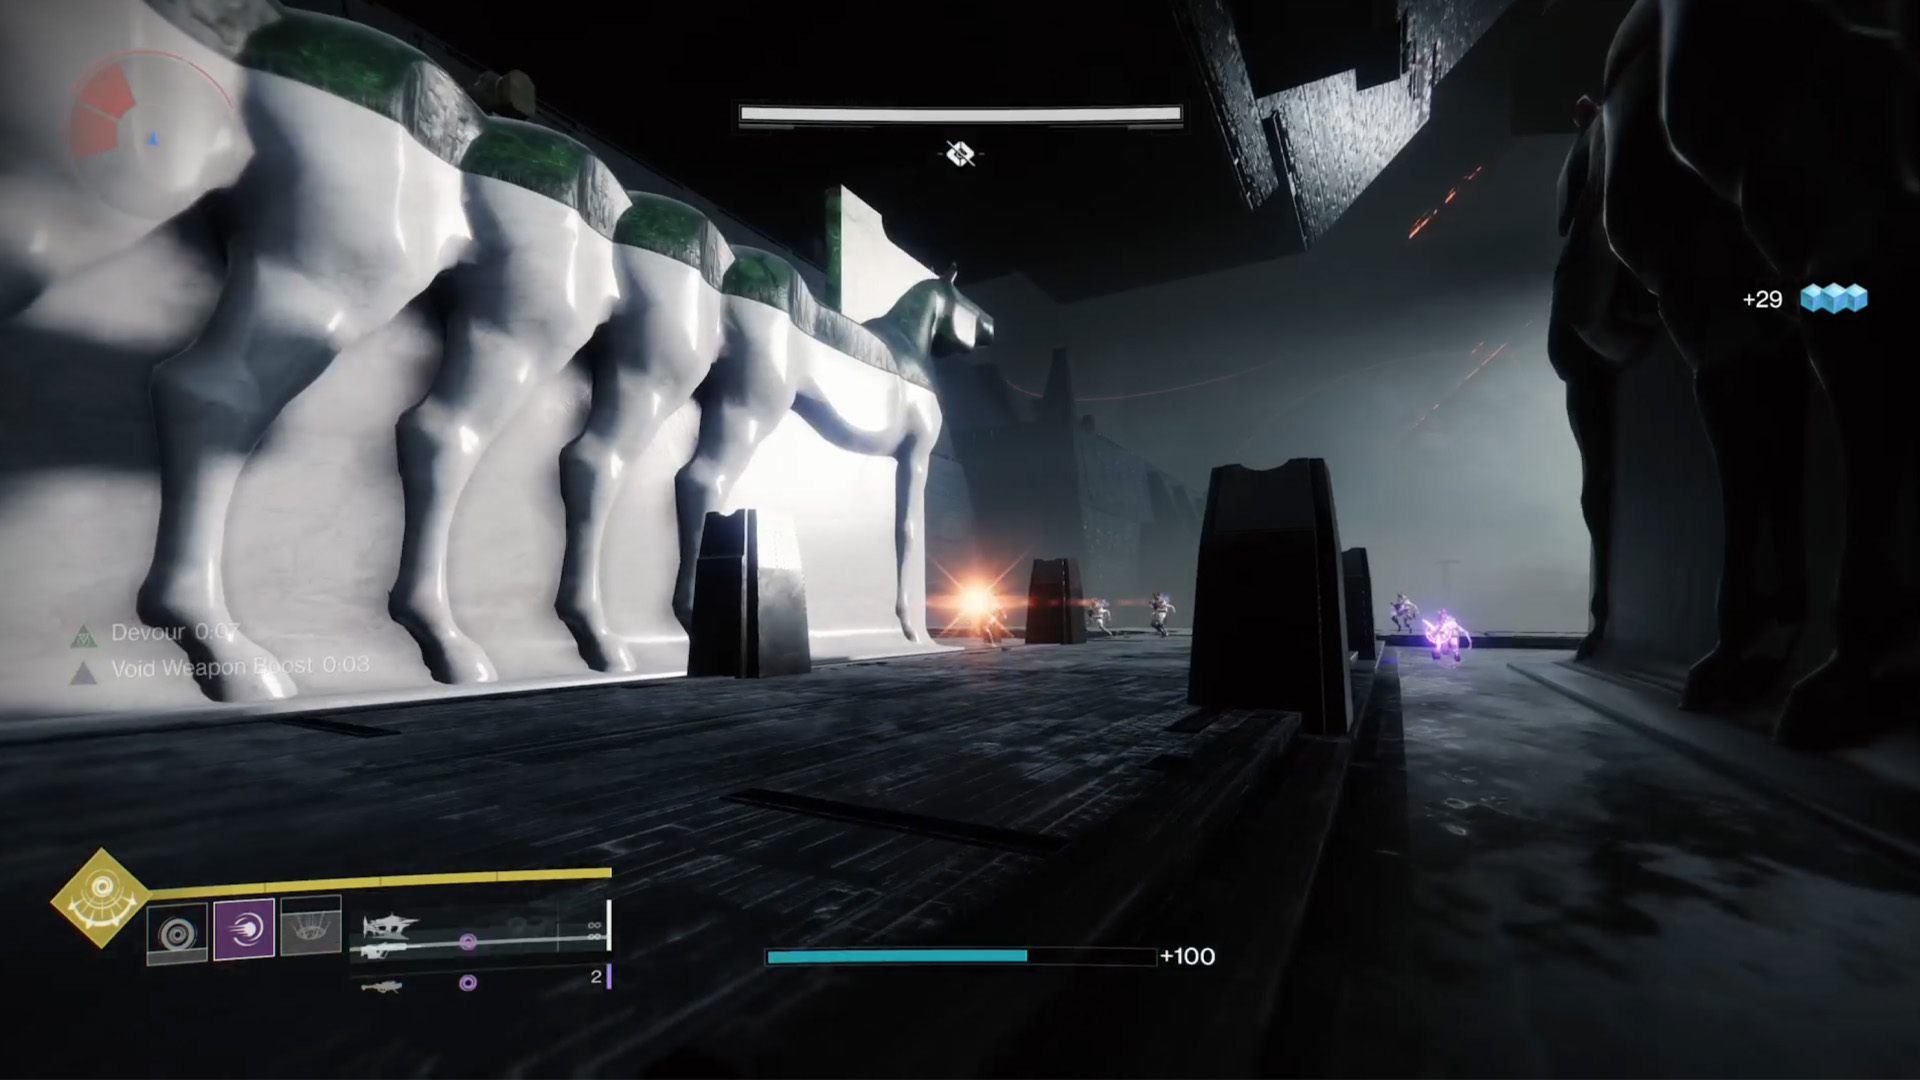
Head left as you leave the Stop room, and you’ll spot the Remember (multi-colored brain, also referred to as Knowledge) and Drink symbols (white figure having water poured into their bowl-head) on the wall with a doorway between them. Head through and you’ll emerge into a room with two large statues of horses with many, many butts. At the far end of this room, there are three large Fanatic’s Chosen Scorn enemies that need to be defeated to end the mission.
Destiny 2 Preservation secret lore entry locations
Once those Fanatic’s Chosen foes are dead, the Destiny 2 Preservation mission will end, but you’ll be left with a 25-minute timer to freely explore Acquisition for secrets. There are five lore entries that you can pick up that will contribute to the ‘“Vow of the Disciple” Lore Book Unlocks’ Triumph, which will help you get the Imperious Sun Exotic Ghost Shell. Here’s where you can find each of the secret lore entries at the end of the mission:
- Lore entry 1: At the very edge of the platform where the three Fanatic’s Chosen enemies were.
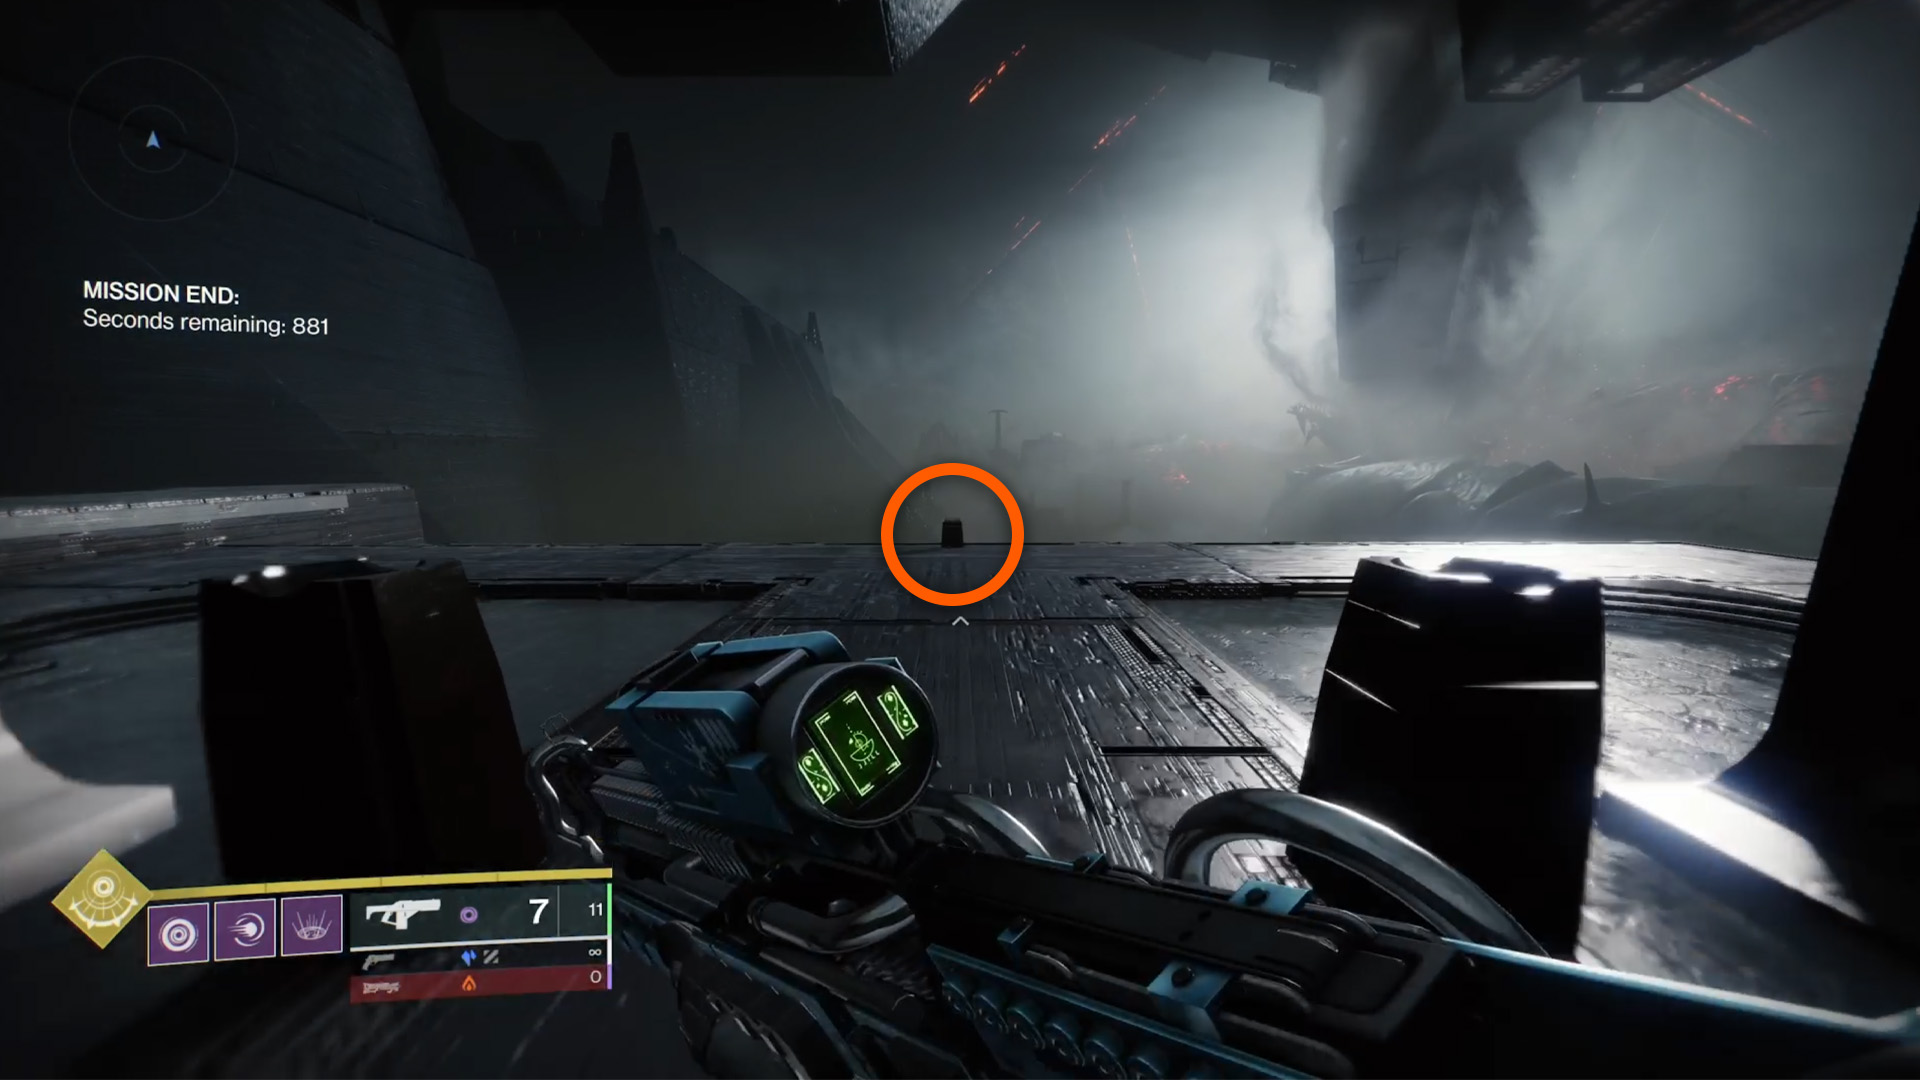
- Lore entry 2: Towards the back-right corner of the Stop room.
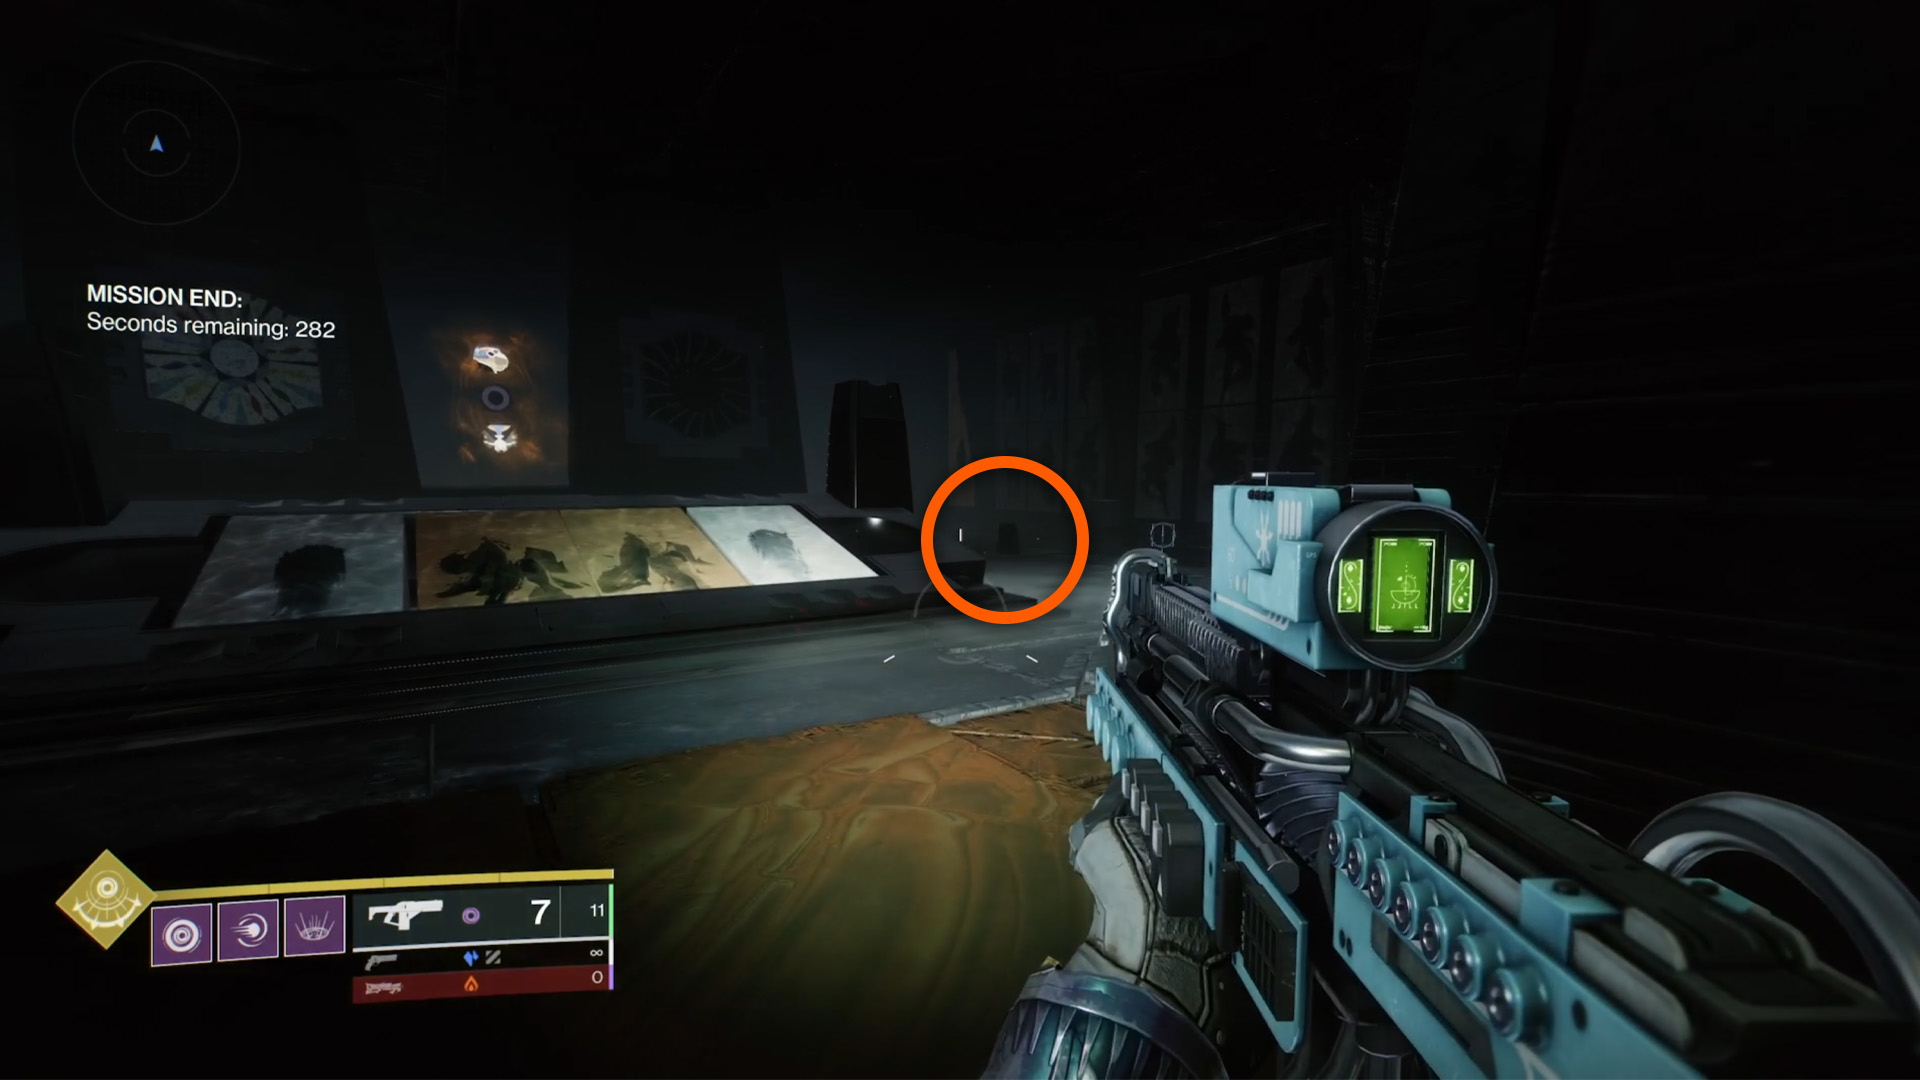
- Lore Entry 3: Just in front of the mural in the Gift room.
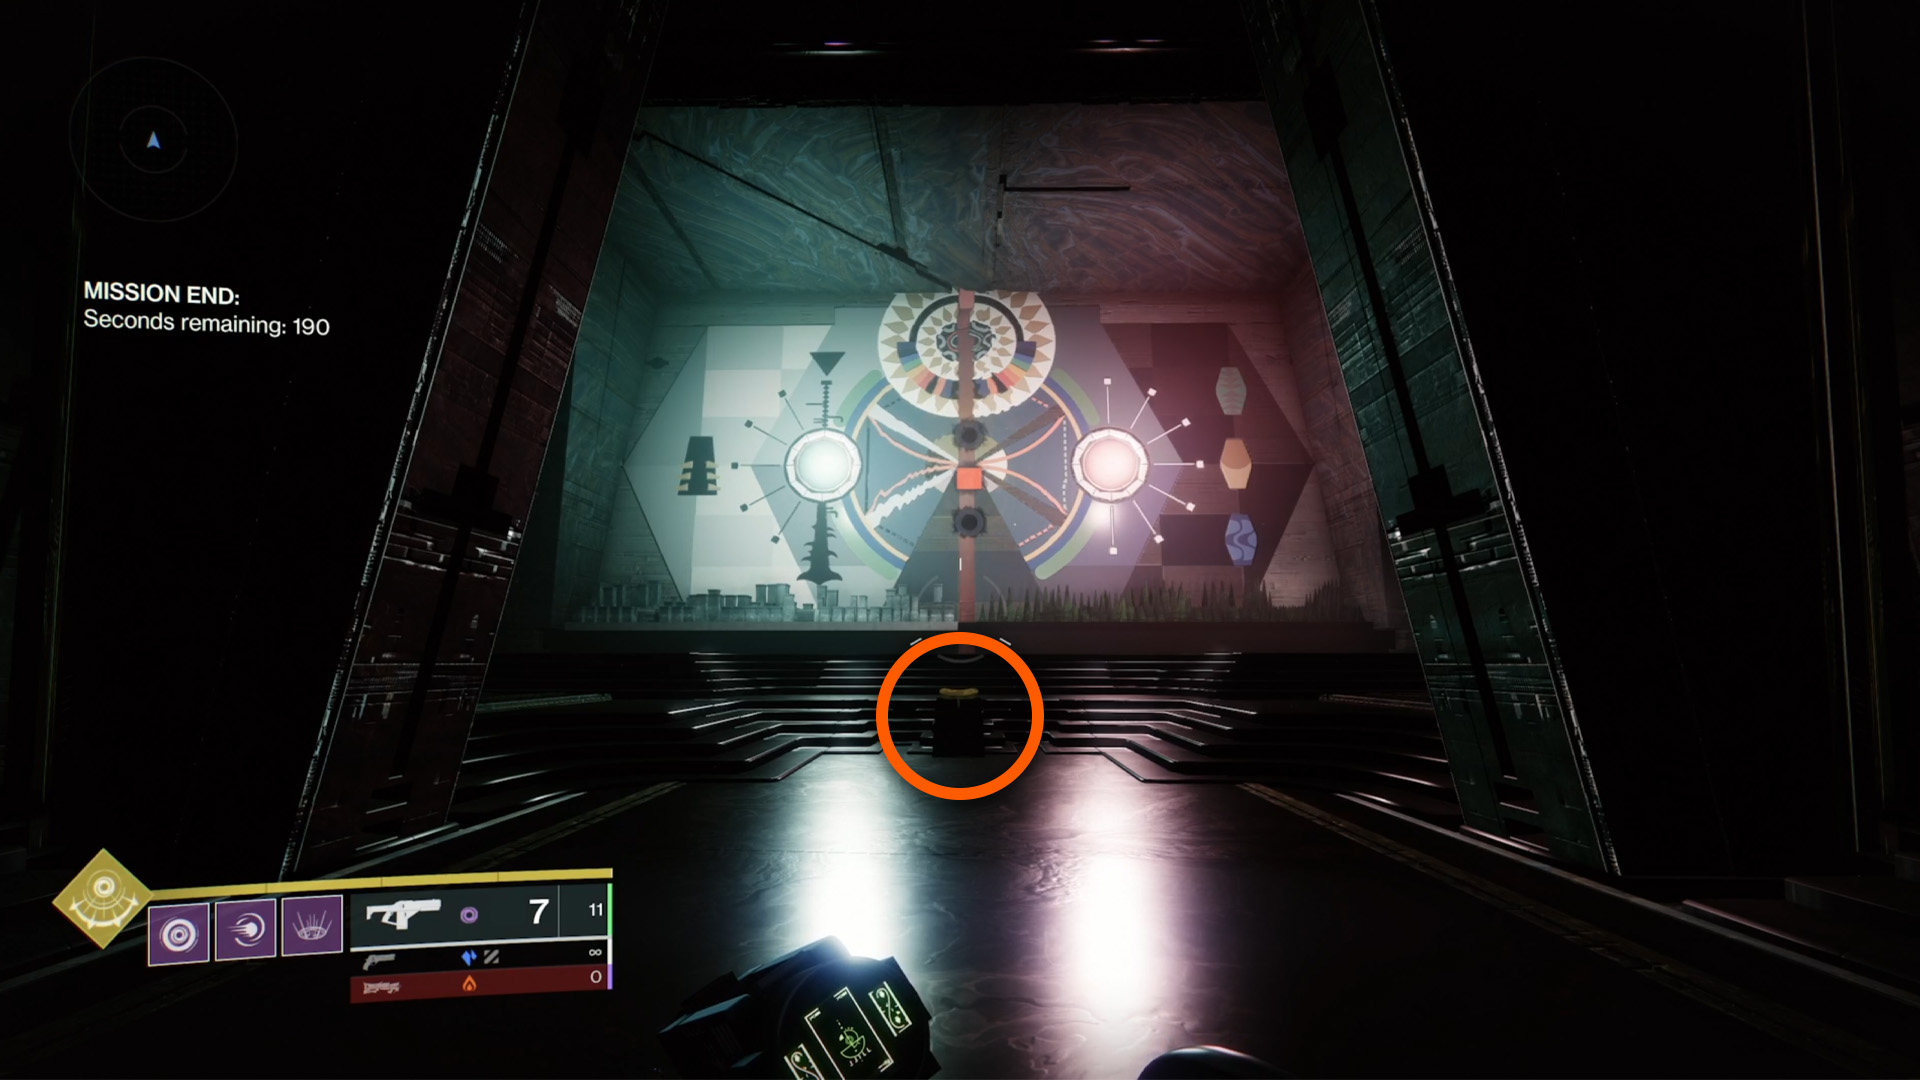
- Lore Entry 4: On top of the little hut just below the entrance door of the main Acquisition room.
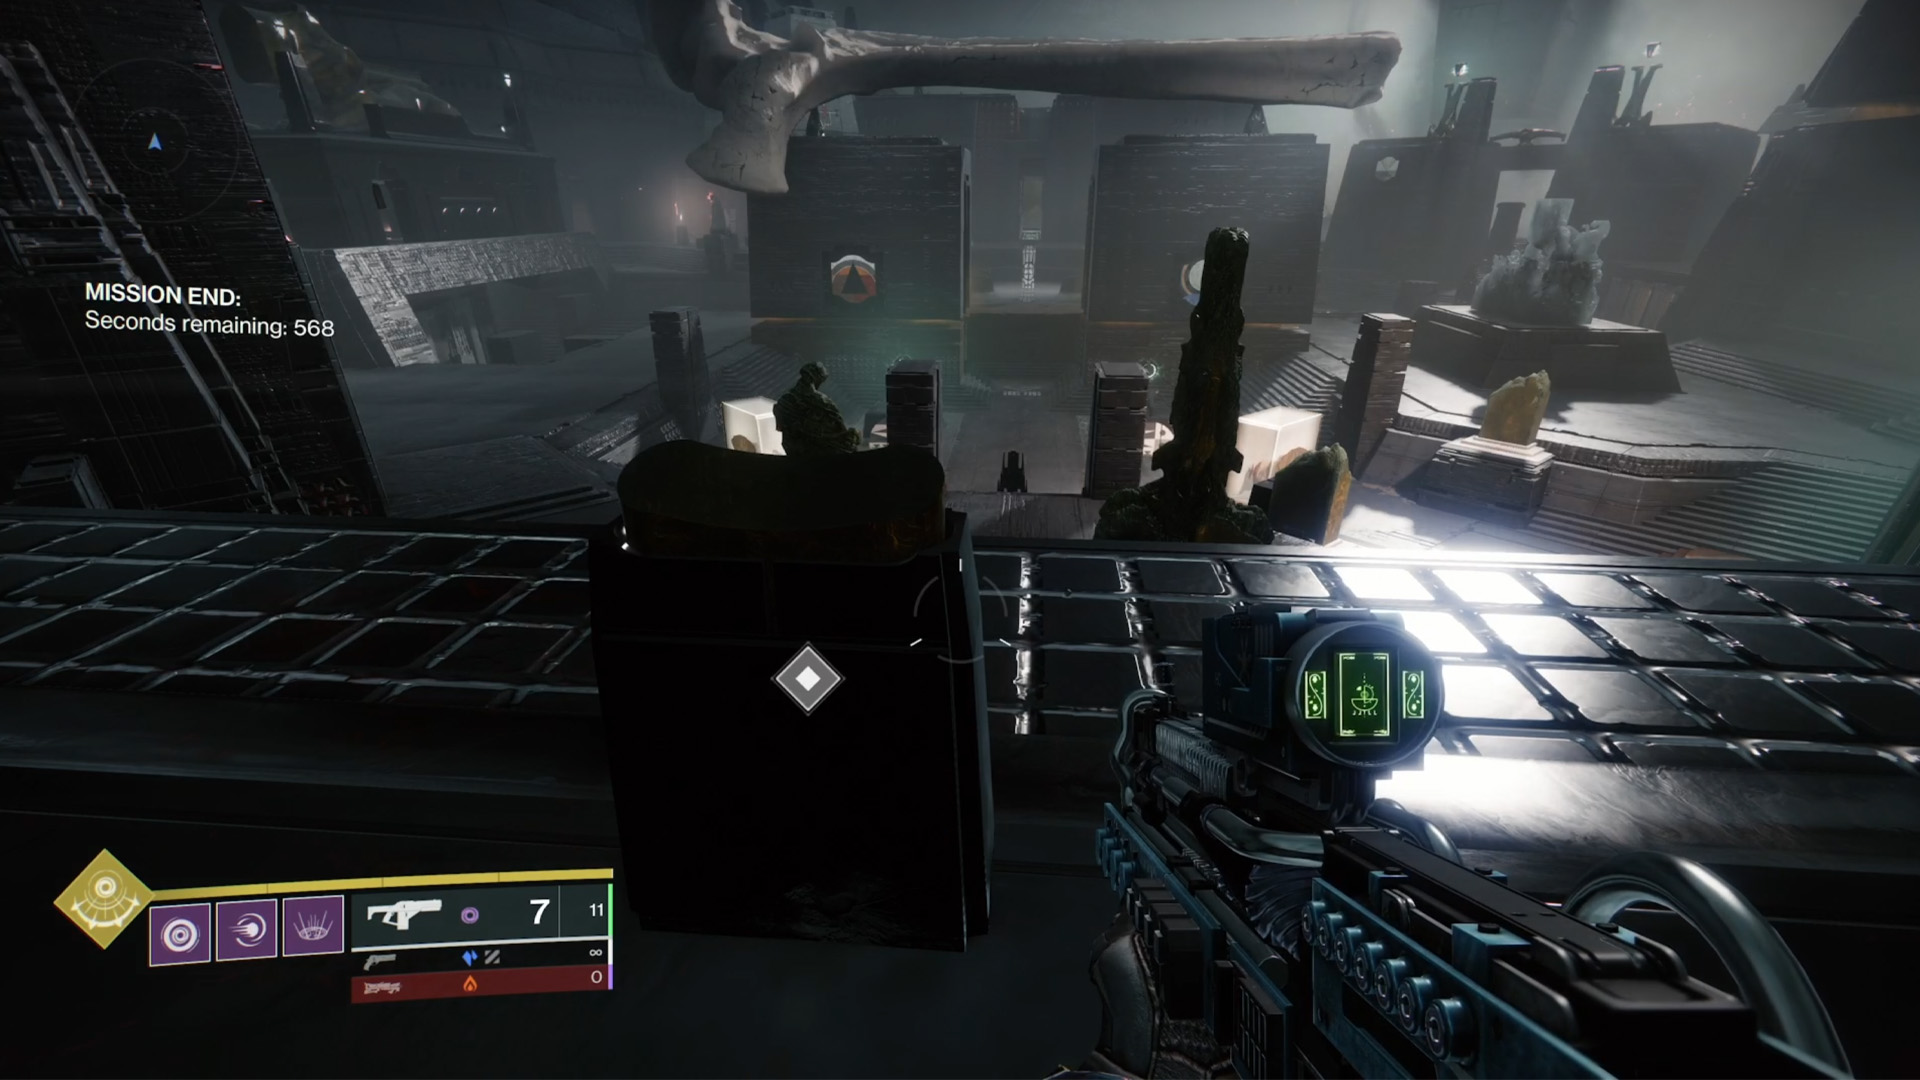
- Lore Entry 5: At the edge of a platform on the right of the main Acquisition room that overlooks the massive dead worm.
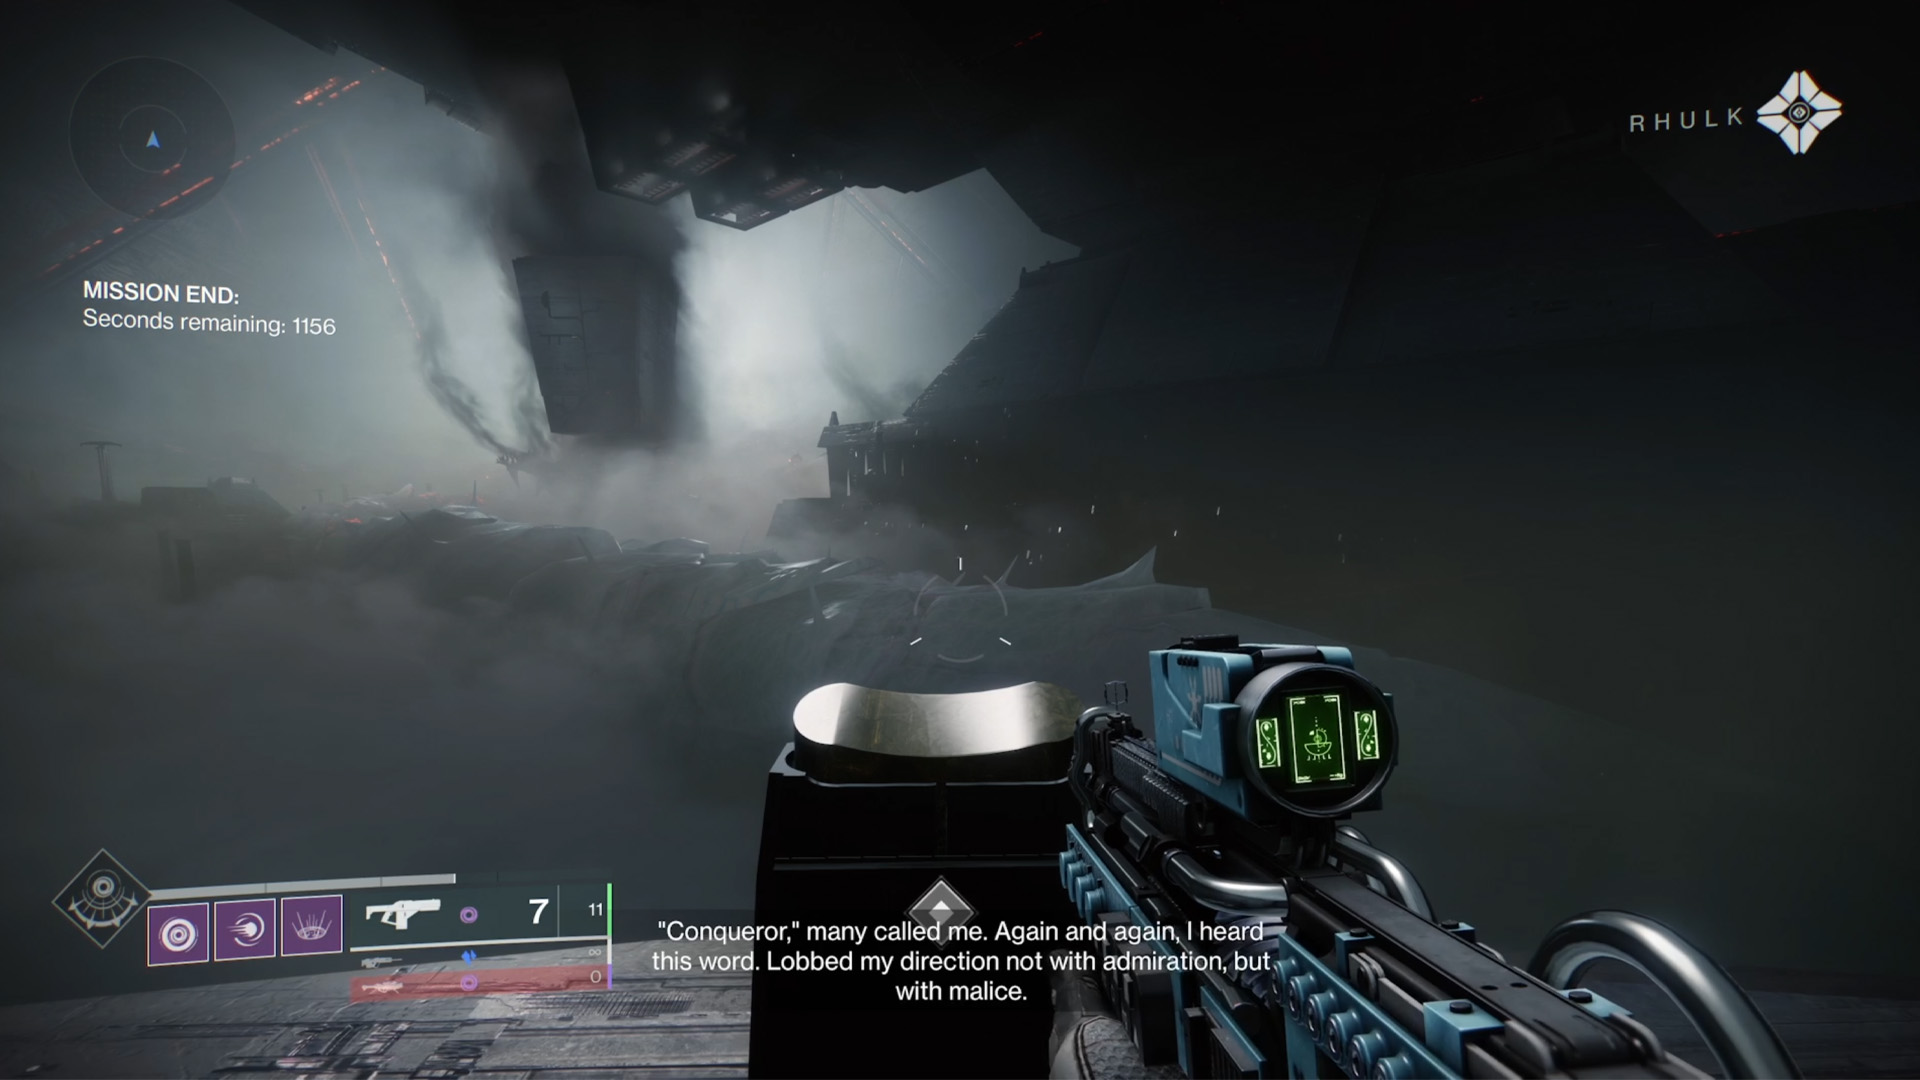
Remember that you also have to solve the earlier symbol puzzle five times to fully complete the triumph and get this Ghost Shell!
If you're after another mystery to solve, make sure you try out the Destiny 2 Cryptic Quatrains quests as part of Season of Plunder.
Sign up to the GamesRadar+ Newsletter
Weekly digests, tales from the communities you love, and more
Will Sawyer is a guides writer at GamesRadar+ who works with the rest of the guides team to give readers great information and advice on the best items, how to complete a particular challenge, or where to go in some of the biggest video games. Will joined the GameRadar+ team in August 2021 and has written about service titles, including Fortnite, Destiny 2, and Warzone, as well as some of the biggest releases like Halo Infinite, Elden Ring, and God of War Ragnarok.
