Destiny 2 - European Dead Zone Scannable Objects Locations
There are a total of 41 scannable objects in the European Dead Zone.
Jump to section:
- The Farm
- Sojourners Camp
- Outskirts
- Trostland
- Salt Mines
- Maevic Square
- The Sludge
- Winding Cove
- The Gulch
- The Tunnels
- Firebase Hades
- Sunken Isles
- Legion's Anchor
- Echion Hold
The Farm
Scannable Objects: 4
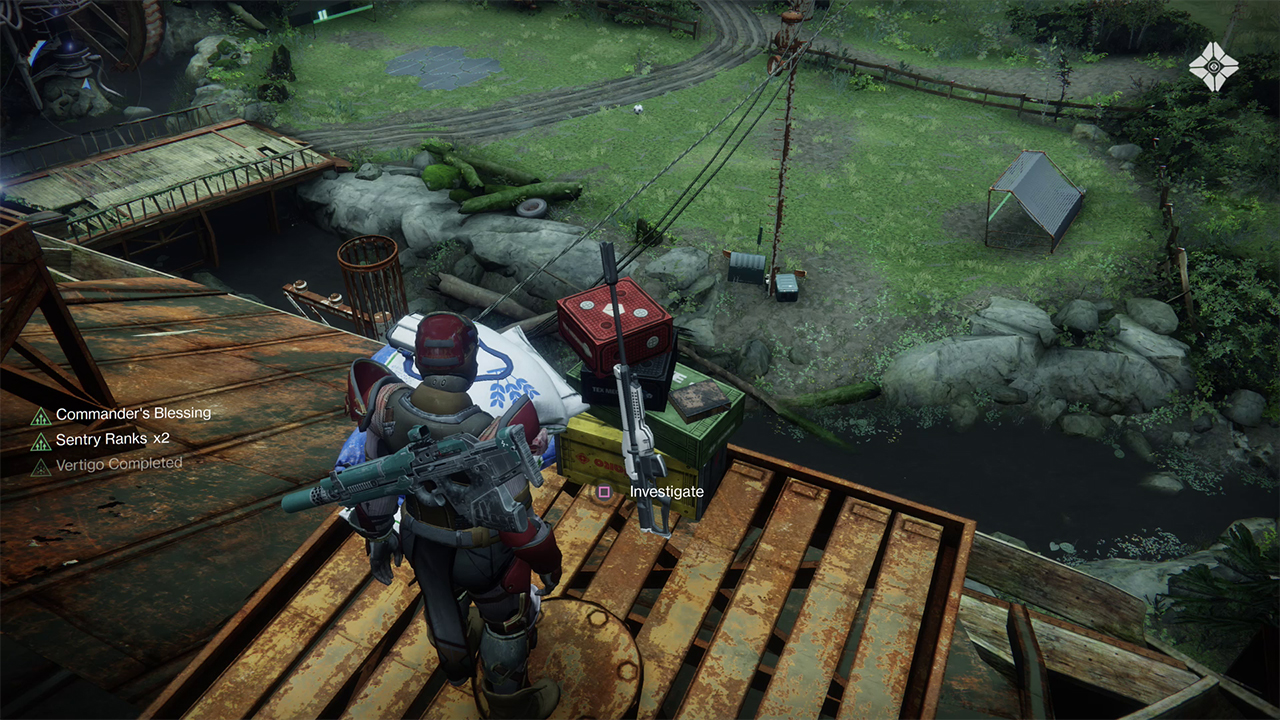
1) You can find this one on top of the roof of the barn. Climb to the top of the farmhouse (the building beside the postmaster) and jump to the wires running over to the barn. Cross the wires and head to the left side of the roof. Examine the area with the sniper rifle to collect this scannable.
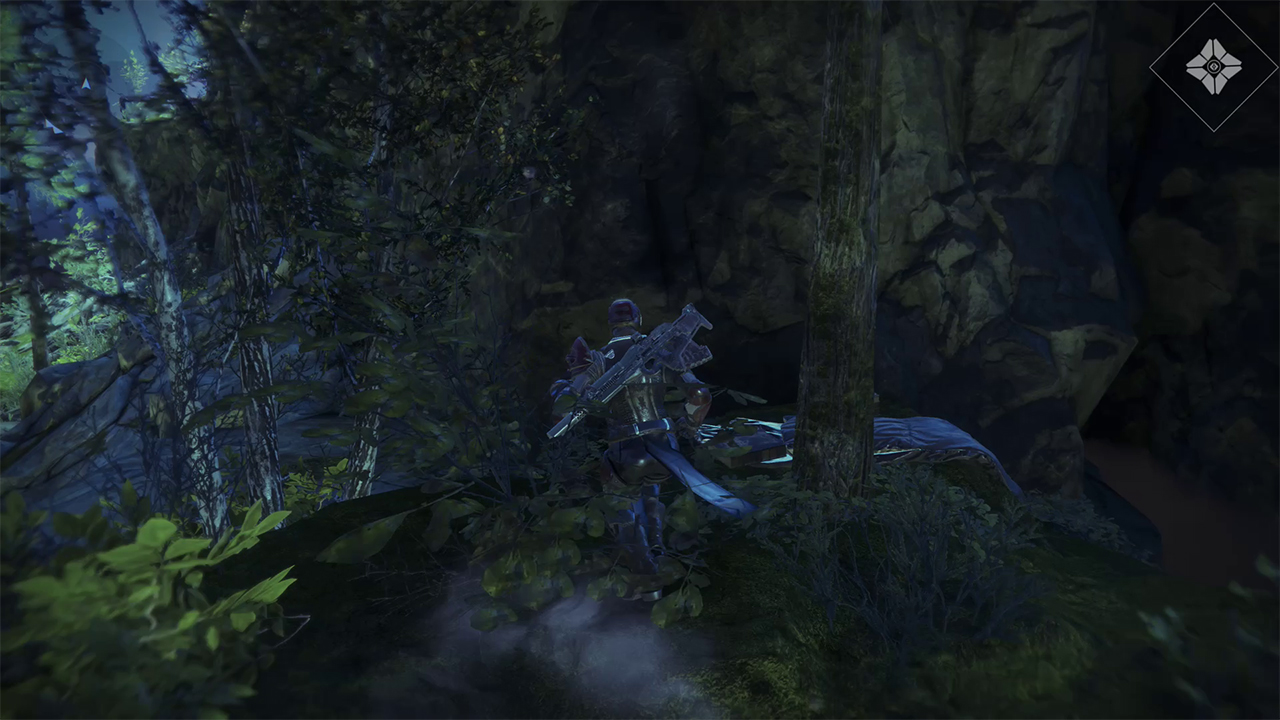
2) Behind the Evergreen Trading Co. tent you'll see a stream. Jump across it and proceed left up the embankment. At the top, cross over the small pool of water and look for a sleeping bag to scan.
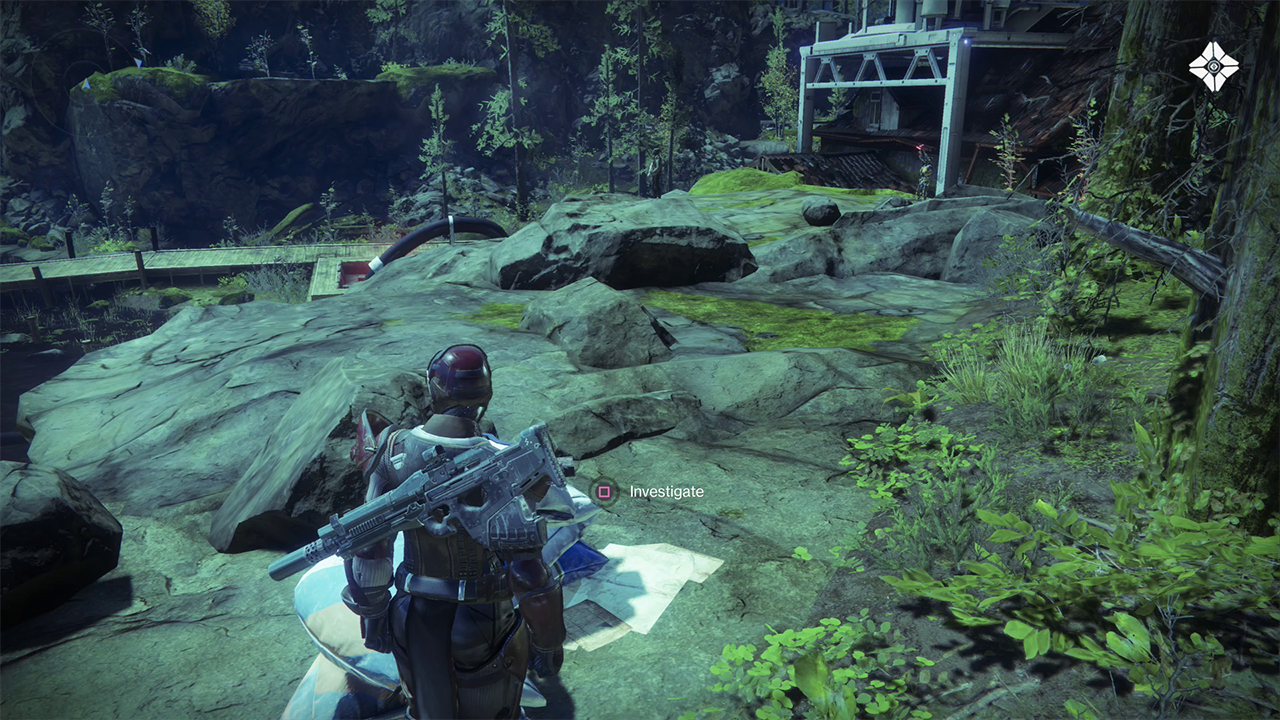
3) Facing the dock, go to your left and up the ridge. You'll see a bunch of seed bags in this area that mark this object.
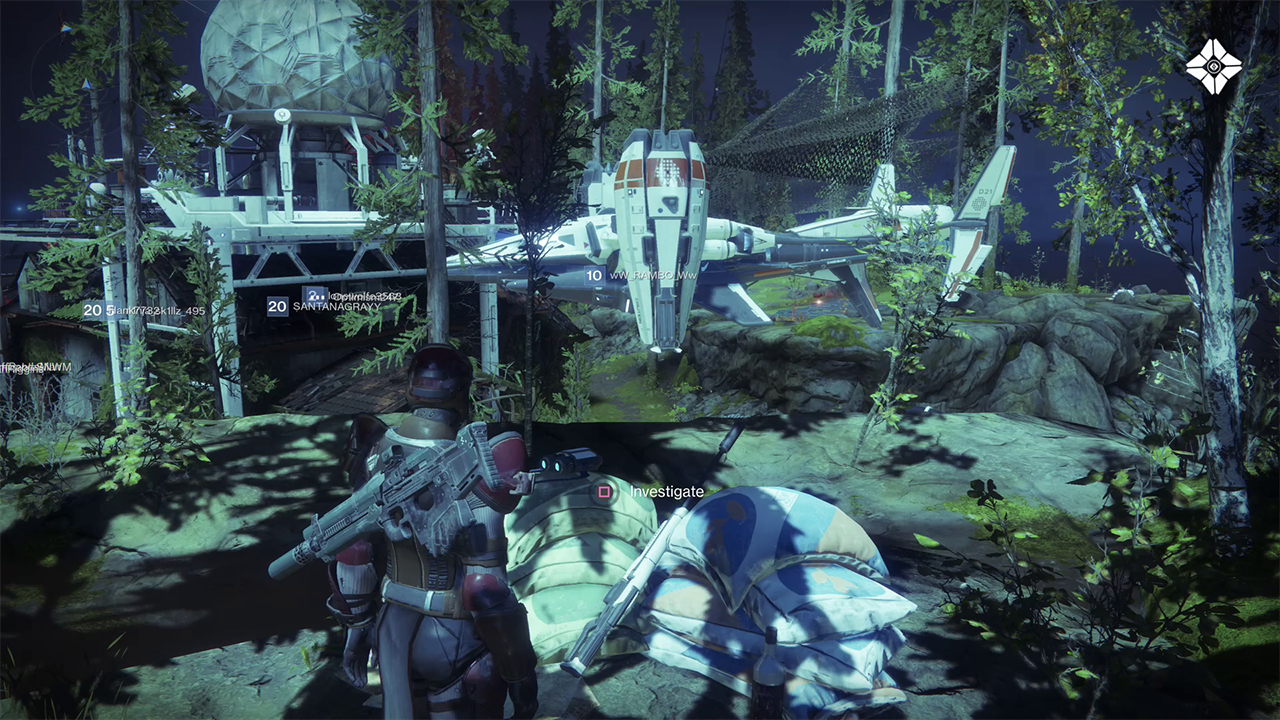
4) Facing the dock once more, head to the right. You'll see a ledge with no apparent way to get to the top. Inspect a little closer and you'll see a small bit of rock jutting out. Jump and grab this rock and climb up it, then jump and grab the top of the ledge. Inspect the bags with the rifle resting on them to claim this scannable.
Weekly digests, tales from the communities you love, and more
Sojourners Camp
Scannable Objects: 3
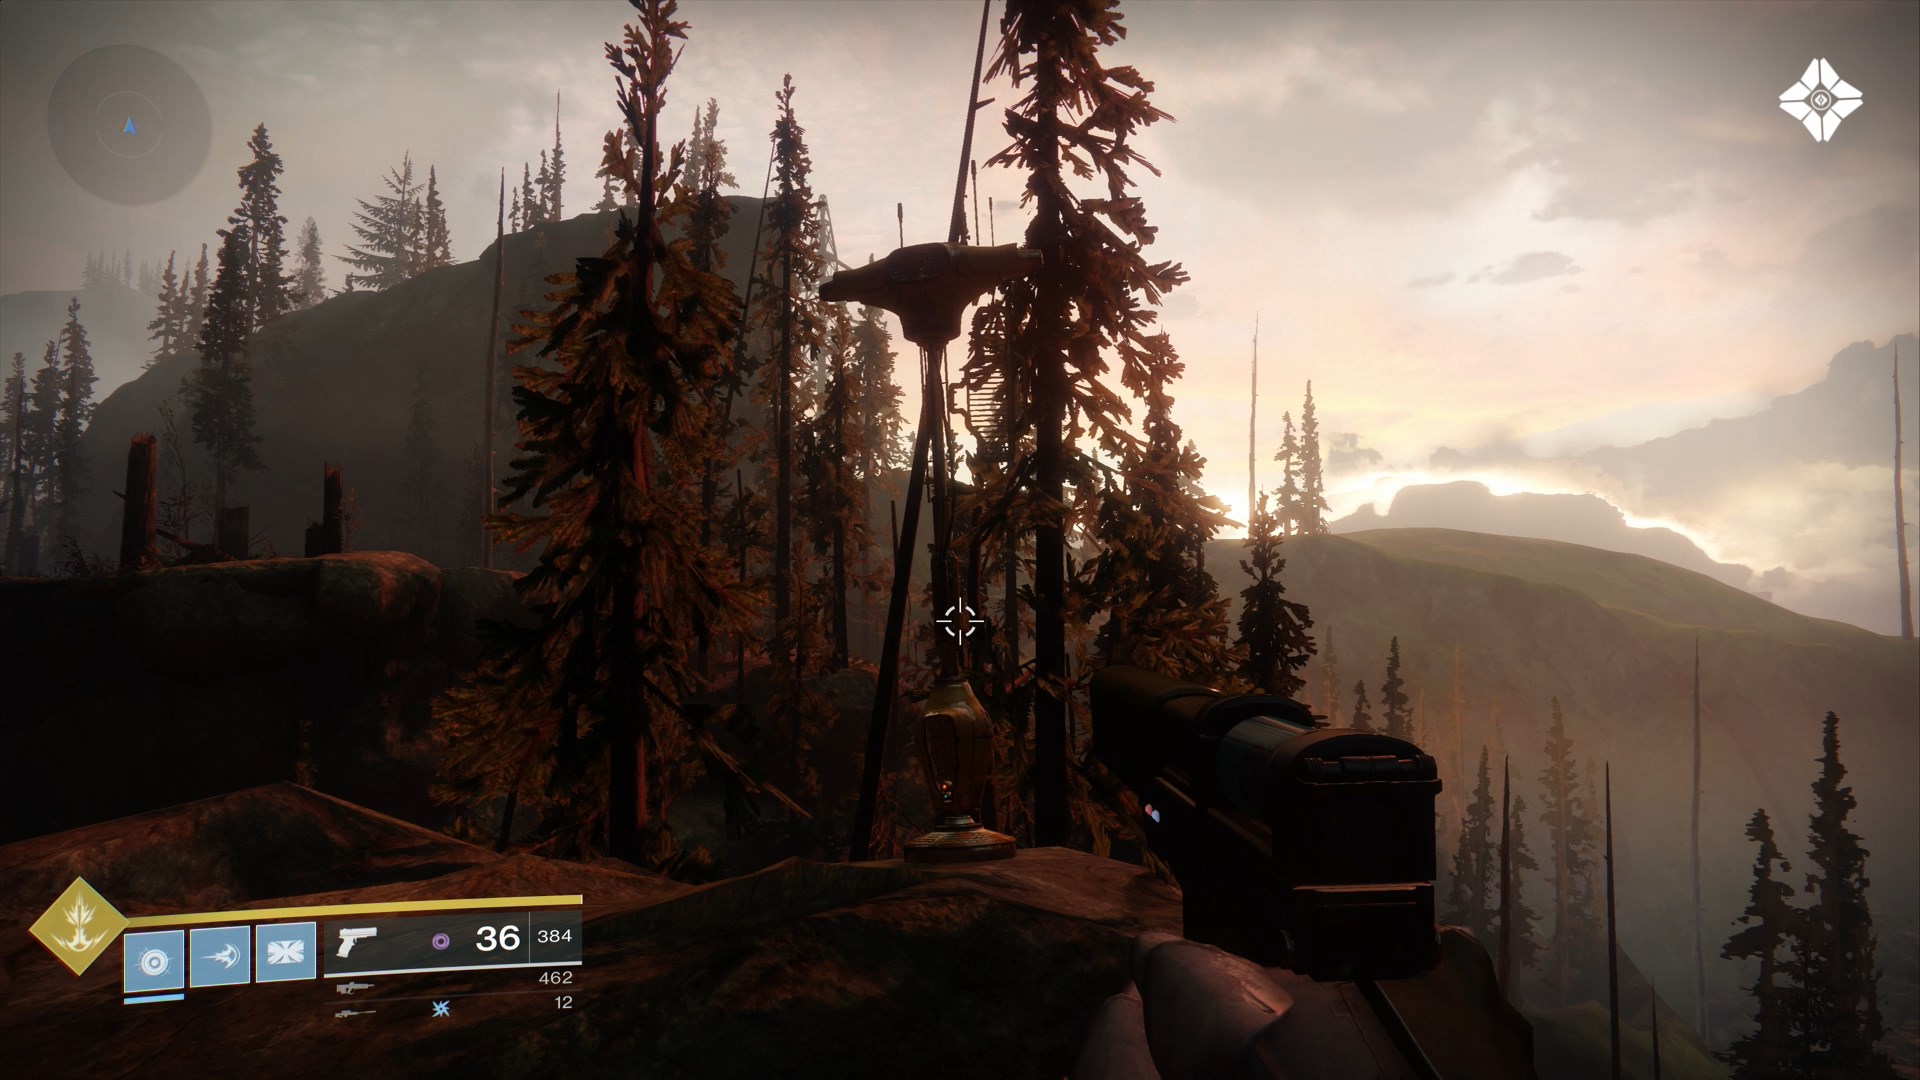
1) In the eastern portion of the area, you'll find a golden lamppost-looking object you can scan.
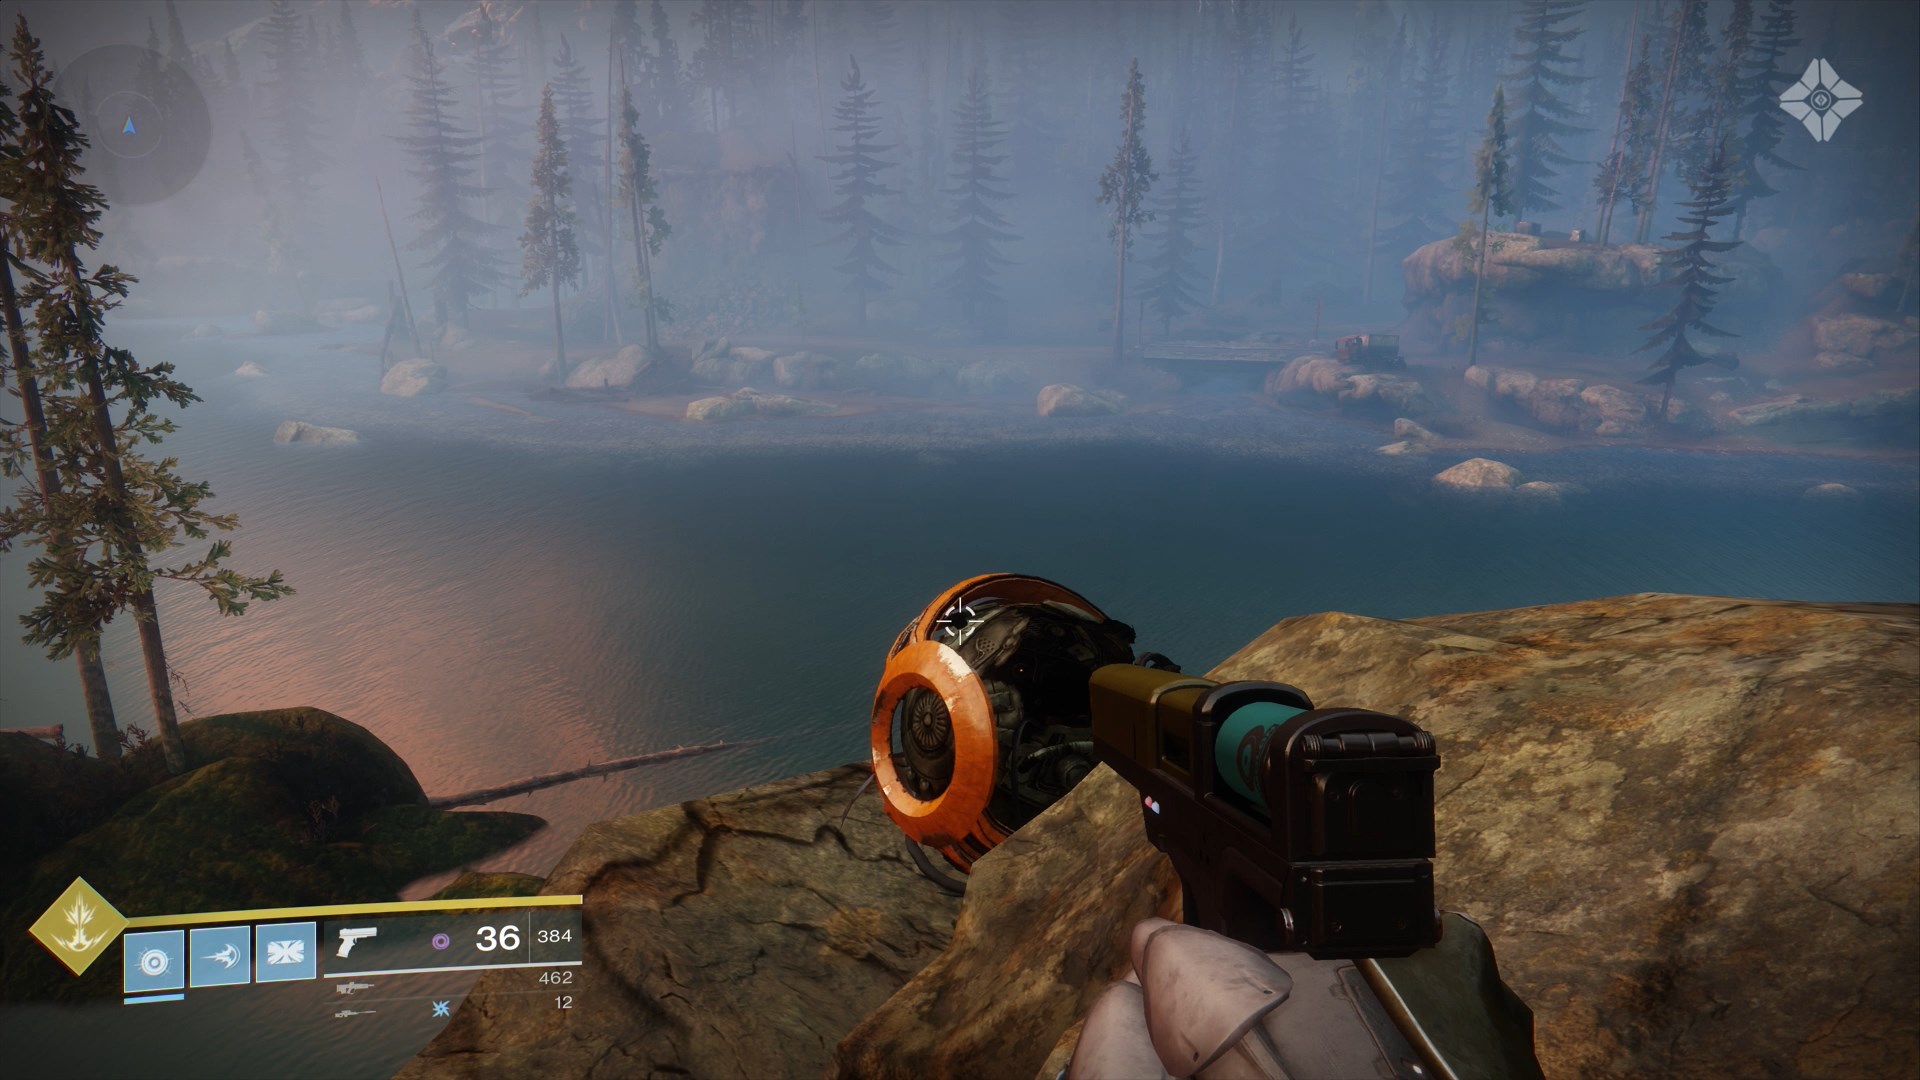
2) Just north of the first scannable you'll find a broken spherical object you can scan.
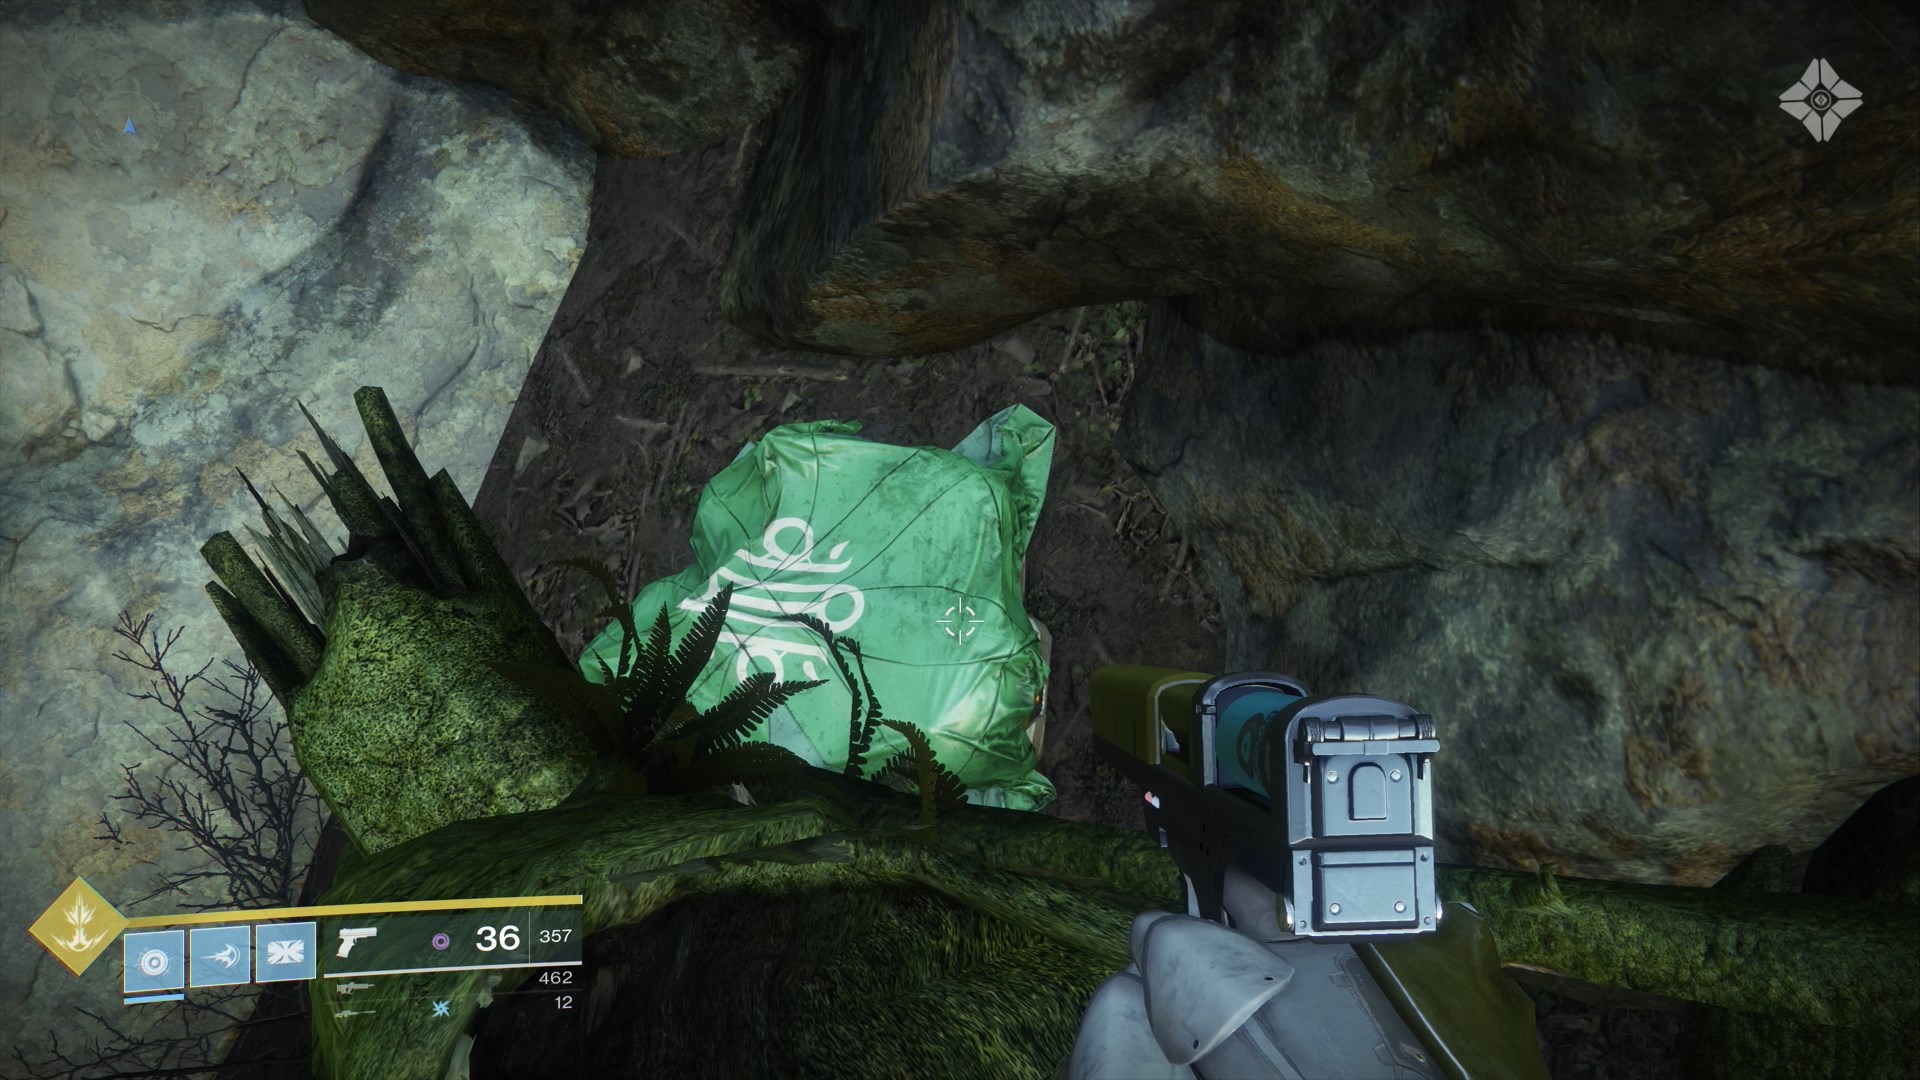
3) In the Southeast section of the area you can scan a box covered with a tarp.
Outskirts
Scannable Objects: 5
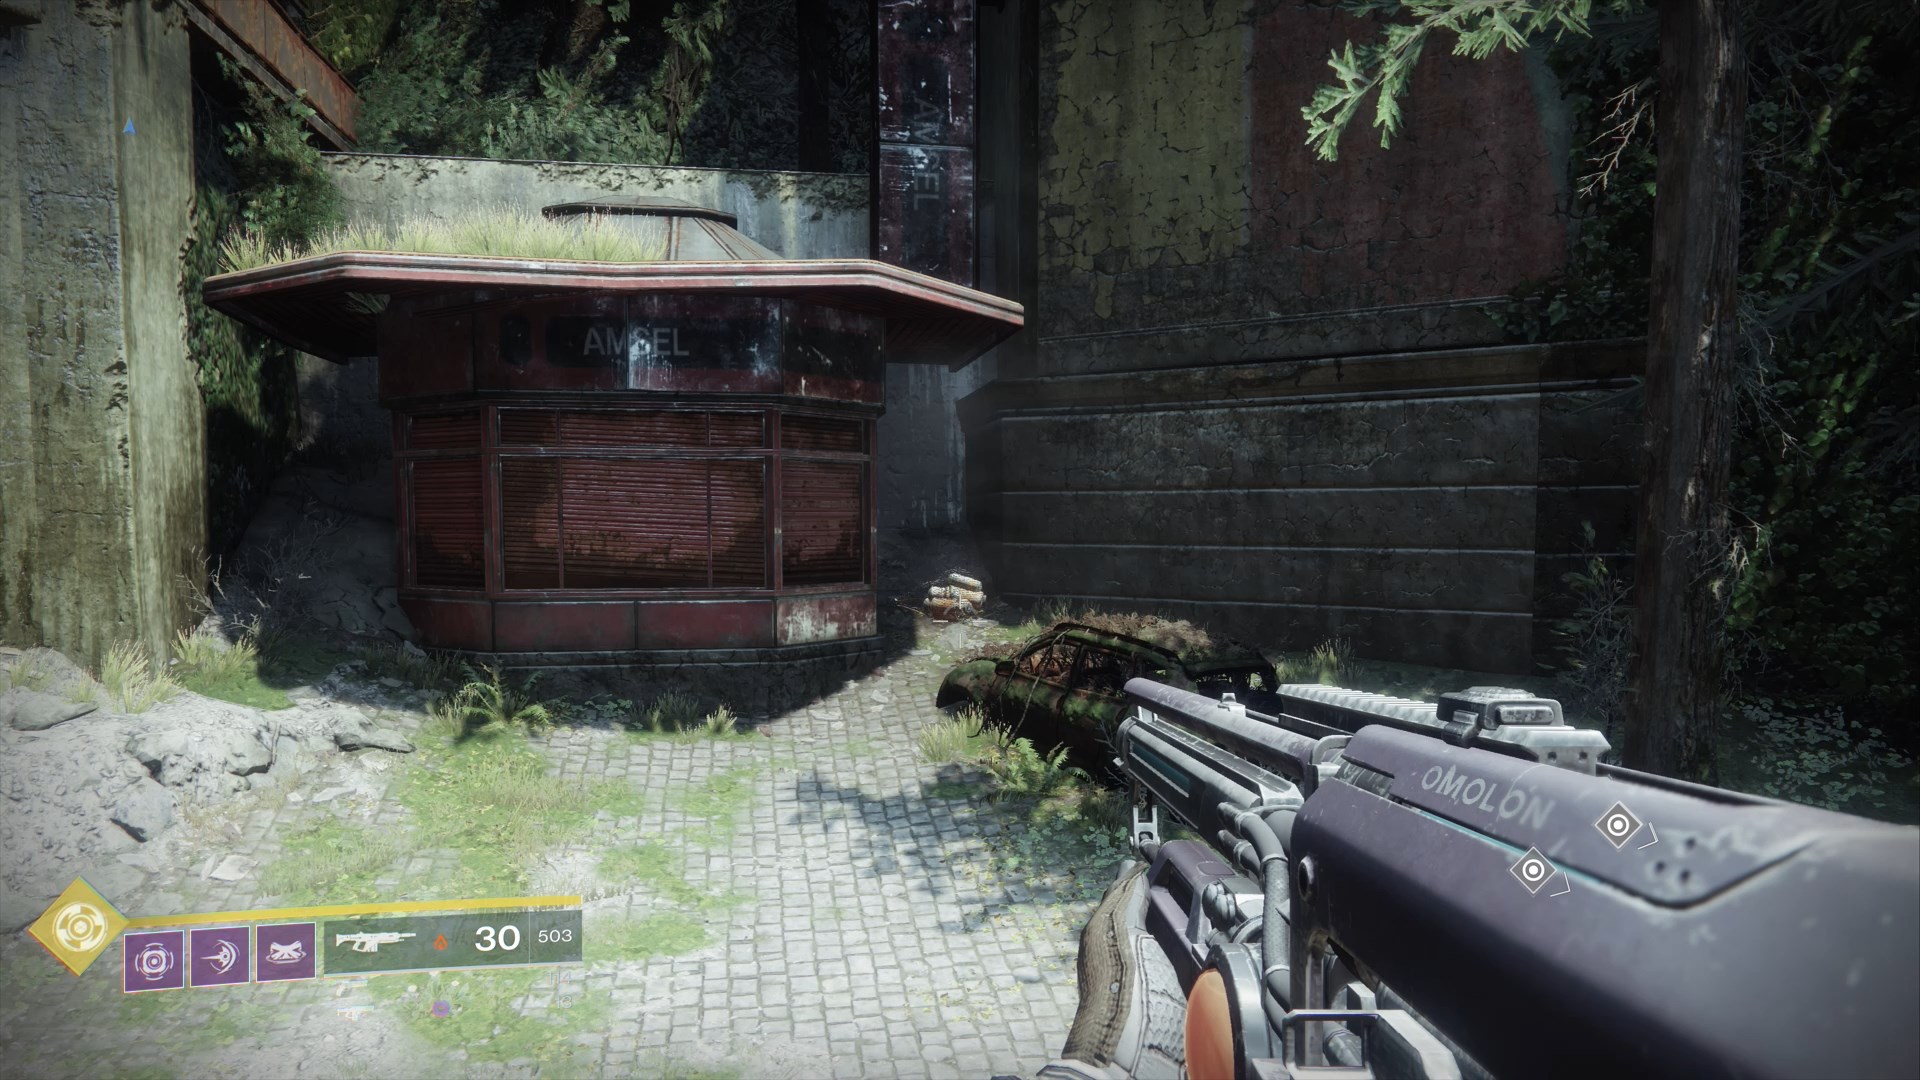
1) Near the road leading to Trostland to the east is an information stand that has "AMSEL" printed on it. Tucked beside the stand is a scannable.
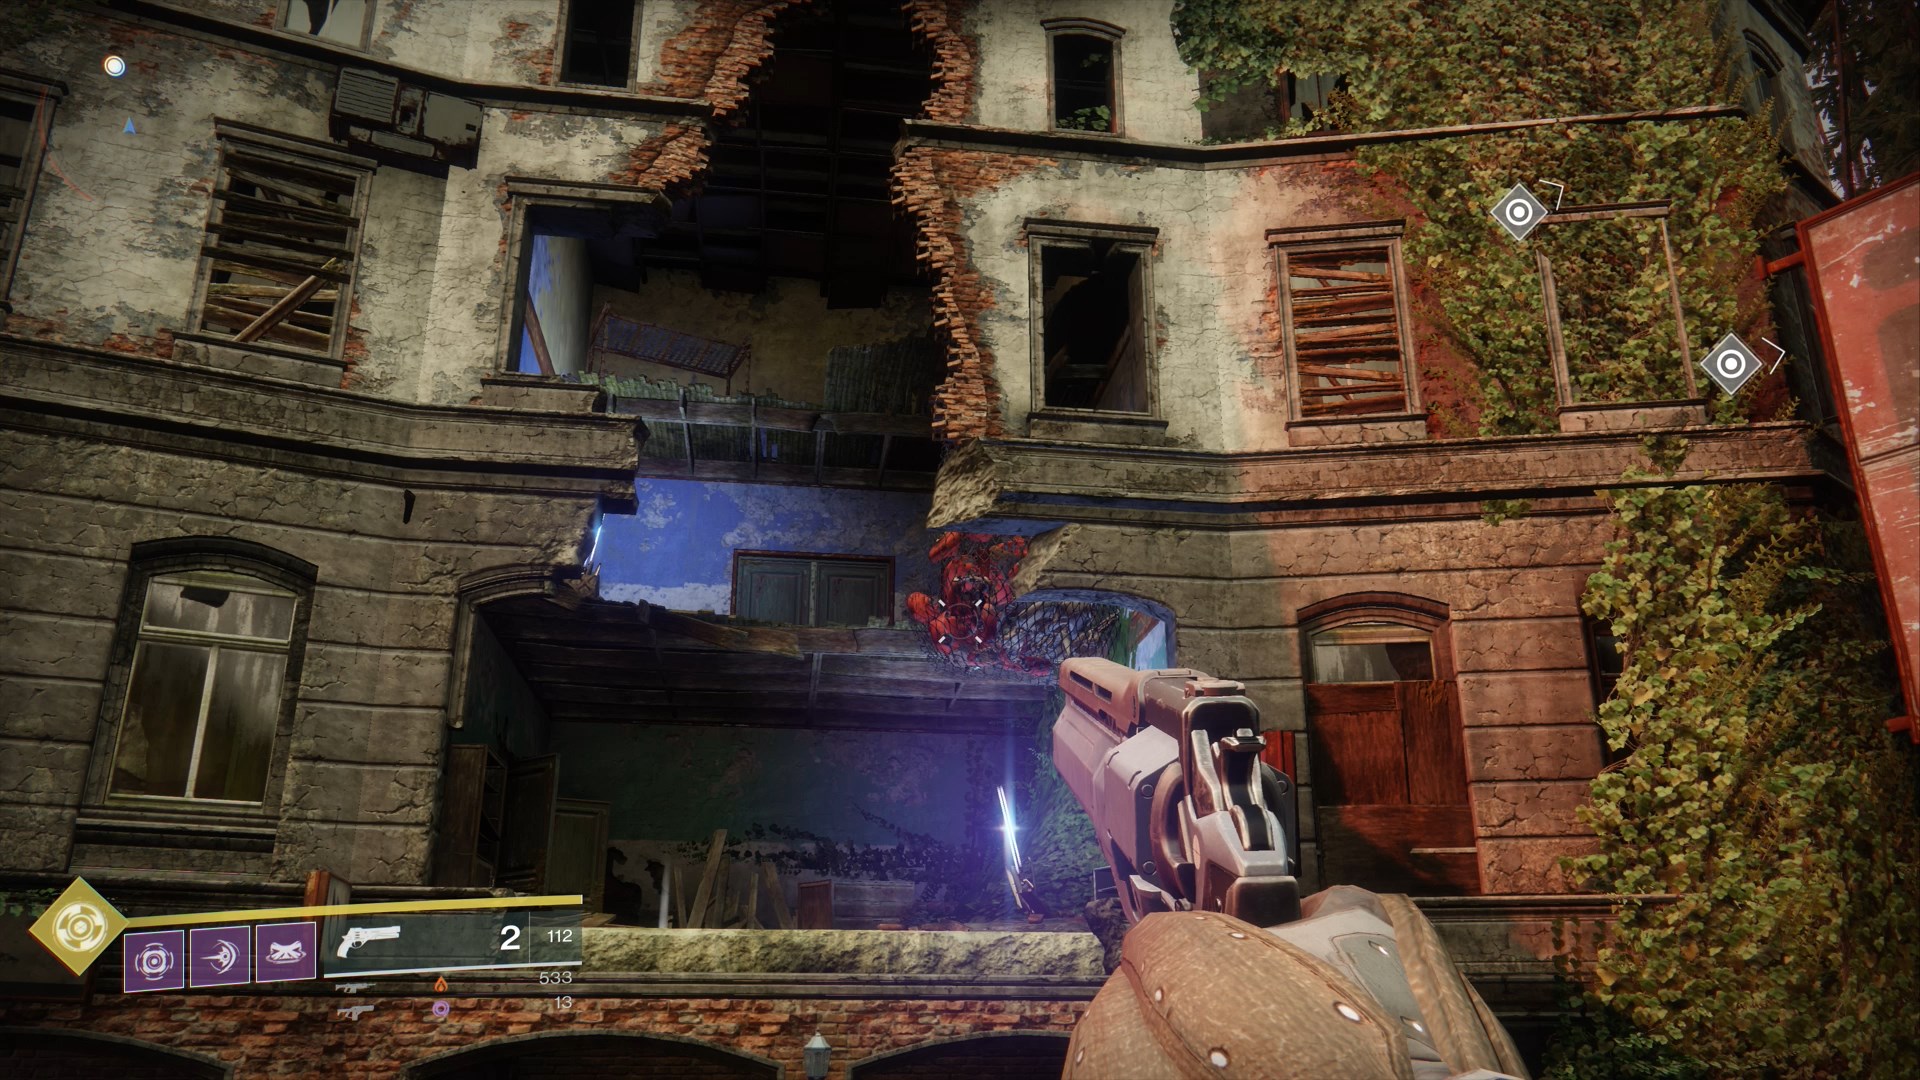
2) West of the road to Trostland is a group of three statues. Due north of the statues is a building with a hole in it. Scan the net bag filled with mechanical objects you find inside.
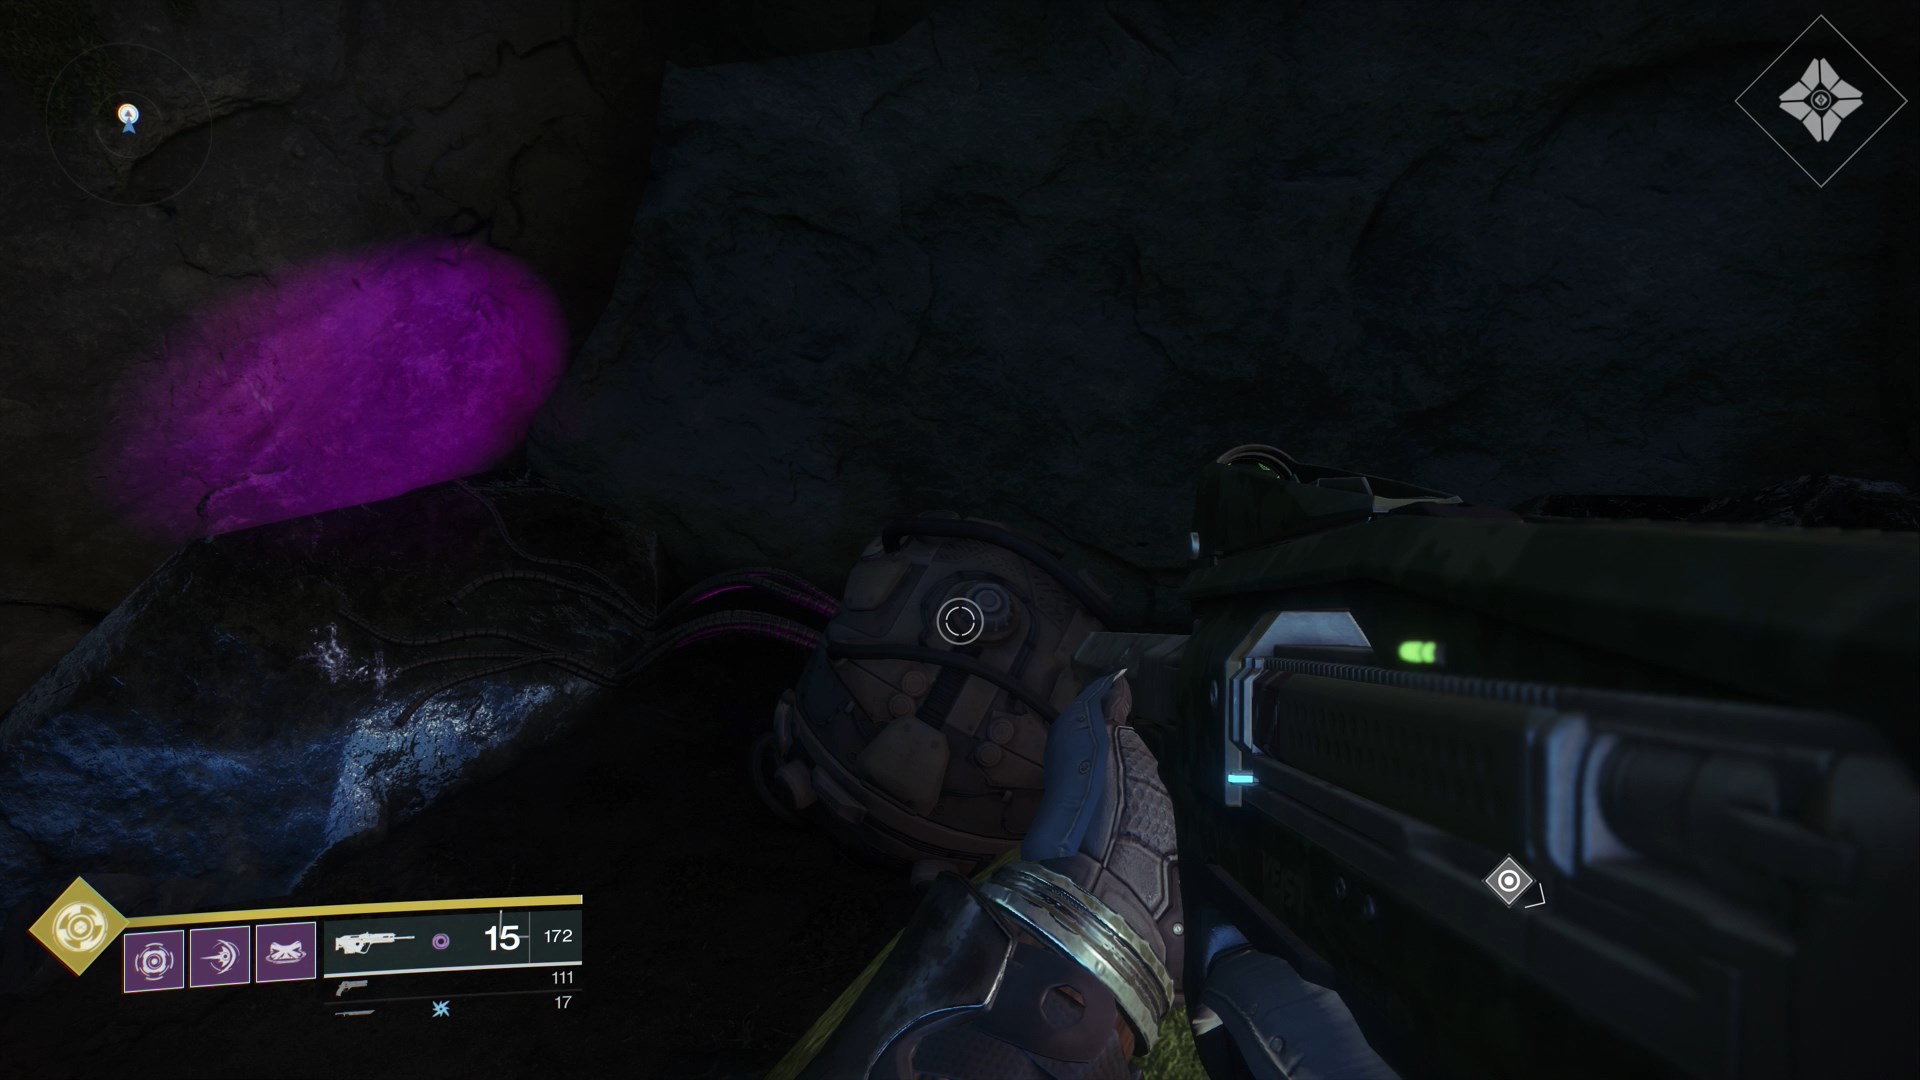
3) Follow the road west from the statues until you come to a bridge over a pond. North of the bridge, hidden behind a rock, is a scannable object.
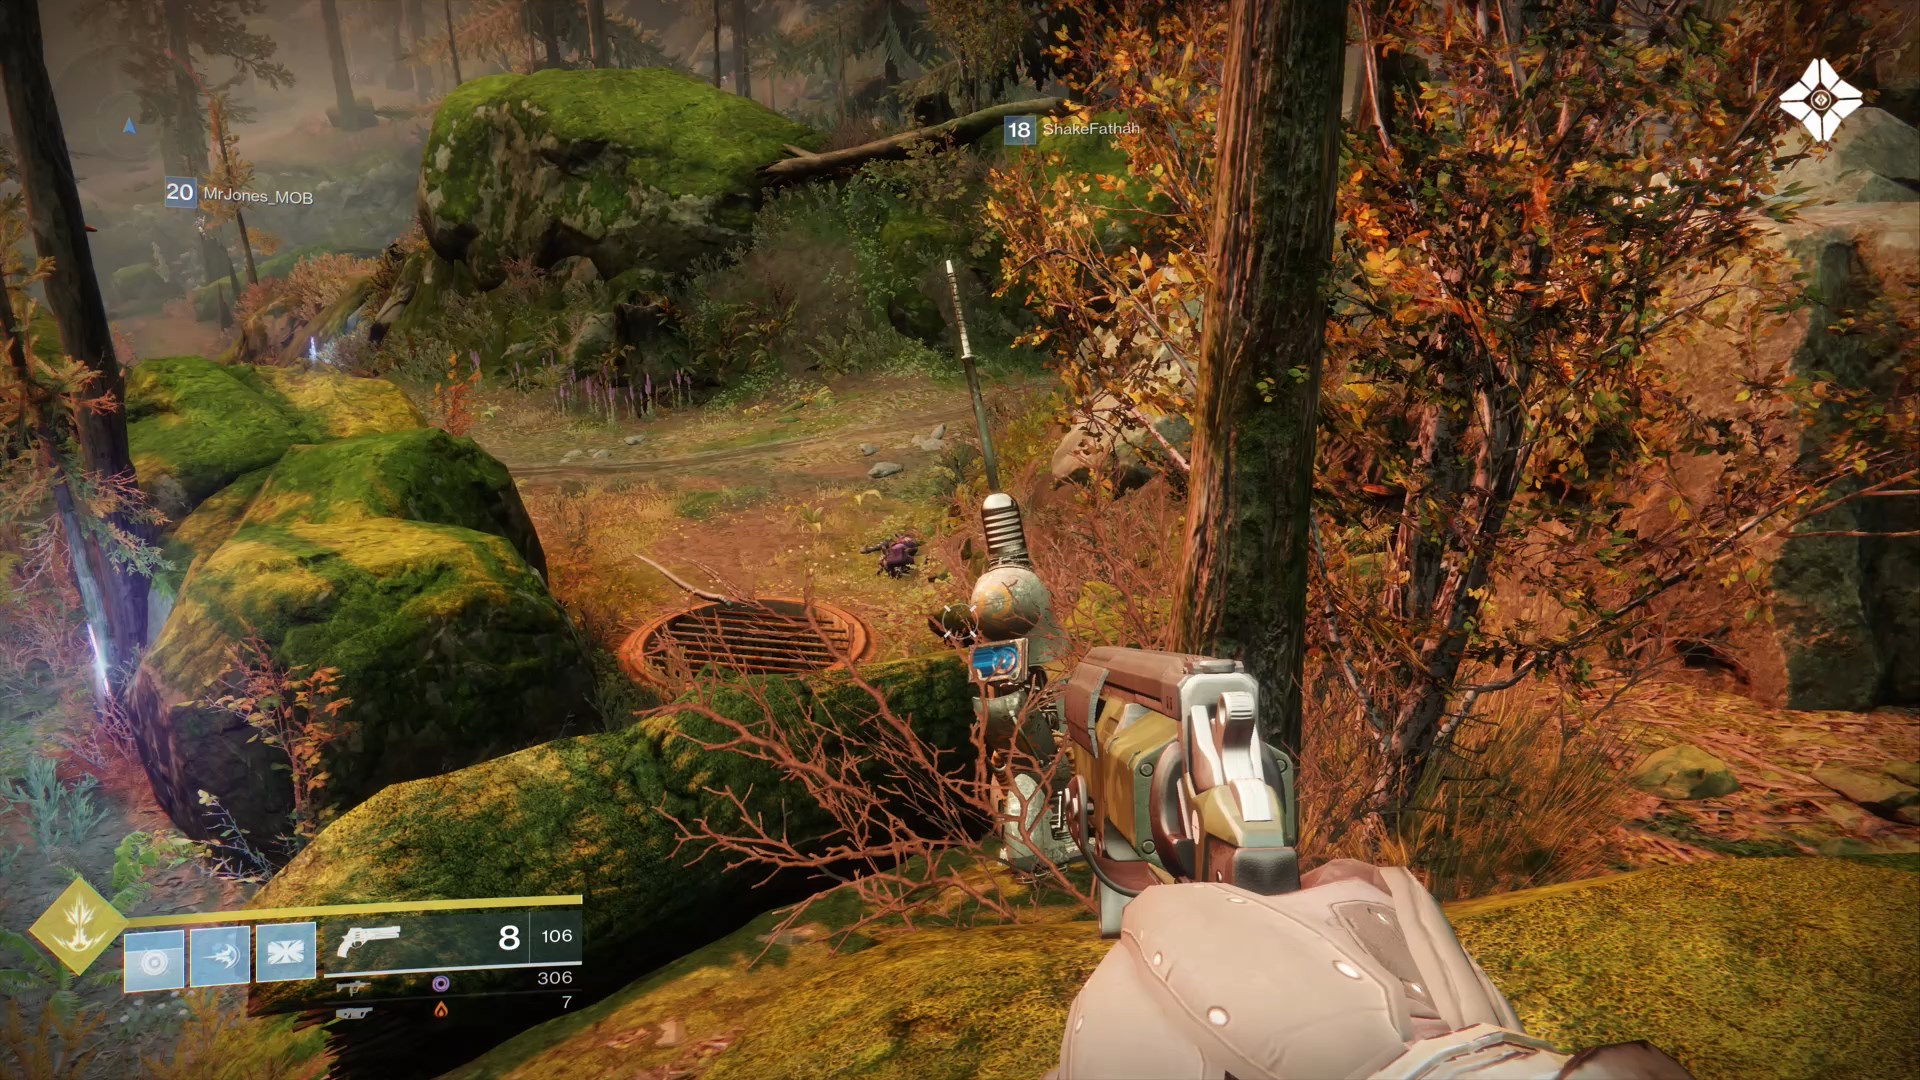
4) This scannable is almost directly in the middle of the Outskirts Region. South-Southwest from the three statues you'll find the object. It looks like an antenna and is positioned on a ledge near a large grate in the ground.
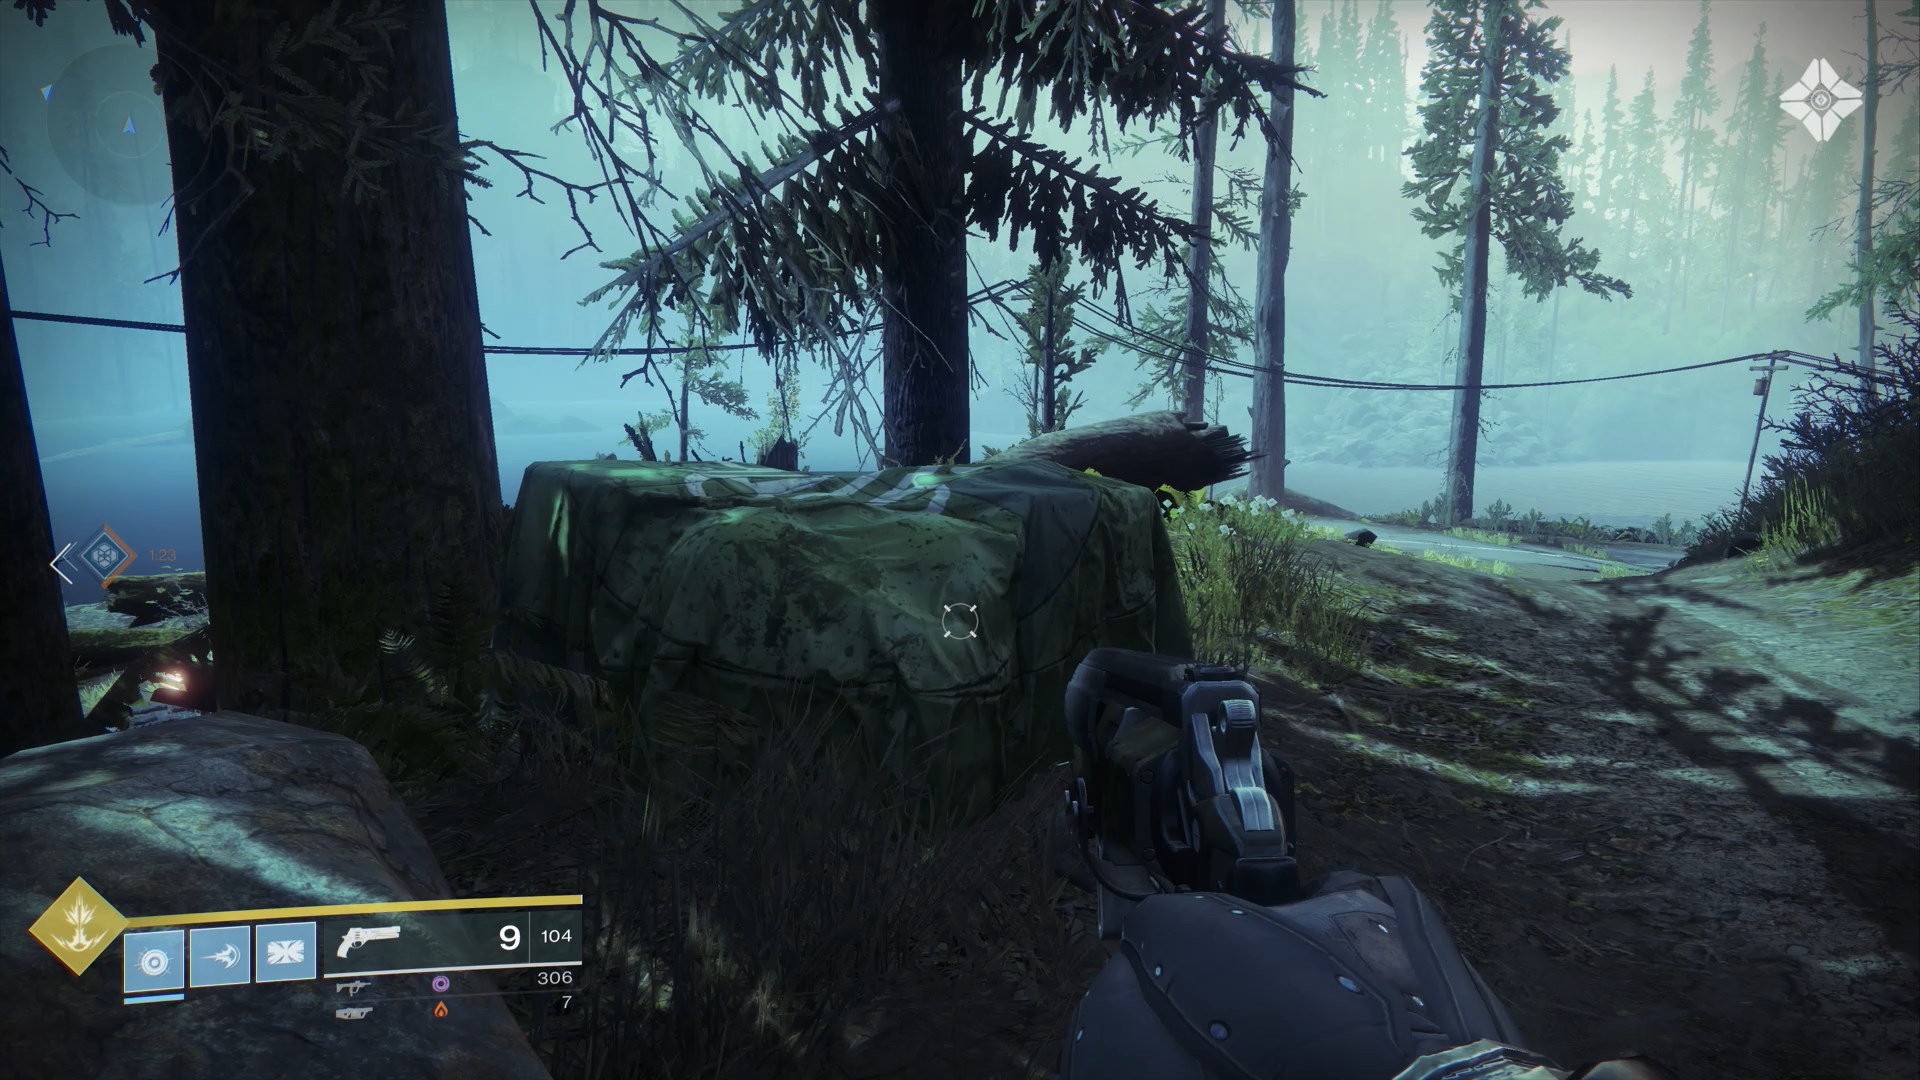
5) When heading west on the road towards Winding Cove, keep an eye out in the southwest part of the Outskirts for a dirt road leading north off of the main road. Once you spot it, just follow the path for a bit until you spot a tarp-covered crate you can scan.
Trostland
Scannable Objects: 4
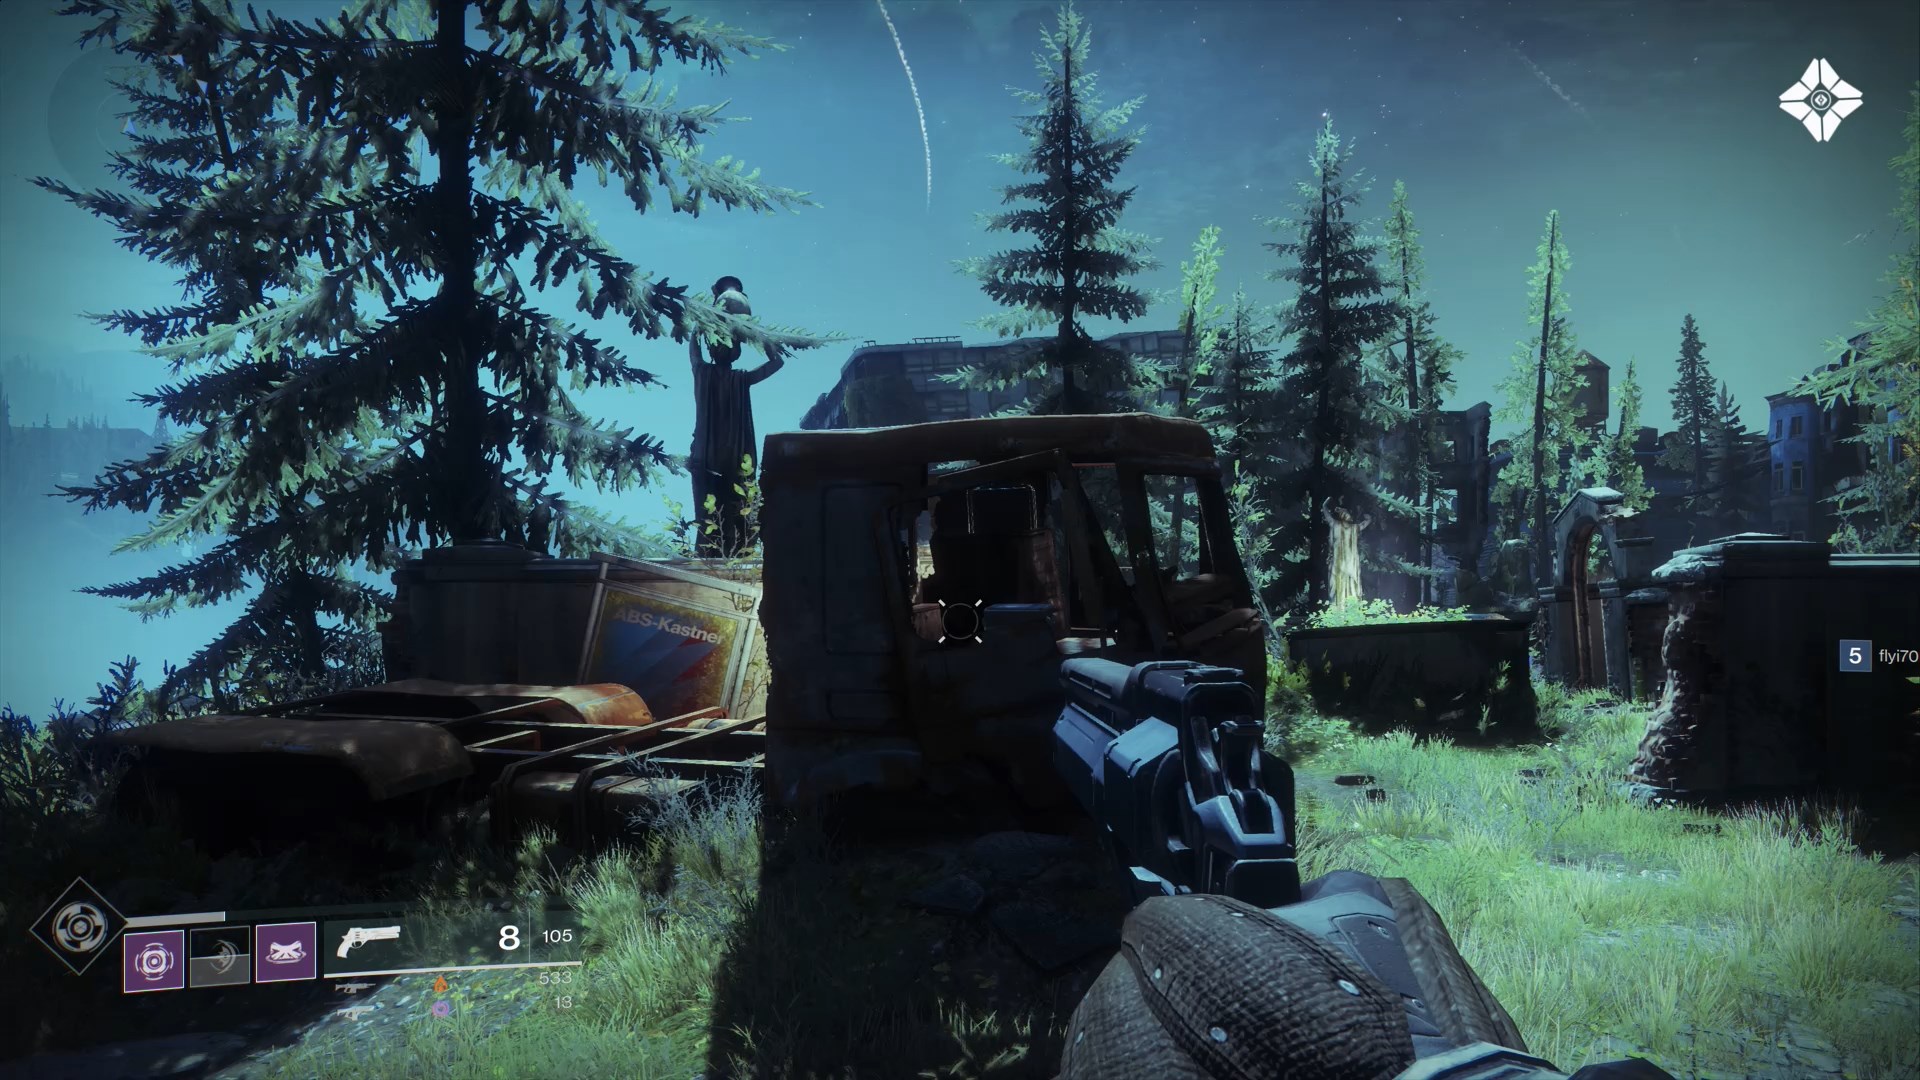
1) To the East of the fast travel point is a street where Cabal drop pods are often landing. On this street, directly East of a statue, is a rusted husk of a truck. In the passenger seat of the truck is a crate you can scan.
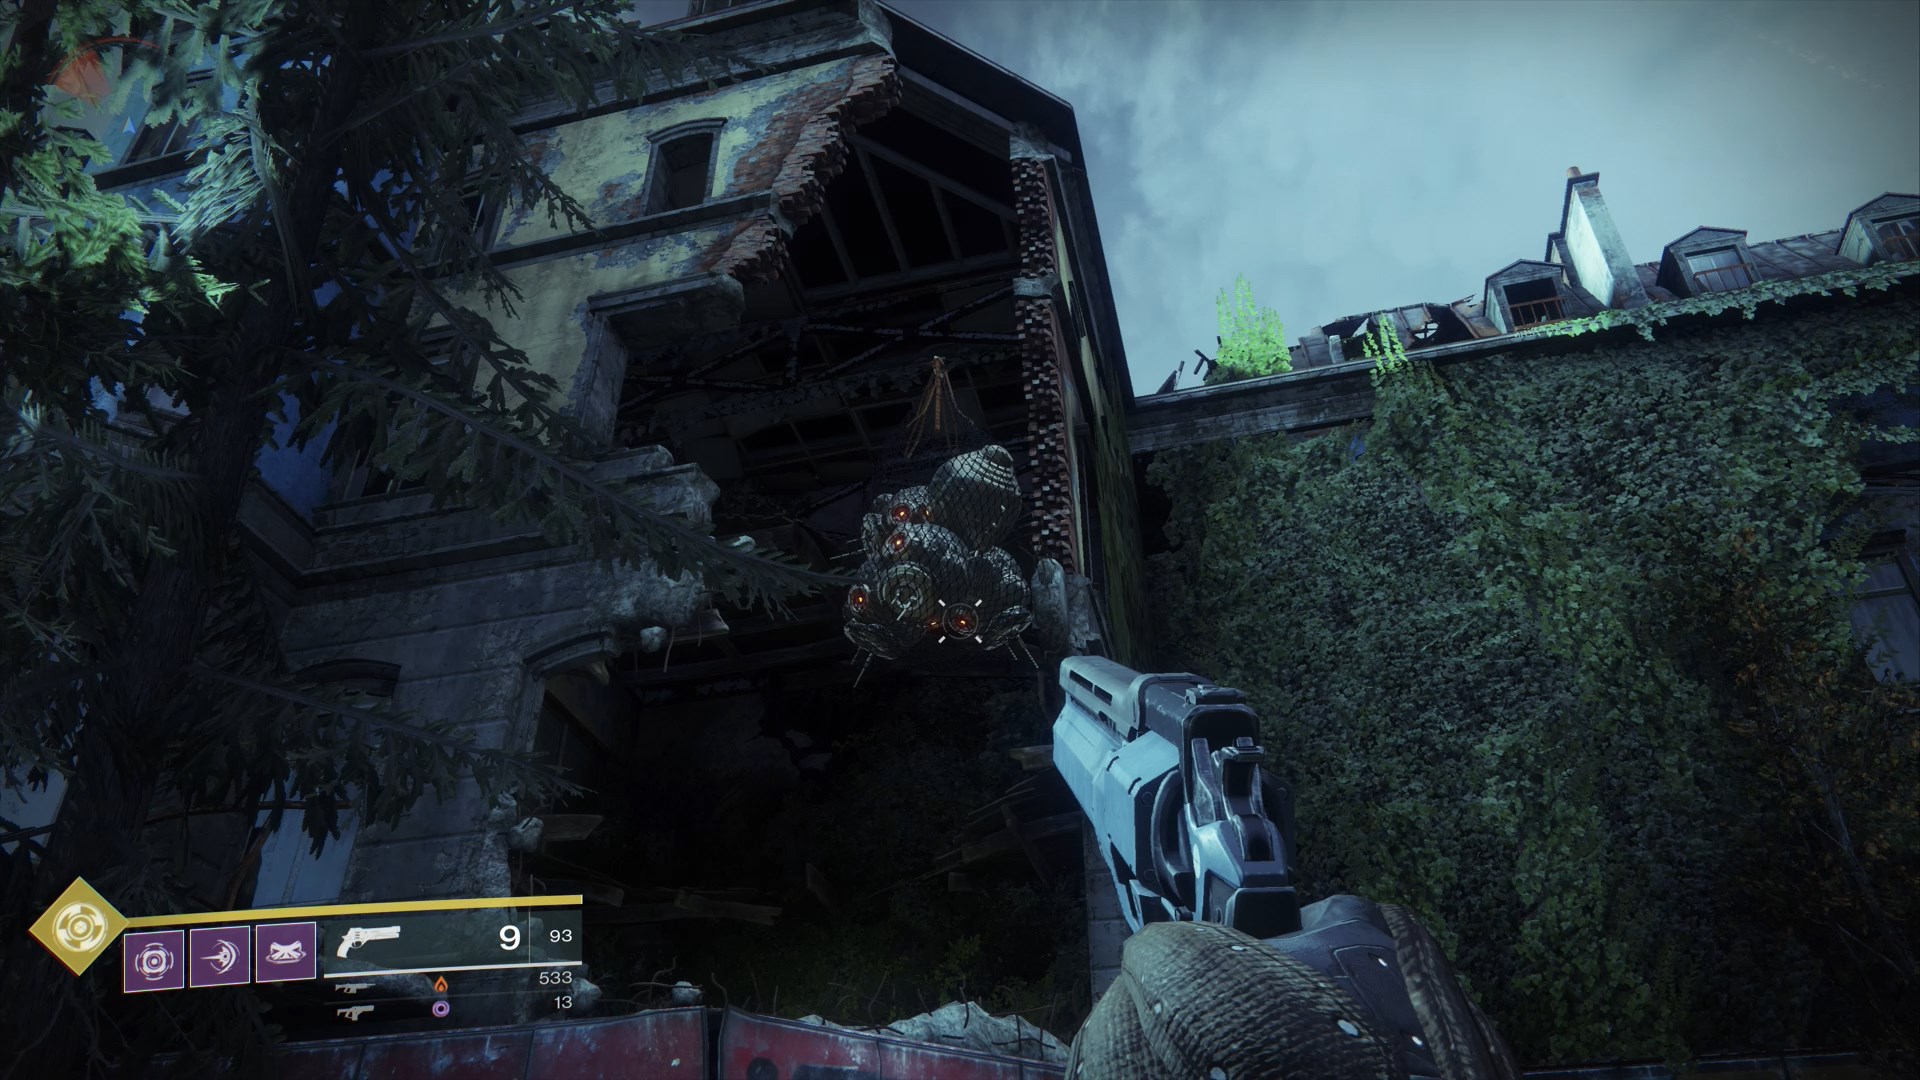
2) West of the Southwest corner of the church is a building with a three story gouge tore in it. Inside you'll see some mechanical doodads suspended in a net from the ceiling. Hop up on the small platform beside the net and give the whole thing a scan.
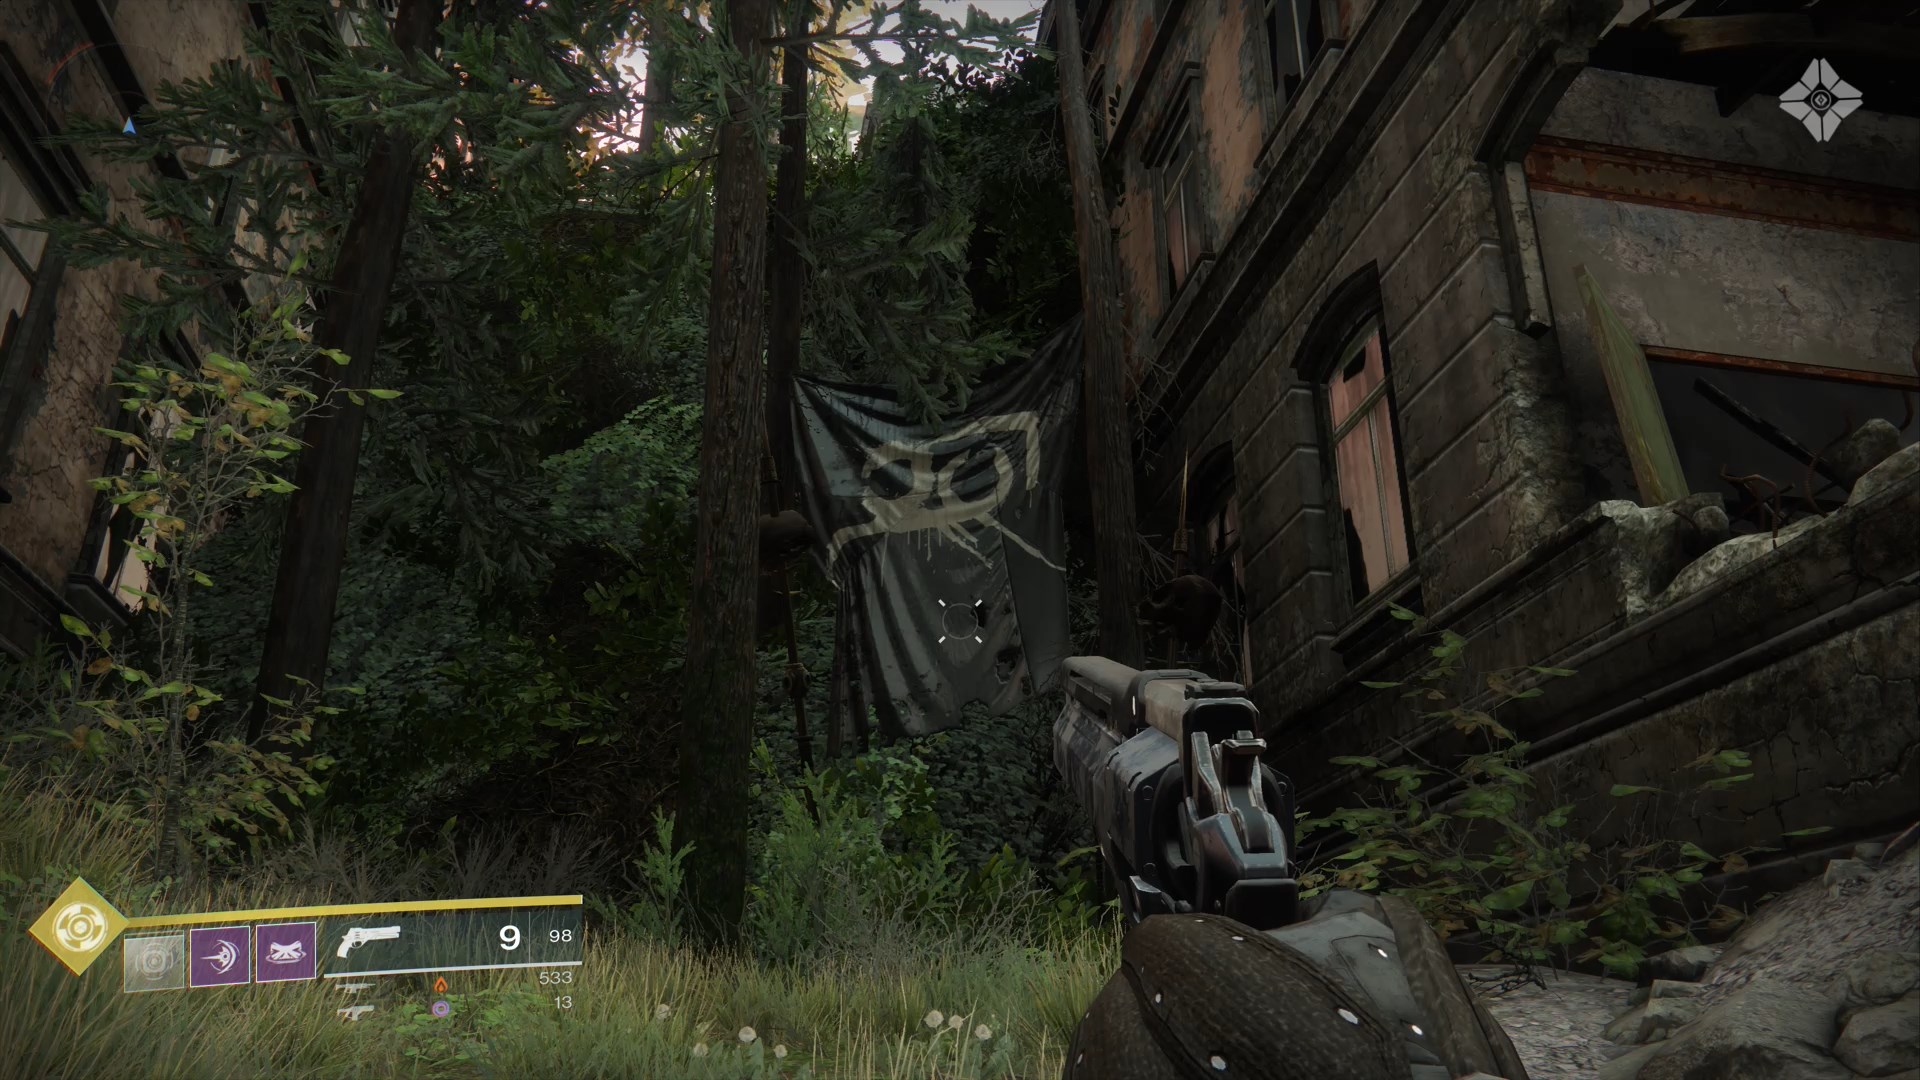
3) Directly East of the truck with the scannable crate is a Fallen banner you can scan.
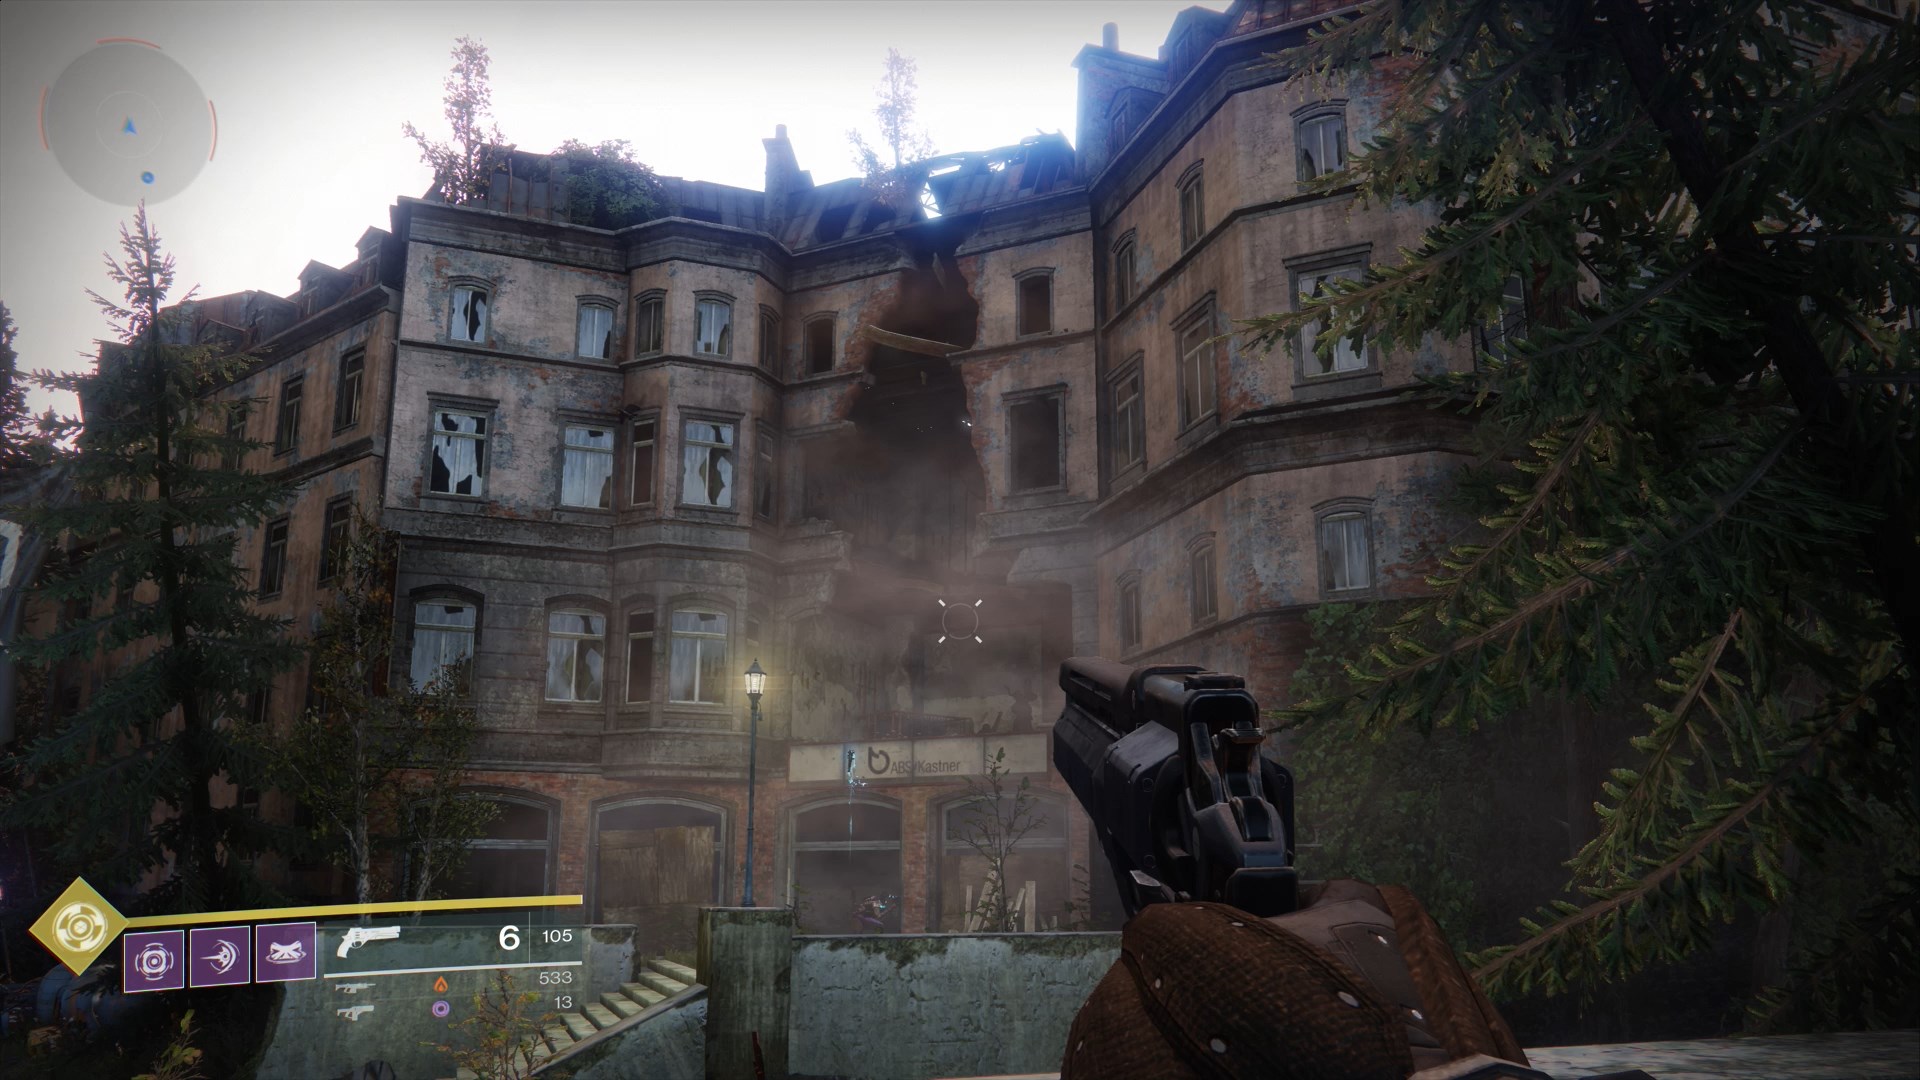
4) Northeast of the truck with the scannable crate you'll see another crumbling three story building. On the third story, tucked into a corner, is a scannable object.
Salt Mines
Scannable Objects: 3
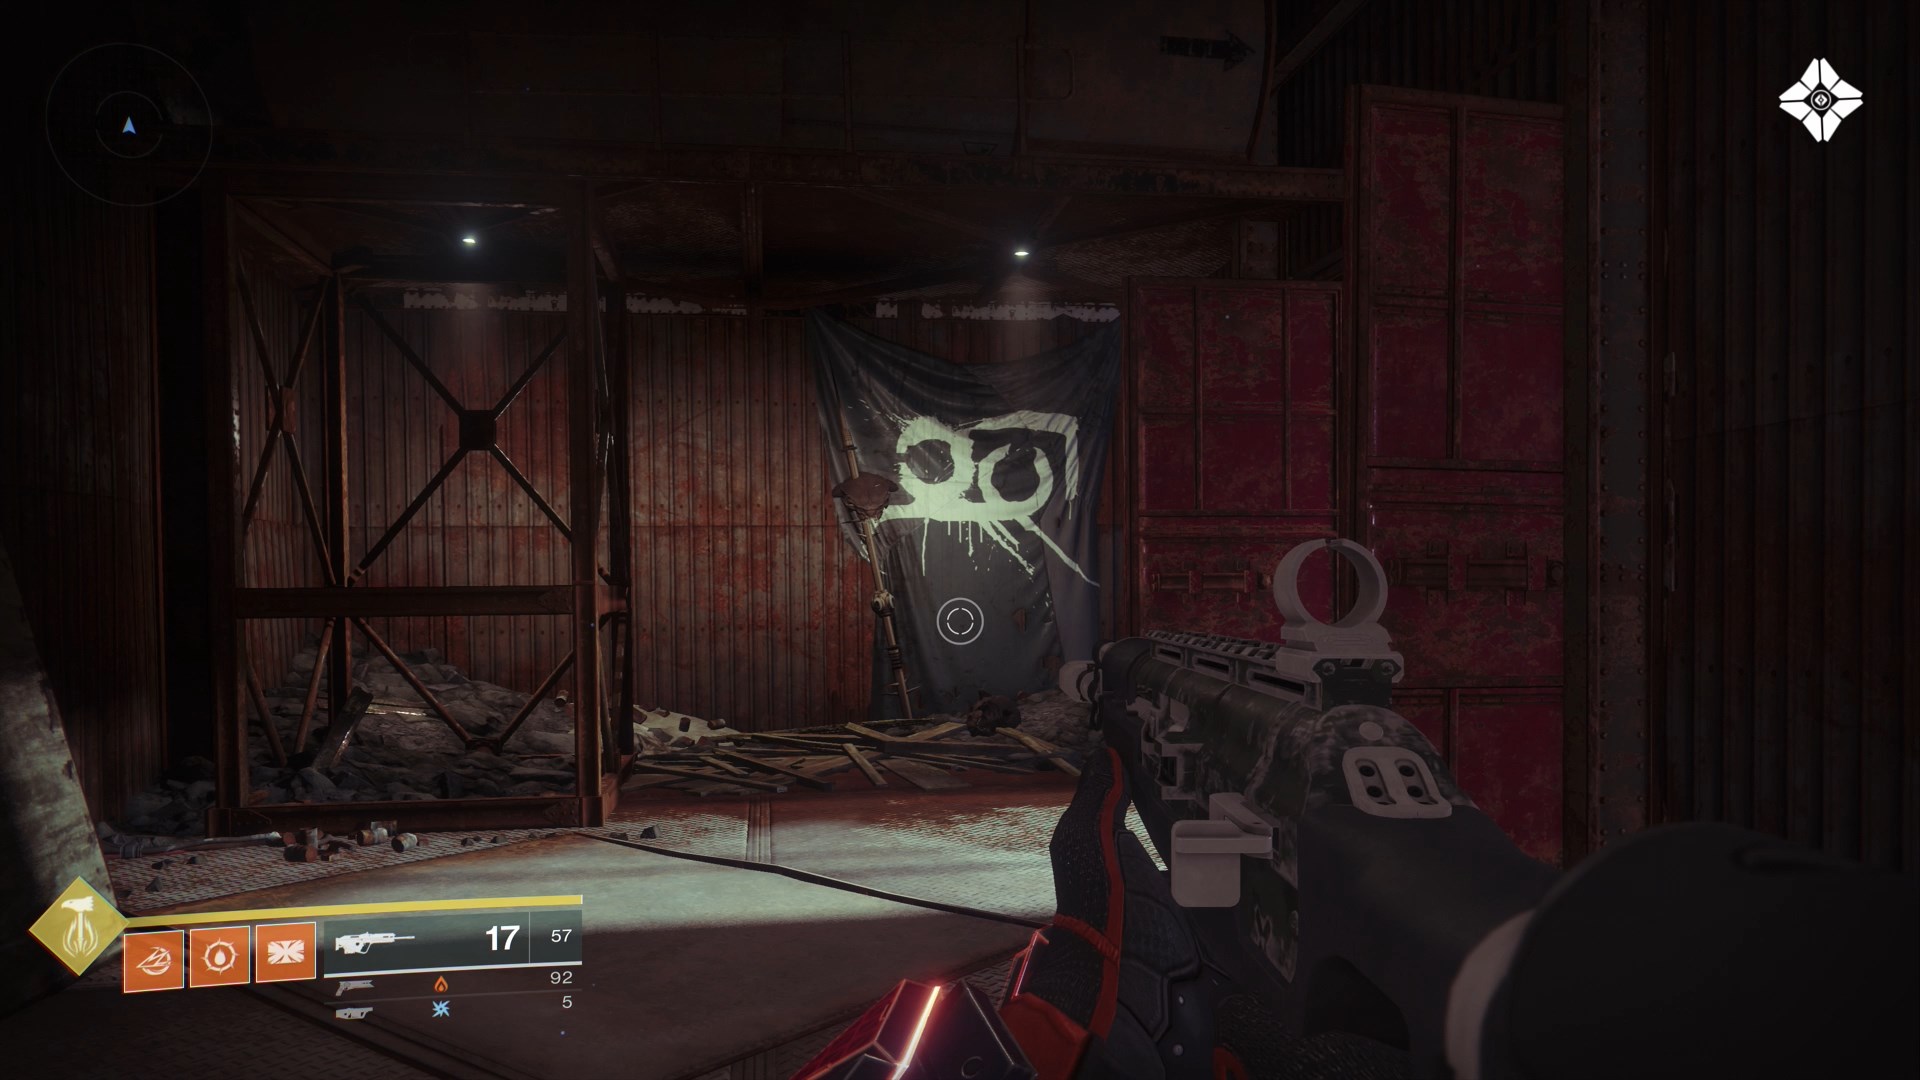
1) Entering from Trostland, you'll come upon a room with a catwalk running left to right. To the left of the catwalk is a rusting sheet metal shack. There is a Fallen banner you can scan on the back wall.of the shack.
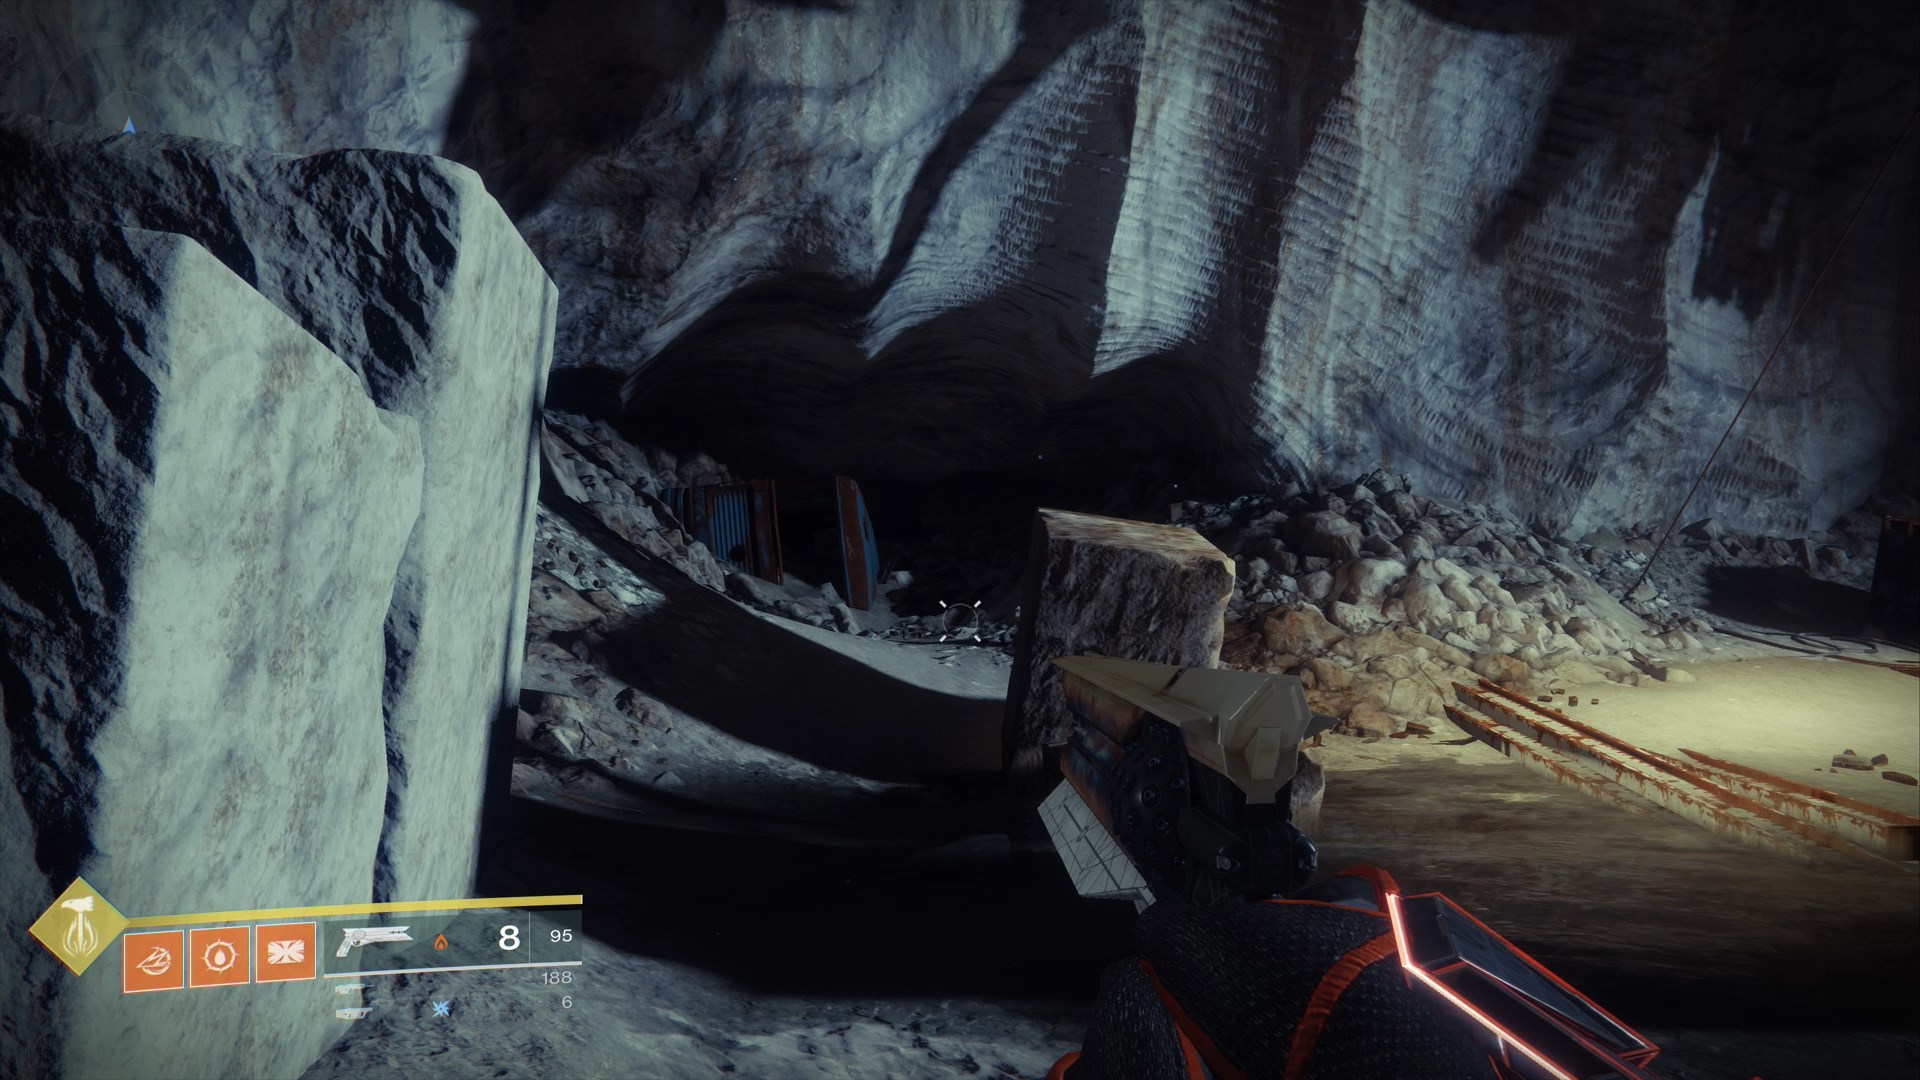
2) Head further into the mines from where you found the first scannable. Once you've passed through the tunnel, you'll be in a room with rock walls. If you go straight from where you entered the room, you'll see or crumbling section of the wall with a partially buried shipping container. Beside it is the scannable object.
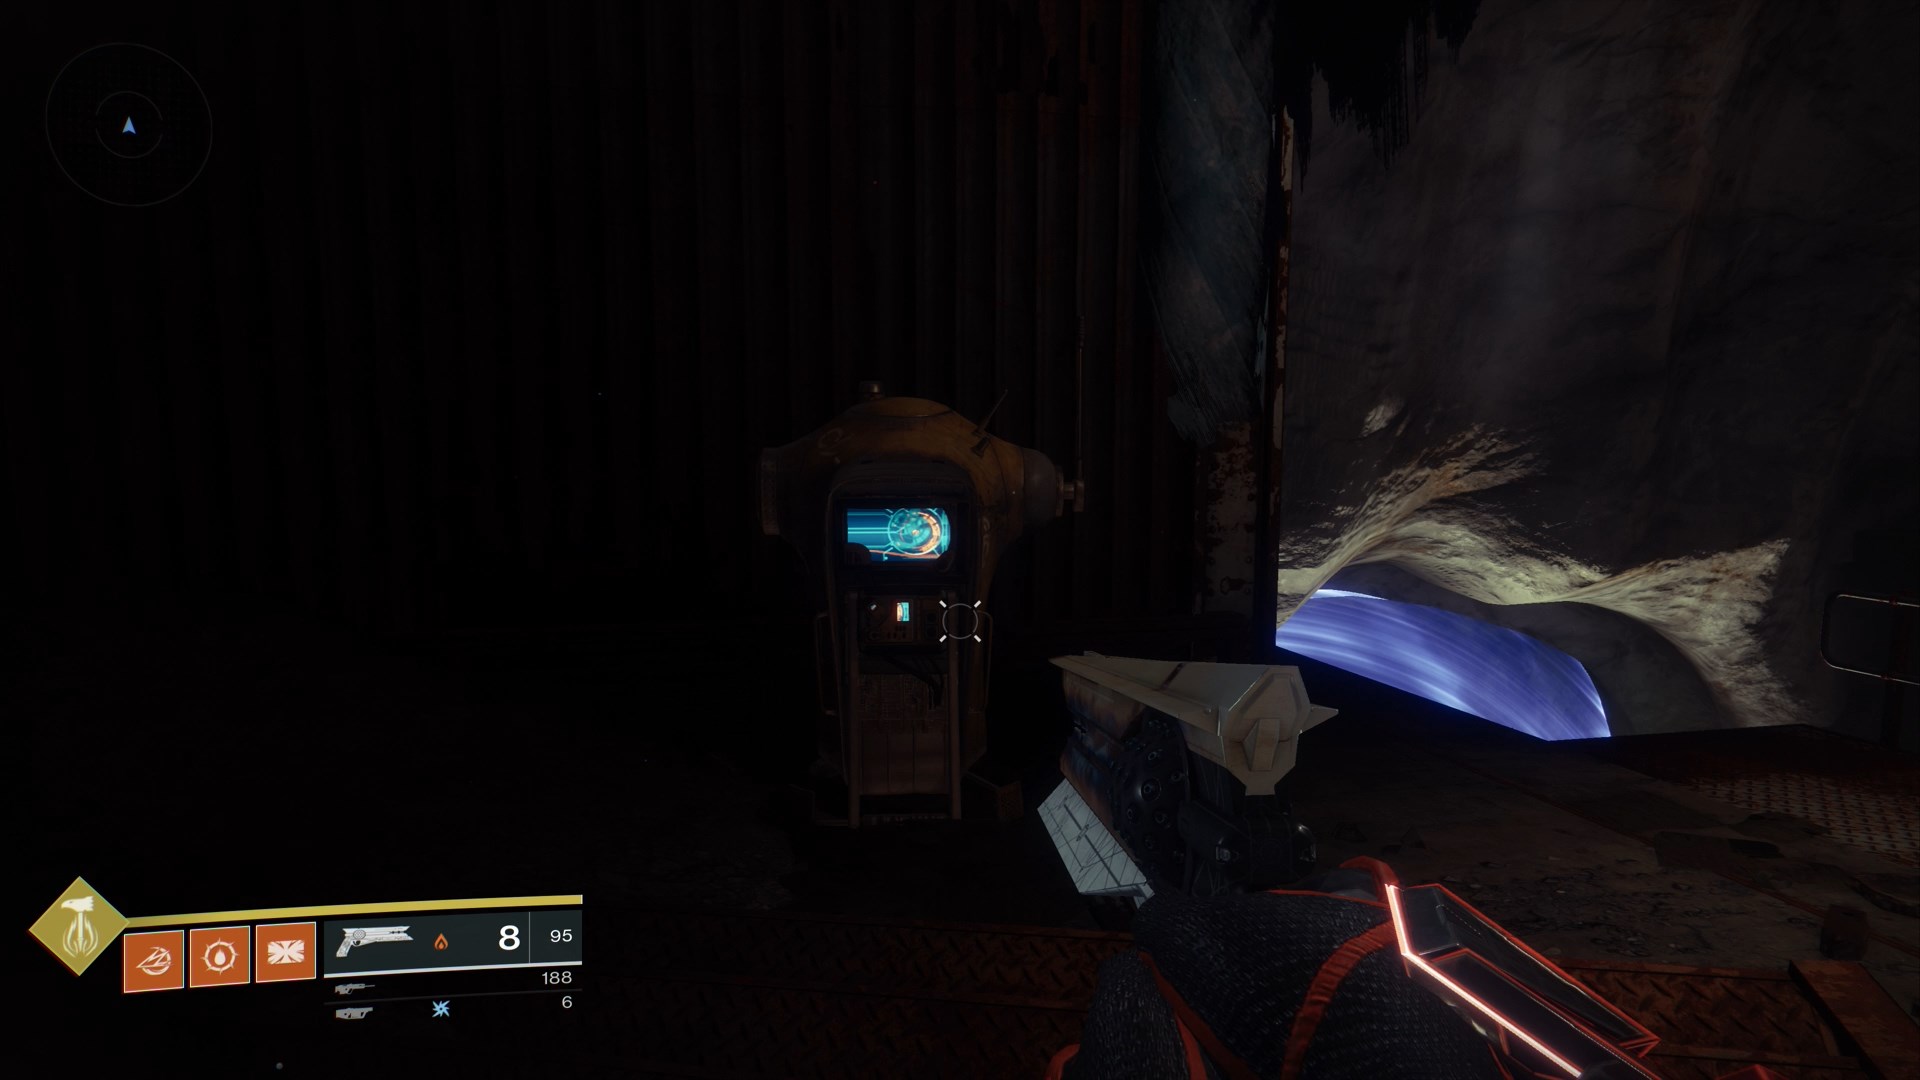
3) From where you found scannable #2, enter the next room. You'll see a rusted catwalk with the middle section missing over a drop off to a lower level with a blue barrier blocking further progress. Jump across the gap in the catwalk, and you'll find a computer you can scan.
Maevic Square
Scannable Objects: 3
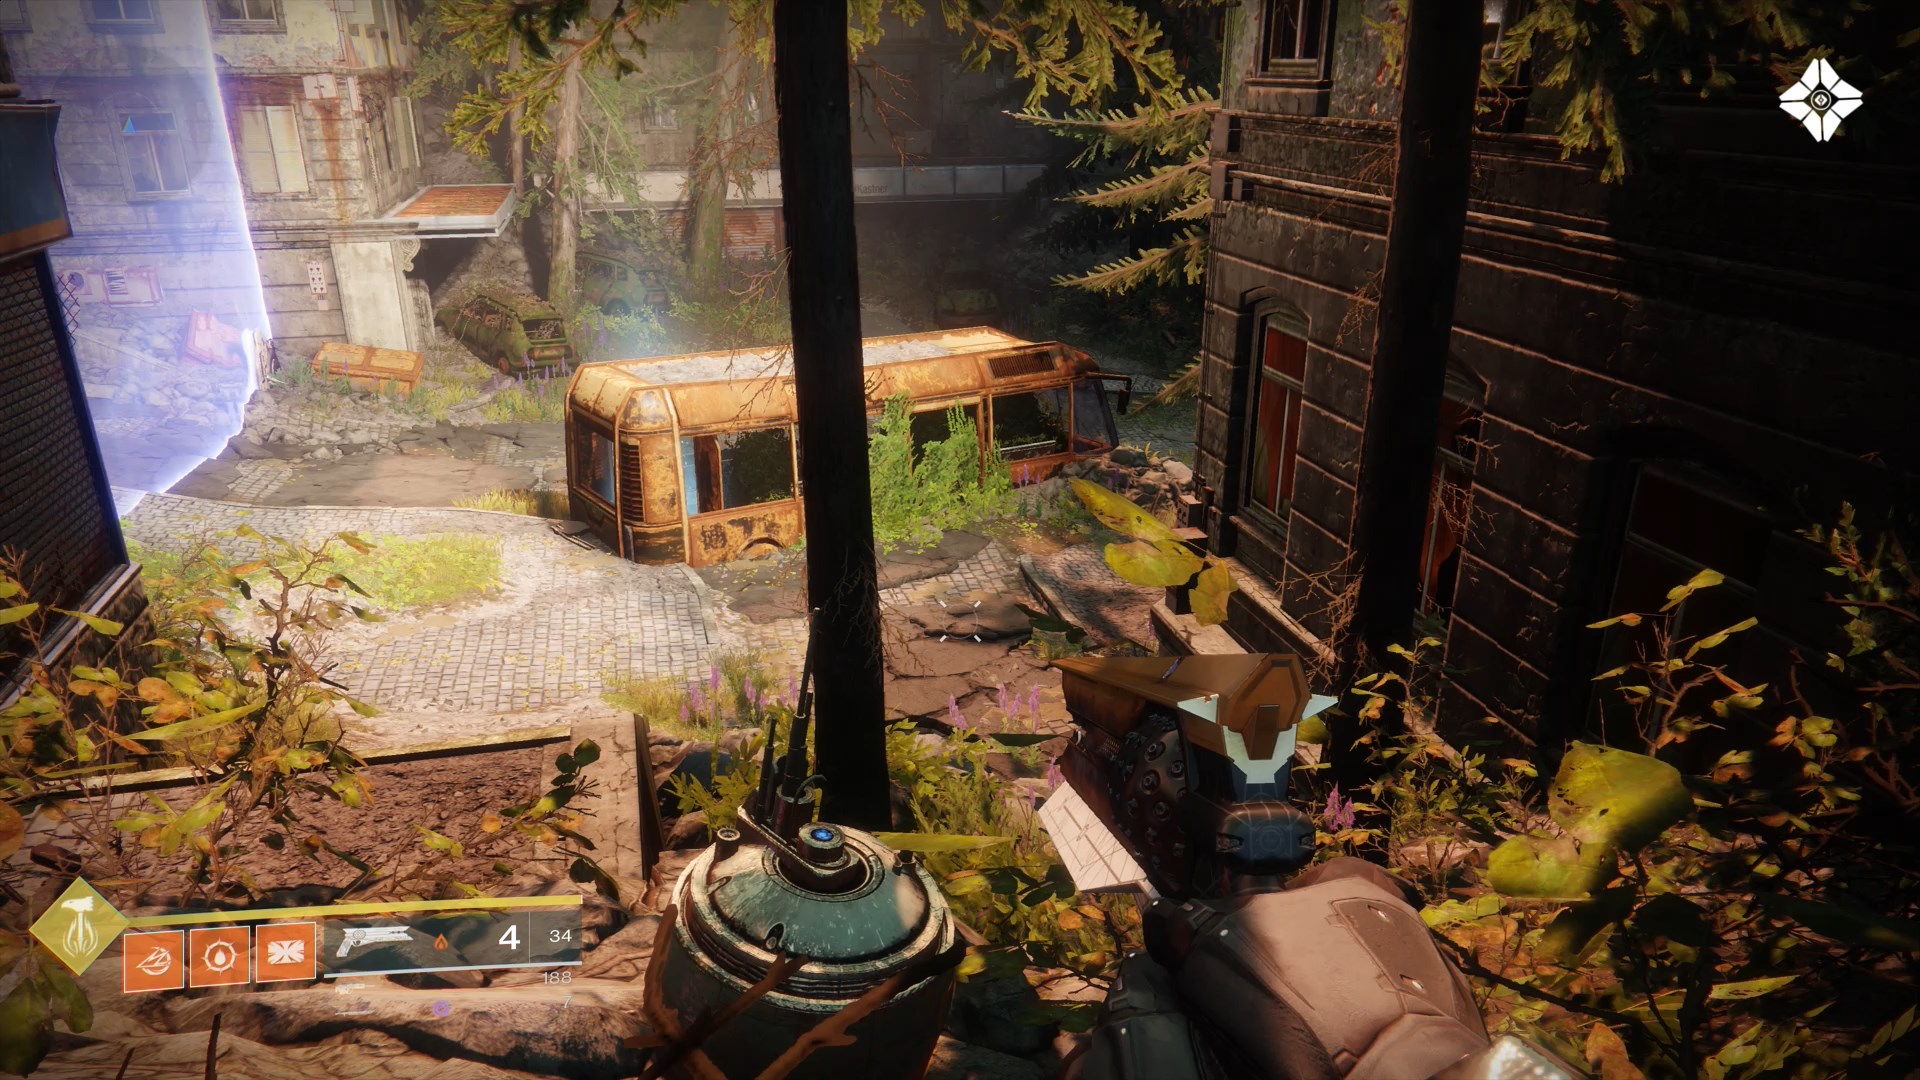
1) Once you enter Maevic Square proper You''ll see an Energy barrier to the north. Right before that barrier is a rusted bus, and in the alcove beside it is a metal object you can scan.
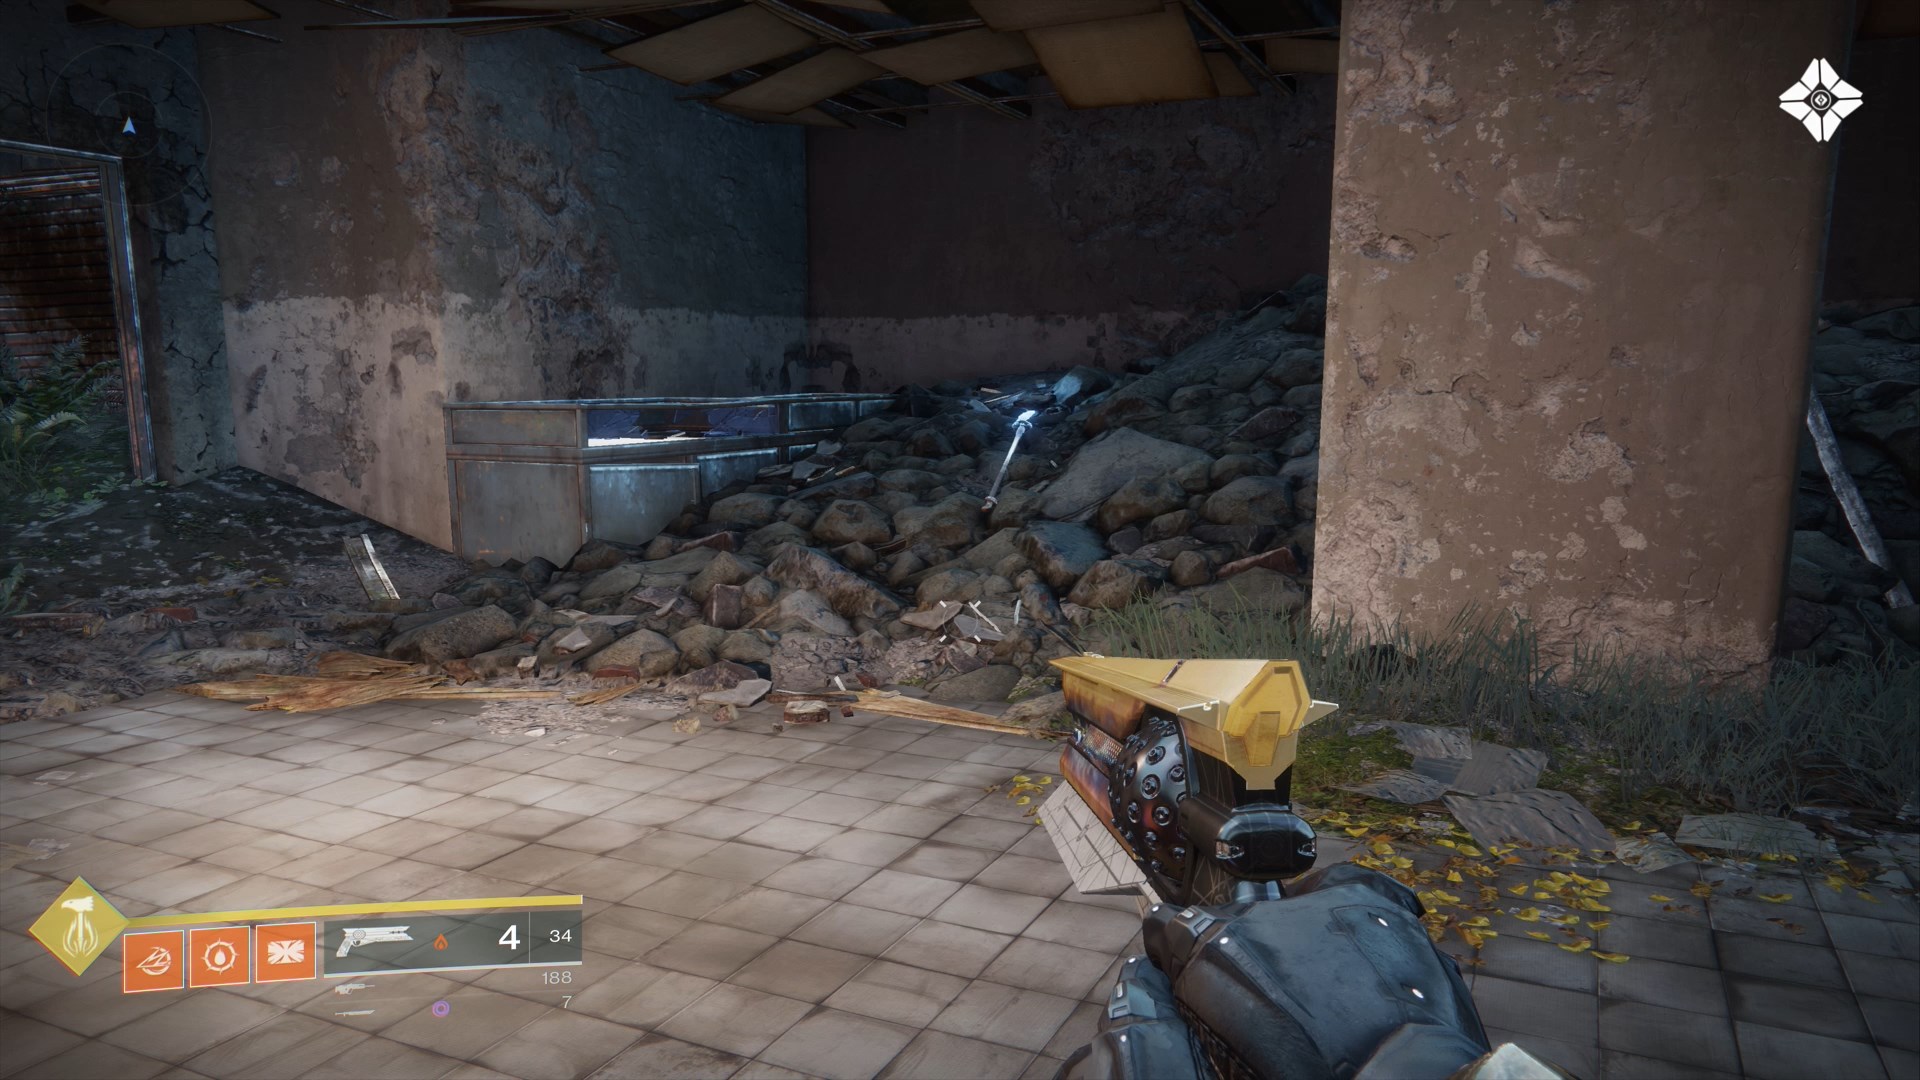
2) In the south of the square you can enter a building. In some rubble on the eastern side of the building is a sparking spear you can scan.
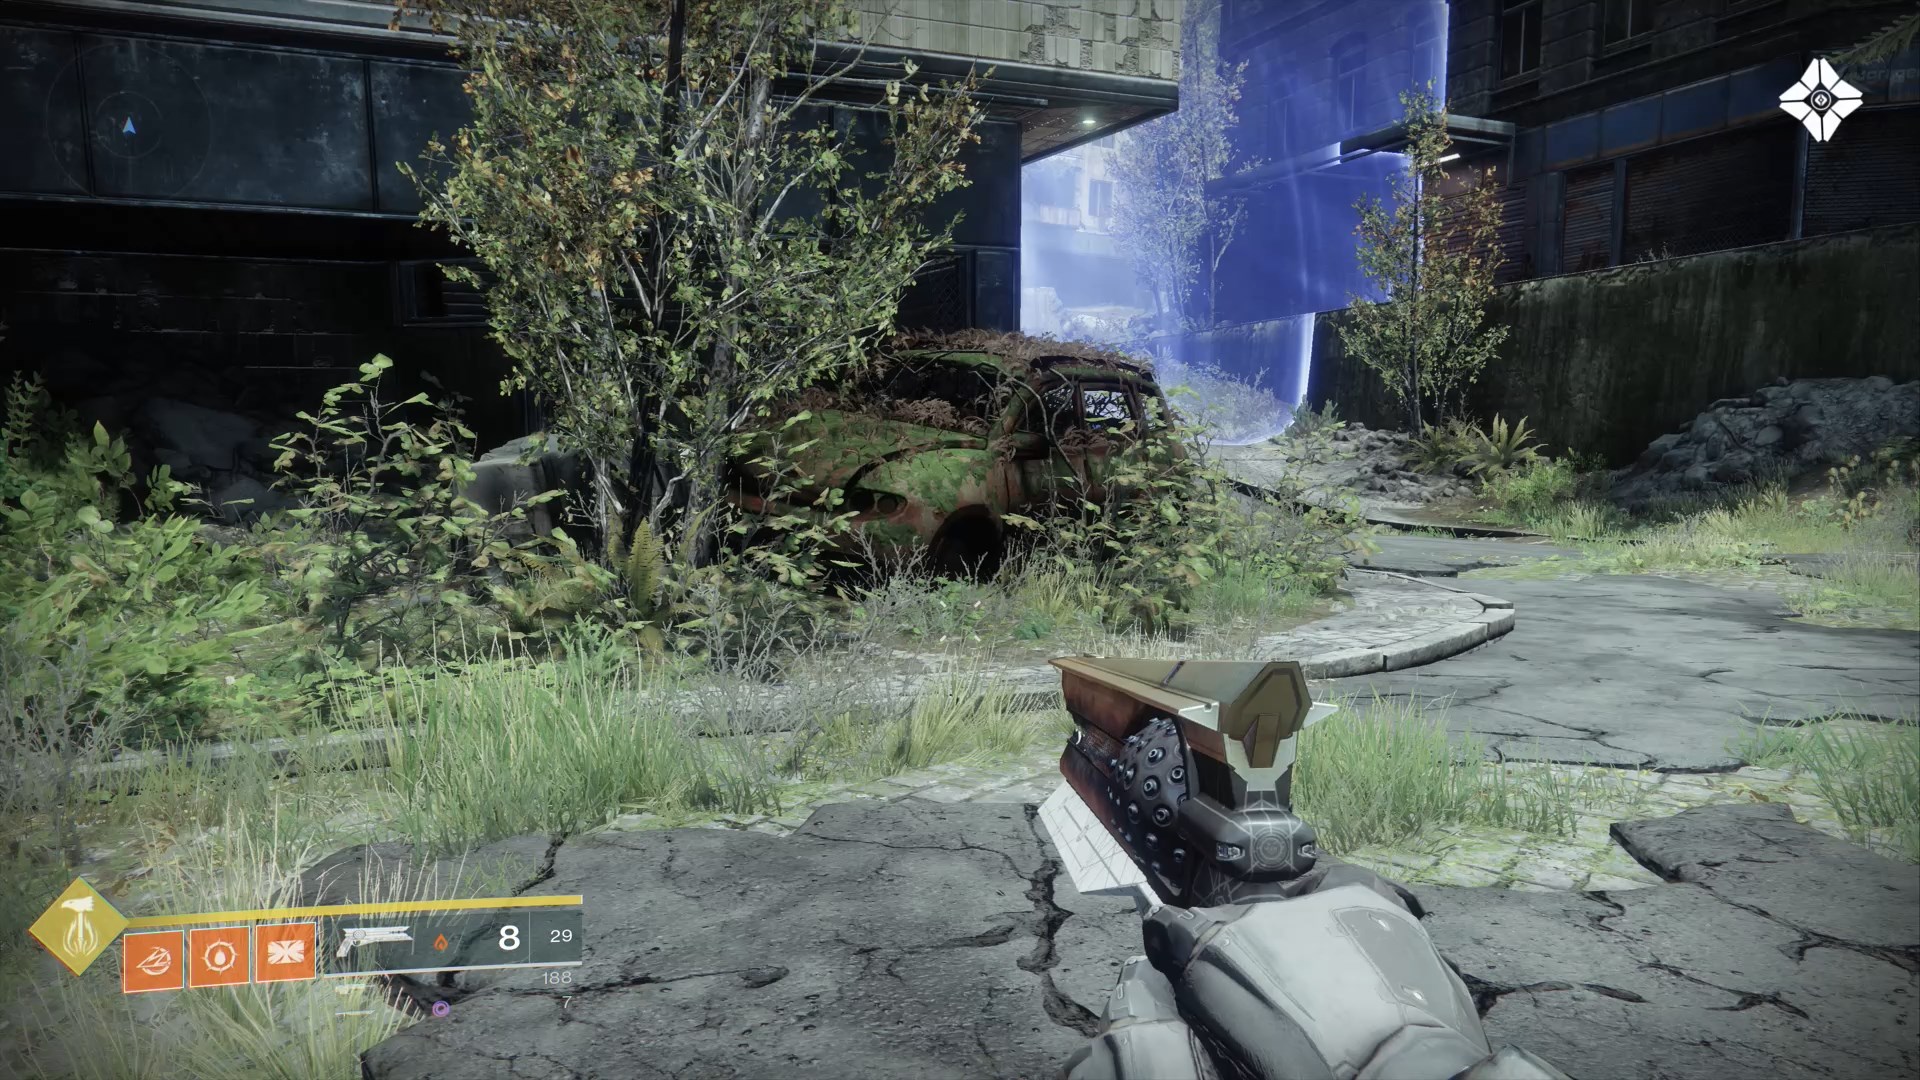
3) In the northeast part of the Square you'll see another energy barrier stretching between two buildings. To the left before you reach the barrier is a rusty, overgrown car. To the left of the car Is a scannable crate.
The Sludge
Scannable Objects: 3
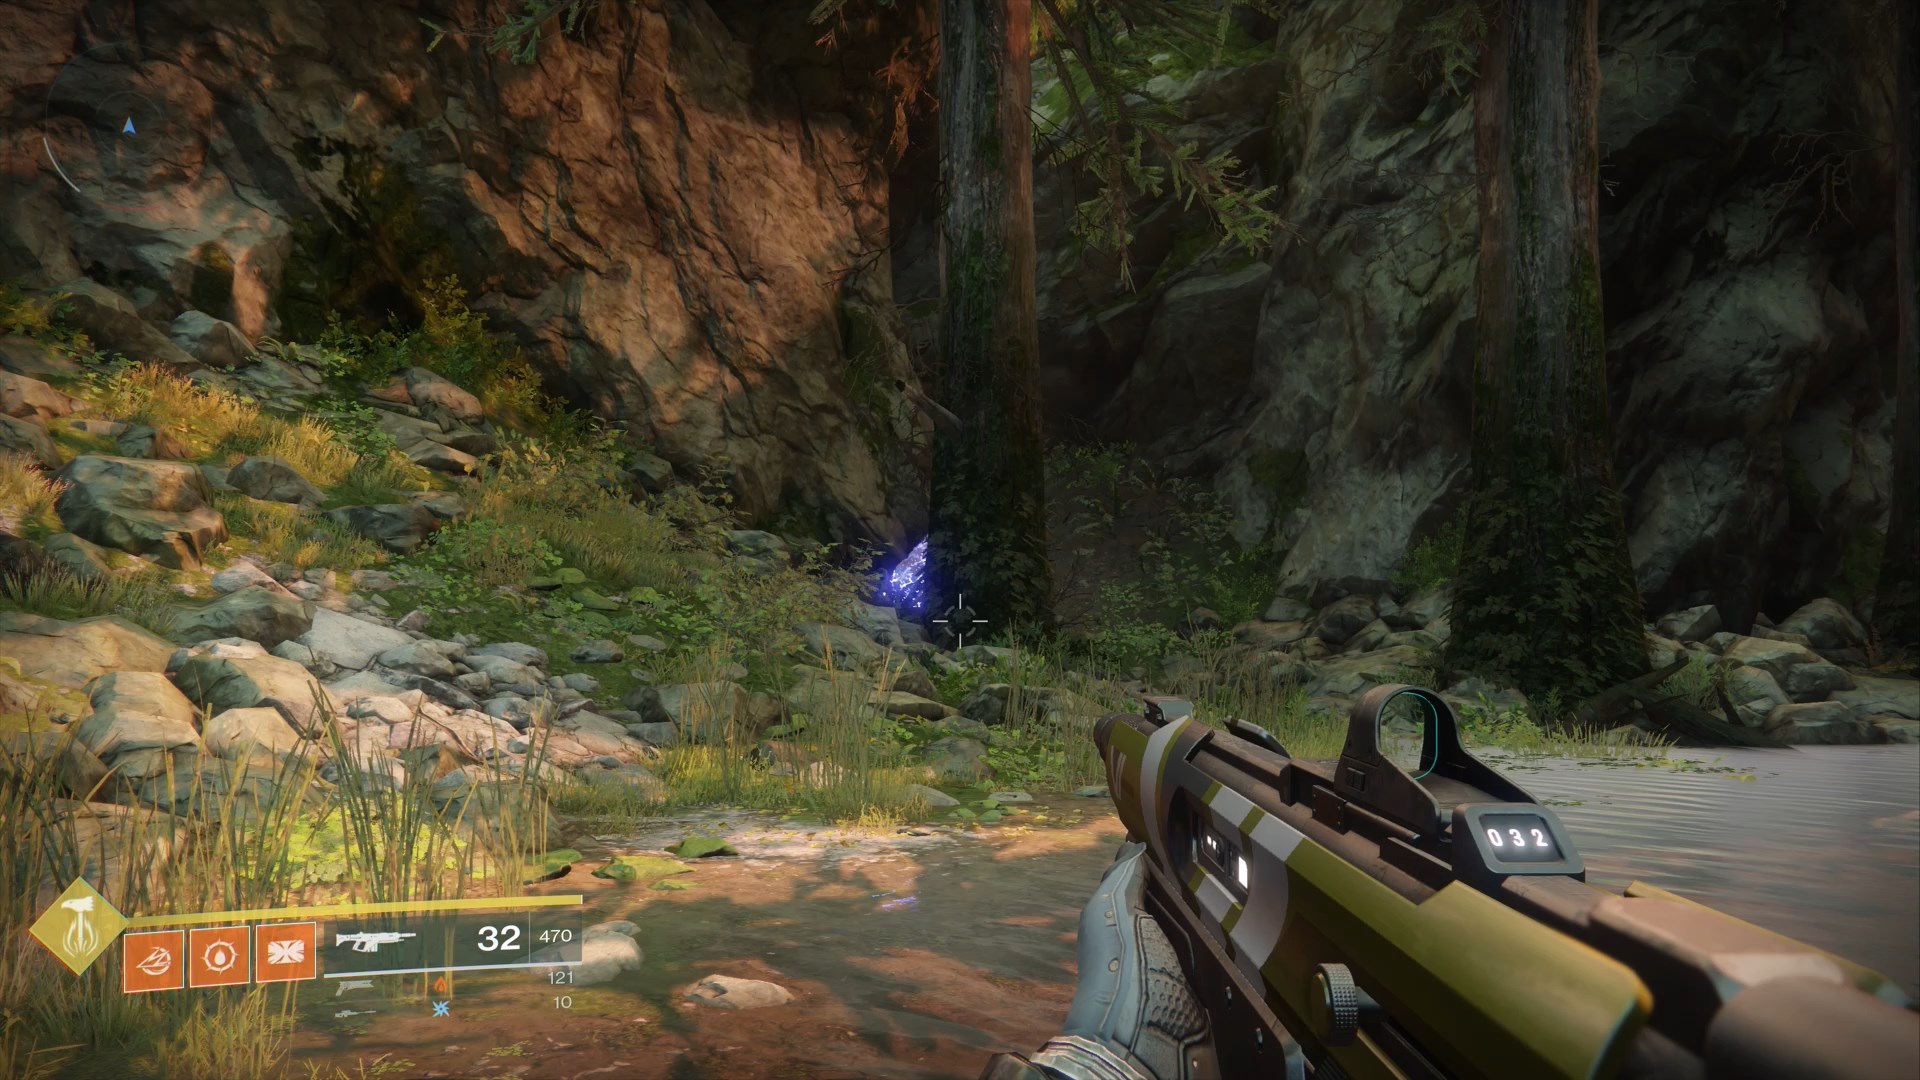
1) In the Northeast corner of The Sludge, you'll find this scannable blue crystal behind a tree.
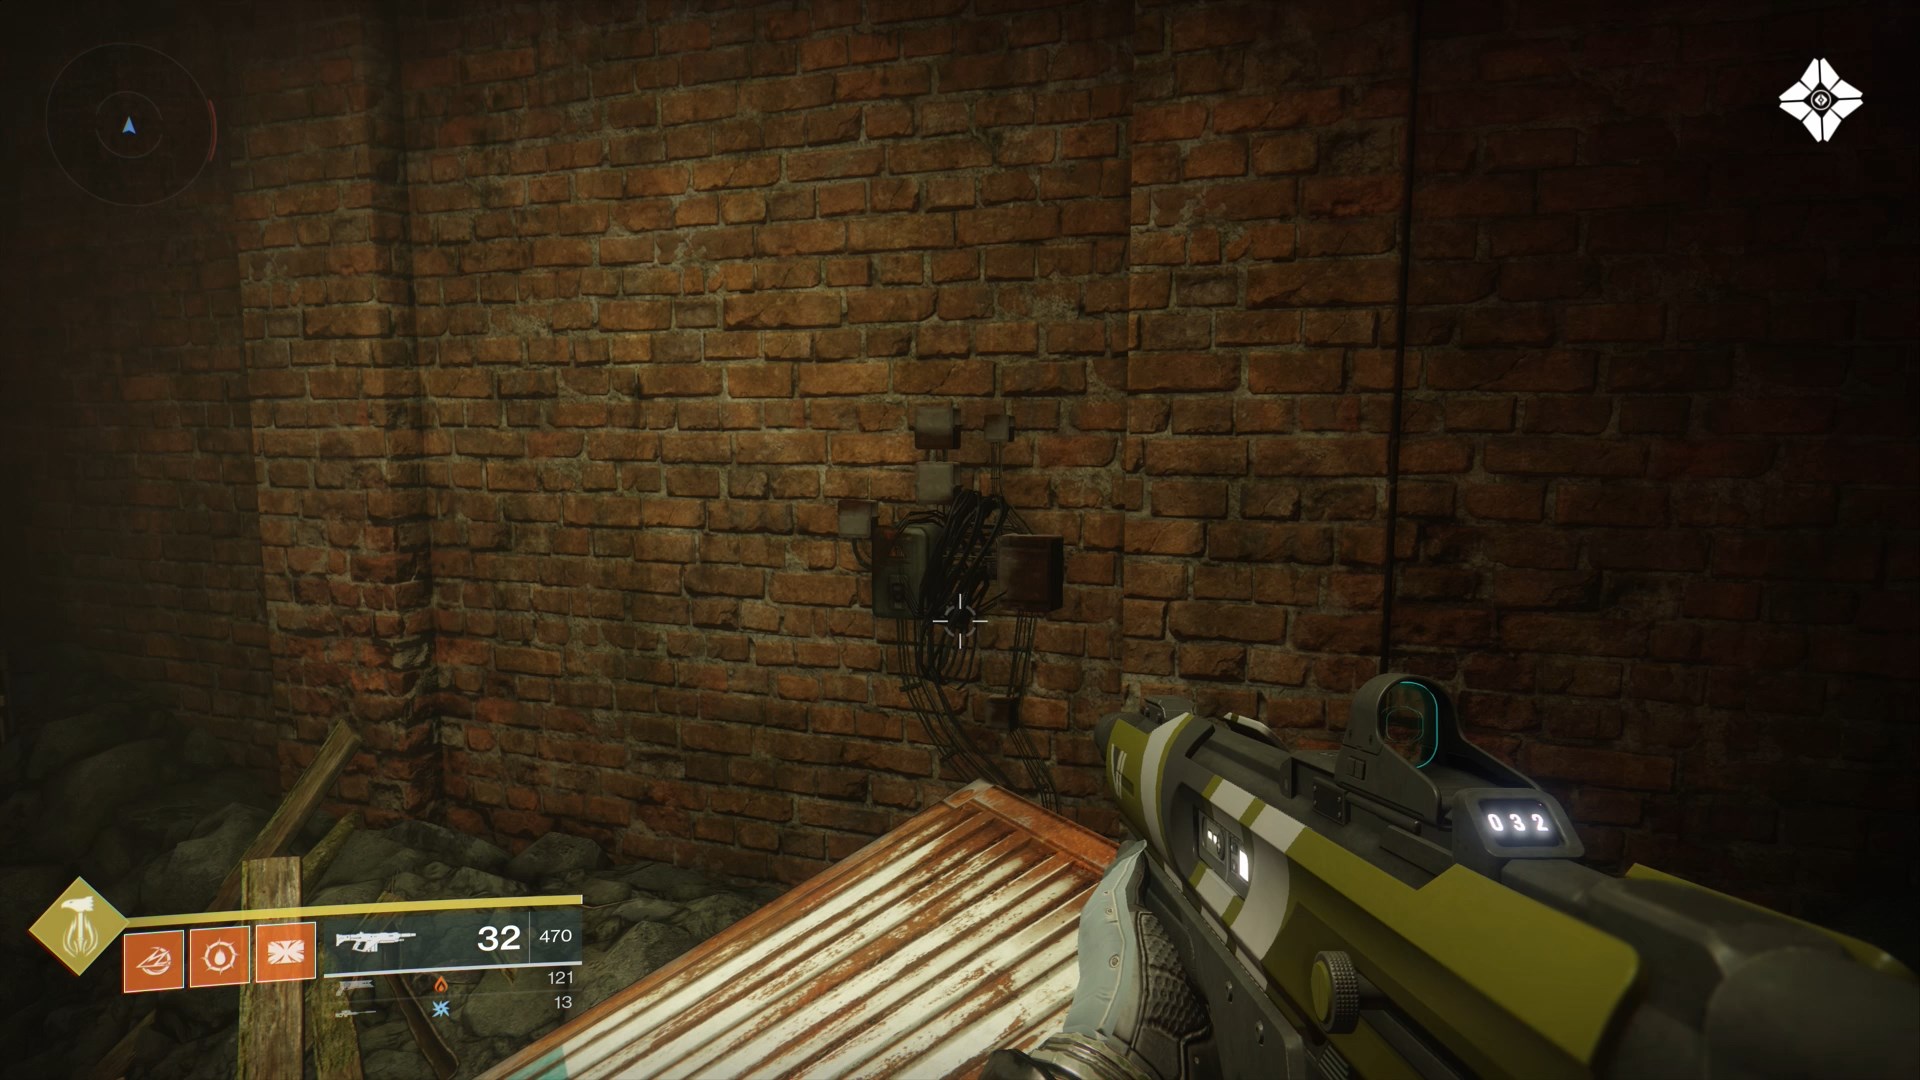
2) In the southeast corner of the map, you'll find a slightly ajar door set in a brick wall under a sign reading "Salzwerk Trostland." Go through the door and scan the junction box on the southern wall.
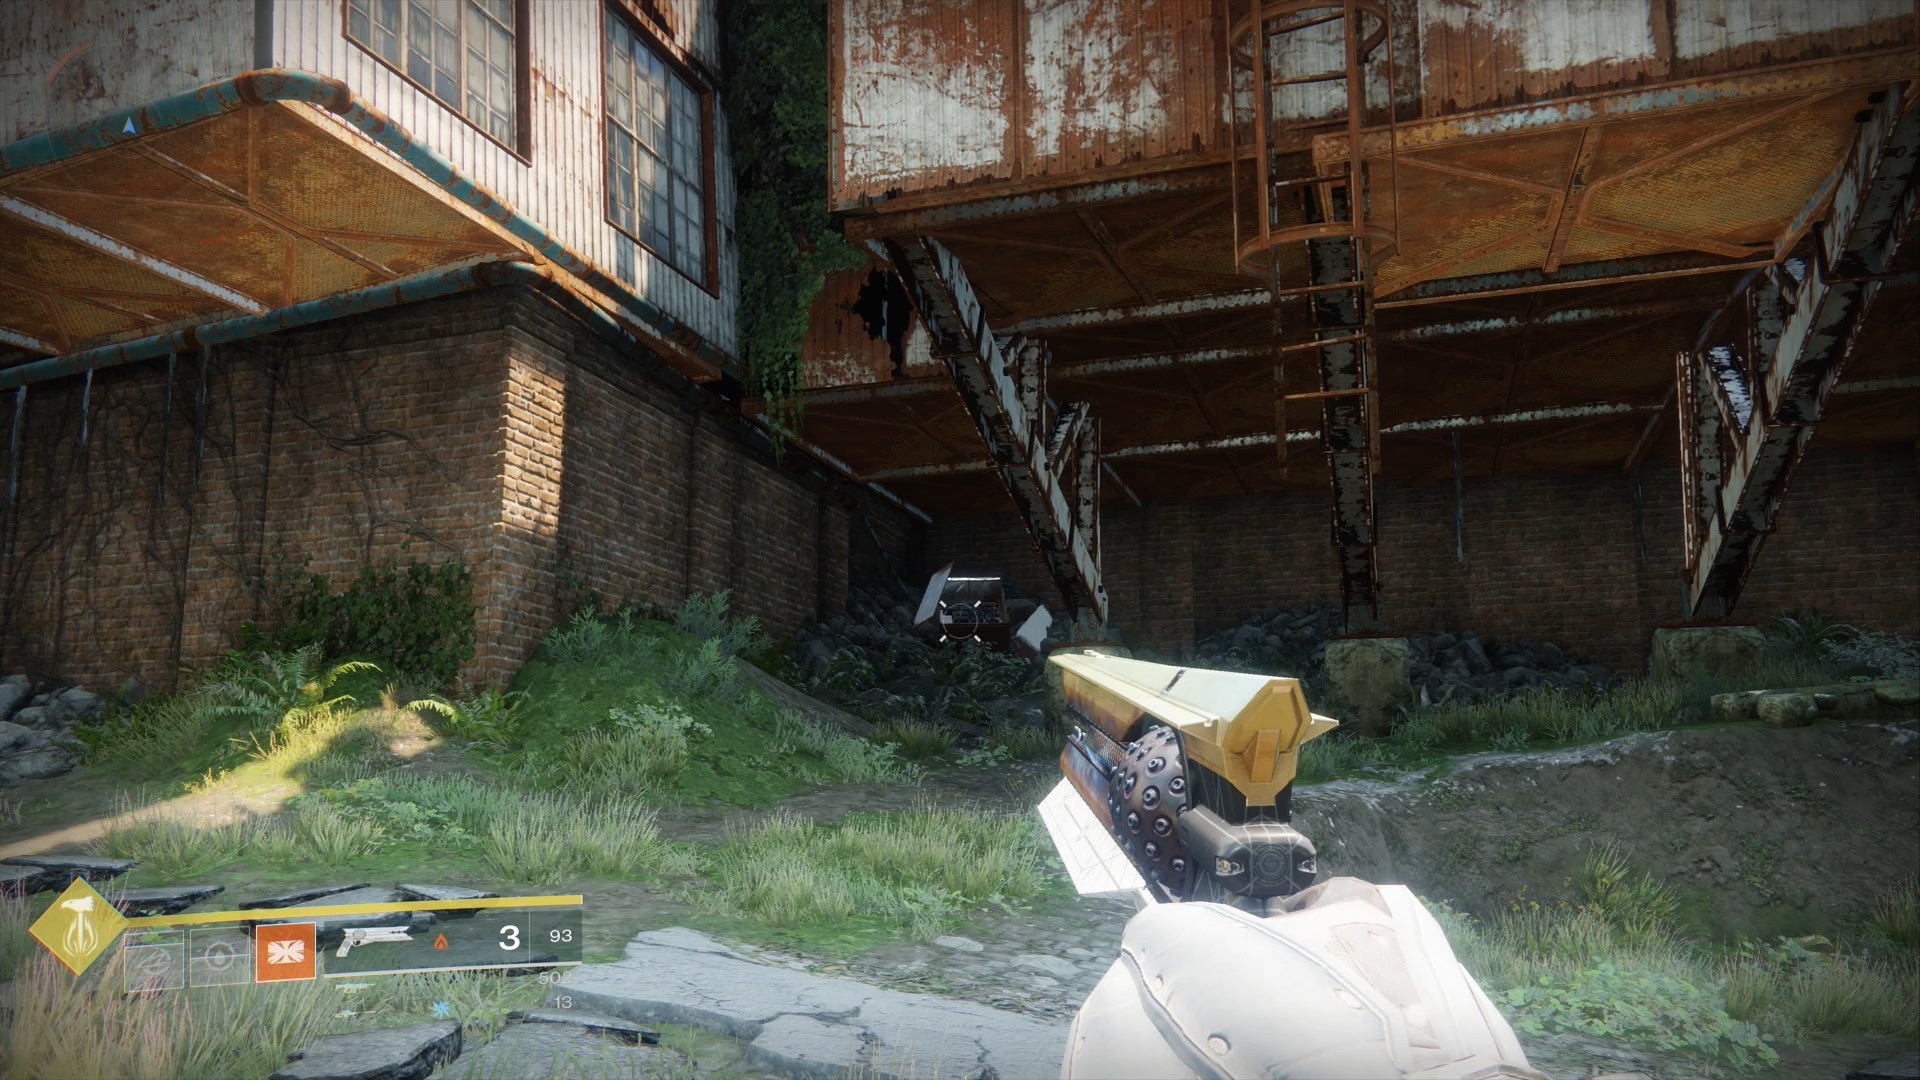
3) Just a bit east of scannable object #2, you'll find a thing that looks like a tipped over refrigerator under a series of columns supporting a sheet metal building. You can scan it.
Winding Cove
Scannable Objects: 2
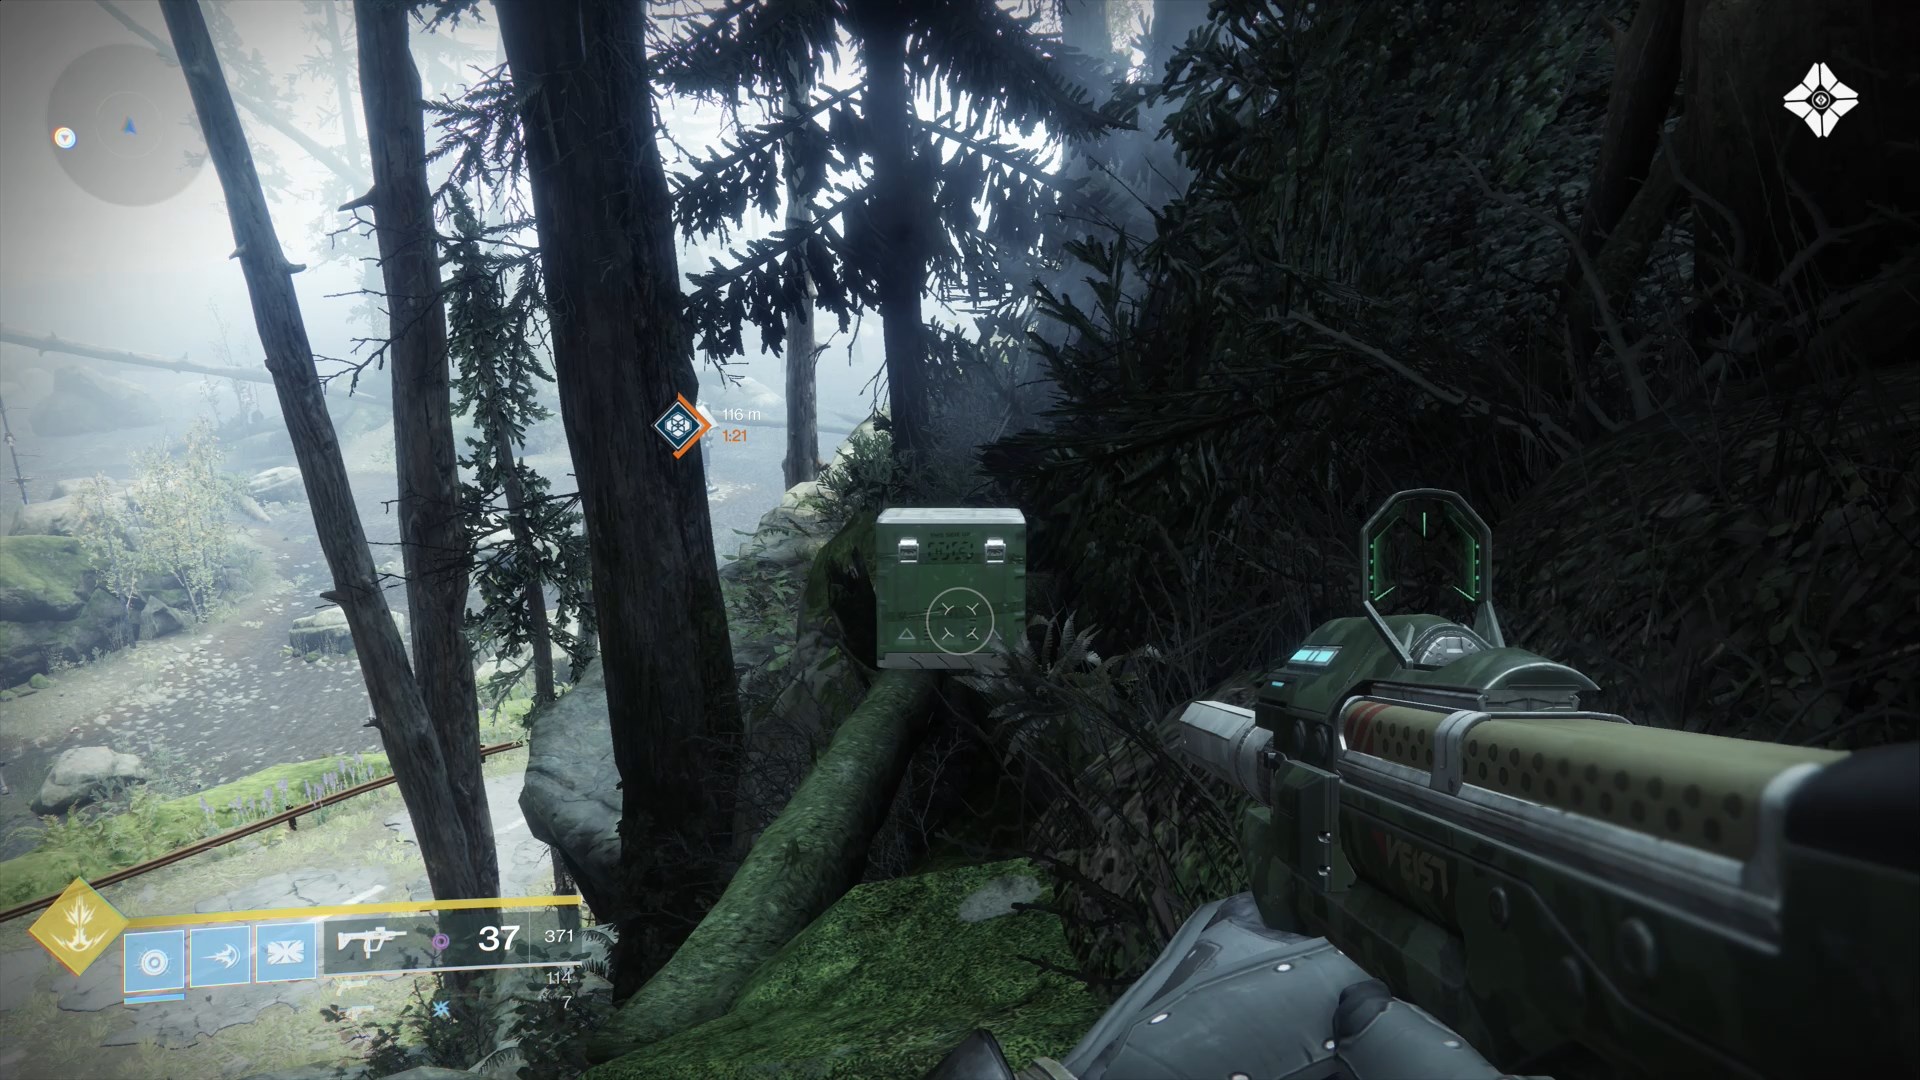
1) If you imagine Winding Cove as a "W," you'll find this scannable crate about halfway up the west side of the middle point.
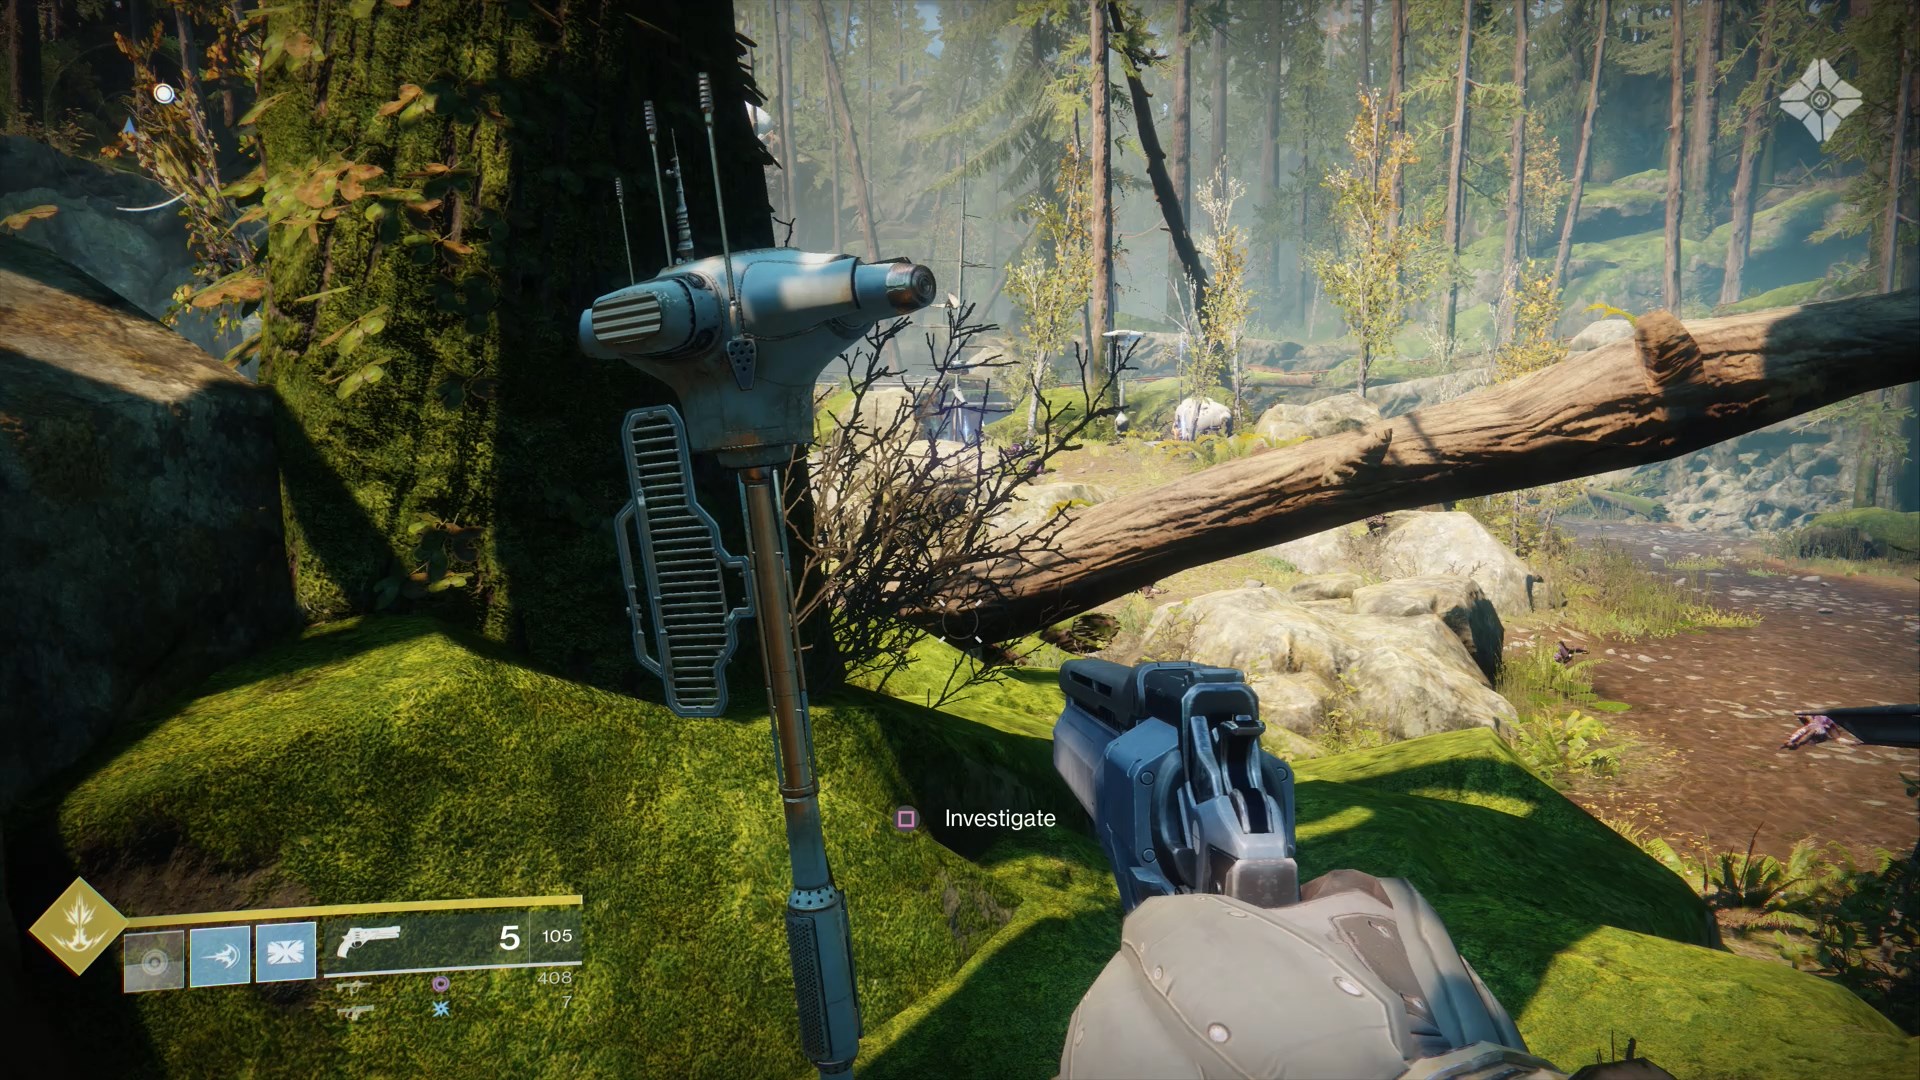
2) On the large island in the middle of the region you'll find a small antenna you can scan on the North side.
The Gulch
Scannable Objects: 3
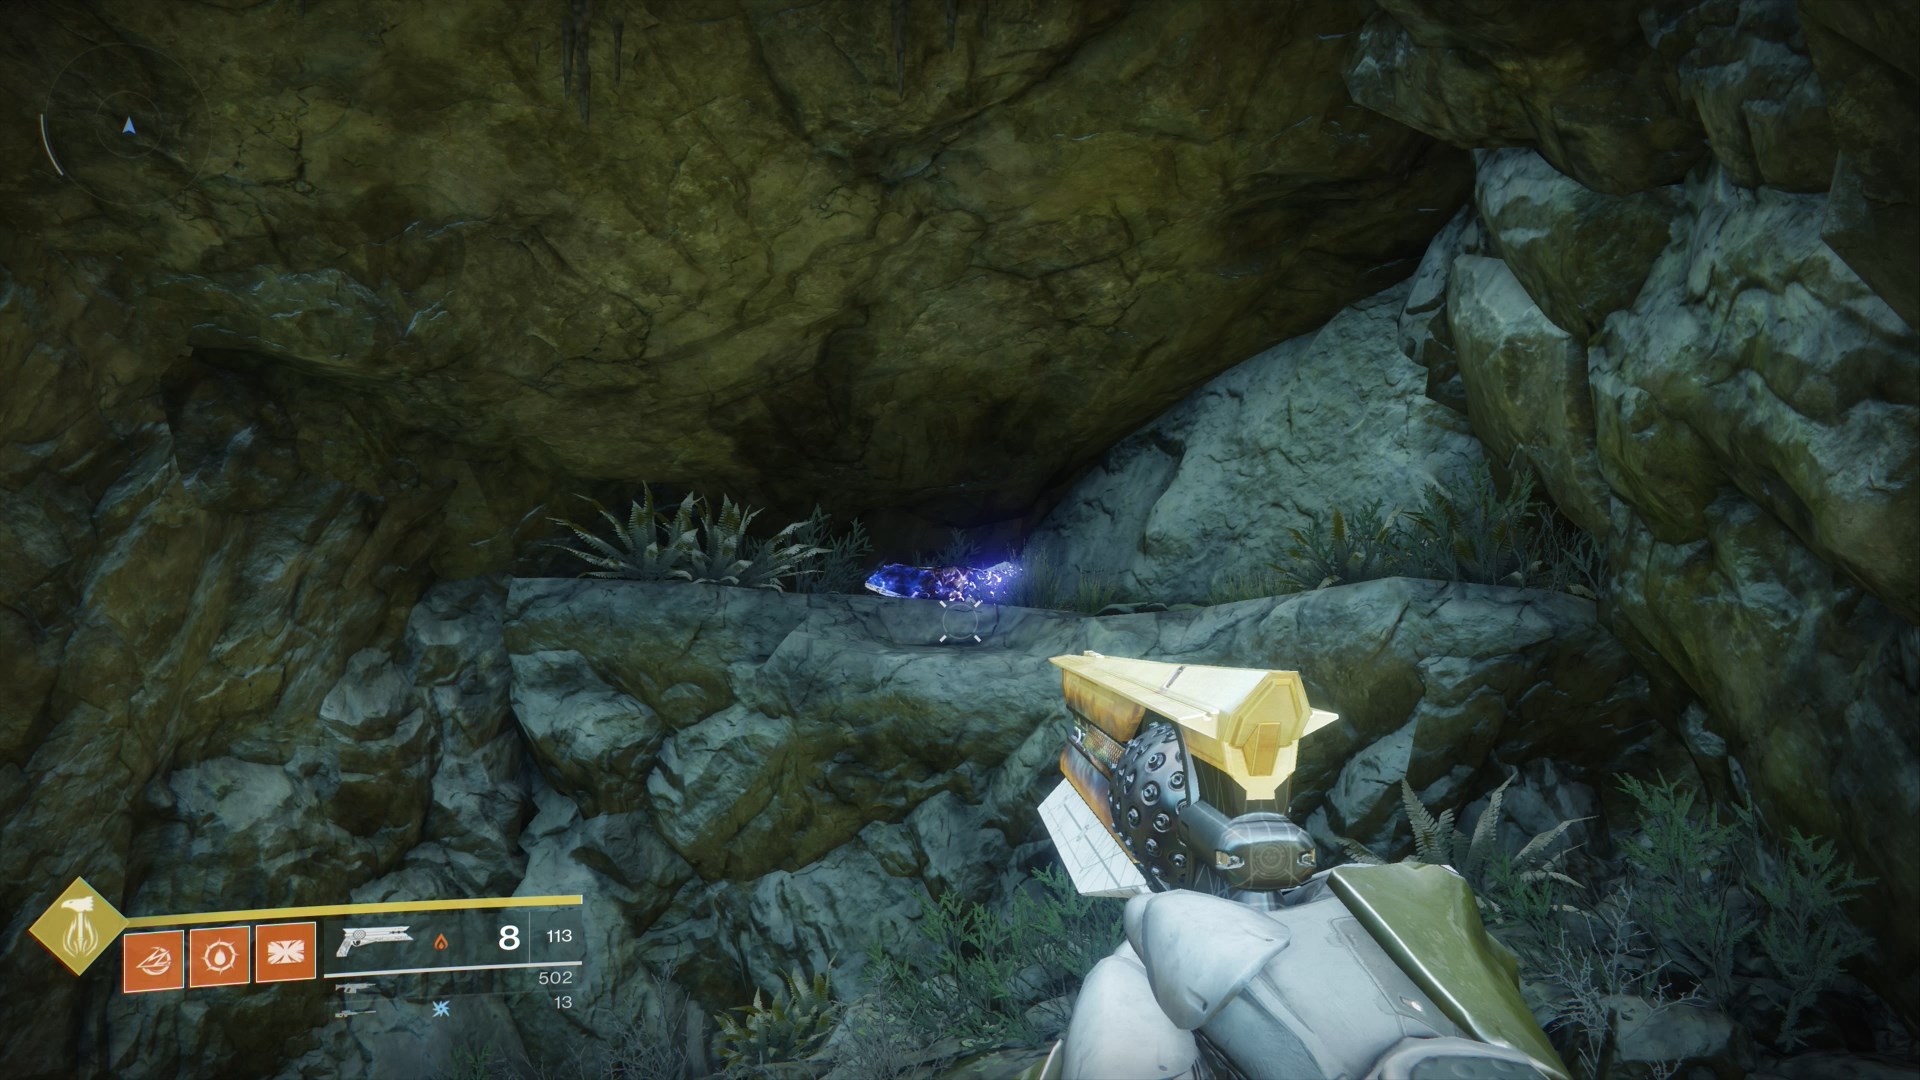
1) In the northwest part of The Gulch you'll find a small cave. Inside the cave is a glowing rock you can scan.
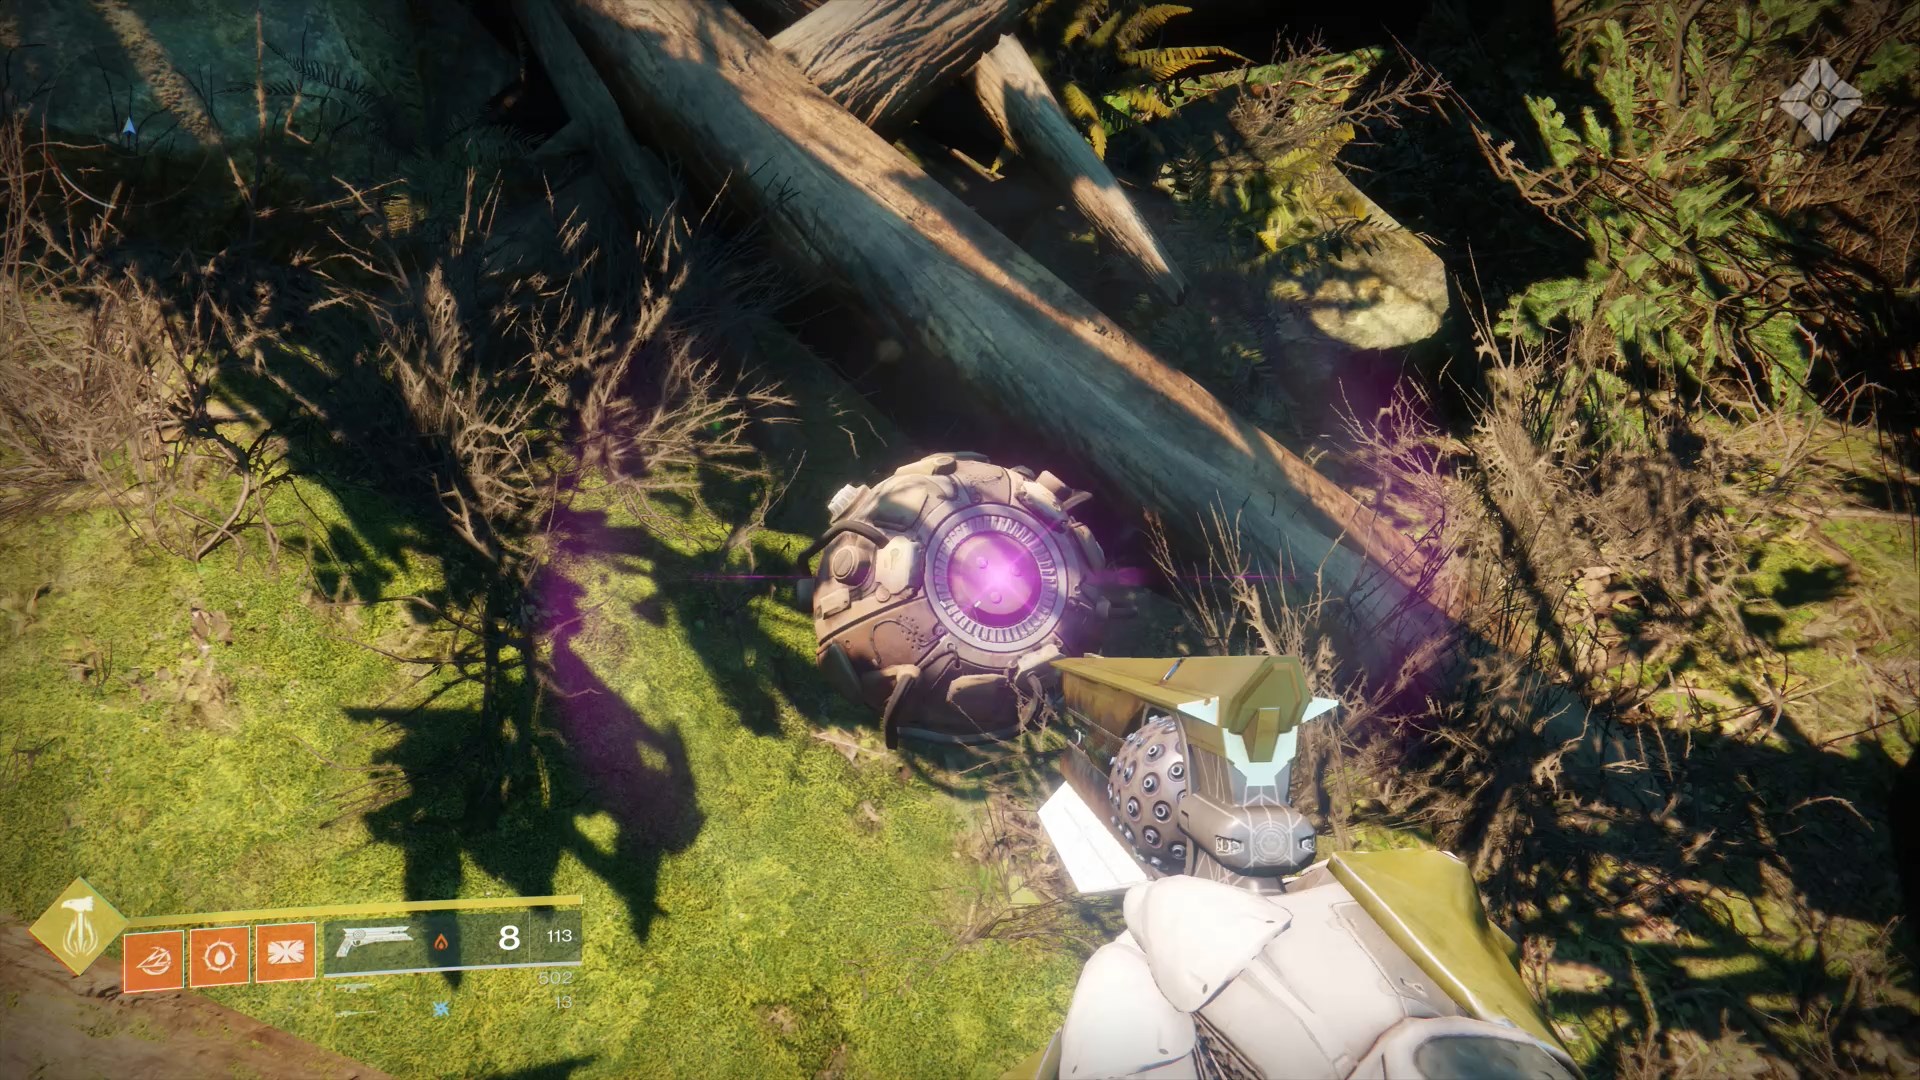
2) Just a little further north than you found the first scannable is a purple sphere hidden amongst some timber.
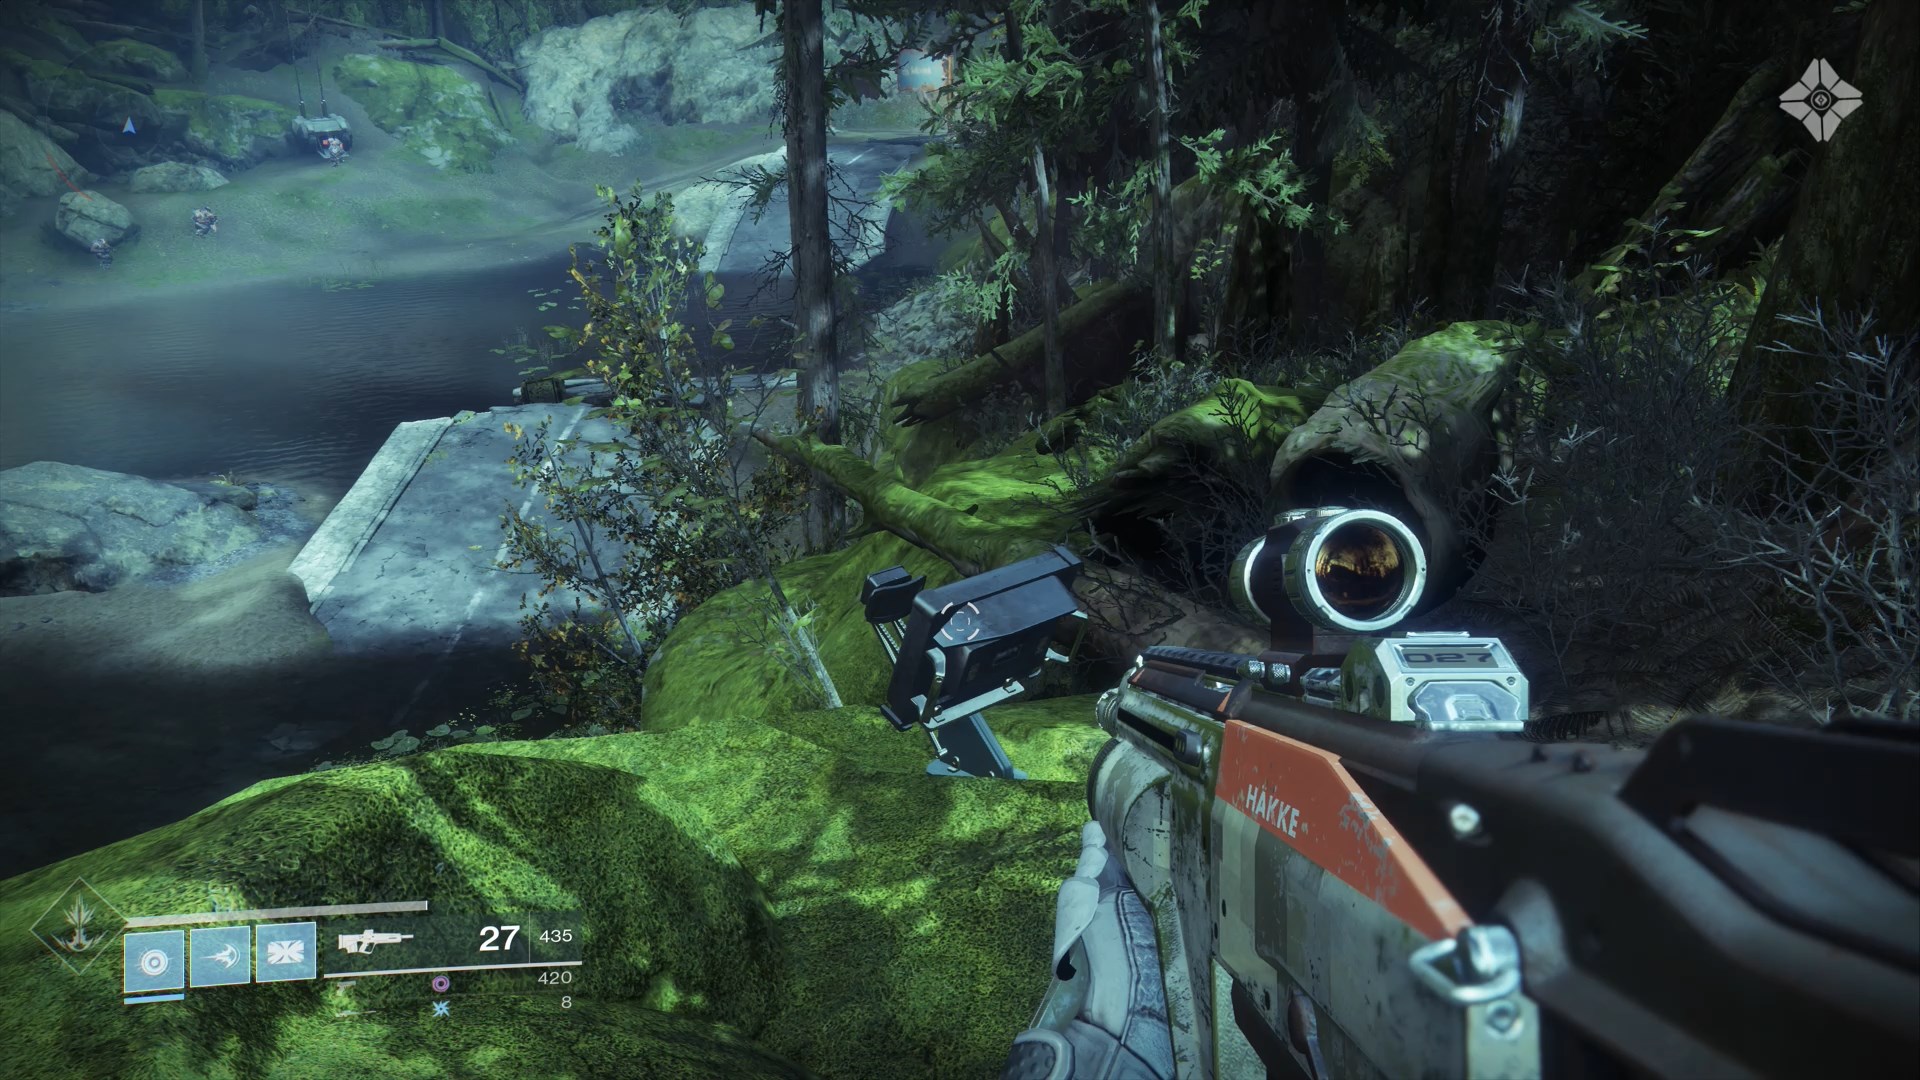
3) On the west side of The Gulch, you'll find a huge tunnel entrance that leads to an area called The Tunnels. Directly opposite it, on the east side of The Gulch, you'll find a small radar dish you can scan up on the cliff.
The Tunnels
Scannable Objects: 2
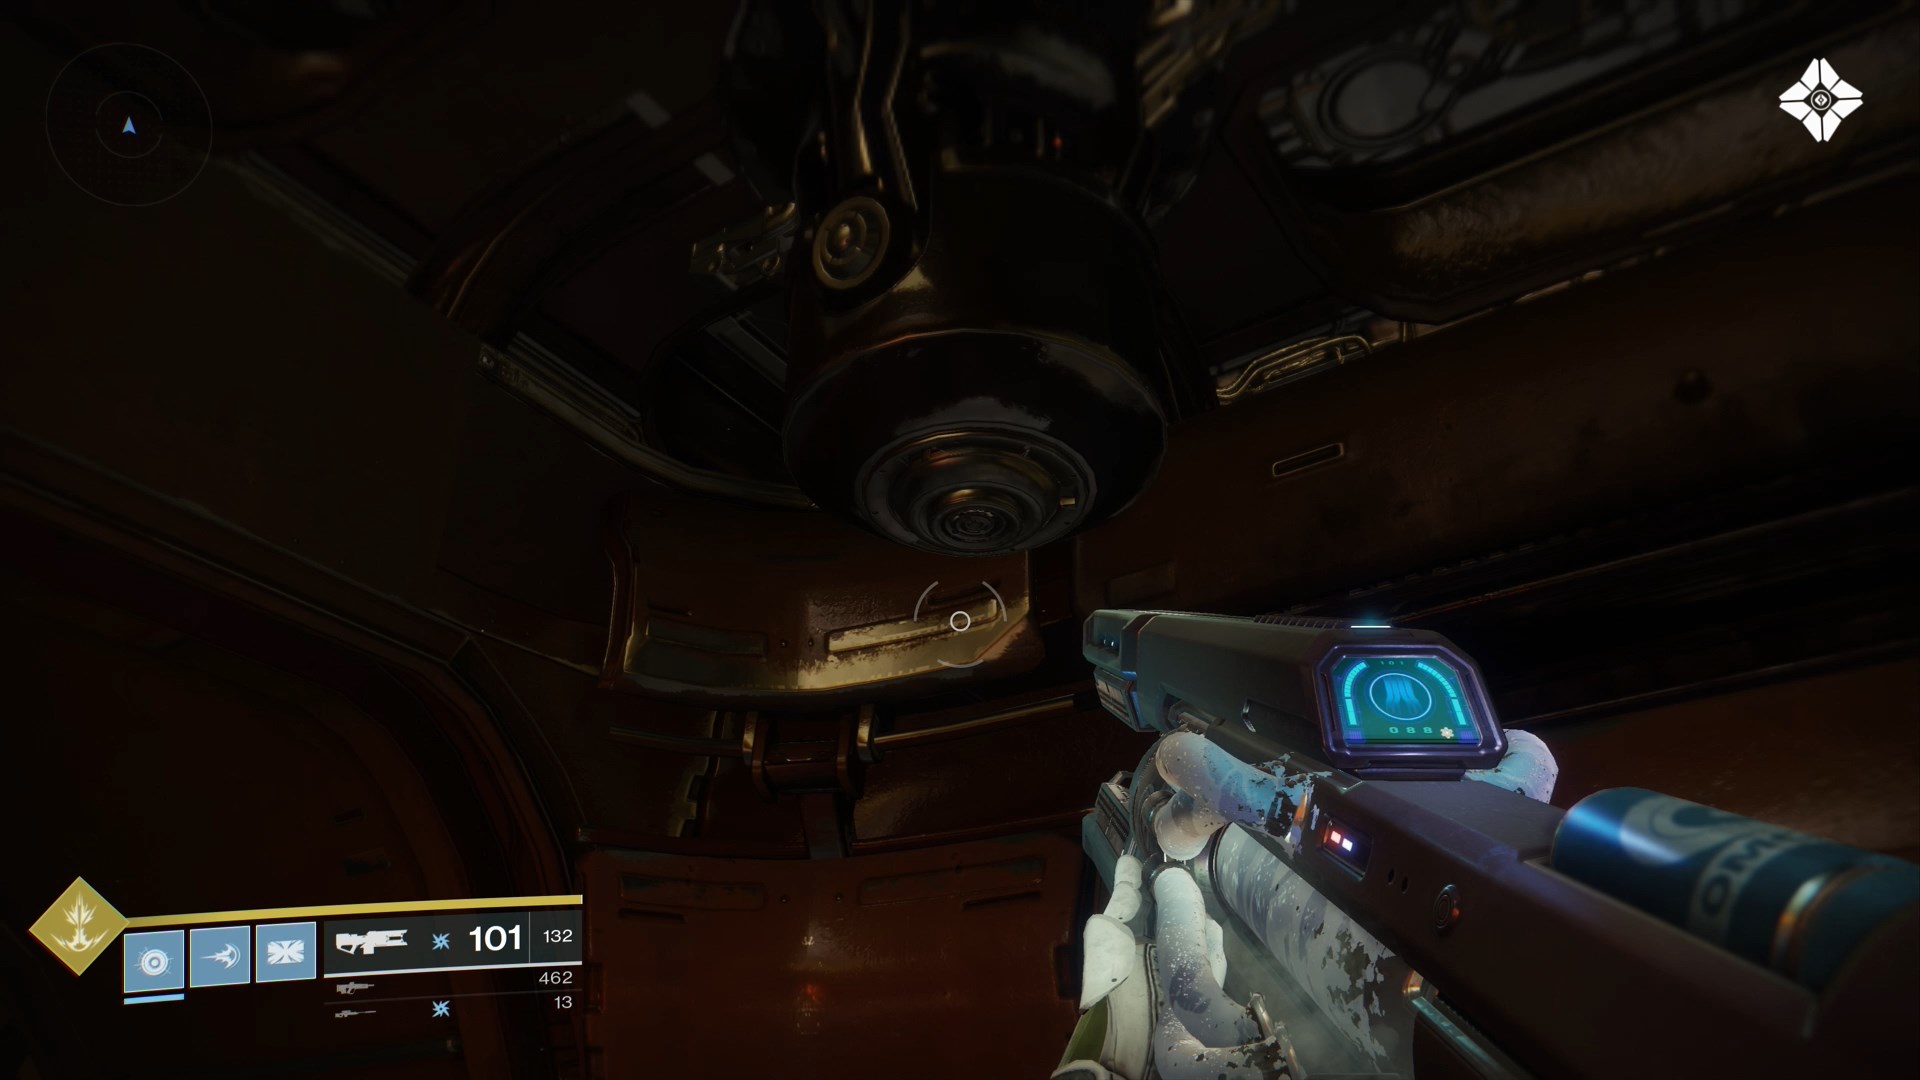
1) Coming from The Gulch, when you reach the first fork head right. Proceed until you reach the area with two big circular tunnel doors. You'll find the scannable, a black cylinder anchored to the ceiling in an alcove near one of the giant doors.
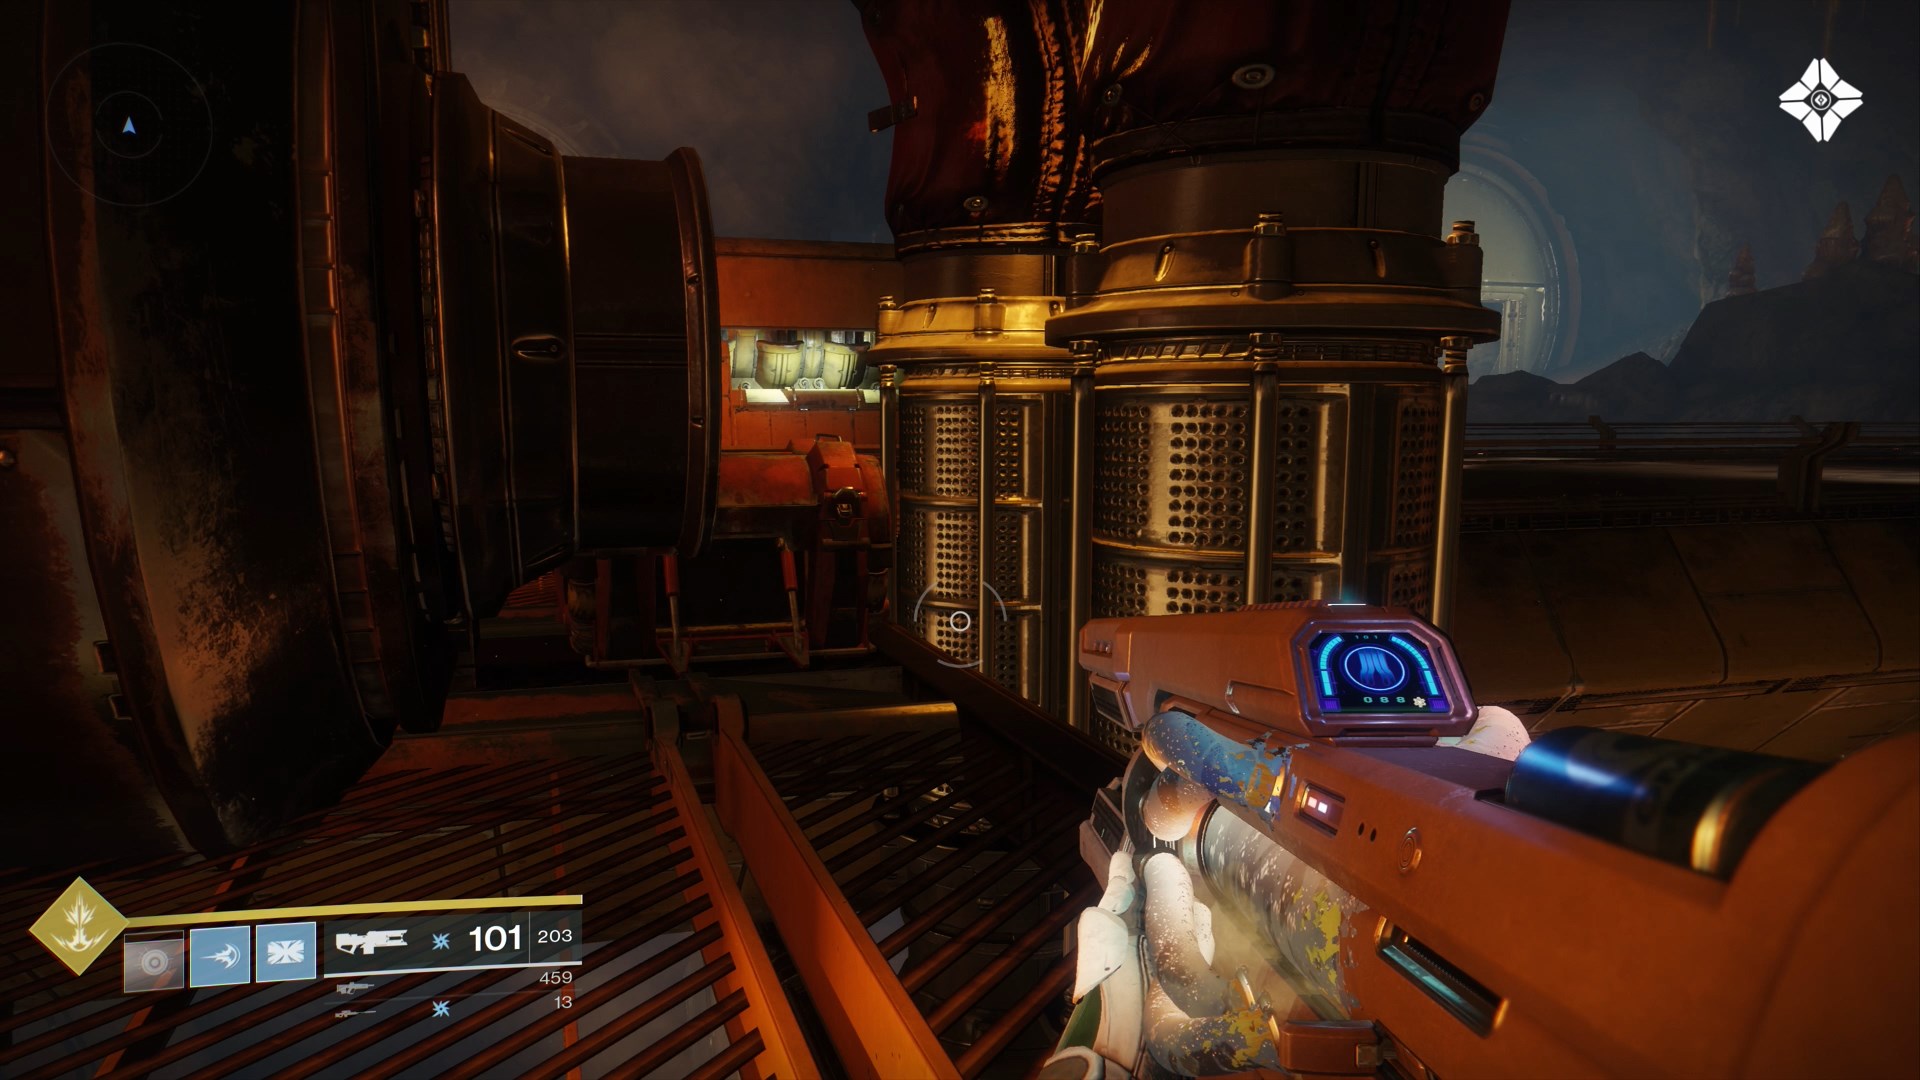
2) Coming from The Gulch, keep left at the fork. You'll reach an area with two bridges. At their northern end between them you'll find a scannable behind two vertical pipes.
Firebase Hades
Scannable Objects: 4
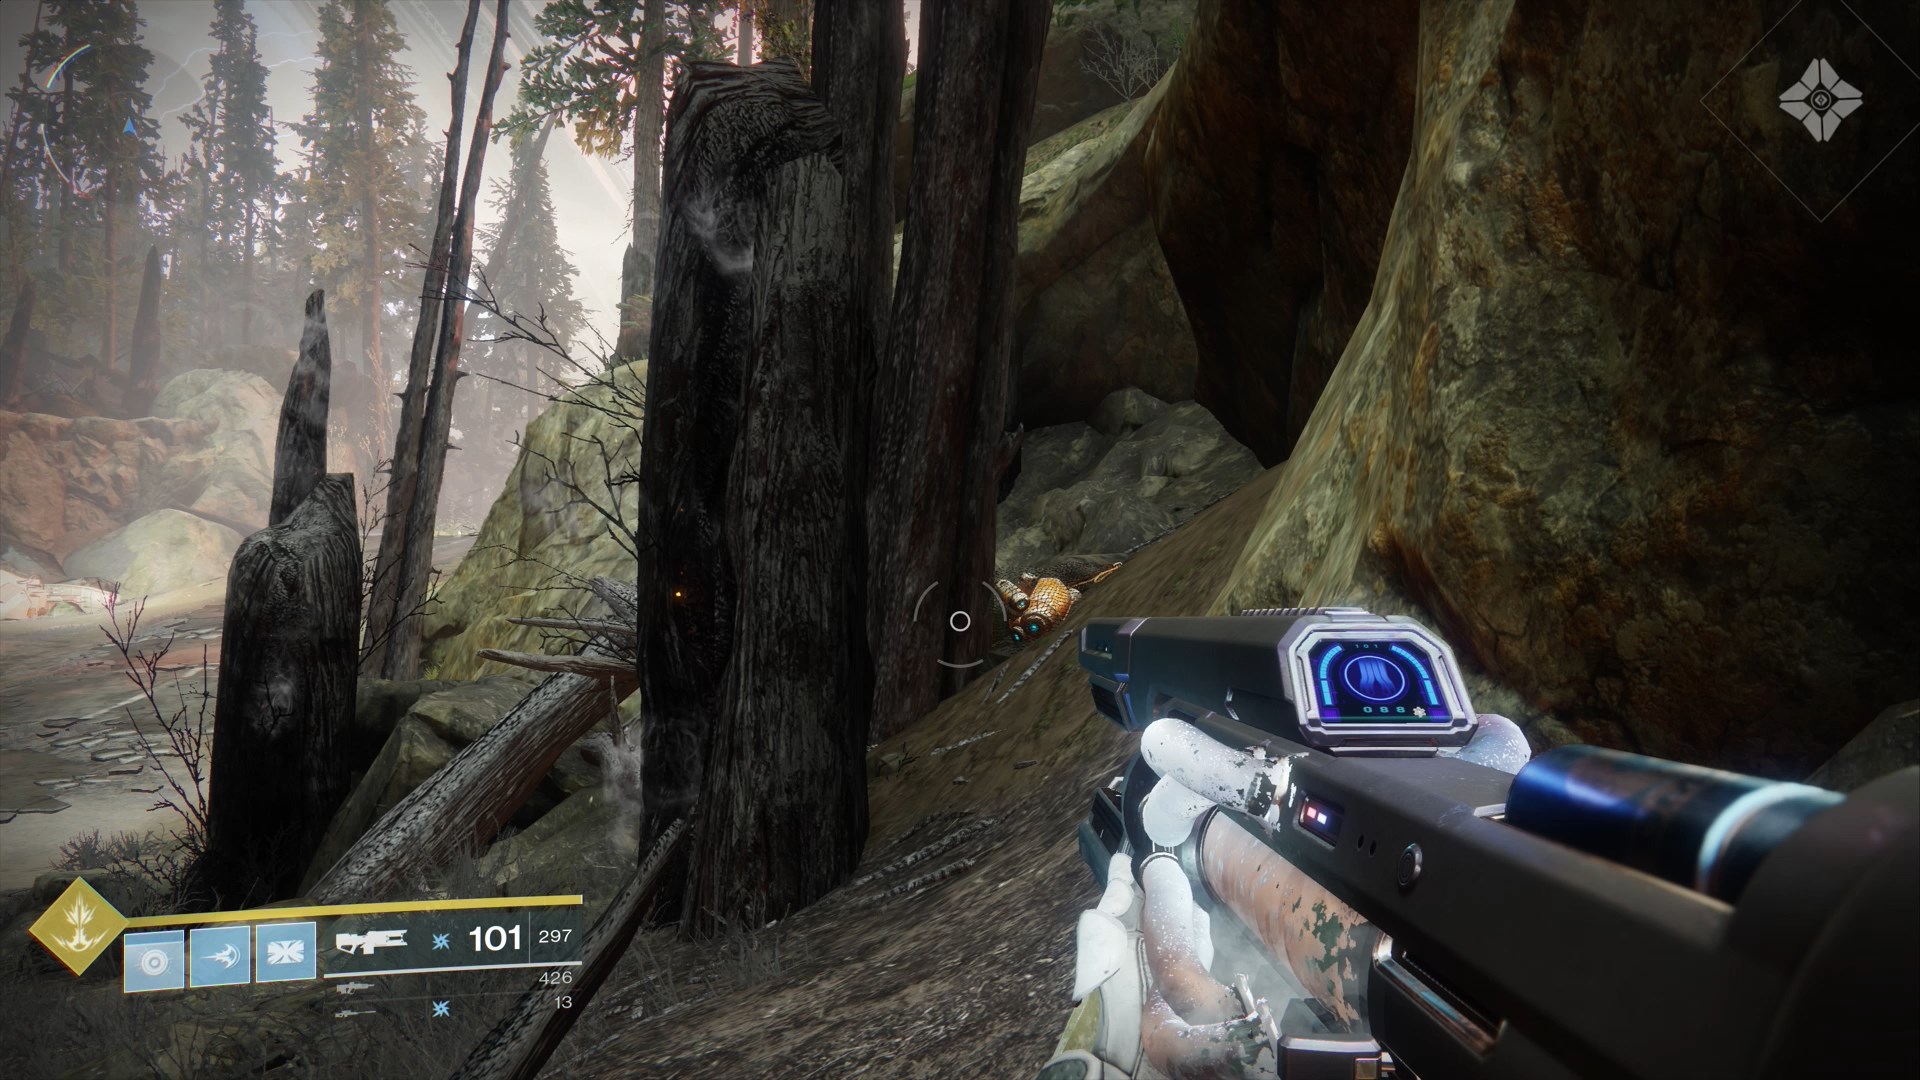
1) In the northeast near the road coming from The Gulch, you can find a copse of smoldering trees. Hidden among them is a scannable object.
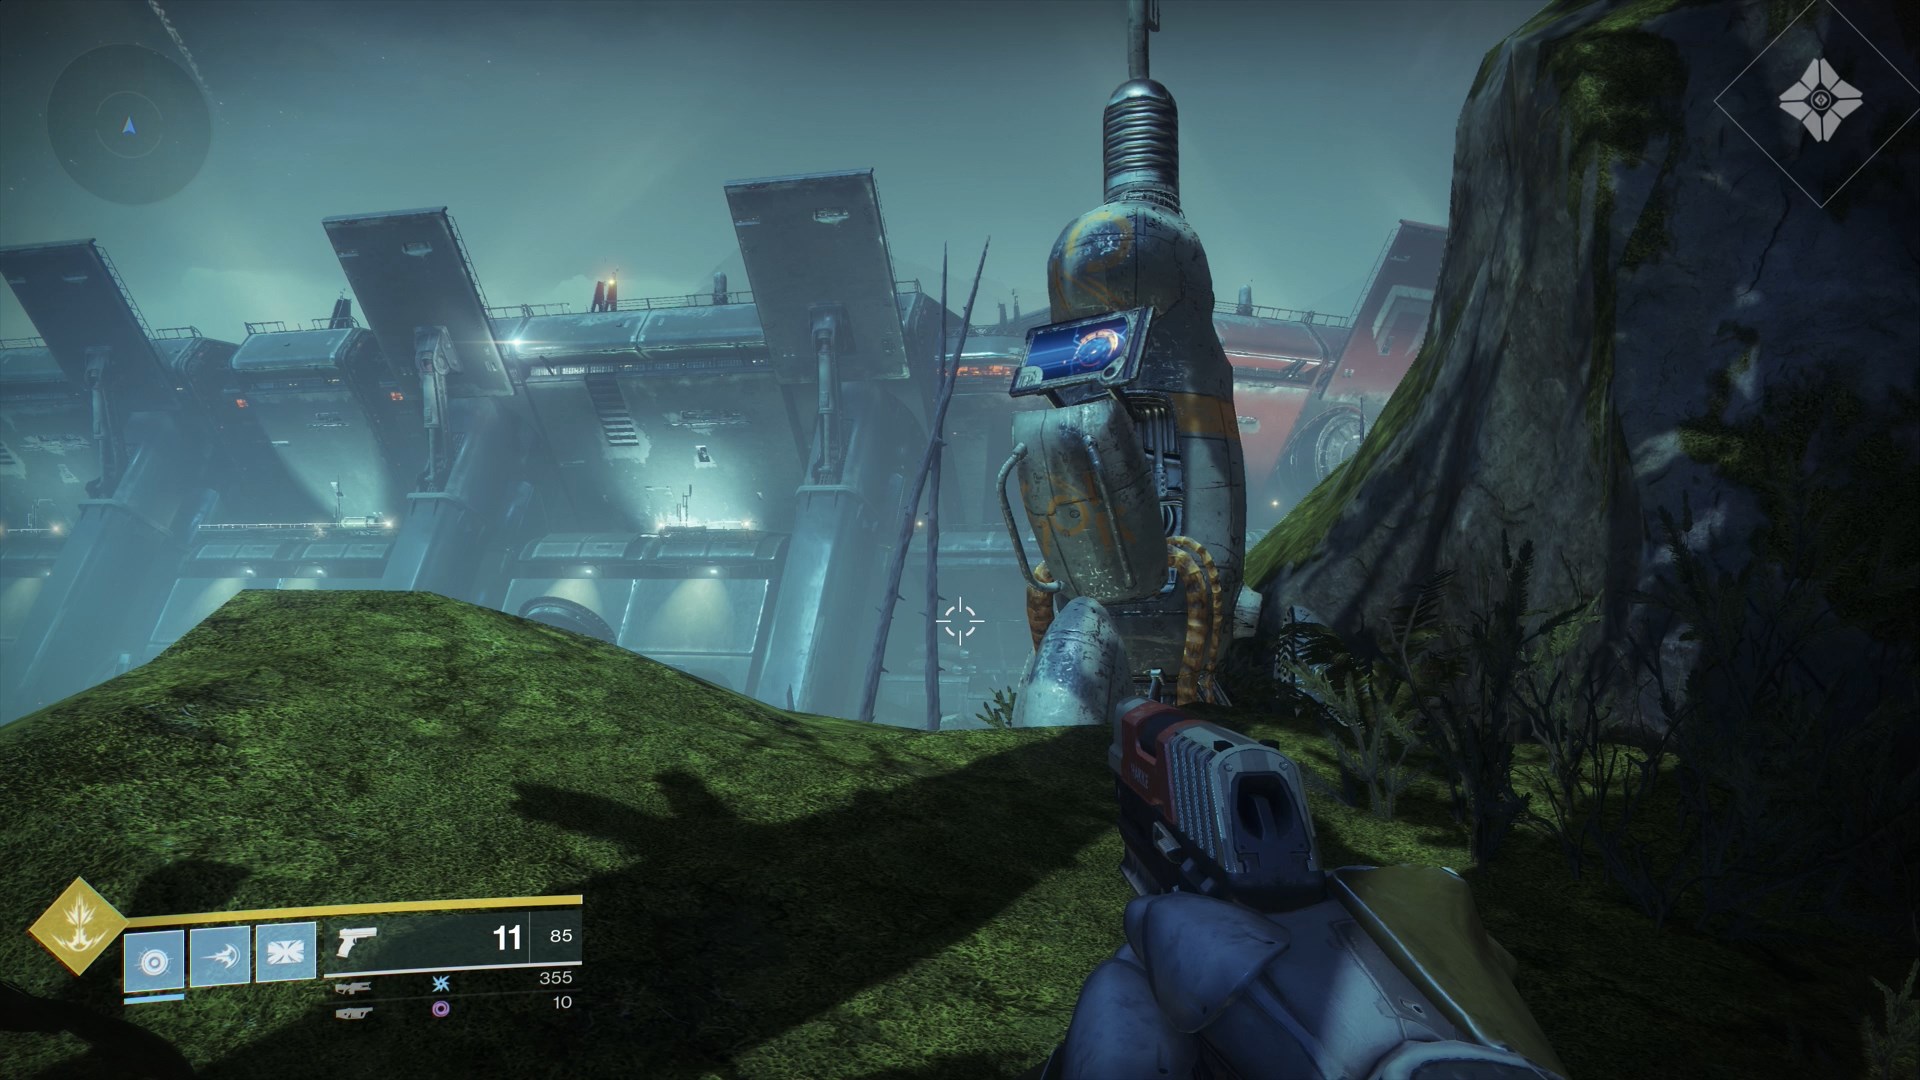
2) Go to the southern part of the area on the road towards Winding Cove. At the point where the road curves east, look up on the cliff. You'll see a large antenna you can jump to and scan.
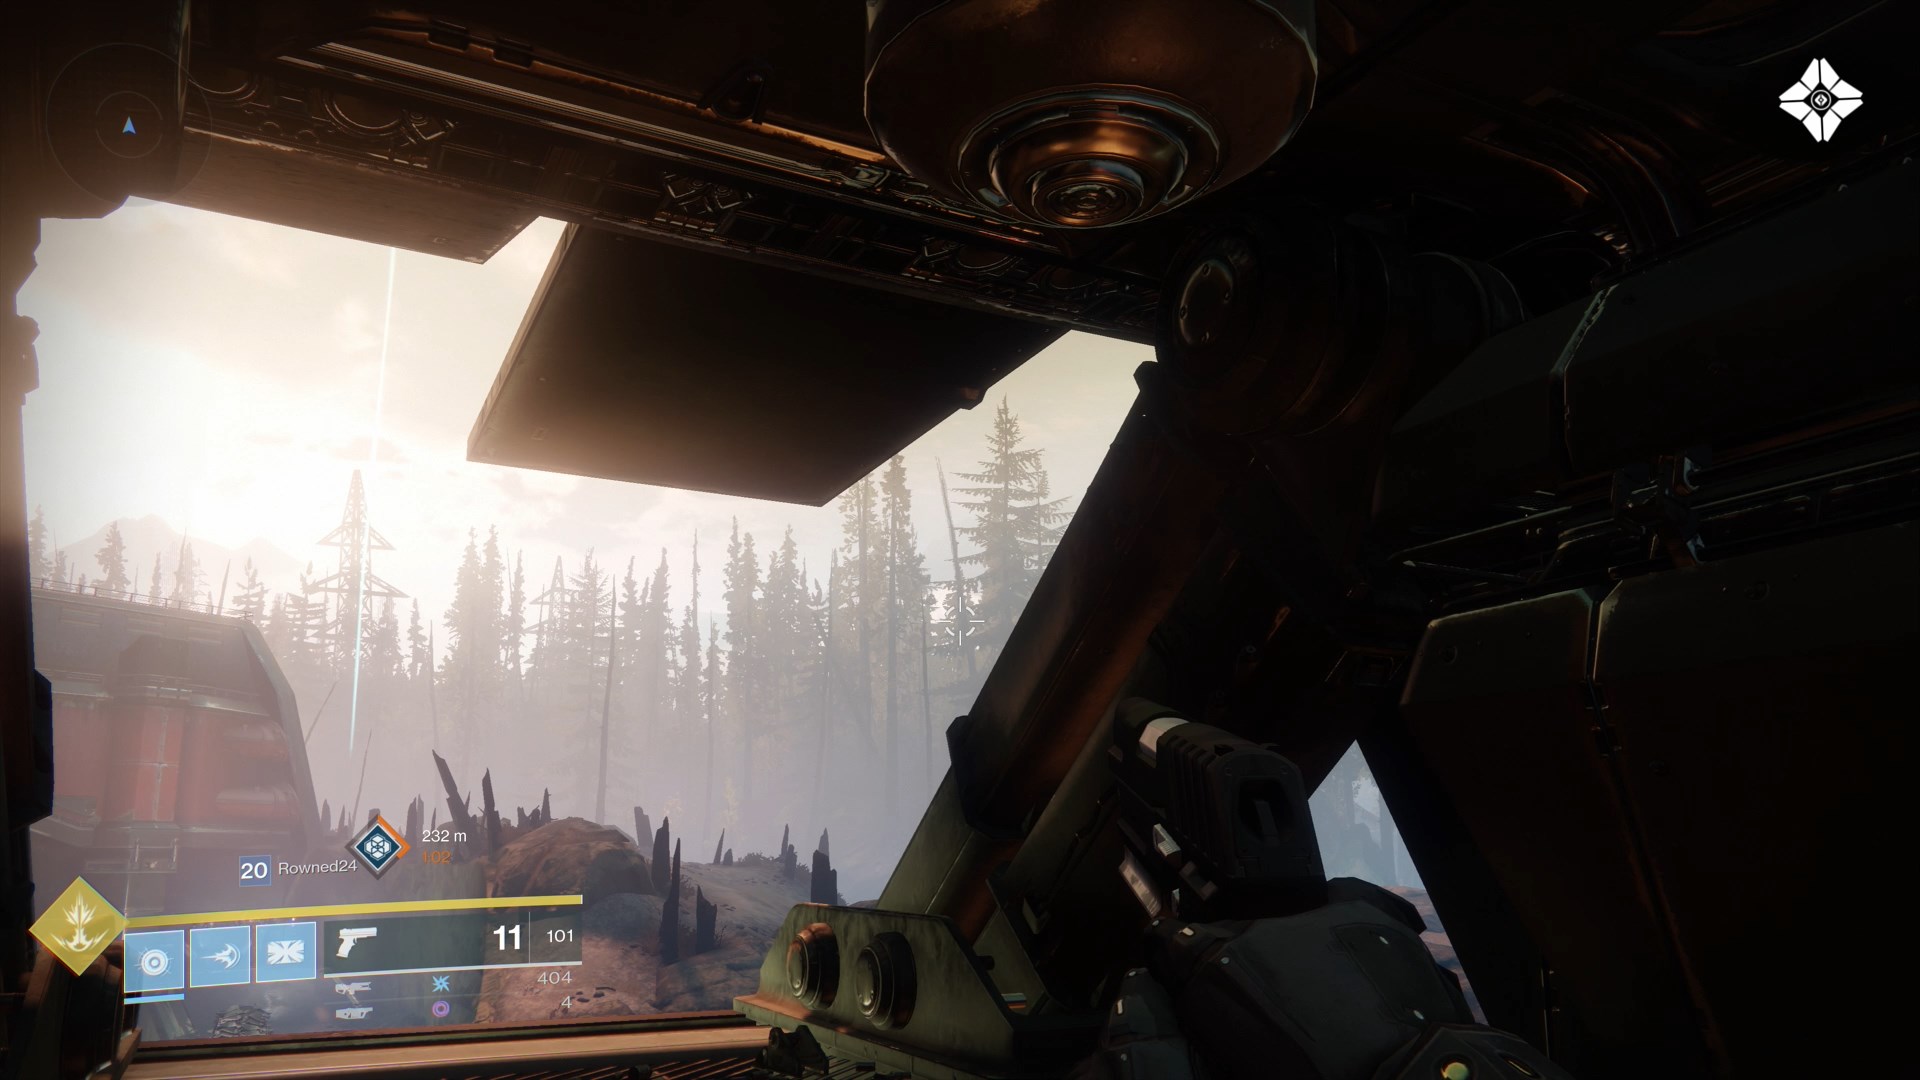
3) There are a series of barriers in the southwest. Look for a set of three large missiles against a wall. Above the rockets will be a small platform. You can scan the large cylinder clamped to the ceiling here.
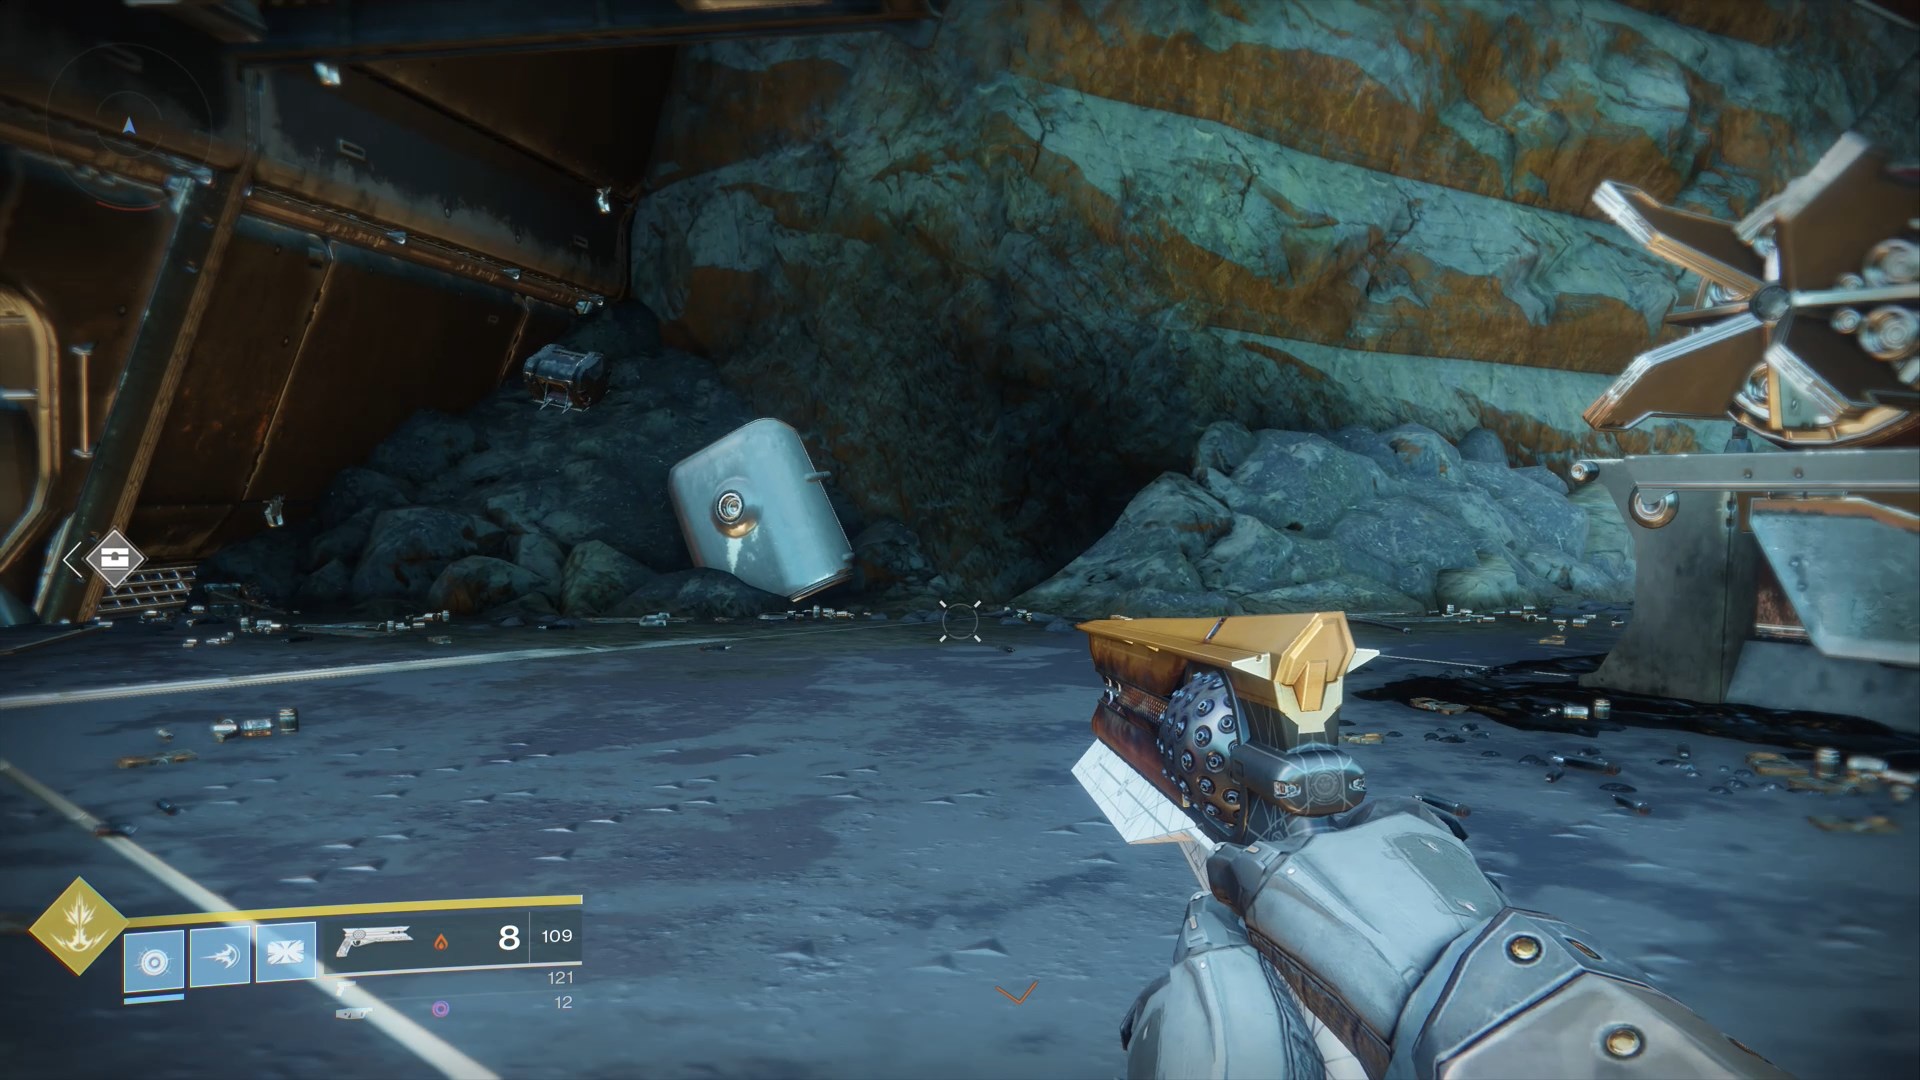
4) In the northeastern part of the area, look for another stack of missiles. Stuck up in a nearby corner is a container you can scan.
Sunken Isles
Scannable Objects: 3
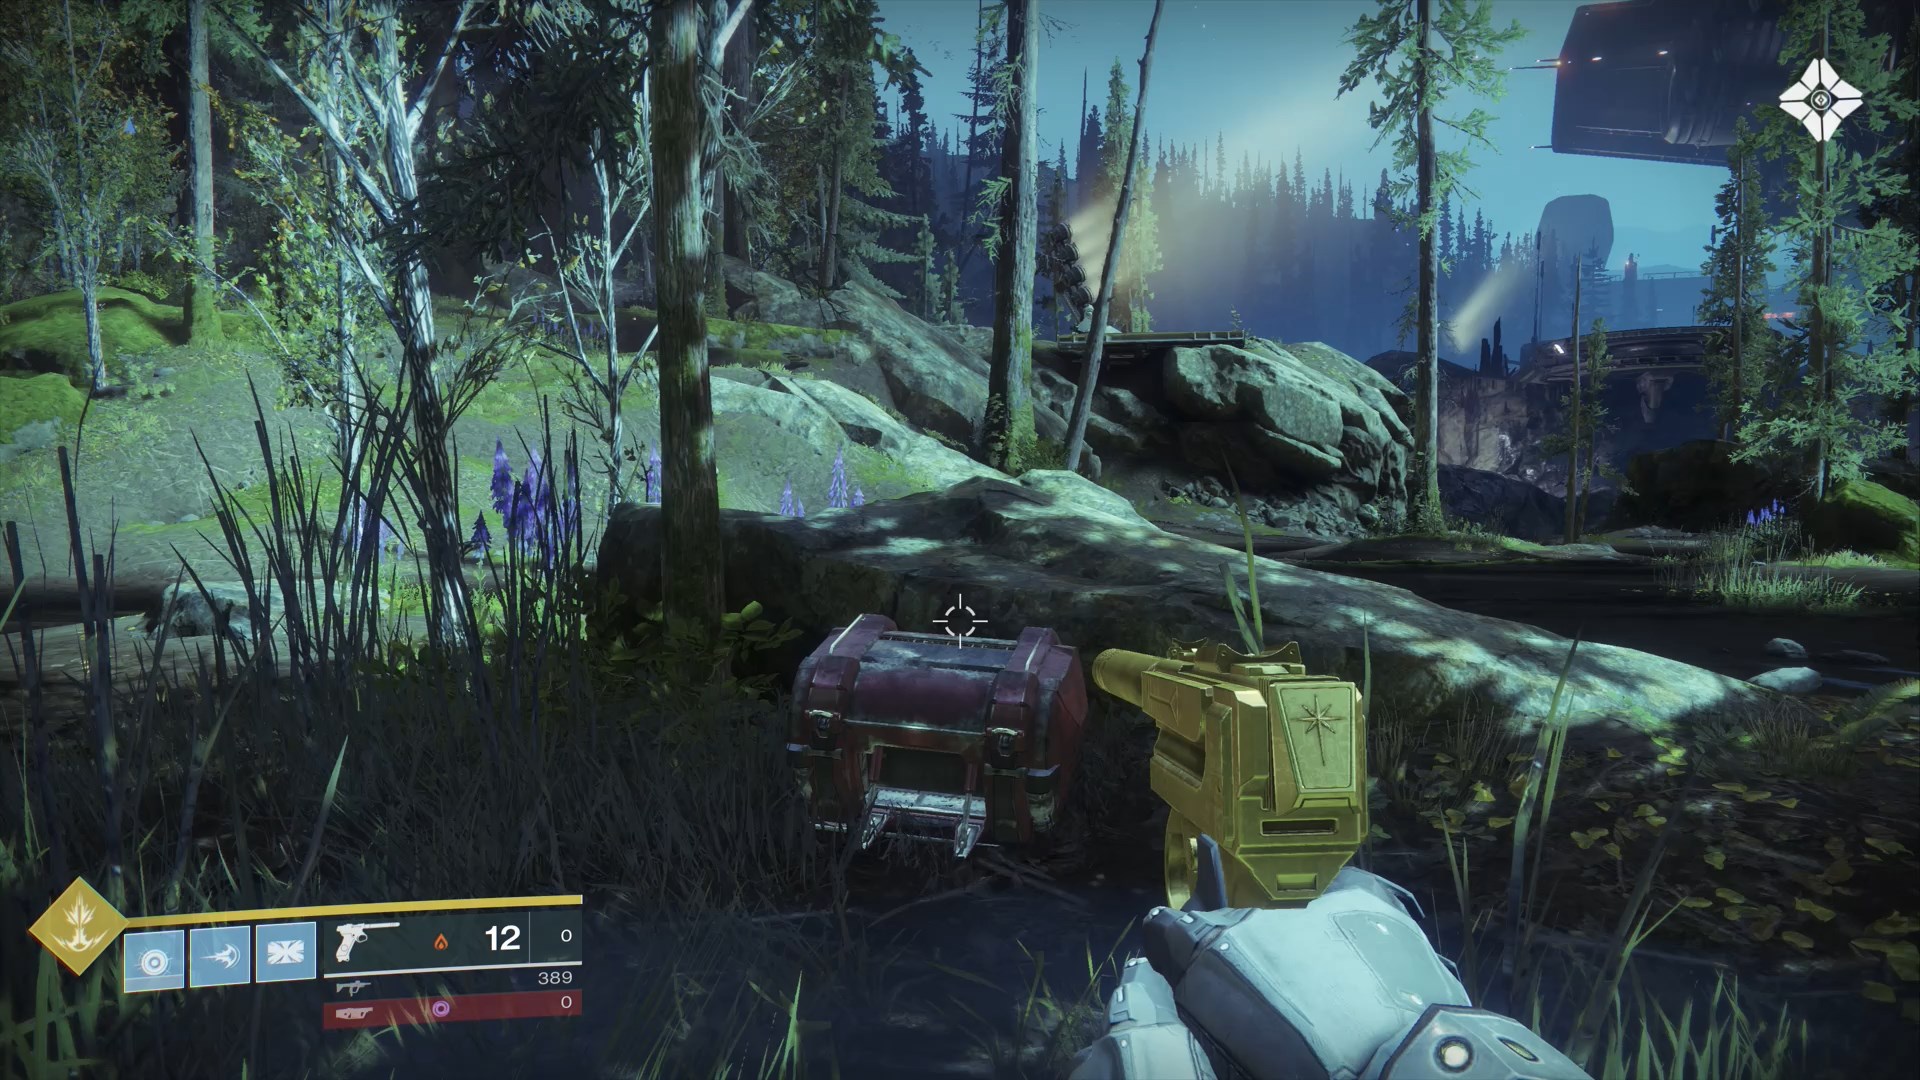
1) In the northeast of the area there's a very small island in the water with a red box you can scan.
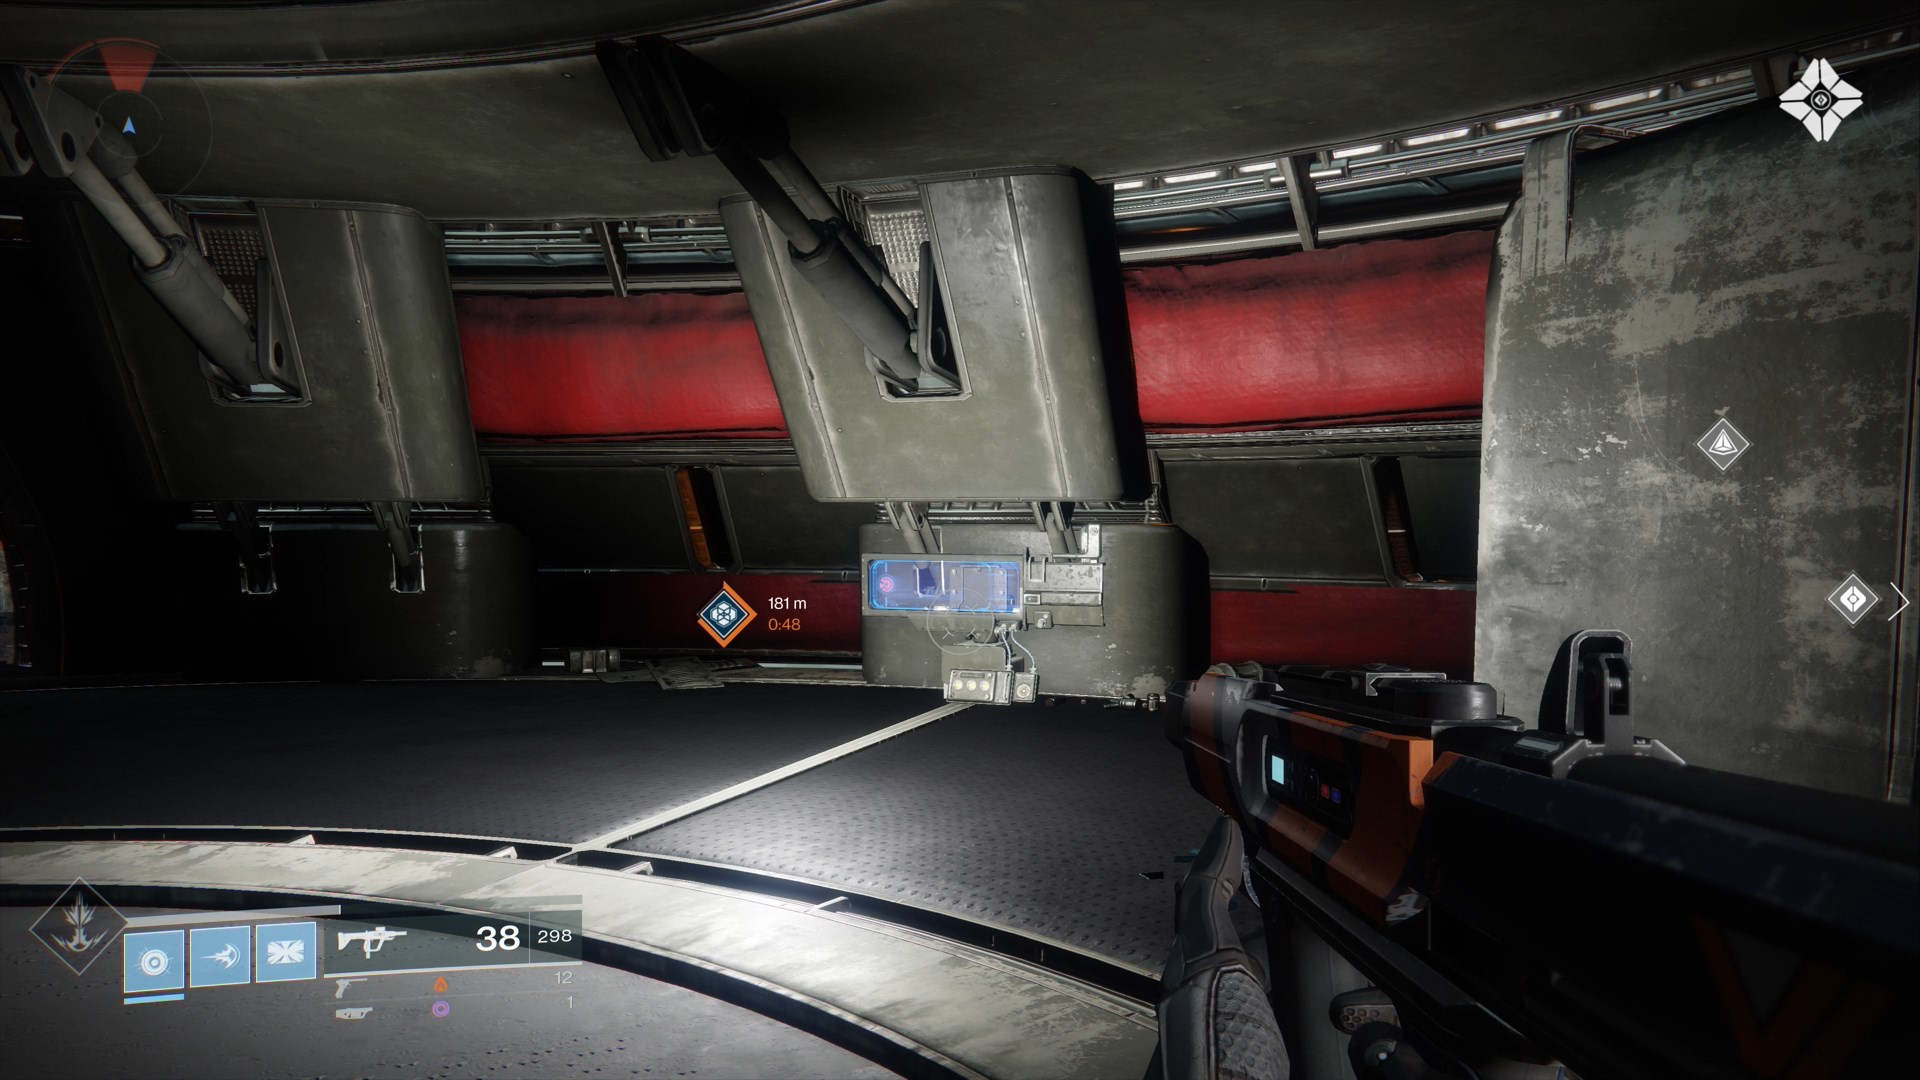
2) In a small circular building east of the carrier is a panel you can scan.
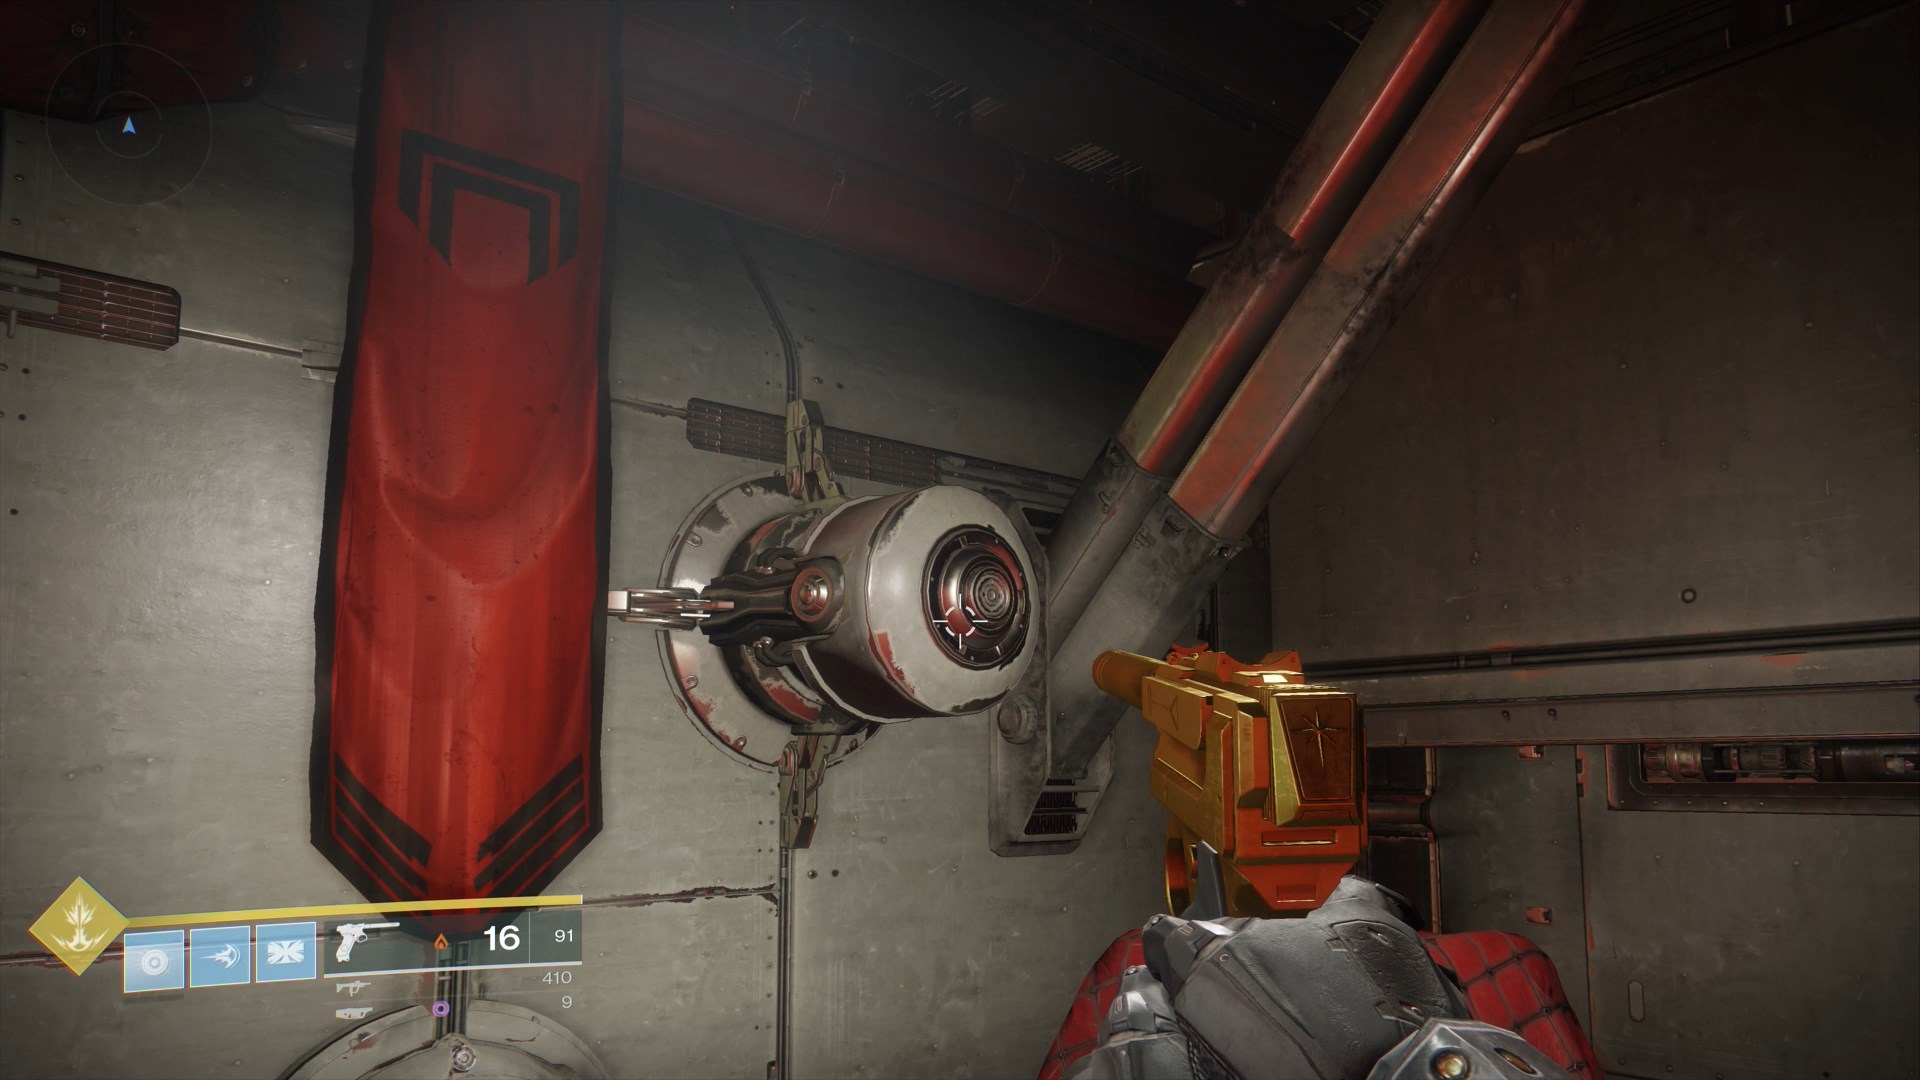
3) In the southernmost building, which has a path leading to Legion's Anchor, there is a cylindrical object on the eastern wall you can scan.
Legion's Anchor
Scannable Objects: 1
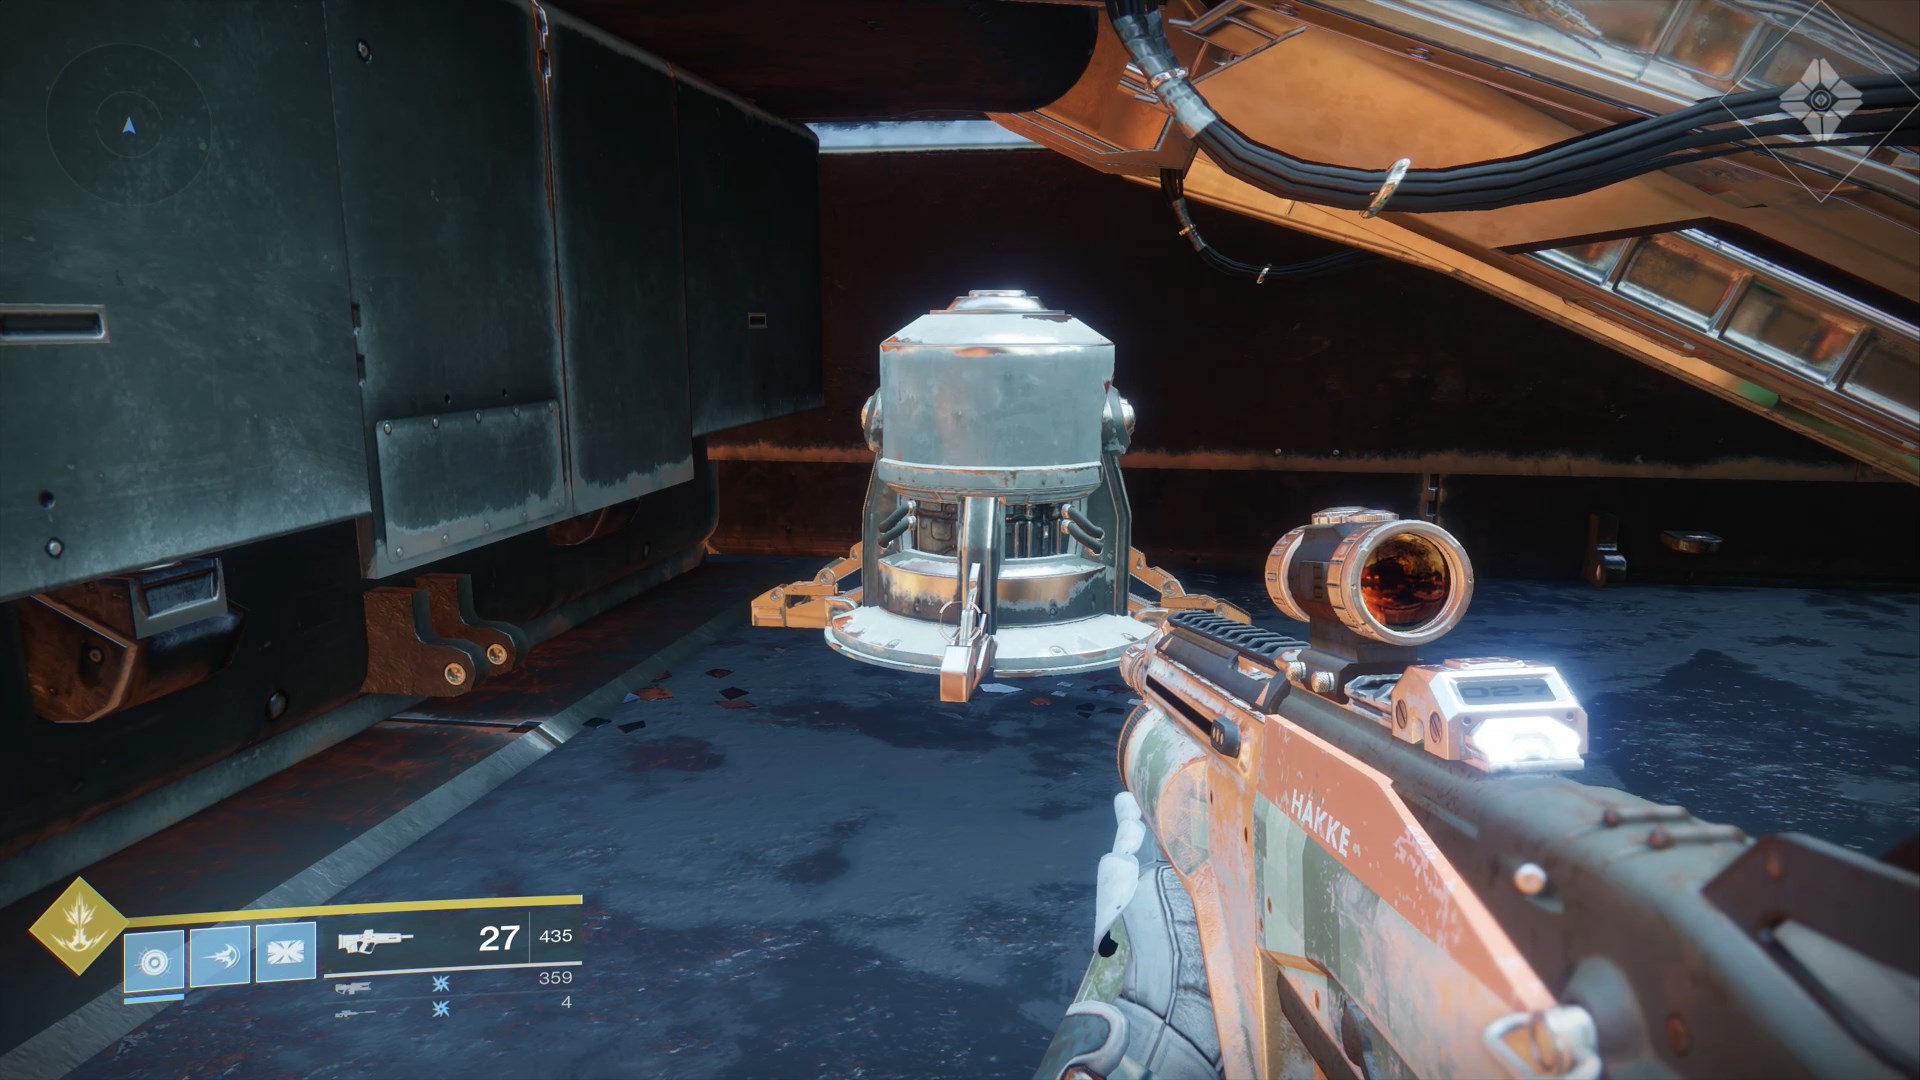
1) When entering Legion's Anchor via the ducts from Firebase Hades, you'll run into a window overlooking an exterior landing bay. You need to get to that area. Once you do, look under a ramp on the north side to find a white cylinder you can scan.
Echion Hold
Scannable Objects: 1
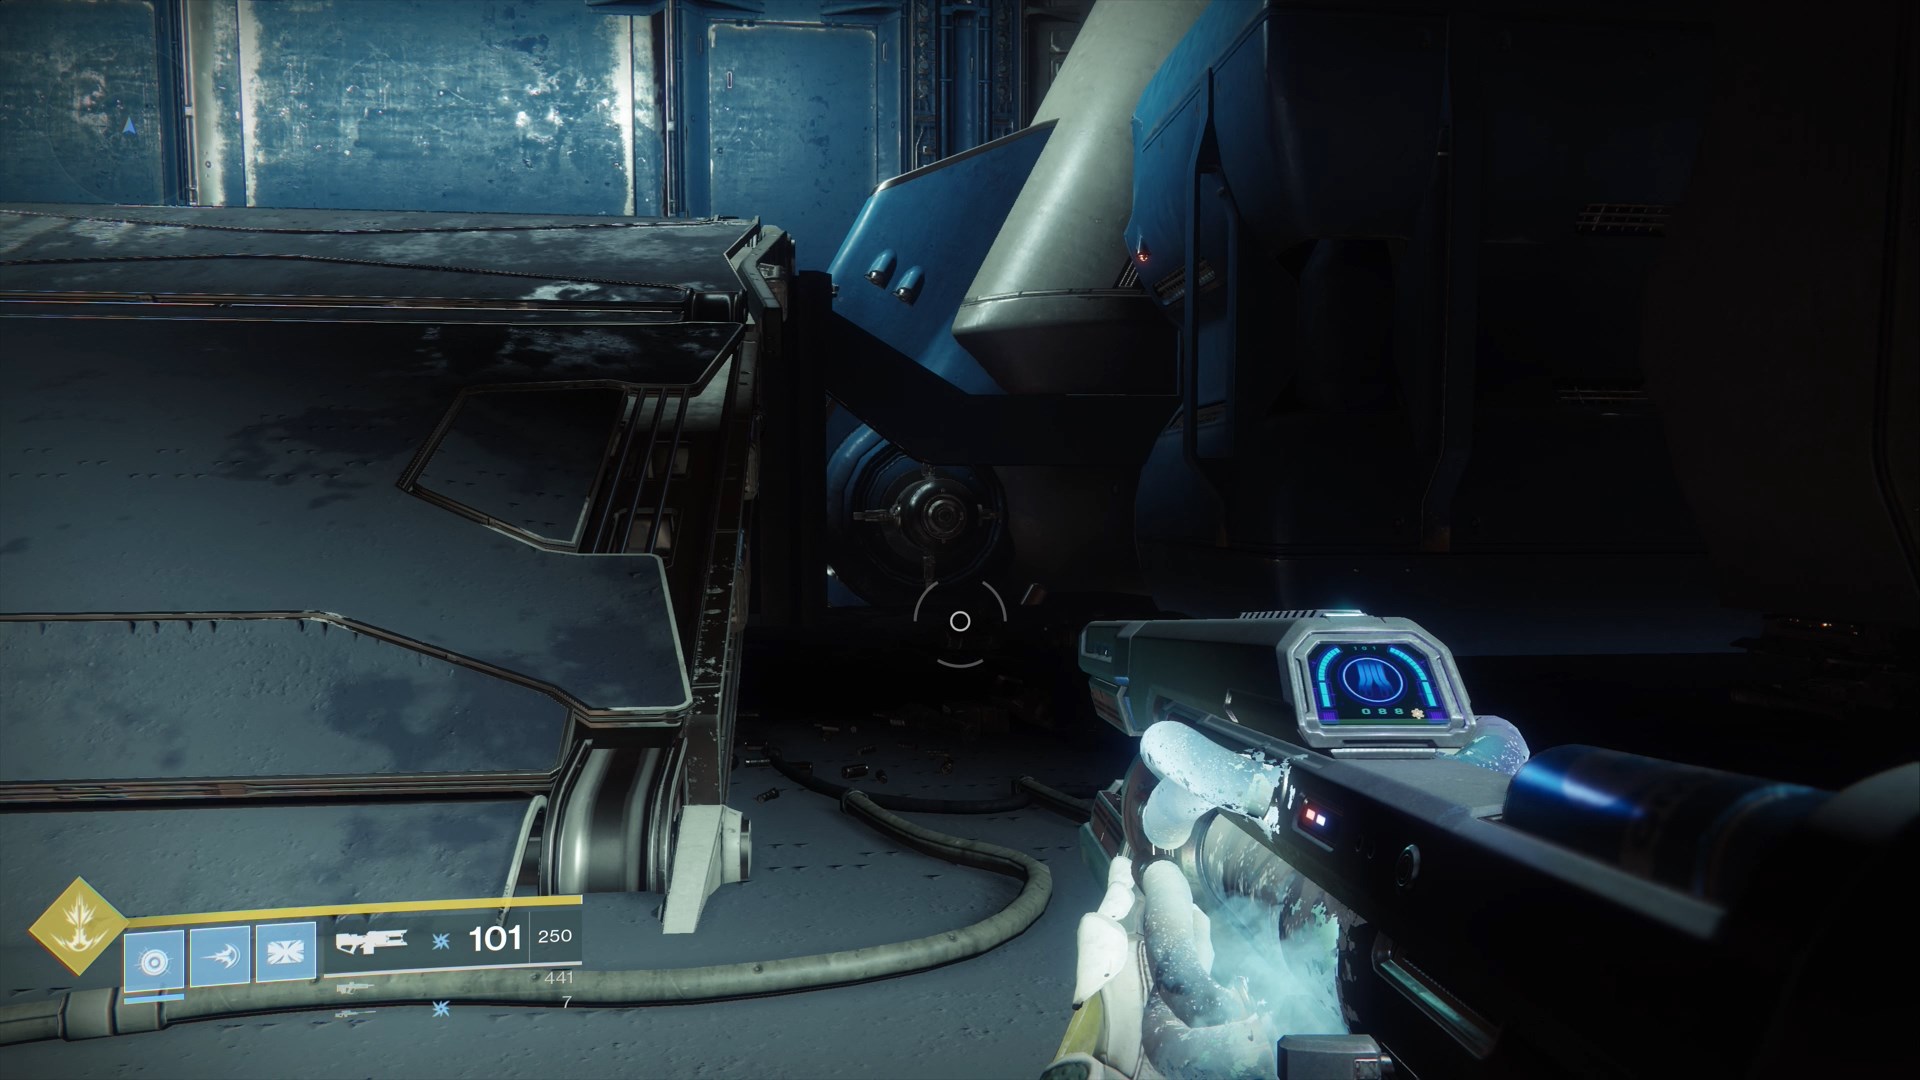
1) When you enter the hold proper, head to the northwest corner to find a scannable tucked beside a ramp.
Select an area:
• Destiny 2 - European Dead Zone Scannable Objects Locations
• Destiny 2 - Titan Scannable Object Locations
• Destiny 2 - Nessus Scannable Object Locations
• Destiny 2 - Io Scannable Object Locations
• Destiny 2 - The Tower Scannable Object Locations
Current page: European Dead Zone Scannable Objects Locations
Prev Page Destiny 2 Scannable Object locations guide Next Page Titan Scannable Object LocationsJason Faulkner is a former freelance writer and currently a senior editor at Game Revolution. Jason has an encyclopedic knowledge of video games and consumer technology, and has put it to good use throughout his time as a journalist and editor in the industry.
