Destiny 2 The Reckoning: How to beat tiers 1, 2, and 3 of The Reckoning
How to clear the Bridge of Folly, beat the Likeness of Oryx, and slay the Abyssal Champions

The Destiny 2 Reckoning activity sits quietly in the Gambit playlist, appropriately positioned between Gambit and Gambit Prime. The Reckoning is known as what you play to get Gambit Prime armor, but it's also what you play to get Gambit weapons, so even if you don't like Gambit Prime, there's still a reason to play it. The Reckoning has been nerfed considerably since its release - which was a function of the nerf to Super-regenerating Exotics - so at this point it's pretty tame for a Destiny 2 horde mode. Still, it's got some eccentricities that can catch you off-guard, so we've prepared a full guide on how to clear all three tiers of the Reckoning.
Destiny 2 Season of the Drifter | Destiny 2 Thorn | Destiny 2 Drifter Allegiance quest | Destiny 2 Vanguard Allegiance quest | How to get Gambit Prime armor | Destiny 2 Gambit tips | Destiny 2 Invitations of the Nine
The Reckoning tier one - 650 Power (Recommended 635)
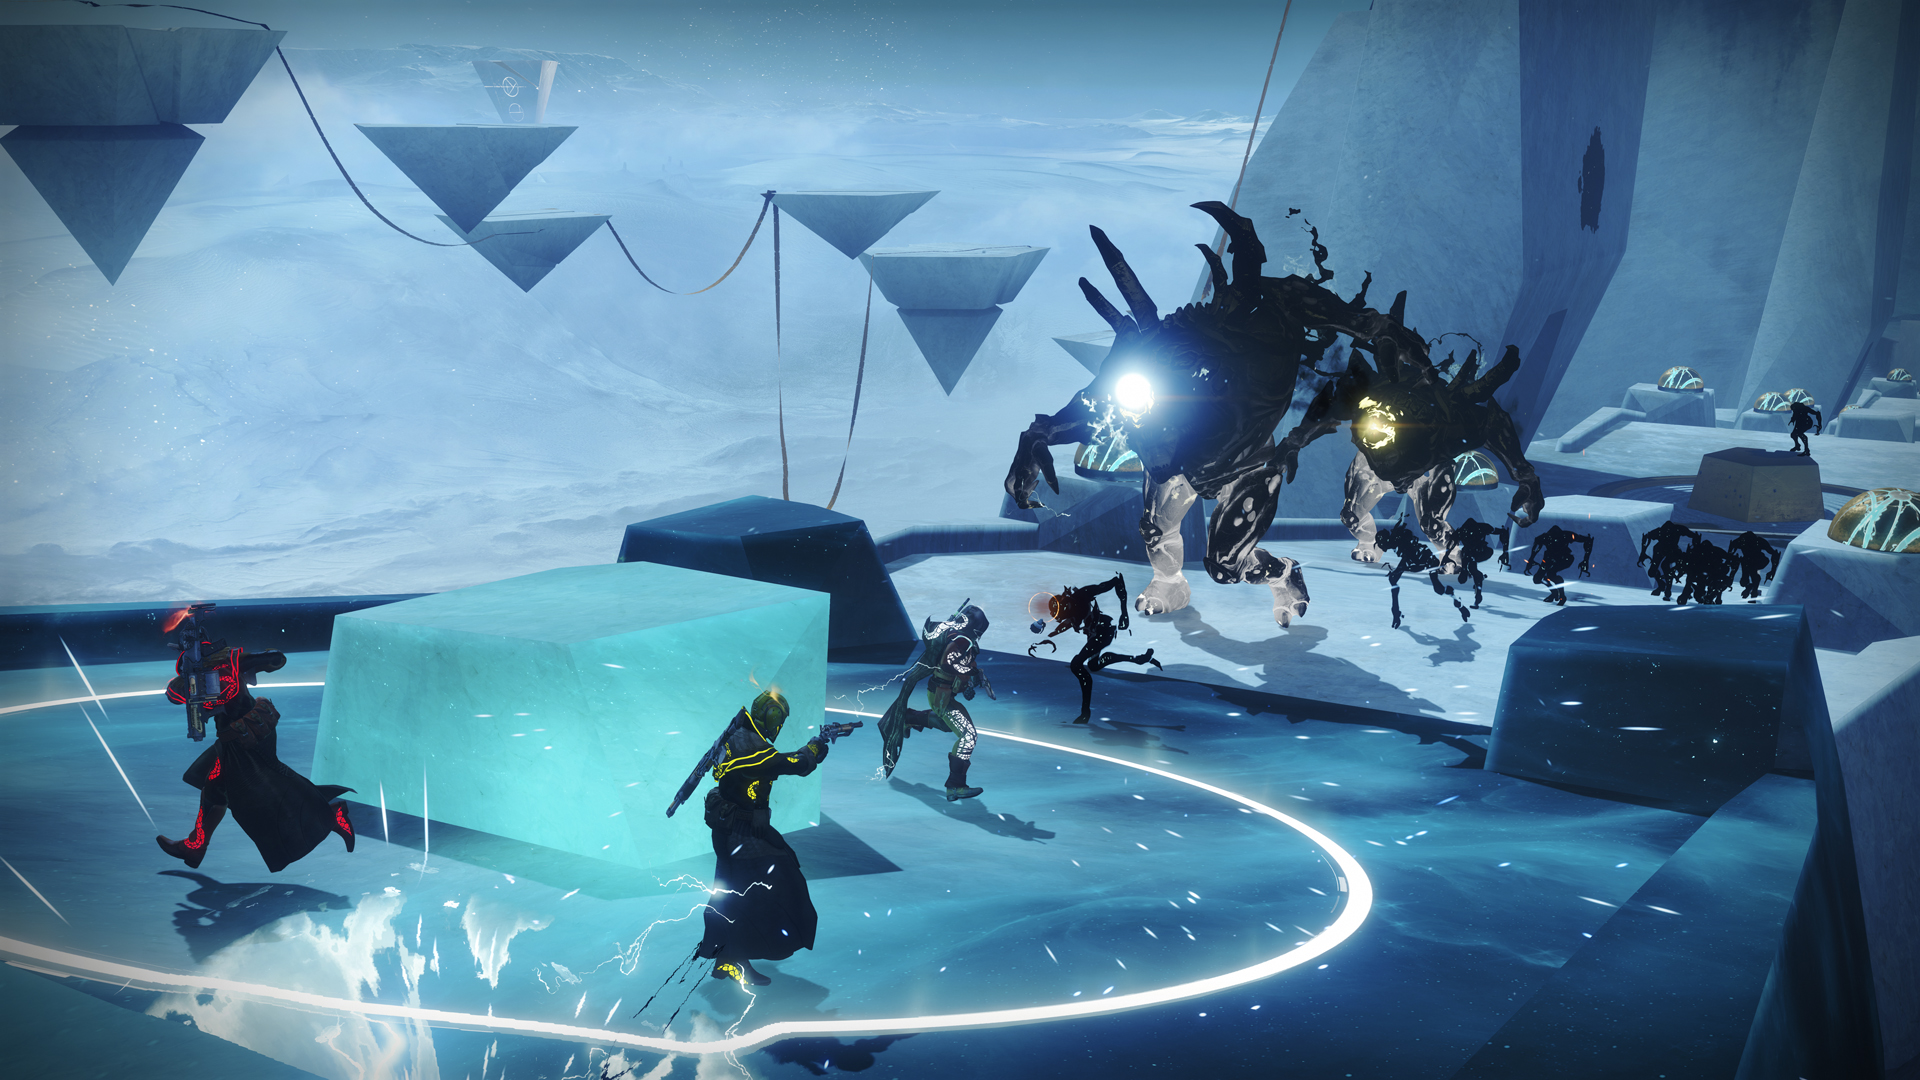
Tier one is a simple horde mode: kill dudes to fill a meter before you run out of time, then melt a big boss. Once you drop down - and be sure to use a raid banner first - you'll have about four minutes to kill enemies, so split up and start shooting. If you see that a teammate is down, be sure to revive them, because the respawn timer in this area is long, and that can add up to a lot of lost DPS. Watch out for the Taken Vandals and Hobgoblins that spawn, too - sniper-class enemies really hurt.
Once you fill the meter to 100%, a big Taken boss will spawn in the middle of the arena. Break out your Supers, your heavy weapon, your grenades - put everything you have into it until it dies. If you're of-level, it shouldn't take too long to melt. Burst damage Supers like Blade Barrage, Nova Bomb, Chaos Reach, and Thundercrash work well here, but Shadowshow and Well of Radiance are always welcome.
The Reckoning tier two - 670 Power (Recommended 660)
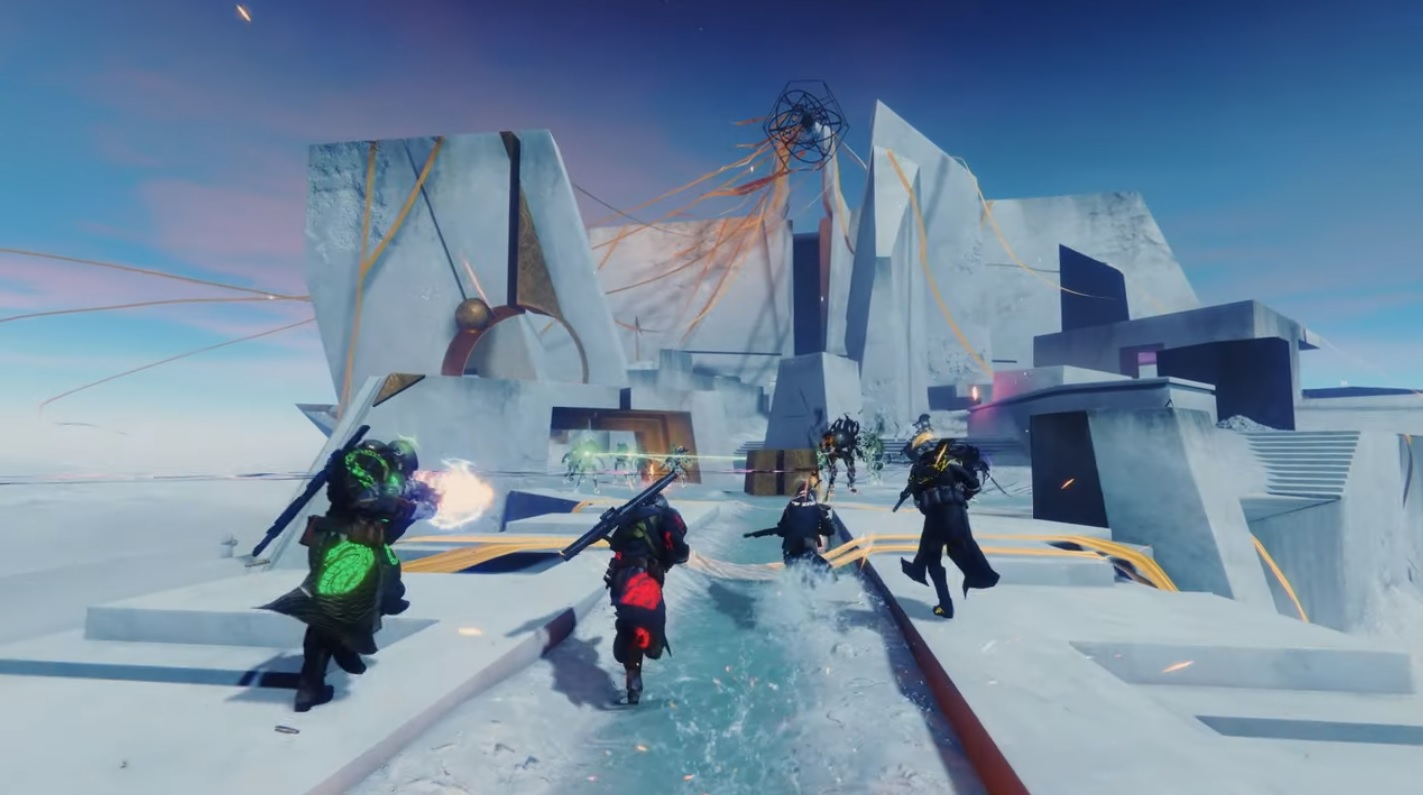
Tier two starts off the same as tier one, just with higher level enemies. Once you clear the introductory horde mode, a hallway in the back of the arena will open up. This leads to the Bridge of Folly, the next stage of The Reckoning. To clear the bridge, you'll need to hold zones for around 30 seconds each as you fight back waves of enemies, including distant snipers and yellow-bar ultras, while moving up the bridge. This fight can get out of control quickly if you don't have the right Supers in your fireteam, so let's go over some recommended Supers and Exotics:
- Warlocks: Well of Radiance with Phoenix Protocol or Nova Bomb with the Skull of Dire Ahamkara
- Hunters: Shadowshow with Orpheus Rig, Blade Barrage with Shards of Galanor, or Golden Gun with Celestial Nighthawk
- Titans: Thundercrash or top-tree Sunbreaker (for Hammer Strike)
You are going to want a Warlock with Well of Radiance and a Hunter with Shadowshot for this section. Well of Radiance will protect you from the snipers and help you take down the ultras, and Shadowshow will control the countless Shadow Thrall. Prioritize those Supers over all others.
Each time you move to a new zone, have your team place a new Well of Radiance and Shadowshot to keep the enemies in check. Everyone else should use their Supers on the ultras. There should be Orbs of Light absolutely everywhere, so you'll have incredibly high Super uptime. Use that to your advantage and try to conserve heavy ammo for the boss fight.
Once you reach the end of the Bridge of Folly, one of two bosses will become accessible. These bosses rotate every week, so we'll go over how to beat both, starting with the Abyssal Champions in the catacombs.
The Reckoning Abyssal Champions boss fight
If the Abyssal Champions are the current boss, a Taken portal will open at the end of the bridge. Jump through and you'll find yourself in a giant underground crypt with a large cross-shaped floor. There are two axe-wielding Abyssal Champions down here with you, and your goal is to kill them in around four minutes. To do so, you'll first need to kill special glowing Taken called Hermits which will randomly spawn at one end of the cross.
The first Hermit will appear shortly after you enter the catacombs; look for a green icon. Move to the Hermit, kill it, and a Well of Light will appear where it dies. You need to stand in this Well in order to damage the Abyssal Champions, so group up before killing the Hermit and keep an eye out for the Champions. The Well will only last for around 30 seconds, and once it disappears, another Hermit will spawn. You'll need to repeat the process of hunting Hermits and spawning Wells until you're able to kill both Champions.
The Champions are melee enemies and they can teleport, so they'll constantly be rushing you, especially after you get their health low and they go berserk. Jump over their axe attacks as best you can, but remember that it's often smarter to lay into them with your Super and heavy weapon and just eat the death. There's no shame in corpse running. Your goal is to kill the Champions, not survive, so prioritize DPS whenever possible.
The same Supers that you used on the bridge will serve you well in this fight. Try to burn down one Champion first; killing one makes killing the other much easier. If your team does get wiped out, wait for your teammates to respawn before heading back into the catacombs, otherwise you risk wasting the next Hermit cycle while only a few members are alive.
The Reckoning Likeness of Oryx boss fight
If the Likeness of Oryx is in season, a jump pad will appear the end of the Bridge of Folly instead. This will shoot you over to the inverted pyramid in the distance, where you'll find the Likeness and continually spawning Taken. As you may have guessed, your goal is to kill the Likeness before time runs out.
The Likeness itself doesn't deal much damage, but it does have a wipe mechanic that you need to look out for. When it teleports to one of the shrines on the platform, it will start a 30-second countdown. You'll be able to track the countdown from the "Counterfeit Gaze" timer in the bottom left-hand corner. If this countdown reaches zero, everyone on your team will take a huge chunk of damage which can, and often will, one-shot you.
To stop the countdown, you need to deal enough damage to the Likeness. Yes, this is a DPS check. The kicker is that a Taken Ogre will spawn whenever the Counterfeit Gaze starts counting down, and if you don't kill the Ogre, you won't deal much damage to the Likeness. Just watch for the Gaze, kill the Ogre, and lay into the Likeness. Save your burst Supers for the Ogre and keep some heavy ammo in reserve to damage the Likeness and stop the Gaze.
The Reckoning tier three - 690 Power (Recommended 680)

Tier three of The Reckoning is nearly identical to tier two, just with higher level enemies and more difficult boss fights. You'll still need to clear the opening horde, move across the Bridge of Folly - with less time to clear each zone - and take down the same bosses.
Mechanically, the Abyssal Champions fight doesn't change between tiers two and three - the Champions themselves are just dramatically tankier. The Likeness of Oryx is also much tankier, and it will summon an extra Ogre with every Counterfeit Gaze cycle. Both fights take longer but play out very similarly. The same strategies will get you through tier three, you'll just need to execute them a little more carefully, and you'll need to be a higher Power level.
Sign up to the GamesRadar+ Newsletter
Weekly digests, tales from the communities you love, and more

Austin has been a game journalist for 12 years, having freelanced for the likes of PC Gamer, Eurogamer, IGN, Sports Illustrated, and more while finishing his journalism degree. He's been with GamesRadar+ since 2019. They've yet to realize his position is a cover for his career-spanning Destiny column, and he's kept the ruse going with a lot of news and the occasional feature, all while playing as many roguelikes as possible.


