Destiny Dead Ghosts location guide [inc. DB, HoW, Taken King, Rise of Iron, and Age of Triumph]
Moon
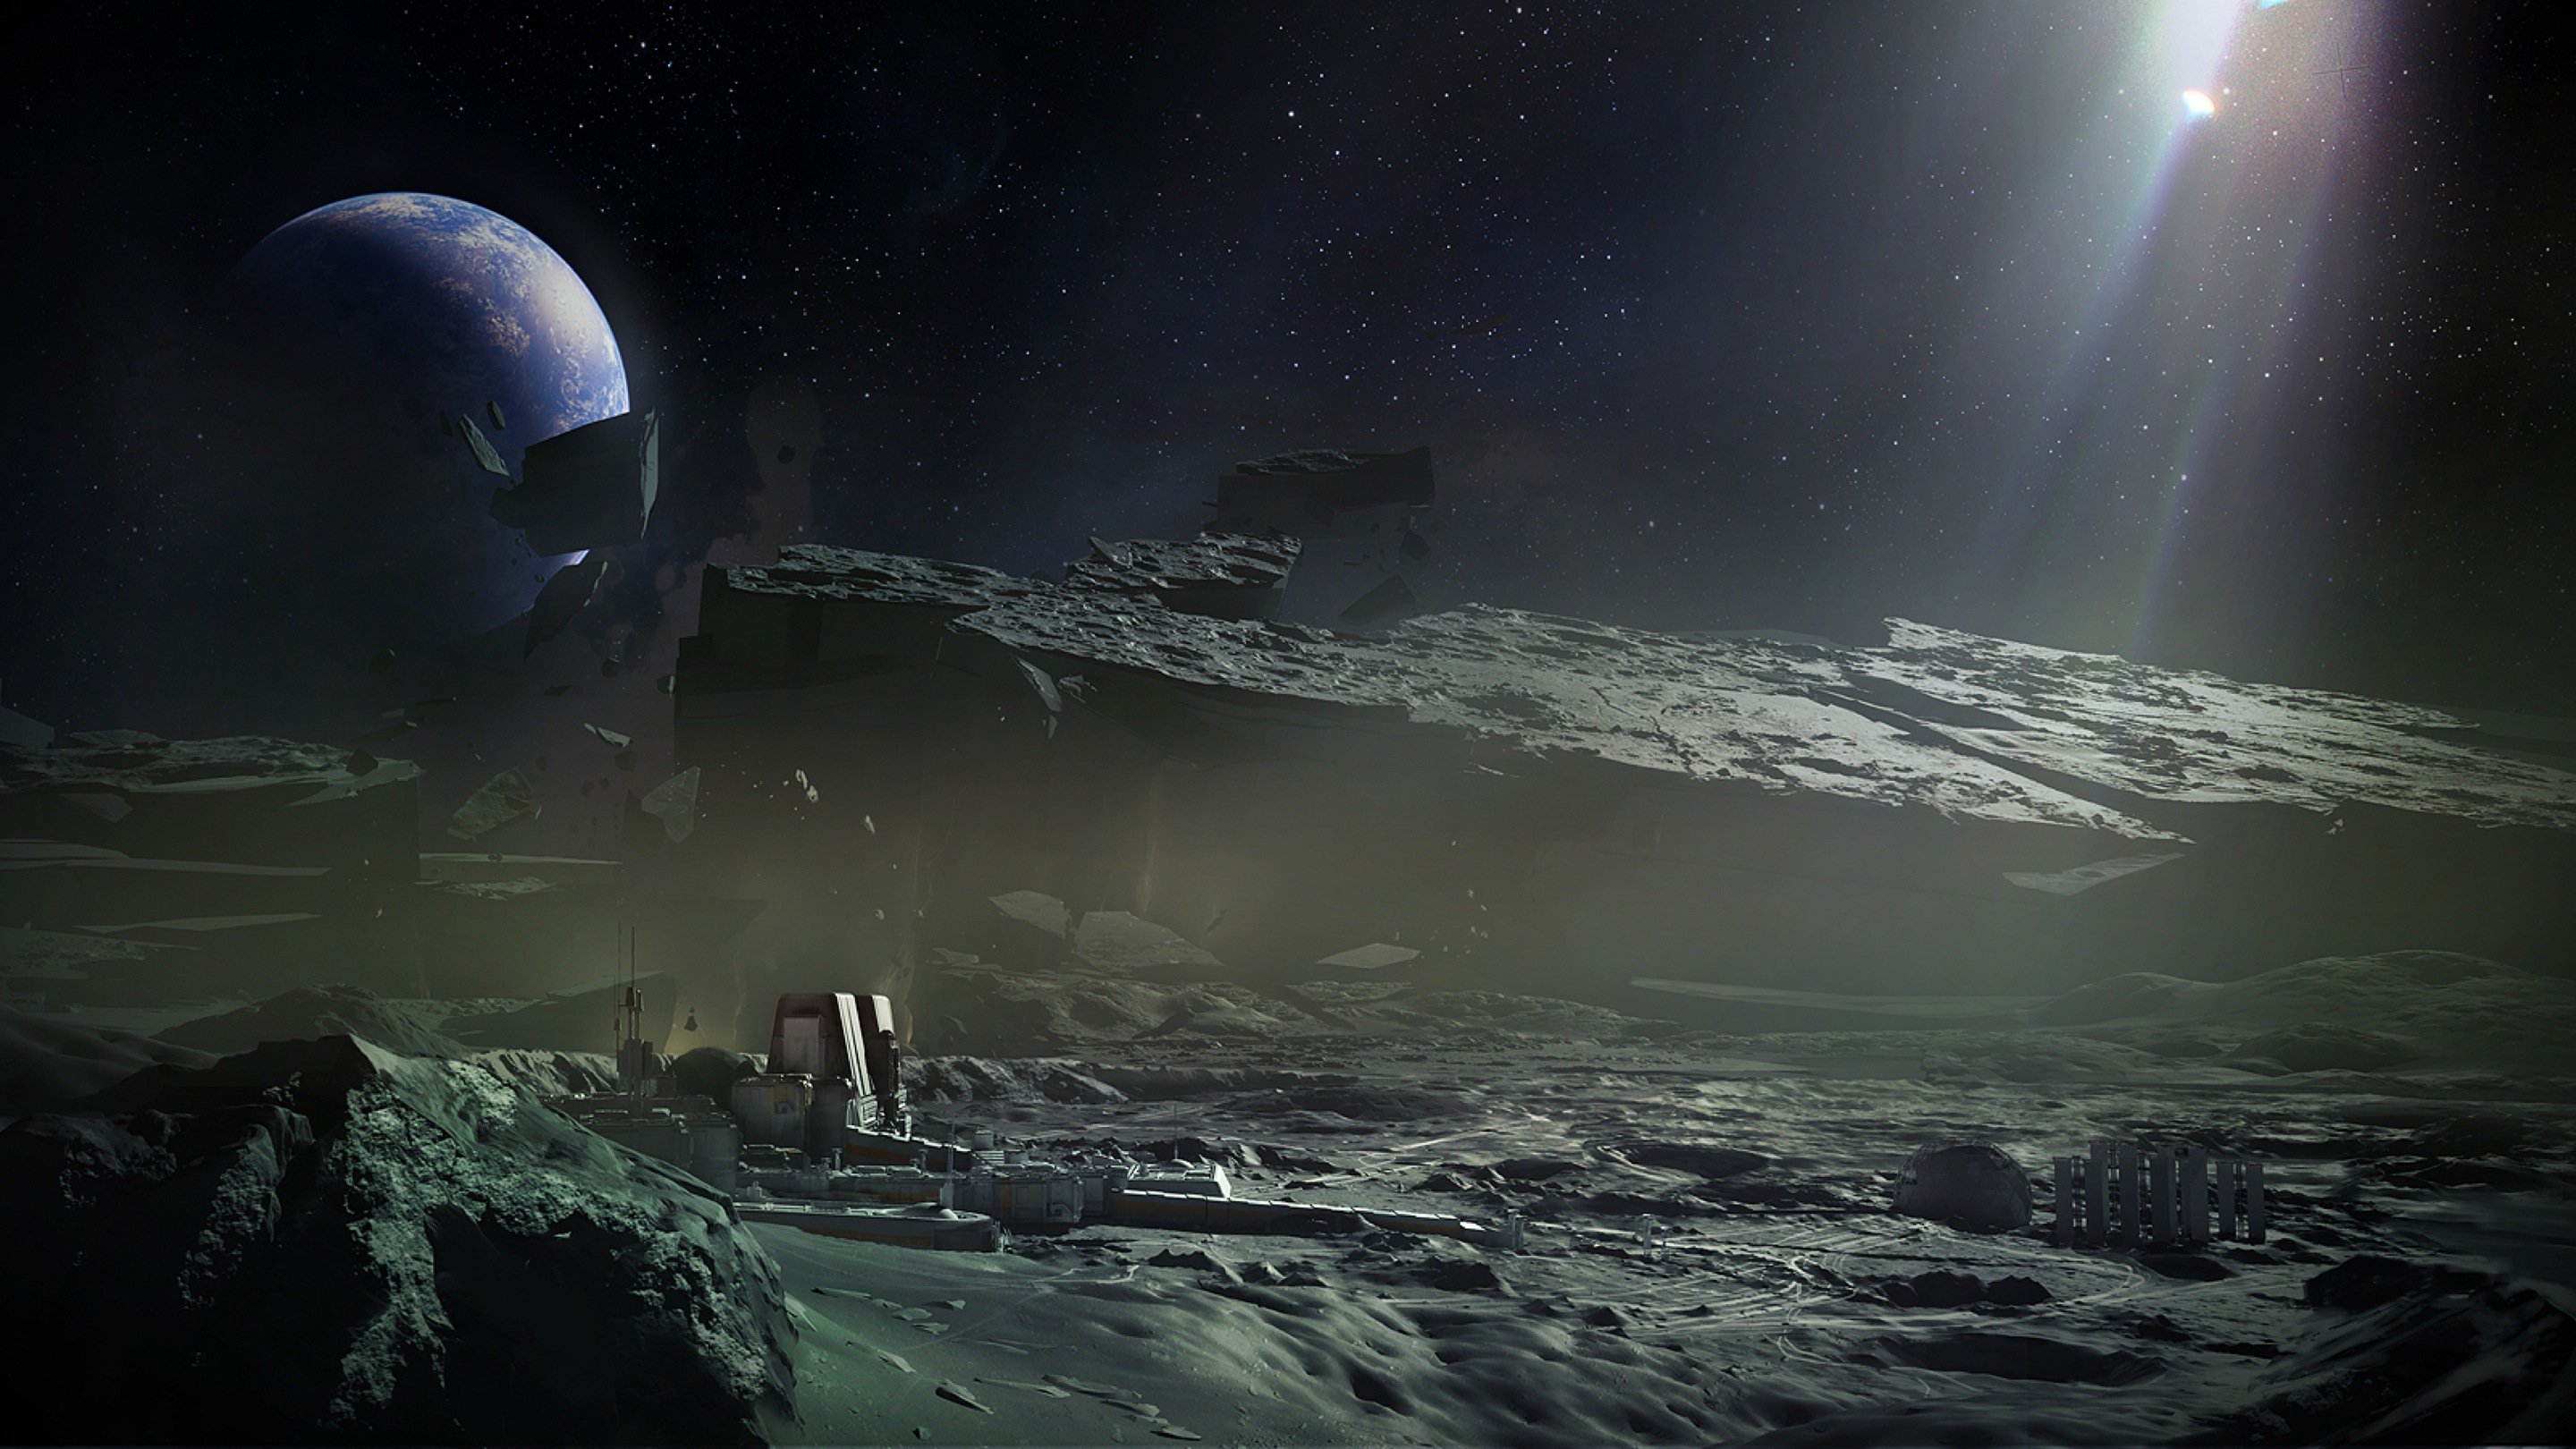
The Moon is home to Wizards and riddled with thousands of underground caverns that you will never need to explore because all of the religious fanatic aliens have had the courtesy to hold their rituals less than a mile away from your spawn point.
On your journey to break their spirits and defile their temples, you might as well set aside a little time to pick up the 9 Dead Ghosts strewn across this silver-dusted landscape.
Dead Ghost #1 - Archer's Line
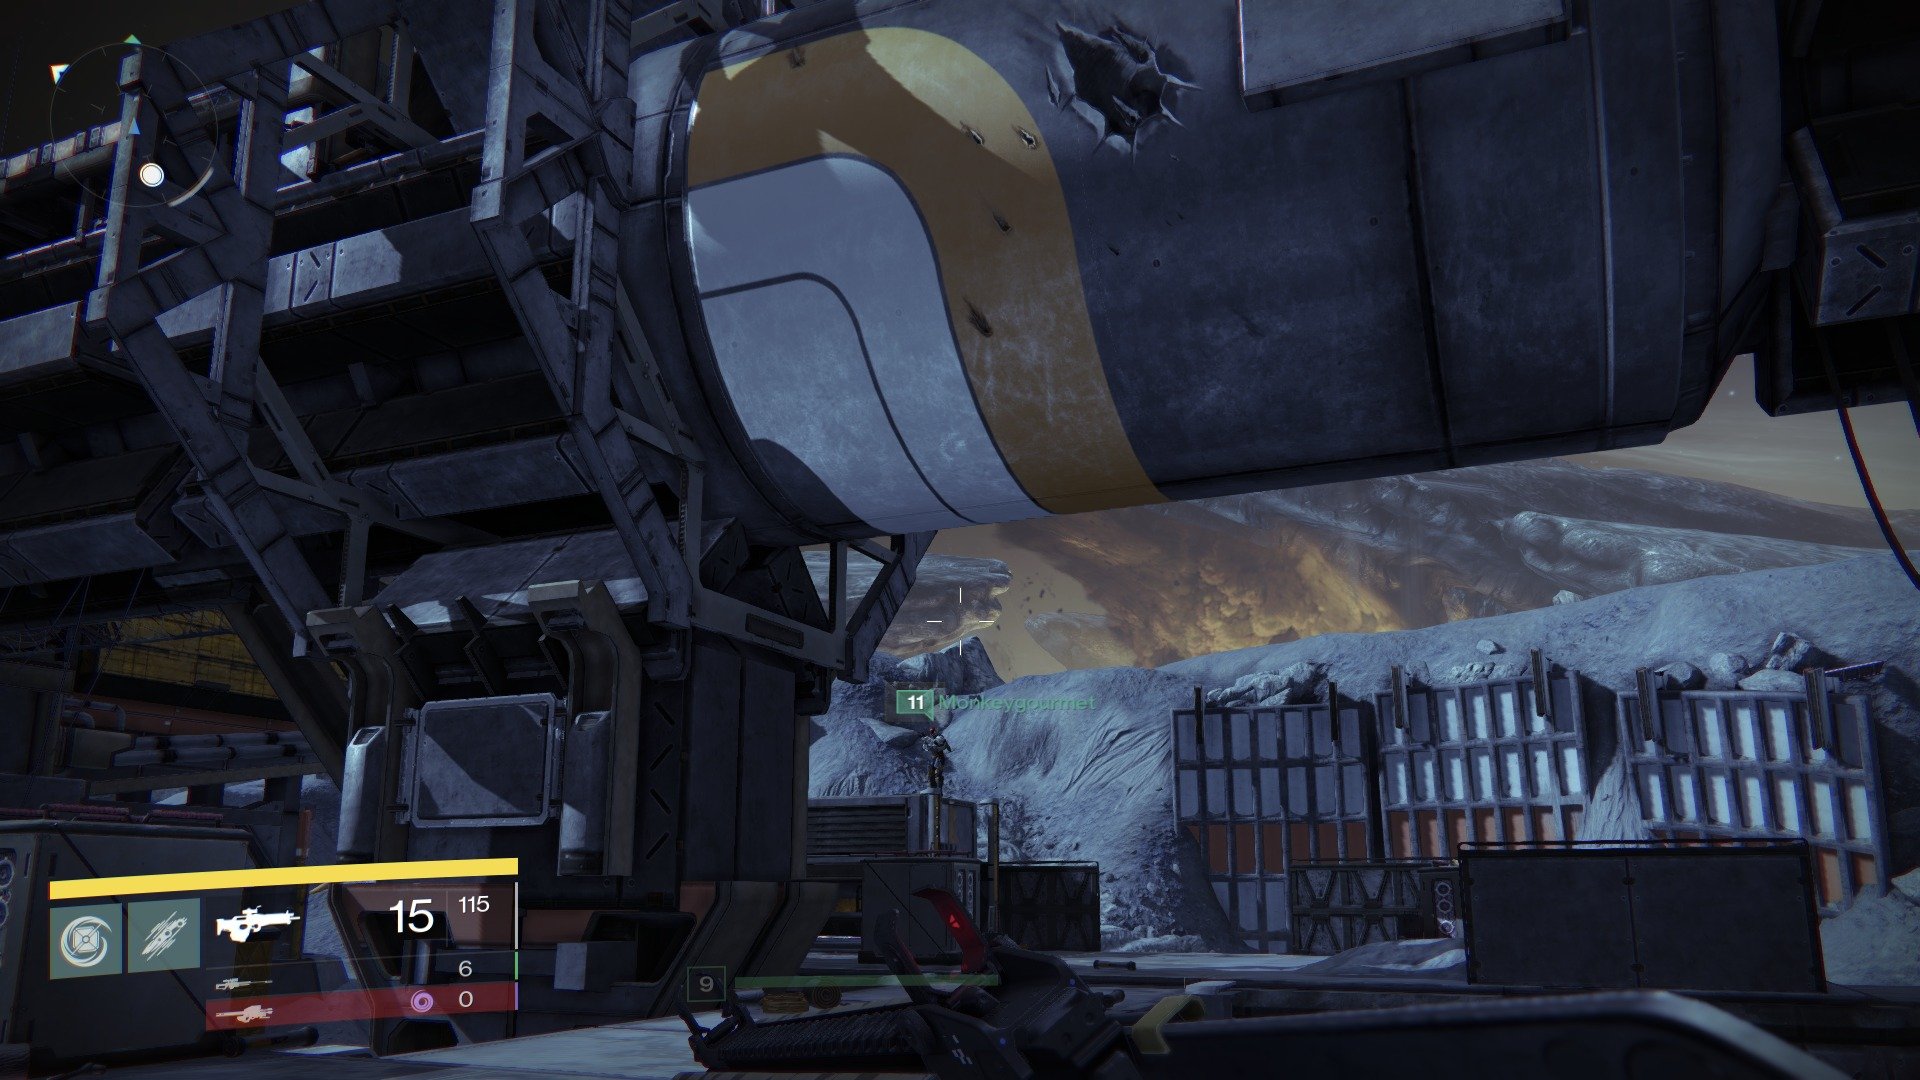
After you spawn in on the Moon for the first time, head up the hill and you'll see a huge pipe spanning the landscape. Head to the side painted with yellow and white stripes and up on to the roof of the building behind it.
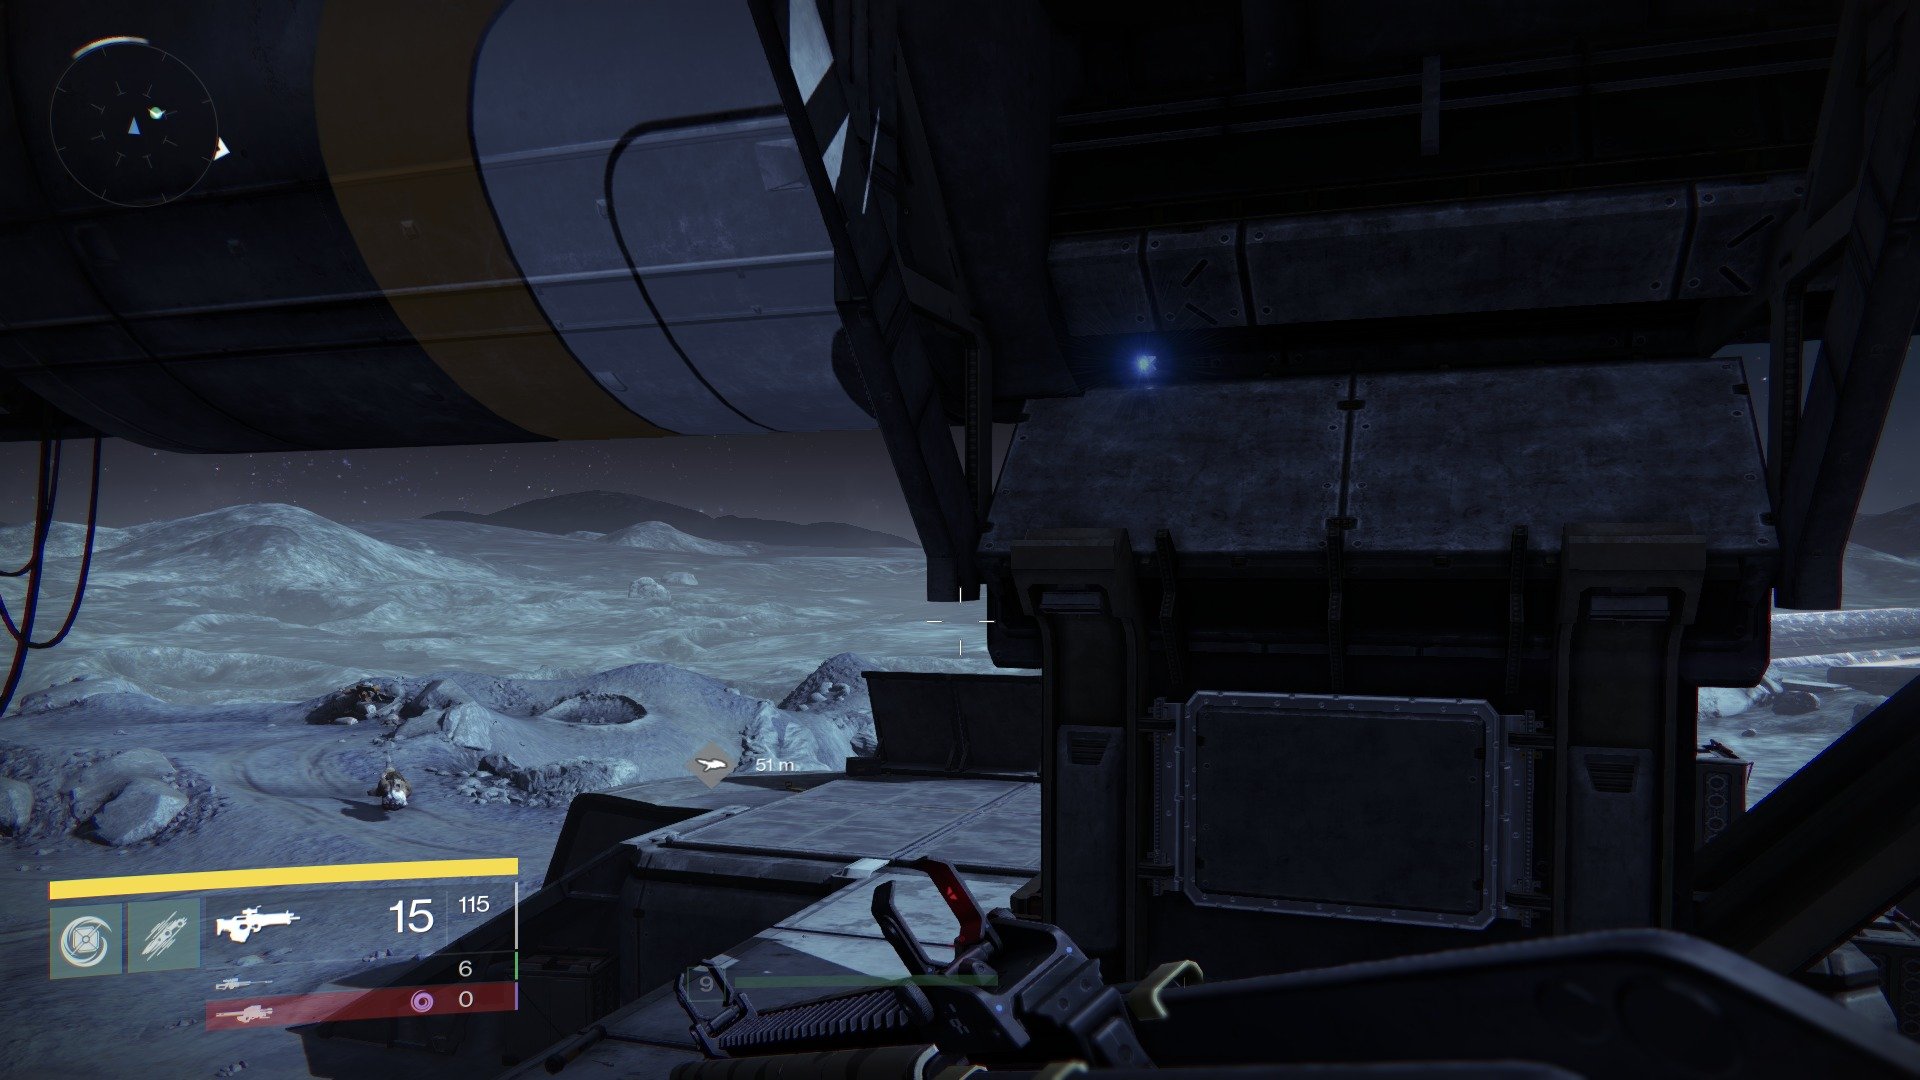
Once you're up here, jump over to the ledge on this side of the pipe to pick up the Dead Ghost.
Dead Ghost #2 - Archer's Line
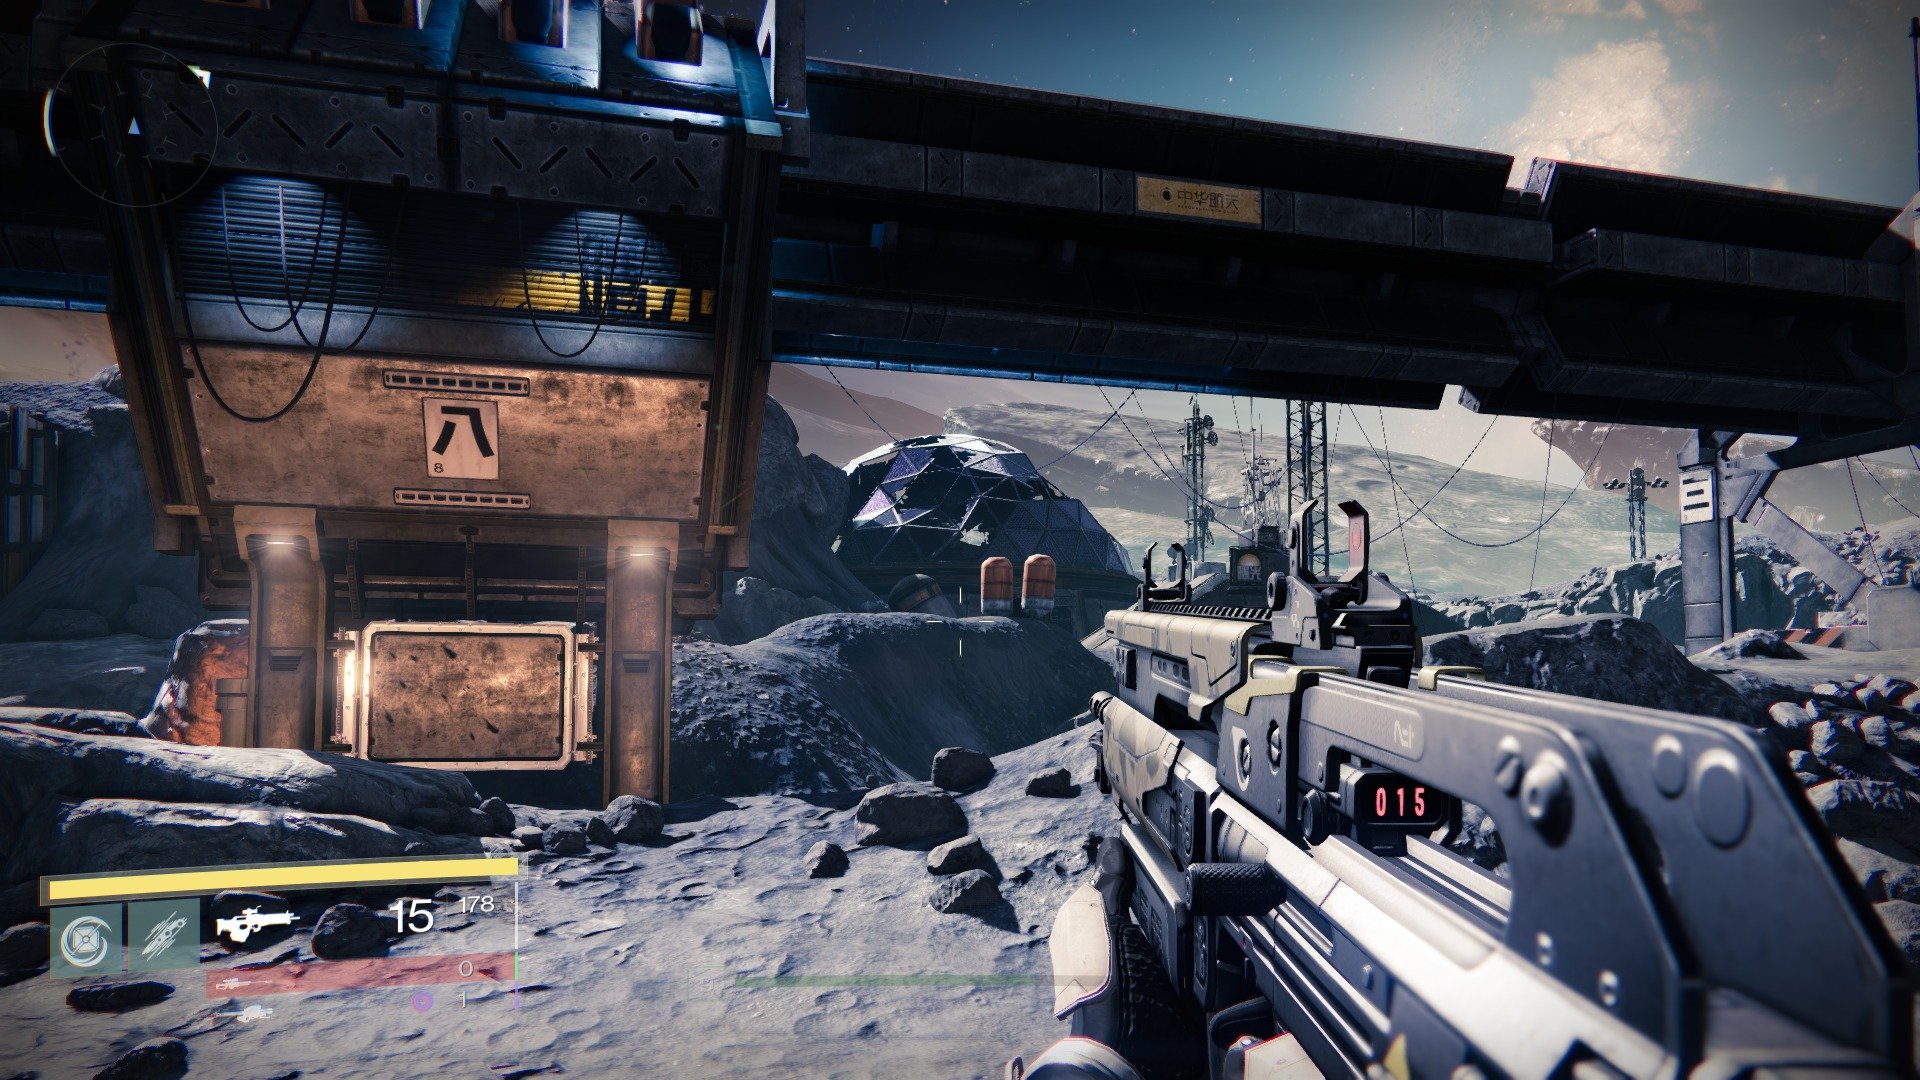
From the top of the hill with the pipe suspended above it, peep over to the right and you'll see a Moon dome that's a little worse for wear.
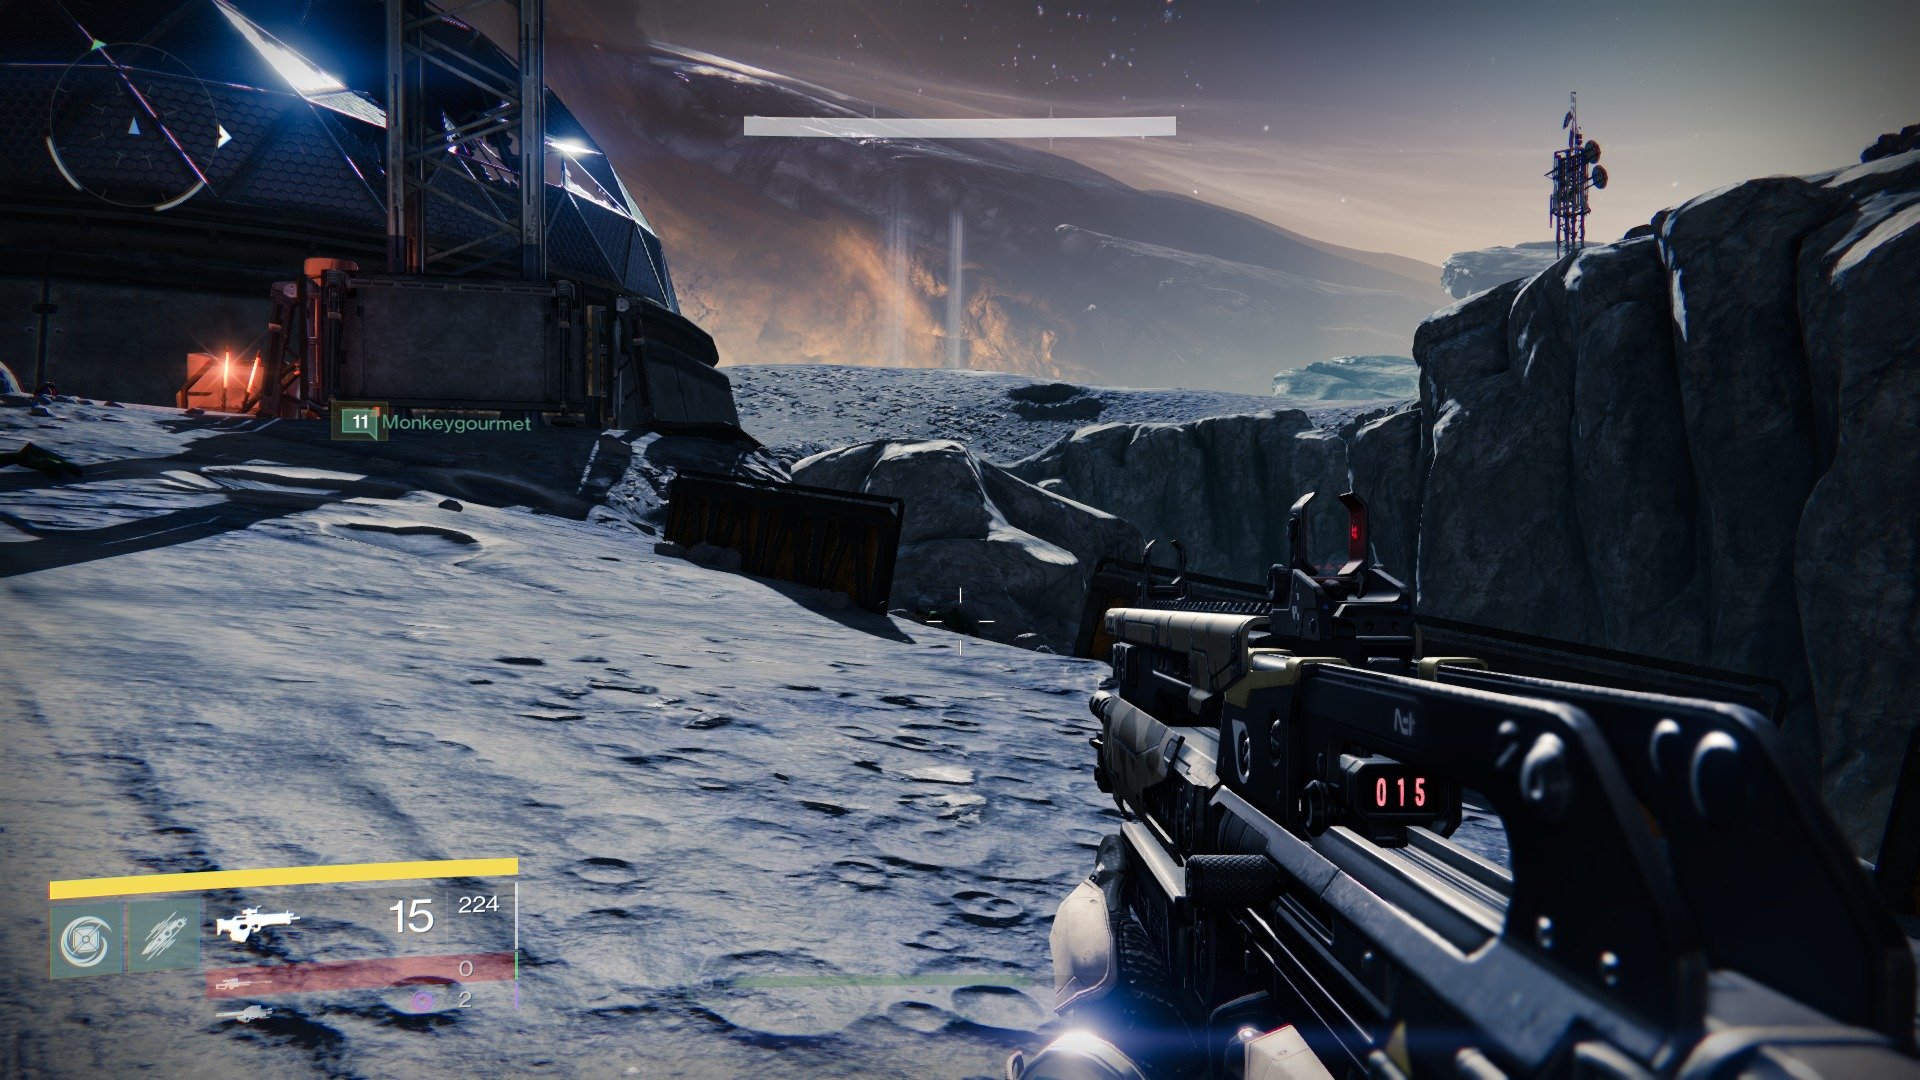
The path leading up to it has a few barriers on the right-hand side, presumably to stop people falling to their death. Flouting the authority of aforementioned barriers, go straight through the gap here.
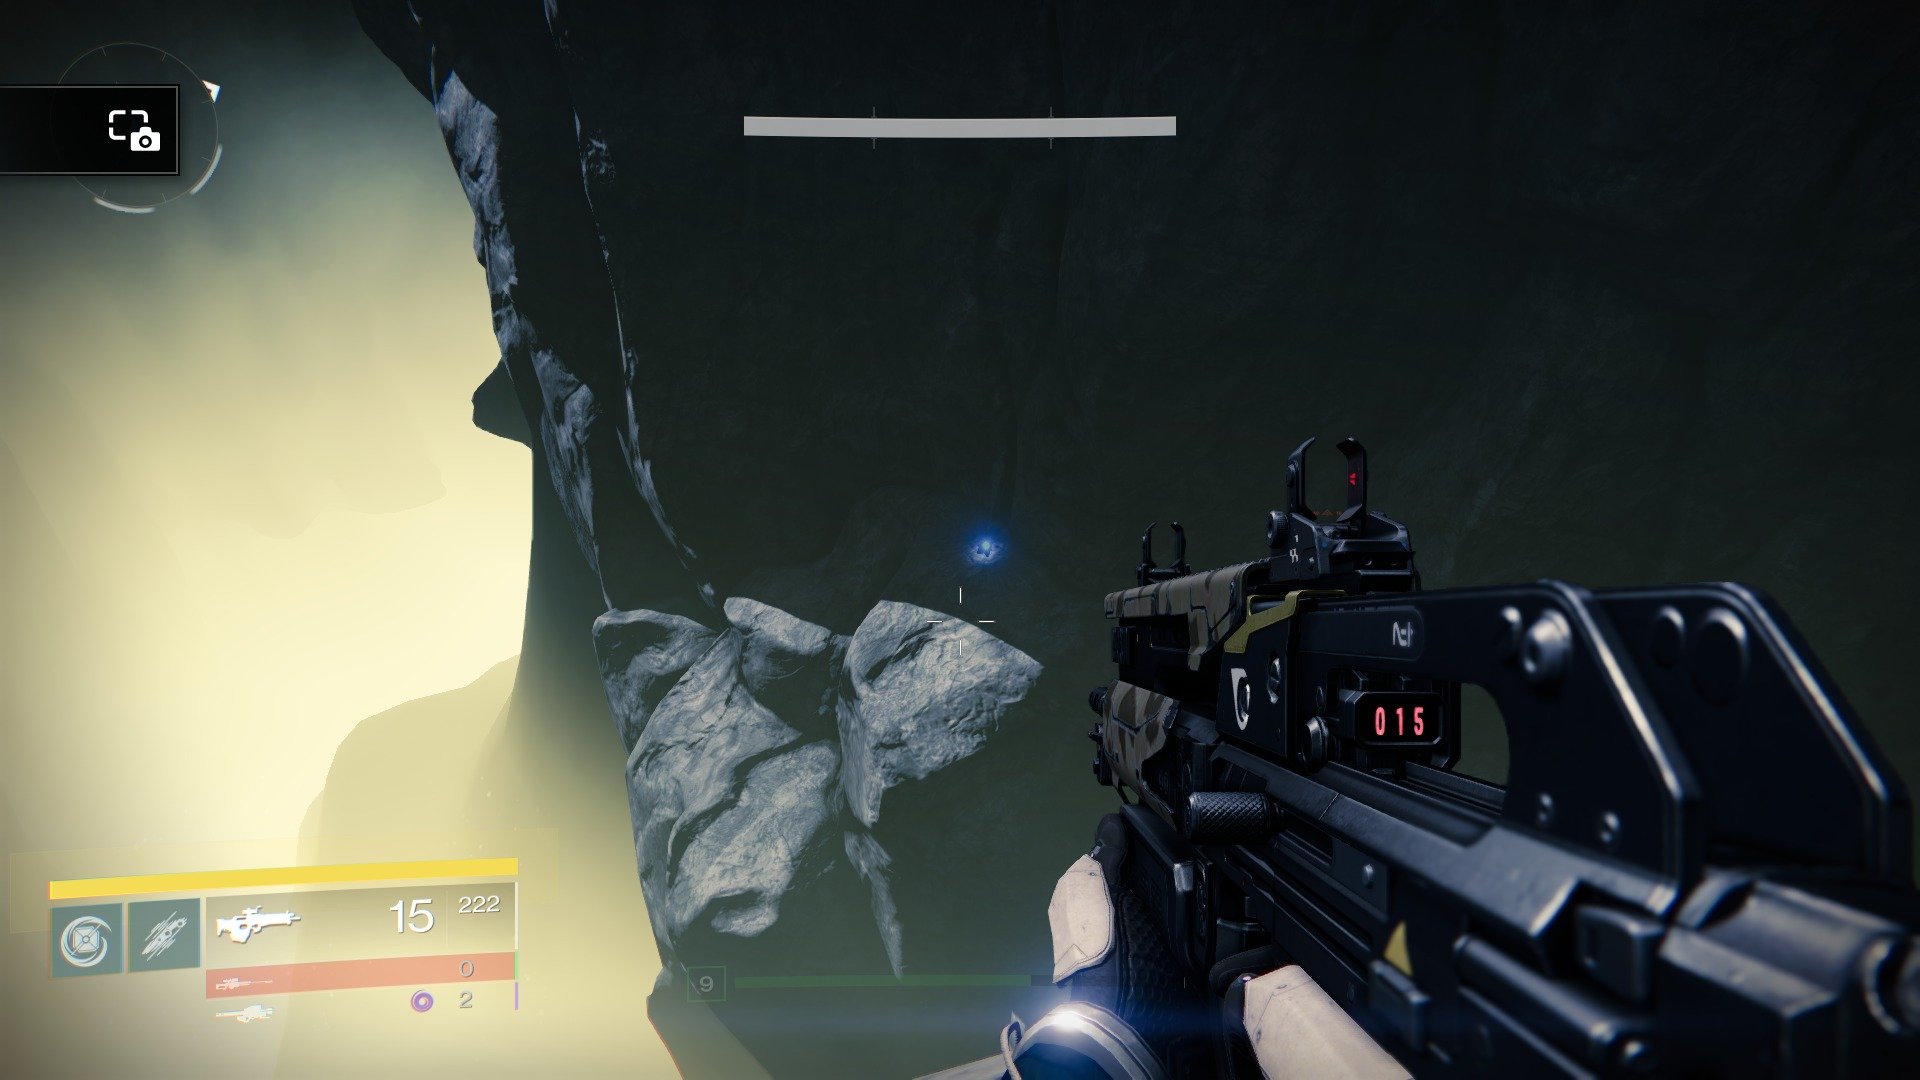
Follow the rocky walkway to the end and jump over the chasm to reach the Dead Ghost. Depending on how much your jump is upgraded, you can just hop right back over to the other side or play it safe and follow the cliff face until you're slightly more elevated, and a tad closer, to make the jump back.
Dead Ghost #3 - Anchor or Light
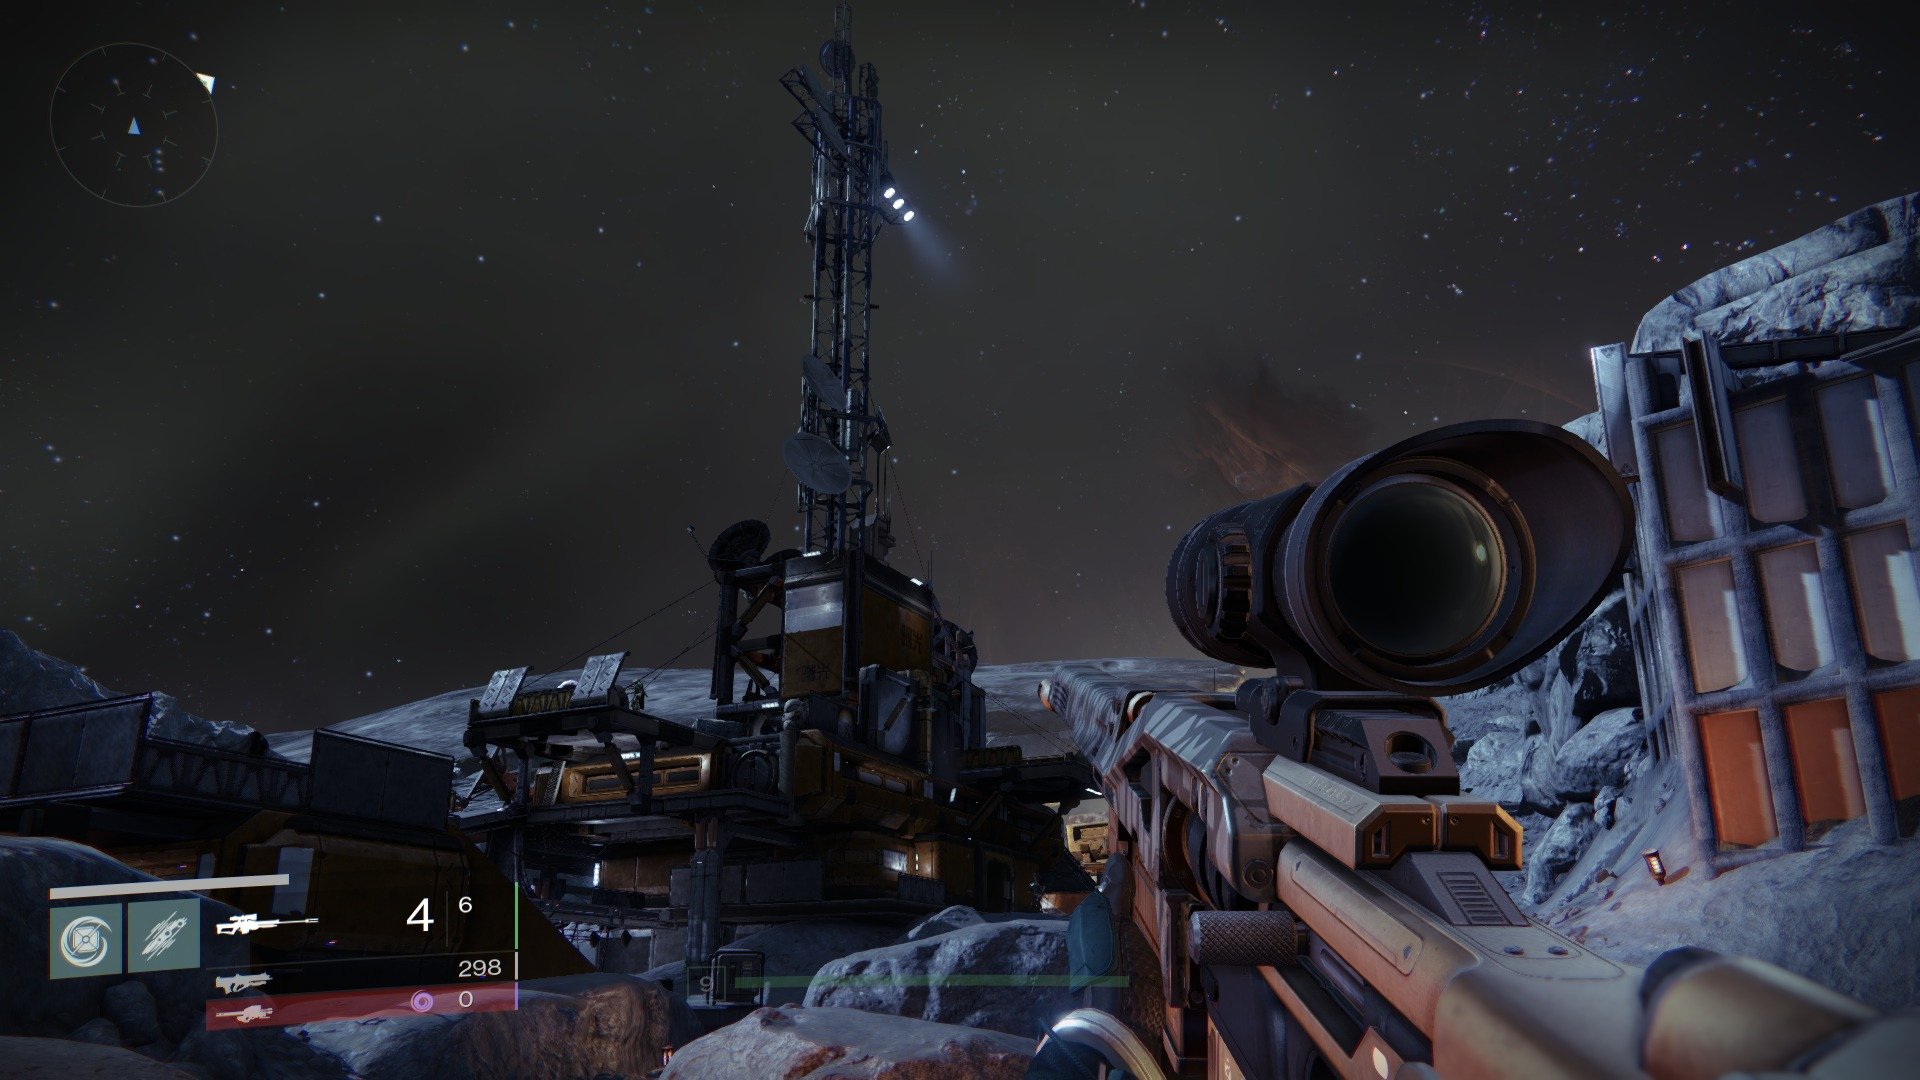
When you reach the Anchor of Light, you'll be hard pushed to miss the building with the colossal communications tower perched on top of it.
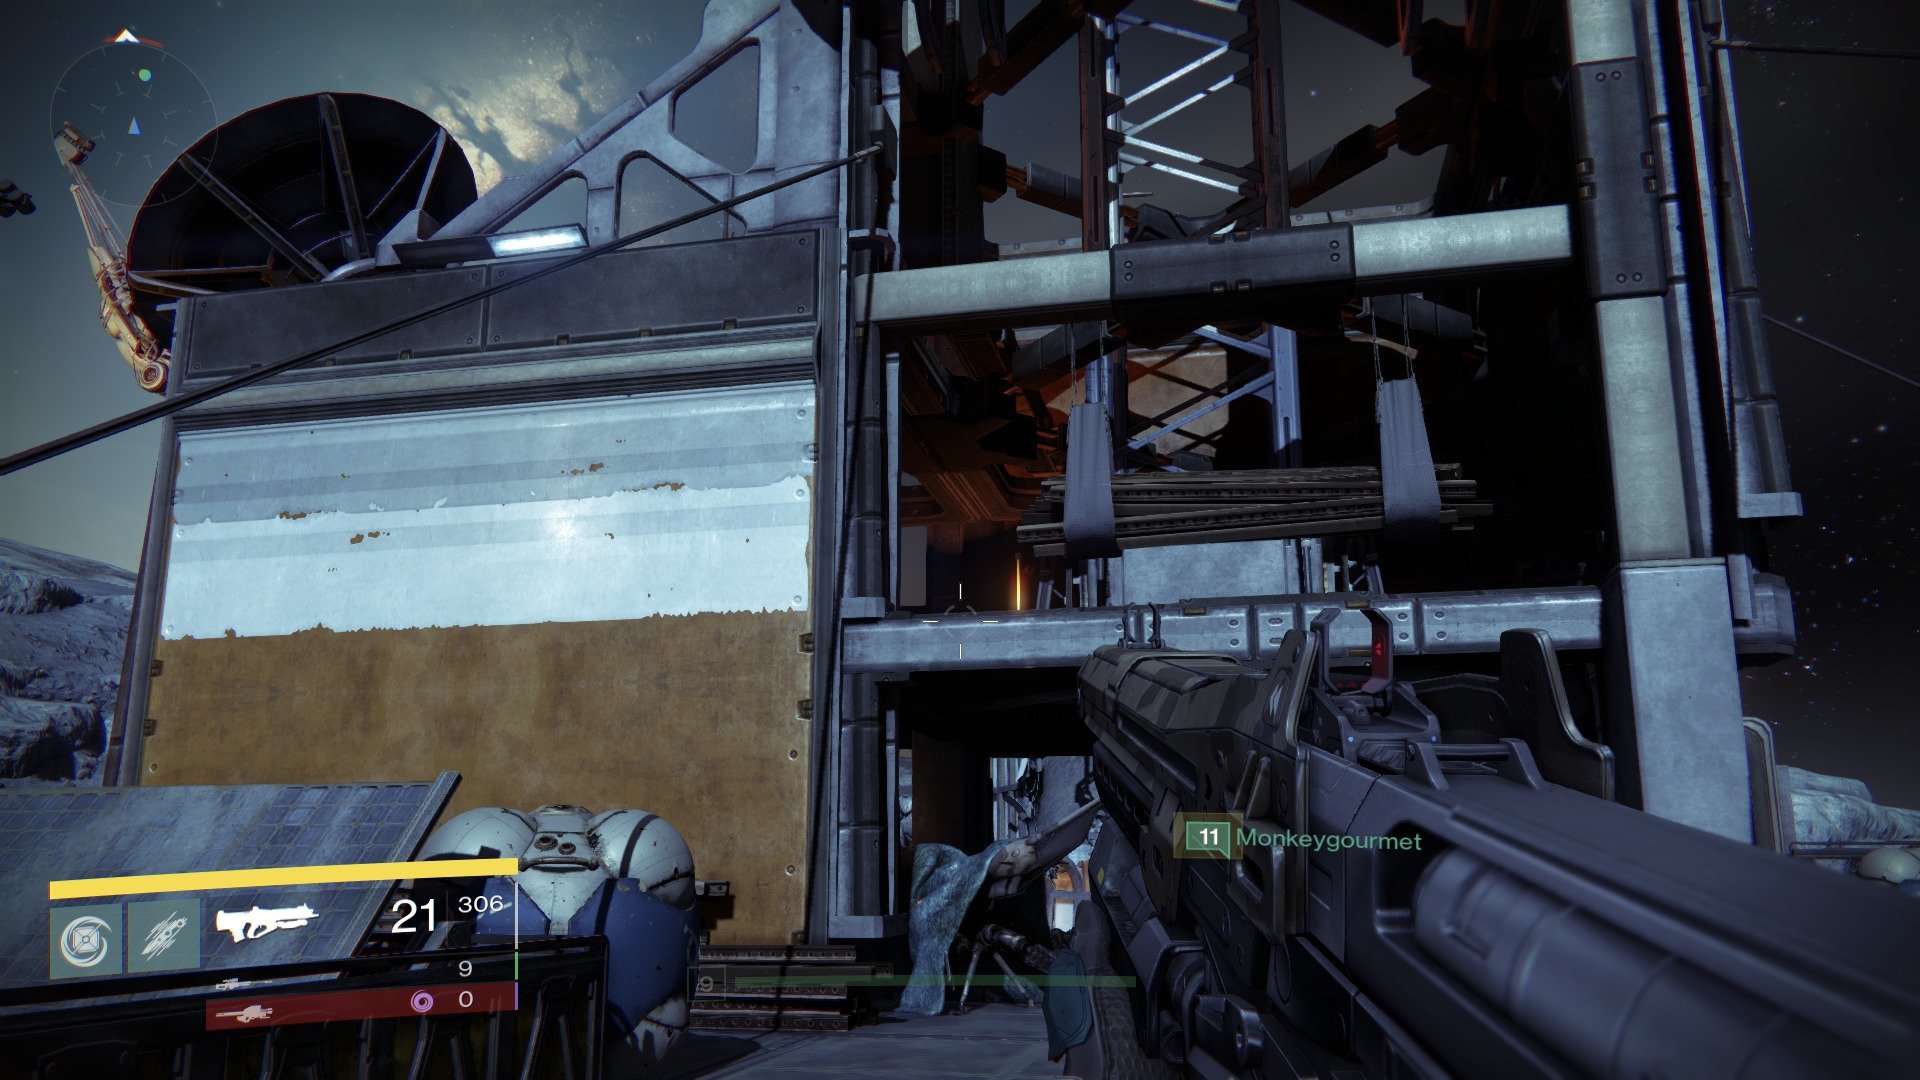
Follow the ramp up and pop through the Guardian sized hole up here.
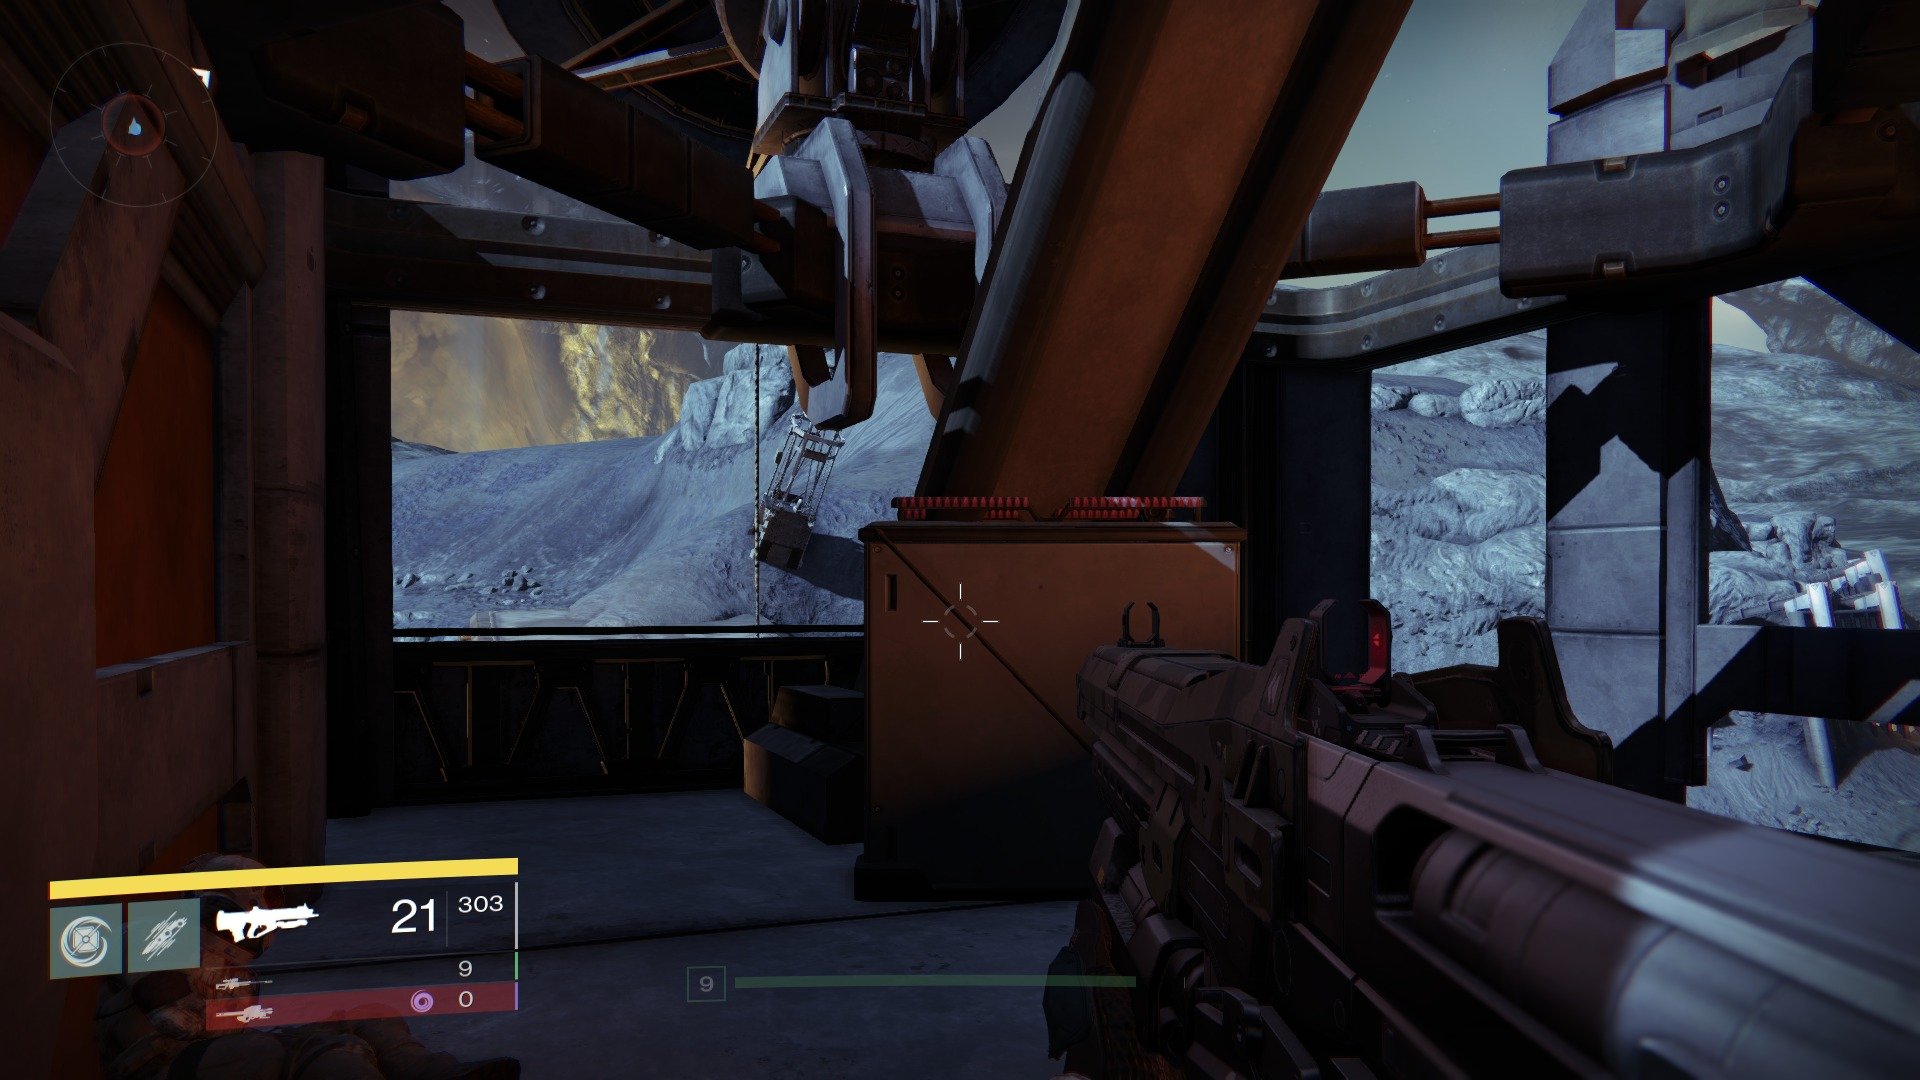
Once you're in, vault on to the top of the base of the strut. You'll have to balance on the very edge, so this might take a couple of attempts.
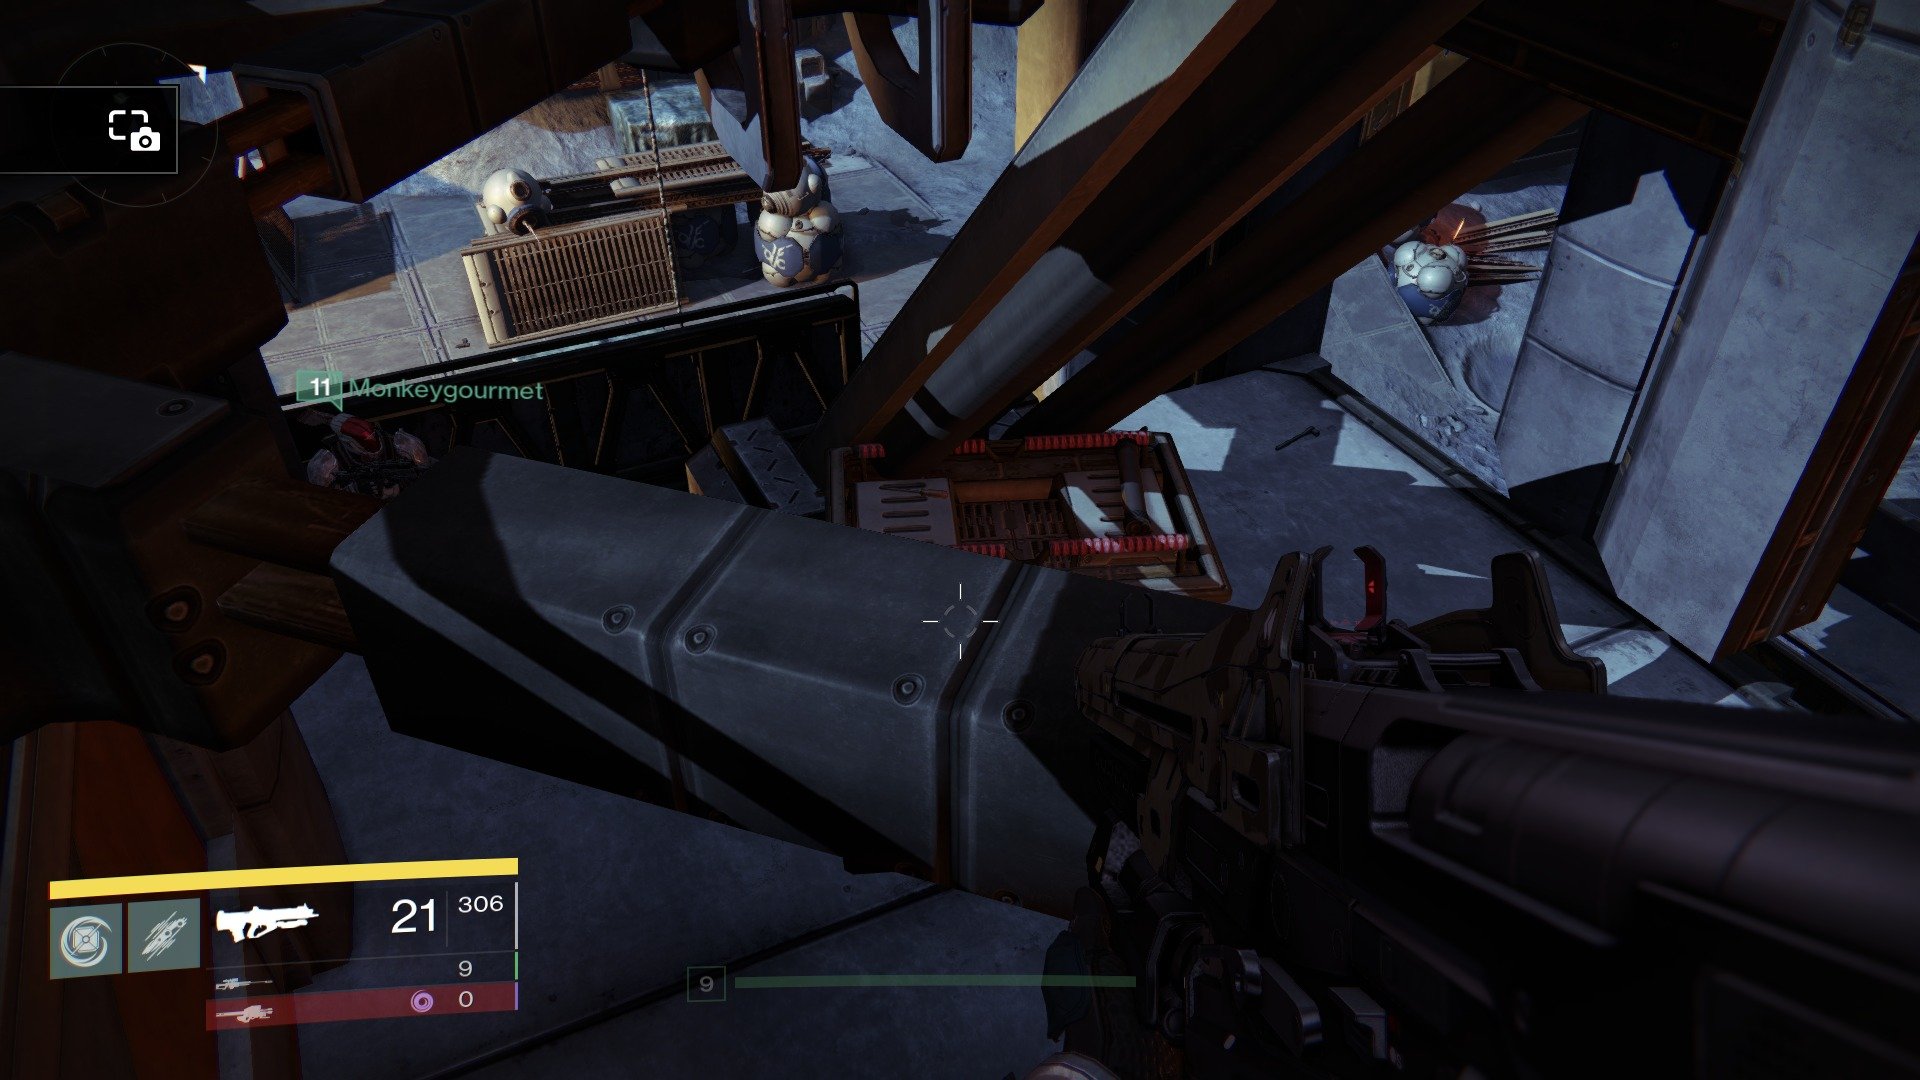
From here, jump up and across to the girders opposite.
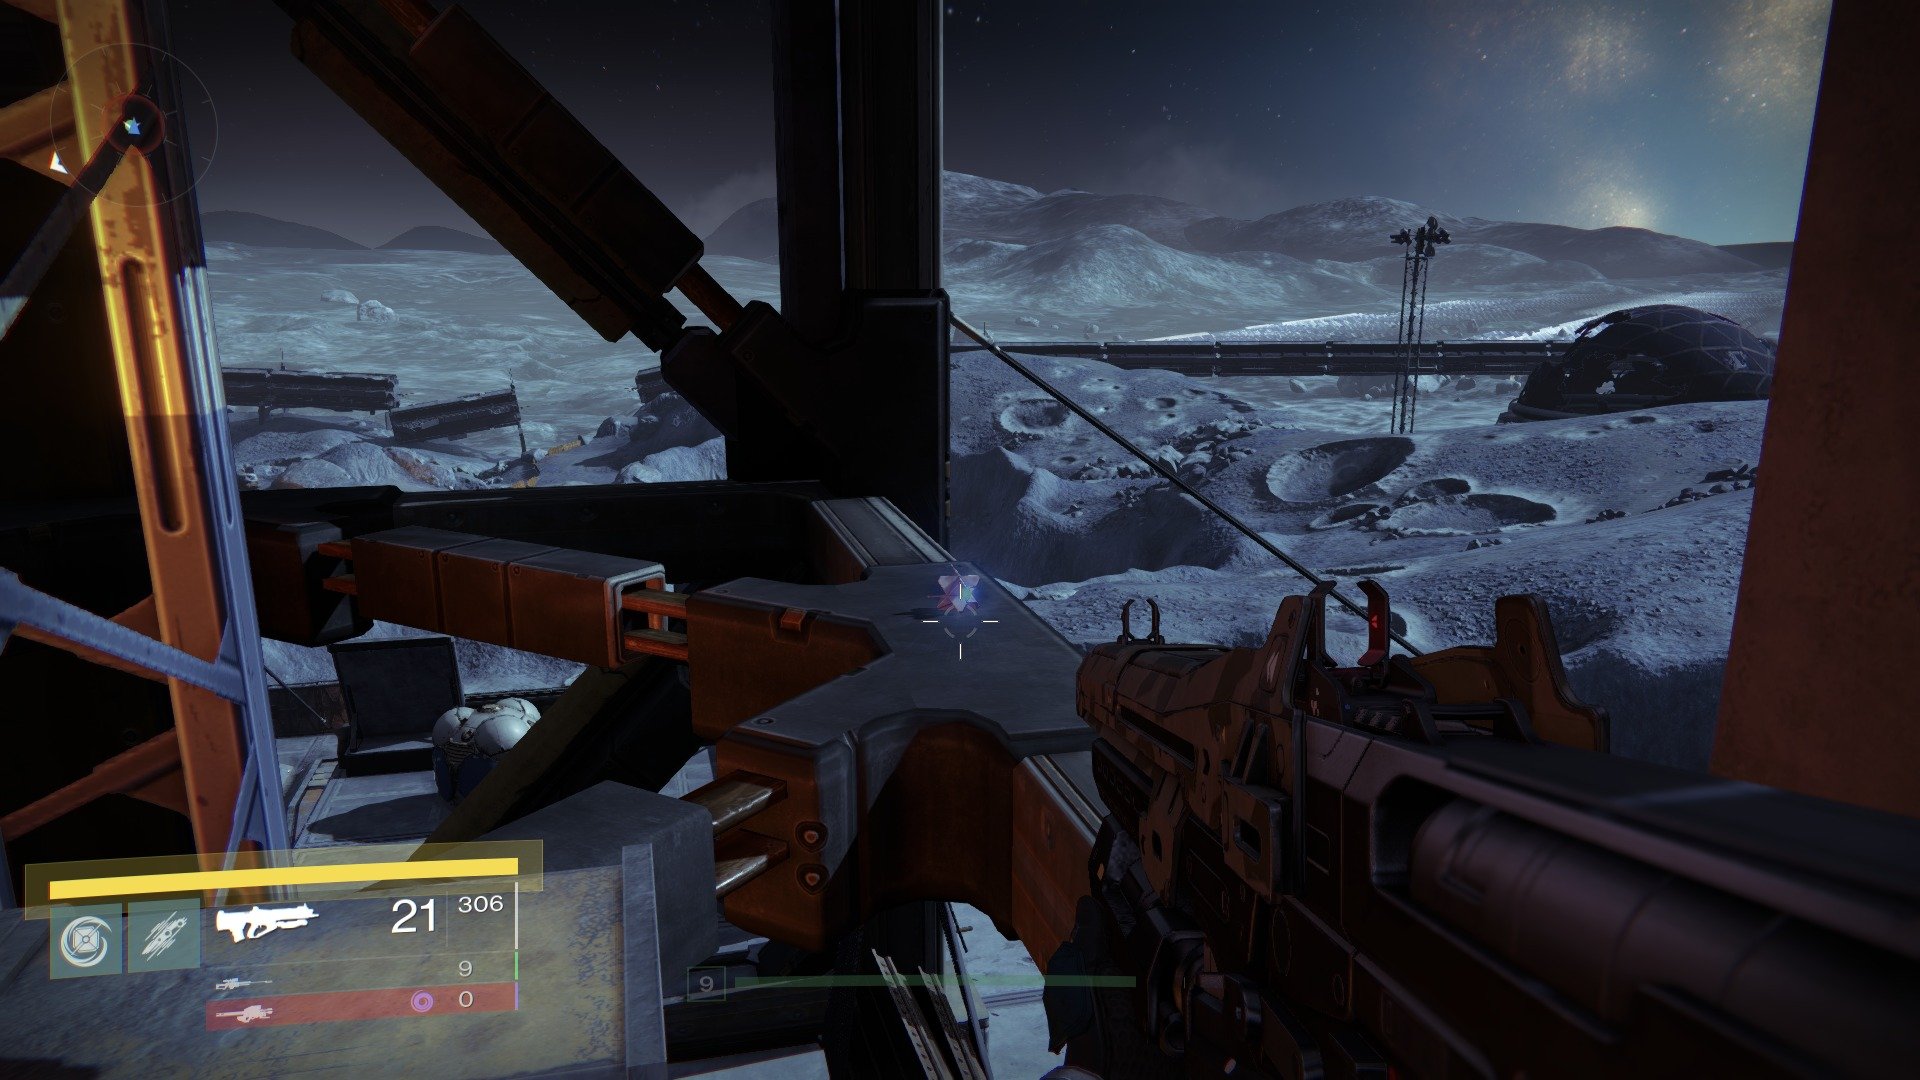
The Dead Ghost is on the girders up here. When you're scaling them, you might find that you land on the girder directly above, so just carefully drop down to avoid having to go through this process all over again.
Dead Ghost #4 - Hall of Wisdom
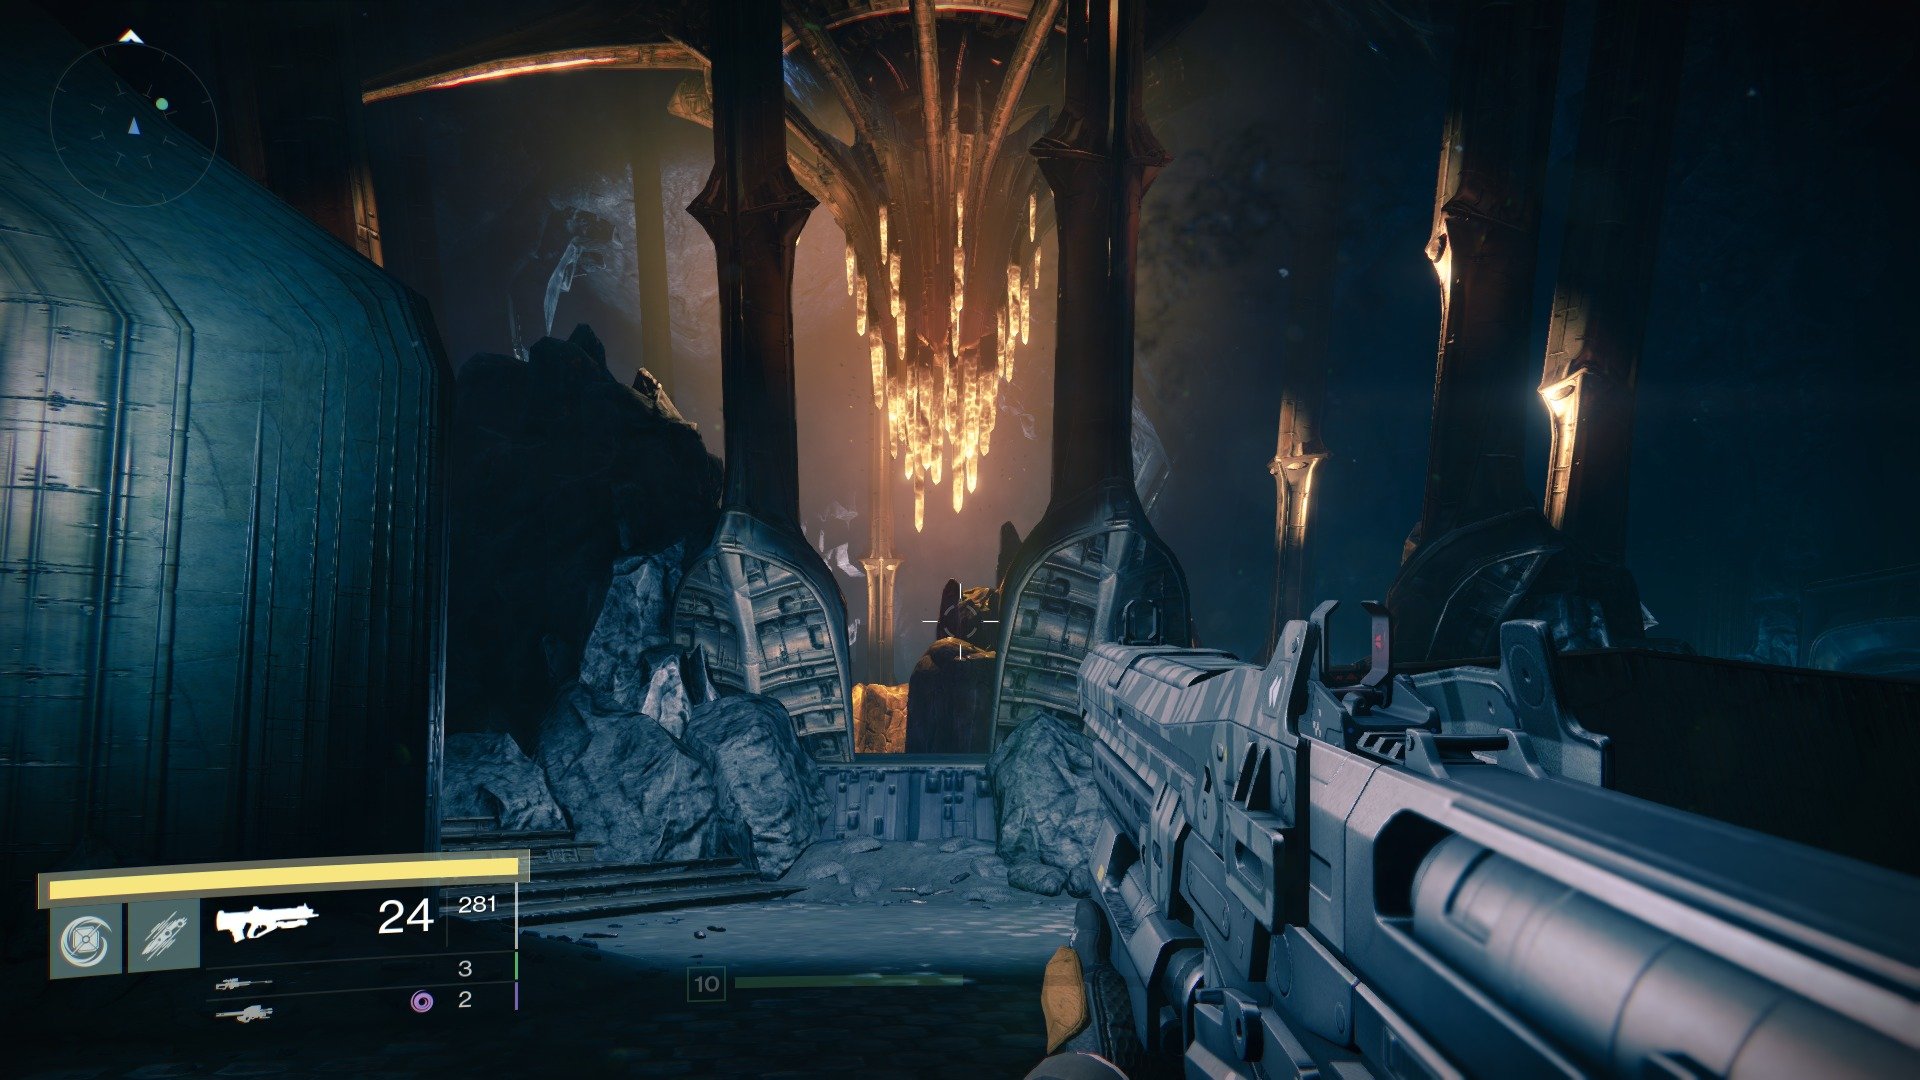
The next Dead Ghost is just beyond this elegant lighting fixture.
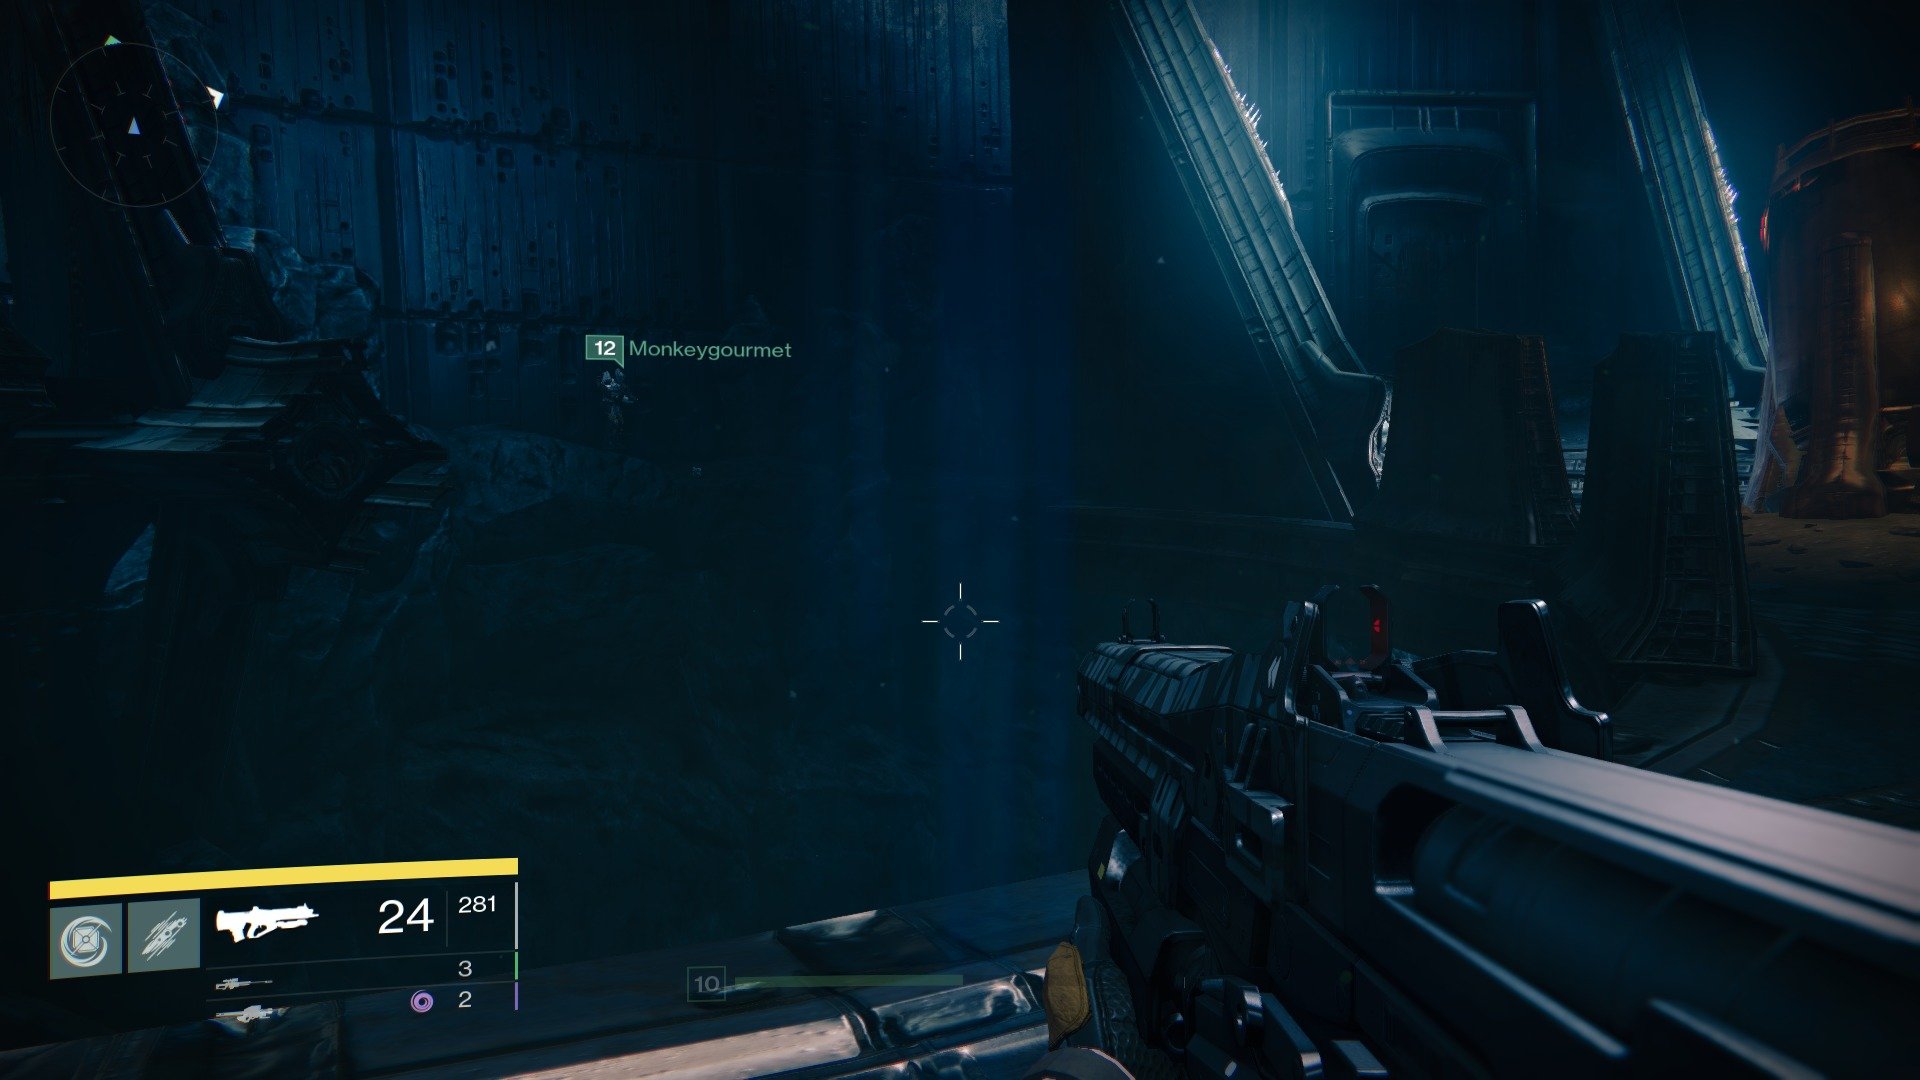
As you traverse the walkway with the lit up chamber behind you. look over to the left and you'll spot a Dead Ghost lying on the rocky outcrop opposite.
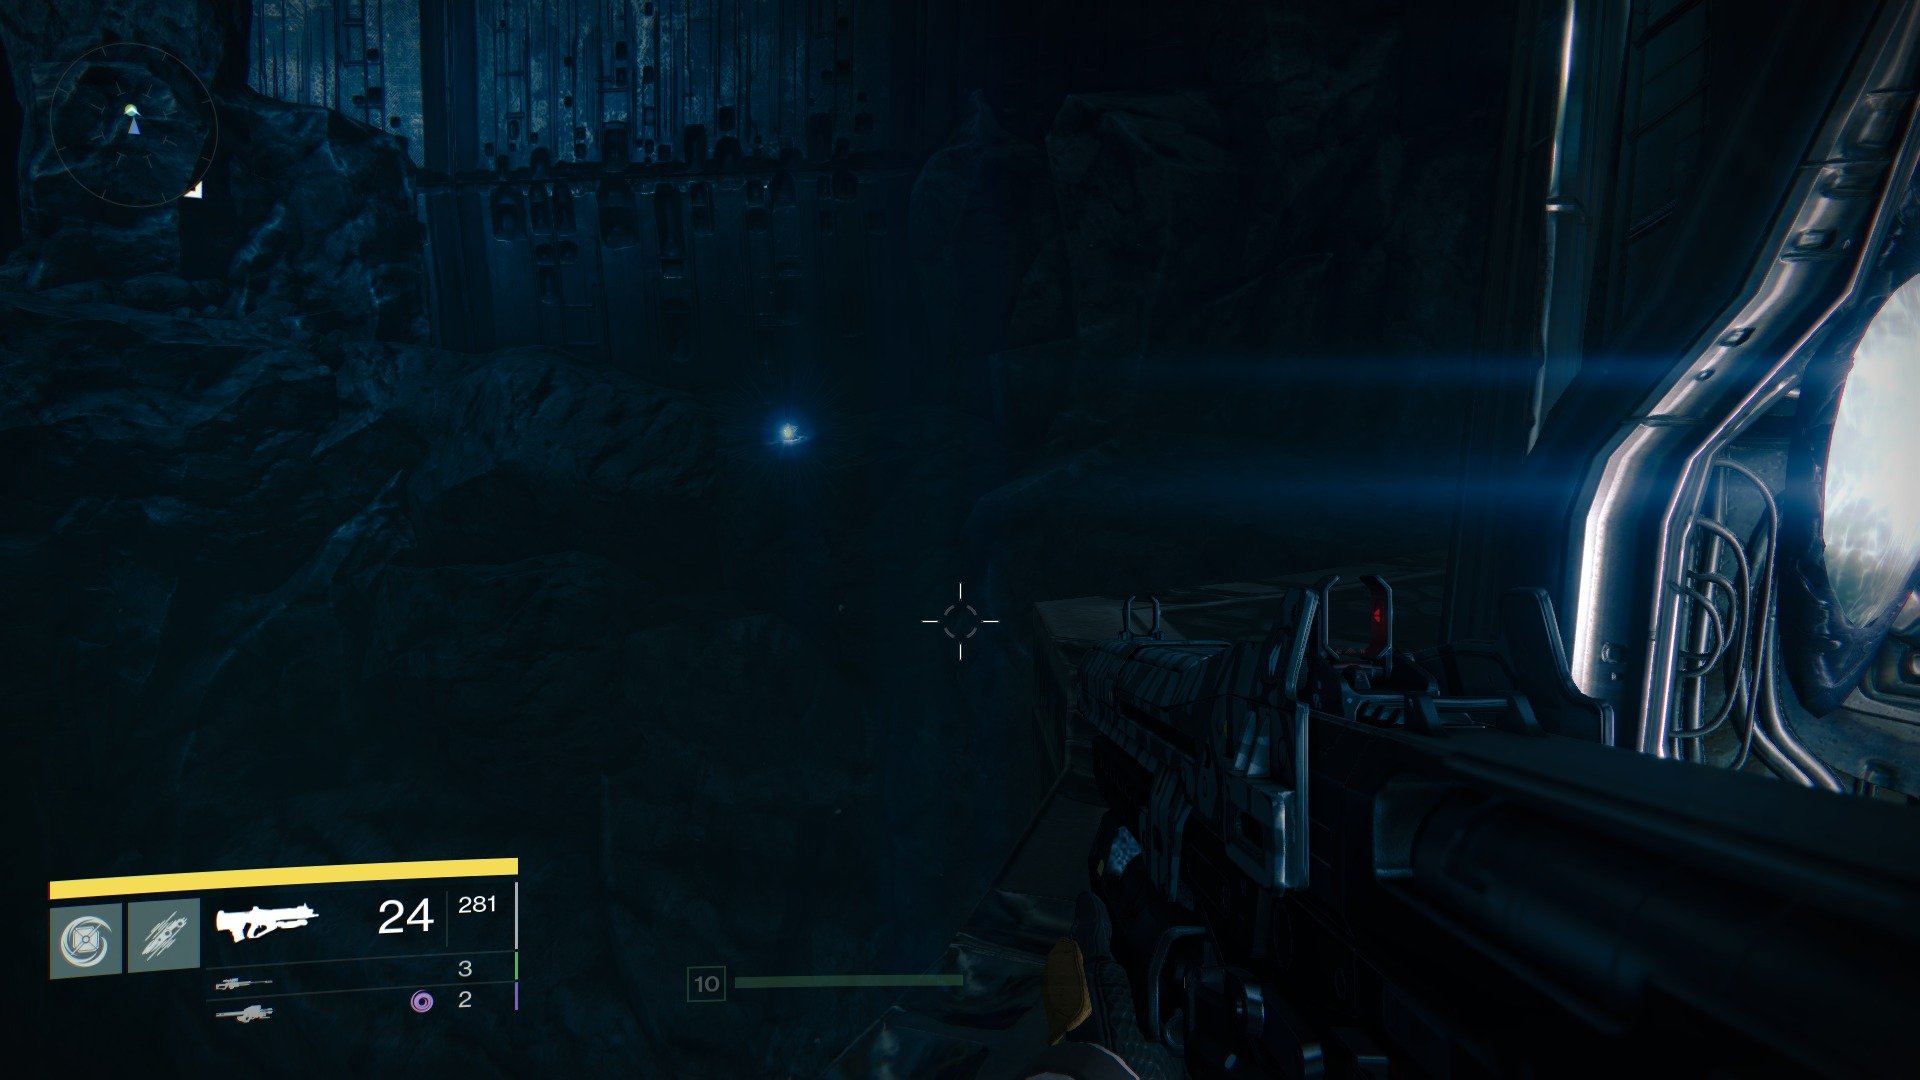
Follow the walkway around to the left to find a safe spot from which you can launch off from to grab the Dead Ghost.
Dead Ghost #5 - Circle of Bones
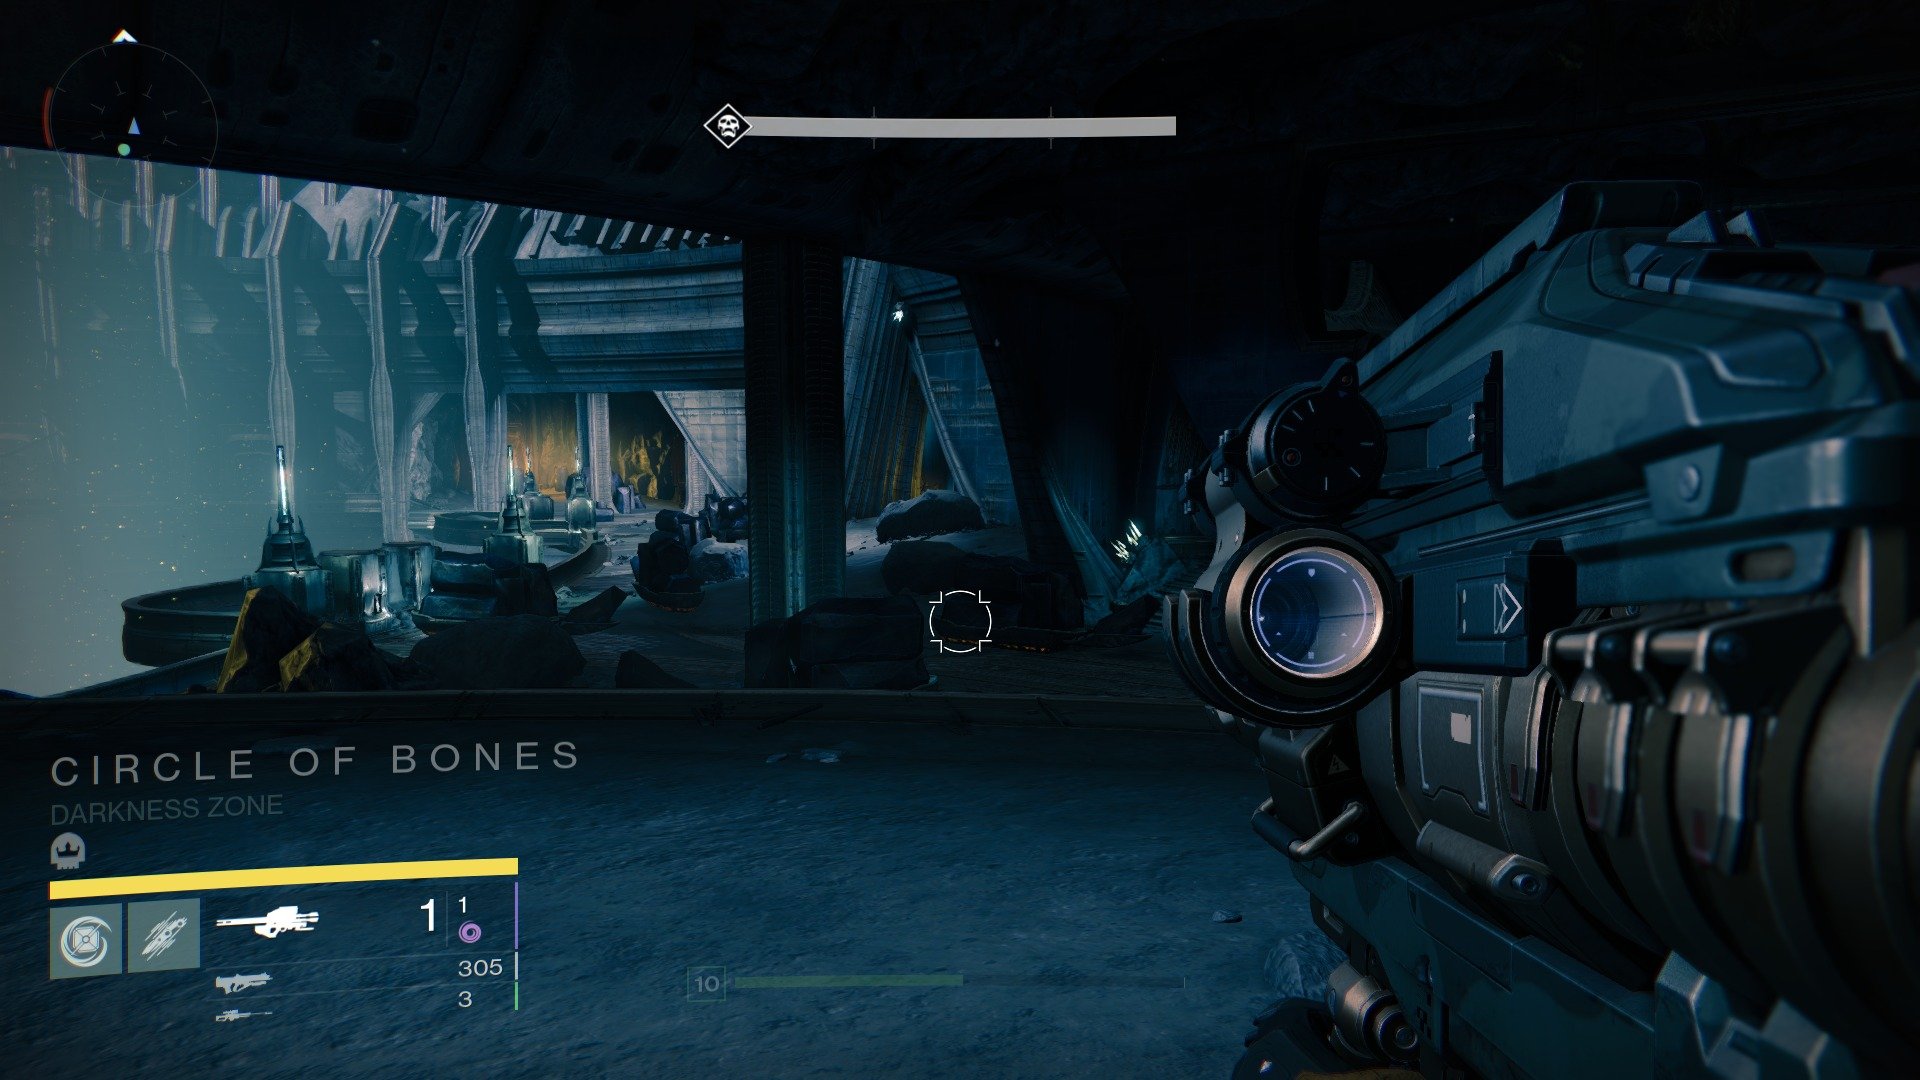
This one is rather convoluted, so stay with me. Enter the Circle of Bones from the Hall of Wisdom and veer left.
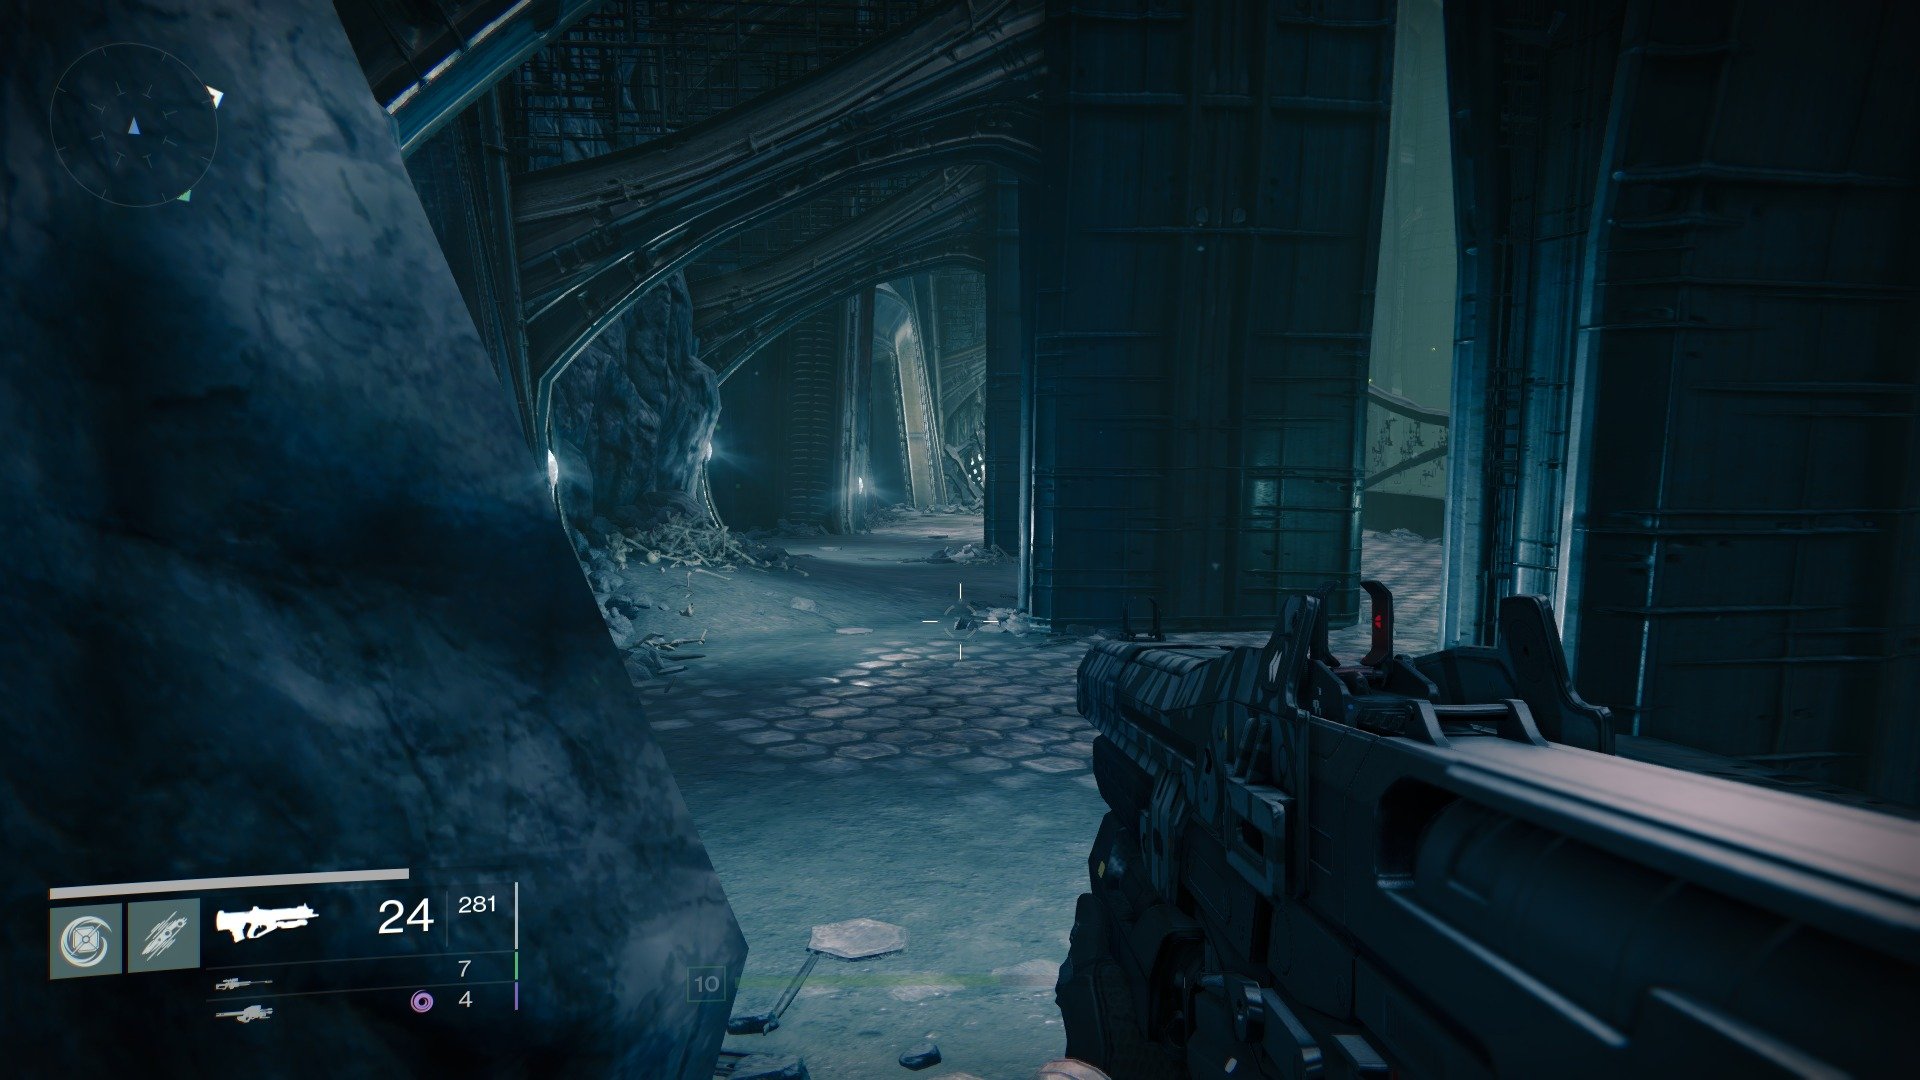
Head down this corridor. There are 2 level 12 Hallowed Knights hanging out down here, so clear them out first.
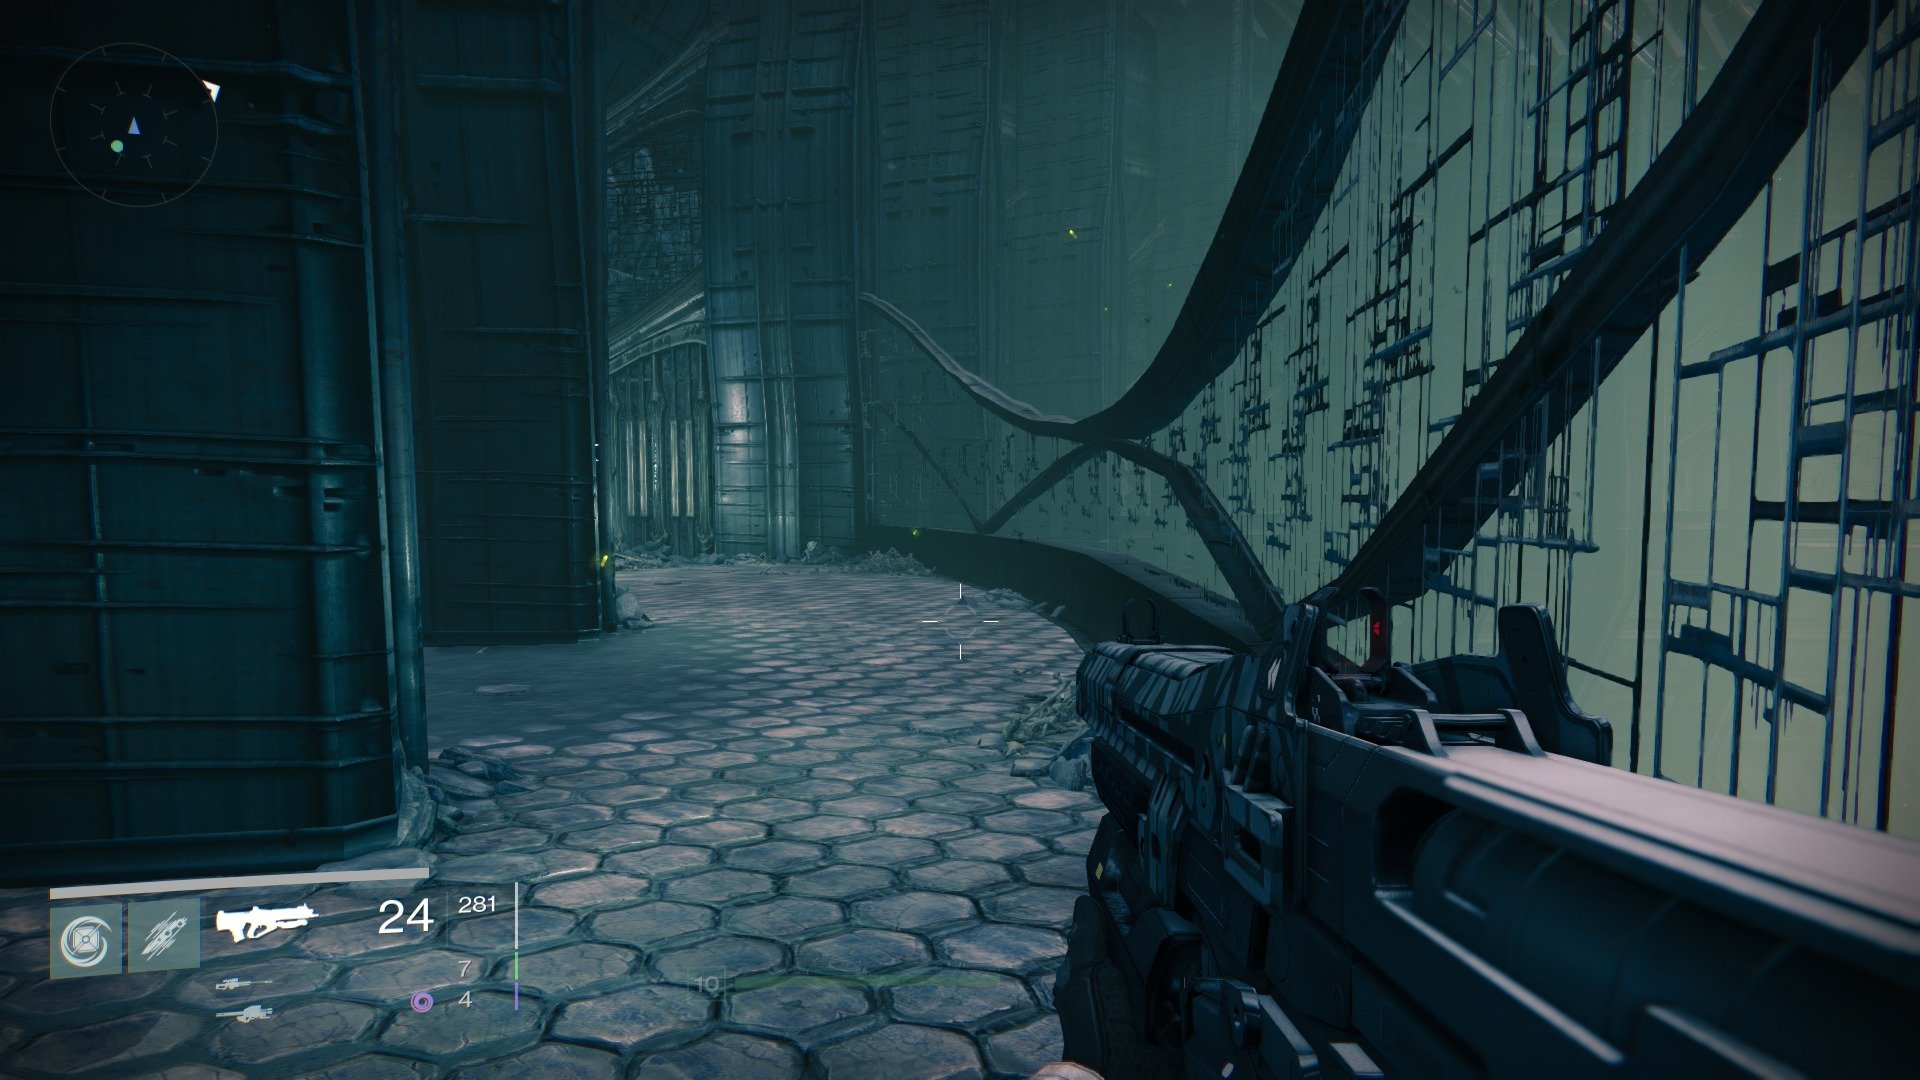
Once the coast is clear, walk over to the balcony area and mount the top of the railing.
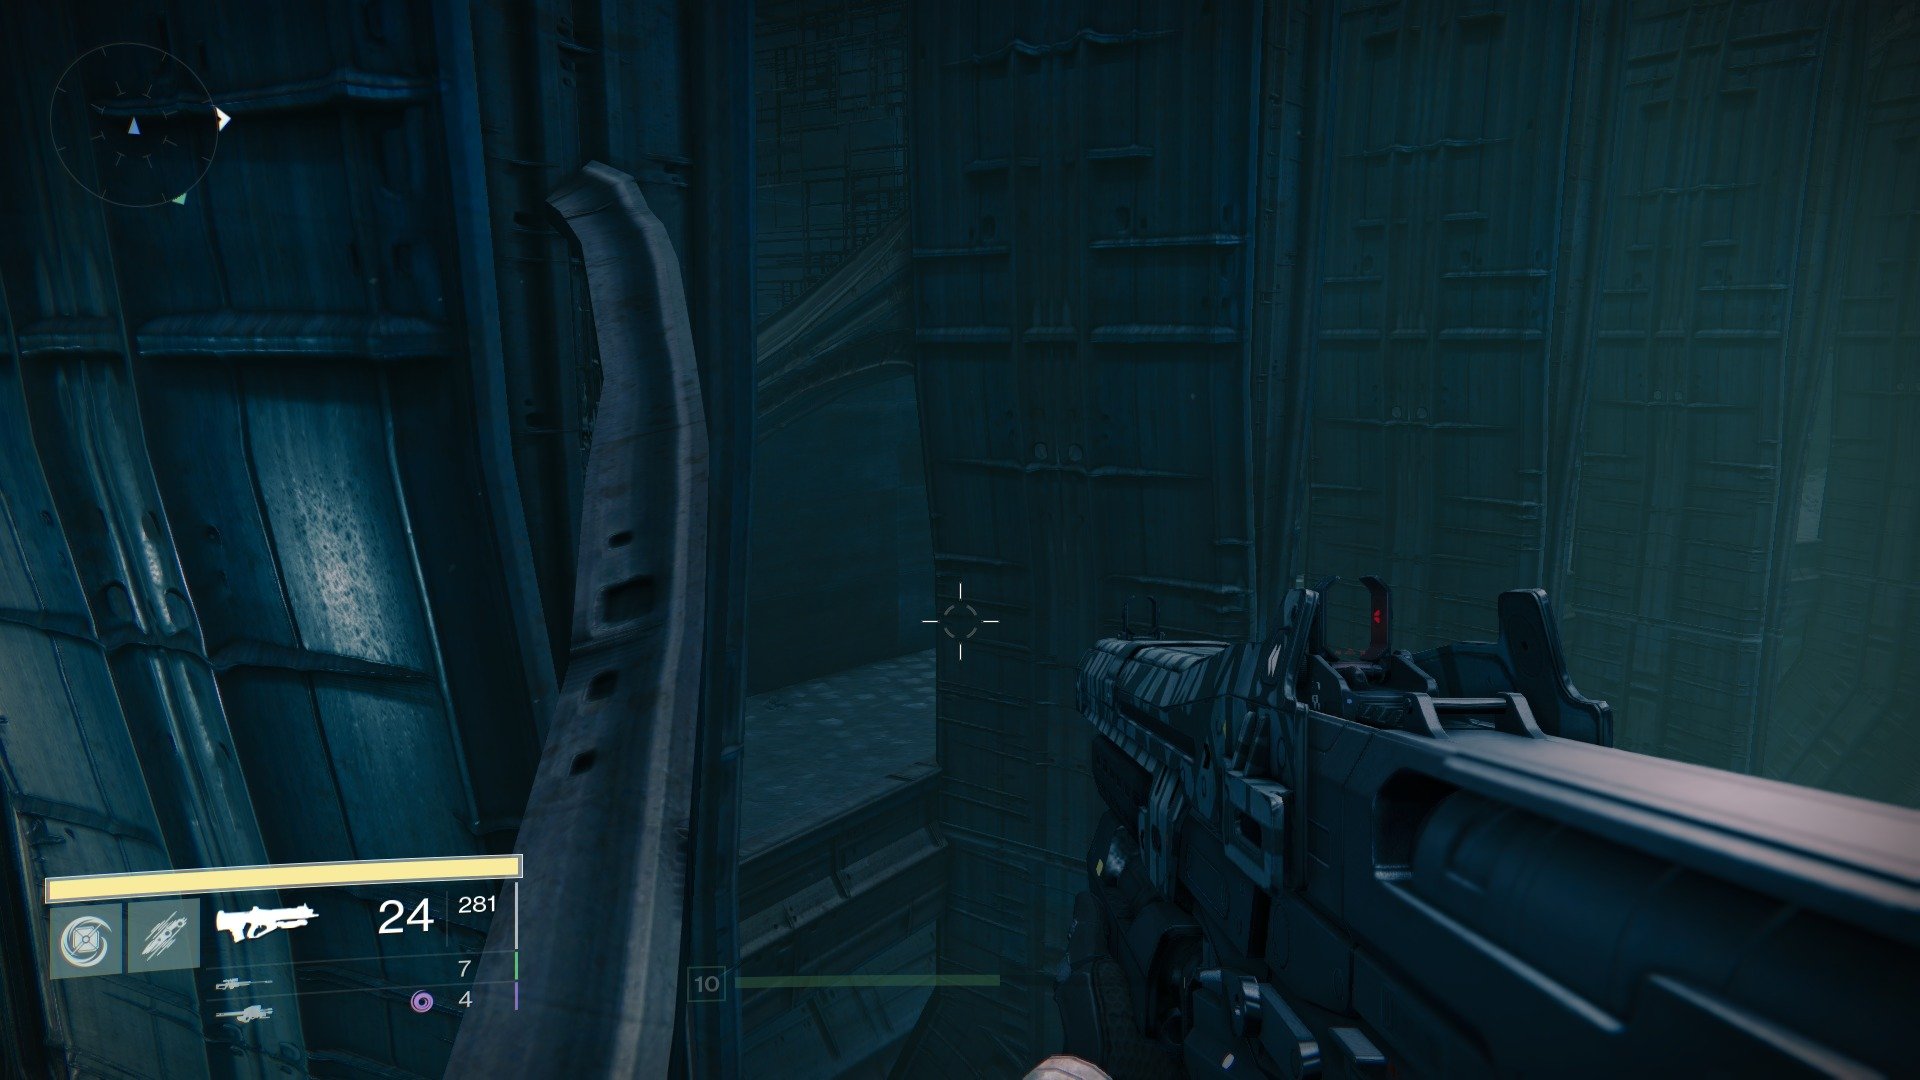
Follow it to the upward sloped end and look down; you should be able to make out a pathway across and to the right. Steel yourself and double jump over.
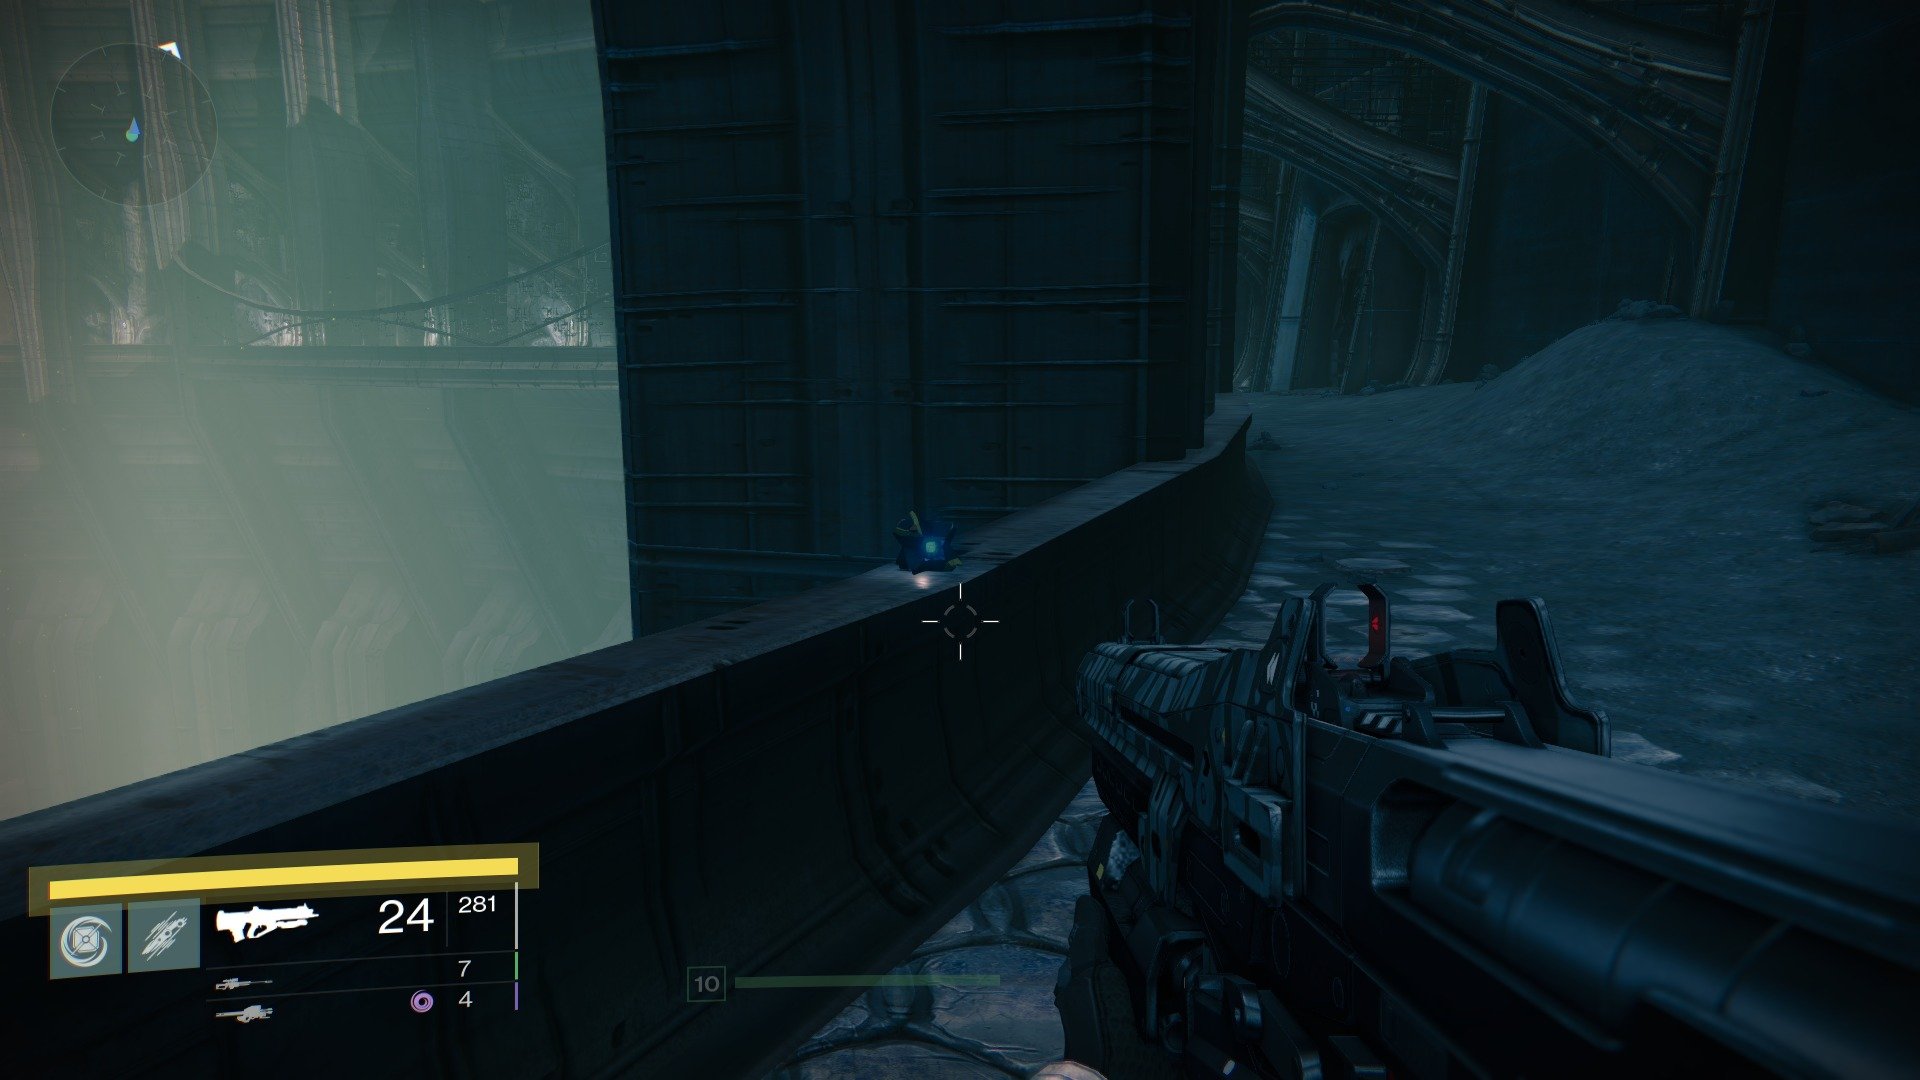
Presuming you made the jump successfully, run joyously to the end to find a Dead Ghost.
Dead Ghost #6 - Hellmouth
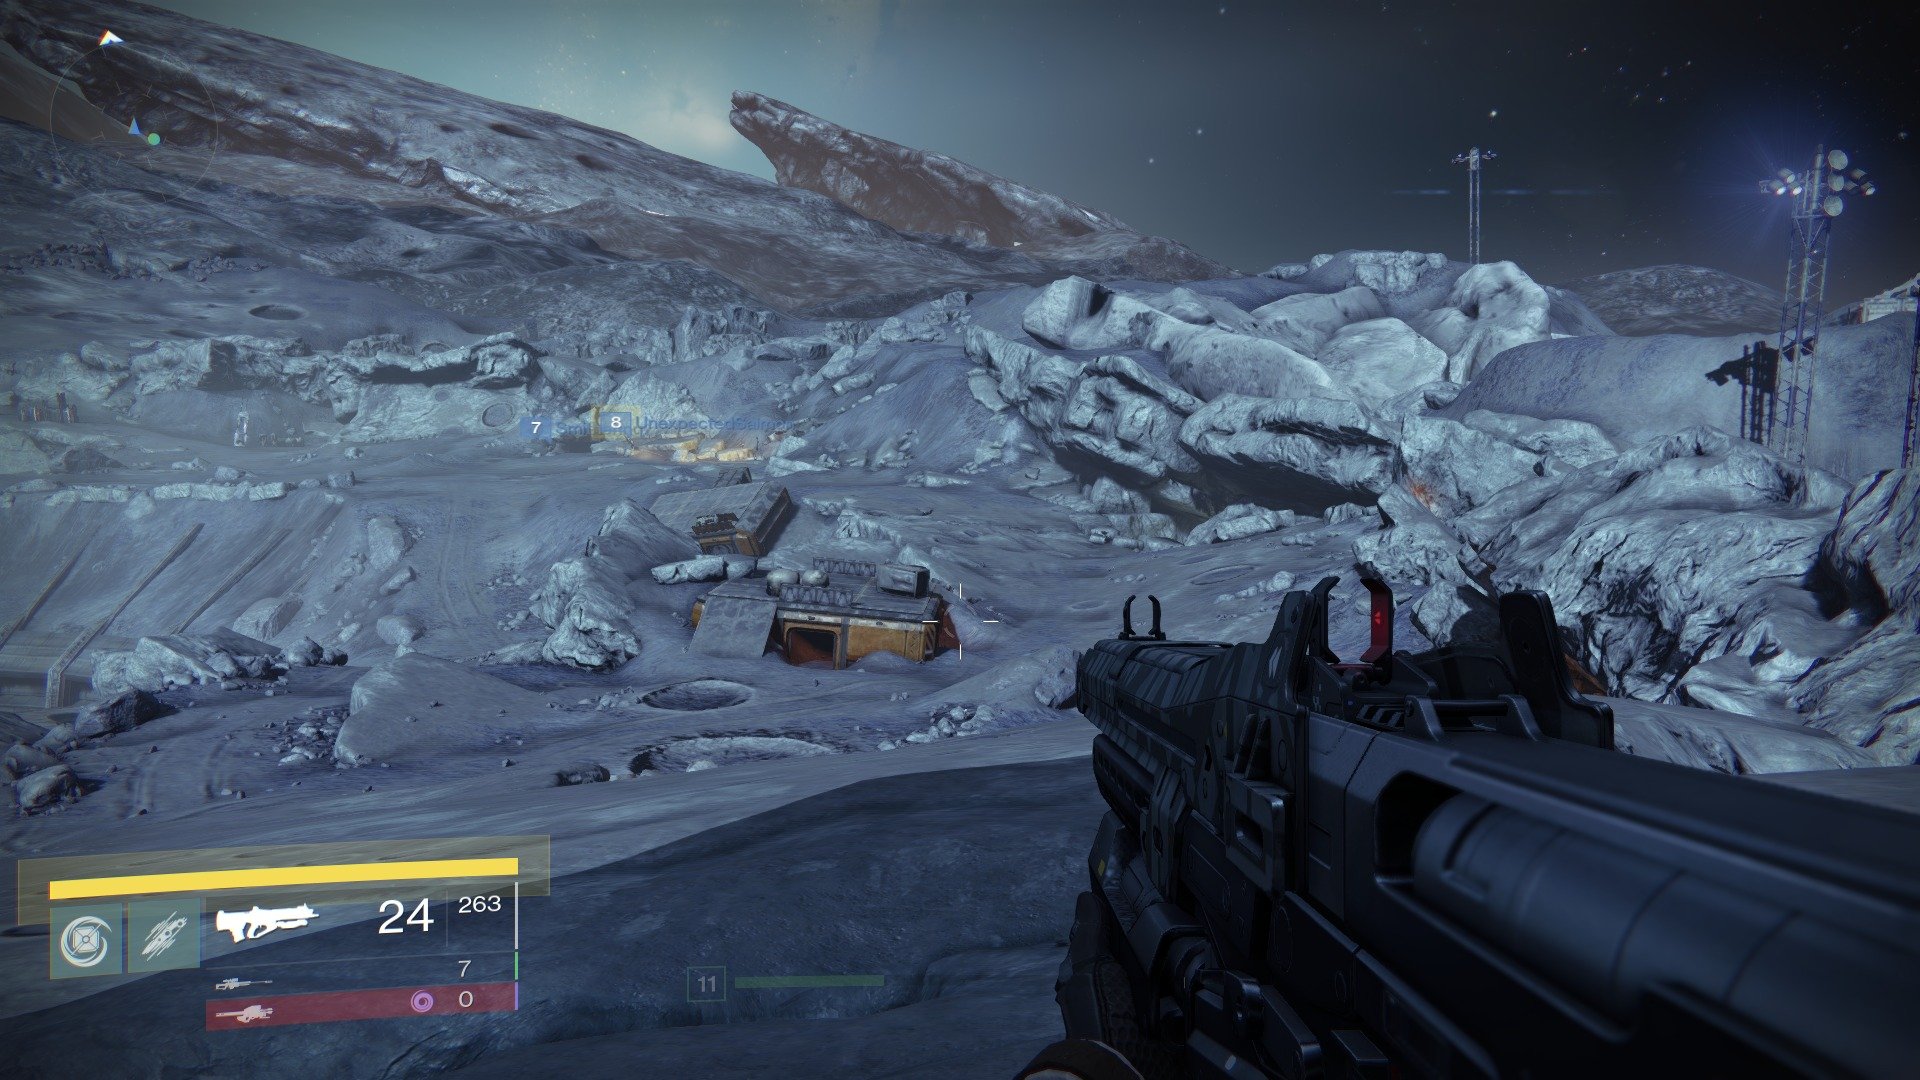
Entering this area from Anchor of Light, head to the small shack, then turn right and follow the path.
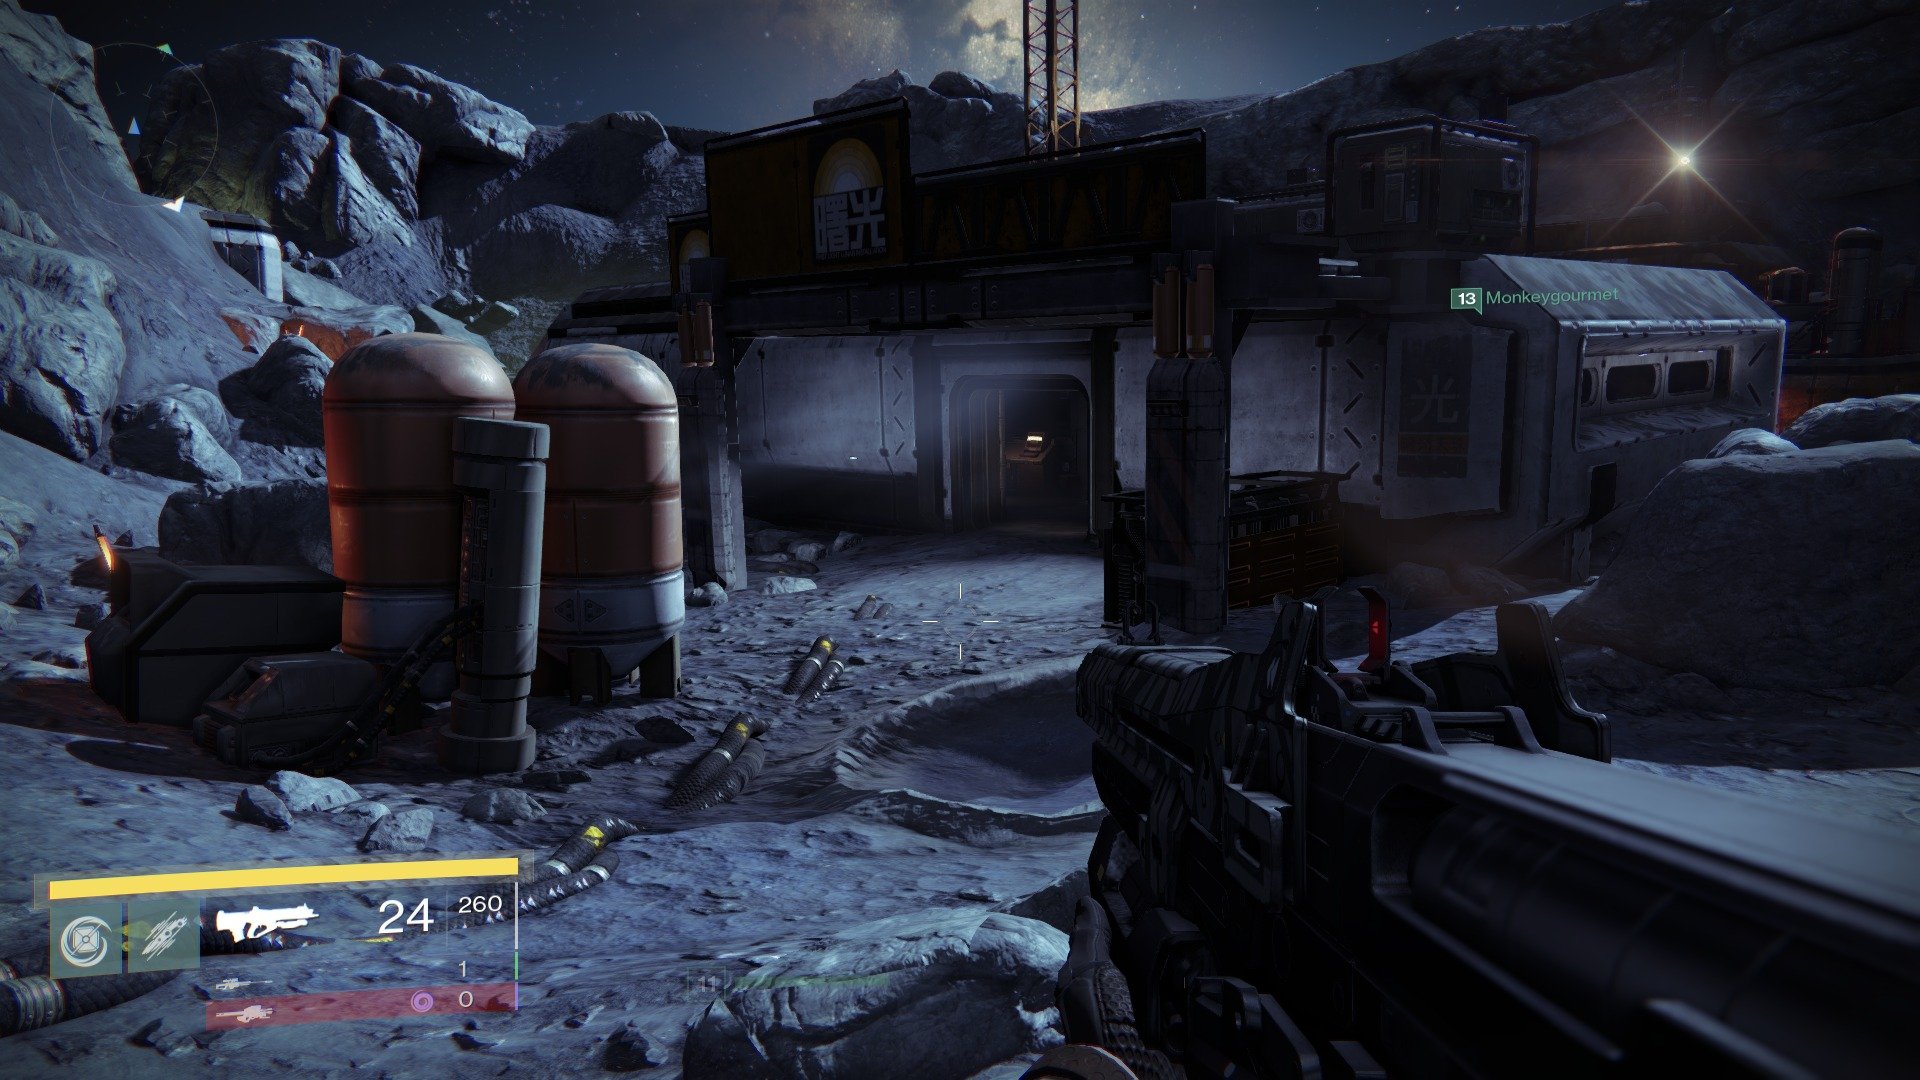
This will bring you to a small Moon base. Make your way to the building closest to the entrance.
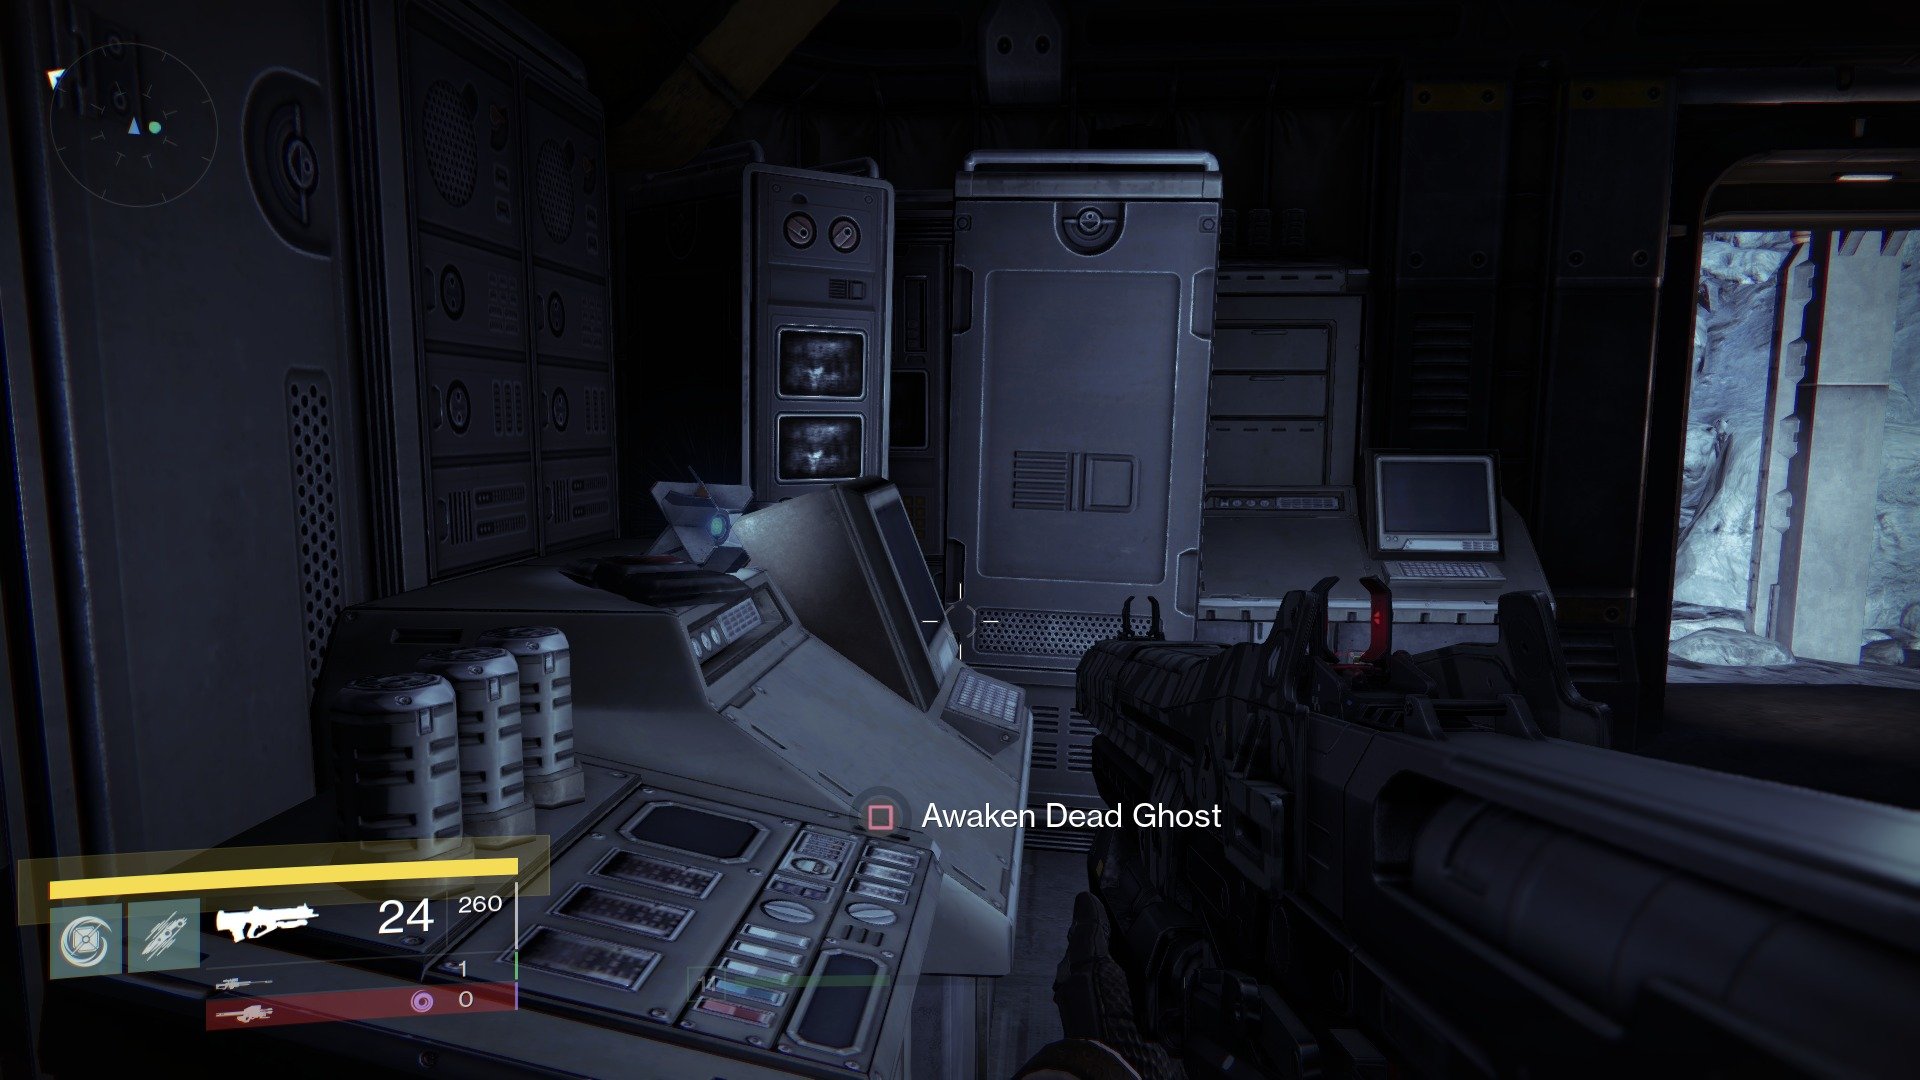
To the right of the doorway is a Dead Ghost.
Dead Ghost #7 - The Gatehouse
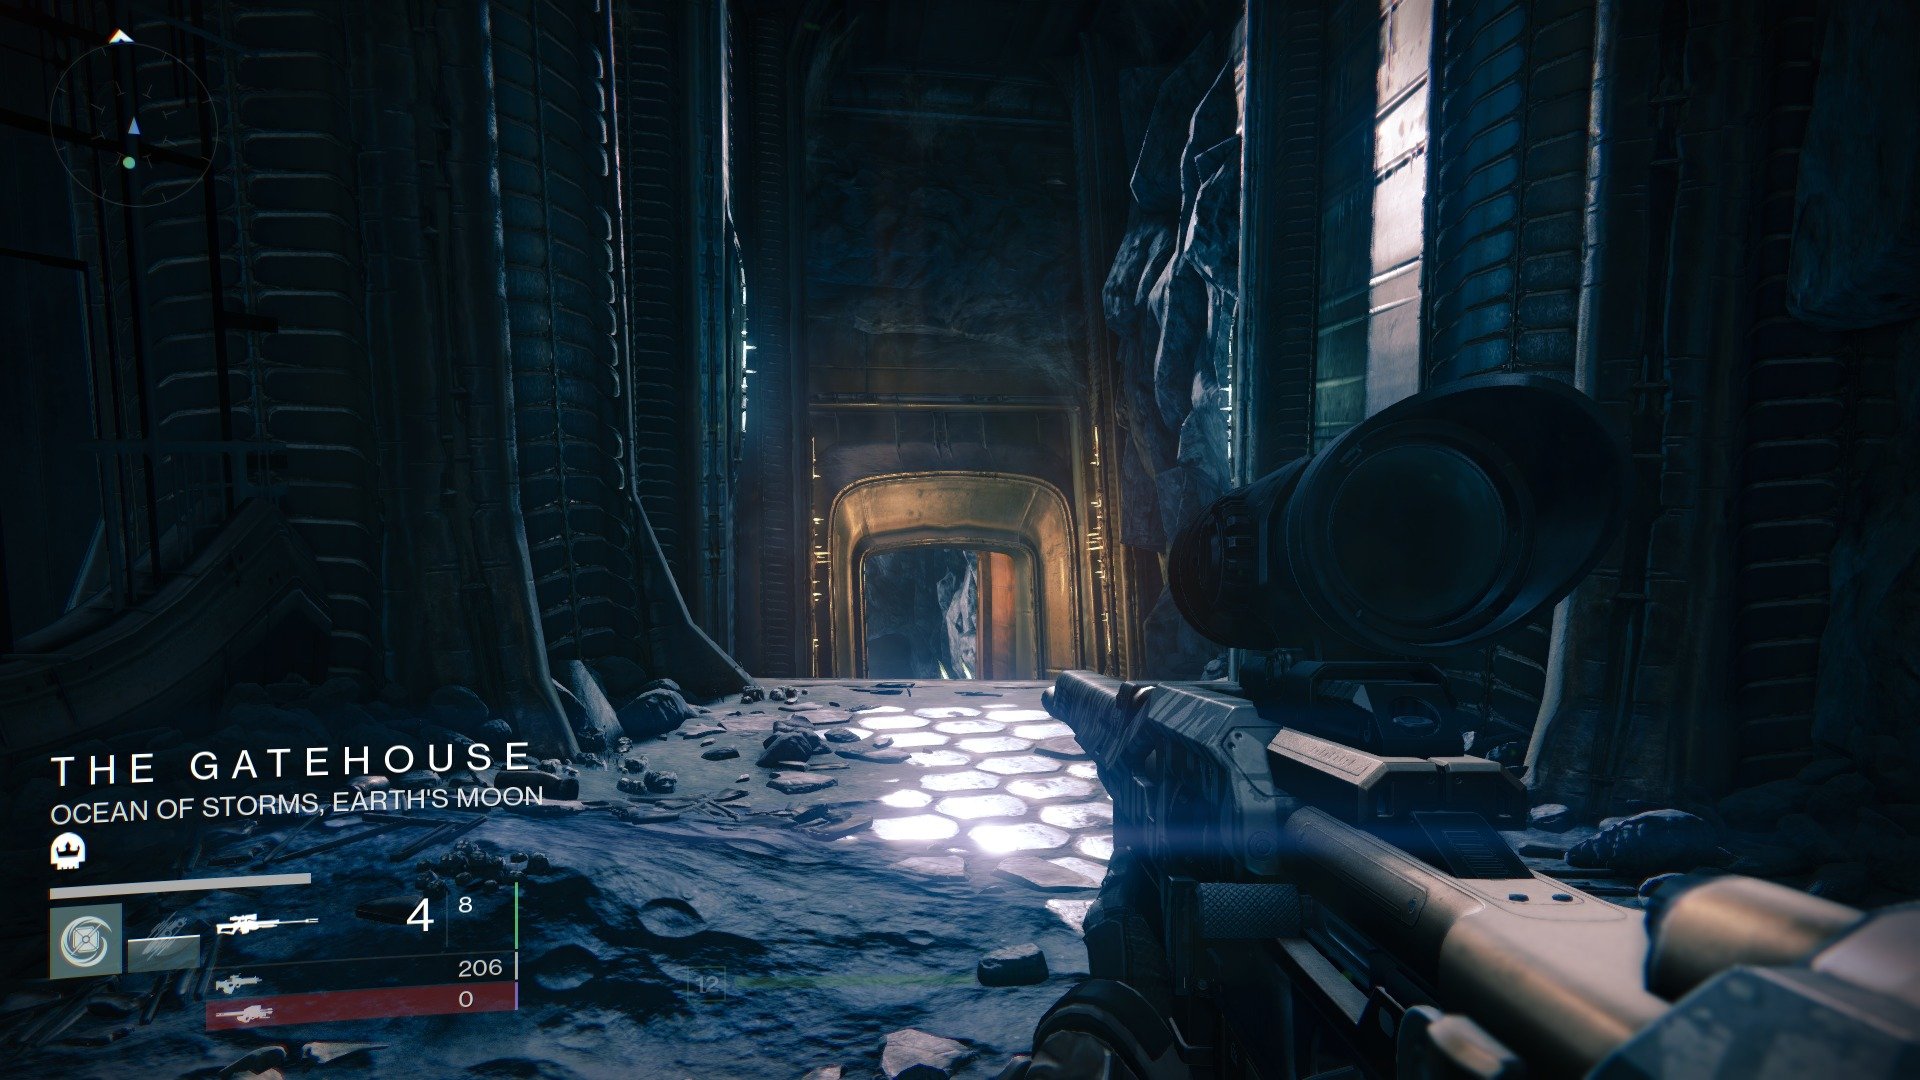
Enter the Gatehouse from Hellmouth and head down the corridor to the open area at the end.
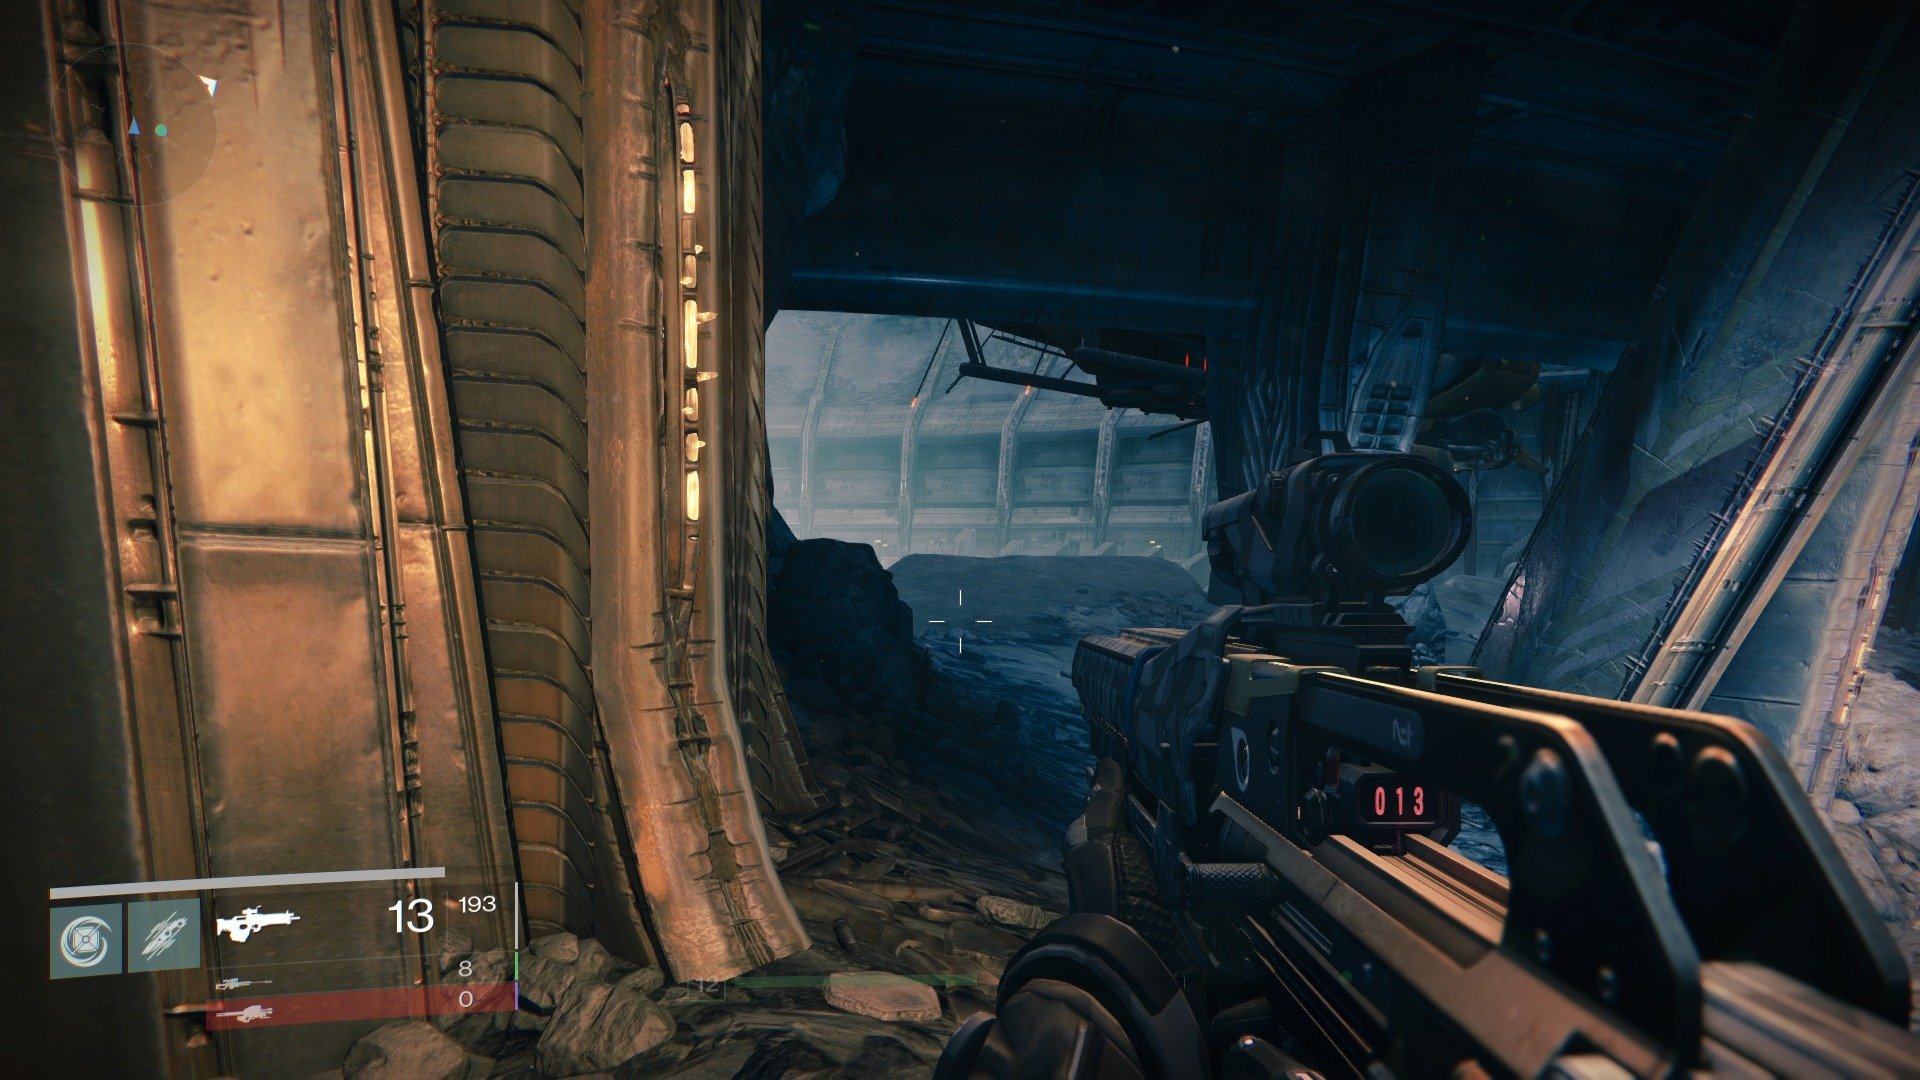
When you pop out here, swing left and follow the wall to the edge of the precipice.
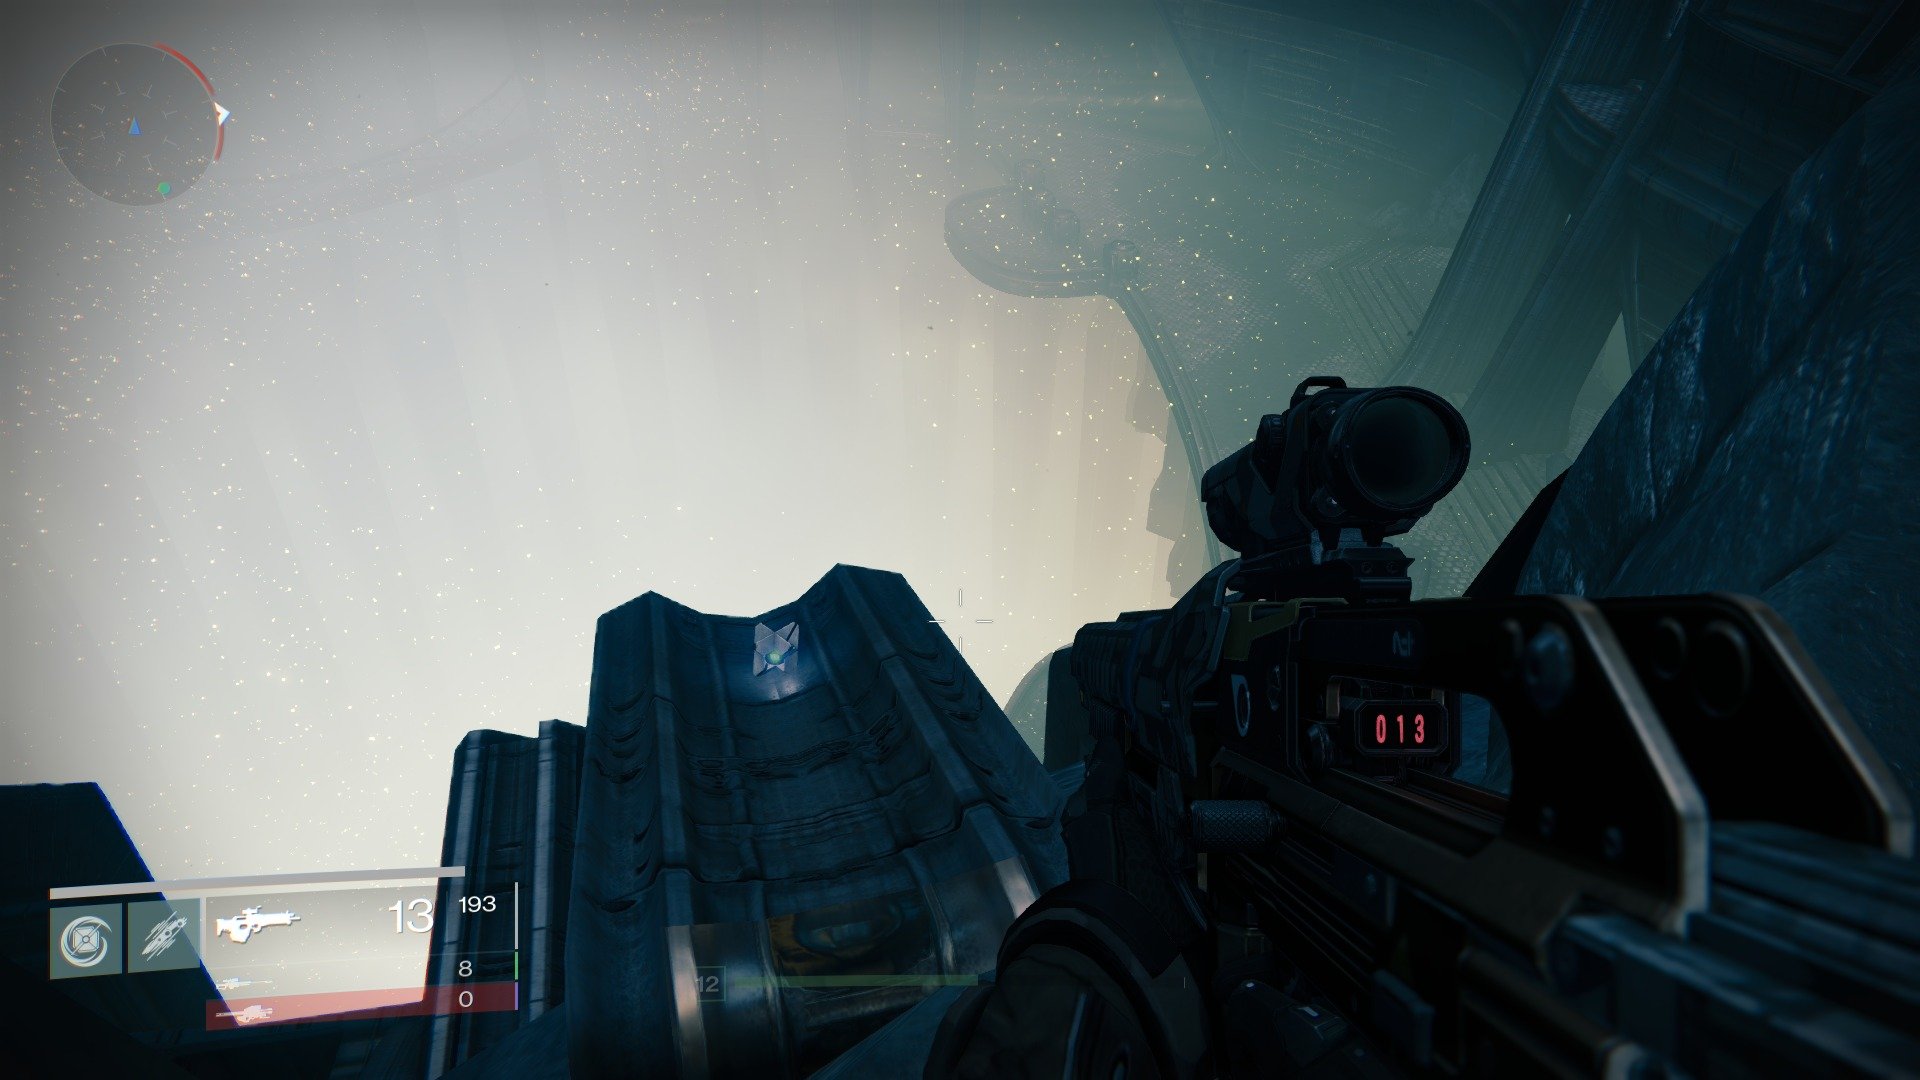
The Dead Ghost is on one of the struts poking out from the edge.
Dead Ghost #8 - Shrine of Oryx
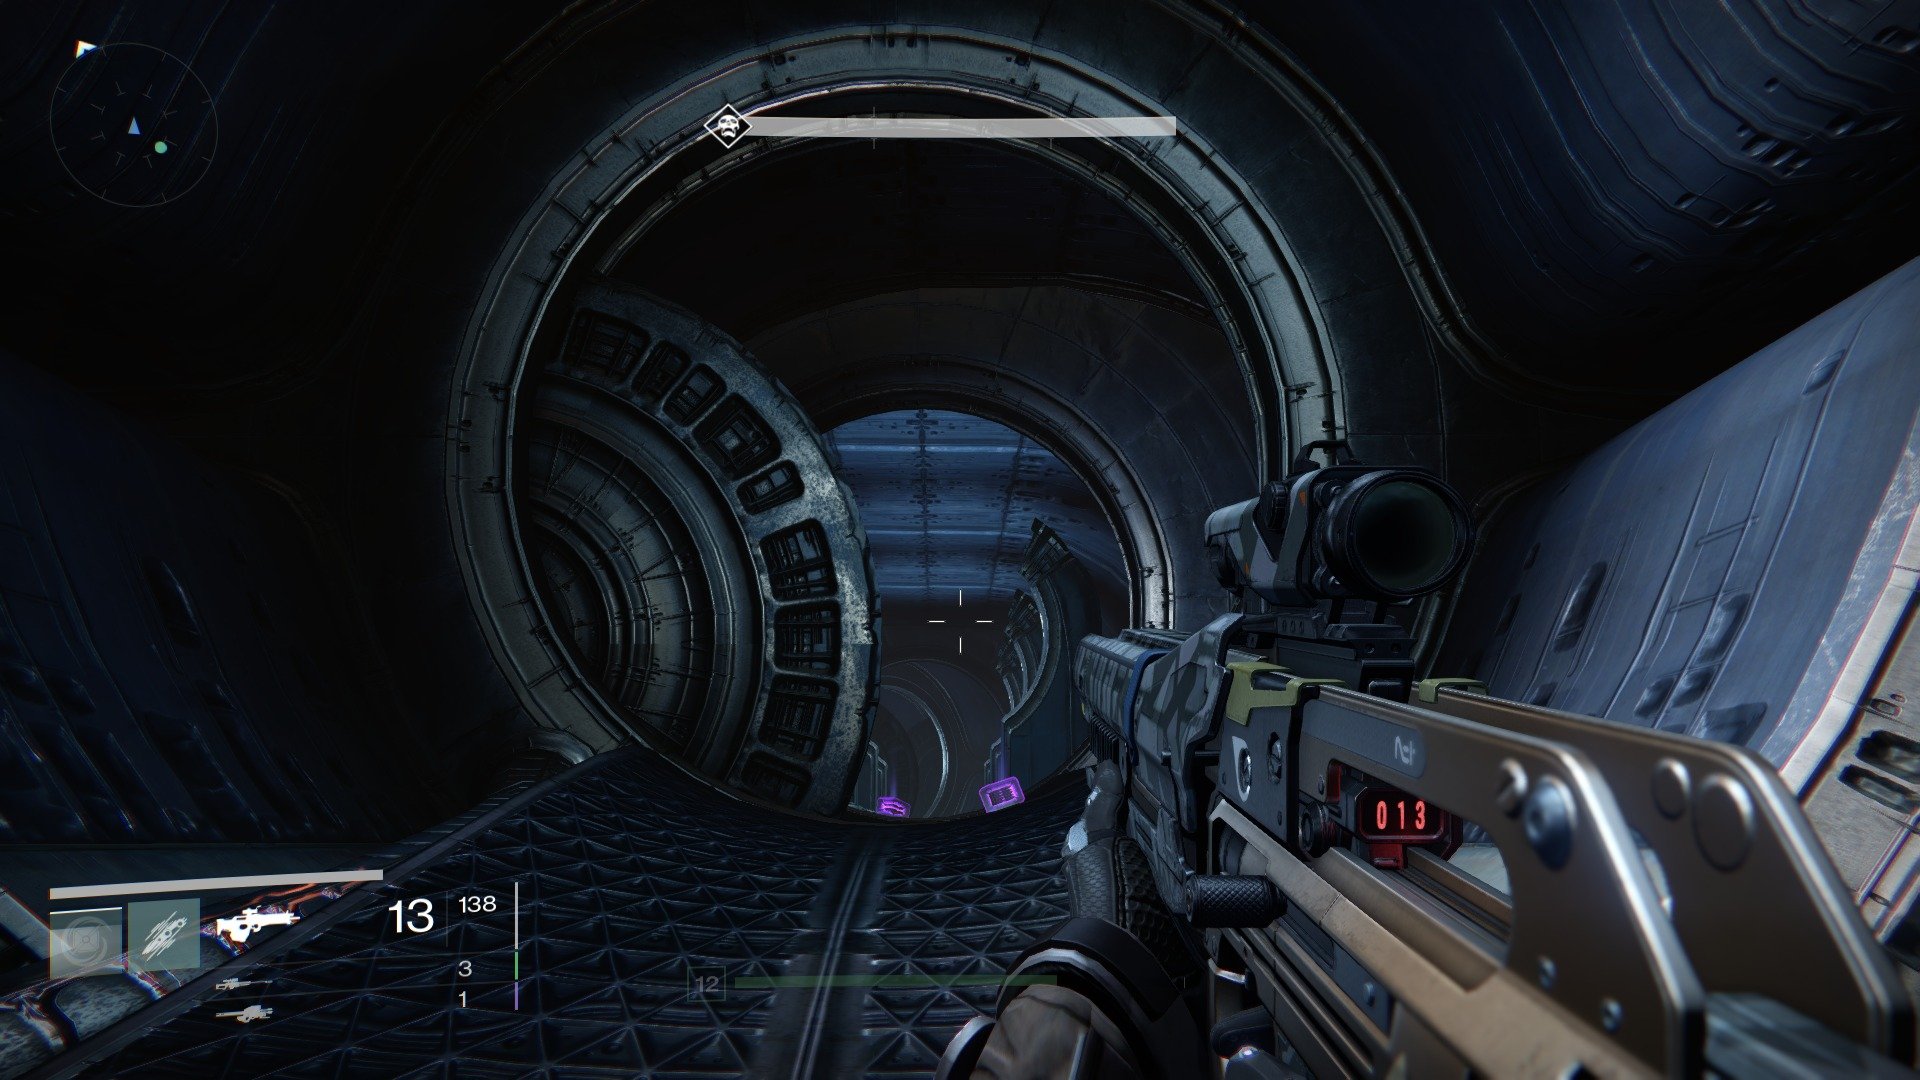
As you progress through the Shrine of Oryx, you'll come to an odd-looking corridor with a total of 6 strange and pointless architectural statements lining the sides.
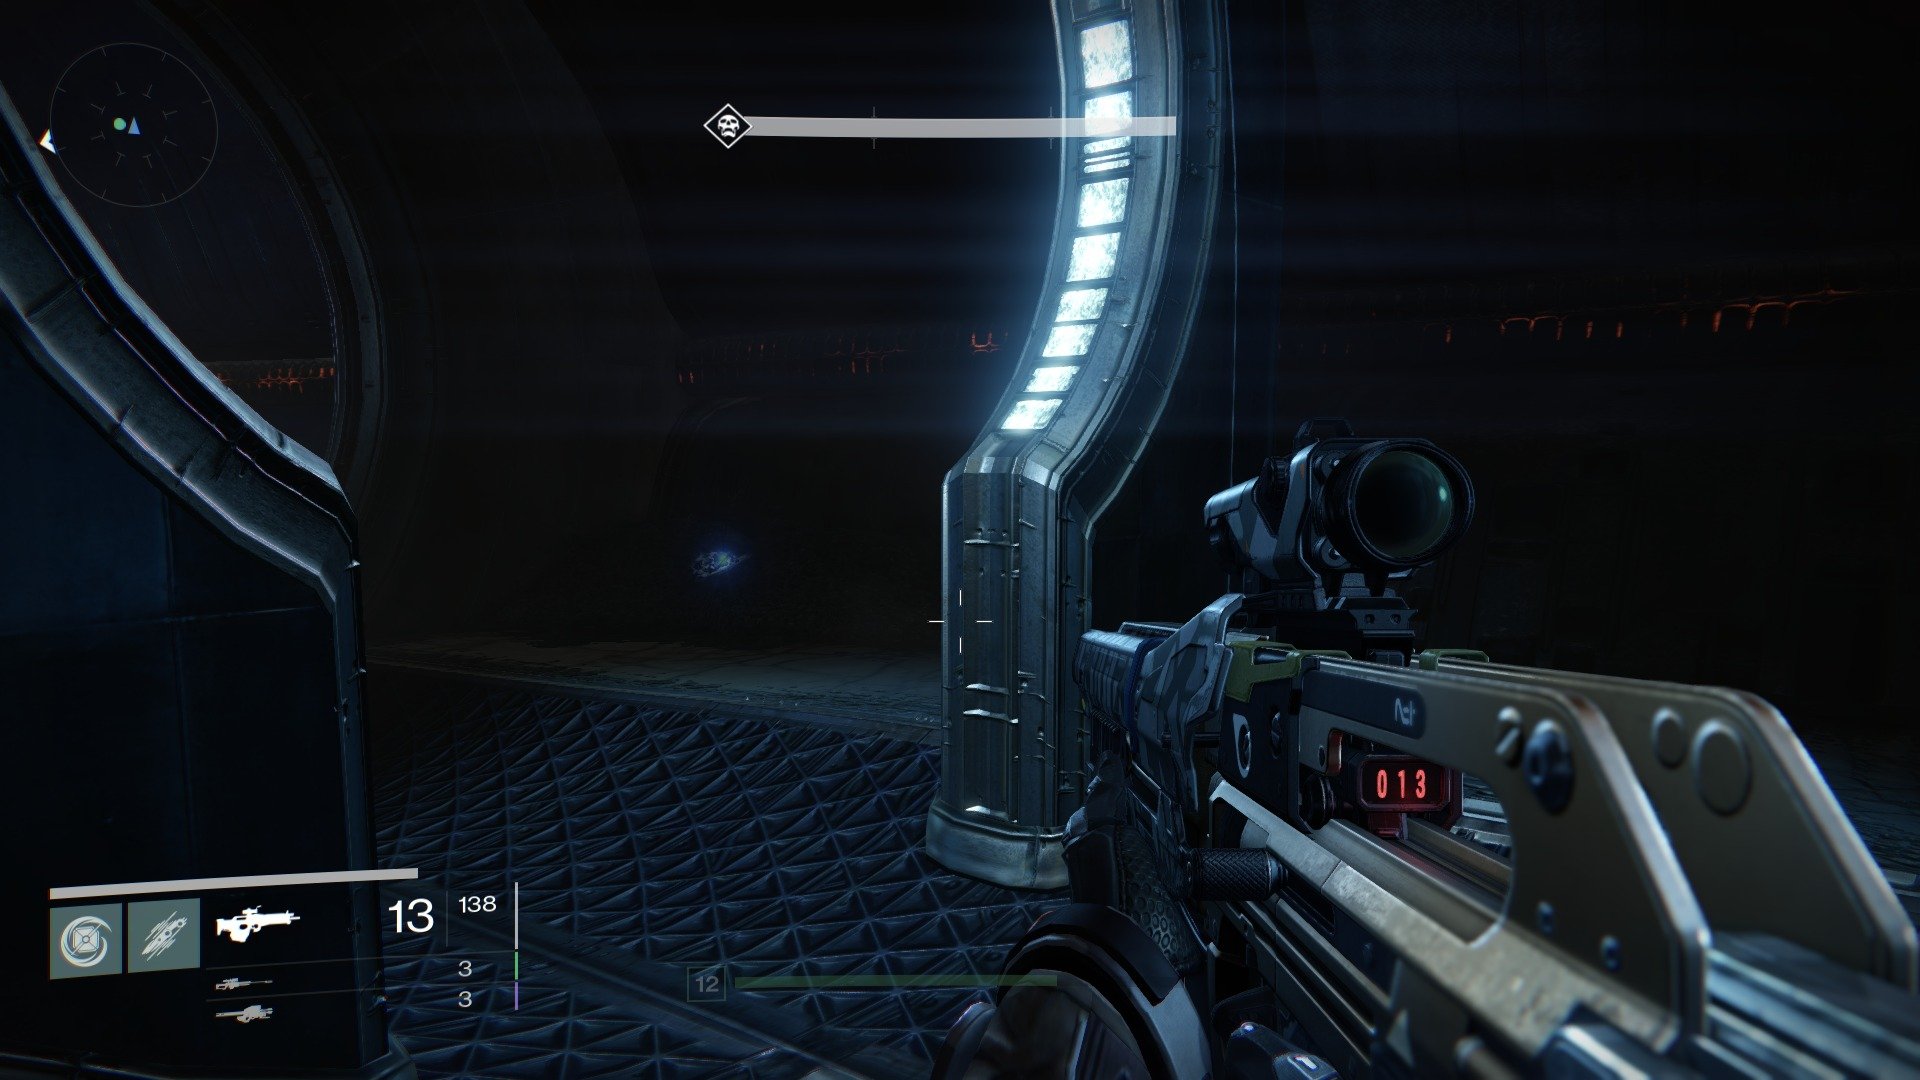
On the right-hand side of this area is a Dead Ghost.
Dead Ghost #9 - Temple of Crota
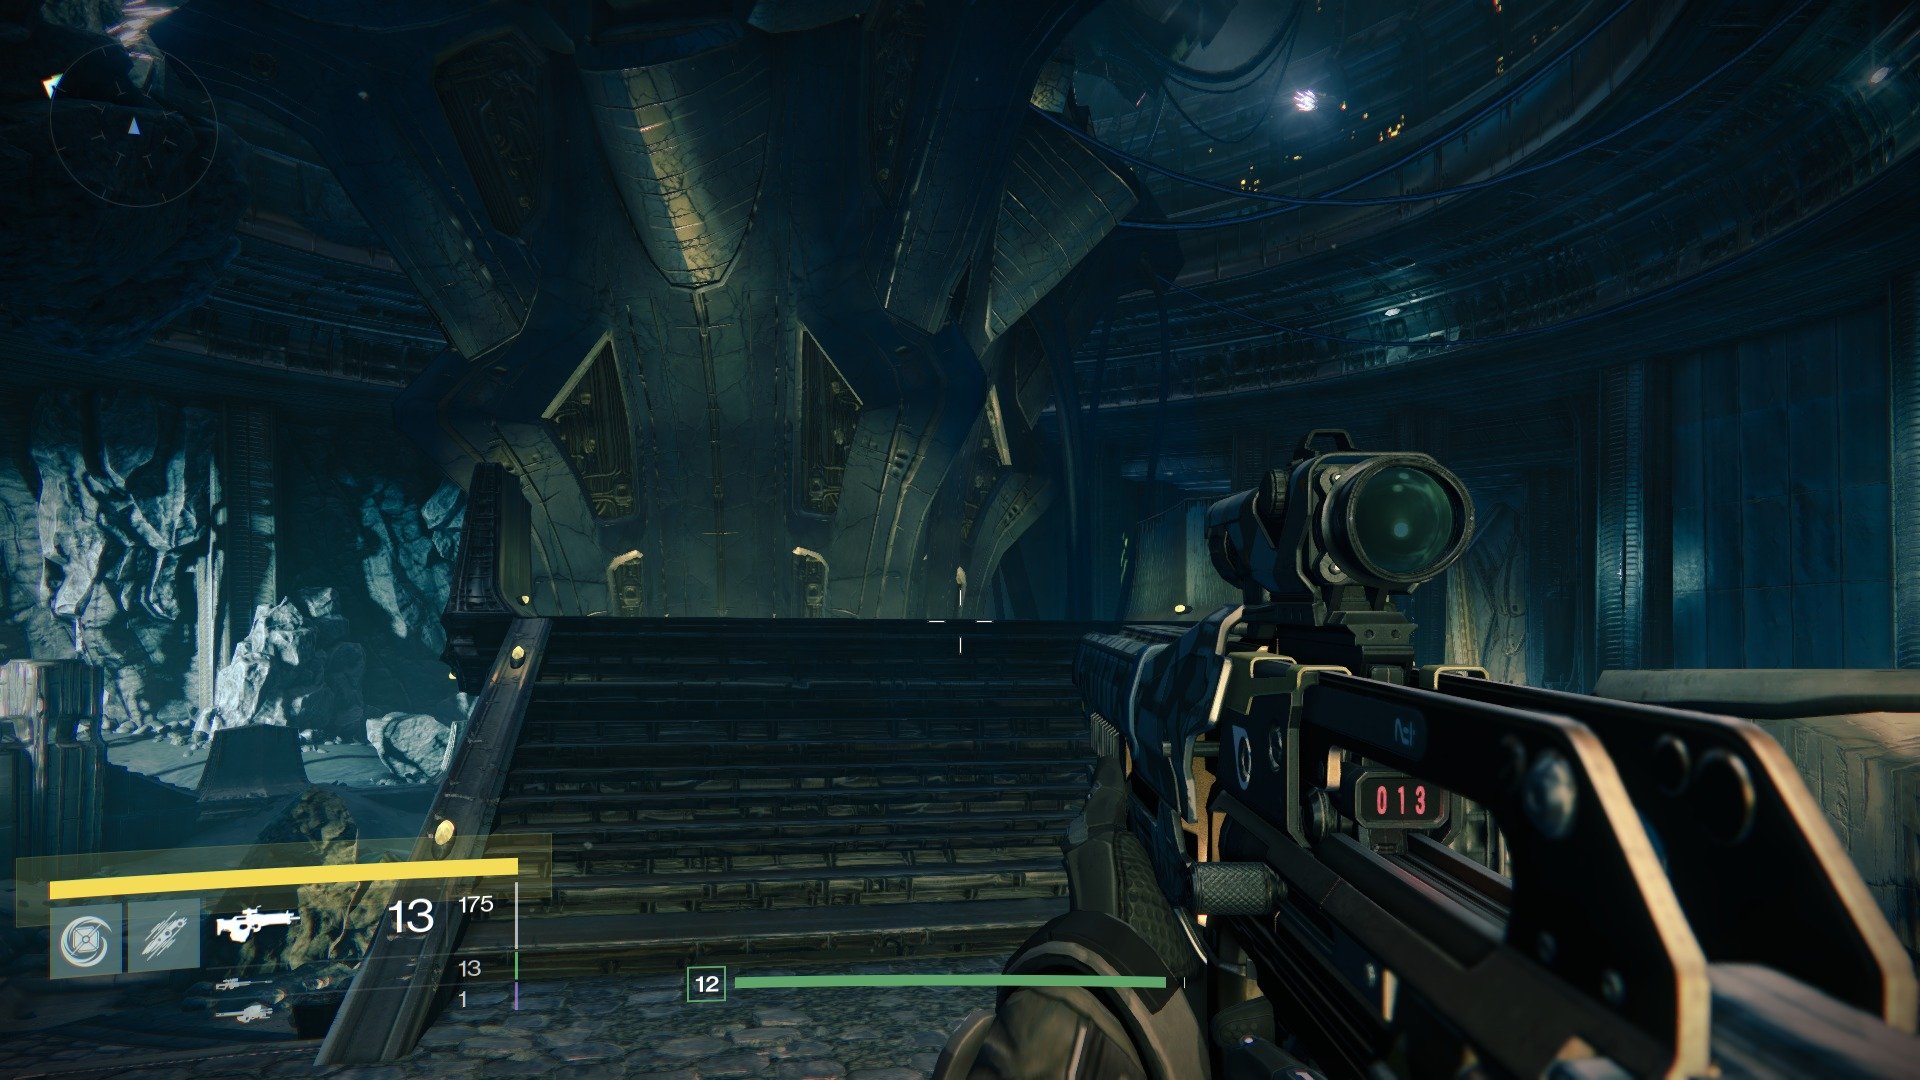
This last Dead Ghost is going to need you to have a triple jump or the increased height that comes with the Titan class. If you don't have these, you have no hope of reaching it, so bear that in mind before trying this. During the Chamber of Night mission, you'll enter the lowest level with a large structure in the middle. Head up the steps to platform in front of it.
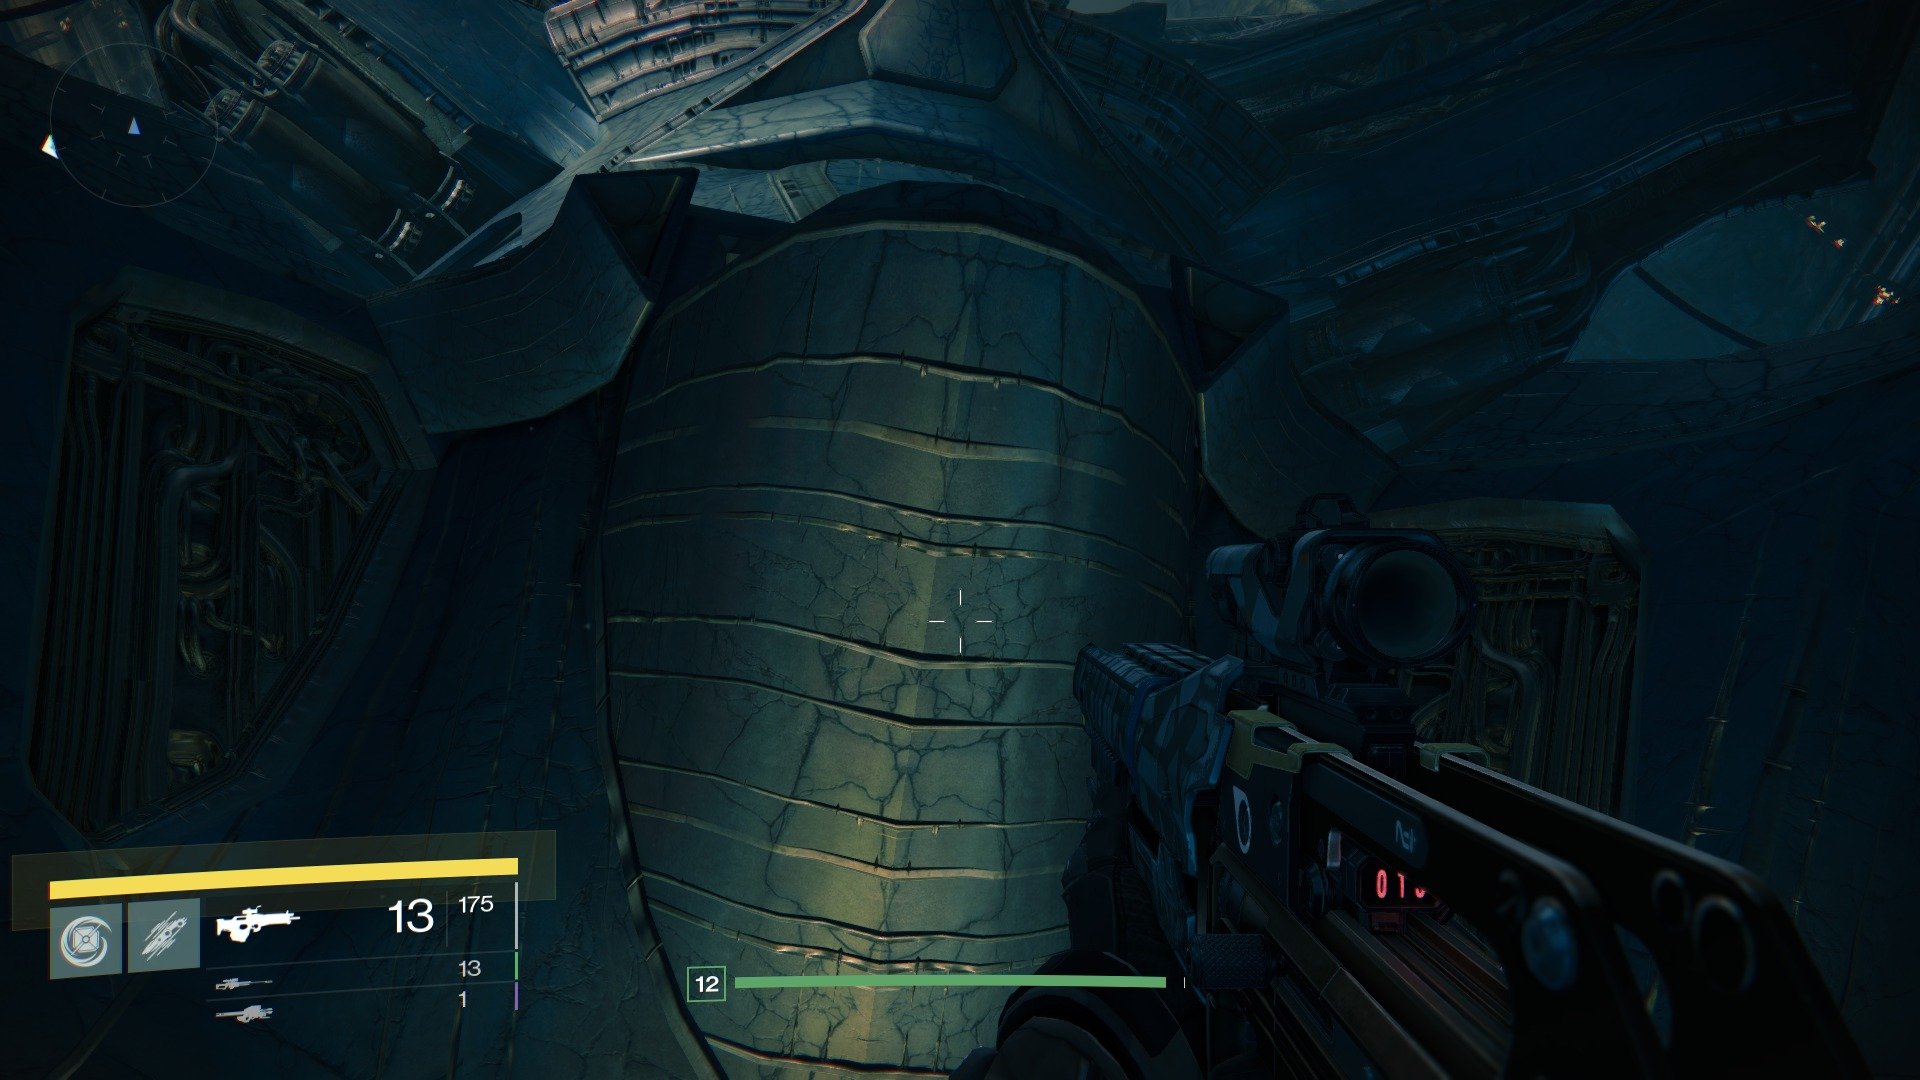
Hop onto the railing at the edge and jump up to the ledge jutting out above. This is where you'll need the added height for your equivalent of the jump ability.
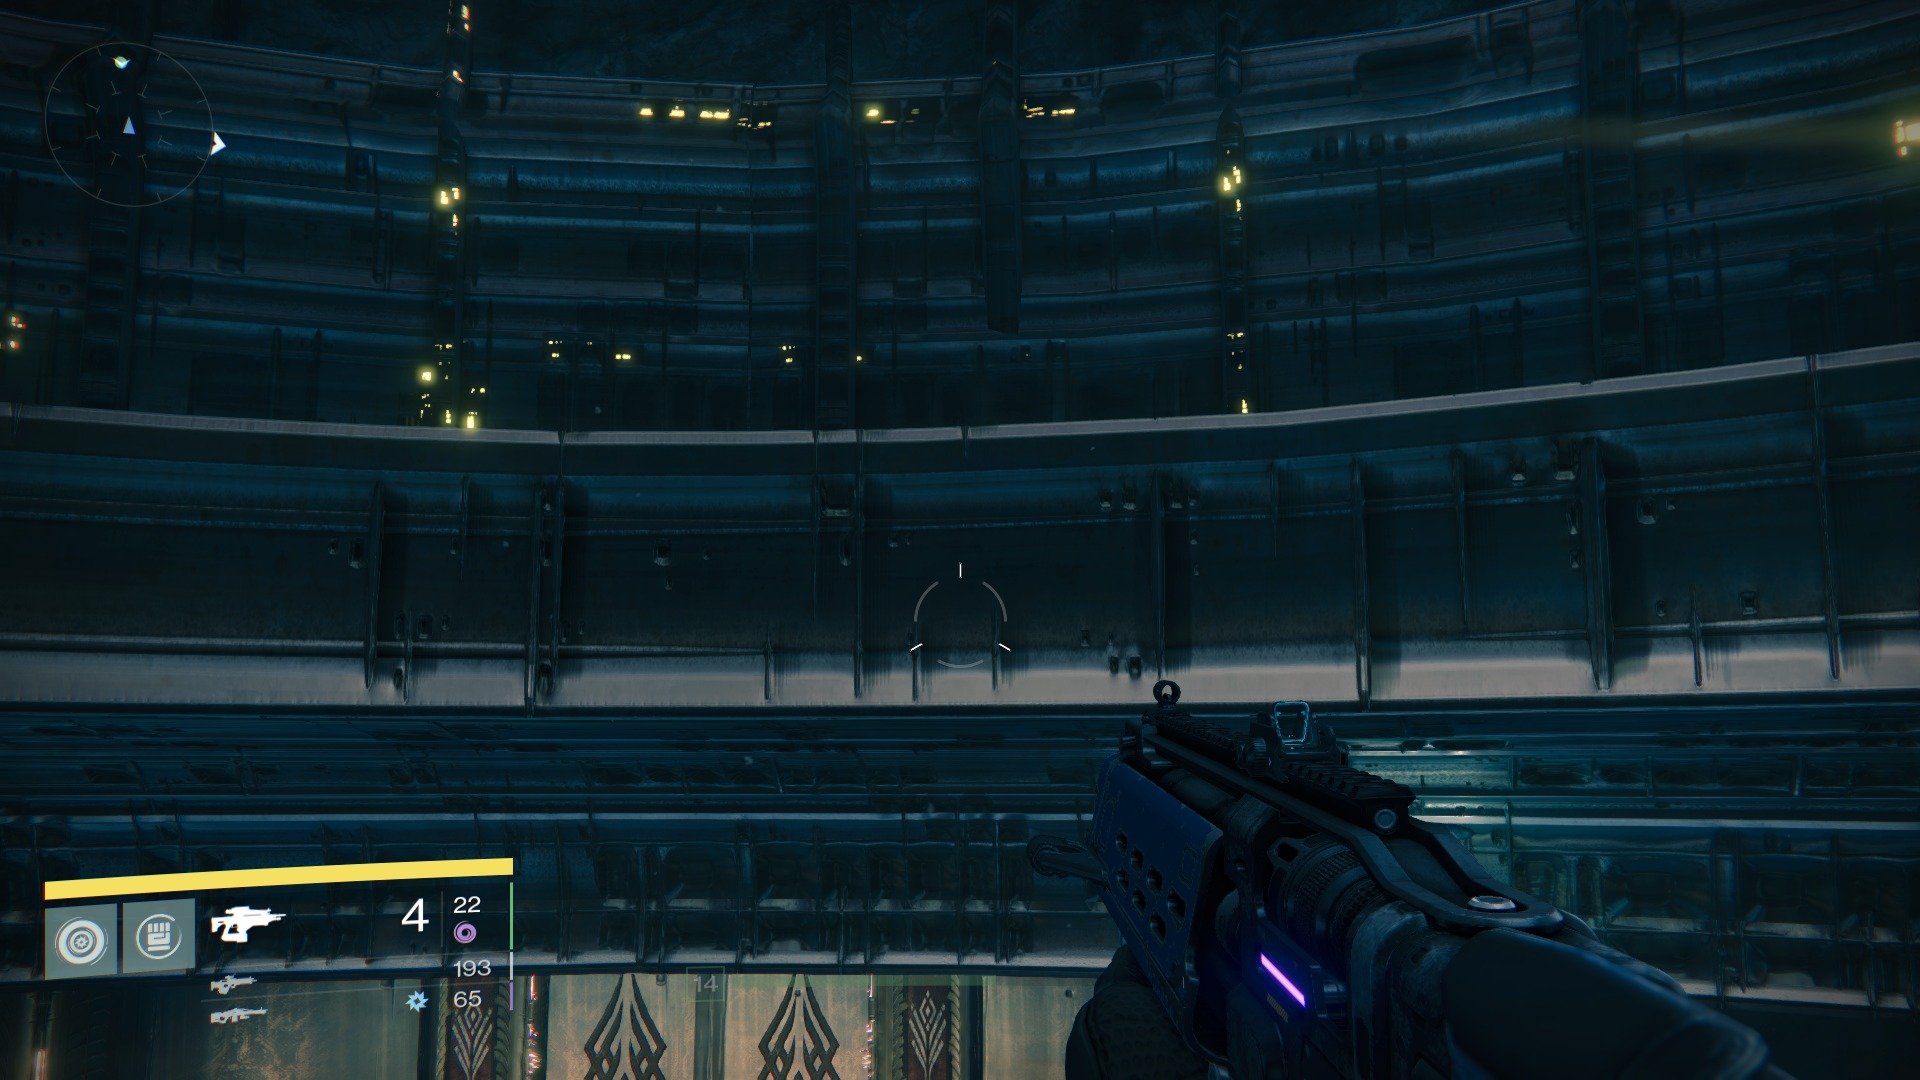
From here, turn around and super jump across to the ledge running around the edge of the room.
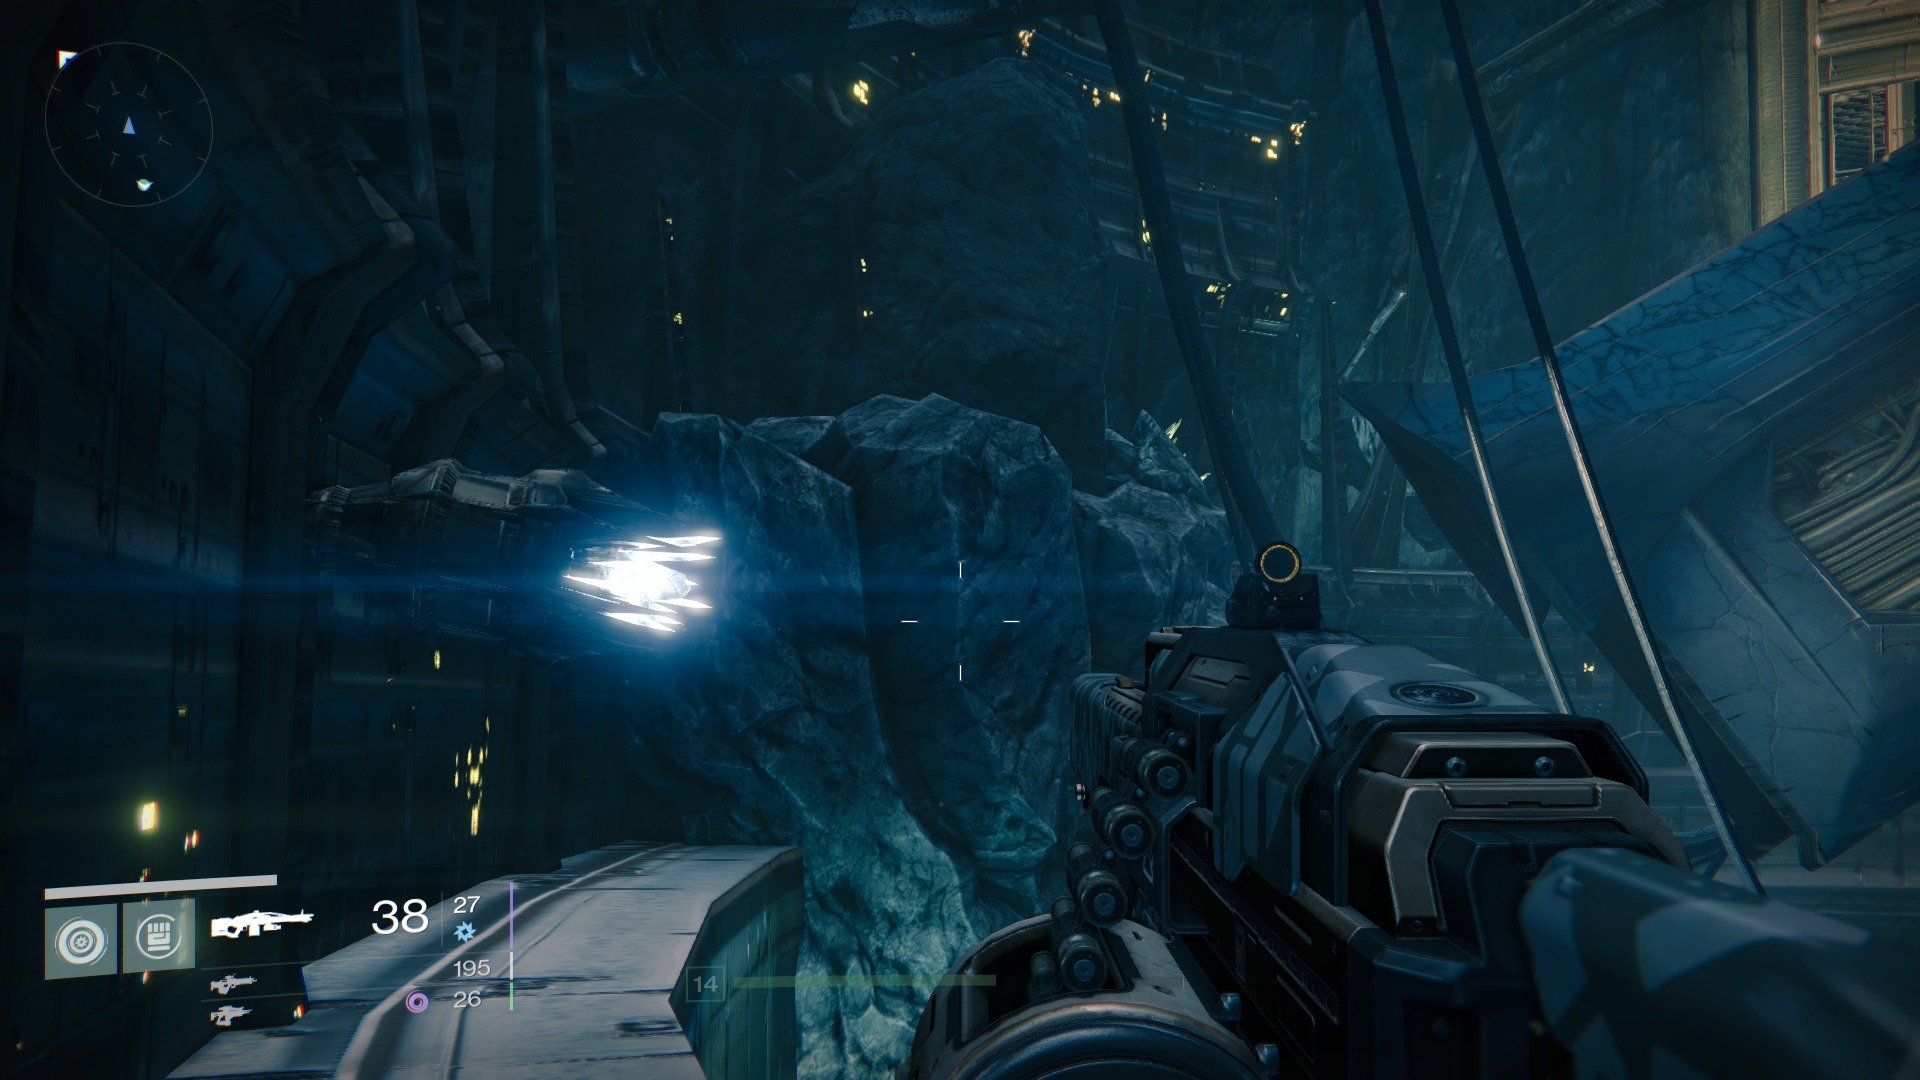
Walk to the end and you'll see some rocks in front of you that look like they can be scaled, and wouldn't you know it, they can! There are 2 levels of rocky platforms here, so climb to the very top.
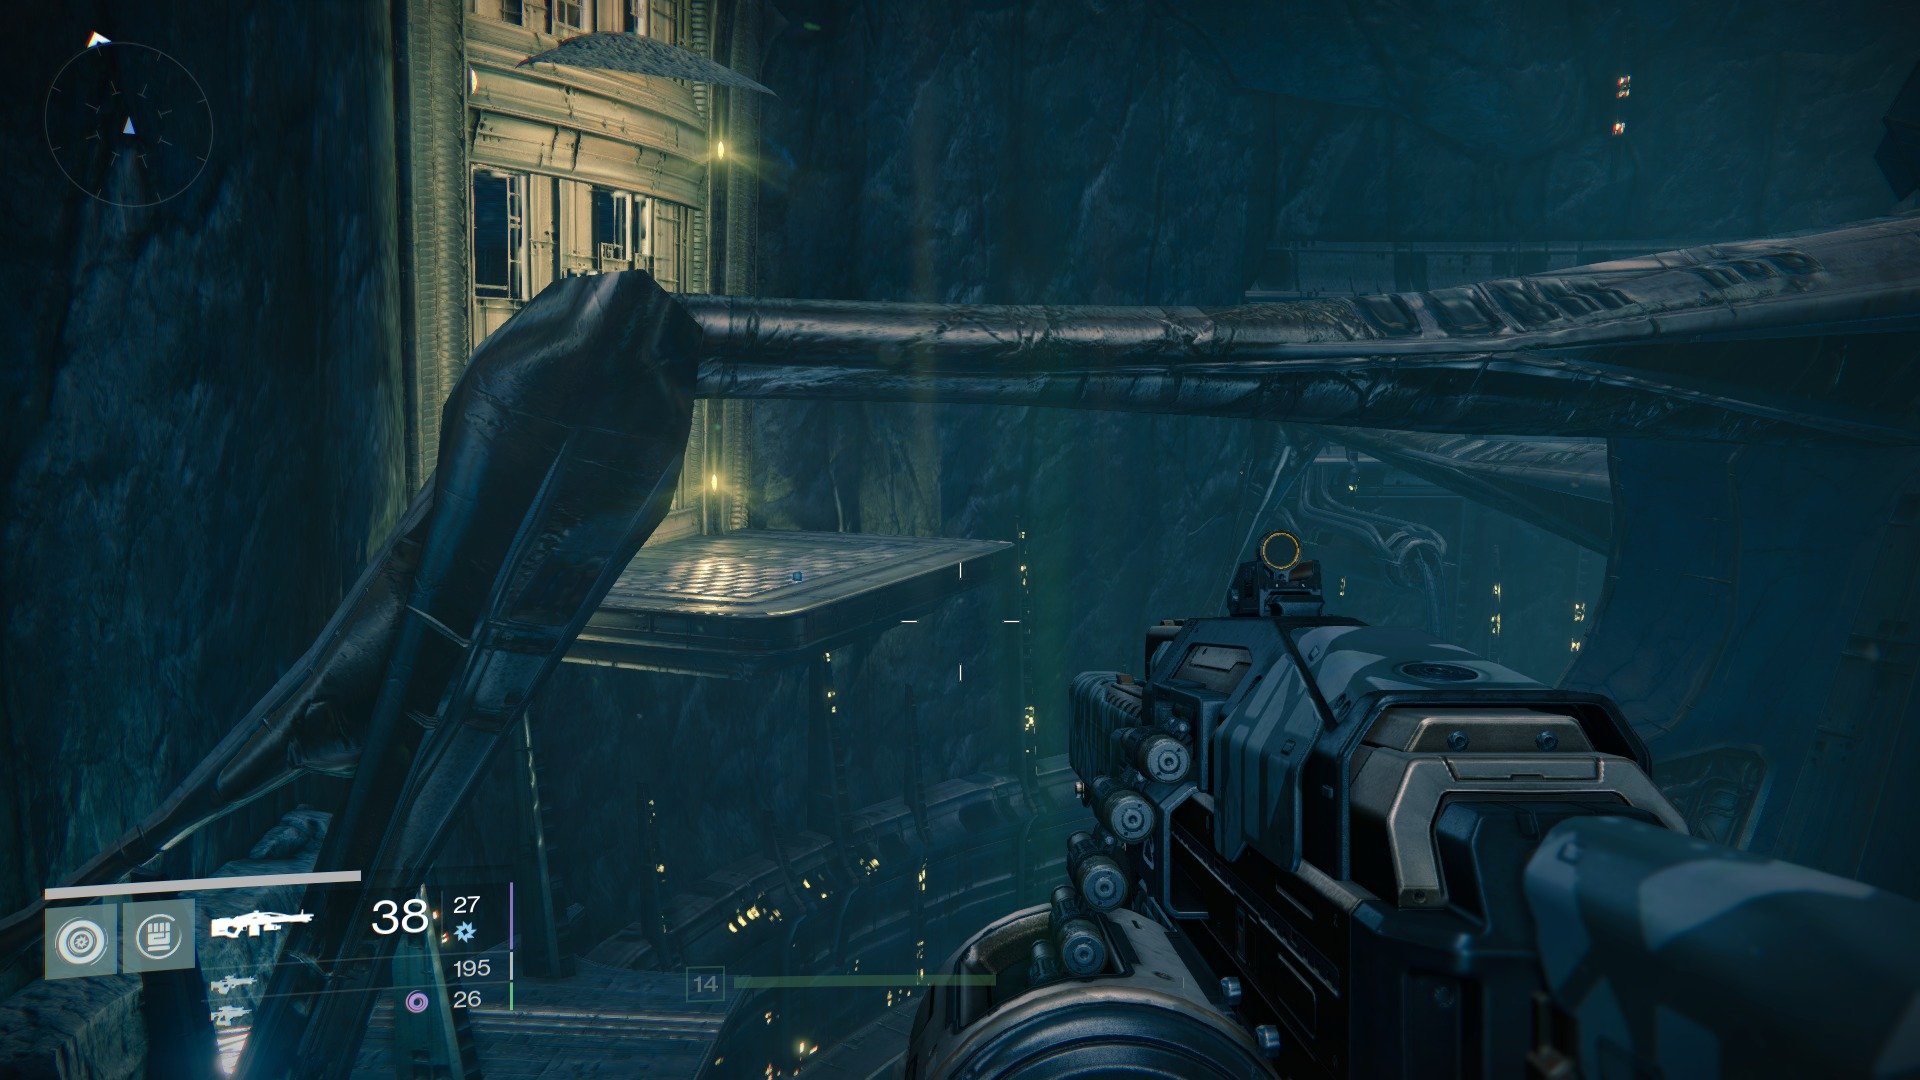
From this vantage point, you'll be able to see the Dead Ghost on a platform that can only be reached by your super jump. Pop across to get it.
Jump to Section:
- The Tower
- Earth #1 - #10
- Earth #11 - #17
- Moon
- Venus #1 - #10
- Venus #11 - #14
- Mars #1 - #10
- Mars #11 - #18
- The Dark Below - Earth
- The Dark Below - Moon
- House of Wolves - Vestian Outpost
- House of Wolves - Earth
- House of Wolves - Venus
- Taken King - Mars
- Taken King - Earth
- Taken King - Venus
- Rise of Iron - Crucible Maps #1 - #10
- Rise of Iron - Crucible Maps #11 - #20
- Rise of Iron - Crucible Maps #21 - #31
- Rise of Iron - Iron Temple
- Rise of Iron - The Walls Come Down
- Rise of Iron - The Plaguelands
- Rise of Iron - Download Complete
- Rise of Iron - The Iron Tomb
- Age of Triumph
Current page: Dead Ghosts: Moon
Prev Page Dead Ghosts: Earth #11 - #17 Next Page Dead Ghosts: Venus #1 - #10Sign up to the GamesRadar+ Newsletter
Weekly digests, tales from the communities you love, and more


