Donkey Kong Country: Tropical Freeze KONG Letter and Puzzle Piece locations guide
Track down all the collectibles with our complete guide
Sea Breeze Cove
- 4-1: Deep Keep
- 4-A: Rockin' Relics
- 4-B: Shoal Atoll
- 4-2: High Tide Ride
- 4-3: Amiss Abyss
- 4-4: Irate Eight
- 4-5: Sea Stack Attack
- 4-6: Current Capers
- 4-K: Spinning Spines
4-1: Deep Keep
Puzzle Piece #1
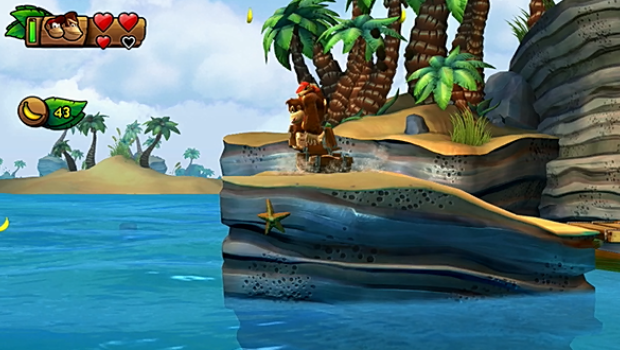
Swim to the far right of the first body of water. Swim under the rock and up under the pier to reach the chest here. Slam it to summon bananas, then grab them before they disappear to earn a puzzle piece.
Letter K
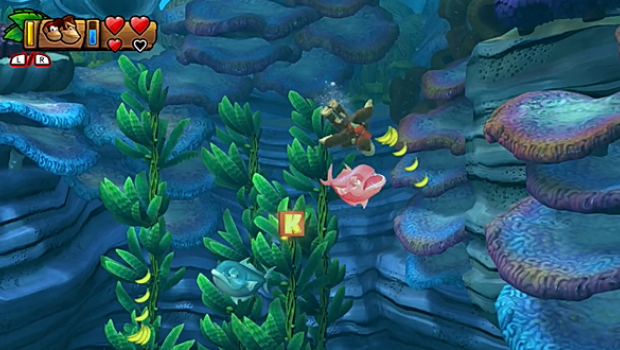
Now swim straight down from the chest to find a KONG letter guarded by two fish. Slam through them to grab your prize.
Puzzle Piece #2
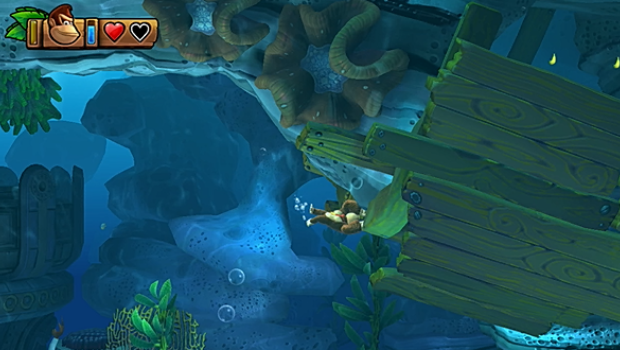
In the upper right corner of the next area is a sunken ship. Swim into it, and it will disperse, revealing a puzzle piece.
Letter O
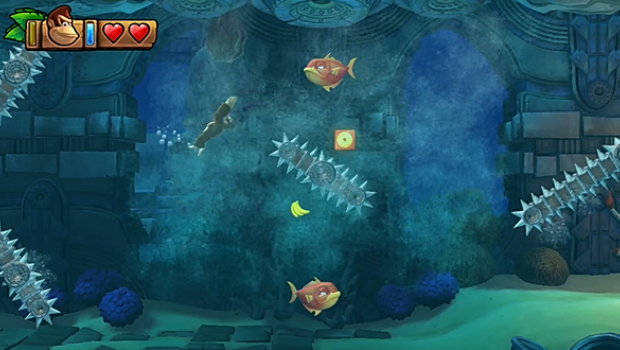
The next KONG letter is tricky. You'll have to time your stroke just right to grab it away from the rotating blade.
Puzzle Piece #3

Just beyond is a larger spinning blade--note the cracked wall to its lower right. Slam through this to enter a bonus room. Collect every banana before time runs out to earn another puzzle piece.
Puzzle Piece #4
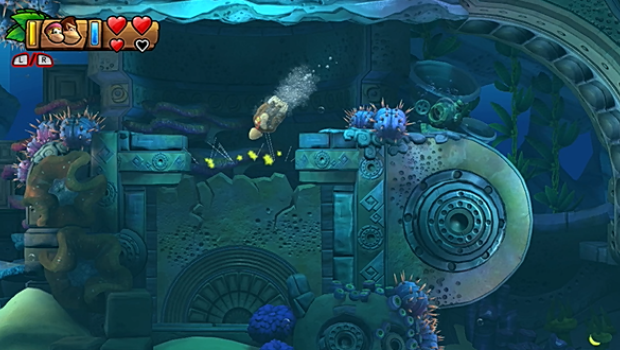
After slamming through the cracked block, slam into the cracked panel beneath it. This reveals a hidden chamber containing a puzzle piece.
Puzzle Piece #5

When you swim through this chamber with the bobbing roof piece, take note. In a short while, you'll activate three lights to open the path forward. When you do, return here, and this bobbing piece will have sunk, revealing a secret passage. The puzzle piece is up there. Note: This passage is also the level's secret exit.
Weekly digests, tales from the communities you love, and more
Letter N
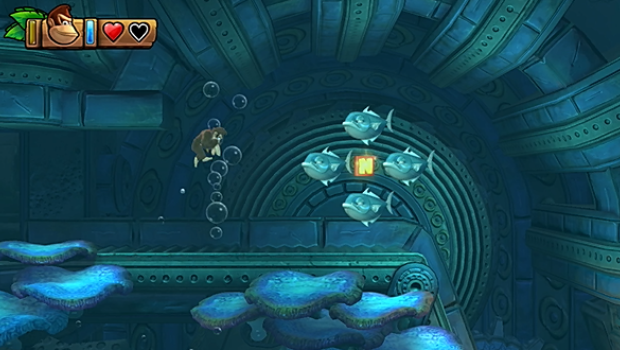
This KONG letter is surrounded by some fish just after the next checkpoint. Slam through them to grab it.
Puzzle Piece #6

When you reach the massive blade machine, swim to the bottom of the room. Slam through the cracked blocks here to reach a hidden grotto. Collect the bananas in here while avoiding the electric eel to generate a puzzle piece.
Letter G

In the final water jet tunnel, keep an eye out for this last KONG letter. You'll have to grab it as you fly past in the current. Alternatively, Dixie's twirl can help you backtrack to it.
Puzzle Piece #7
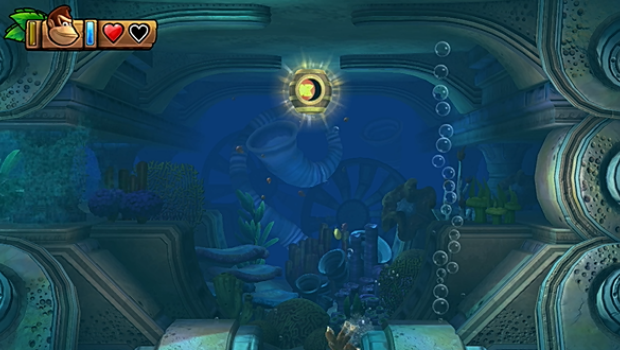
Before leaving the level, smash into the cracked block at the bottom of the room. This leads to last-minute bonus room. Collect the bananas inside before time expires for a final puzzle piece.
4-A: Rockin' Relics
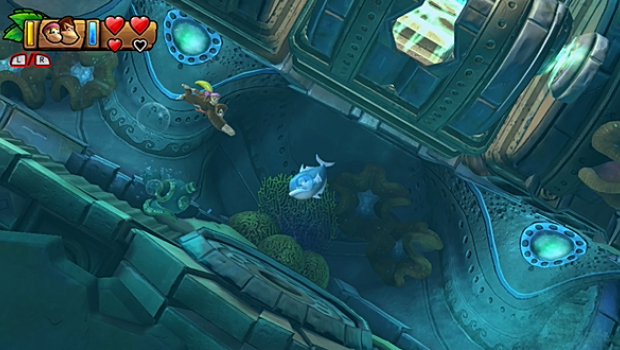
To access this level, you must find the secret exit in 4-1: Deep Keep. To do so, swim to the area shown with the bobbing roof piece, and take note. In a short while, you'll activate three lights to open the path forward. When you do, return here, and this bobbing piece will have sunk, revealing a passage to the secret exit. You'll need Dixie's twirls to make it there, though.
Puzzle Piece #1
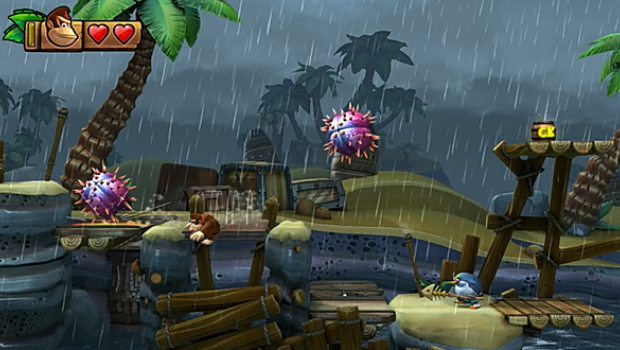
After the first spiky ball is a trap door. Slam through it to reach a bonus room. Collect every banana inside before time expires to earn a puzzle piece.
Letter K
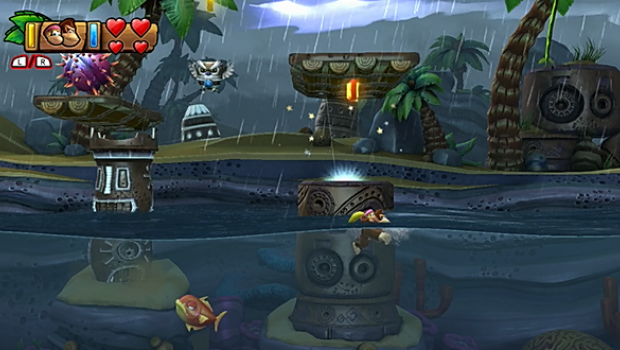
The first KONG letter is under a platform in the second body of water. Dive in, then use a dolphin jump to grab it.
Puzzle Piece #2
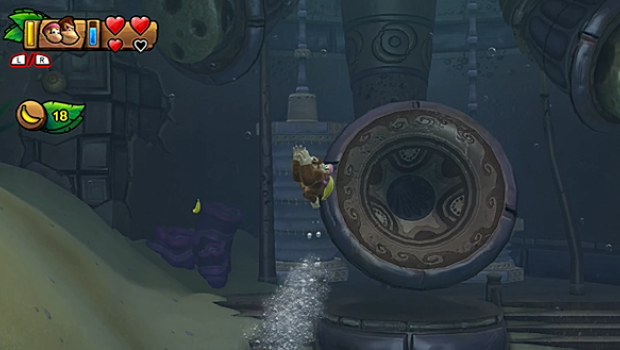
When you swim under the first building, you'll approach a current generator that creates whirlpools. Grab the bananas around it to generate something of your own--a puzzle piece.
Puzzle Piece #3

Immediately past the checkpoint is a bouncing boat. Grab the bananas on deck to spawn puzzle piece.
Puzzle Piece #4
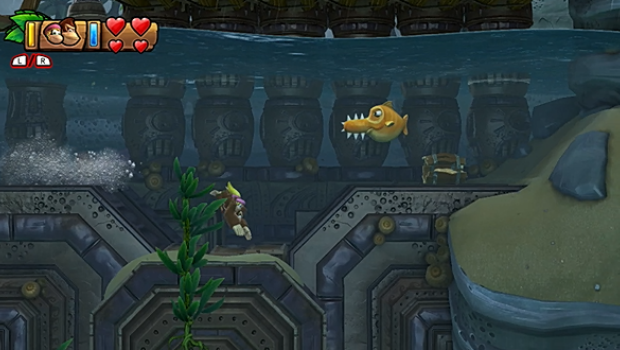
When your reach the body of water with the spiky balls and hanging grass, dive in. Swim down to discover a cracked block--slam through to find a hidden area. Collect the bananas here for a puzzle piece.
Letter O

Directly above is the next KONG letter. To get it, you'll have to carefully run along the bouncing planks when the balls are in the air. Alternatively, you can try to drop down onto the letter from above.
Puzzle Piece #5
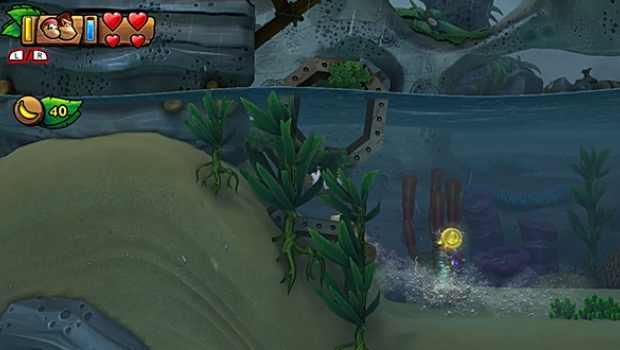
Immediately after, dive into the next body of water. Under the leftmost dock is a well hidden bonus barrel some metal debris. Use it to reach a bonus room--collect the bananas there within the time limit to earn a puzzle piece.
Puzzle Piece #6
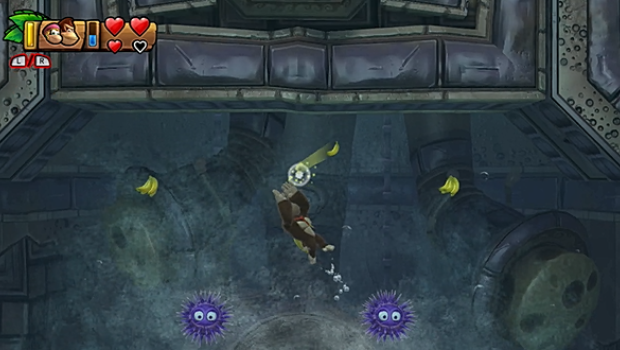
Under the next flooded building is another whirlpool generator. Grab the bananas around it while avoiding the spiked enemies to spawn another puzzle piece.
Letter N

After the checkpoint is another bouncing boat. Time your bounce to grab the KONG letter out of the air and avoid the flames.
Puzzle Piece #7
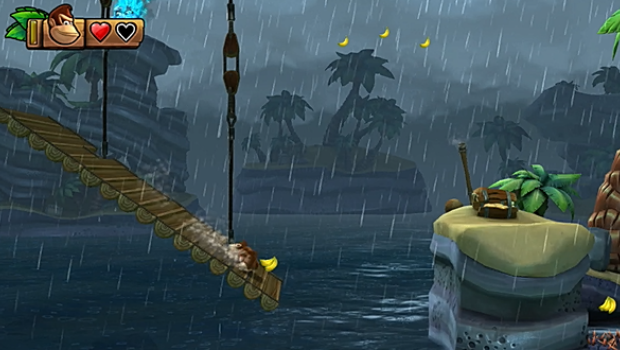
Immediately after the boat are to seesawing planks. Grab the bunch of bananas on the first one to spawn continuing strings of bananas. Collect all these before they disappear to earn a puzzle piece.
Puzzle Piece #8
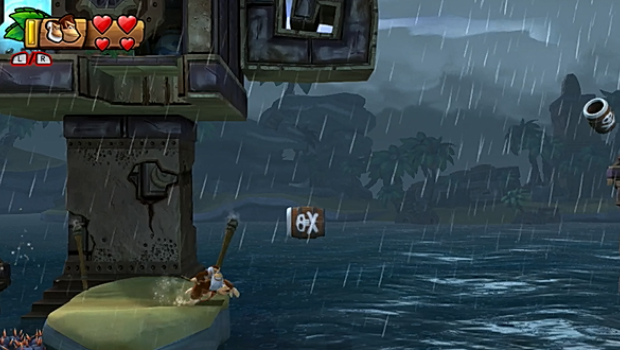
After the trio of bouncing spiky balls, you'll approach this barrel cannon. Ignore it and dive into the water to find a puzzle piece in some sea grass.
Letter G
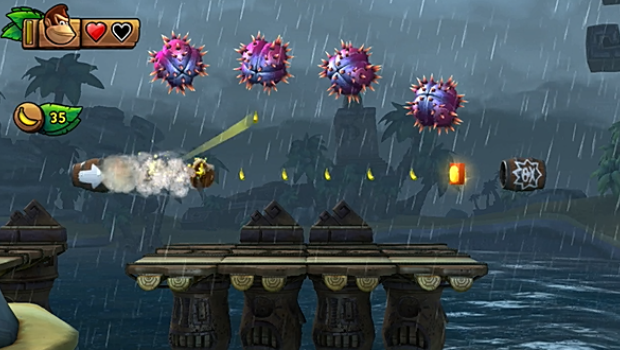
The final KONG letter appears en route to the level exit. When you see it in the string of bananas, time your shot to avoid the spiky balls and grab it.
Puzzle Piece #9
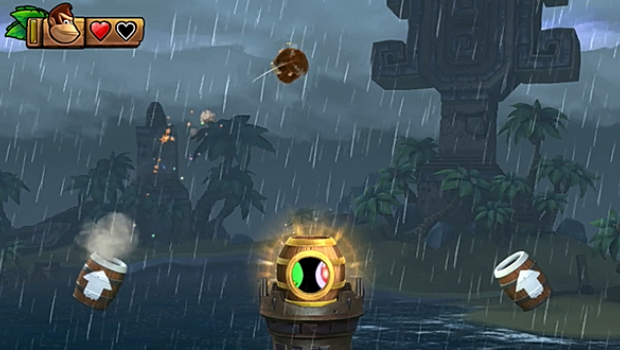
At the level exit, time your shot to fire over the barrel into the opposite cannon. This will then fire you under the level exit, into a previously unseen puzzle piece.
4-B: Shoal Atoll
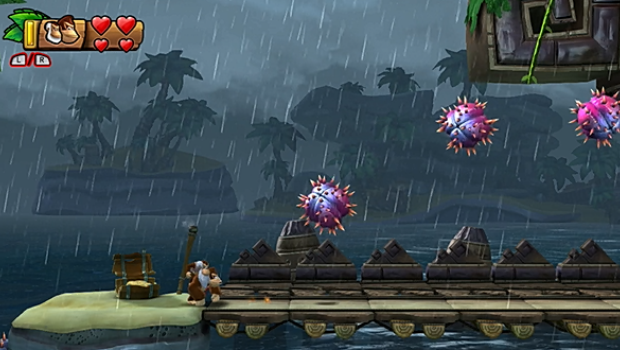
To access this level, you must find the secret exit in 4-A: Rockin' Relics. To get there, proceed until you reach the trio of bouncing spiky balls. You'll have to use Cranky's cane to bounce up them and reach that vine above. That will give you access to the portal and the level's secret exit.
Puzzle Piece #1
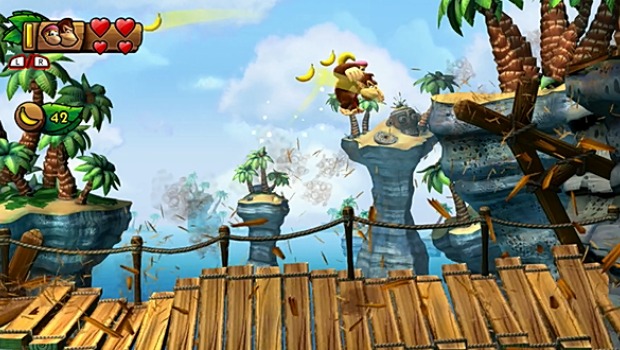
The bridge at the start collapses, but if you move fast enough and jump far enough, you can actually get to the ledge on the other side. Slam the chest here to spawn some bananas, then grab them before they disappear for a puzzle piece.
Letter K
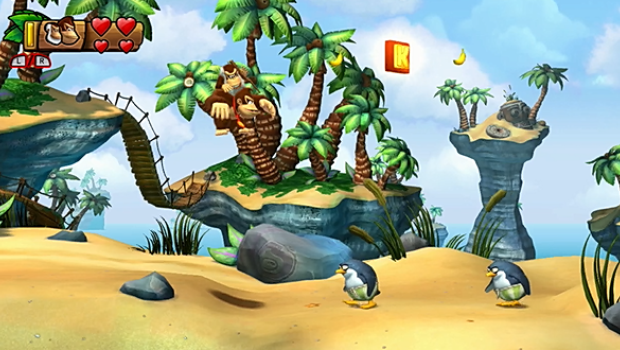
Bounce on the penguins at the level's start to grab this.
Letter O

When the path splits, take the upper path to find this.
Puzzle Piece #2
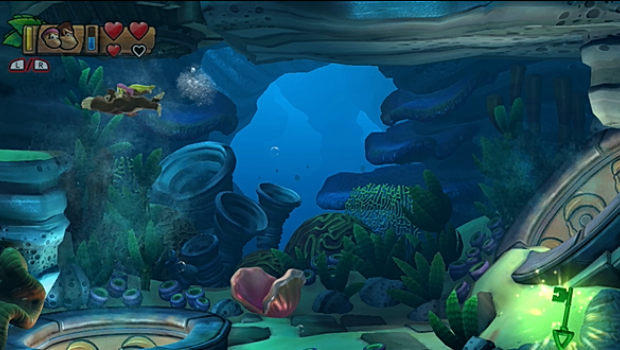
In the room where you acquire the red key, swim to the upper left corner to find a bonus room. In here, you must grab the bananas before time runs out to earn a puzzle piece.
Puzzle Piece #3
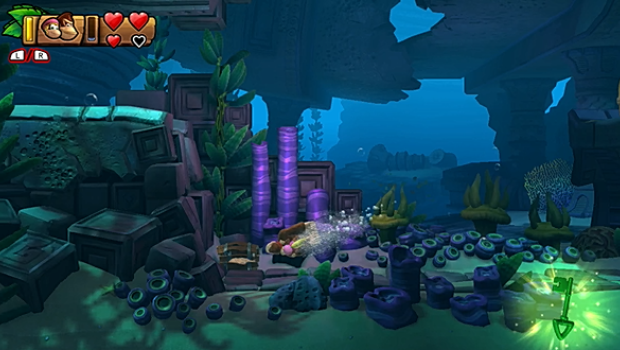
In the room with the yellow chest, look for this wooden chest in the bottom left. Slam it to reveal a puzzle piece.
Letter N
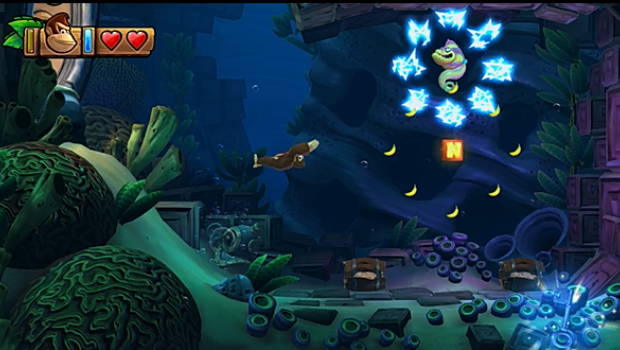
In the room with the green chest is an electric eel. Take him out and grab the KONG letter he was guarding.
Puzzle Piece #4
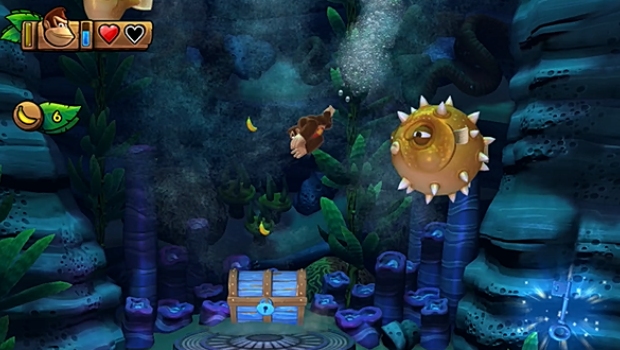
Collect every banana on your way down to the blue chest to earn this.
Letter G
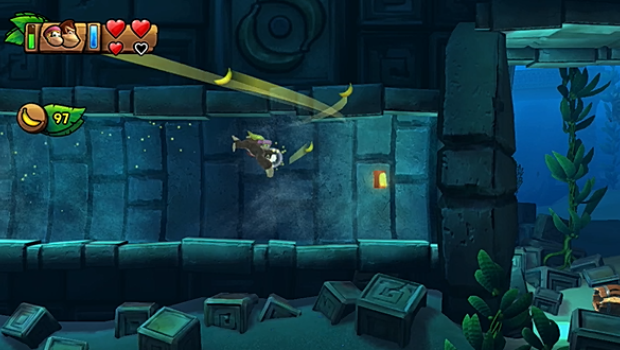
You can grab this in the current tunnel after opening the big door.
Puzzle Piece #5

Slam the treasure chest on the other side of the level exit to reveal the final puzzle piece.
4-2: High Tide Ride
Puzzle Piece #1

It's hard to see, but there's a bonus barrel right under the first platform of the level. Roll into it to reach a bonus room. Once there, collect all the bananas before time expires to earn a puzzle piece.
Letter K
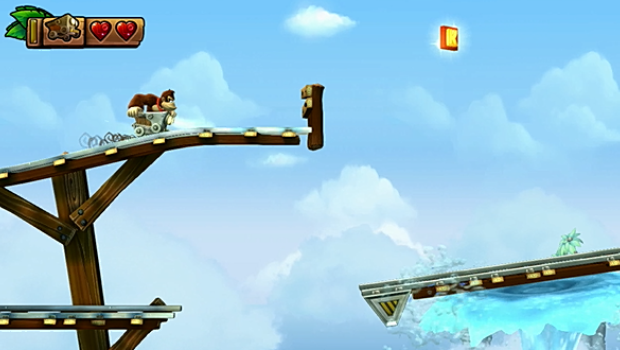
When the path forks, take the upper rail. From here, you can leap off and grab the first KONG letter.
Puzzle Piece #2
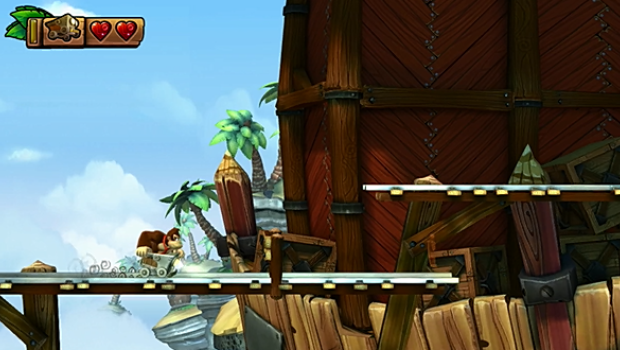
After the first pair of sharks, there's a puzzle piece beyond a short gate. A quick hop over the gate will let you grab it, and a second jump will get you back onto the main rail.
Puzzle Piece #3

When you reach the trio of rails, collect the three strings of bananas that appear. This will generate a puzzle piece along the tracks.
Letter O
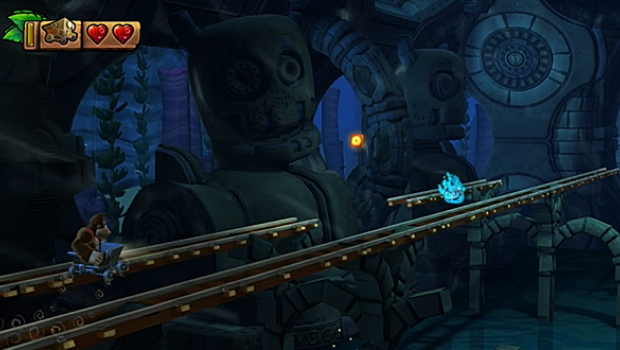
When the path becomes two rails, hop to the left one. From here, you can jump the gap and grab the next KONG letter.
Puzzle Piece #4
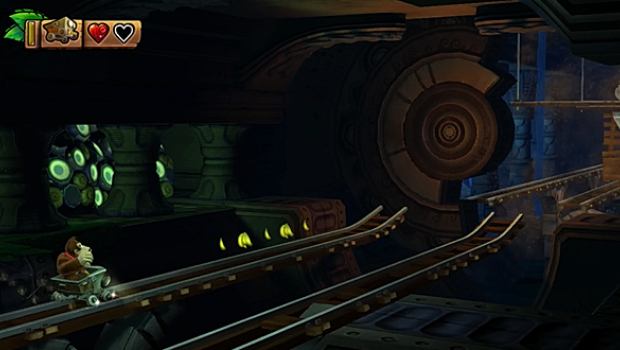
More strings of bananas will appear during the section with the wooden palettes. Collect them all to again generate a puzzle piece on the rail.
Puzzle Piece #5
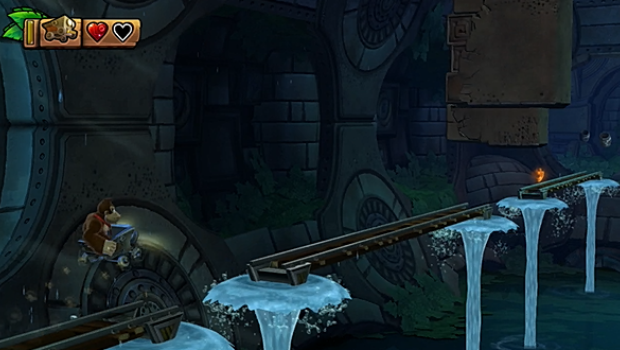
As the puzzle pieces along the track approaches, a wall will lower into place, blocking it off from you. Stay on your current track! The wall will lower at the last second--a short hop will get you over the gap and at the piece.
Letter N
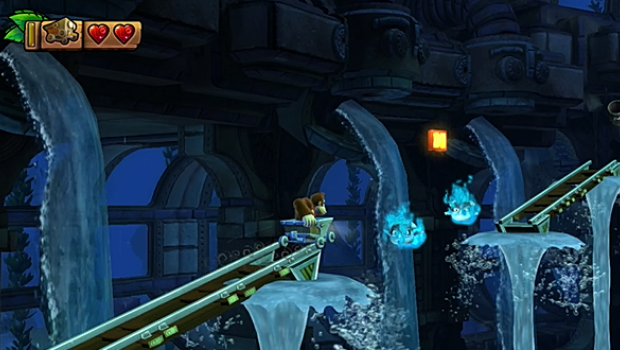
This one's hard to miss. Just leap over the flames to grab it.
Letter G

When crossing the multiple tracks, keep an eye on the second from the left. That's where the last KONG letter appears.
4-3: Amiss Abyss
Letter K
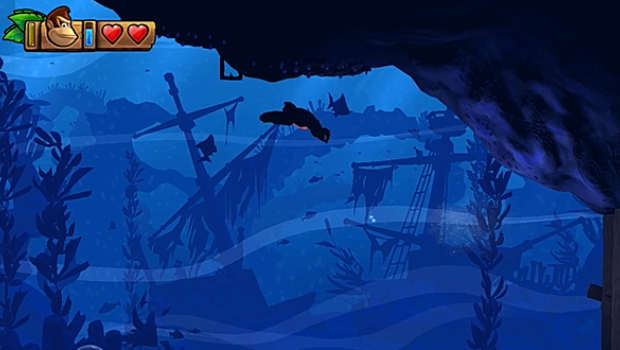
When you first dive into the water, disperse the fish near the planks--their glow will make the stingers to your upper left retract. This allows you to grab the KONG letter they were protecting.
Puzzle Piece #1

When you pass the multiple puffer fish, look for a section above blocked off by planks. Bust through and grab the circle of bananas here for a puzzle piece.
Puzzle Piece #2
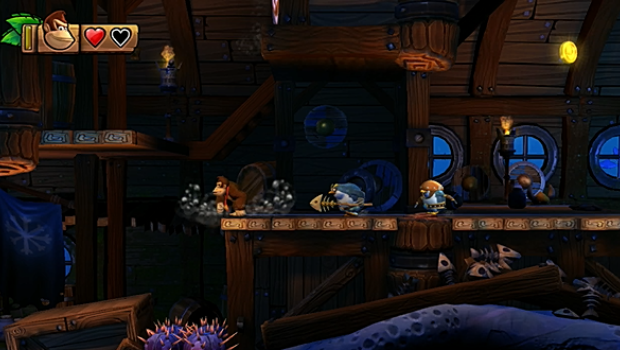
Right after the checkpoint are some ledges. Stun the nearby helmeted penguin, then carry him up there. Toss him to bust through the target and find a bonus room. Collect the bananas here within the time limit to earn a puzzle piece.
Letter O
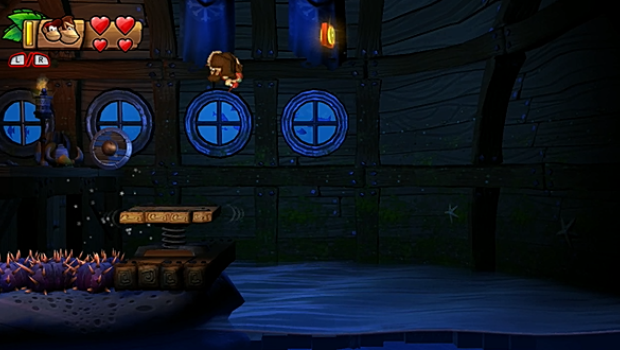
Just after is the second KONG letter. Use the springboard to reach it.
Puzzle Piece #3

As you dive, you'll find some jellyfish circling a spiky bit of rock. Navigate around them to grab a puzzle piece in the upper right corner.
Puzzle Piece #4
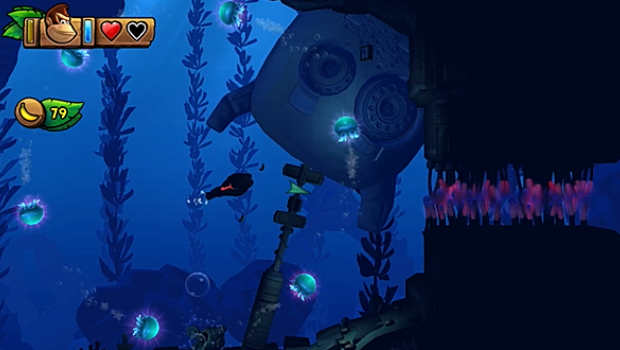
You'll soon find a circle of jellyfish around a circle of bananas. Collect the fruit to earn a puzzle piece.
Letter N
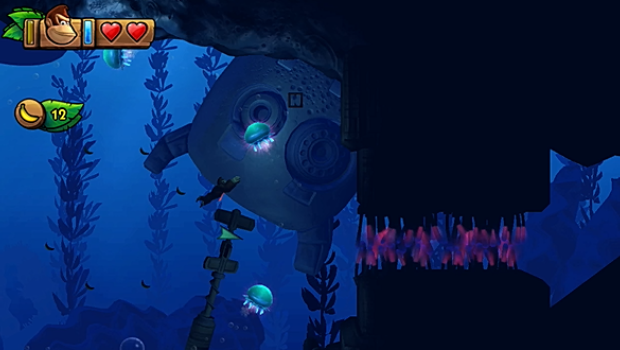
To the upper right of the same jellyfish is the next KONG letter.
Puzzle Piece #5
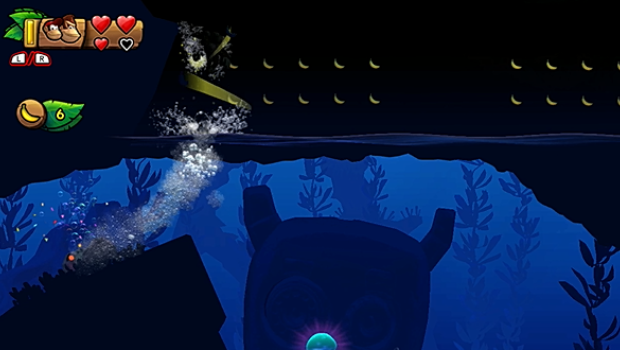
When you see these bananas at the surface, use dolphin jumps to grab them all. A puzzle piece appears when you do.
Puzzle Piece #6
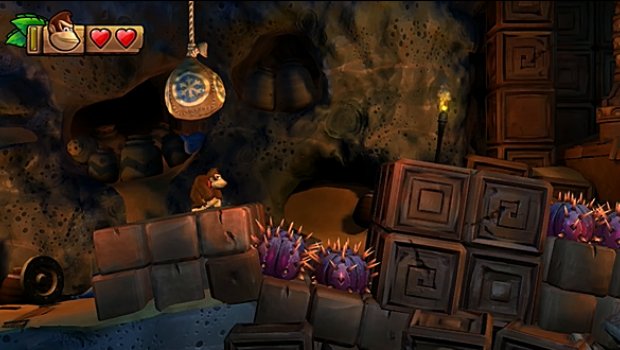
At the next checkpoint is a hanging bag. In a moment you'll spot a helmeted penguin. Stun and throw him into the bag to release some bananas. Collect them before they disappear for a puzzle piece.
Puzzle Piece #7

You'll spot the next puzzle piece as you slide down into the water. Use a dolphin jump to get it.
Puzzle Piece #8

When following the fish around the stinger-covered circles, head to the bottom of the second circle. You can actually enter here to discover a ring of bananas. Collect them for a puzzle piece.
Letter G
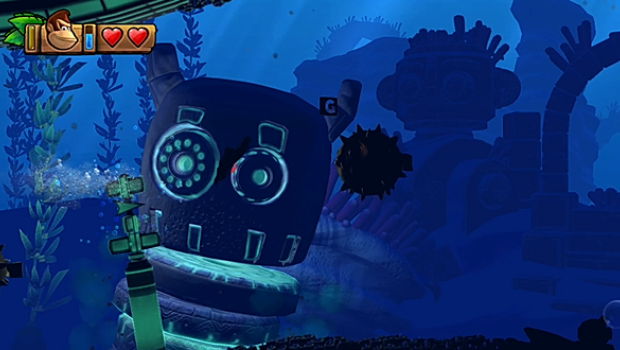
You can grab the final KONG letter when swimming through the stinger tunnel near the level's end.
Puzzle Piece #9
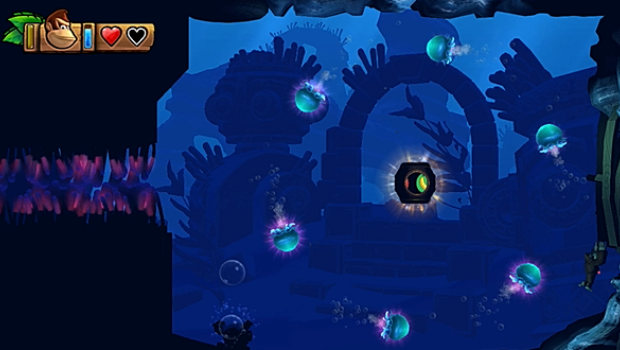
Before leaving the level, bust through the planks on the right side of the room to find a bonus room. Collect the bananas here before time runs out for a puzzle piece.
4-4: Irate Eight
Puzzle Piece #1
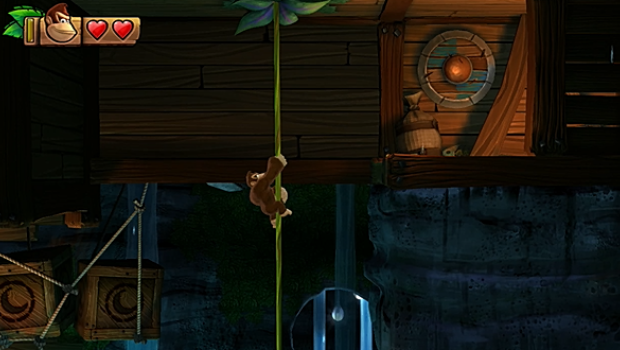
At the start of the level, climb the vine up instead of down to find a bonus room. Collect all the bananas inside before time expires to earn a puzzle piece.
Puzzle Piece #2
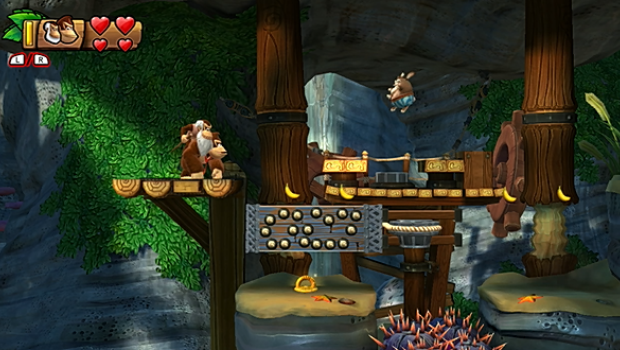
When you reach the cluster of mines, trigger one, then back off. When the group detonates, they create a hole in the block above. Swim there to find a secret alcove; grab the banana bunches for a puzzle piece.
Letter K
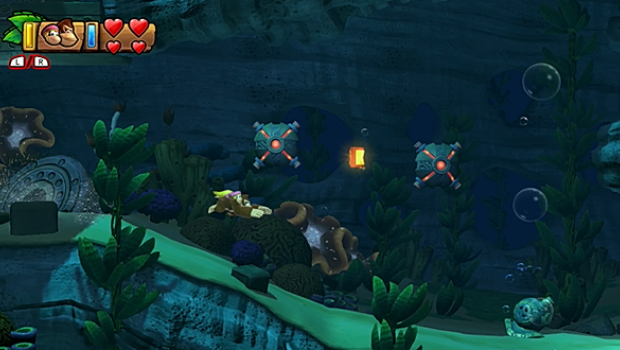
Just after, a pair of mines orbit the first KONG letter. Swim swiftly between them to grab it.
Puzzle Piece #3
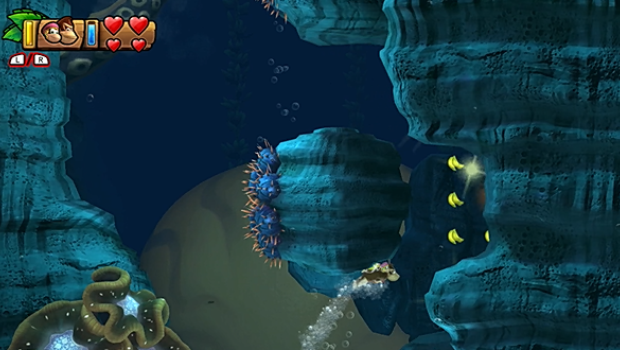
When escaping from the octopus, look for this cluster of spikes. The wall to the right will actually pull back if you swim there. Do so to find a puzzle piece beyond.
Letter O
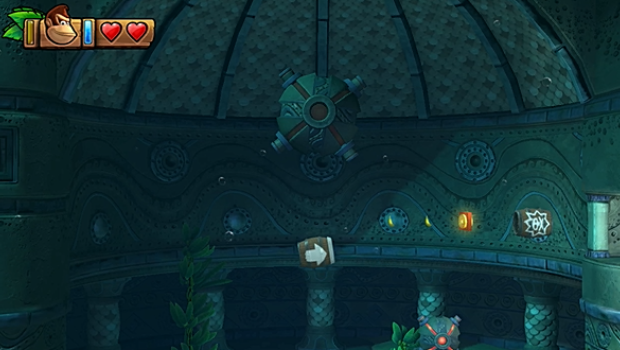
When riding the barrel cannons, you'll spot this along your trajectory. Fire when your current barrel is level with the letter to grab it.
Puzzle Piece #4
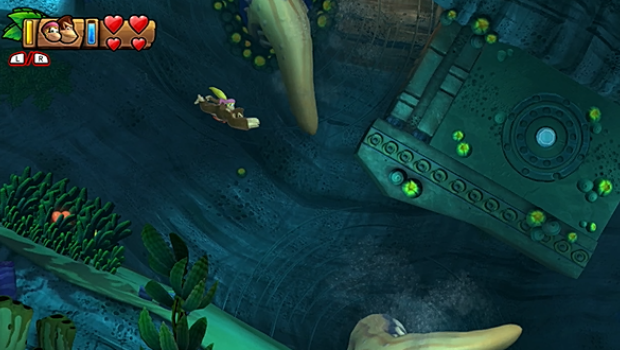
When the octopus pokes his tentacles through the sea wall, look for this pair of rotating ones. Swim into that lit alcove to reach a bonus room. Collect the bananas there before time runs out to win a puzzle piece.
Letter N
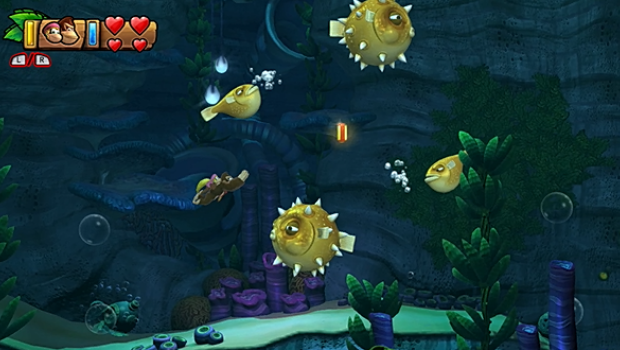
The third KONG letter is guarded by some puffer fish. Carefully swim between them to grab it.
Letter G
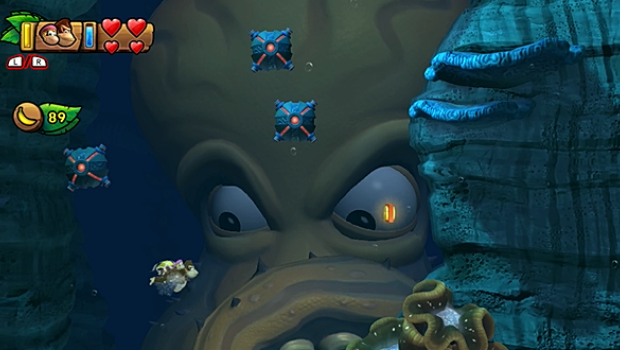
The final KONG letter appears during the second octopus escape. Look for it on the right side of the screen, then quickly grab it before the ink catches you.
Puzzle Piece #5
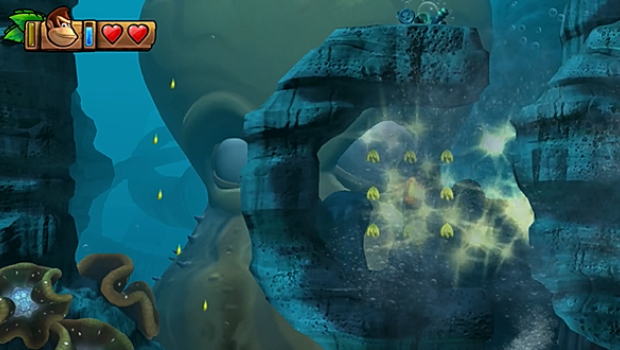
During the same escape, keep to the right side of the screen when the octopus throws multiple tentacles at you. This wall retracts too, revealing the final puzzle piece.
4-5: Sea Stack Attack
Letter K
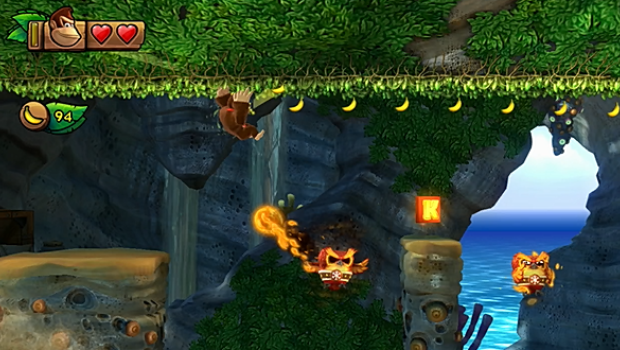
When you cross the hanging grass, you'll spot this between two fire owls. Drop between their attacks to grab it.
Puzzle Piece #1
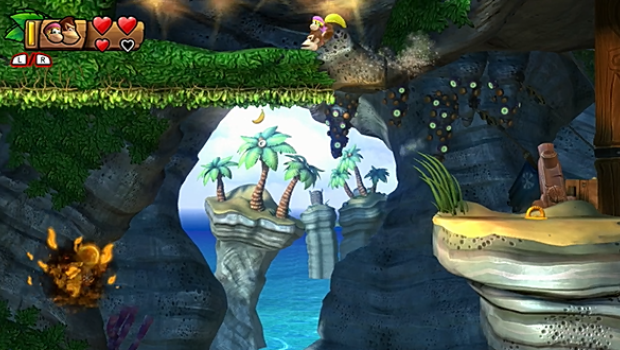
Immediately after the hanging grass, use Dixie's twirl to reach a bonus room directly above where you just where. Collect the bananas here before time expires to win a puzzle piece prize.
Puzzle Piece #2

There's a ring in the sand just after the checkpoint. Pull it up when the spike paddle is stopped to discover a puzzle piece.
Letter O
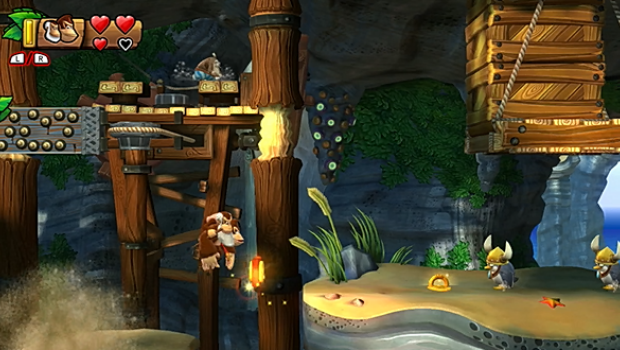
When you see the next KONG letter near a sea stack, pause a moment. You need to let the stack sink, then jump at the last moment to grab it.
Puzzle Piece #3
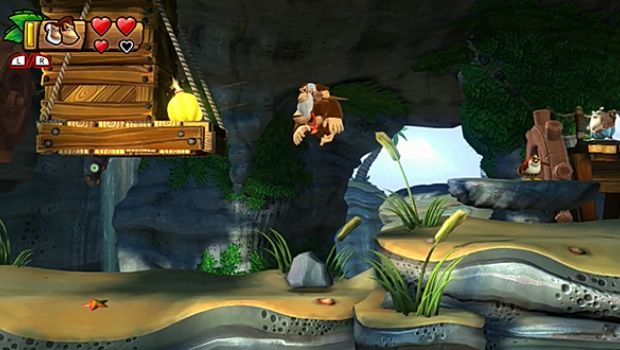
Just beyond is a stack of crates atop a platform, and right after that is an enemy that tosses watermelon bombs. Grab one, then throw it atop the platform. It will destroy the crate, revealing a puzzle piece.
Letter N
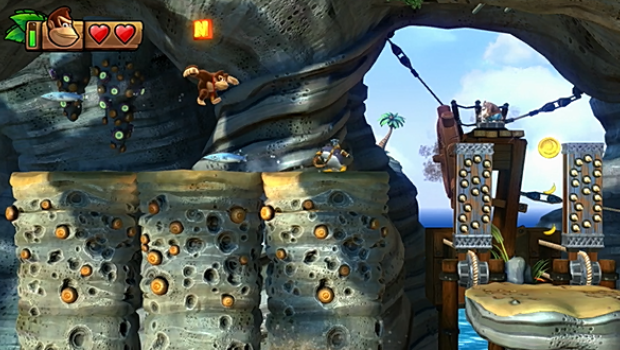
When crossing the large section of sea stacks, you'll spot this above. Use the penguin or his fish arrows to bounce up to it.
Puzzle Piece #4

When you get in the alternating cannons, pass yourself back and forth to grab all the banana medals. This generates a puzzle piece in their place.
Puzzle Piece #5
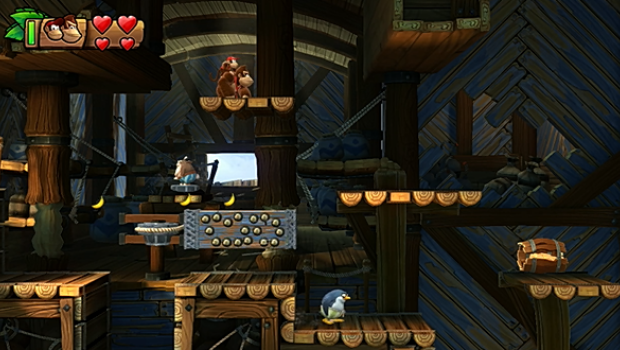
After the next checkpoint is a series of platforms. Use the archer penguin to bounce to this upper plank. From here, you can left into a bonus room. Collect the bananas inside before time runs out, and you'll get another puzzle piece.
Letter G

The final KONG letter is on the outer side of the very next spike paddle. You can grab it when the paddle is in its resting position.
Puzzle Piece #6
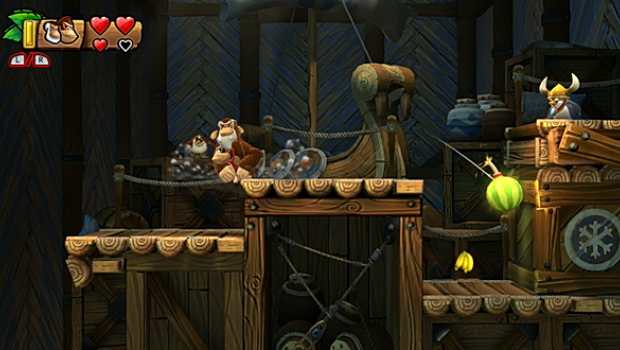
On the very next platform, use watermelon bombs to clear the large crates. There's a puzzle piece hiding inside one.
Puzzle Piece #7
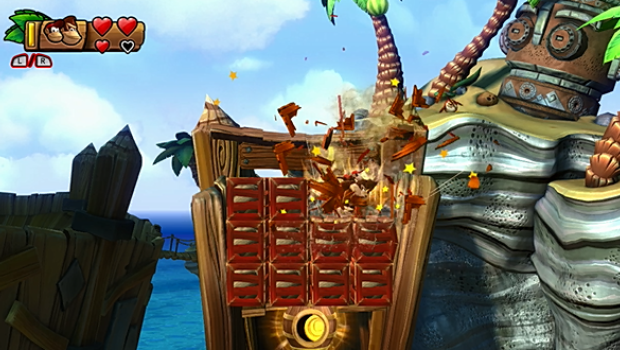
To reach the exit, you have to slam through some crates. Go down the right side to uncover one last puzzle piece.
4-6: Current Capers
Puzzle Piece #1

There's a string of bananas along your dive into the water. Grab them all for a puzzle piece.
Puzzle Piece #2
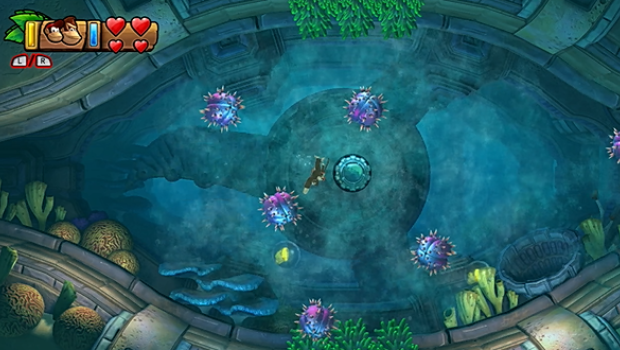
When you generate a whirlpool early on, spiky balls and banana medal bubbles will encircle you. Grab the medals for a puzzle piece.
Letter K
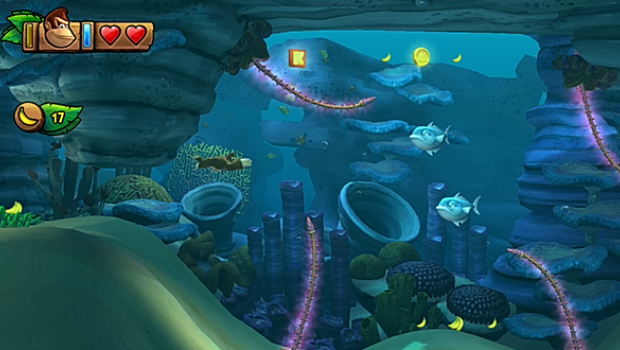
You'll easily spot the first KONG letter guarded by a long stinger. Swim up when the stinger moves to grab it.
Puzzle Piece #3
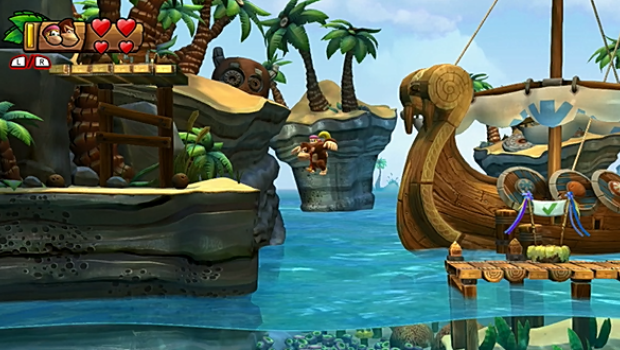
To the left of the checkpoint is a ledge. Use a long rolling jump to reach it, then use Dixie's twirl or Cranky's cane to get on the high platform over there. Slam the chest atop it for a puzzle piece.
Puzzle Piece #4

When swimming through the square currents, move into the centre cylinder in the second current. Grab the bananas inside for a puzzle piece.
Letter O
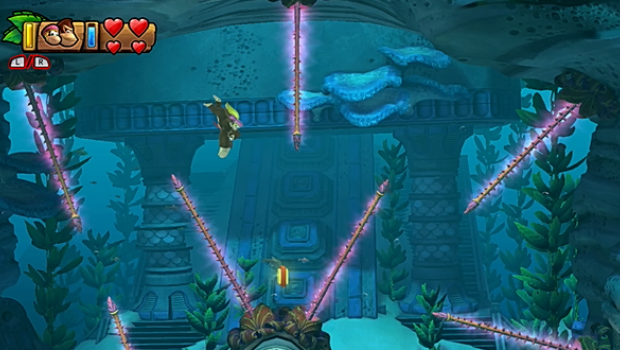
Pop into the little alcove in the very next current for a KONG letter.
Puzzle Piece #5
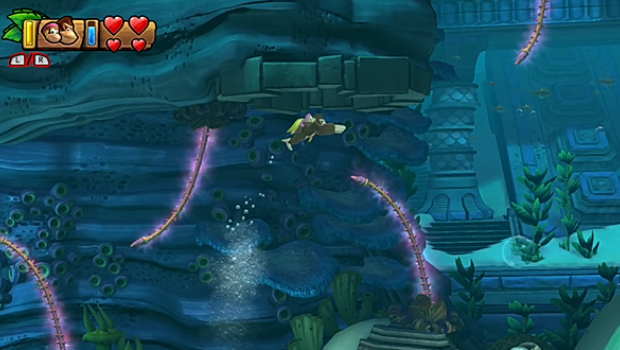
Right after the next checkpoint is a trio of stingers. Swim into the alcove above the third to enter a bonus room. In here, you must collect every banana before time runs out to earn a puzzle piece.
Letter N

Immediately after is a grotto full of stingers. Swim to the KONG letter when they're parted to safely grab it.
Letter G
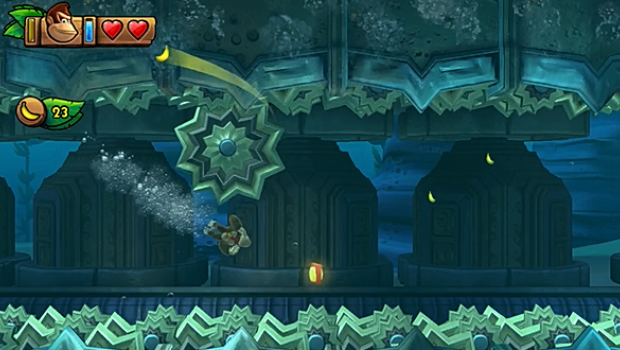
During the final section, carefully swim down to grab this off the row of spinning blades. Don't waste too much time though--the blades slowly move together here.
4-K: Spinning Spines
Puzzle Piece #1
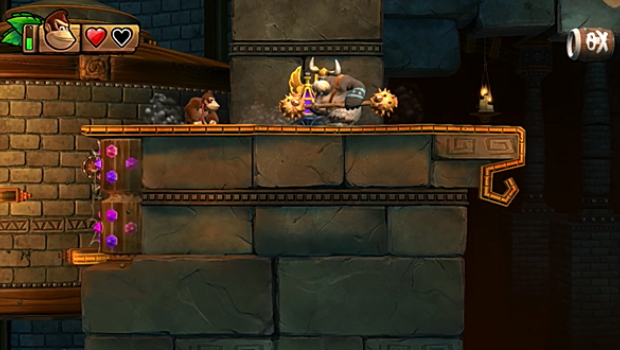
When you encounter this enemy, take him down by rolling when his weapon is raised. Beat him, then slam the purple ornament for a puzzle piece.
Puzzle Piece #2

When you spot this, wait for the bee to move toward you. Bounce off of him to safely grab the piece.
Puzzle Piece #3

During the section where everything sinks, you'll have to jump left across the moving platforms to grab this.
Puzzle Piece #4
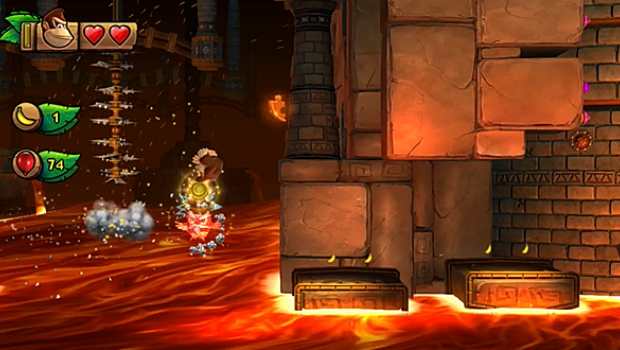
You'll spot this by a trio of owls shortly after. Get a good bounce off the last one to grab it.
Puzzle Piece #5

While the lava rises, you'll come to a barrel cannon that fires three directions. Quickly fire left to grab the last puzzle piece.
Jump to Section:
Current page: Donkey Kong Country: Tropical Freeze - Sea Breeze Cove
Prev Page Donkey Kong Country: Tropical Freeze - Bright Savannah Next Page Donkey Kong Country: Tropical Freeze - Juicy JungleTony lives in Maryland, where he writes about those good old-fashioned video games for GamesRadar+. His words have also appeared on GameSpot and G4, but he currently works for Framework Video, and runs Dungeons and Dragons streams.
