Elden Ring boss tips and locations to get you started
How to beat the first bosses you'll meet in Elden Ring

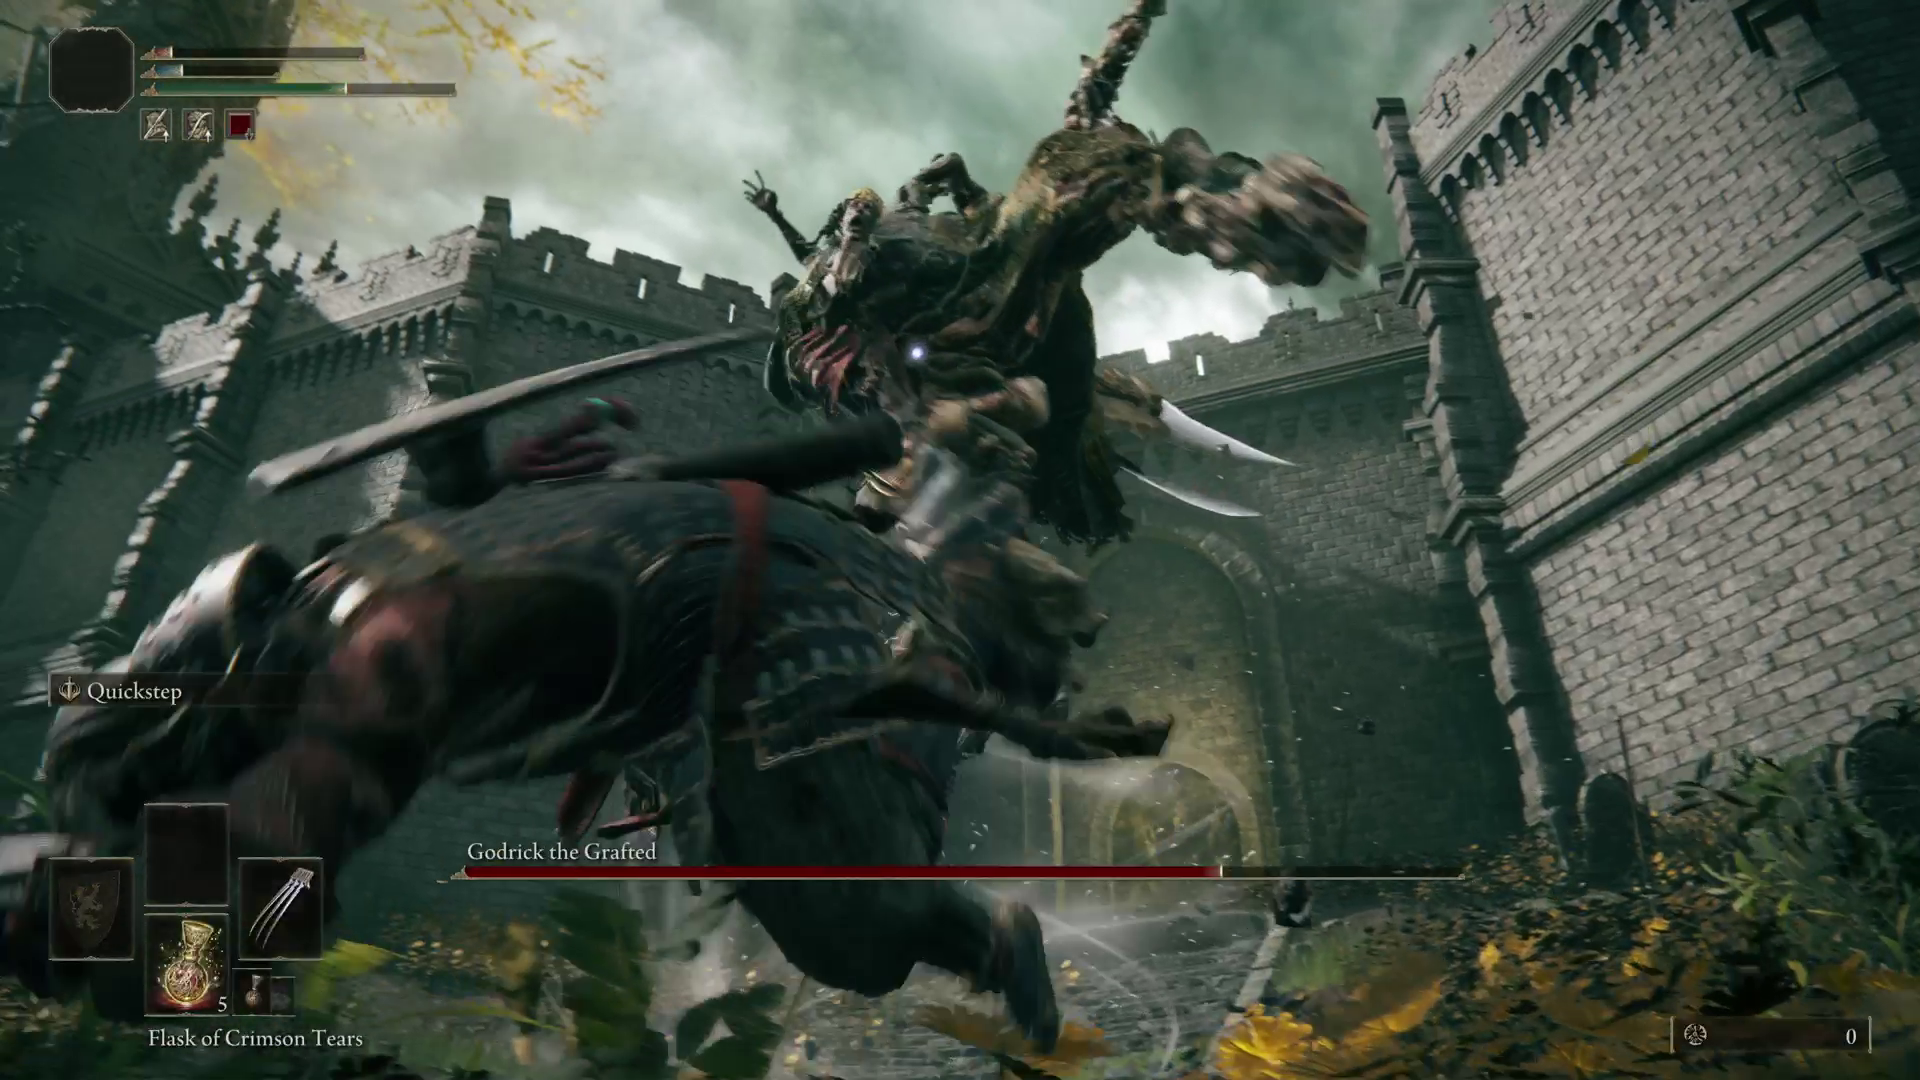
To find out all the bosses you'll have to kill in the campaign in order to finish the game, check out our Elden Ring main bosses!
The Elden Ring bosses you meet first can be tricky early on. You'll probably be under-levelled and still learning the ropes when you find them, which is never going to go well. More importantly, you won't really have to fight a lot of these bosses properly until much later in the game. While there are actually only a small number of bosses you must fight (check out the box to see which ones). However, you're gong to see a lot of these early Elden Ring bosses as you find your way around, and if you want to get stuck in early we have all the info you need.
The path through Elden Ring is wide open and can often see you facing dozens of threats and bosses without really knowing if you're ready for them. Taking on anything is bound to be a big job so even if it's the right time, coming up here we're just going to focus on the one's you're most likely to meet in the first 20 or so hours of play. For the most part, these are all optional as well, with only Margit acting as a gate keeper for the first area.
Beastman of Farum Azula
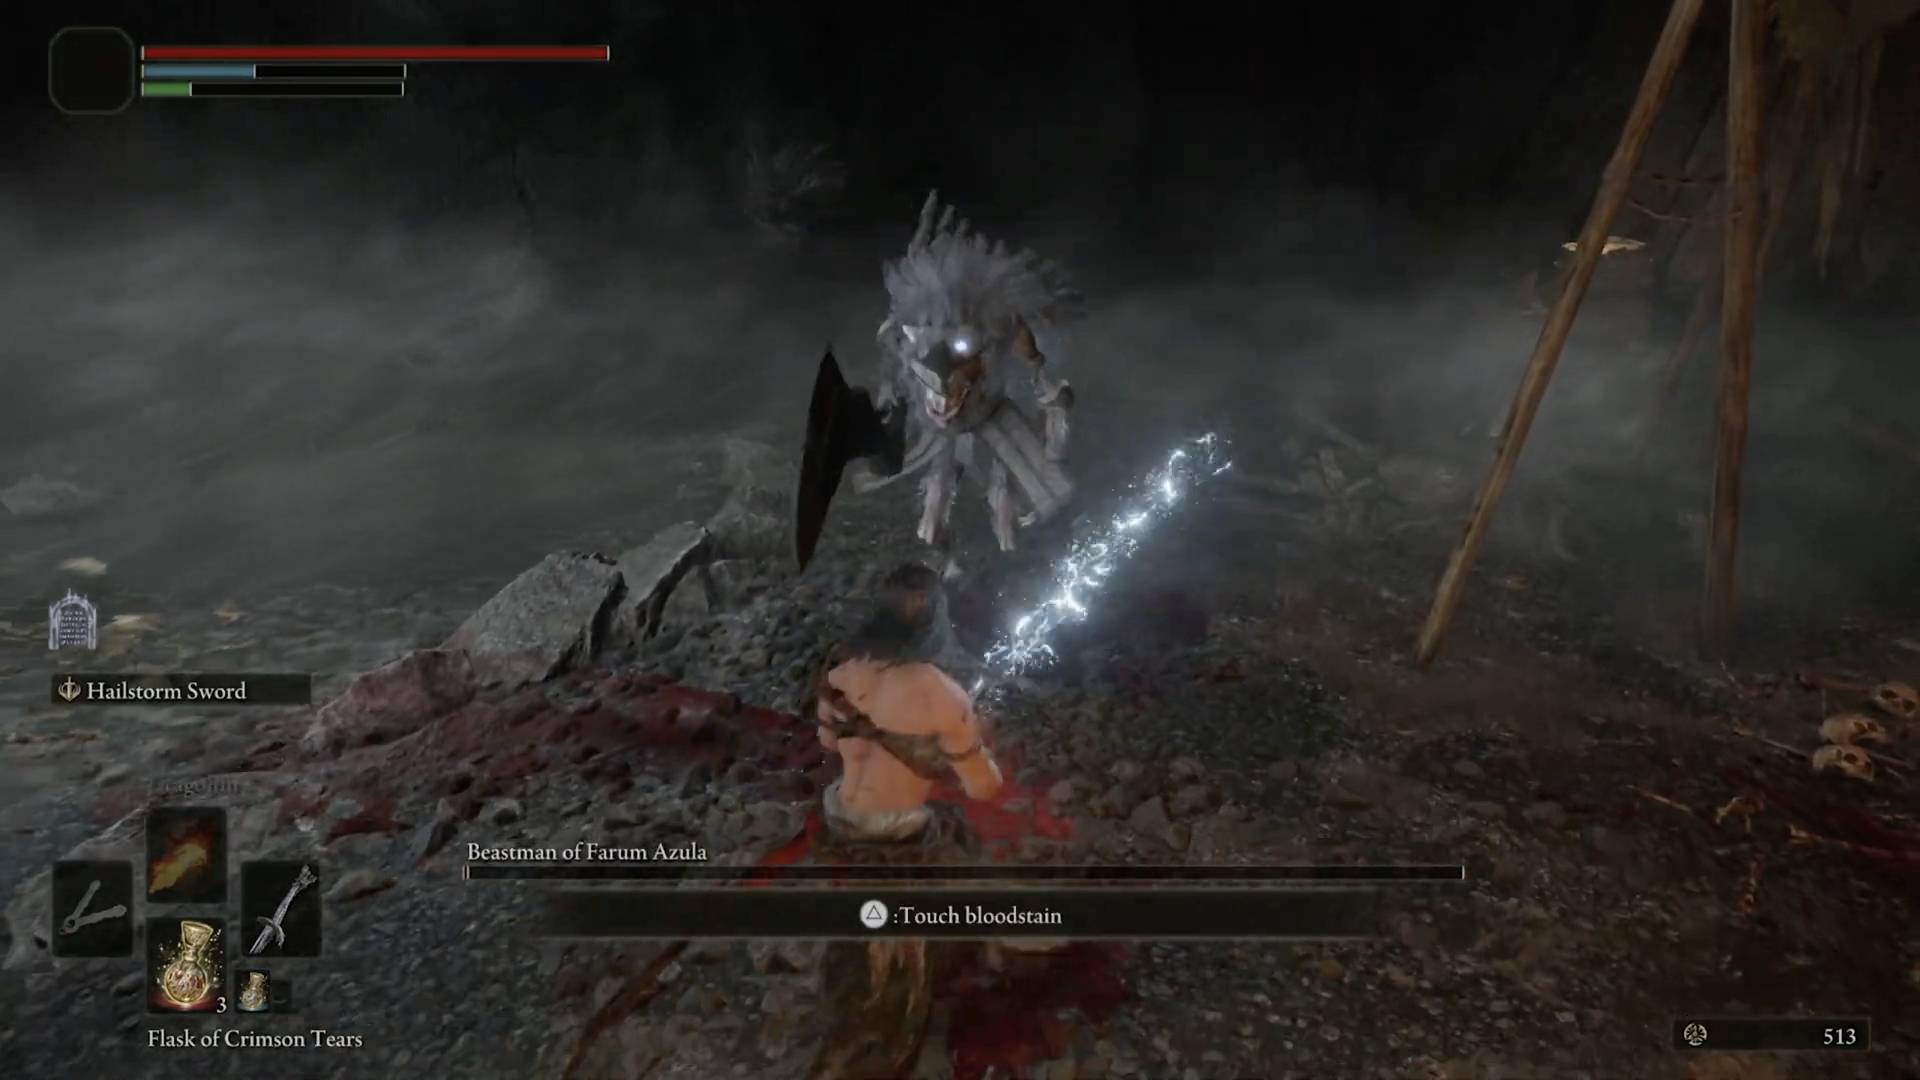
The Beastman of Farum Azula is found in Limgrave in the Groveside Cave, north of the Cave of Knowledge, past the church, along a wall in the back of the nearby forest. This boss drops an amulet that boosts your maximum stamina, and a treasure chest in its domain contains the valuable Flask of Wondrous Physick, which can be customized to heal your HP and FP.
You can kill this boss with any class's starter gear, and you should try to fight it as soon as possible to get that extra flask. A shield trivializes most of his attacks, and the shield sold at the church merchant is more than enough to keep him at bay. Block, guard counter when he pauses, and look out for a jumping attack at the end of his combo sequence, which he seems to use more frequently when below half health. Some of his attacks take a while to wind up, so don't block or dodge too early. Rolling backwards will evade most of his attacks since he swings his sword in an arc.
Demi-Human Chiefs
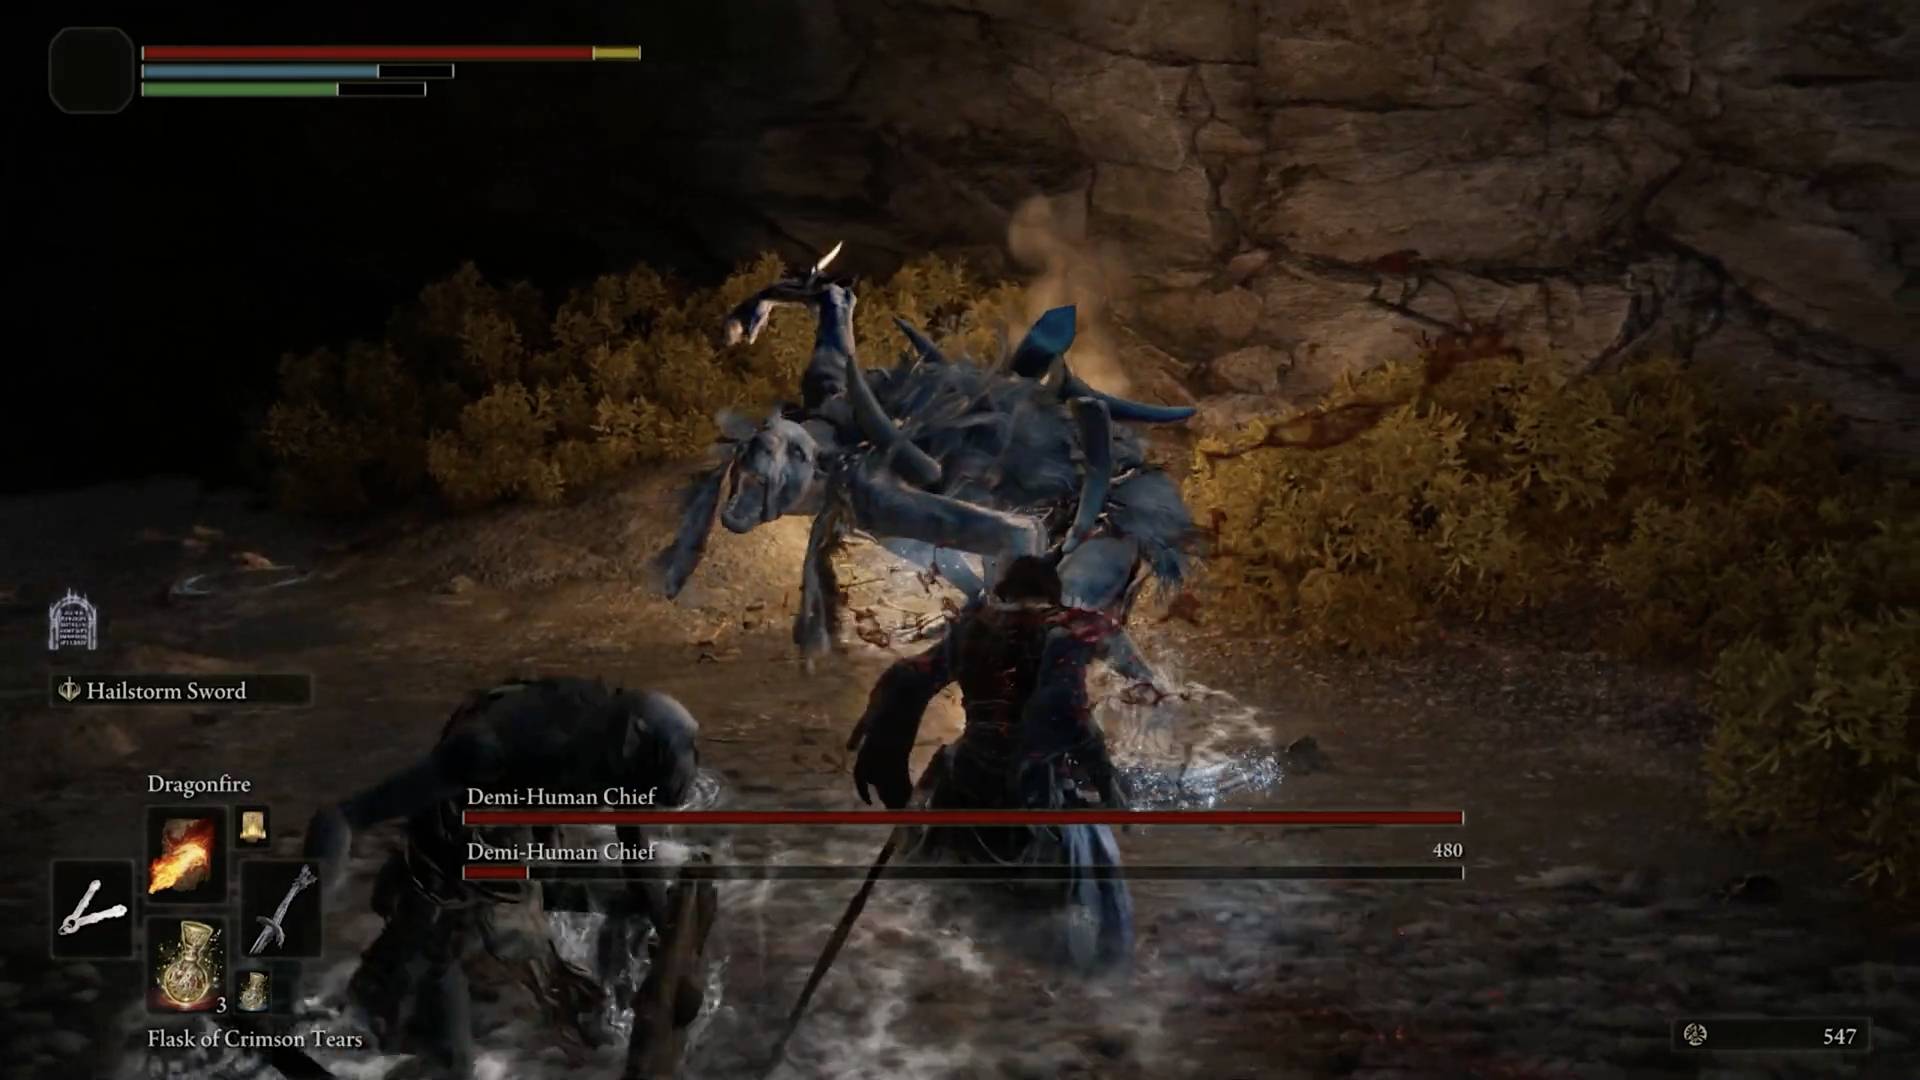
The Demi-Human Chiefs live in the Dissenter's Cave found on the back of Limgrave's western beach. You'll want a torch to navigate the cave itself, so be sure to buy one from the nearby church merchant if you don't have a light source. Once you beat this boss, you can access the dragon covenant island at the end of this cave, and it's home to some nice spells.
The Demi-Human Chiefs are basically just overgrown basic enemies with on-screen HP bars. The smaller demi-humans that nip at your heels during this fight are the real problem. Keep your distance or watch your back while you clear out the other enemies, then focus on the chiefs themselves. Magic is incredibly powerful here, as you can thin the herd without getting in range of their melee attacks. If you stay at the front of the cave, you can occasionally fight the first chief without aggroing the second one, too.
Tree Sentinel
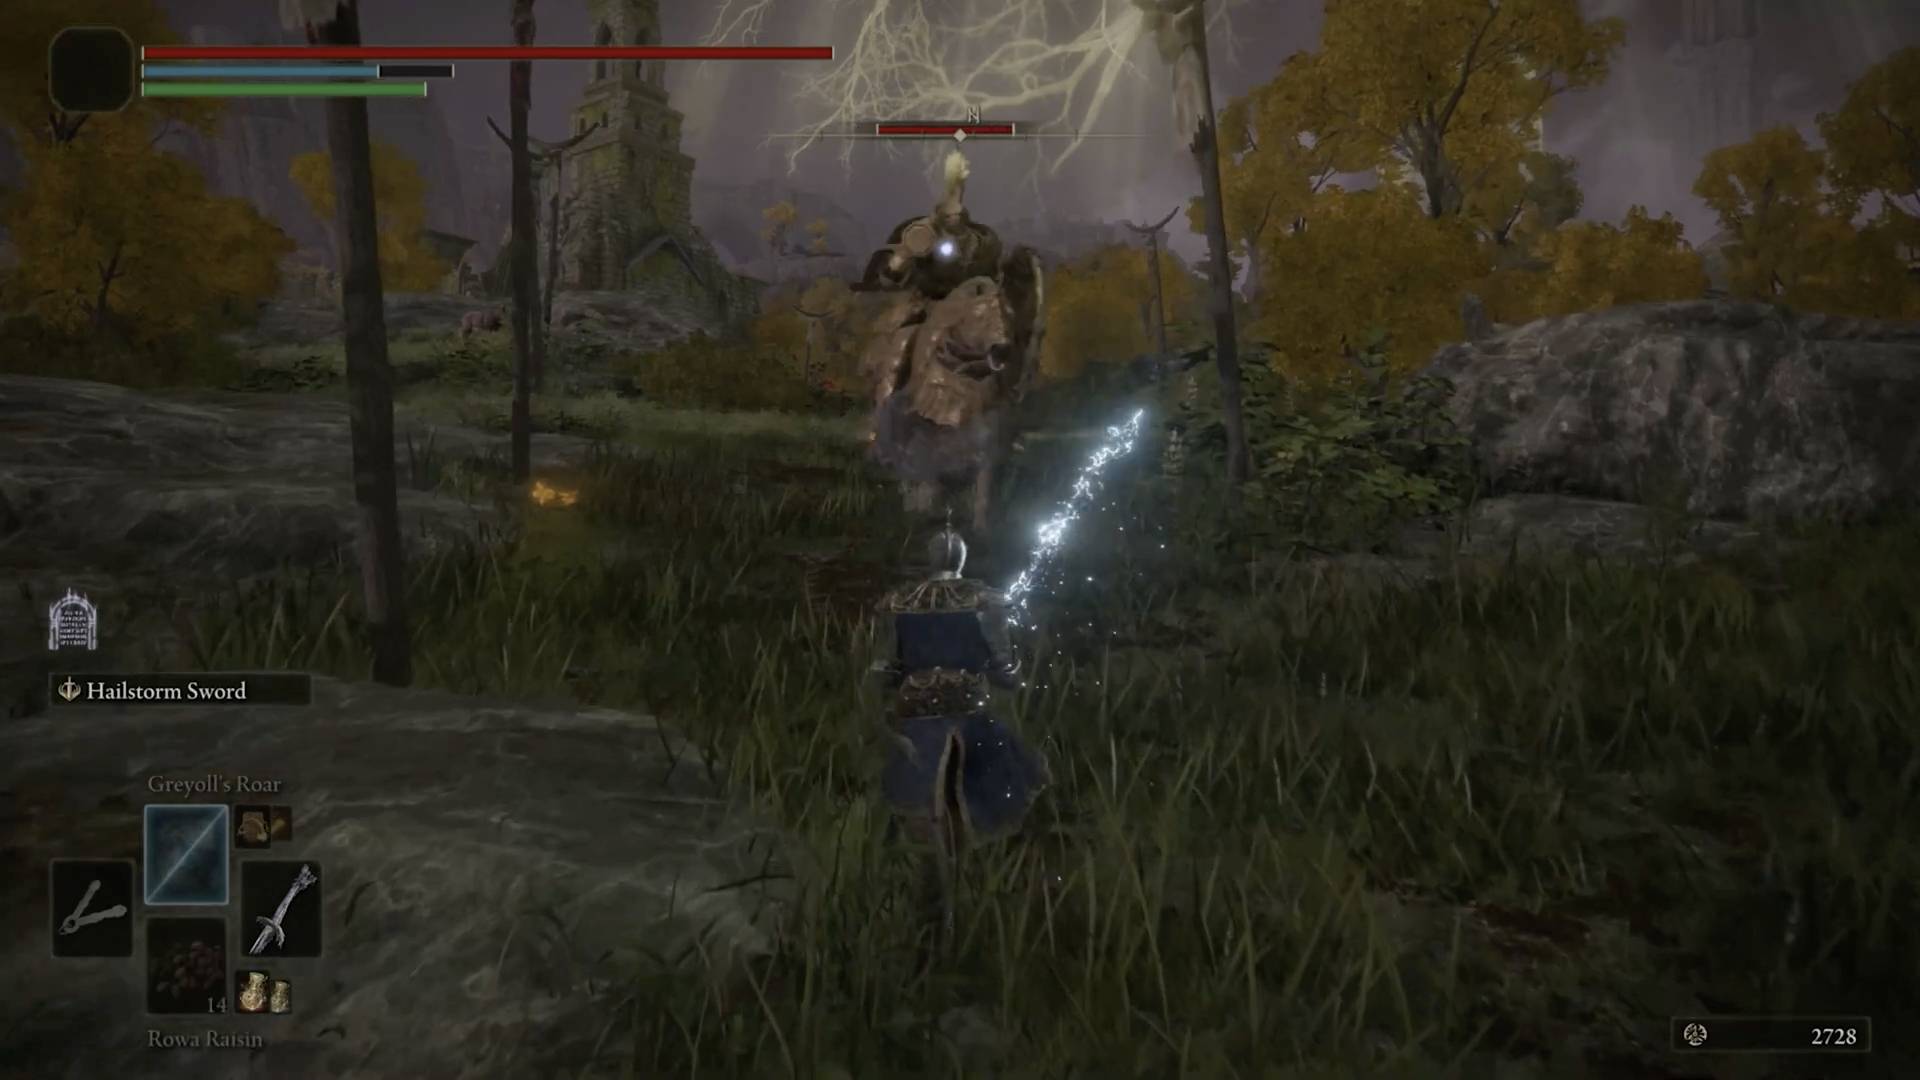
This armored horseman is visible the moment you exit the Cave of Knowledge, but we don't recommend fighting him immediately. At the start of the game, it's much safer to sneak by him or just take the long way around to avoid his line of sight. Whenever you decide to fight him, you'll earn a shield Ash of War called Holy Ground. Being such a common sticking point for players (and understandably so), we put together this Elden Ring Tree Sentinel Boss guide, with everything you need on how to unseat this big brute.
Pumpkin Head
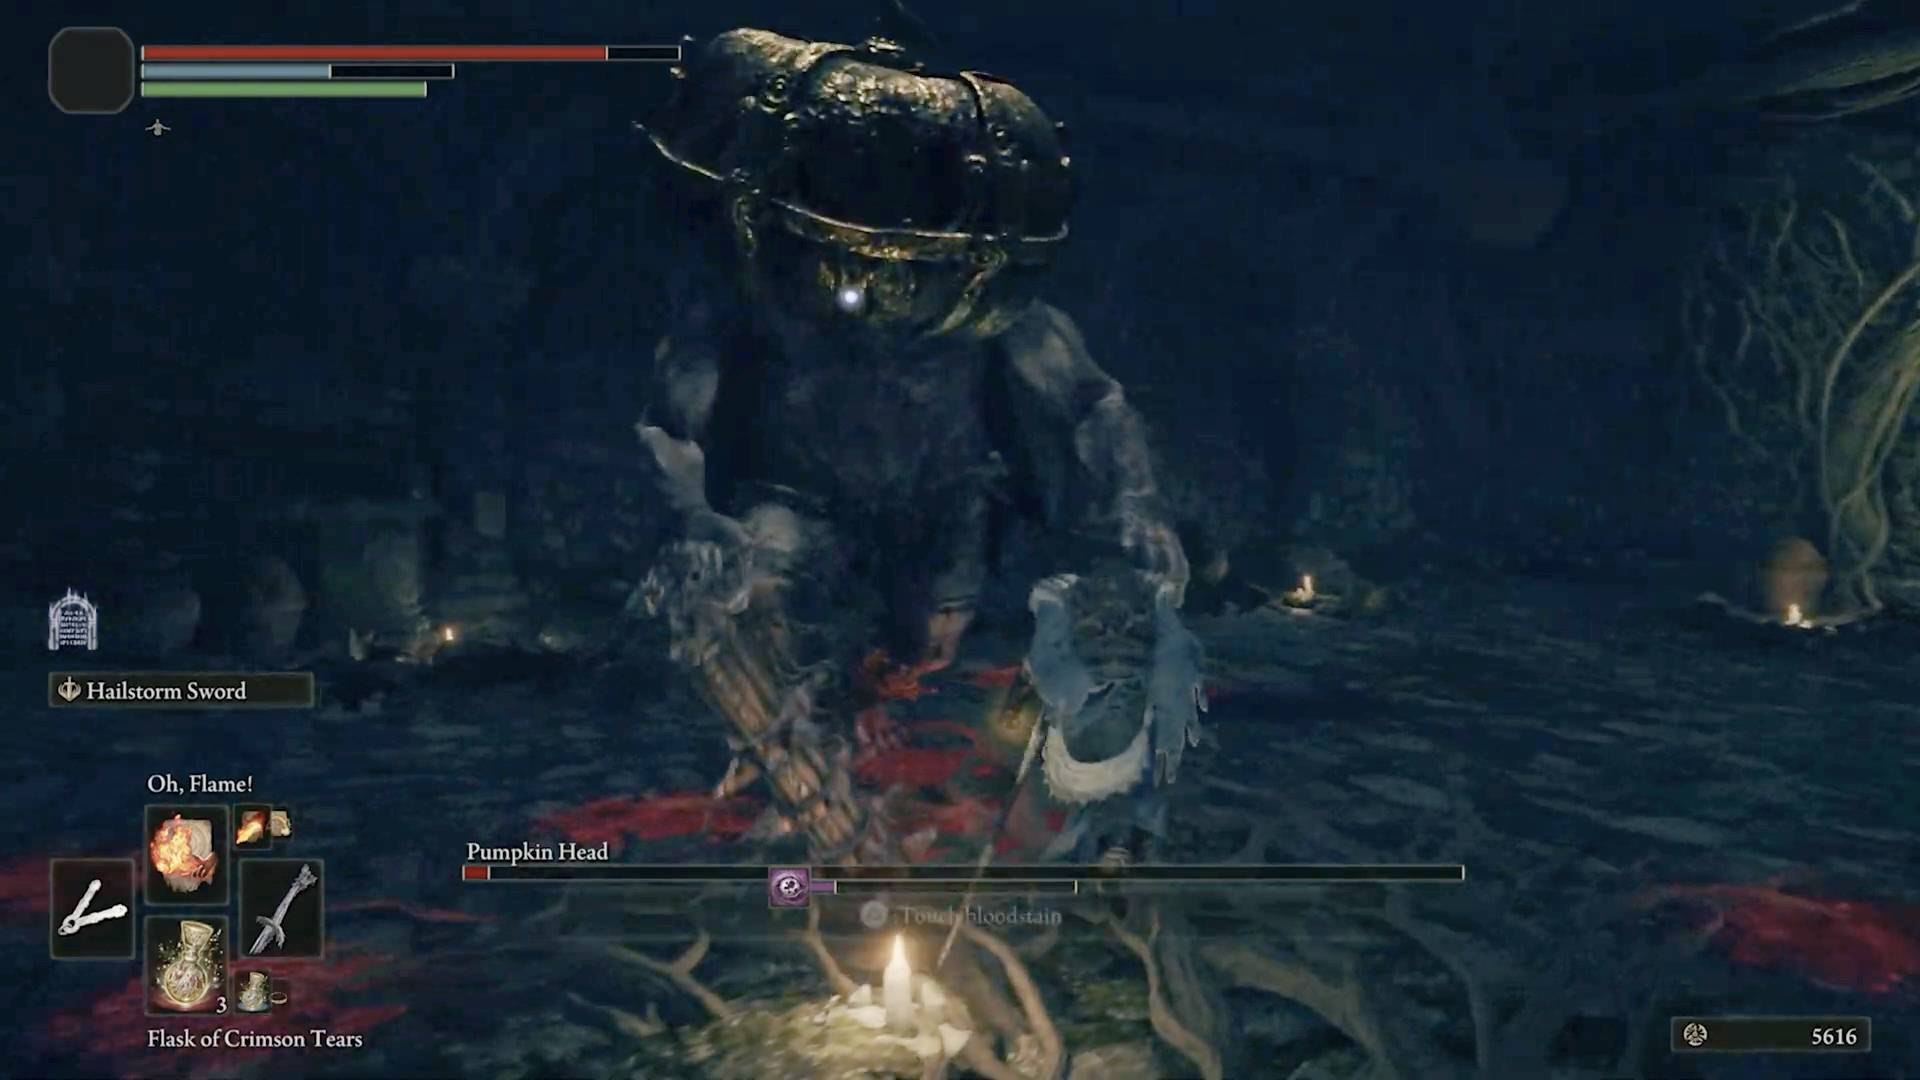
The Pumpkin Head is found in a cave on the east side of Limgrave, east of the lake guarded by the Flying Dragon Agheel. Look for some ruins with a big pink plant in them. To reach the blocked tunnel leading to Pumpkin Head, climb up on the nearby ruin fragment and drop down to the stairs below. Once you defeat him, you'll get his helm and meet a sorcery instructor named Sellen.
Pumpkin Head is a big dude with a big flail and a big head. His flail causes hemorrhaging, even through a shield, so try to stay to his side and rear so you can more easily dodge his hits. Blocking is effective, but you'll still take hemorrhage damage eventually. Pumpkin Head will occasionally use his massive helmet to headbutt you, often two or three times in a row, and you should try to avoid hitting his head as it doesn't take much damage. As always, playing at range works wonders.
Burial Tree Watchdog
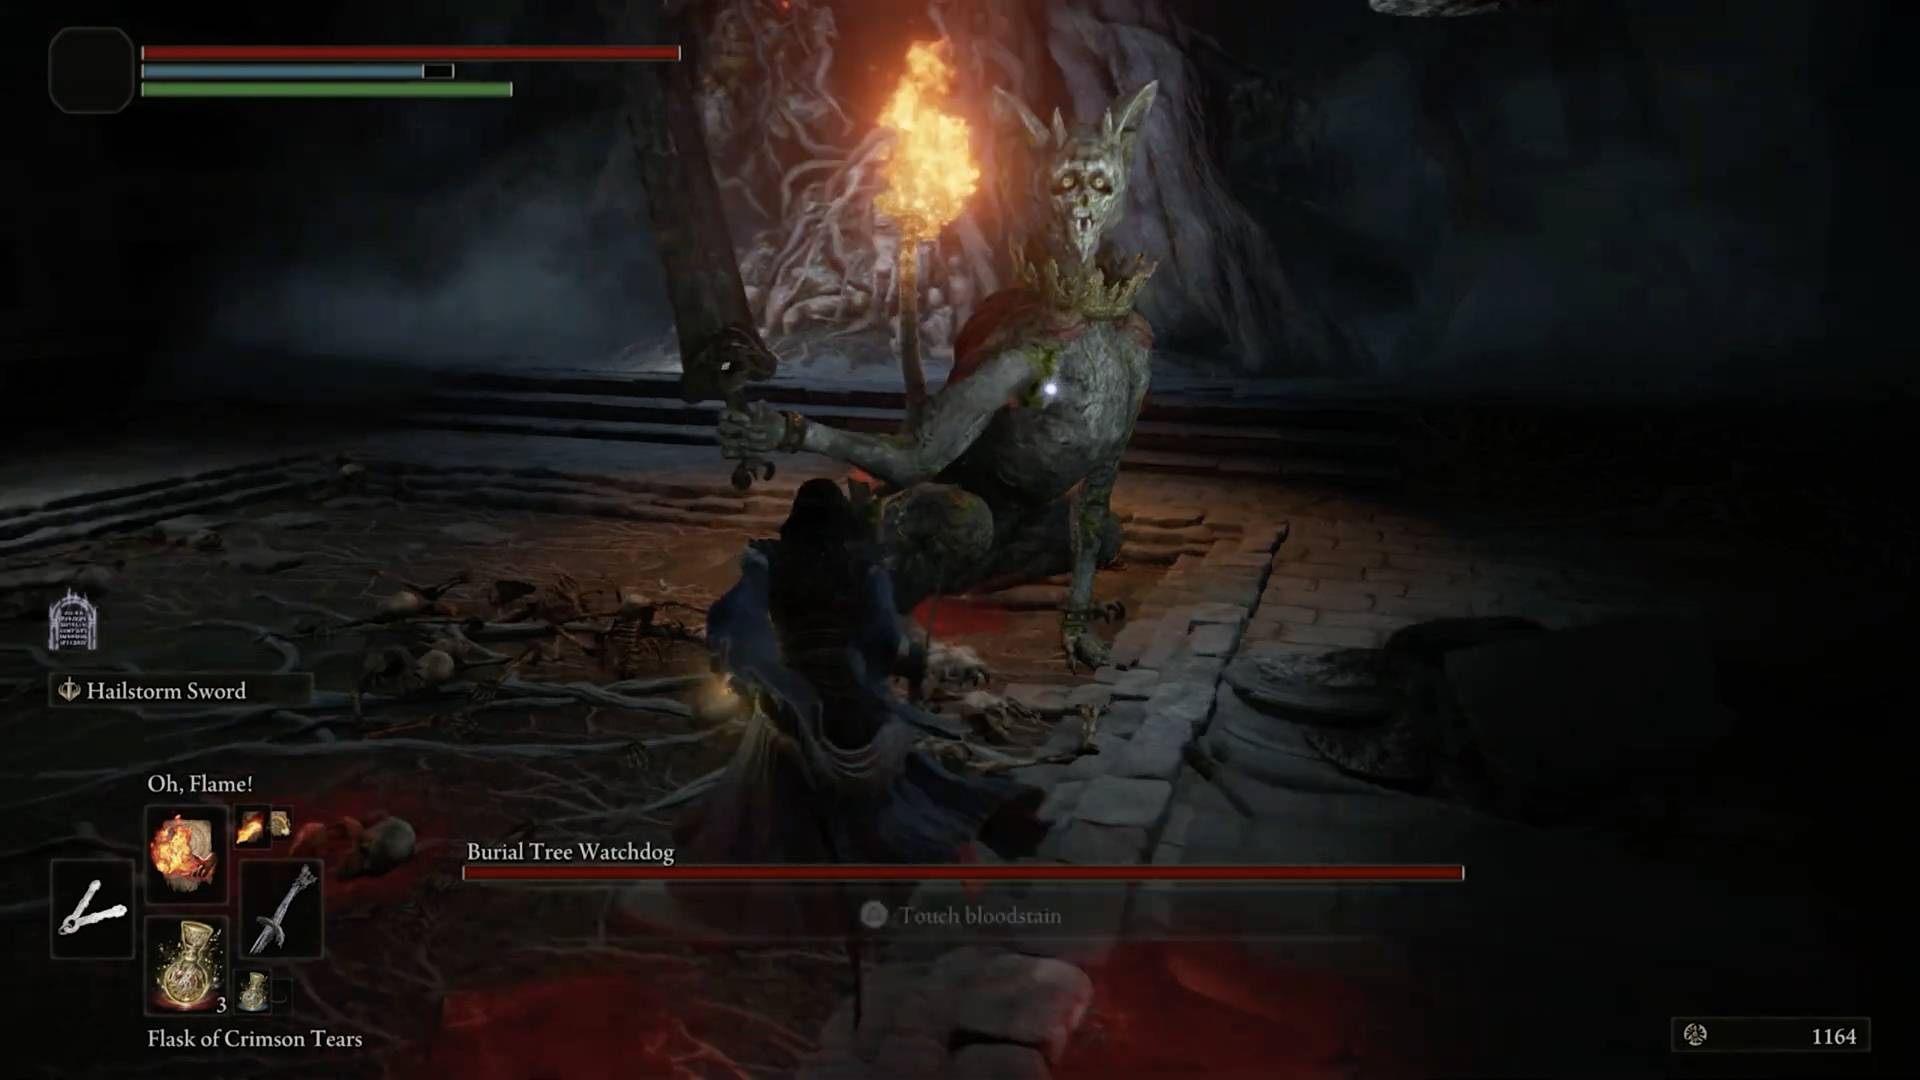
This bizarre gargoyle is the final boss of the Stormfoot Catacombs, located just northwest of the Limgrave church. A statue on the hill behind the church will point out this dungeon if you activate it. Look for a pack of torch-wielding dregs past the ruin fragments on the ground. The Burial Tree Watchdog drops a magic-type Ash of War with a powerful skill when killed, giving intelligence-based characters a big boost early on.
The Burial Tree Watchdog moves and attacks in strange bursts. It loves to float up to the ceiling and spam a plunging attack, and your best bet is to back and roll away during this move. Wait for its plunge to begin, and then roll, otherwise its attack will likely track you. Hitting it with melee will often provoke a near-360-degree sword swing, and it can also breathe fire at you from range. That said, its melee attacks are harder to dodge than its spells, so magic is a good matchup. Surprisingly, pyromancies are pretty effective too.
Grave Warden
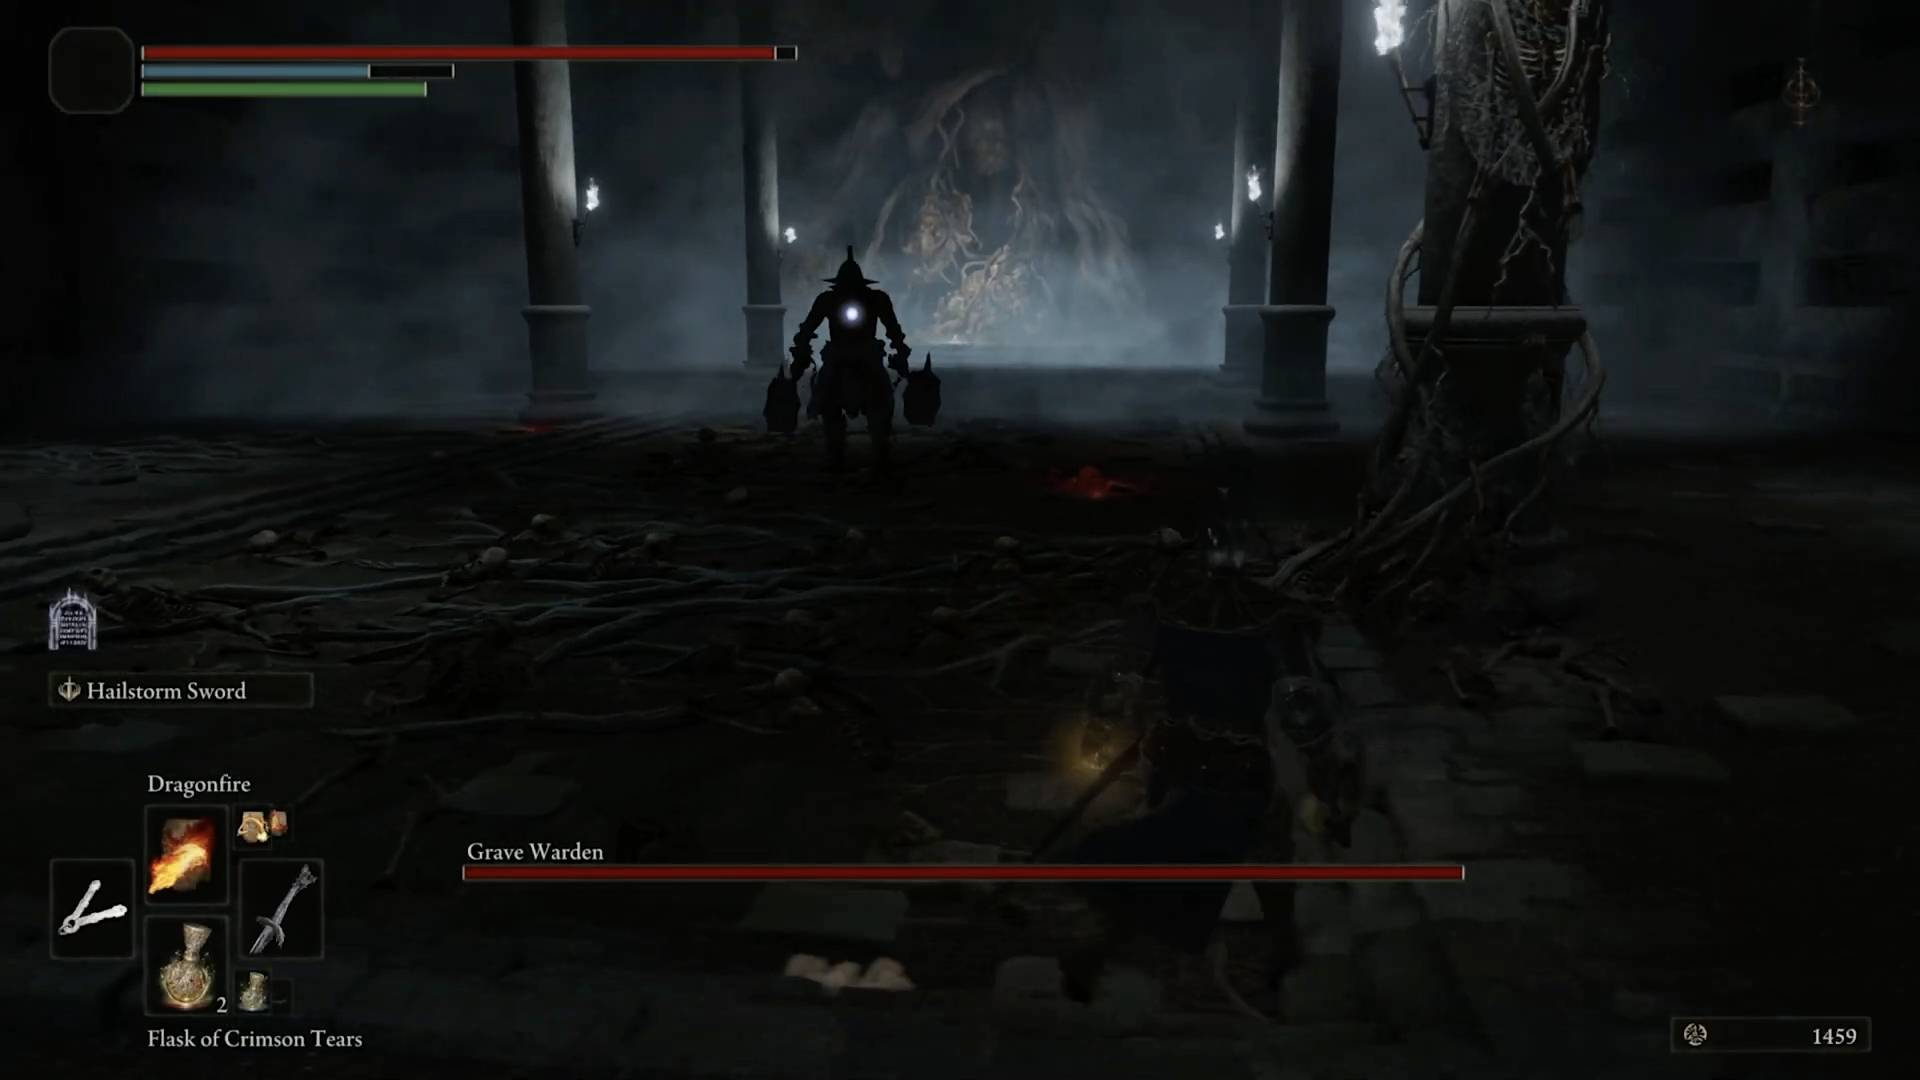
The final boss of the Murkwater Catacombs, the Grave Warden is located on the east side of Limgrave, at the end of the northern offshoot of Agheel Lake. It's guarded by skeletons and slimes which can easily be bypassed. This boss drops the Storm Blade Ash of War, which is mighty handy for less magic-inclined Tarnished.
The Grave Warden pummels you with close-range hammer swings and long-range sweeping attacks. All types of magic are effective on him, but he closes gaps quickly, so you'll need to stay on your toes. There's no real magic bullet for this boss: look out for his big chain attacks, block or dodge his hammer barrages (which usually come in hits of three), and sneak in damage when you can. When you get him to low health, he'll enter a buffed state which seems to enhance his attacks, so just be extra careful in the second half of the fight.
Stonedigger Troll
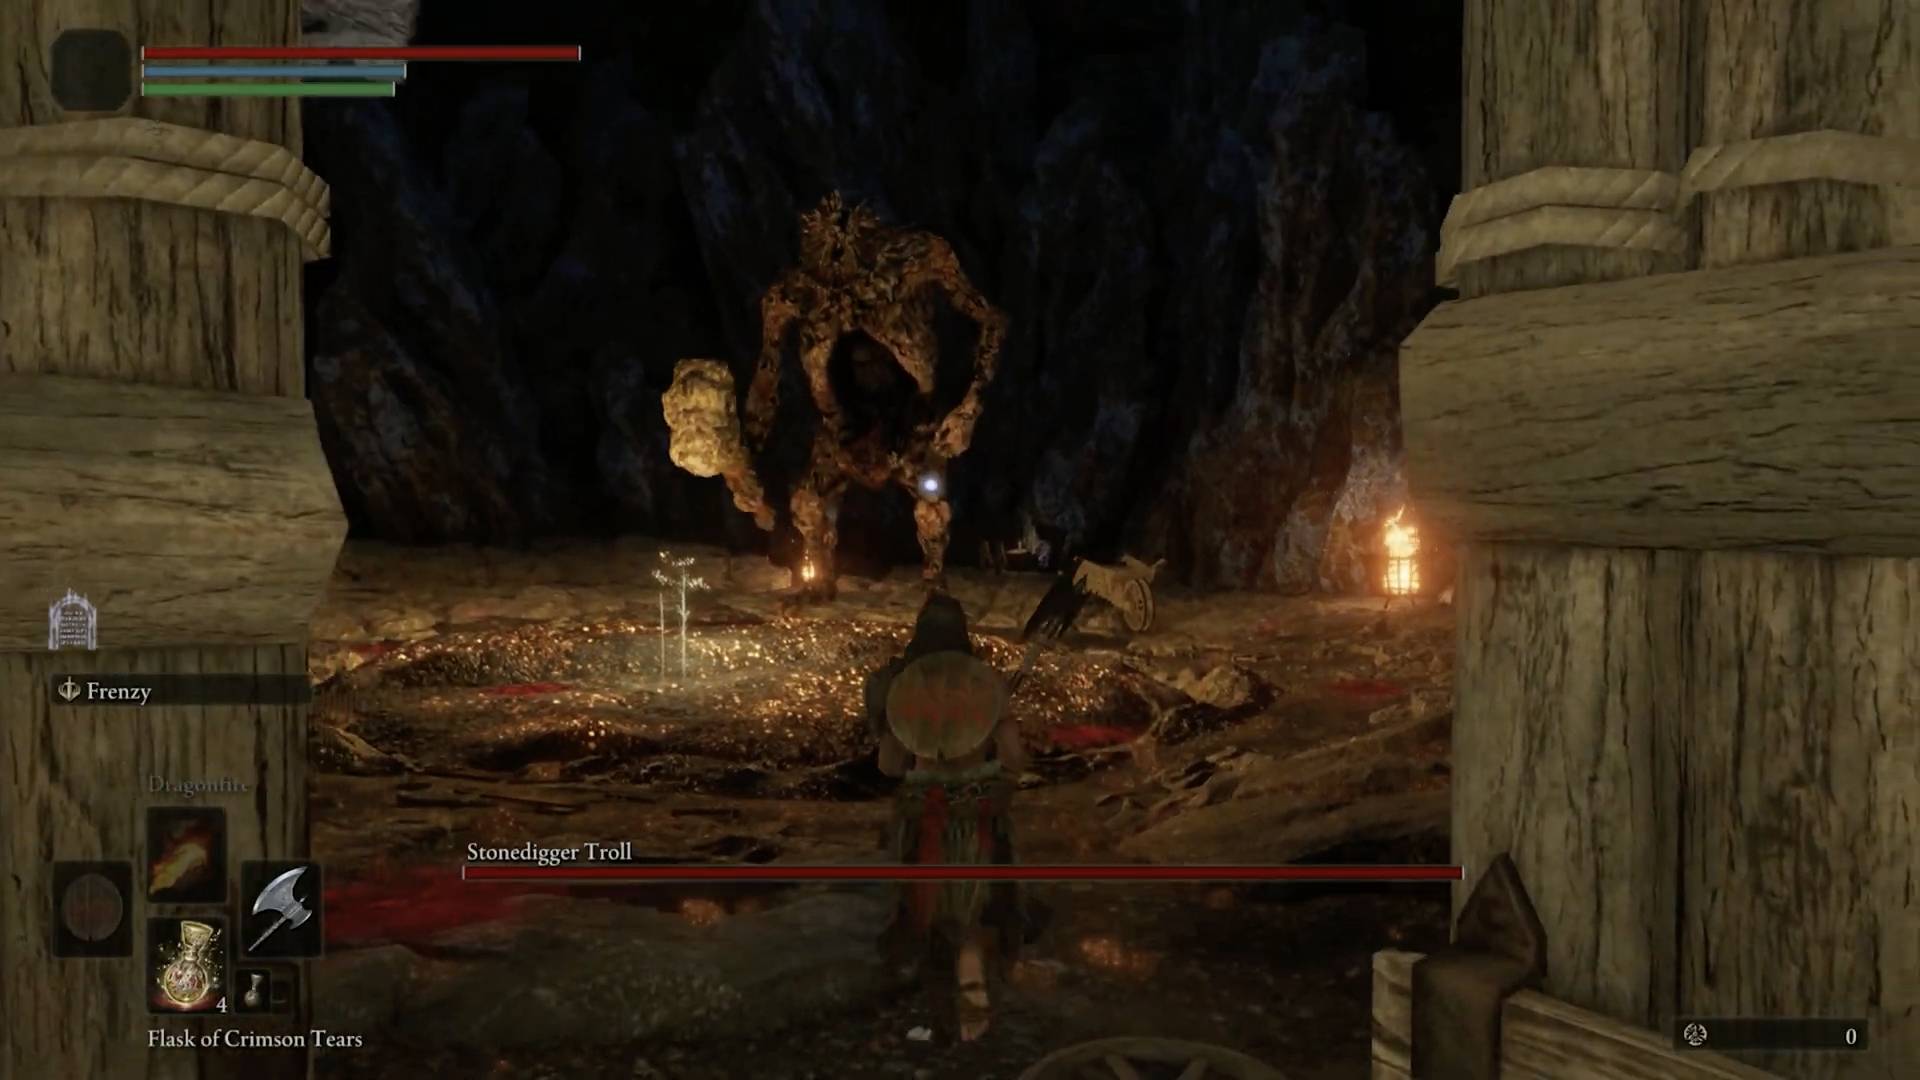
This boss is basically a tougher version of the fleshy giants found all over Limgrave. It's the final boss of the Limgrave Tunnels, which are accessed via the northwestern tip of Agheel Lake. You'll need to take two lifts downward to reach this boss; drop off the second one halfway through its descent to reach a hidden platform. This leads to a forked path with a third lift on the left. You can take this down or drop down the rocks running clockwise around the mine shaft.
The Stonedigger Troll has high physical defense and will even cause slashing weapons to bounce off of his thick skin. Crushing weapons like axes and clubs work well, but magic is the real ticket here. Even the most basic spells will make short work of him, and from a safe distance, so channel your inner mage if you can. When the Stonedigger Troll reaches half health, look out for a flurry of smash attacks which often ends in an AoE that hits nearly the entire room. Keep your distance during this attack, as the troll will turn toward you. If you decide to smack at his legs with melee, plan on dodging a stomp attack after each hit you land.
Bloodhound Knight Darriwil
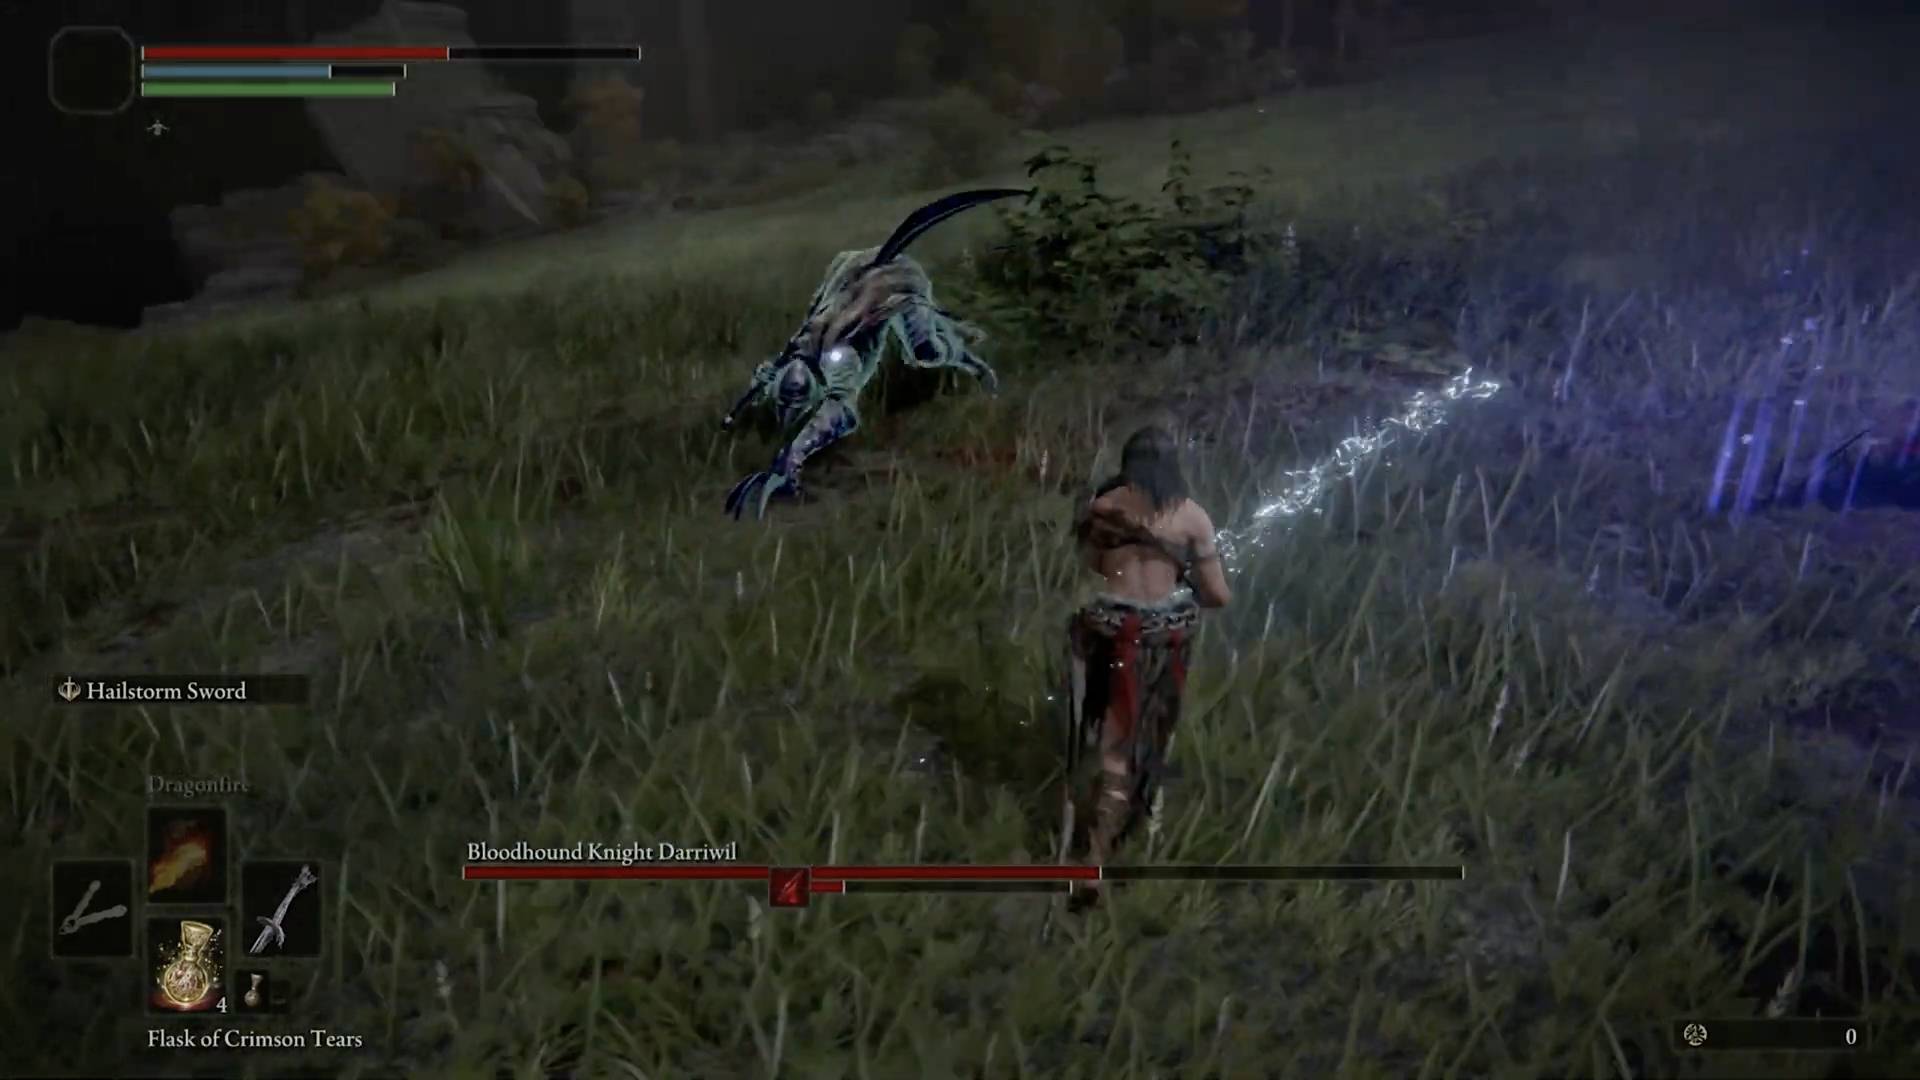
Bloodhound Knight Darriwil is found in the Forlorn Evergaol, which is accessed through the teleport plate in Stormhill north of Limgrave's starting area. Once you use the plate, you can't leave until you beat Darriwil or die, so go in prepared.
This boss moves and attacks quickly, has long range thanks to a massive sword which causes hemorrhaging, and will often disappear before quickly getting close to you. He has a basic four-hit rush combo that usually ends in a leaping attack, and this gives you a nice opening to deal damage. If you see him dragging the ground with his sword, dodge to the right at the absolute last second to avoid a tracking upswing. If he drags his claws, dodge straight backwards to stay out of range. Magic is tough to use in this fight because Darriwil is so aggressive, and you'll probably want a trusty shield no matter what you're using. That said, you can sneak in some magic damage right as Darriwil phases into the arena.
This boss is a lot like Artorias from the Dark Souls DLC; his wily movements can take some getting used to, so expect a tough fight.
Flying Dragon Agheel
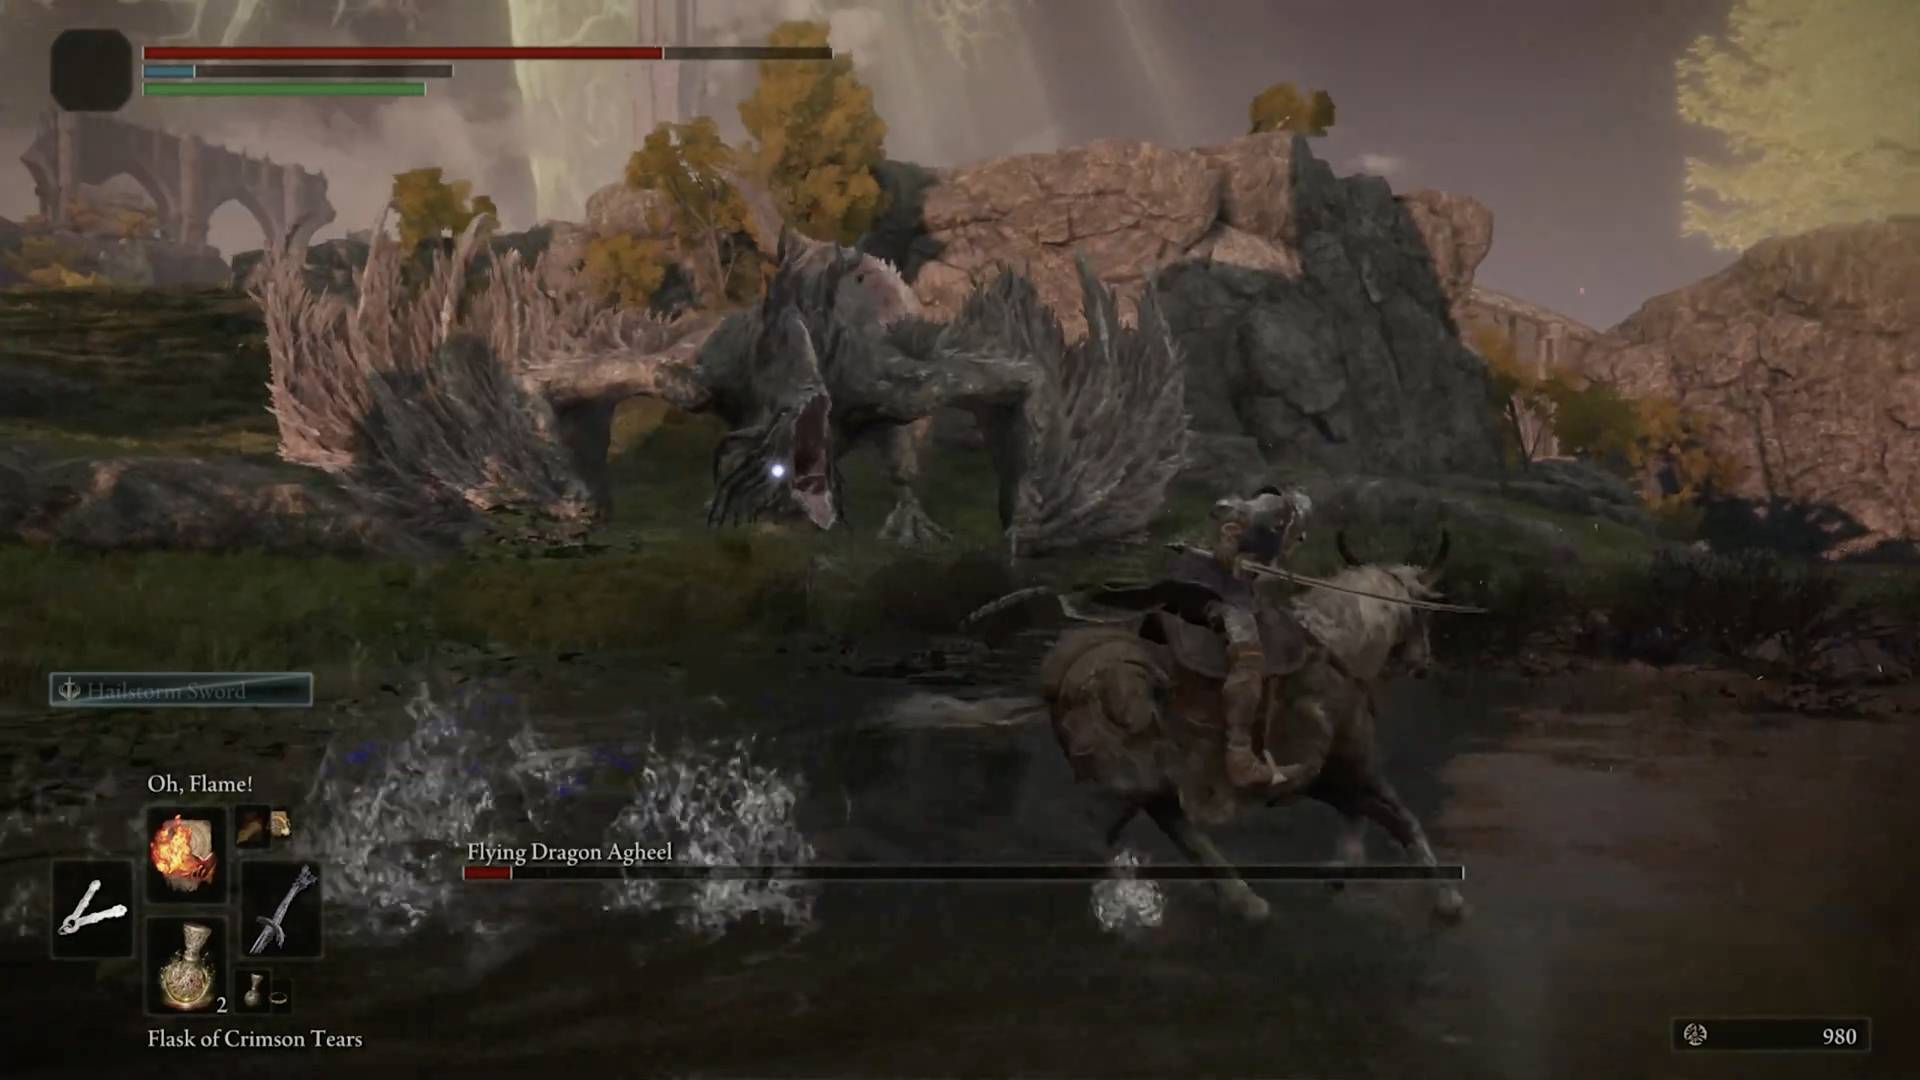
This dragon will descend upon Lake Agheel when you get close to the middle of the lake. When you defeat it, you'll receive its heart, which you can trade for a powerful incantation at the island accessed via the Demi-Human Chiefs' cave.
Agheel feels like a Monster Hunter boss, simply put. It has heavily telegraphed tail, claw, and breath attacks which hit hard, and it has a ton of health and high defense. You're going to want to be mounted on your spectral steed, Torrent, for this entire fight. It's a nightmare to fight Agheel on foot simply because his fire breath attacks are almost impossible to outrun without Torrent. Gallop away if he so much as twitches, and to avoid aerial plunge and breath attacks, canter counter-clockwise if Agheel flies up into the air. His sweeping claw attacks can reliably be dodged by retreating and double-jumping with Torrent. Agheel's head takes extra damage and he's weak to lightning, but hitting his wing tips and legs is also effective. This fight will take a while, but as long as you stay on your horse and play cautiously, Agheel goes down fairly easily.
Margit, the Fell Omen
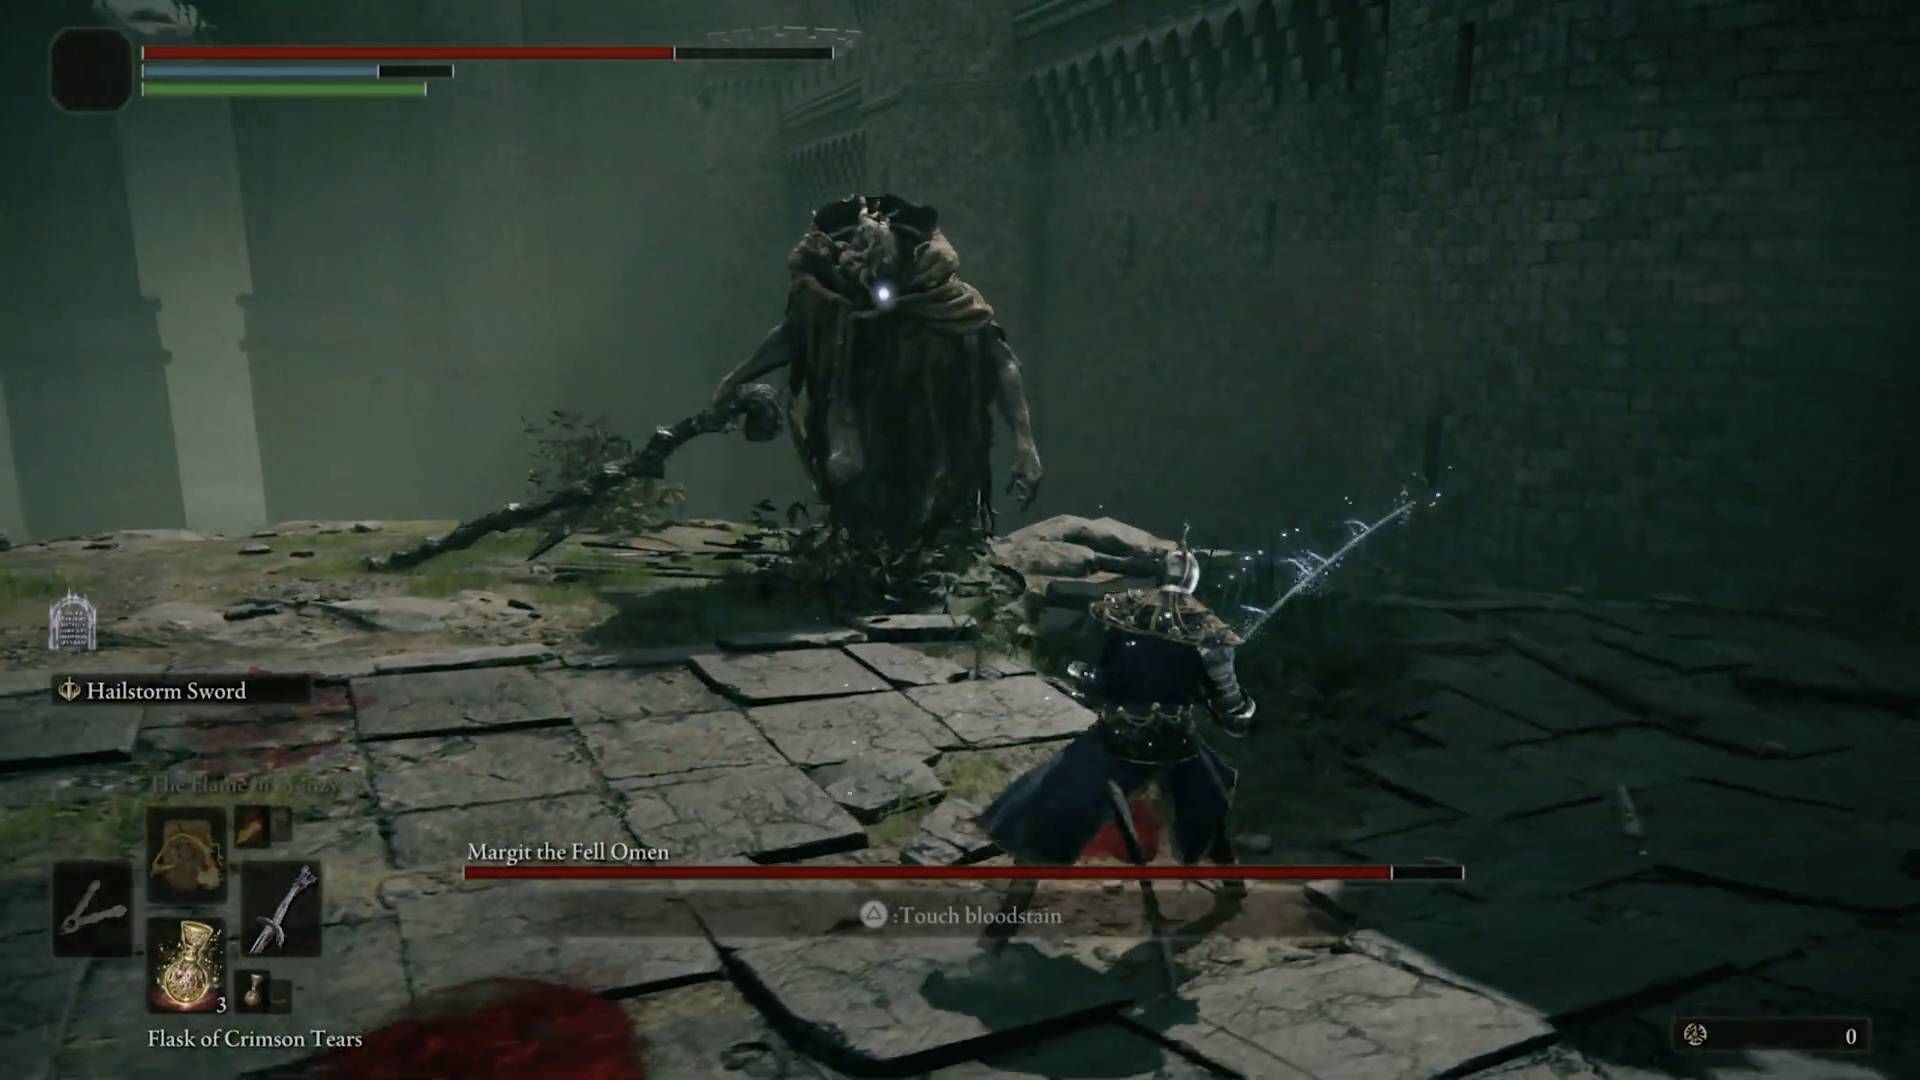
The final boss of the Elden Ring network test, and the introductory boss of Stormveil Castle, Margit the Fell Omen is a fast-moving spell swordsman with an incredible variety of attacks. Bring a shield, bring a buddy, summon a phantom – use whatever you have. In fact, he's so ominous an omen that we put together a full guide dedicated to how to beat Margit in Elden Ring, with all the info you need right here. You'll need it, because Margit is the full package: mobile, deadly, and tanky. Good luck, Tarnished.
How to beat Godrick in Elden Ring | How to beat the Red Wolf of Radagon in Elden Ring | How to beat Rennala in Elden Ring | How to beat Radahn in Elden Ring | How to beat Godfrey in Elden Ring | How to beat Morgott in Elden Ring | How to beat the Fire Giant in Elden Ring | How to beat the Godskin Duo in Elden Ring | How to beat Maliketh in Elden Ring | How to beat Sir Gideon Ofnir in Elden Ring | How to beat Radagon in Elden Ring | How to beat the Elden Beast final boss in Elden Ring | Can you beat the Grafted Scion at the beginning?
Sign up to the GamesRadar+ Newsletter
Weekly digests, tales from the communities you love, and more

Austin has been a game journalist for 12 years, having freelanced for the likes of PC Gamer, Eurogamer, IGN, Sports Illustrated, and more while finishing his journalism degree. He's been with GamesRadar+ since 2019. They've yet to realize his position is a cover for his career-spanning Destiny column, and he's kept the ruse going with a lot of news and the occasional feature, all while playing as many roguelikes as possible.
- Leon HurleyManaging editor for guides
- Joel FraneyGuides Writer
