17 Fallout 76 CAMP beginners tips to help you build a perfect home
These Fallout 76 C.A.M.P. tips will help you to manage your resources and build your dream base
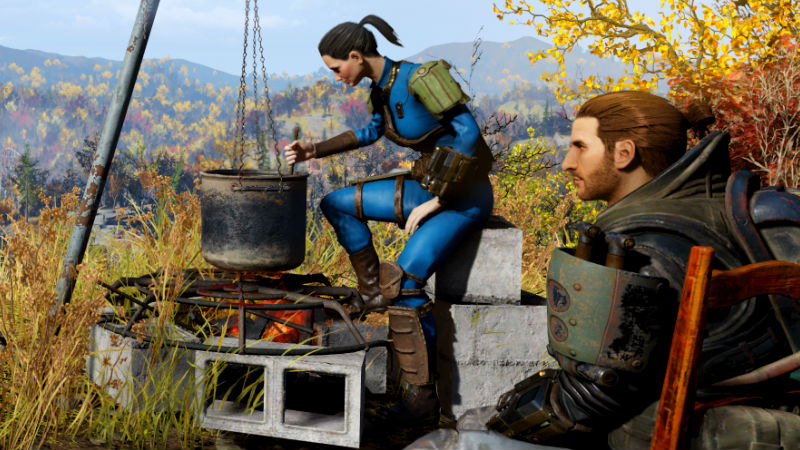
Some Fallout 76 CAMP beginner tips will come in useful when you first place that CAMP module down and wonder what to do next. If you want to build anything you're going to need resources and blueprints, not to mention a location you can actually build on in Fallout 76. Coming up we've got some simpler Fallout 76 CAMP beginner tips to make your post apocalyptic transition into home ownership as painless as possible and get started on building base of your dreams.
1. Build these five items first
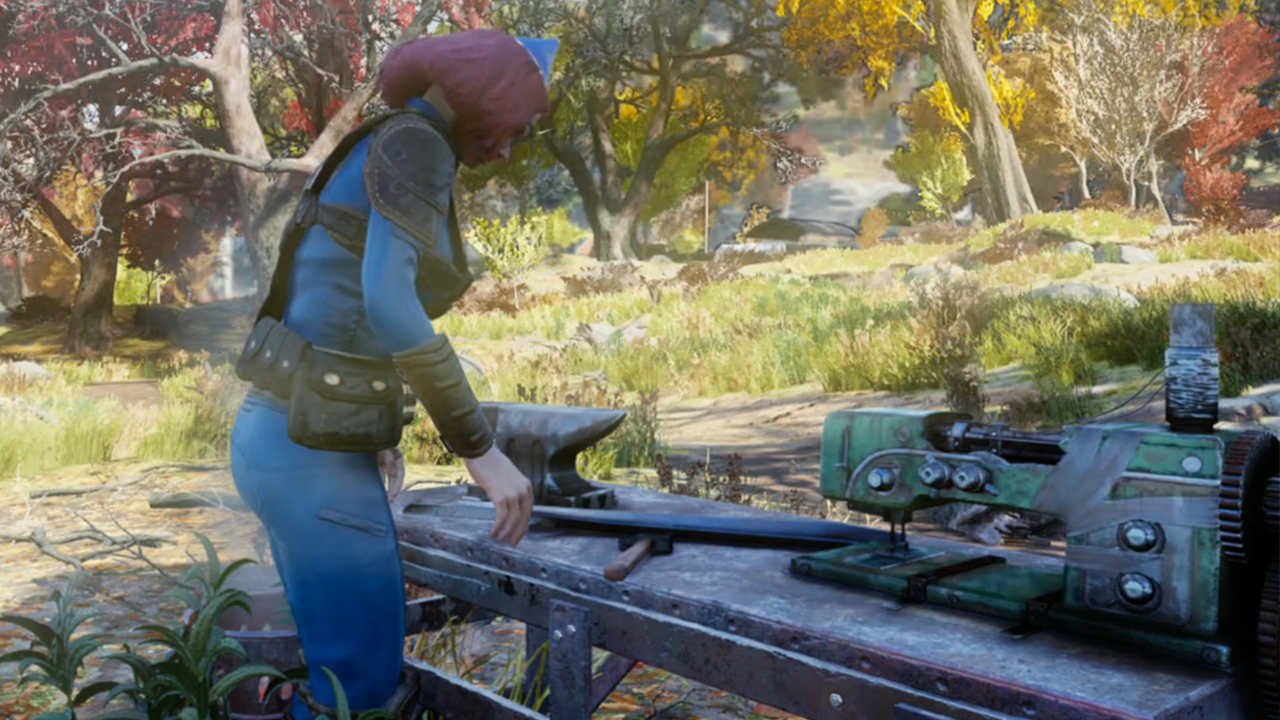
As your base of operations, your C.A.M.P. is your crafting hub. As long as you’ve put down some foundations, you can build anything on top of it, but to start off with prioritise crafting stations. The five basic things you should build first are:
- Armor workbench (6 Aluminum, 4 Gear, 3 Screw, 3 Spring, 3 Wood)
- Weapons workbench (6 Aluminum, 3 Gear, 3 Screw, 3 Rubber, 4 Wood)
- Sleeping Bag (4 Cloth)
- Turret (1 Circuitry, 2 Gear, 2 Oil)
- Cooking station (2 Wood, 2 Steel)
To craft some of the more advanced bits of furniture and equipment (like a Tinkerer’s Bench or Hospital Bed) you’ll have to find their Plans in your travels across Appalachia, which unlock the options to craft them. You can tell which objects require Plans by the red padlock over their image in the menu, and if you just see a red circle with a line through it on the image it means you don’t have enough resources to build the object of your heart’s desire.
2. Use the Overseers C.A.M.P. at first
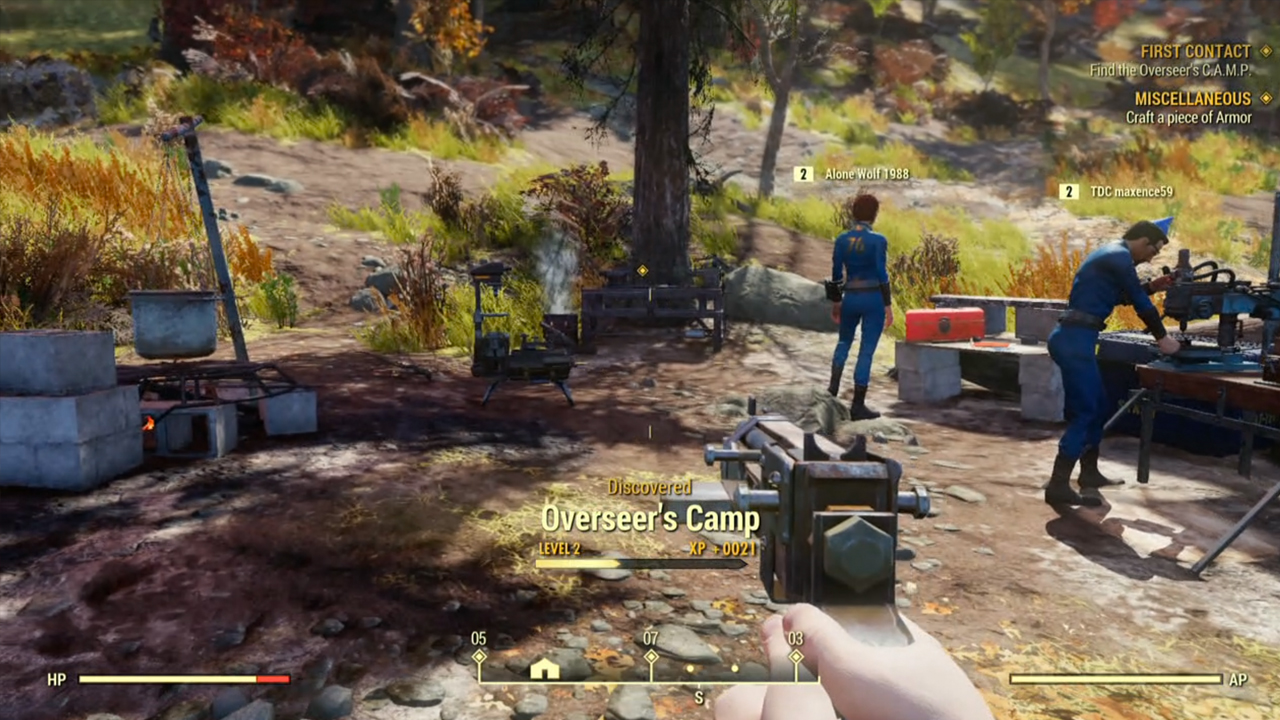
Like we mention in our Fallout 76 tips, when you first start off in Fallout 76 don’t expect to be able to build a C.A.M.P. straight away. It’ll take time to gather up enough resources for your first C.A.M.P., so initially instead depend on the Overseer’s C.A.M.P. which you’ll find in the very early stages of your first main quest. It’s already built, and it comes with a weapons workbench, an armor workbench, a cooking station, and a Stash. When you start to voyage out of the starting area later on in your game you’ll want to start thinking about building (and Blueprinting) your own C.A.M.P. as it’ll become harder to find workbenches and cooking stations, but until then the Overseer’s one will do nicely.
3. If you want to build a huge base, collect EVERYTHING
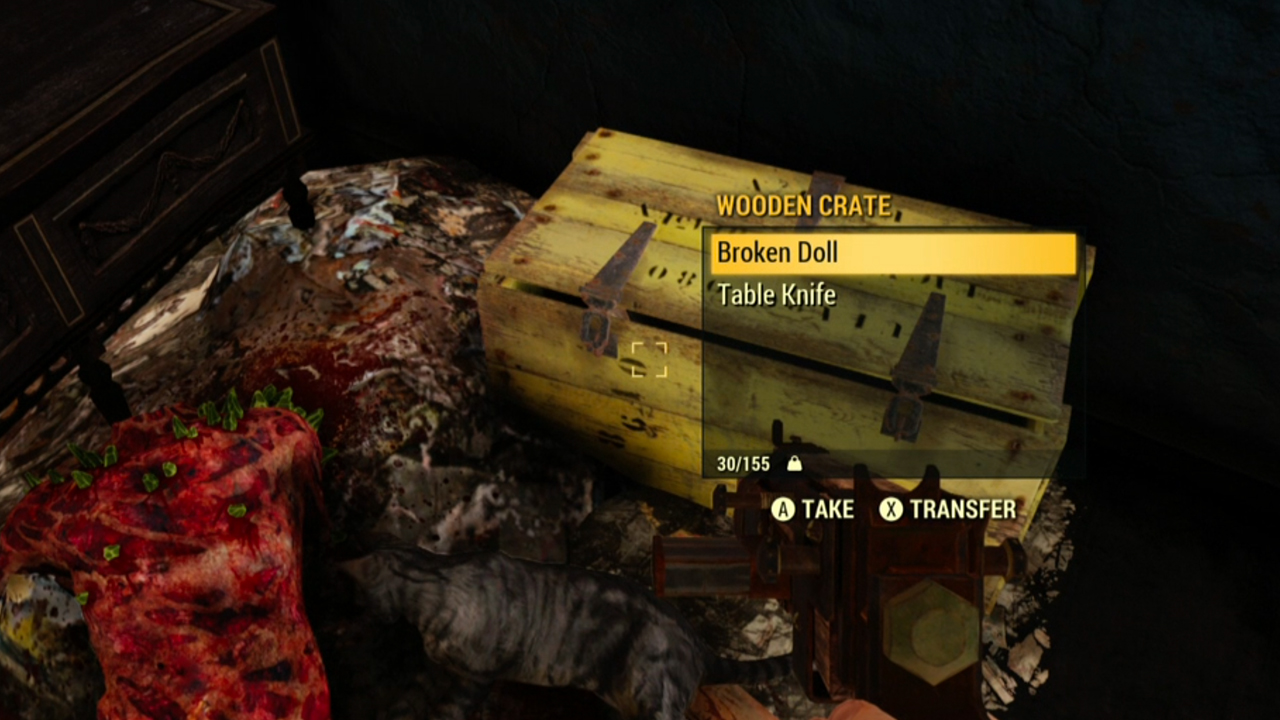
Seriously: everything. The amount of resources you have is determined by your Junk, so you should loot everything in sight even if at first glance it just looks like...well, junk. You can always store it in your Stash if it starts to weigh you down too much, but a good rule of thumb is to never get rid of any Junk before looking at how much your next structure will cost to build. There’s nothing more annoying than dropping a ton of Gold Plated Flip Lighters and Toy Trucks then realising that their materials were essential to finally being able to build that Armor Workbench you’ve always wanted.
4. Scrap all junk you pick up
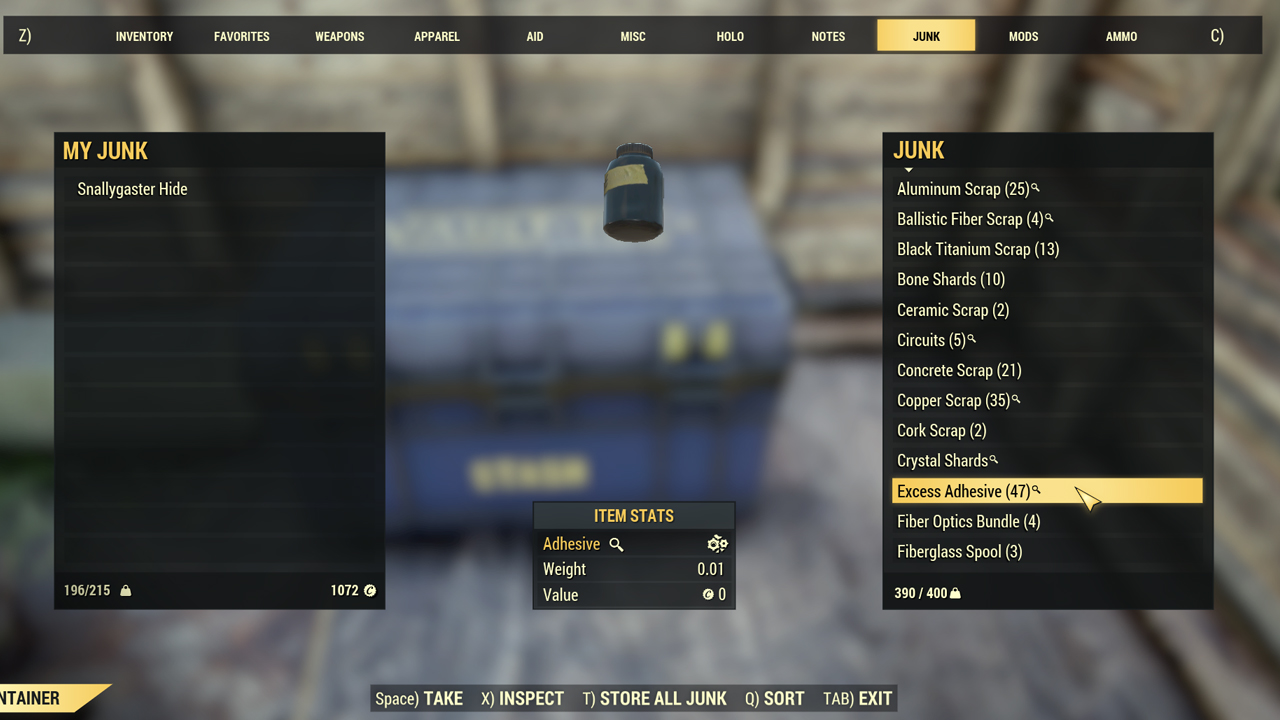
One way to ensure your junk isn’t taking up more weight than is necessary is to scrap it. You can do this at any workbench; simply interact with it and you’ll be able to scrap all of the junk you’re carrying. This will condense it into its raw parts like Excess Adhesive, Steel Scraps, Waste Acid, etc. This way, it will take up less space in your stash and it’s also much easier to sort through when it’s broken down.
5. How to make your items weigh less
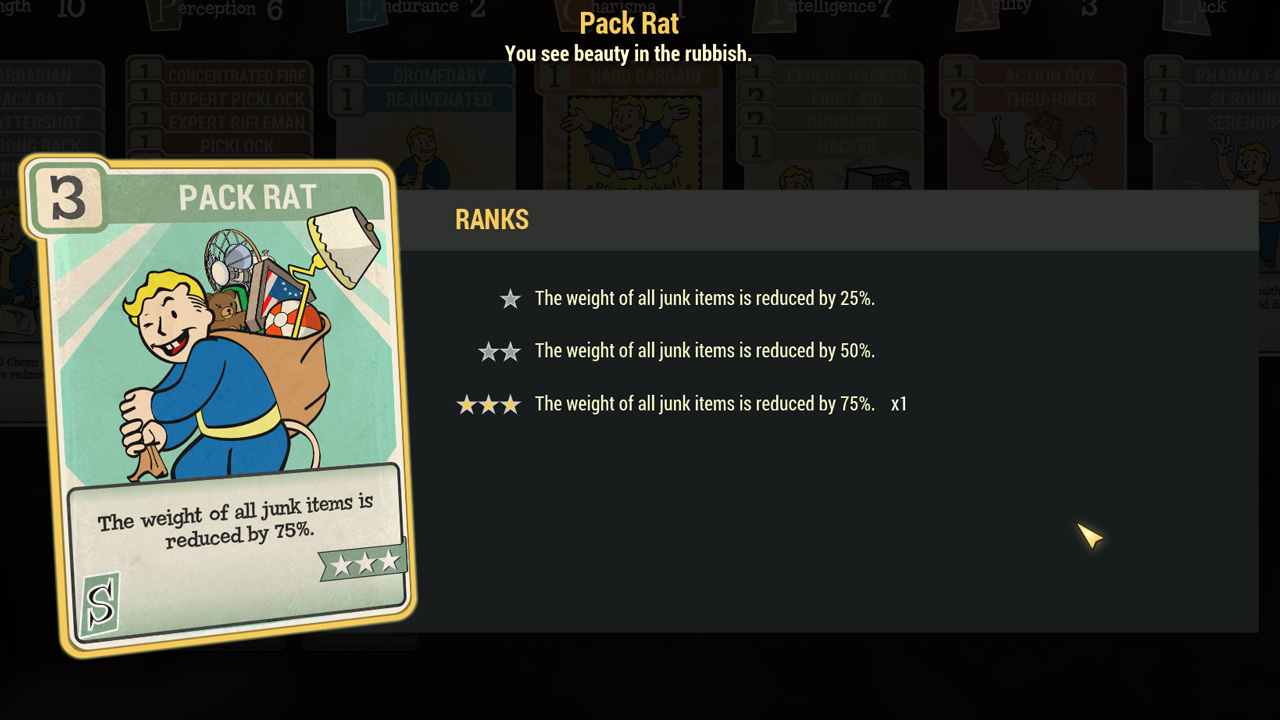
Another way to carry far more than you’d usually be able to is to equip the right perk cards. Under the Strength category, as you level up, you’ll gain access to perks like Pack Rat, Travelling Pharmacy, Scattershot and more. These all make certain items like junk and first aid weigh less. Stack these as you level up by investing in your Strength stat and before long, you’ll be able to carry far more. There’s also Strong Back, which gives you a solid +10 to carry weight for so much more junk.
6. Regularly dump Junk in your Stash
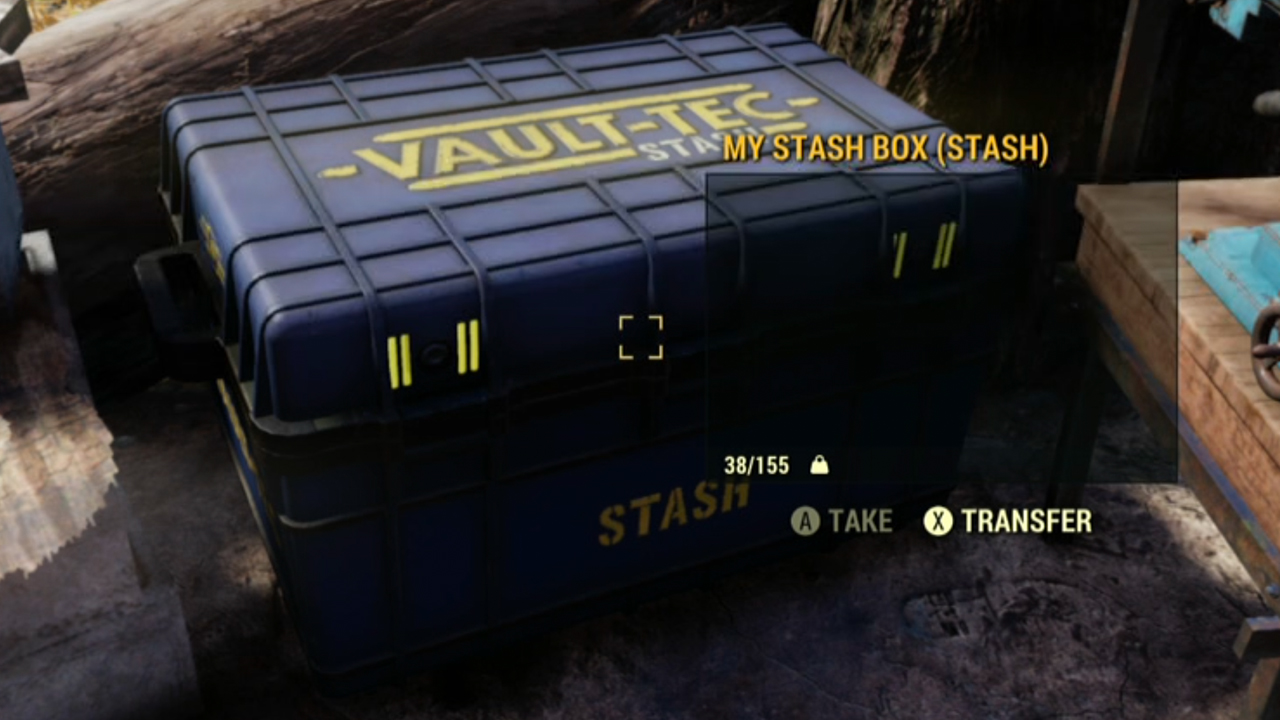
For budding builders, your Stash is one of the most useful things when it comes to the Fallout 76 CAMP tips to bear in mind. Across the world of Fallout 76 are Stashes, which are chests that store whatever you put in them. You can then access that same stuff from any other Stash on the map. Anyone who’s frantically collecting Junk to prepare for building a C.A.M.P. should treat the Stash like a save button: locate one in a Red Rocket Station or Train Station, comb the surrounding area for as much Junk as you can find, then return to the Stash and dump all of it inside. Then when you plant down your C.A.M.P. you can take everything from your Stash into your inventory - it doesn’t matter if it makes you overencumbered as you’ll just be standing in one place - then build to your heart’s content.
7. Keep an eye on your Stash limit

While you’re going to want to loot everything and anything at first, be wary of your Stash limit. It currently has a limit of 400lbs and that will fill up scarily quickly once you’ve been on a few journeys to different locations. Bethesda has confirmed that they’ll be increasing the Stash limit in the future, but until then you’ll need to spend some time managing your inventory.
8. Build a CAMP by finding an area that’s not overlapping with another build area
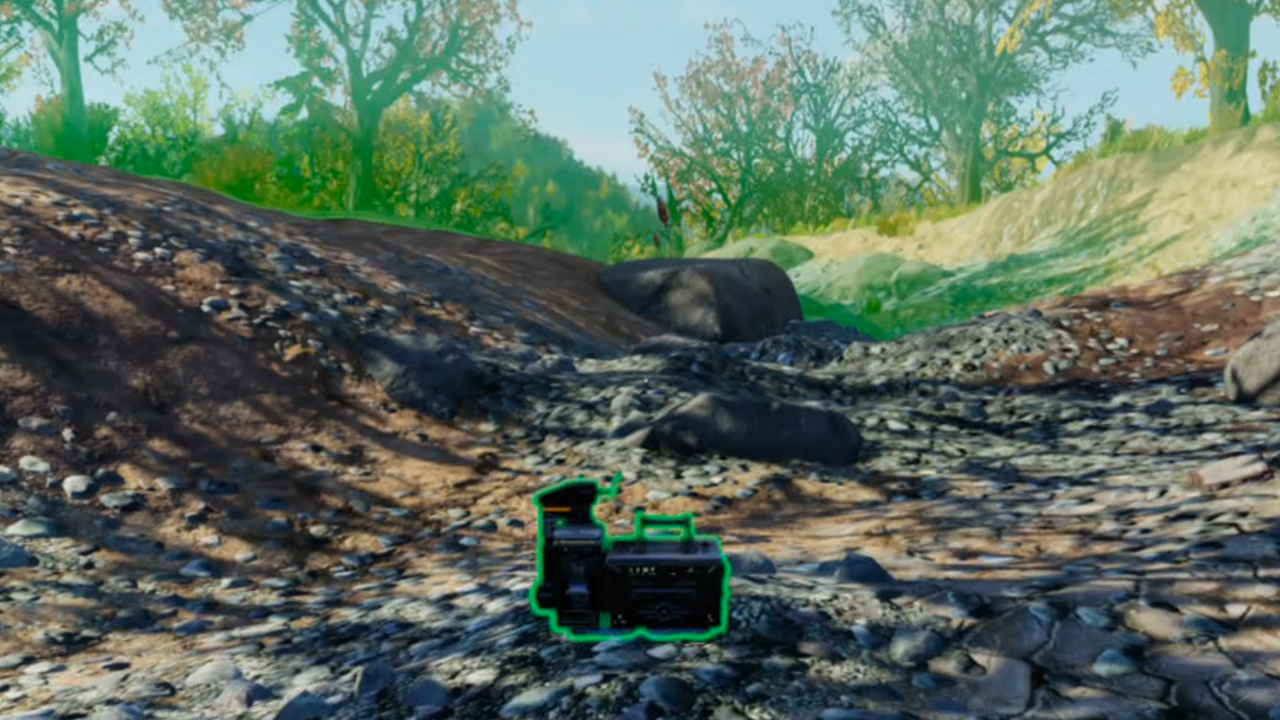
When you first bring out your C.A.M.P., around you you’ll notice a large green sphere - this marks the boundaries of your C.A.M.P., and it can’t overlap with any other nearby build areas. Your C.A.M.P. will turn green when it’s in a viable location, so if it starts off as red just keep walking until it turns the right colour.
9. Don’t worry about walls at first
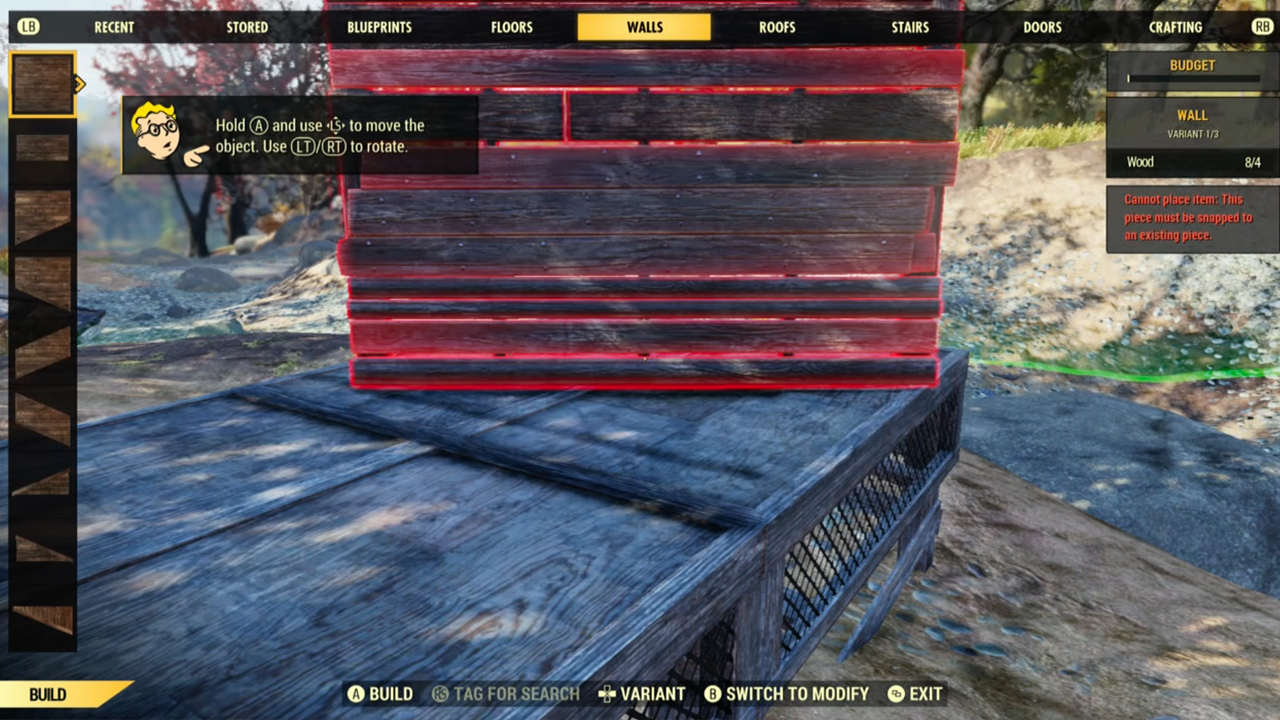
At first do not waste your precious Wood on walls. I know it sounds stupid, but there’s no use in having a neat shack with a perfect roof if you don’t have the resources to build any machines inside. Wood is initially hard to come by in the first couple of hours as you can’t loot that much of it from Junk and instead have to comb the wilderness for fallen trees, so when you find some make sure to prioritise building a weapons workbench, armor workbench, cooking station, turret, and bed over structures. Later on when you’re rolling in enough wood to build a very flammable town, feel free to construct a proper base, but to start off with you’re best off thinking of your C.A.M.P. as a quick-access crafting workshop rather than a permanent location.
10. Get a bed to restore HP and earn the Rested bonus
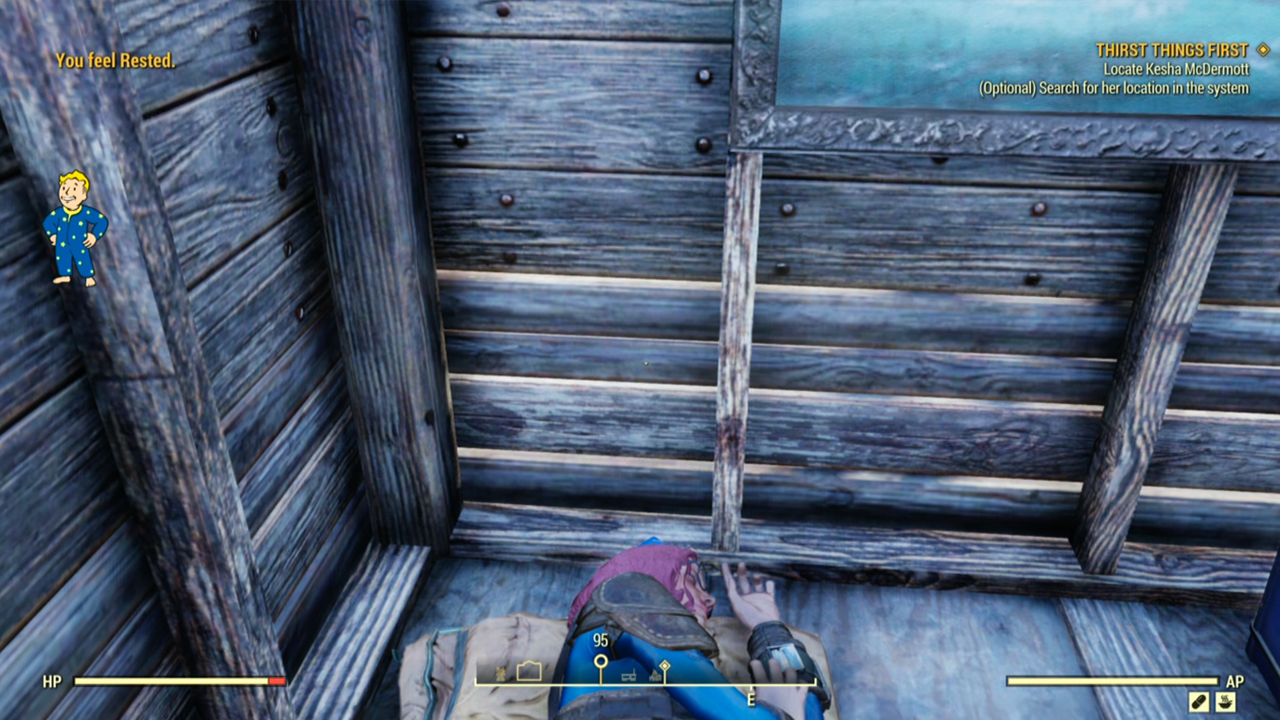
If there’s one thing you take away from these Fallout 76 CAMP tips, it should be that beds are much more useful than they are in the single player games. Lying down on one quickly regenerates your HP, and if you stay in it long enough you get a Rested bonus, meaning beds are really handy after a tricky fight when your HP is low. A sleeping bag only needs four Cloth to craft, so its cheapness makes it perfect for quickly placing down after a tussle. As sleeping bags automatically go on the floor there’s a chance for you to contract a Disease, but it’s worth it to restore those HP points in a hurry.
11. Turrets are a Survivor’s best friend
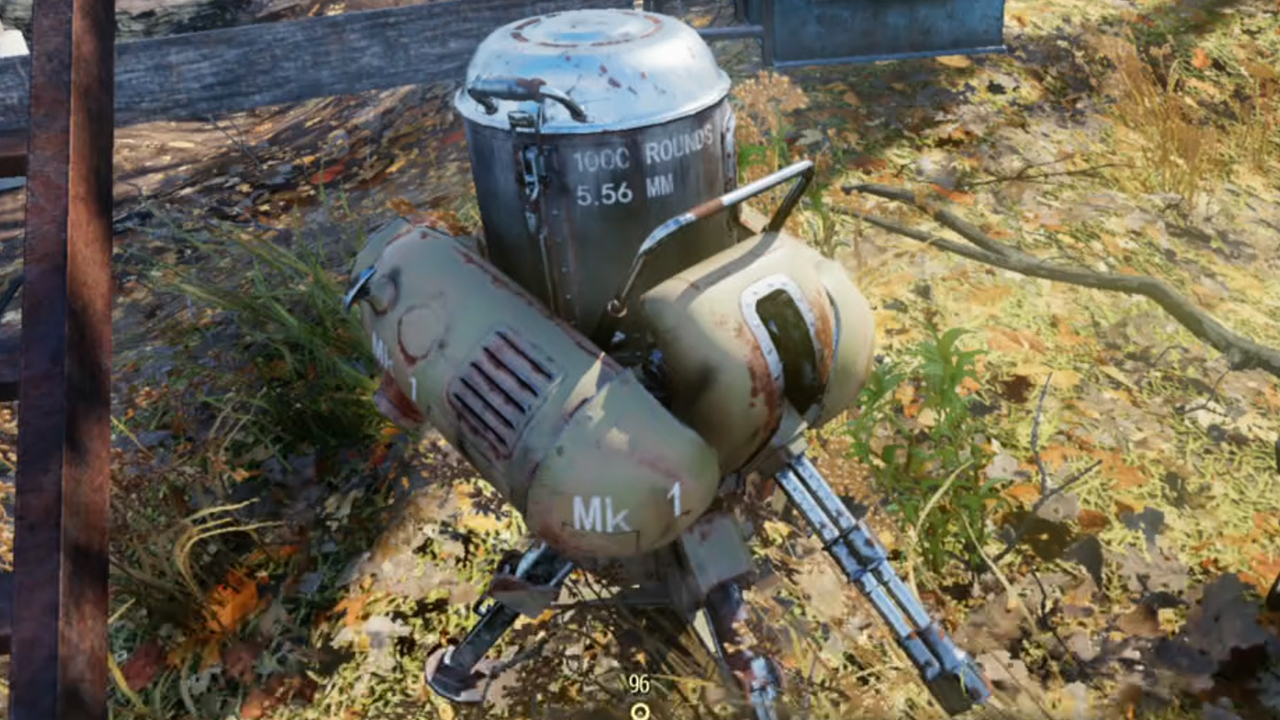
A turret only costs one Circuitry, two Gear, two Oil, and four Steel resources to craft, so if you’re planning for your C.A.M.P. to be a quick health regeneration station you’re going to want one of these bad boys nearby to keep you safe while you’re napping. In fact, some of resources you need to craft a turret could probably be found in a couple of Oil Canisters or a Desk Fan, so they’re not as expensive to craft as you’d think.
12. Keep an eye on your Budget
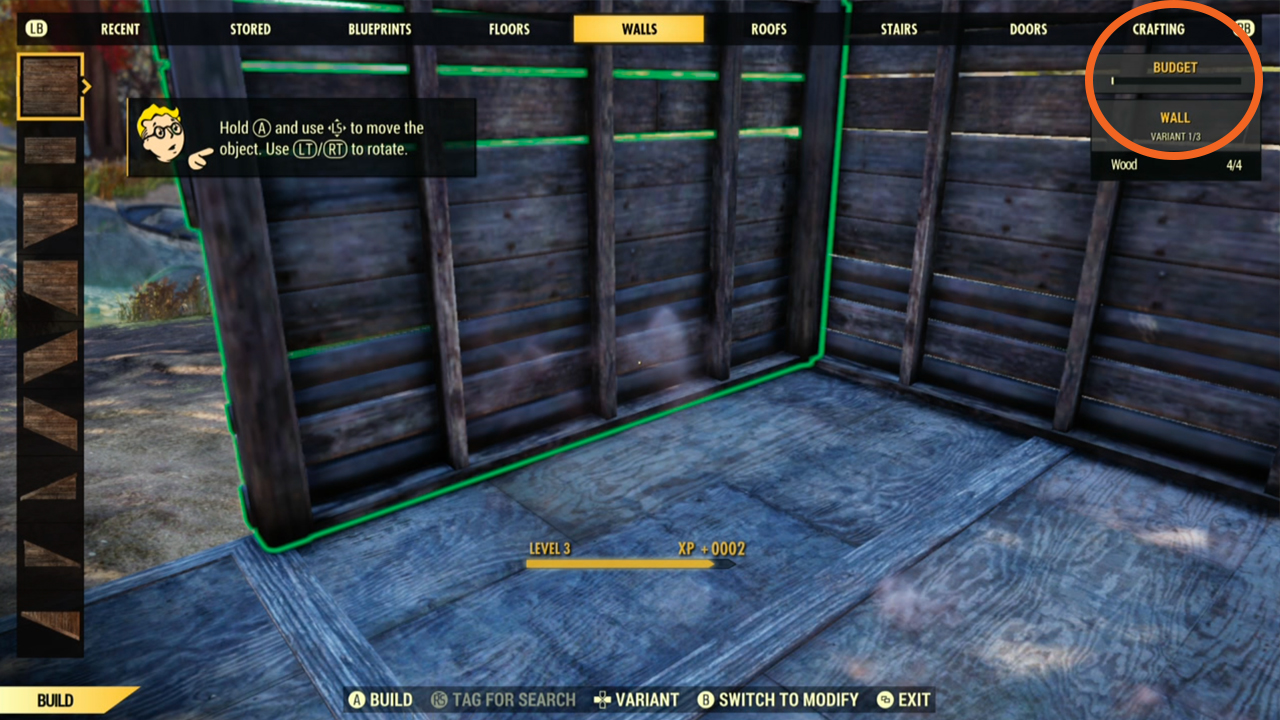
In the top right hand corner of your build screen you’ll see a bar titled ‘Budget’. This keeps track of how much you’ve built in your C.A.M.P., as there’s only a certain amount that you can create in your designated area. It will slowly fill up as you assemble more structures, so make sure to keep an eye on it as you expand your C.A.M.P. because it’s basically there to initially keep your ambitions realistic. Which means you can’t build the same kind of massive impenetrable fortresses that rank among the best Fallout 4 settlements. Boo.
13. You don’t have to rebuild you C.A.M.P. if you move it around
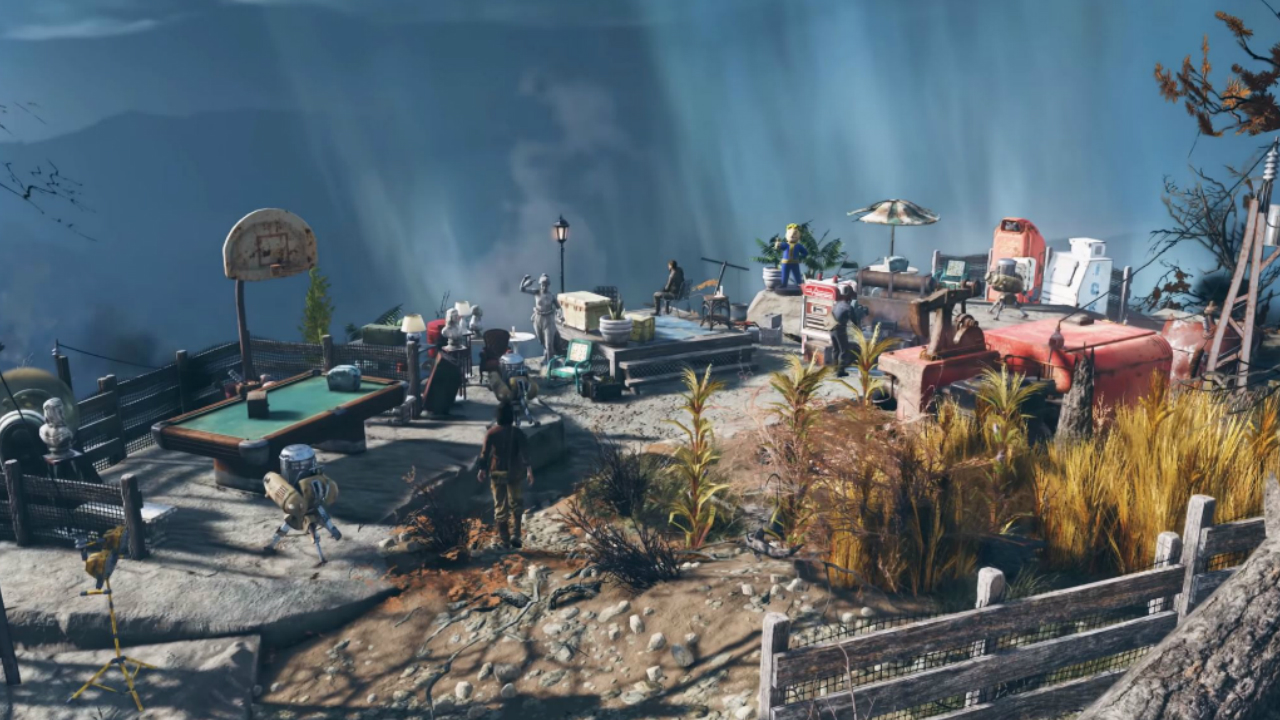
Thankfully when you decide to move your CAMP around you don’t have to wave goodbye to your beautifully-planned bunker. In your building menu simply go into the Blueprint section, then select all the structures you want to save to a blueprint. Thanks to that blueprint your CAMP will remember exactly where they are, which means that when you put down your CAMP somewhere new you won't lose any of your progress. So if you discover a new location that’s way closer to a ton of glorious Junk or just fancy moving to a remote part of the map where no-one can find you, you can pack up and go in the blink of an eye. Hallelujah. When you get to your desired destination just go back into the blueprint section of your build menu, select the blueprint you've made, then pick where you want your CAMP to be. As long as the ground is flat-ish, isn't overlapping with any other build areas, and you have some resources to spend on rebuilding your CAMP, you're good to go.
14. Build on The Whitespring Resort for a free defence system
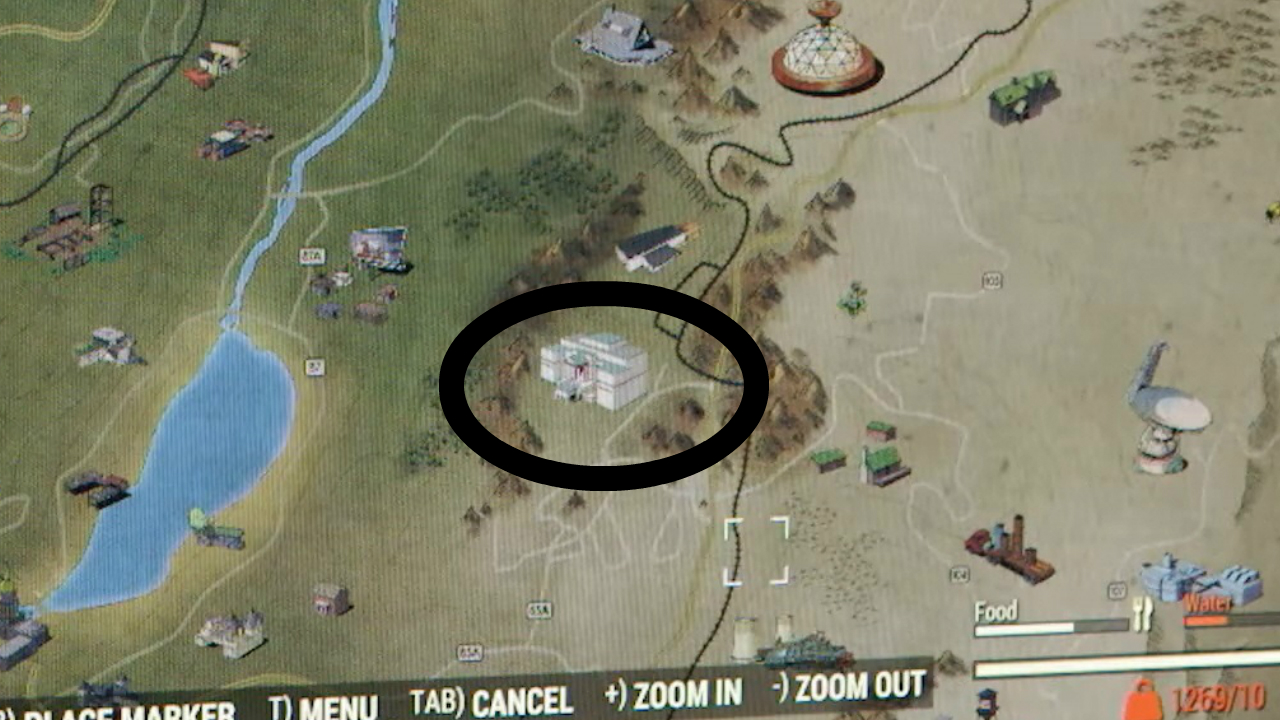
Ok, so this is possibly one of the best Fallout 76 CAMP tips out there. Redditor arczclan twigged that if you make it to The Whitespring Resort in the centre-east of the map, the large whie building to the right of a huge lake, you'll be able to build on its golfing green. The entire Whitespring Resort is protected by a herd of Protectrons and Sentry Bots, which means they'll be the ones taking out super mutants and Deathclaws before they get to your CAMP. You basically get a free state-of-the-art security system just by bunkering down on the golf course, which is a pretty sweet deal indeed. Plus the resort also has tuxedo-wearing robots. Which is something everyone needs to see at least once in their life.
15. Build at Vipers Nest if you want to be near high-level enemies
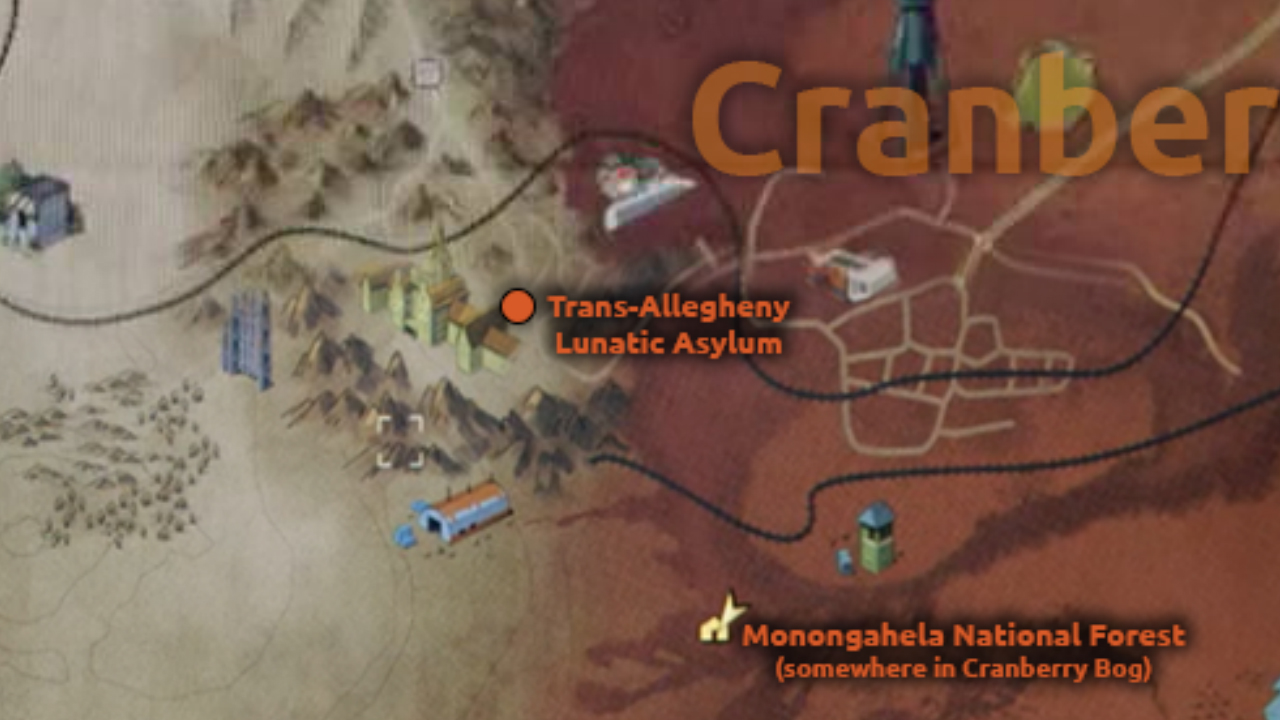
In Cranberry Bog you'll find Fort Defiance (otherwise known as Trans-Allegheny Lunatic Asylum on the map above). Just like Whitespring Resort, there's a location north of Fort Defiance called Viper's Nest, a Brotherhood of Steel bunker that comes with a decent defence system that you won't have to build yourself but can definitely take advantage of. Spotted by Redditor InsertCapHere, building your camp near Viper's Nest means you'll be close to high-level enemies like Deathclaws and Scorchbeasts, which allows you to scavenge valuable resources and then flee back your CAMP when those beasts start to catch your scent. If you're lucky, the turrets at Viper's Nest will even help you in eliminating those creatures, meaning you can then get all their loot for half the effort.
16. Use perks to help build more things
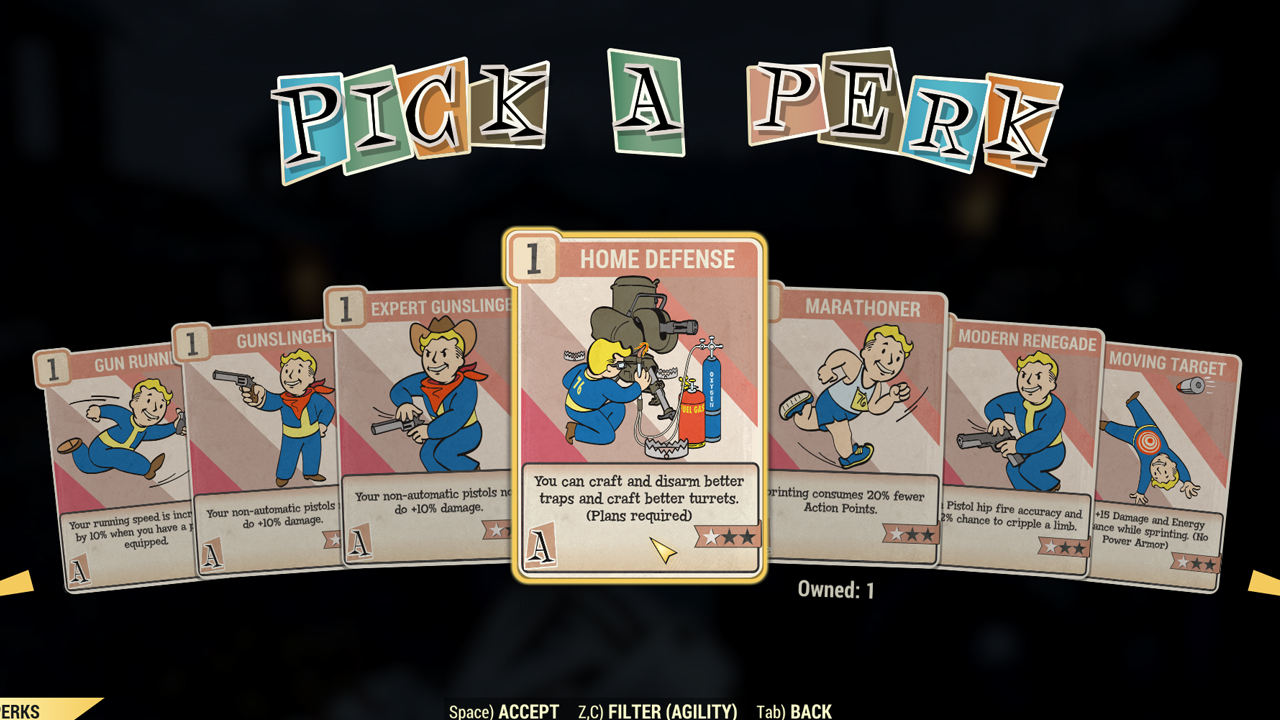
While you can’t build much in the game until you find the right plan out in the Appalachian wilderness, you’ll also need to grab some specific perks to be able to build everything. At the start, you can only construct level one turrets, for example. These are pretty weak and you’re going to want to upgrade them as soon as possible, but for that, you need to make sure you grab the Home Defense perk in the Agility category. It can stack up to three times, at which point you can protect your CAMP with laser and missile turrets. Another useful perk is Contractor, which means everything you build costs 25% less - although that may mean you find yourself with a full Stash more often!
17. Fast travel back to your CAMP before you go anywhere else
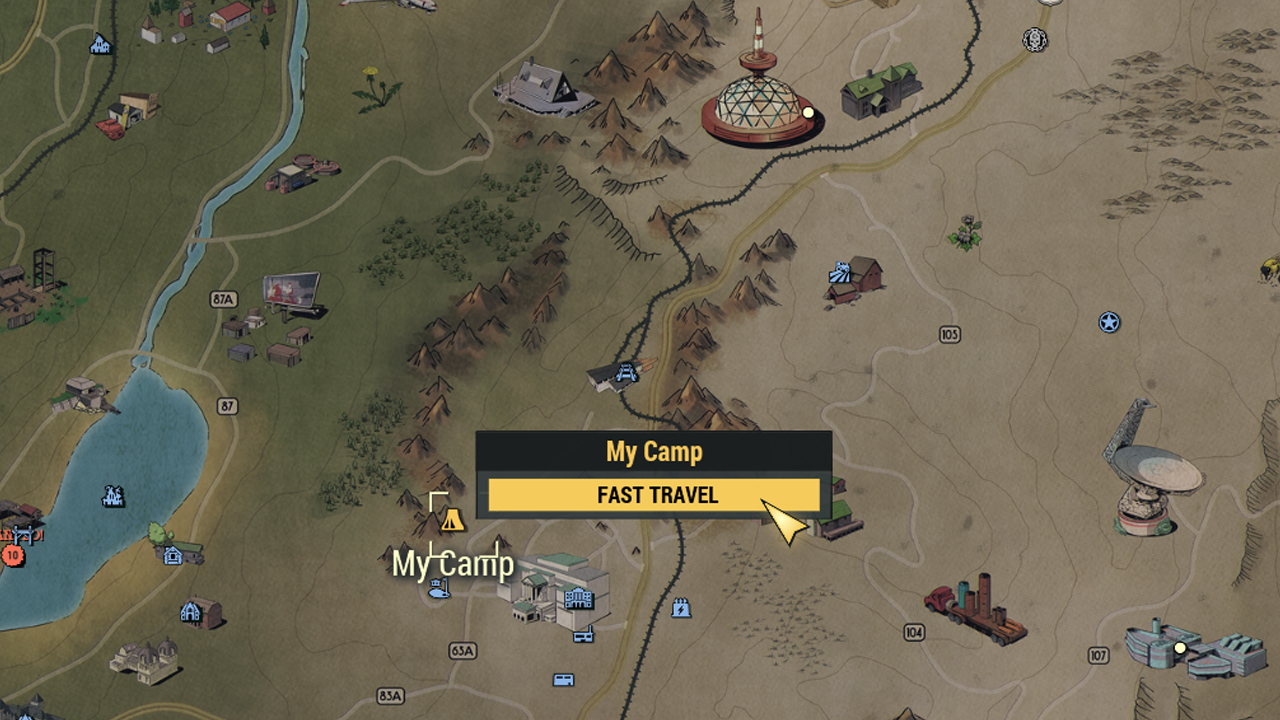
If your CAMP is toward the centre of Appalachia, like the Whitesprings Golf Club, make sure you’re always fast travelling to your CAMP first, then on to wherever it is you want to go. This means that you can offload all of your junk and more importantly, it’s completely free to travel to your CAMP. If you’re over in The Mire and you want to go back to The Forest or Ash Heap regions of Appalachia, travelling to your CAMP first - as long as it’s closer to your destination - will reduce the cost. You’ll have to sit through an extra loading screen though.
Fallout 76 power armor | Fallout 76 patch notes | Fallout 76 vending machines | Fallout 76 mutations | Fallout 76 mothman | Can you play Fallout 76 single player | Fallout 76 perk cards | How to build the best Fallout 76 CAMP | Fallout 76 map | How to get Two Shot Explosive guns in Fallout 76
Sign up to the GamesRadar+ Newsletter
Weekly digests, tales from the communities you love, and more
While here at GamesRadar, Zoe was a features writer and video presenter for us. She's since flown the coop and gone on to work at Eurogamer where she's a video producer, and also runs her own Twitch and YouTube channels. She specialises in huge open-world games, true crime, and lore deep-dives.

