Stellar Blade Recruit Passcode Specialists mission walkthrough and all code locations
Where to find the code to unlock the container for the Passcode Specialists in Stellar Blade
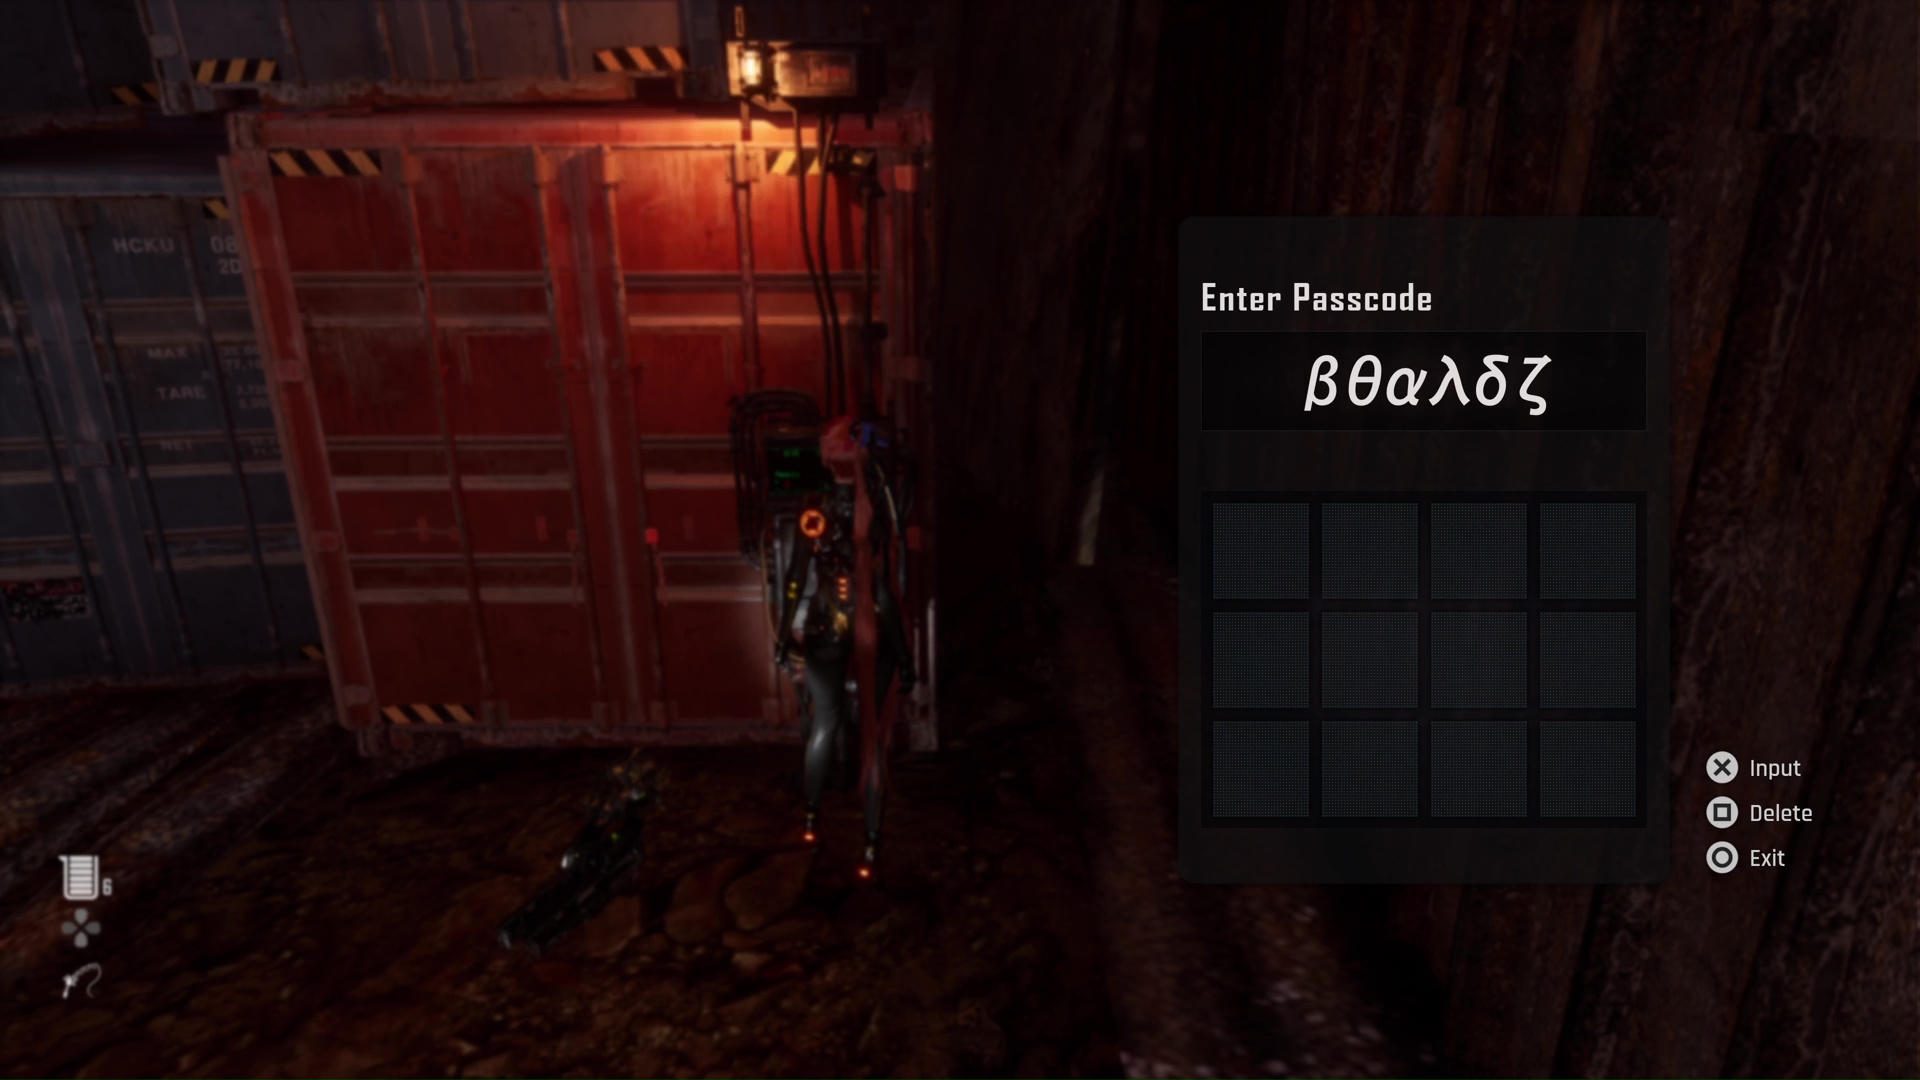
- Recruit Passcode Specialists container code
- Passcode 1 - Matrix 11 / Rail Yard
- Passcode 2 - Great Desert / Northeast abandoned building
- Passcode 3 - Great Desert / South of Buried Ruins
- Passcode 4 - Great Desert / Hypertube
- Passcode 5 - Wasteland / Western Great Canyon
- Passcode 6 - Wasteland / Altess Levoire Entrance
- Rewards and special outfit
The Stellar Blade Recruit Passcode Specialists request is a mission picked up from the Bulletin Board in Xion, which leads you to a locked freight container in the Wasteland that requires a passcode to open. Like the Stellar Blade red code chest you encounter early on, the game won't let you attempt to enter the code until Eve canonically knows it (and to stop you just bypassing the quest by reading walkthroughs like this one).
The Recruit Passcode Specialists mission is actually a huge one that has you find secret sections of the code throughout the game's various maps. You'll need to have unlocked the Wasteland, The Great Desert and Matrix 11 to get them all, with the code split into six pieces and scattered about for you to find at old shrines. If you're ready to go hunting, here's our walkthrough on how to find all the code locations and complete the Recruit Passcode Specialists mission in Stellar Blade.
What is the Recruit Passcode Specialists container code in Stellar Blade?

The code to the container in the Recruit Passcode Specialists request of Stellar Blade is the following:
- B0aYdZ / βθαλδζ
Like in our Stellar Blade passcodes guide, we've got both the actual code in Greek and an Anglicised version for readability, but I'll reiterate what I said above: you can't enter this code until you've found all the documents in-game that tell you what it is. Basically, the game won't let you even try and input the result until Eve canonically knows it from having discovered the six "Prayer" documents hidden around the game, each one of which has a single piece of the code - and we'll cover those locations and where to find them now.
Keep in mind that you can find these codes before the mission starts, though obviously you might not have known what they are. If you have, you don't need to go and get them again - check the documents tab of your menu and look for "Prayers", to see if you've picked any up, and you can strike them from your to-do list.
All Recruit Passcode Specialist code and Prayer document locations
There are six documents to find for the Recruit Passcode Specialist mission (also known as "Prayers"), found in little shrines around the whole Stellar Blade map. We'll detail where to find them all below, in order to which they contribute to the passcode (it doesn't matter which order you actually find them.
Passcode document 1 location - Matrix 11 / Rail Yard
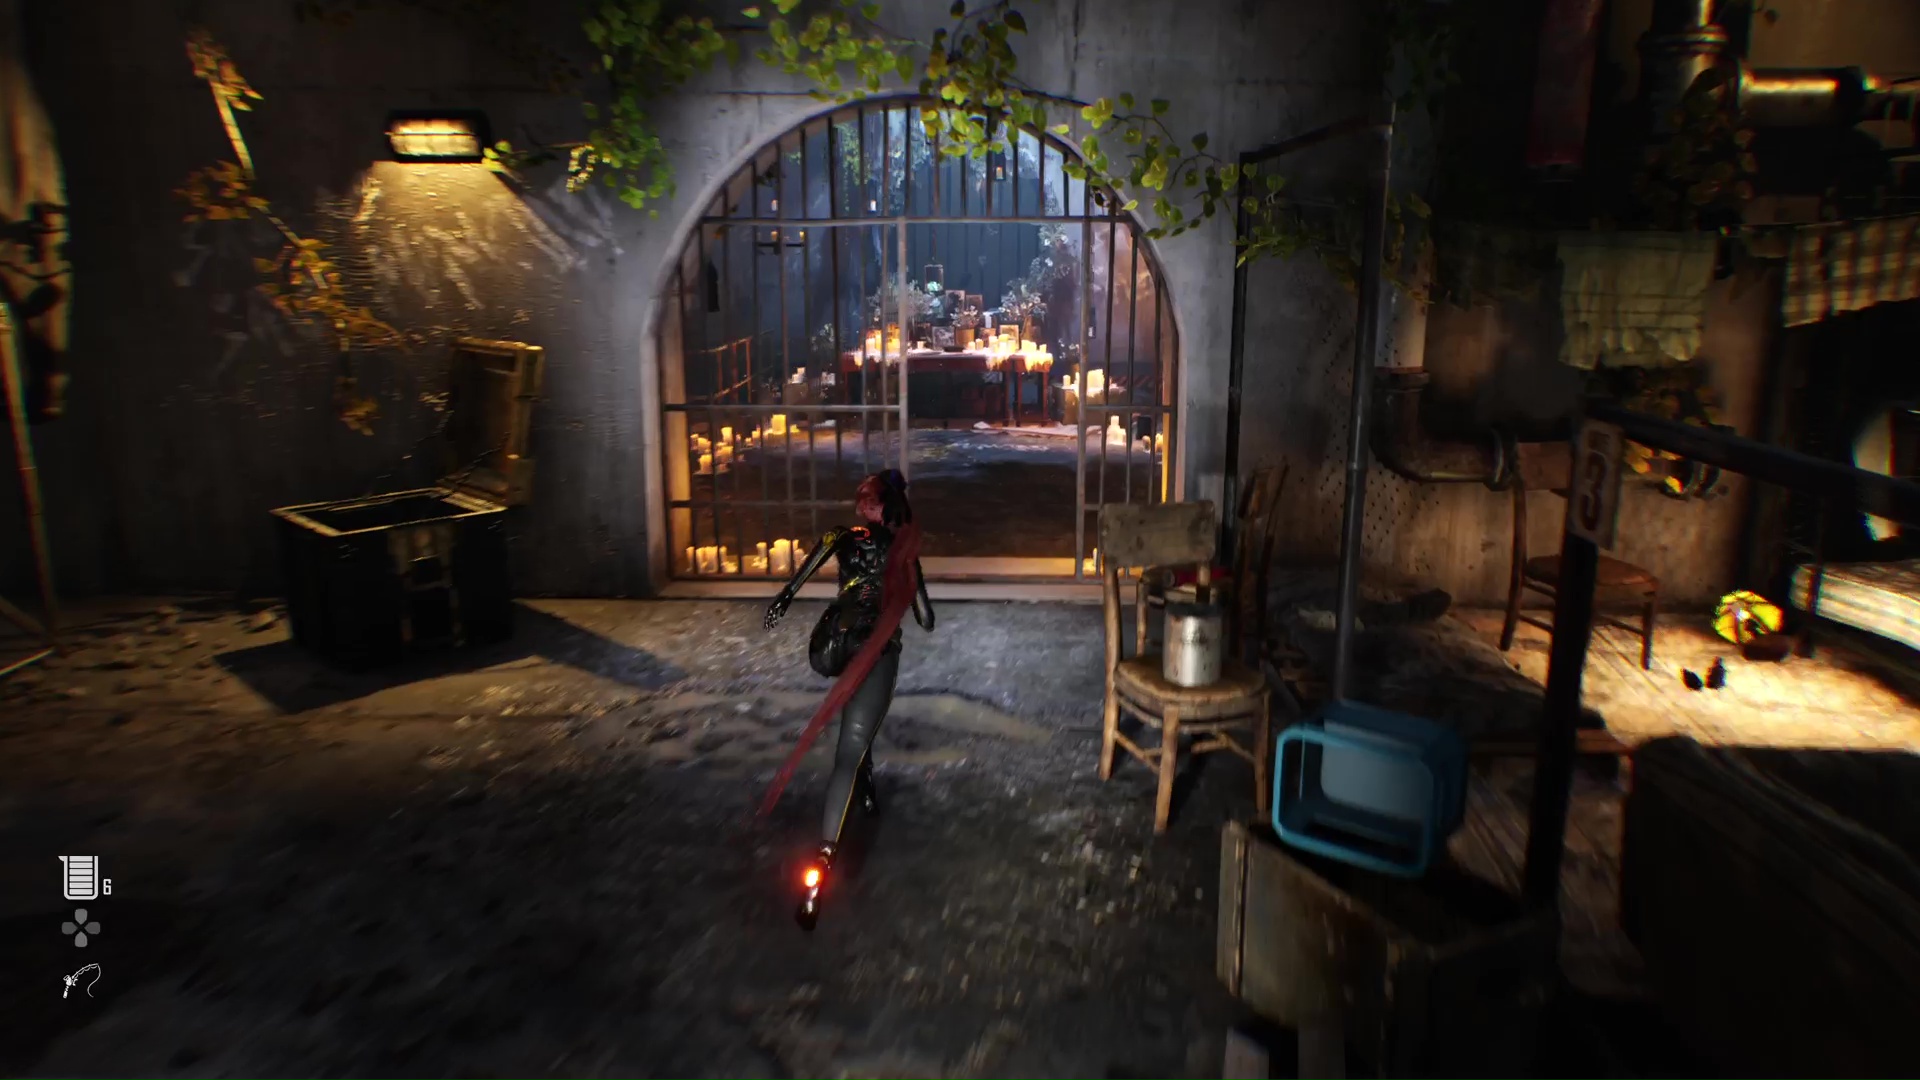
Head to Matrix 11 and fast travel to the Rail Yard supply camp. Then head down the steps and progress through the mostly linear map until you swim through the flooded tunnel and come across the little abandoned underground hideout with the neon signs, just past the regular camp.
When you hit the orange neon sign that says "Liquor", half obscured by a moose head, turn left and head to the very end of the room ahead. Up through an open metal gate is a shrine, where you can find the first document: Chapter of Trial 1-β.
Passcode document 2 location - Great Desert / Northeast abandoned building
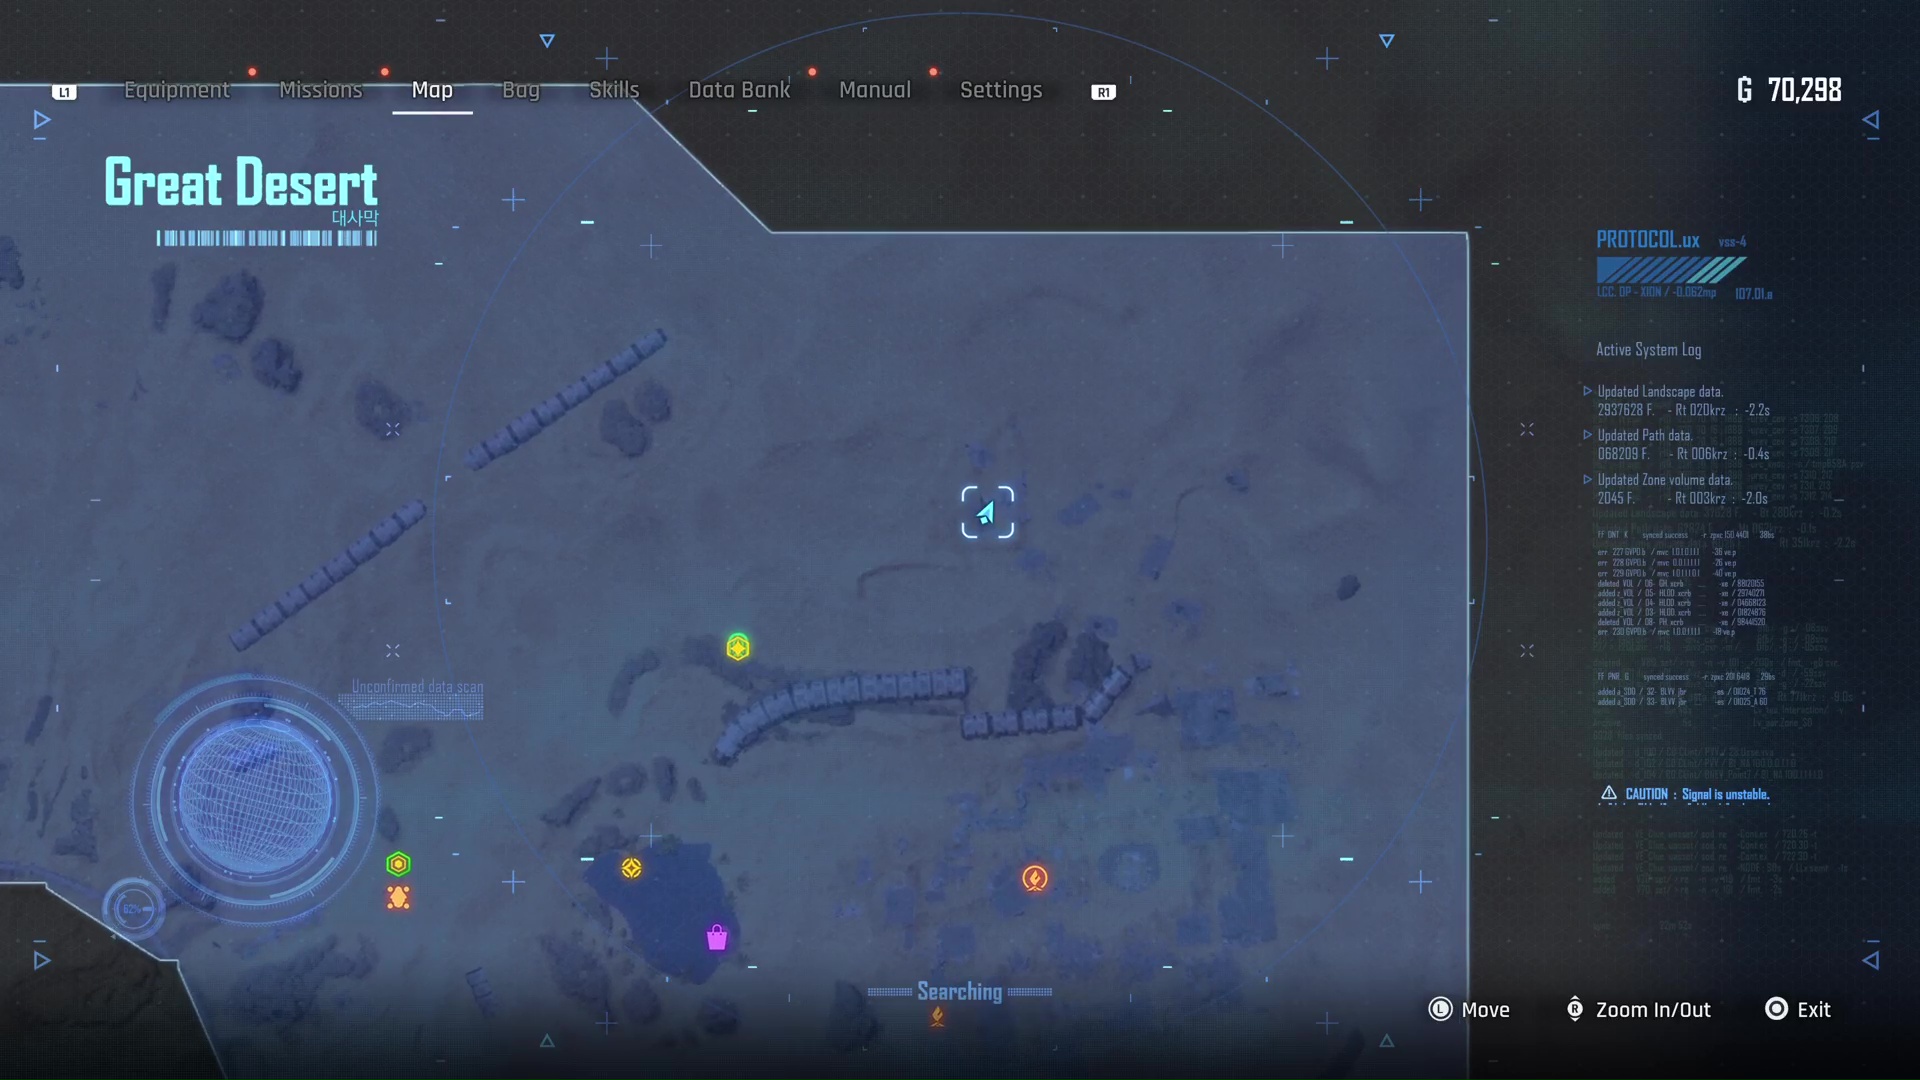
Head back to the Tetrapod and fast travel to the Great Desert. Here you need to go to the nondescript ruins at the top-right of the map, where you'll find several square structures.
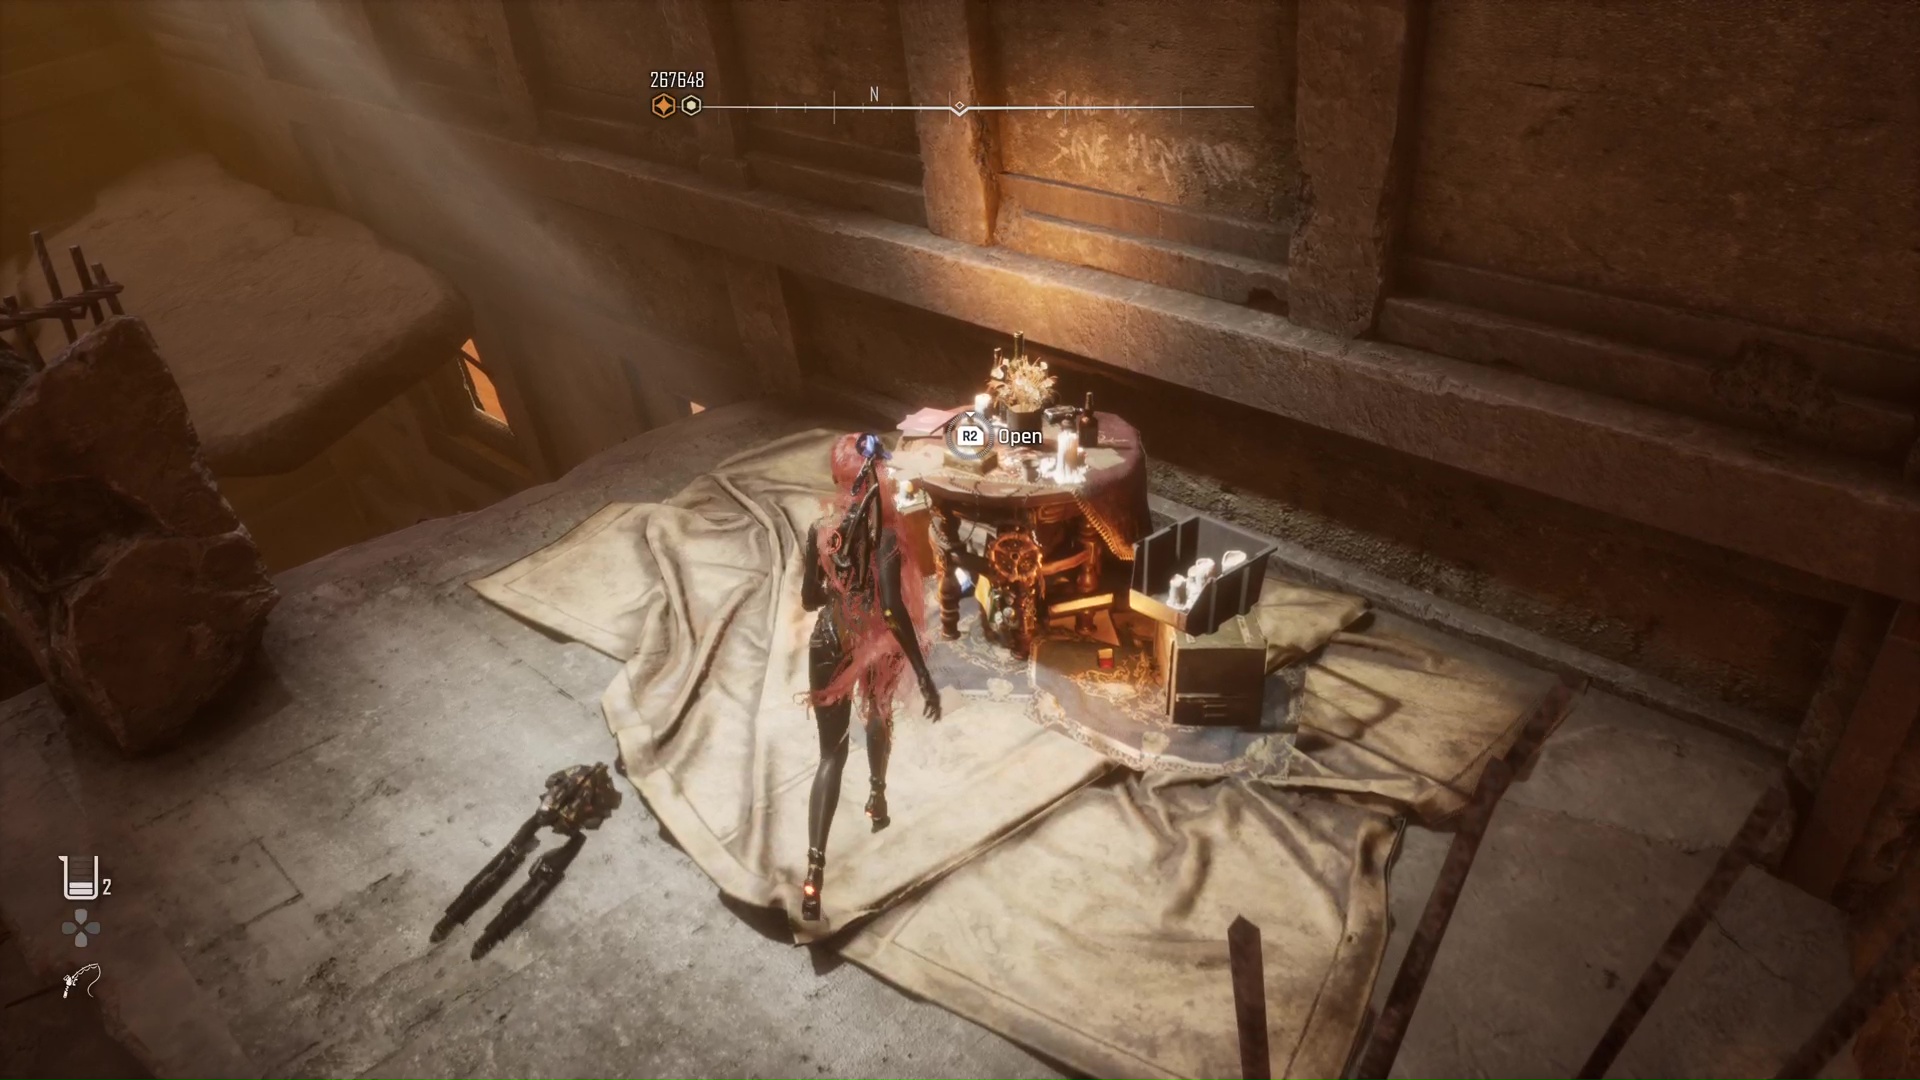
At the map location shown above is one where a little sunlight-illuminated ledge at what was the second floor holds a smaller shrine with the second Prayer document: Chapter of Trial 2-θ.
Passcode document 3 location - Great Desert / South of Buried Ruins
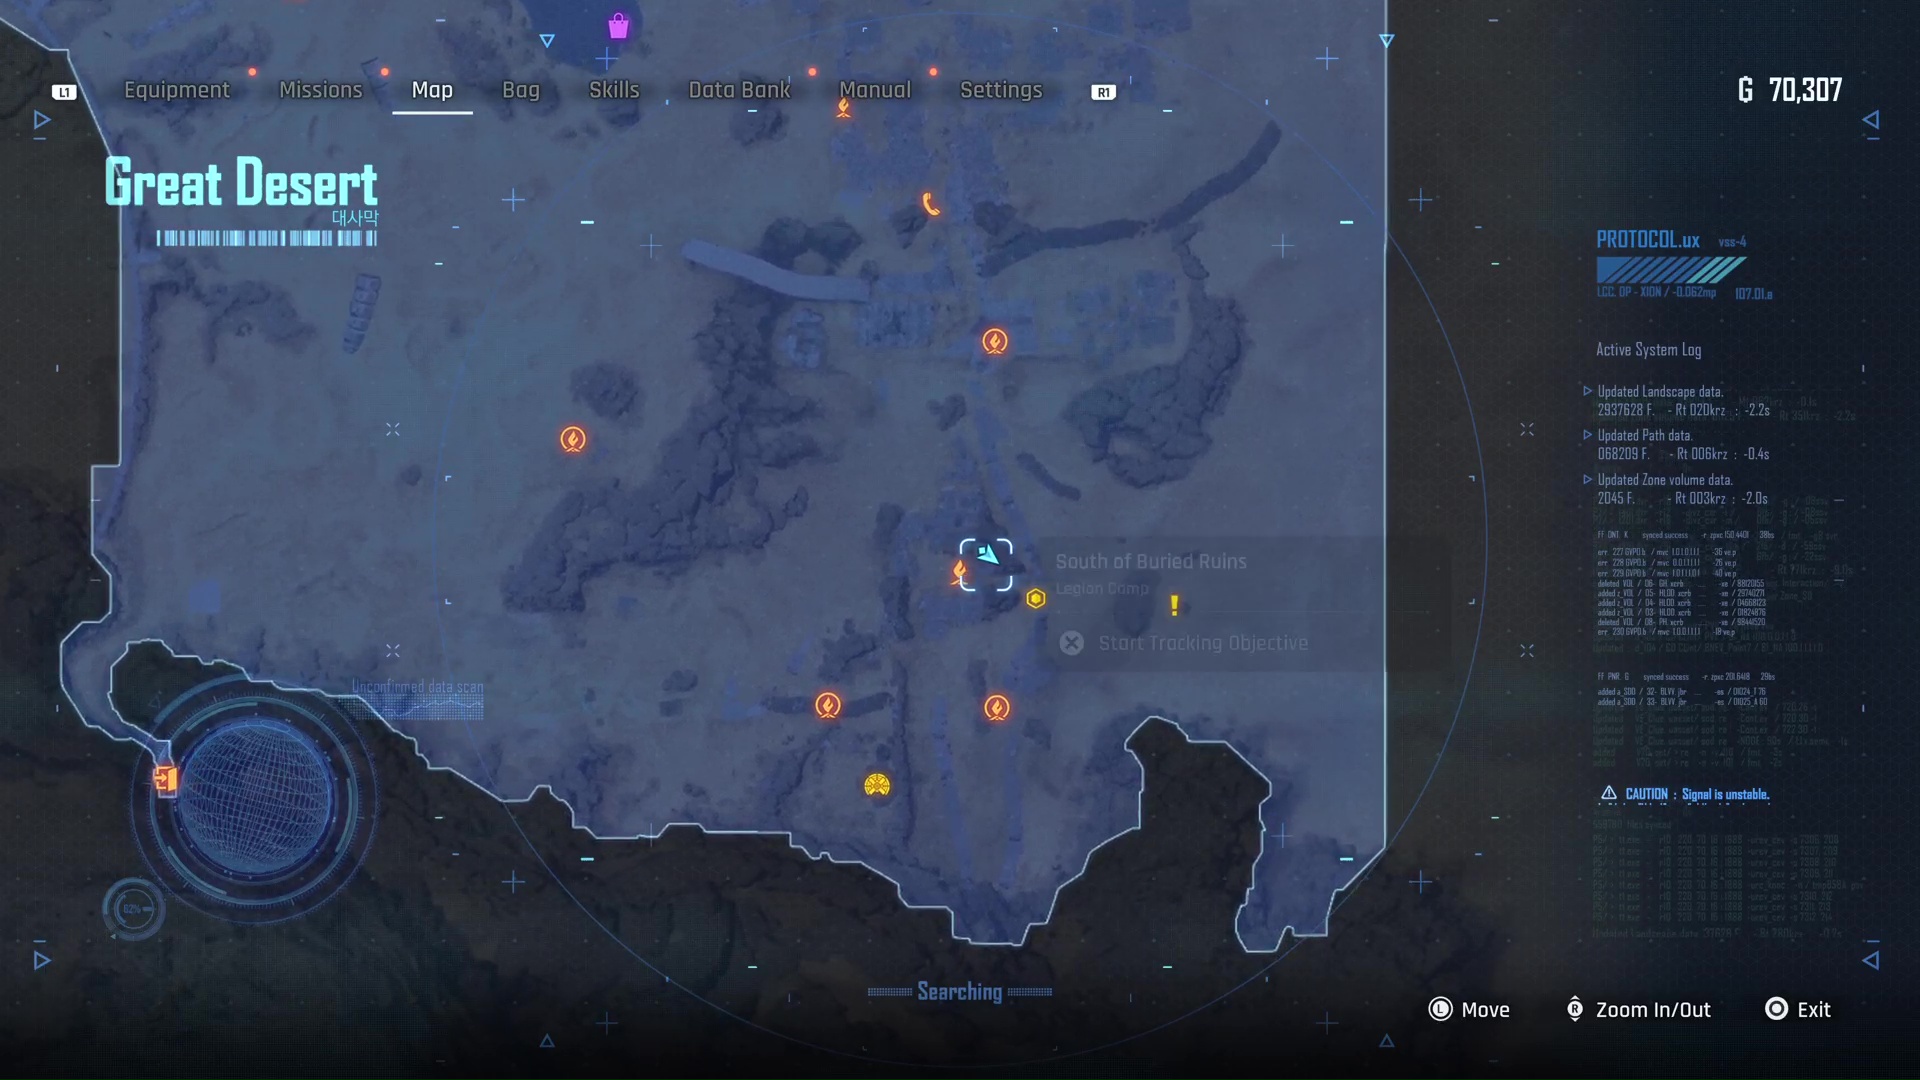
Still within the Great Desert, head down to the supply camp called "Way to the Solar Tower", then work North towards the regular "South of Buried Ruins" camp.
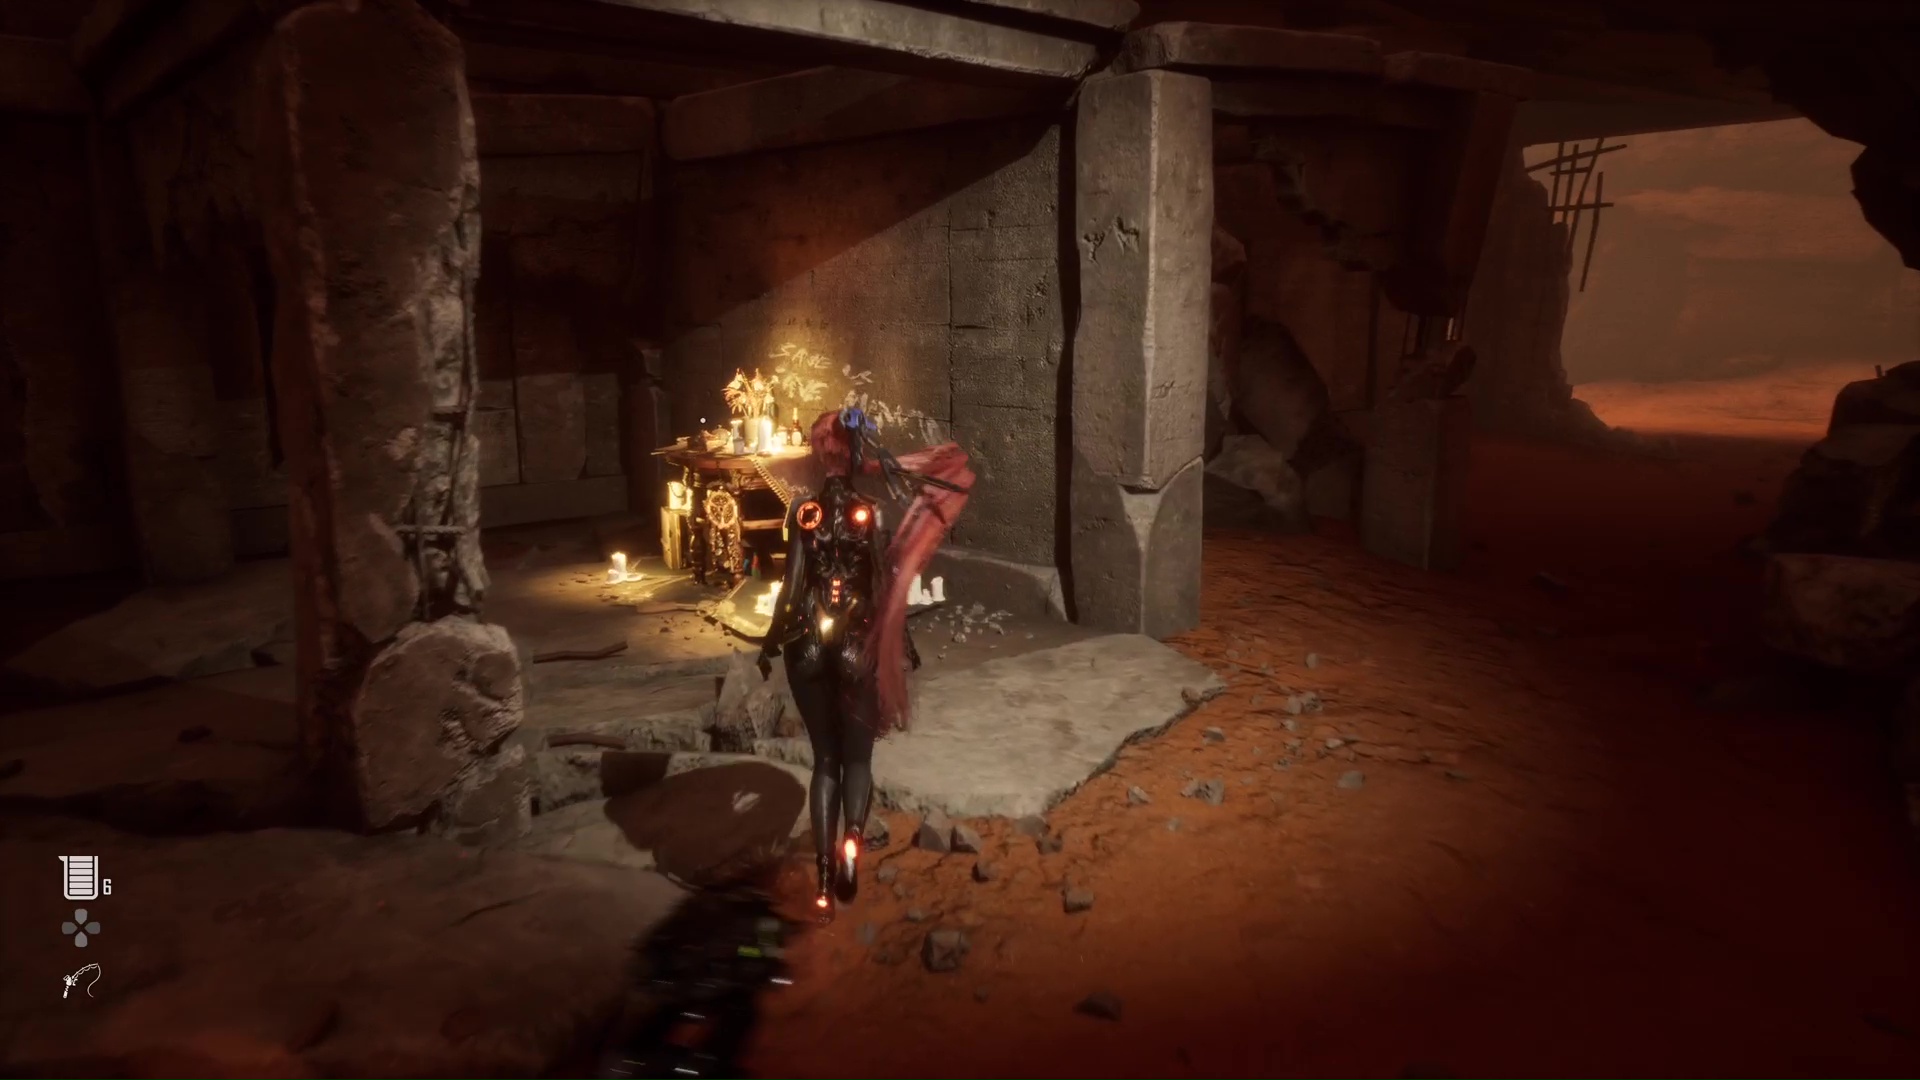
Open up the chain mesh door nearby, then turn immediately left into the ruined building to find the next shrine, with a Prayer document called Chapter of Trial 3-α.
Passcode document 4 location - Great Desert / Hypertube
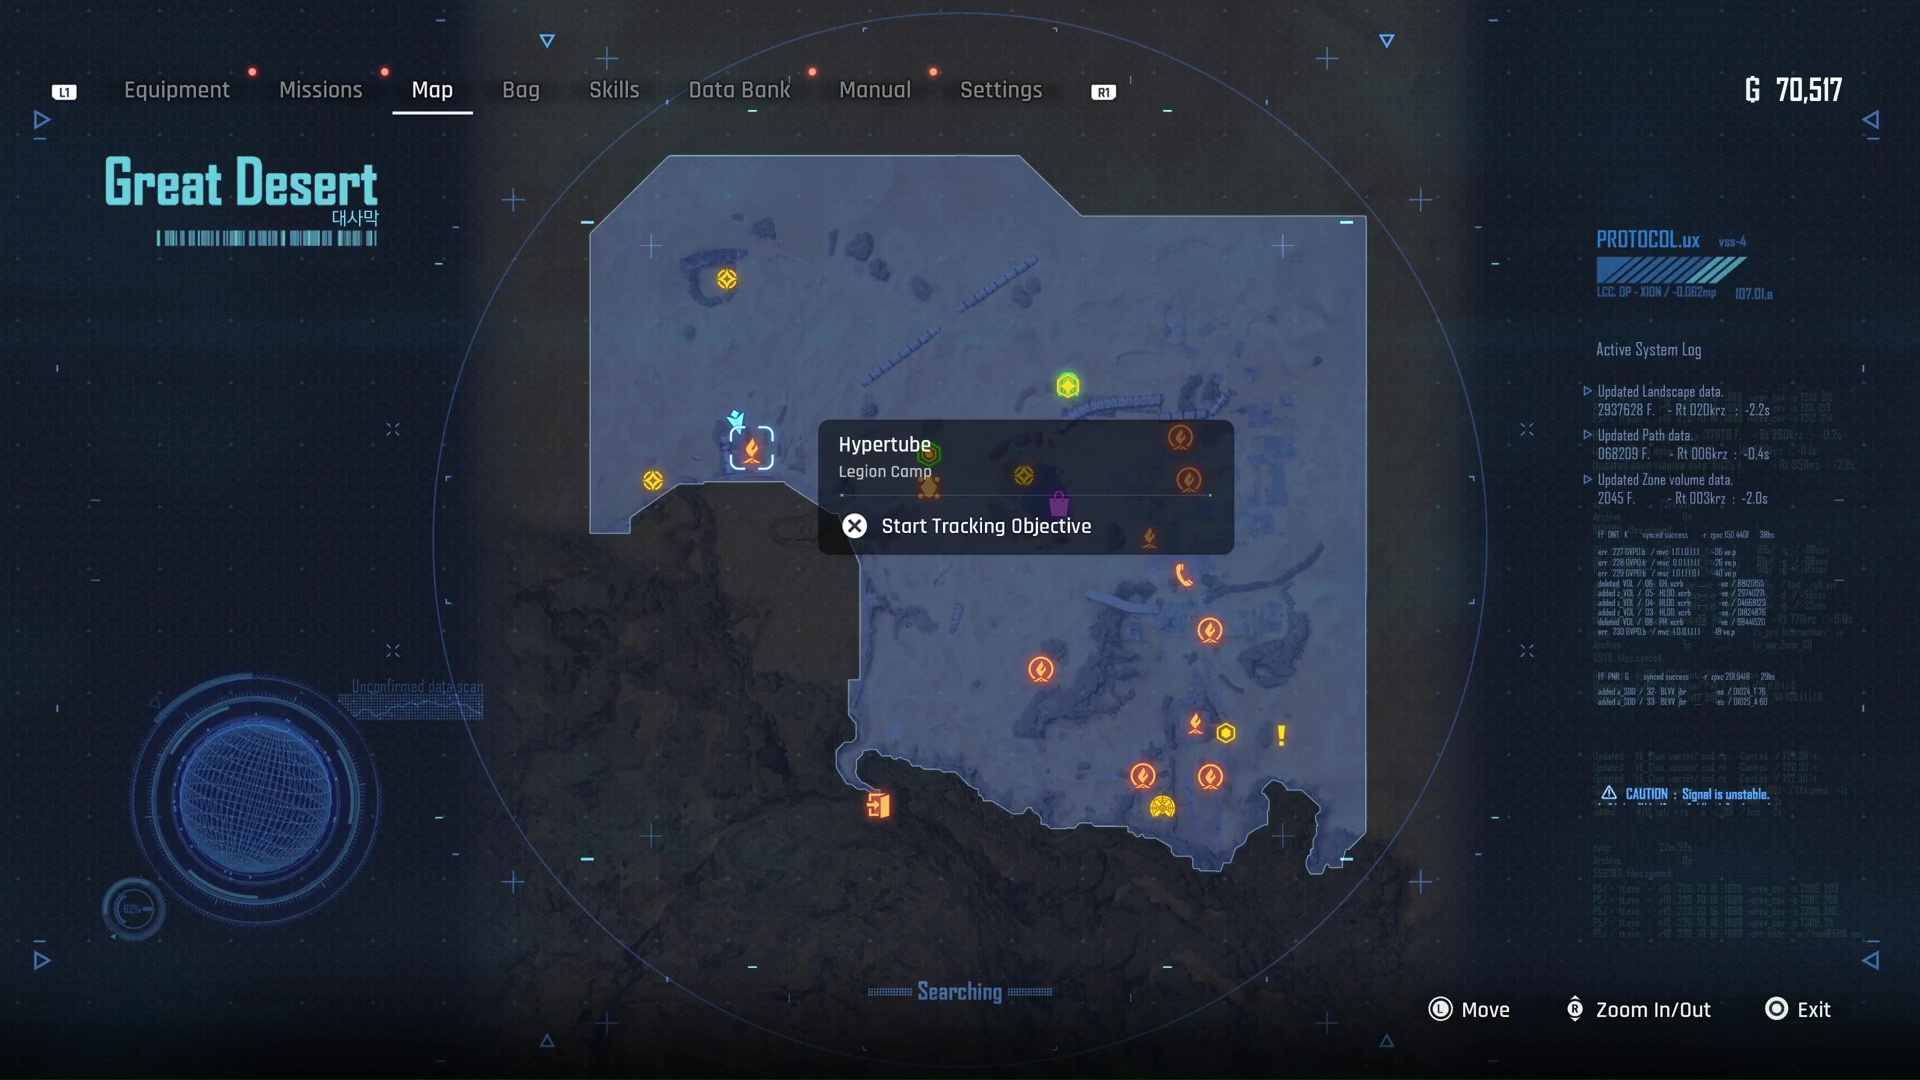
Staying within the Desert, head to the East side to the giant "Hypertube", a vast tunnel going into the ground at the location marked above. Go inside the tube and you'll get a little sliding, skating sequence where you avoid obstacles as you slide through.
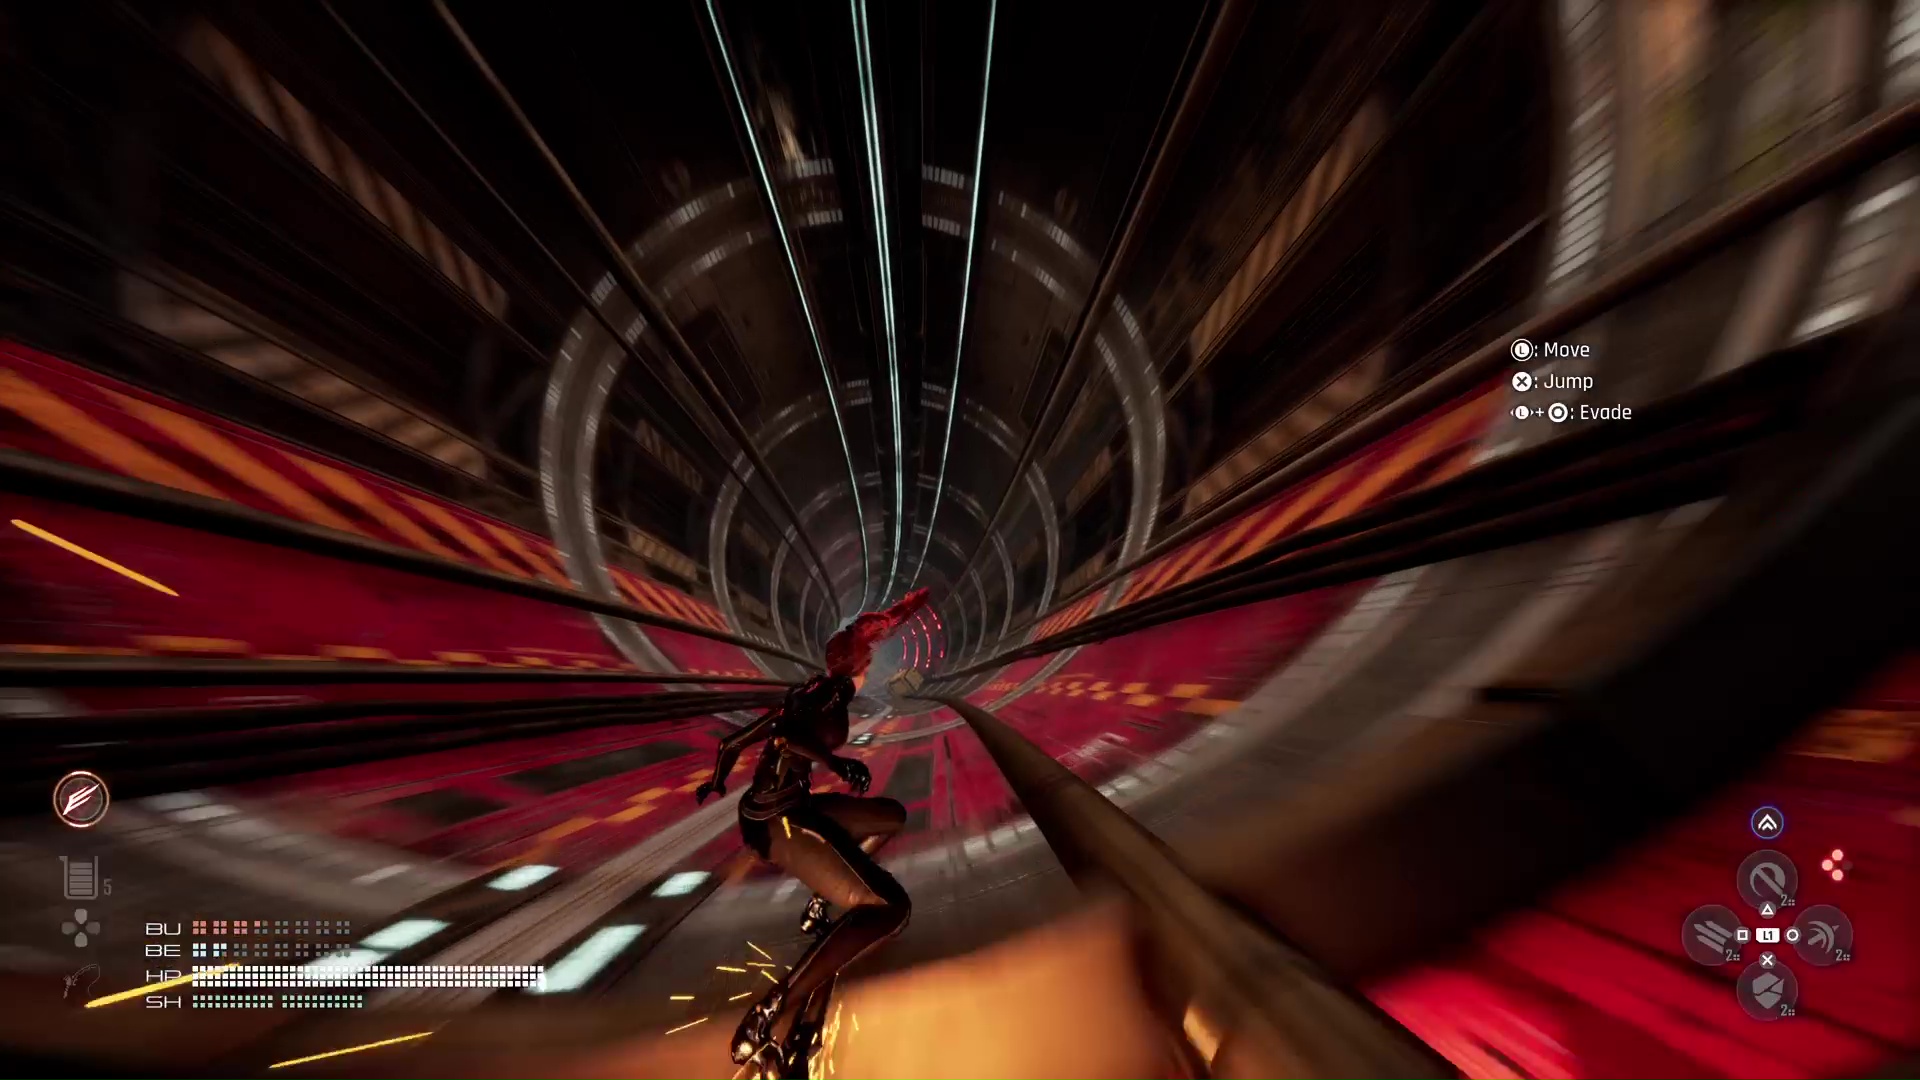
You'll end up in a water-filled cave on the opposite side of the map. The moment you're spat out of the tube and hit the water, turn right to find a little corner in the cave with the fourth shrine - and a Prayer document called Chapter of Trial 4-λ.
Passcode document 5 location - Wasteland / Western Great Canyon
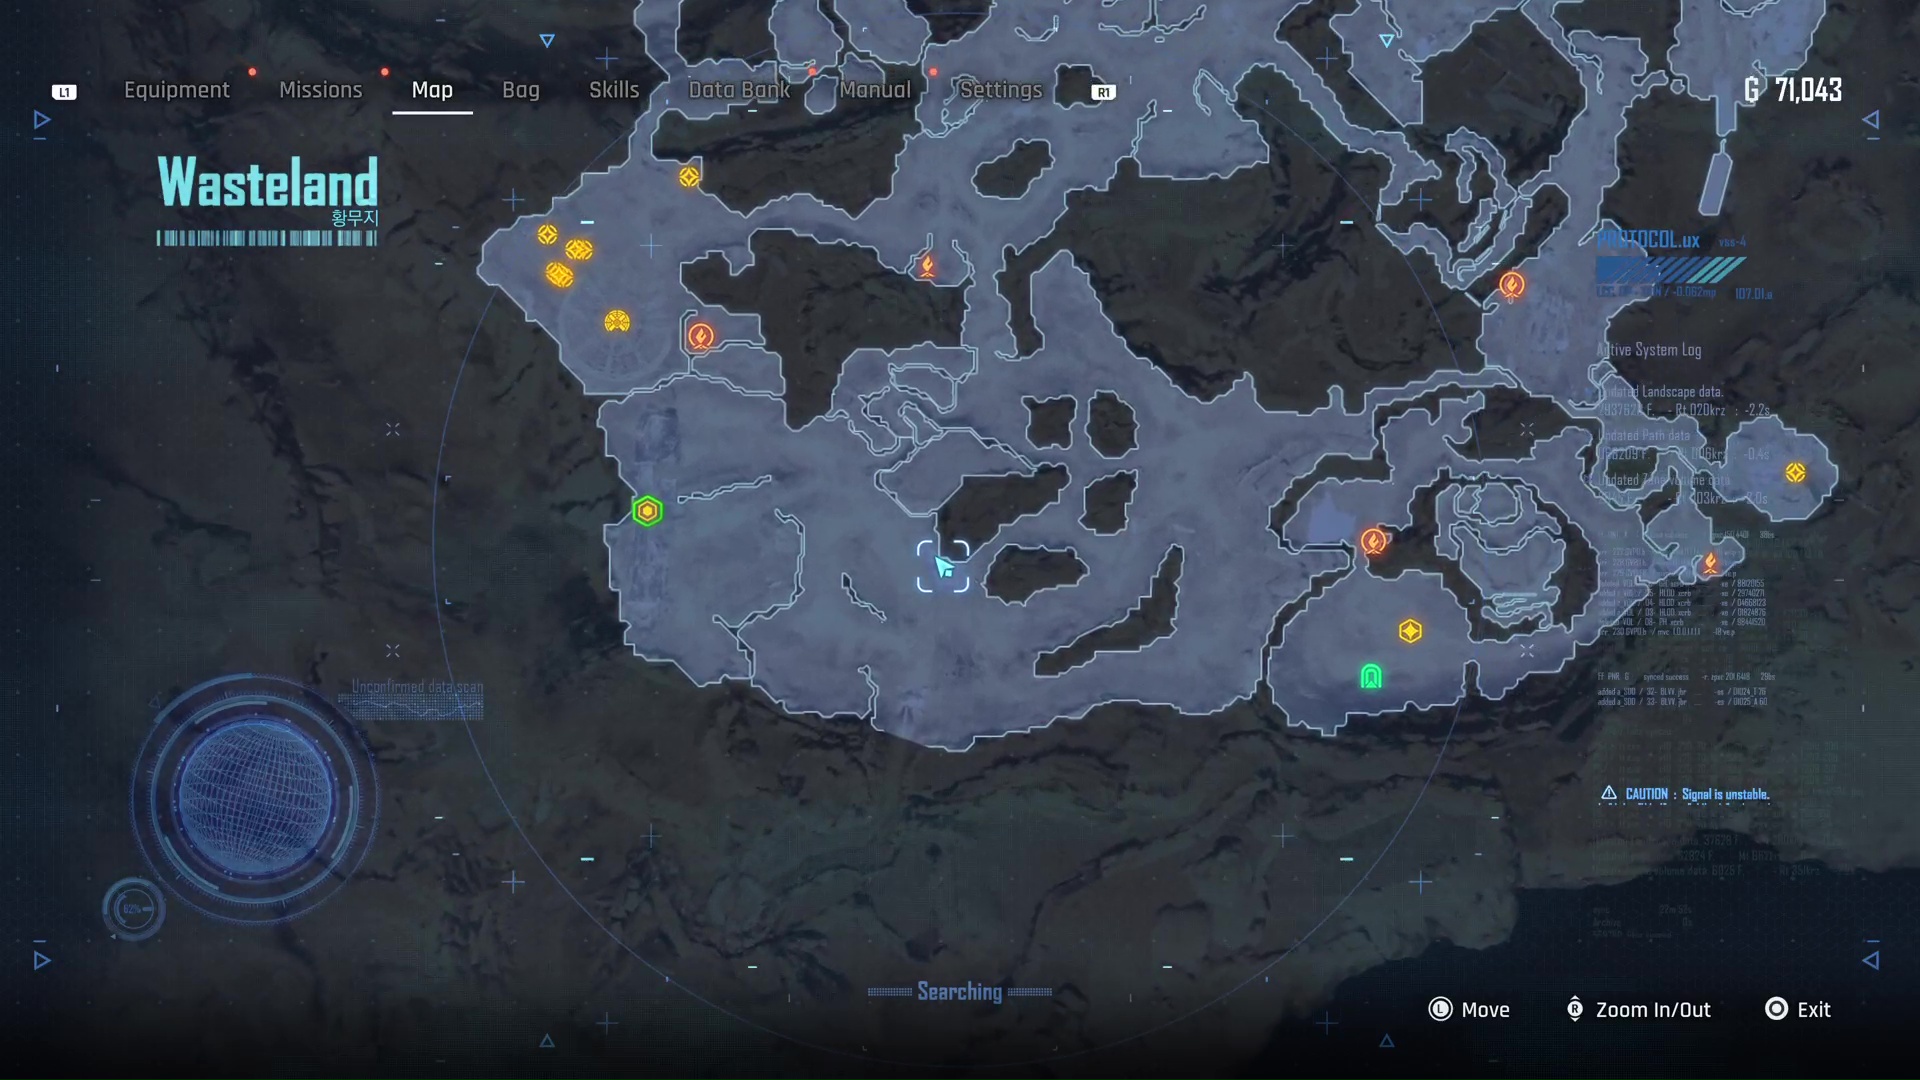
Head back to the Wasteland region, and to the Western Great Canyon supply camp in the bottom-left hand corner of the map.
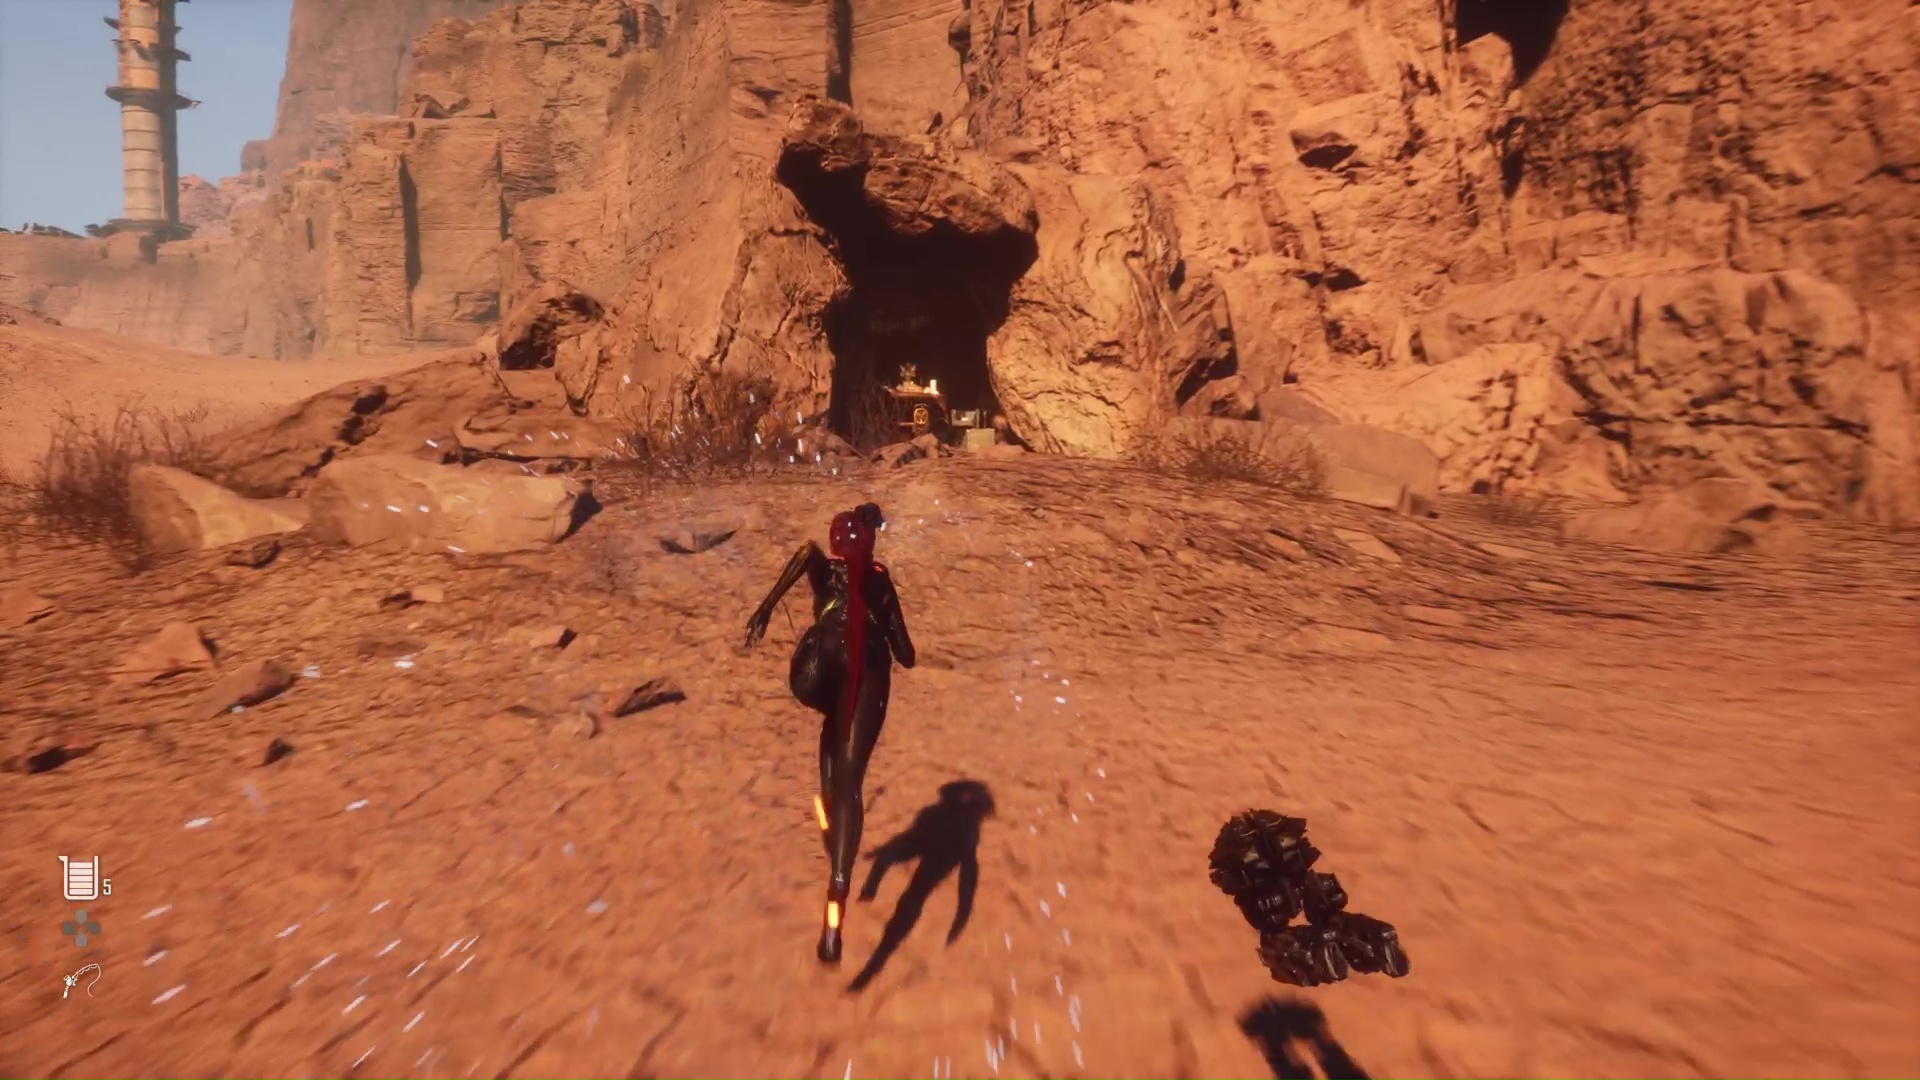
The Shrine is very close - look to the East and at the corner of the opening of a ravine nearby, you'll see the Shrine set into an alcove inside the wall. Loot it for the fifth Prayer document and piece of the passcode: Chapter of Trial 5-δ.
Passcode document 6 location - Wasteland / Altess Levoire Entrance
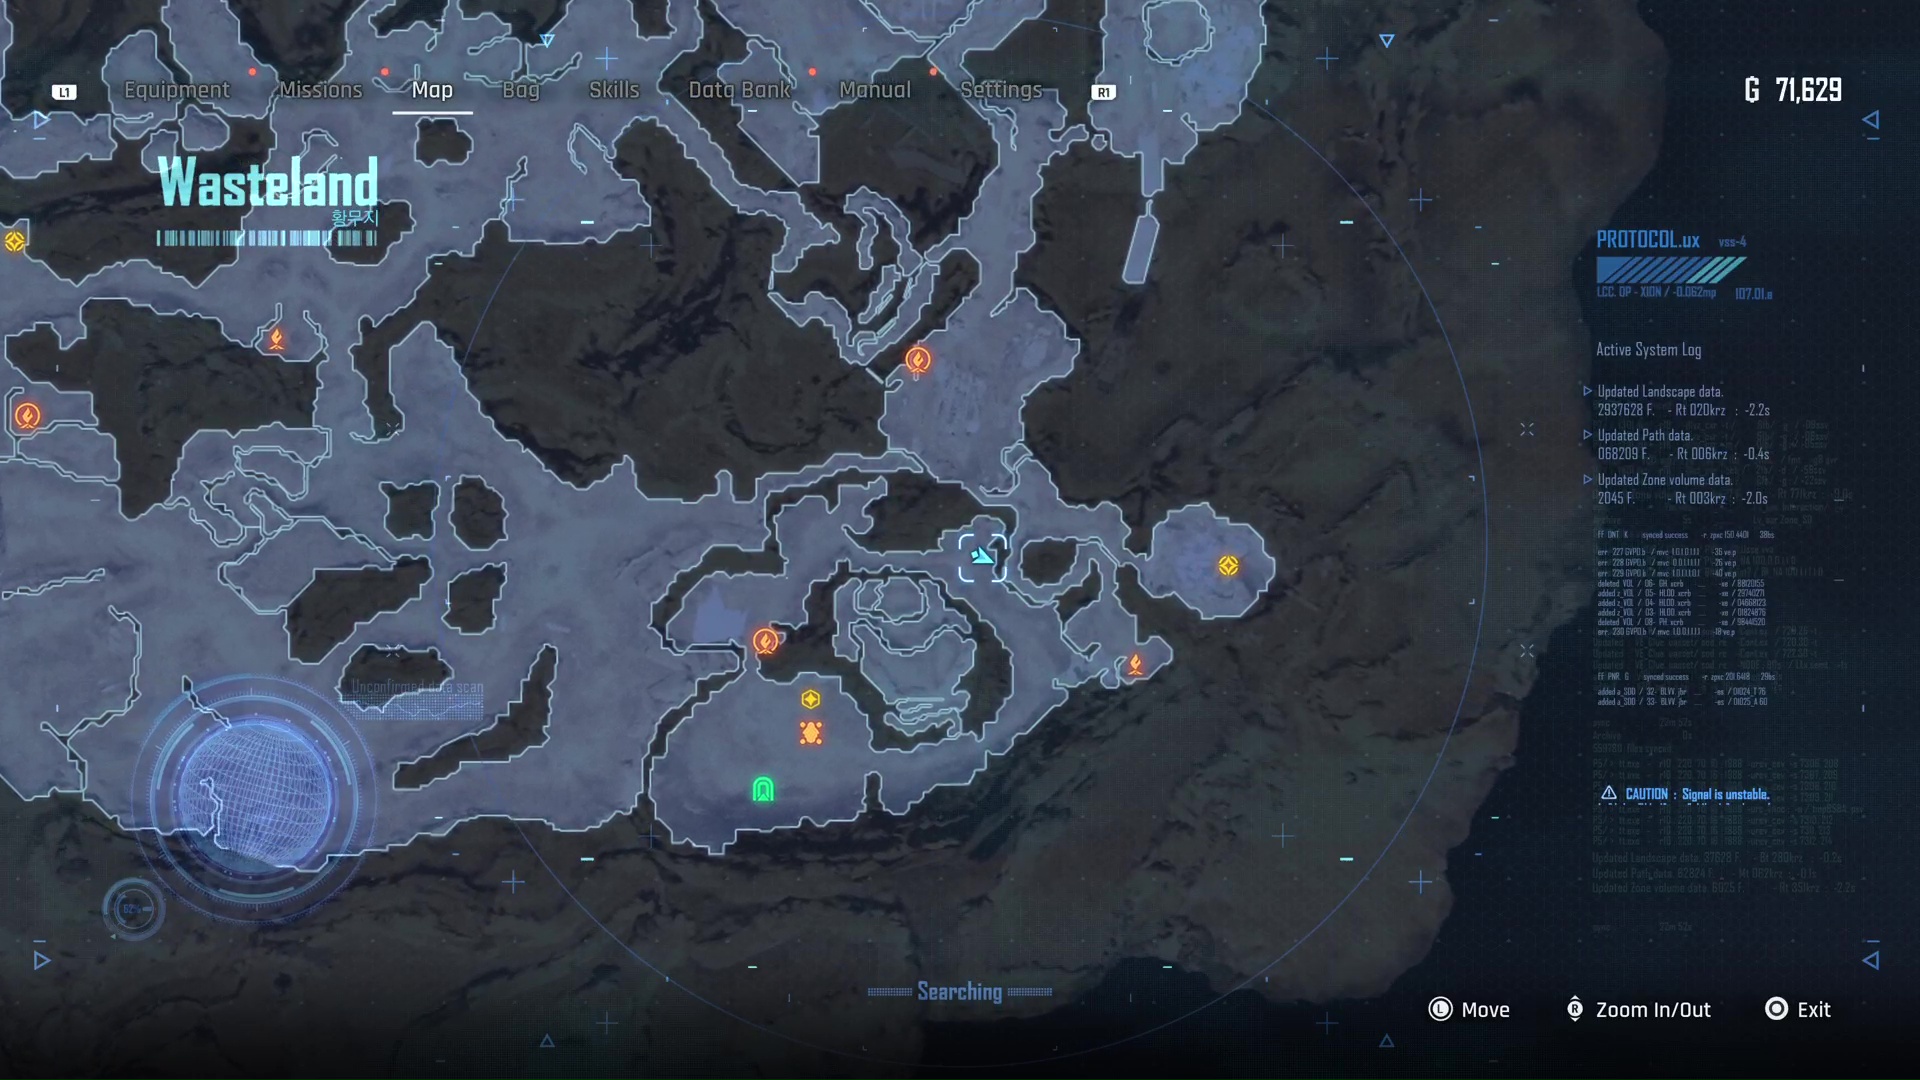
Head to the Altess Levoire Entrance supply camp still within the Wasteland and close to where Adam parks the Tetrapod.
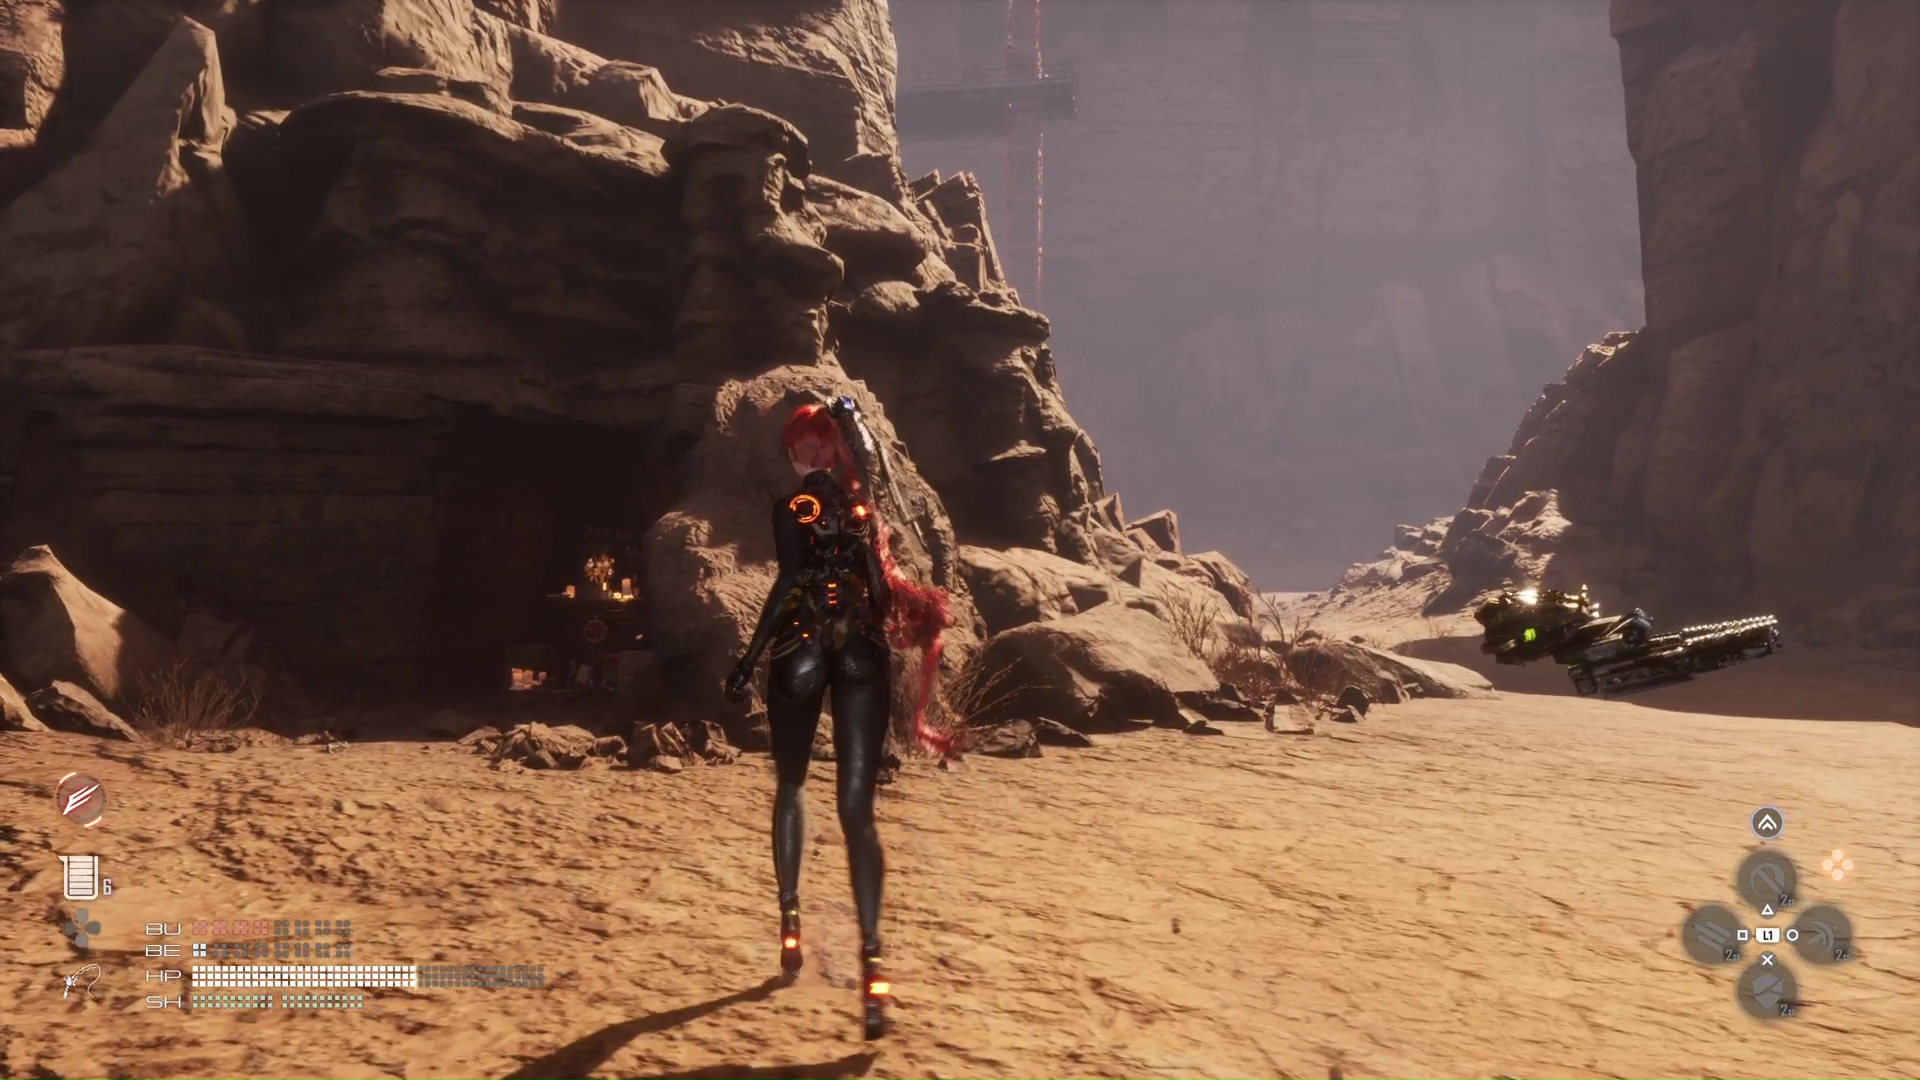
From there, head Northeast and follow the curve of the canyon until you see the base of the elevator ahead. Tucked into a little hole in the wall is the final shrine - and the final piece of the Passcode, the Prayer document: Chapter of Trial 6-ζ.
Recruit Passcode Specialists rewards and special outfit
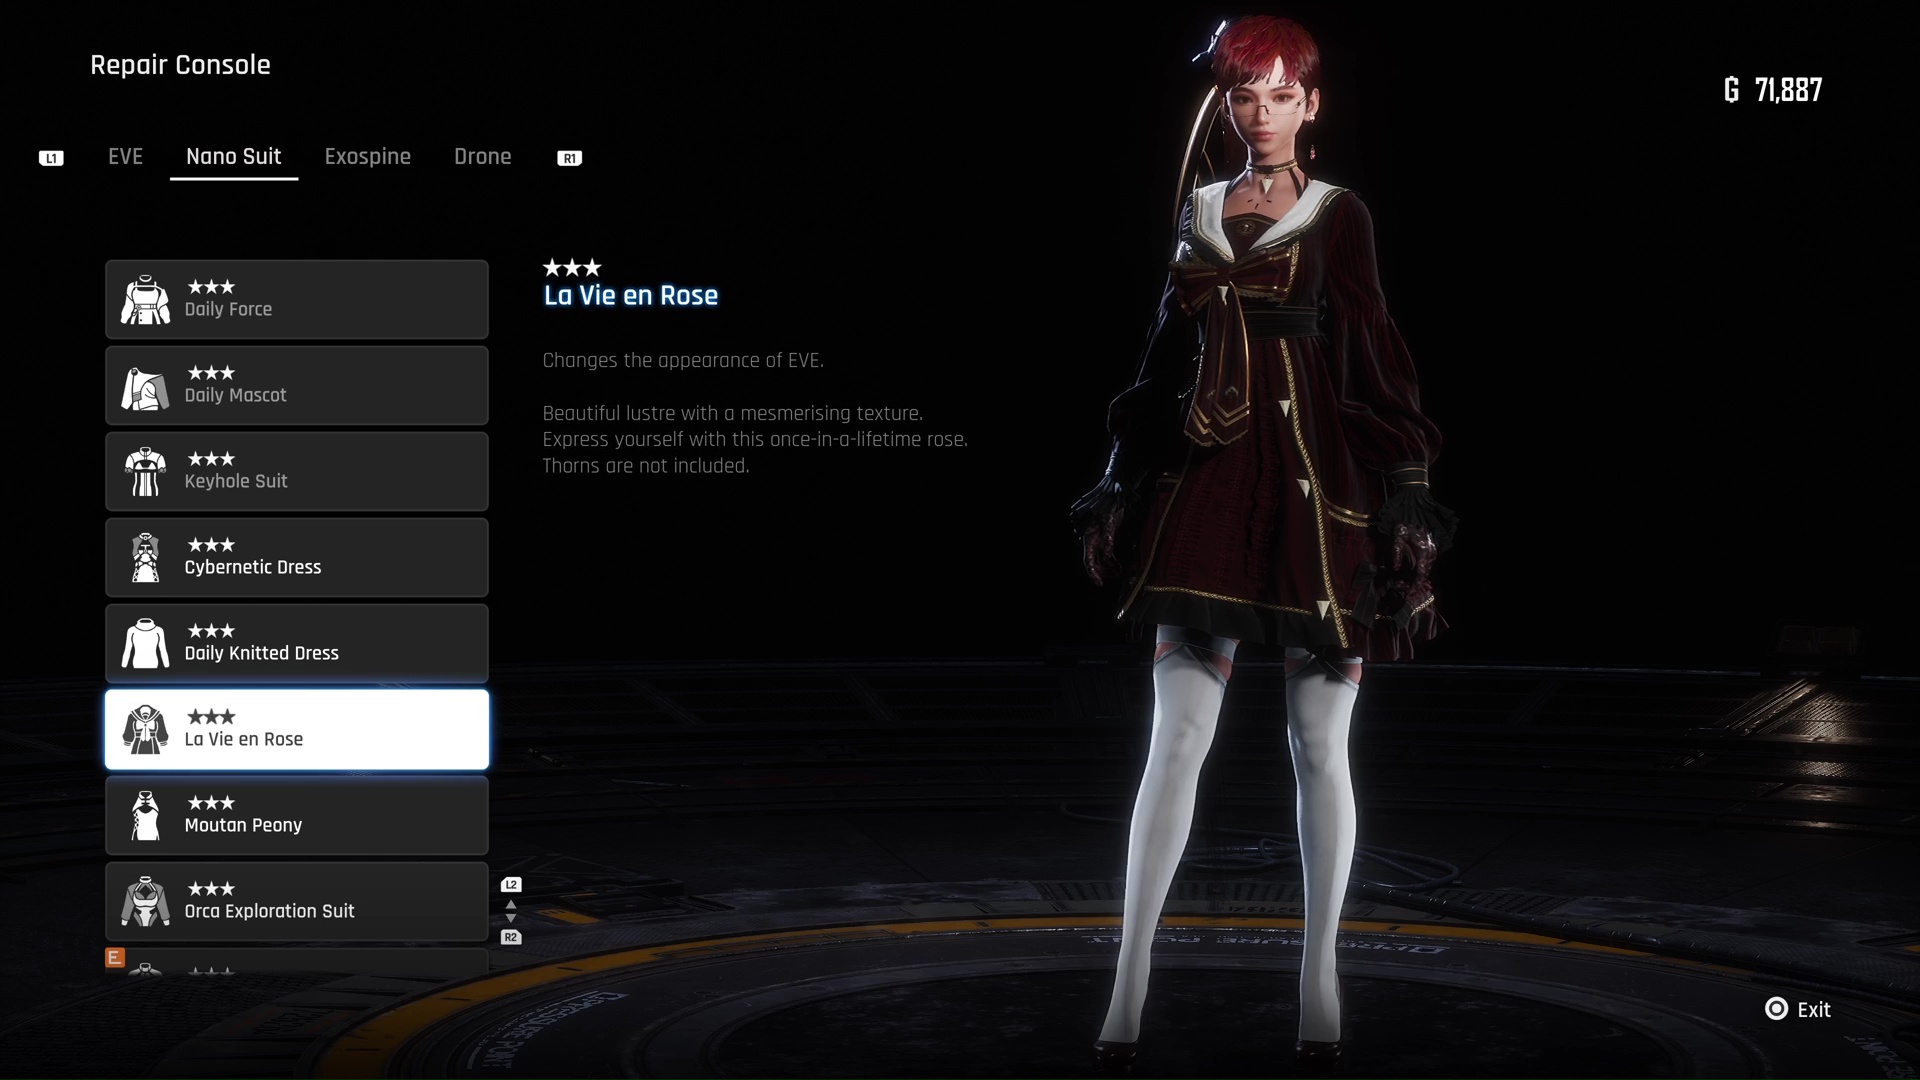
With all the documents recovered, head back to the container and enter the passcode B0aYdZ / βθαλδζ, and you'll be able to get inside. You'll receive the final Prayer document to complete the quest, as well as a new outfit called La Vie en Rose.
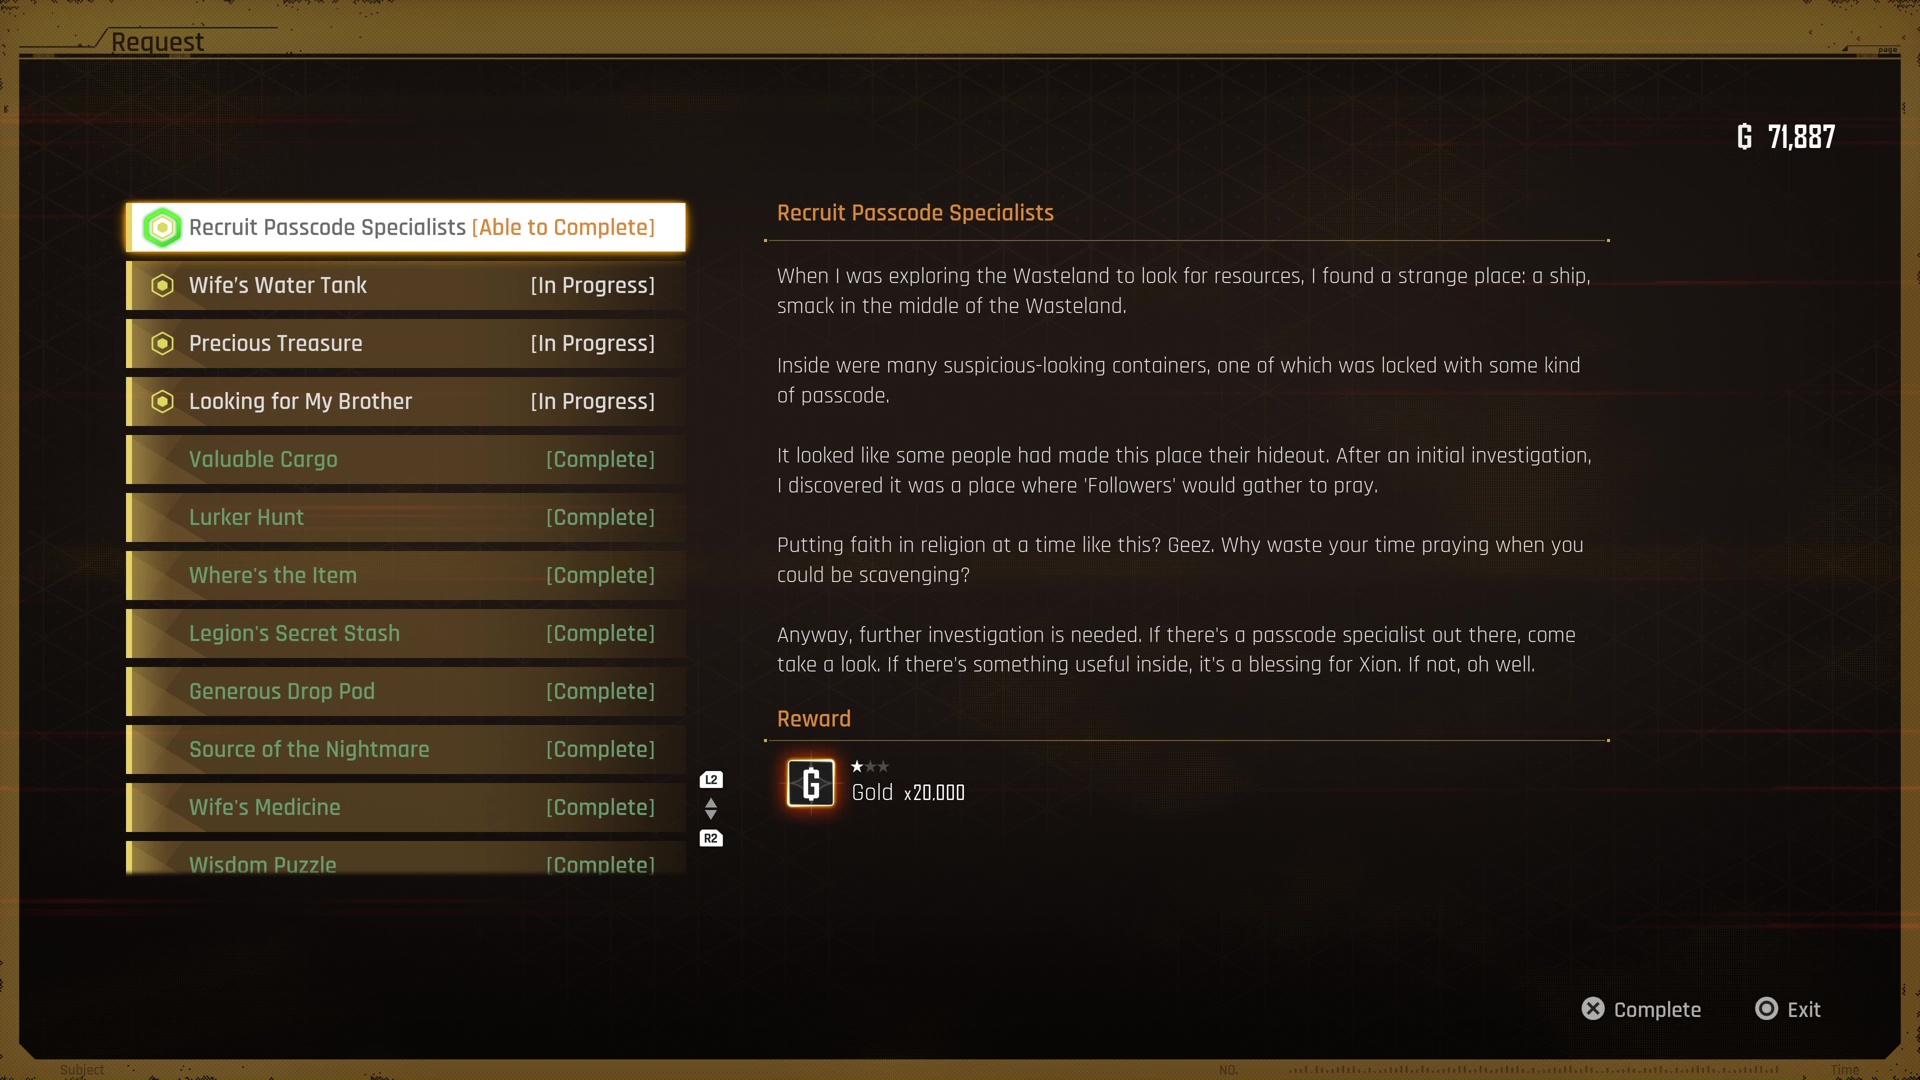
If you head back to the Bulletin Board in Xion, you can then hand in the quest and get the payment for it - an impressive 20,000 Gold.
© GamesRadar+. Not to be reproduced without permission
Sign up to the GamesRadar+ Newsletter
Weekly digests, tales from the communities you love, and more

Joel Franey is a writer, journalist, podcaster and raconteur with a Masters from Sussex University, none of which has actually equipped him for anything in real life. As a result he chooses to spend most of his time playing video games, reading old books and ingesting chemically-risky levels of caffeine. He is a firm believer that the vast majority of games would be improved by adding a grappling hook, and if they already have one, they should probably add another just to be safe. You can find old work of his at USgamer, Gfinity, Eurogamer and more besides.
