How to unlock and complete the Destiny 2 Dual Destiny mission
Completing the Destiny 2 Dual Destiny mission is how you unlock the Exotic Class item for Prismatic
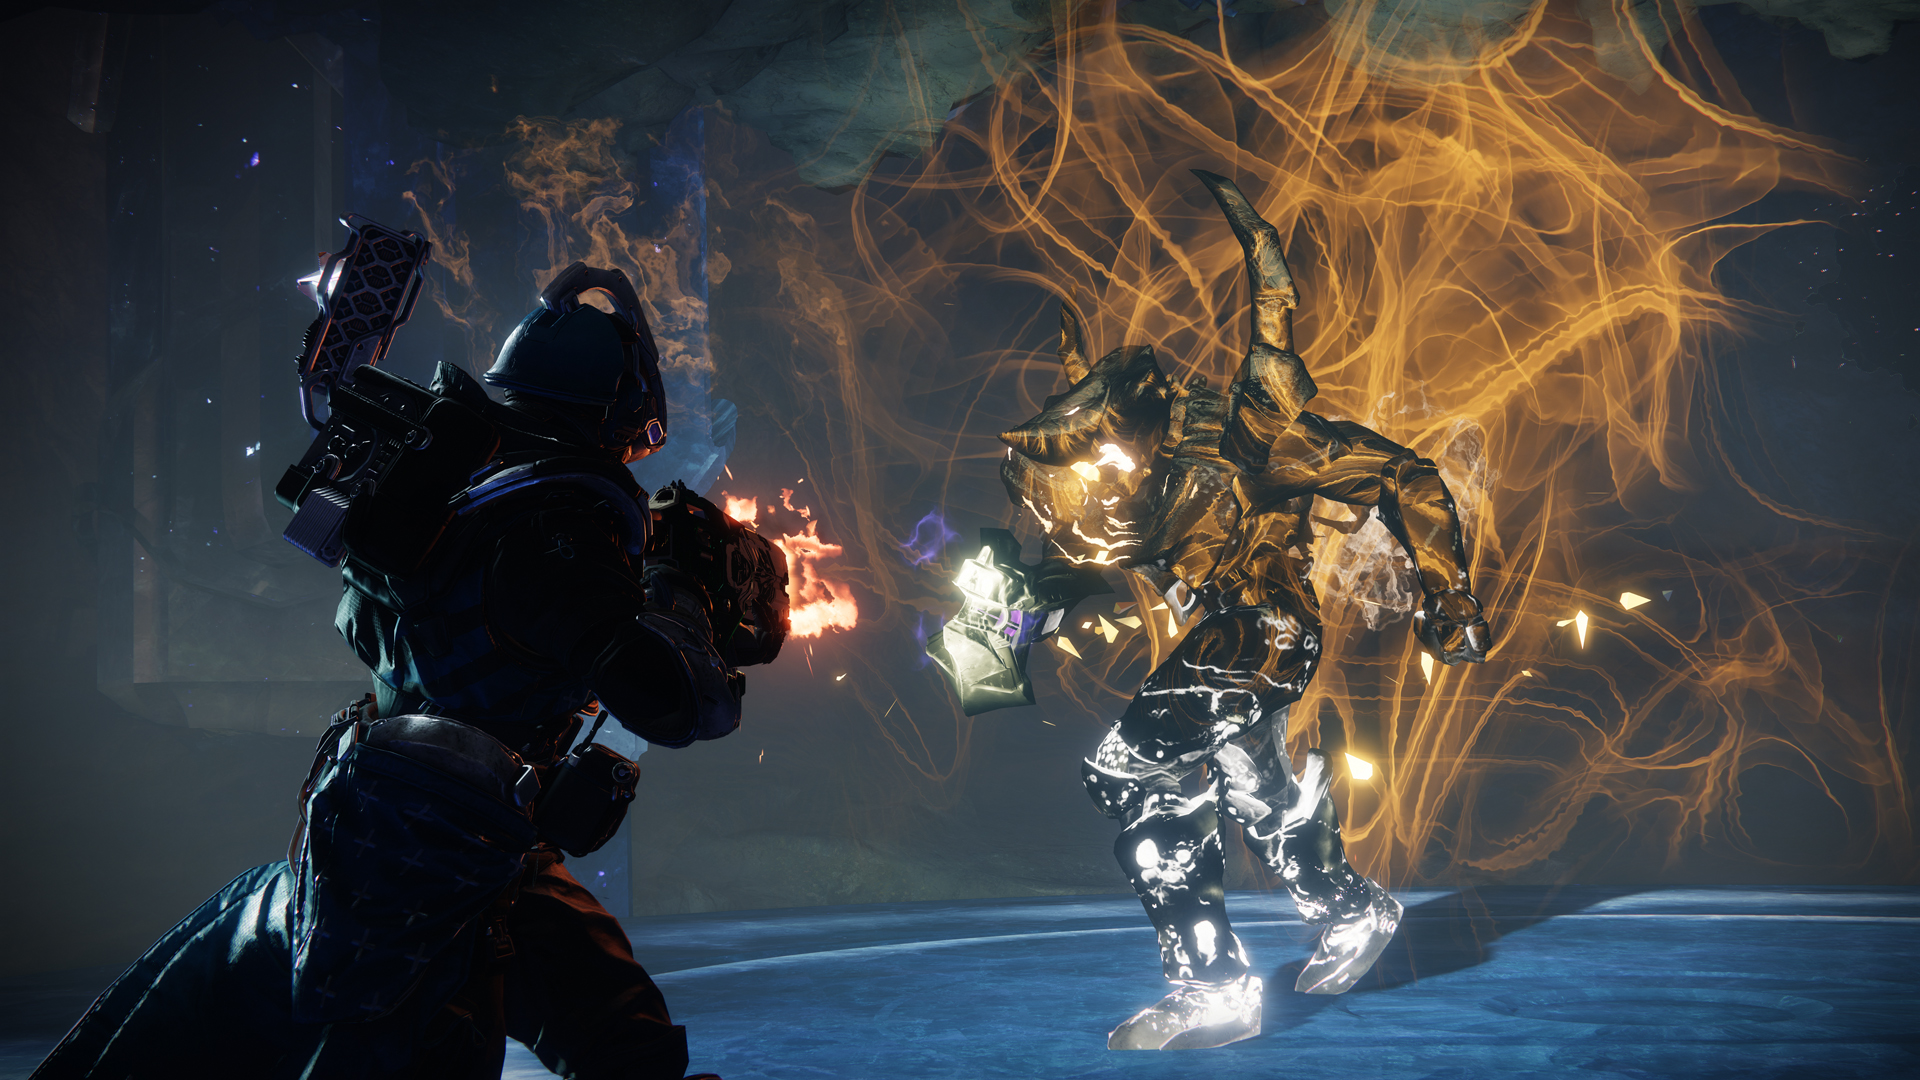
Completing the Destiny 2 Dual Destiny Exotic mission is how you unlock Exotic Class items for Prismatic Subclasses, but it's almost like a two-player Raid. You and a friend race against the clock through the depths of the Pale Heart, battling Dread and Taken as you take on symbol and clock-based puzzles. It's not the toughest of Destiny 2 missions in terms of how punishing it is, but good communication from both players and an understanding of the mechanics are key to success, so I've laid out how you unlock Dual Destiny and how to beat every major encounter in the mission below.
How to unlock Dual Destiny in Destiny 2
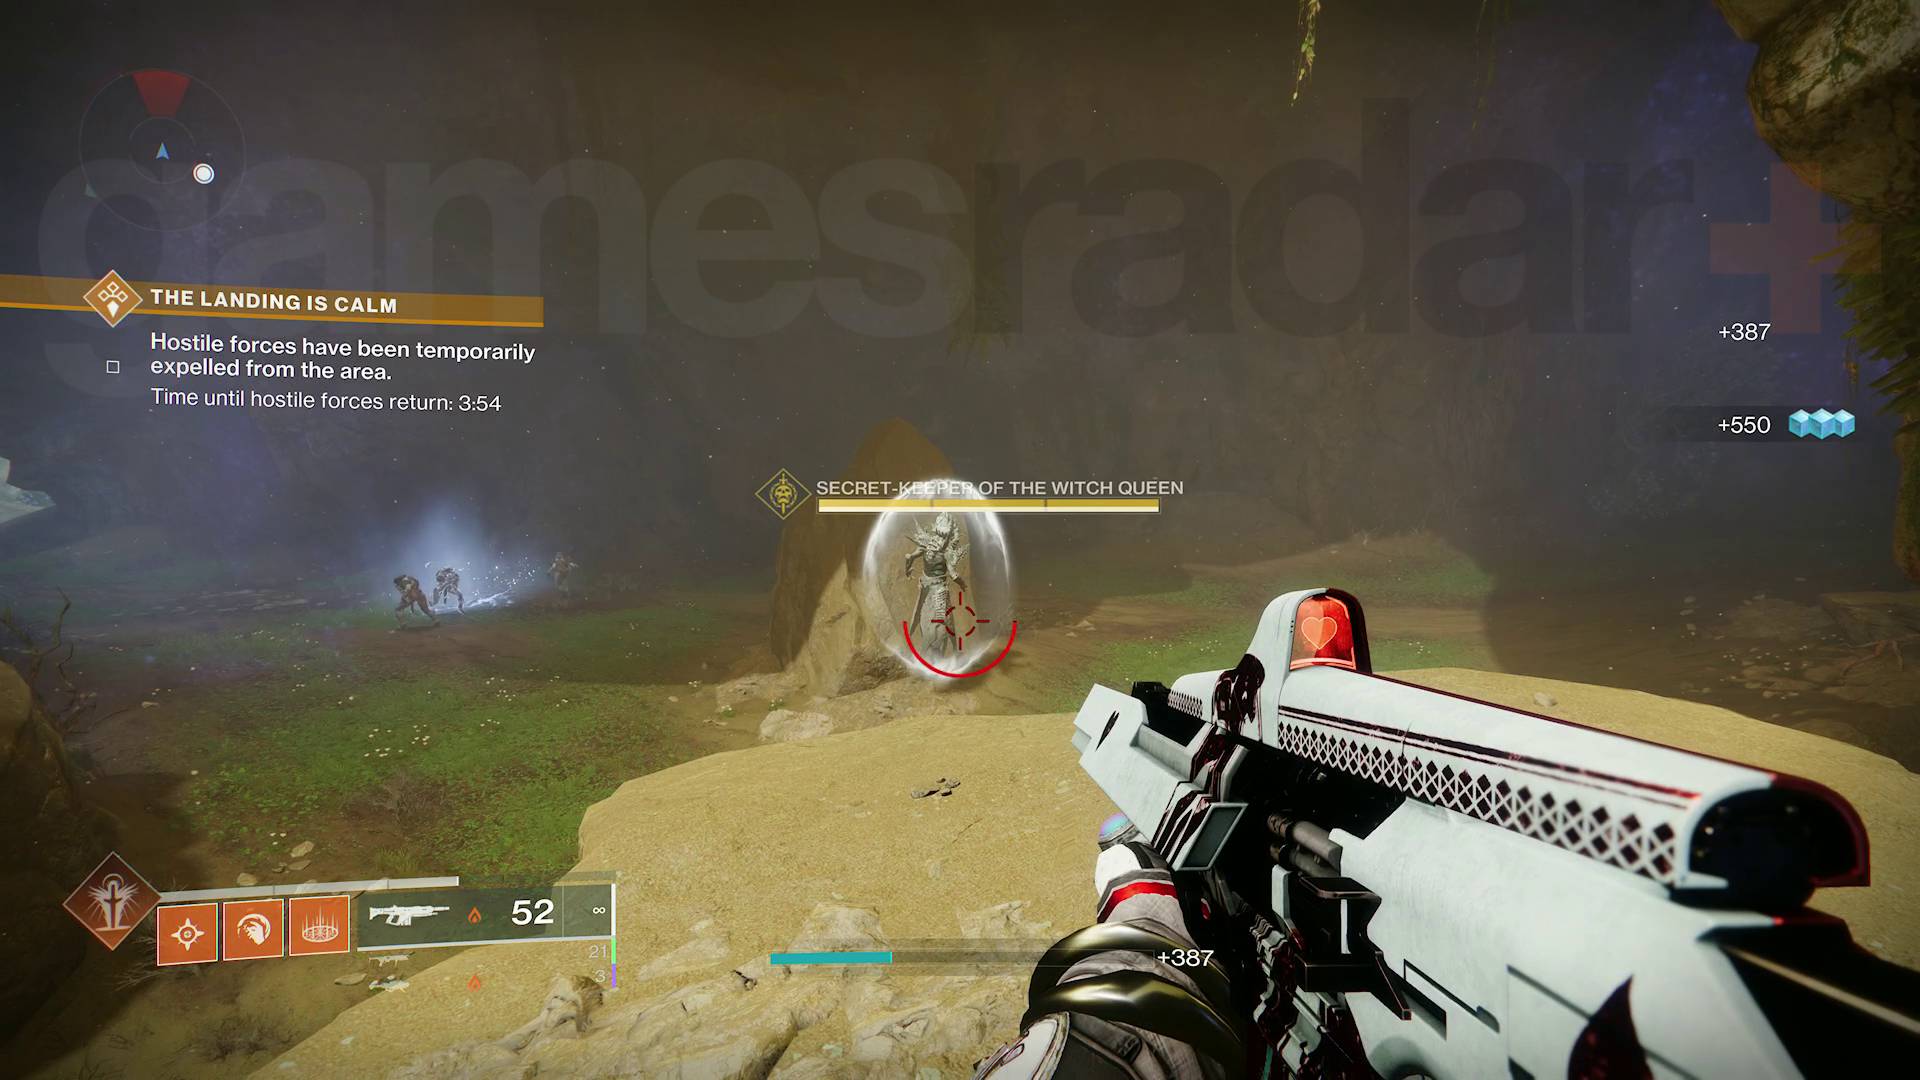
Before you can even start Dual Destiny and unlock the Destiny 2 Prismatic Exotic Class item, you've got to unlock the mission first. Doing so requires you to go through a time-consuming puzzle that requires some quite specific steps, but you'll only have to do it once as the mission remains permanently unlocked on your Pale Heart map afterwards. You can unlock Dual Destiny solo, but it's far easier and quicker to do with a friend. Here's what need to do:
- Complete an entire run of Overthrow in the Landing. After completing Overthrow level, you'll see a message saying, "A Secret-Keeper of the Witch Queen is near…", which means a Hive Lightbearer has spawned in the area.
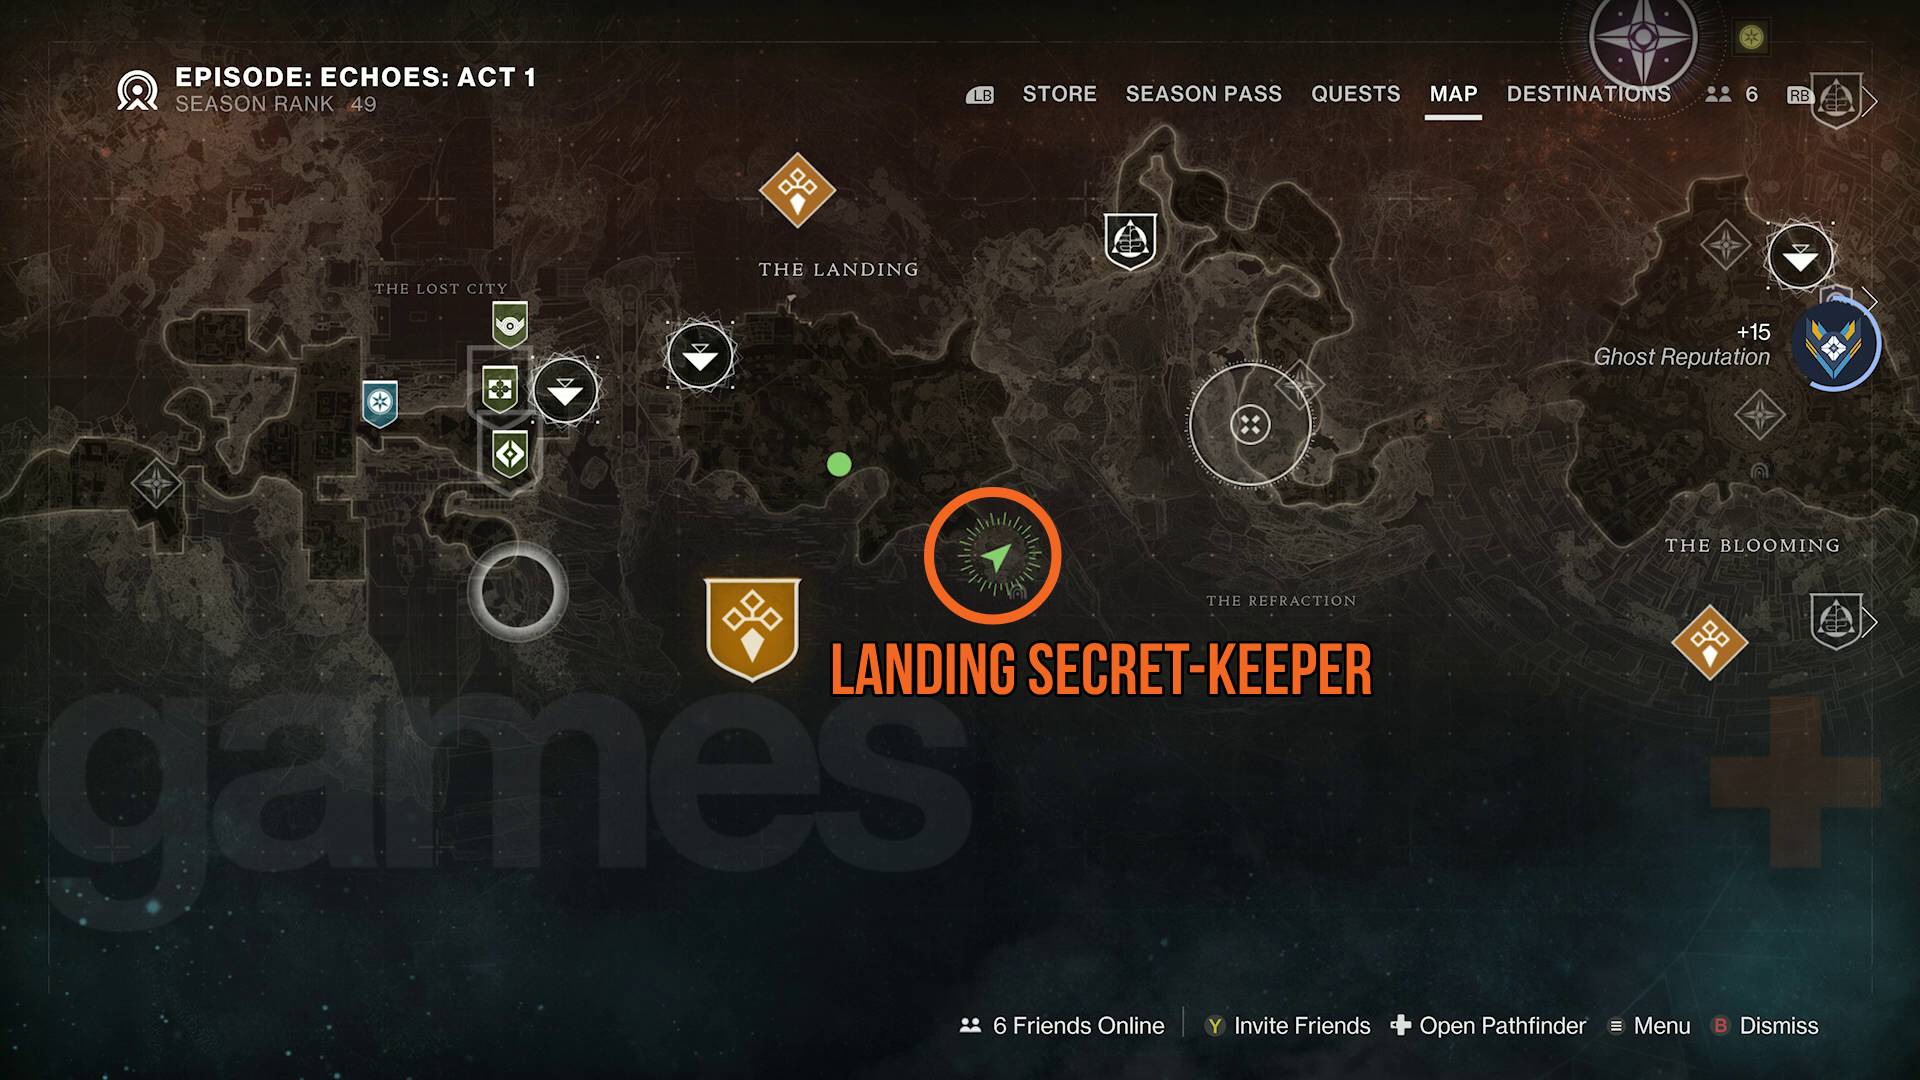
- Find and kill the Hive Lightbearer Secret-Keeper in the Landing. The Lightbearer Wizard appears in the southeast corner of the Landing near the entrance to the Forgotten Deep Lost Sector.
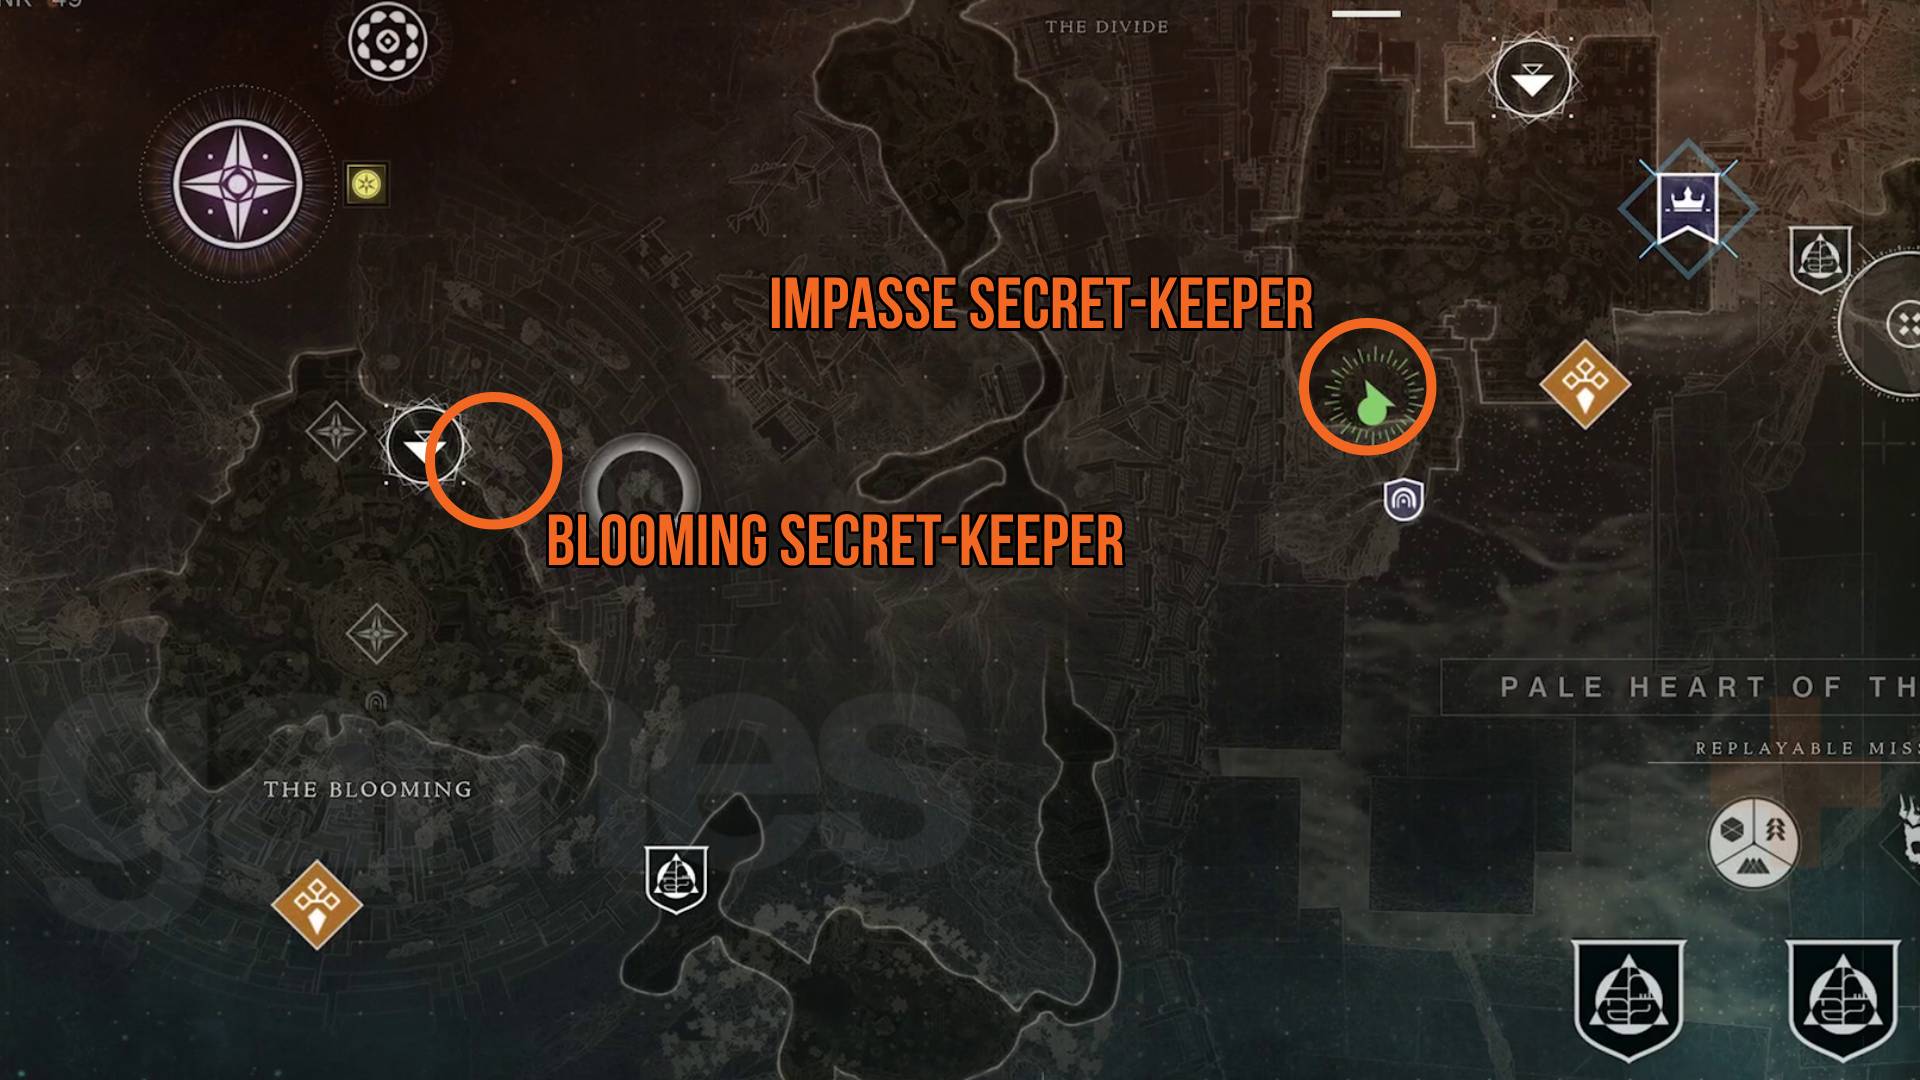
- Complete Overthrow in the Blooming and the Impasse and kill the Hive Secret-Keepers there. The Blooming Secret-Keeper is in the northeastern part of the region amongst the tall rock formations. The Impasse Secret-Keeper is in the southwest corner, near the entrance to the Broken Deep Lost Sector.
- Follow the vertical beam of green light through the Refraction to the crystal statue of Savathun. This gets you a 7-minute buff called "Savathun's Envoy" and two waypoints will be visible.
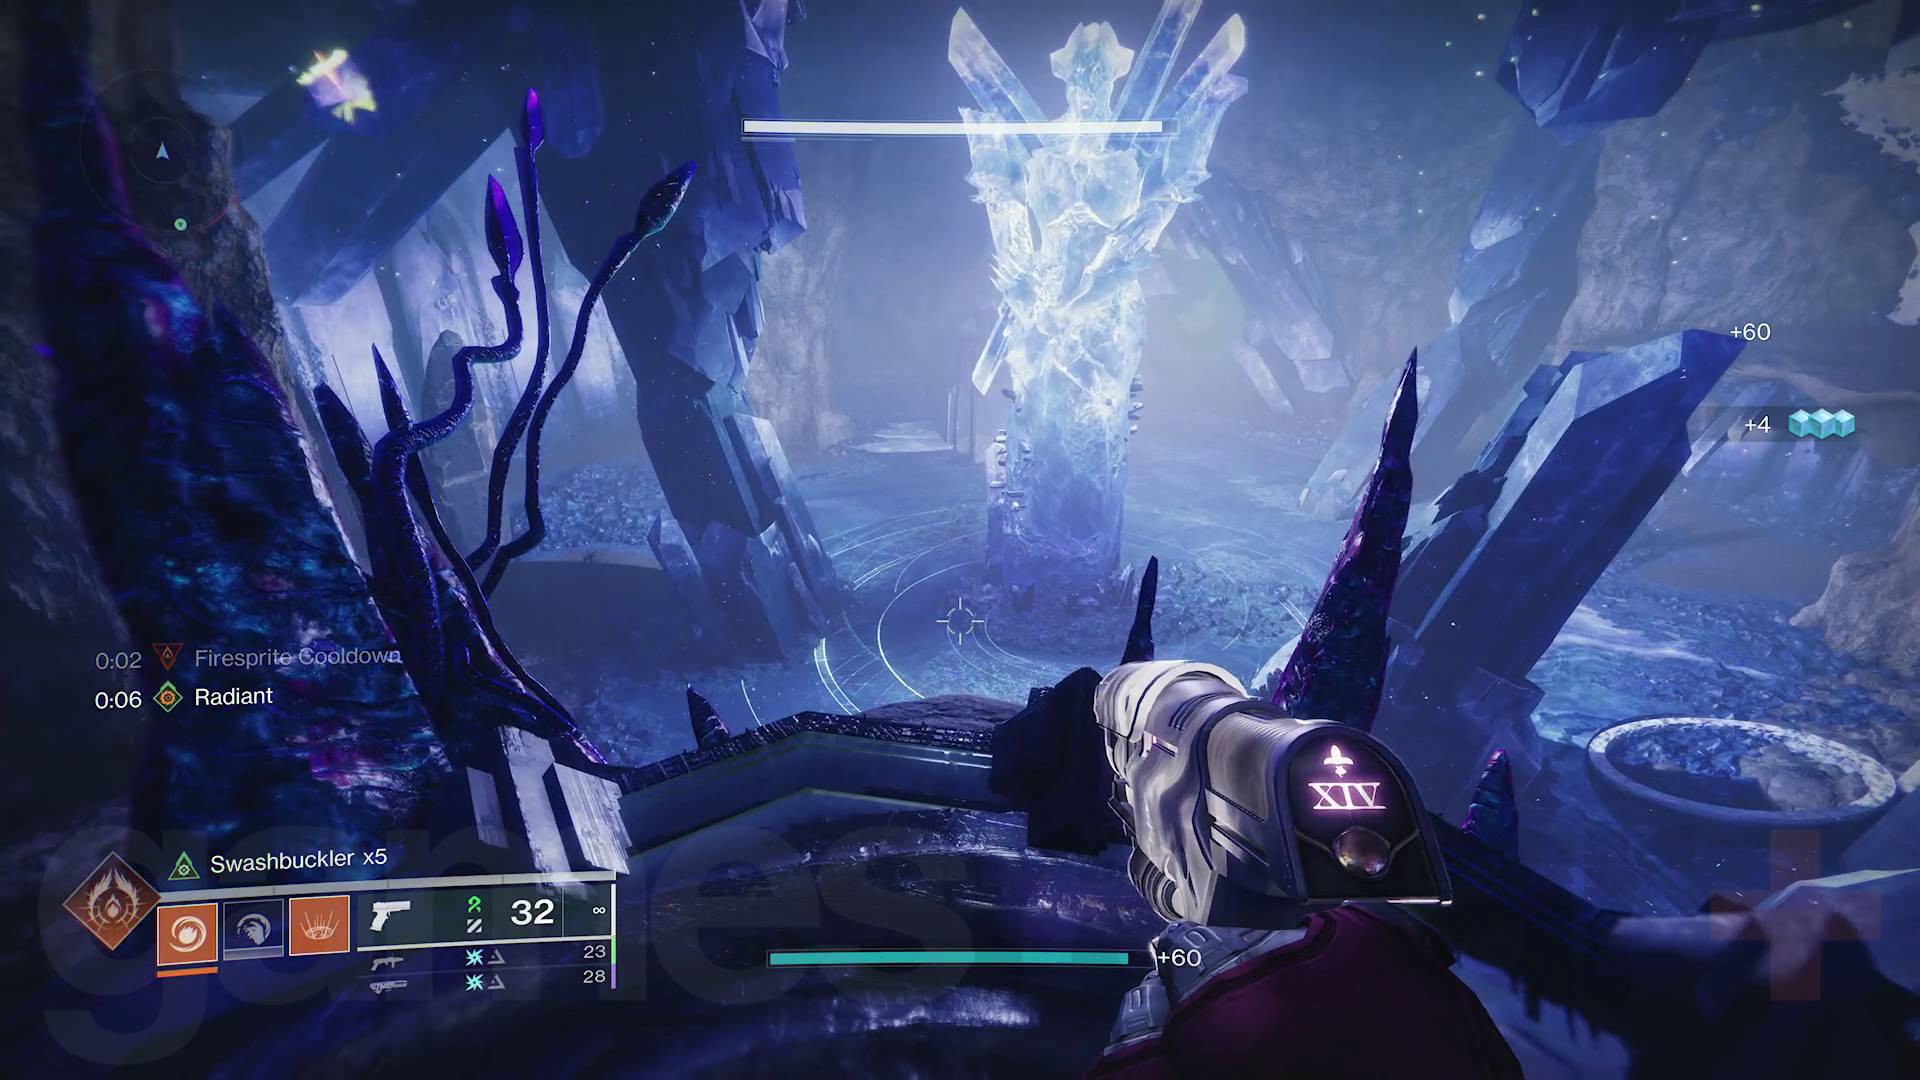
- Kill the Dread Expector bosses at each waypoint and collect the Light and Darkness orbs they drop.
- Take the orbs back to the room with the statue of Savathun and deposit them on the corresponding plates.
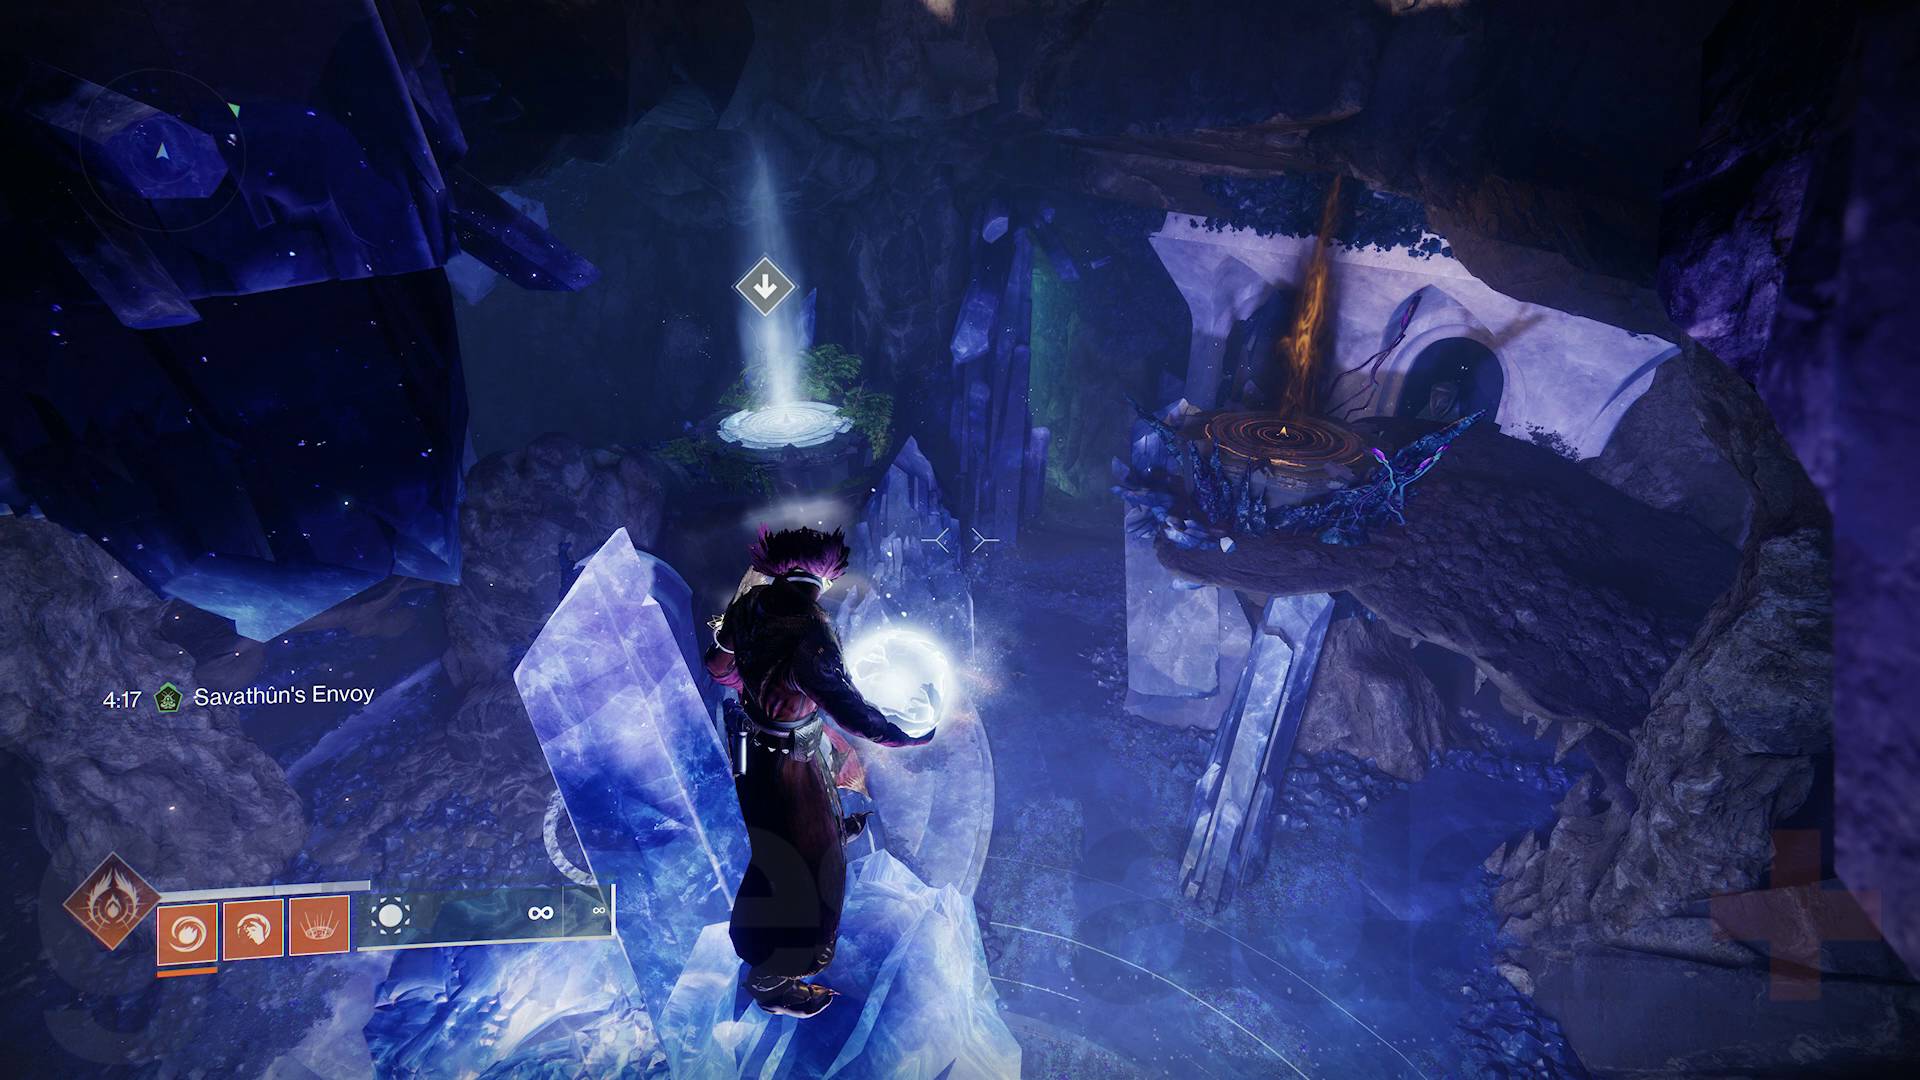
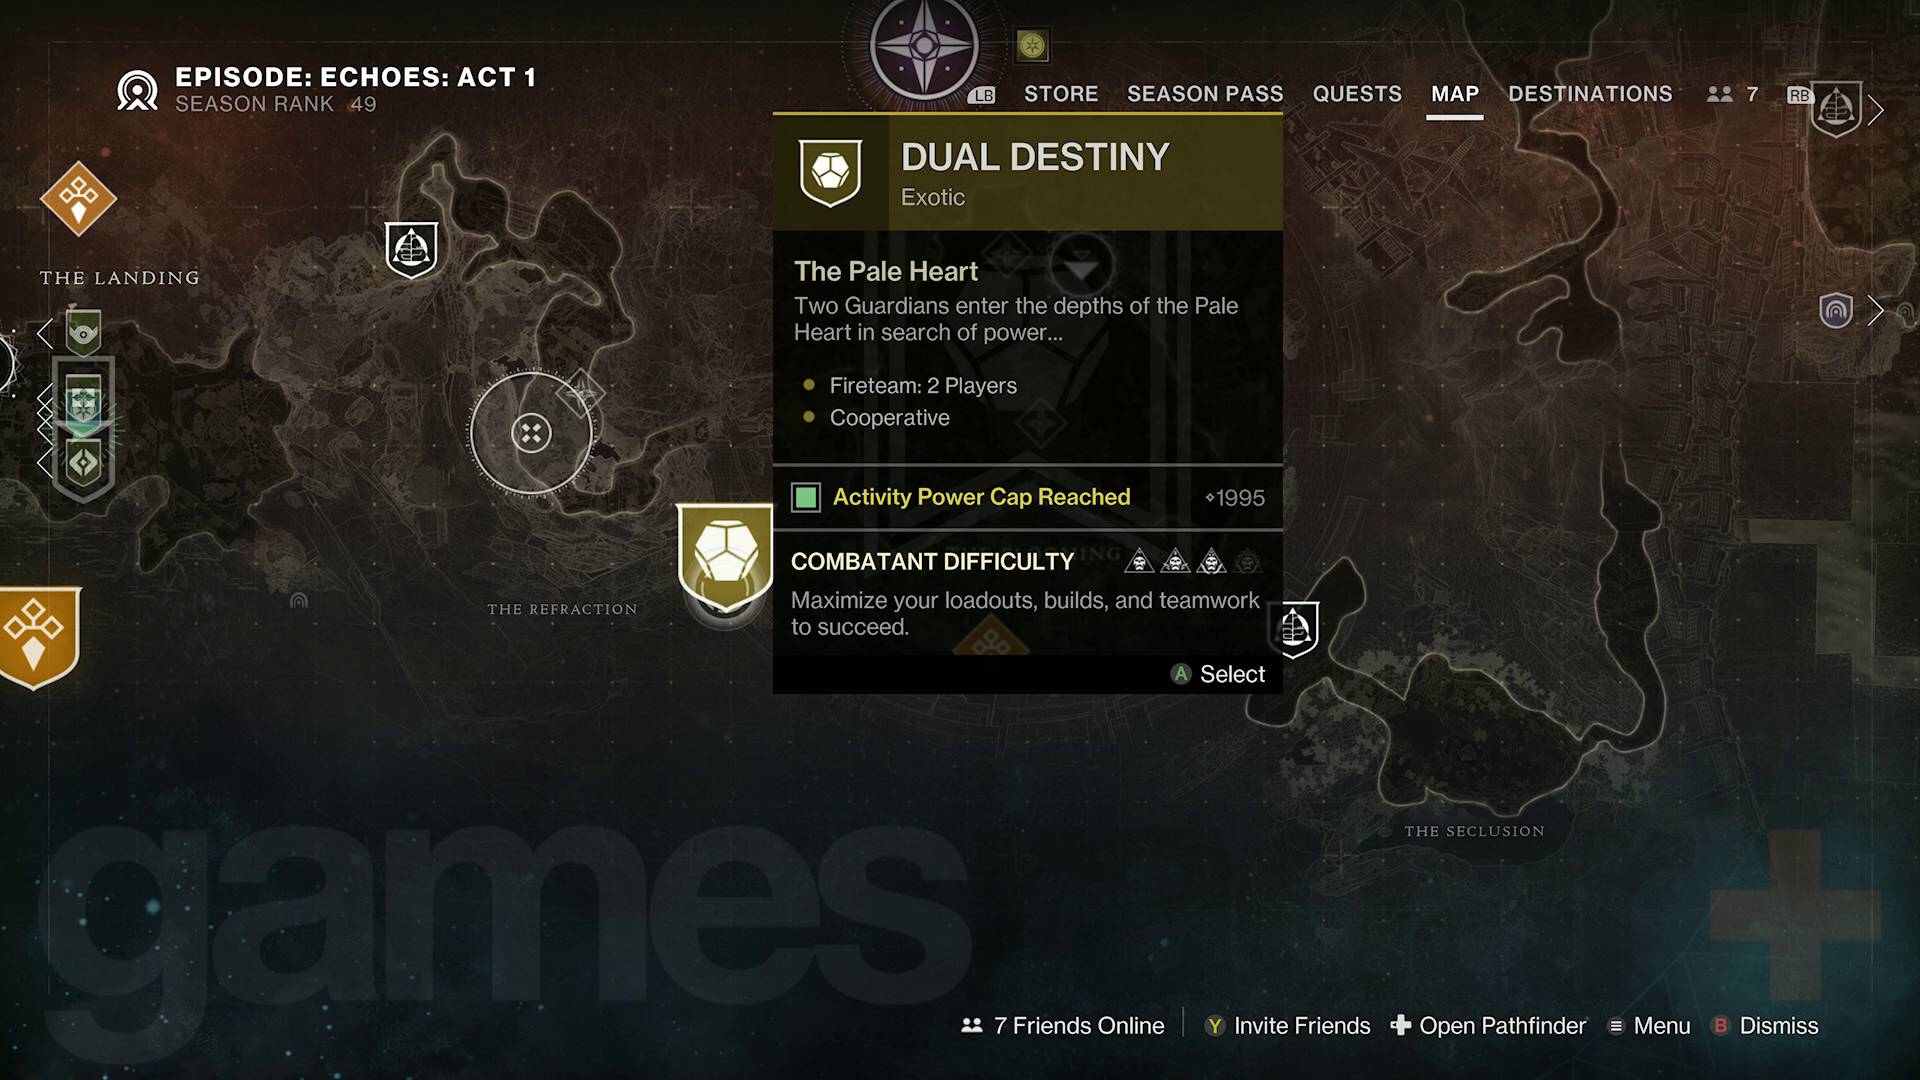
With all that done, the activity flag for the Dual Destiny Exotic mission will appear, letting you start the Destiny 2 The Final Shape Exotic mission on the spot, or you can find it on your map.
Destiny 2 Dual Destiny guide and walkthrough
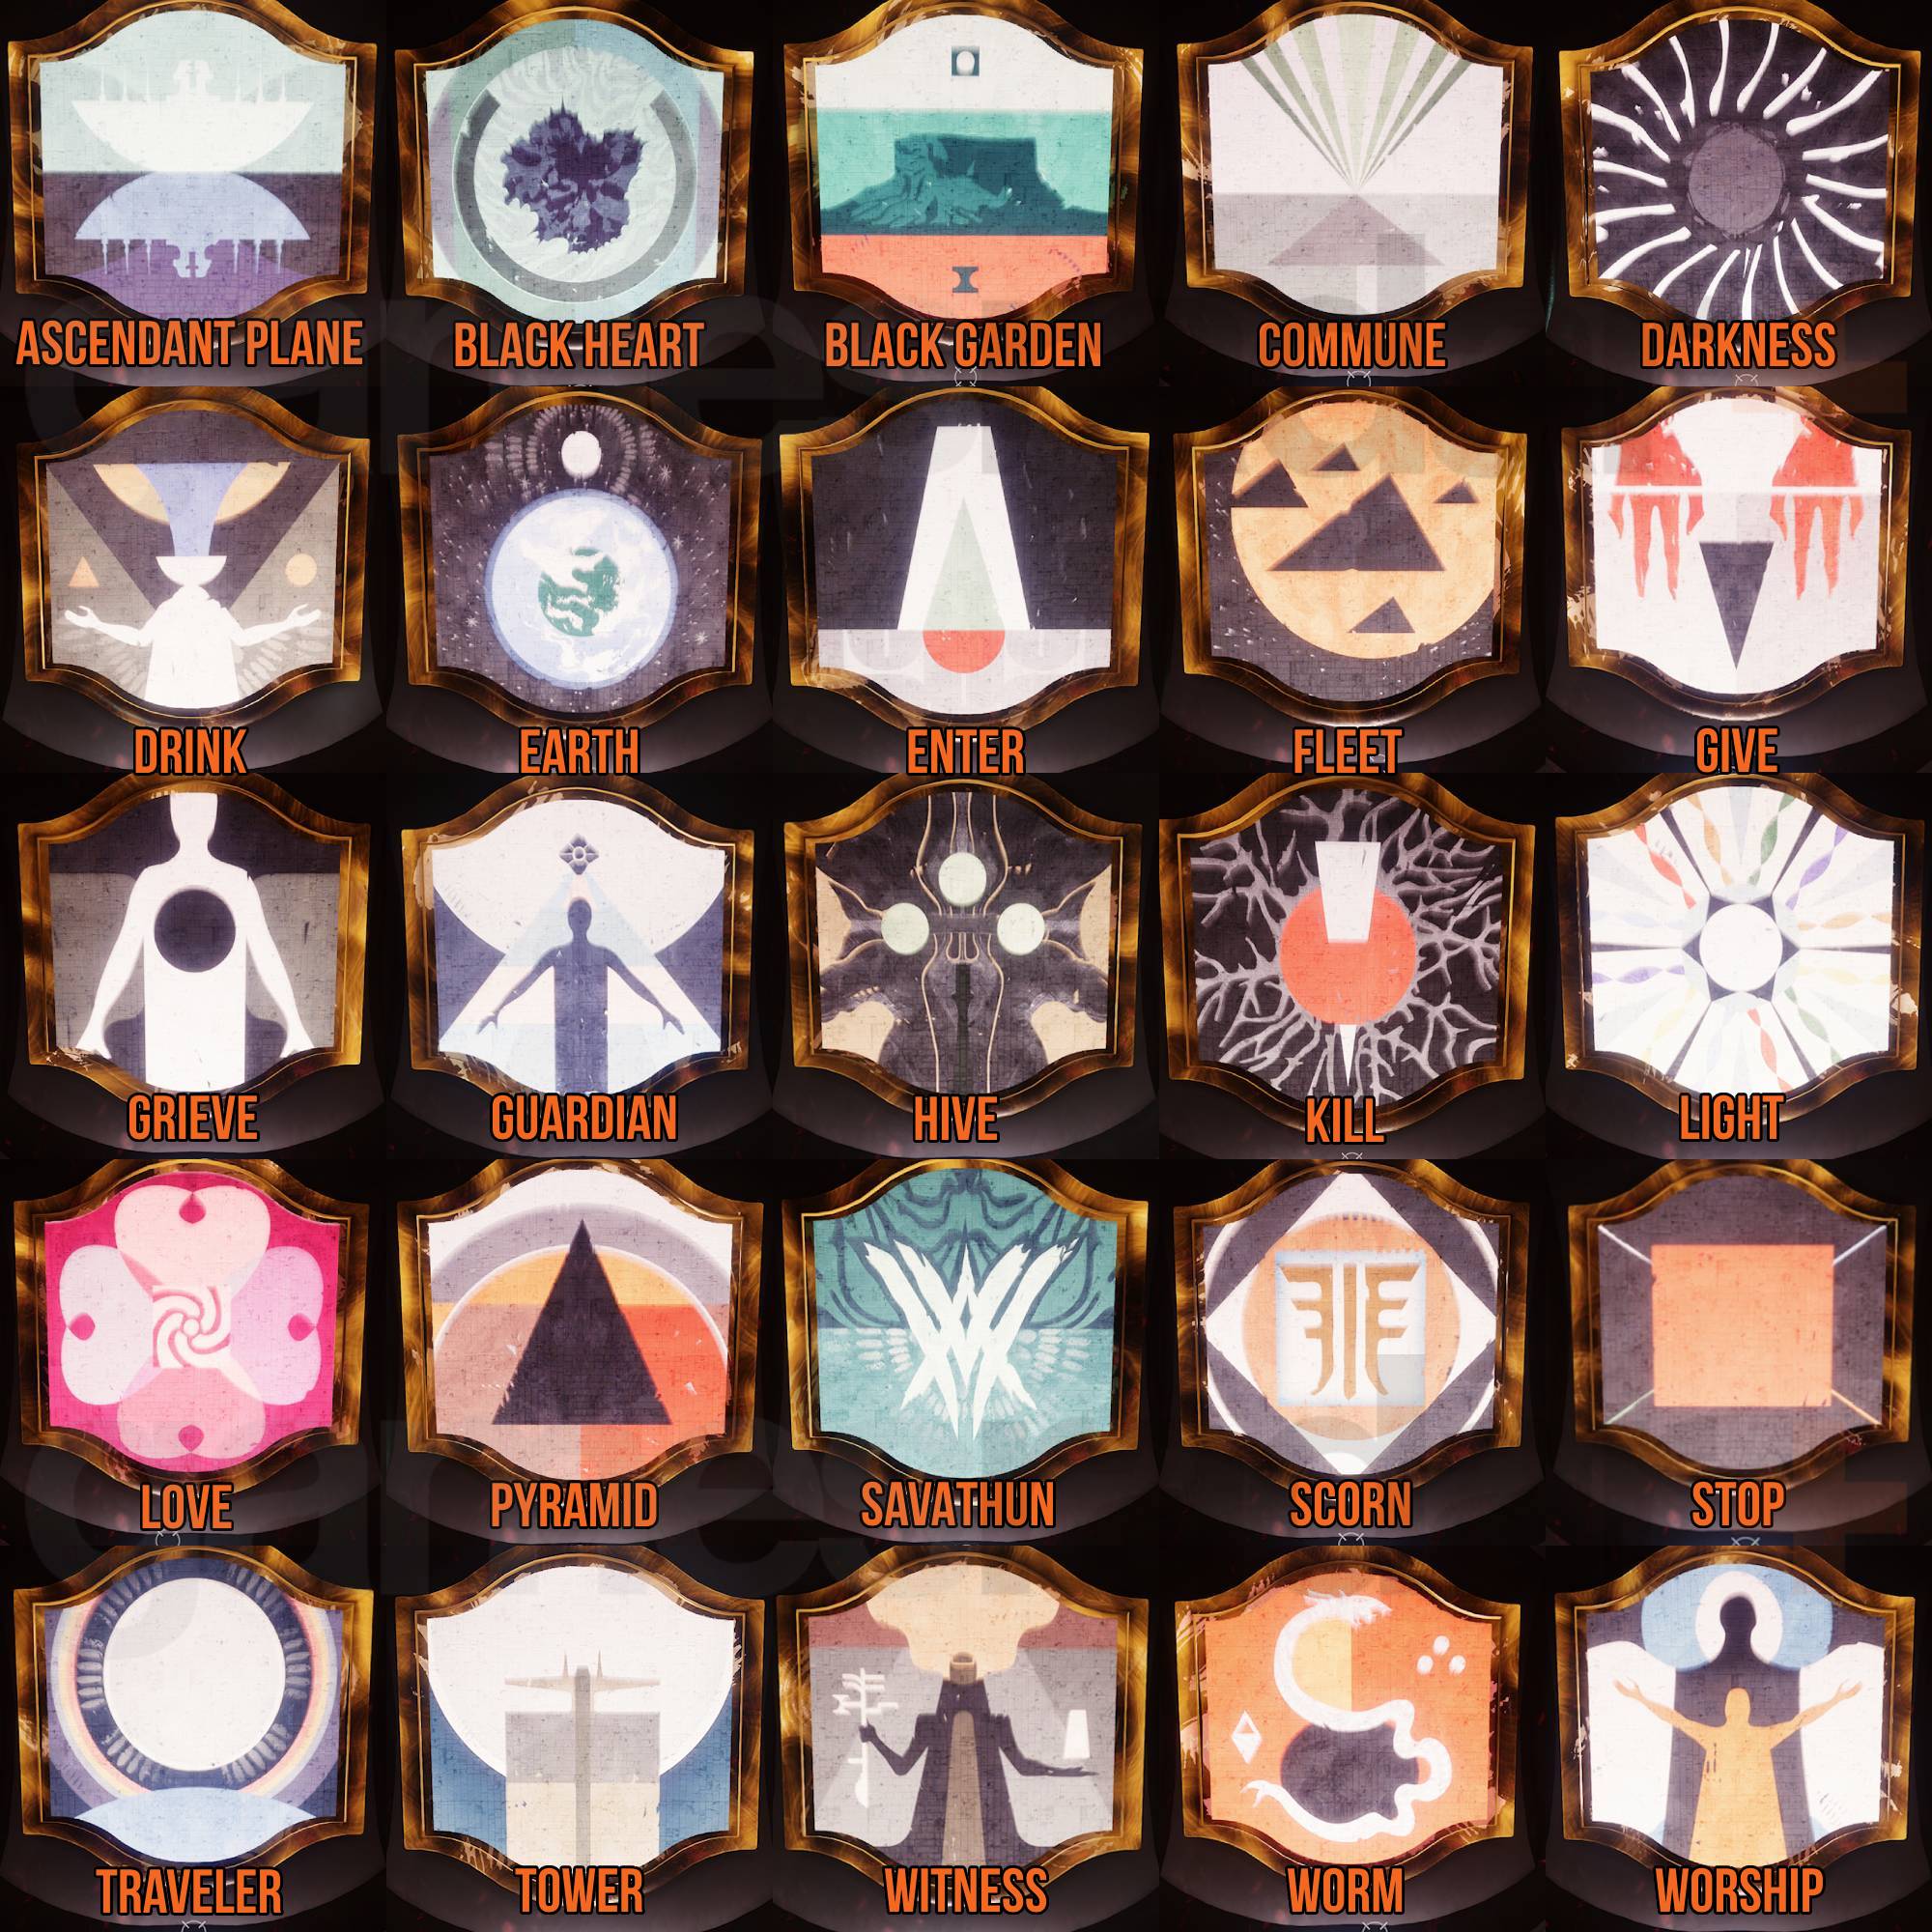
Before you can begin the Dual Destiny Exotic mission with another player, one of you must have a Light Subclass equipped (Solar, Arc, or Void) and the other must have a Darkness Subclass equipped (Stasis or Strand). For the entire mission, the player with the Light Subclass is "Light Aligned" and the Darkness Subclass player is "Darkness Aligned". This determines which plates you can activate, symbols you can see or interact with, and which enemies you can kill. The symbols are from the Vow of the Disciple Raid and the Destiny 2 Preservation mission – use this cheat sheet to help you name them!
Once you start the mission, step on the plate matching your own alignment (so the Light player steps on the white plate, and the Darkness players steps on the black and orange plate) to bring down the barrier blocking the path. Now you can proceed out the cave and into the Refraction.
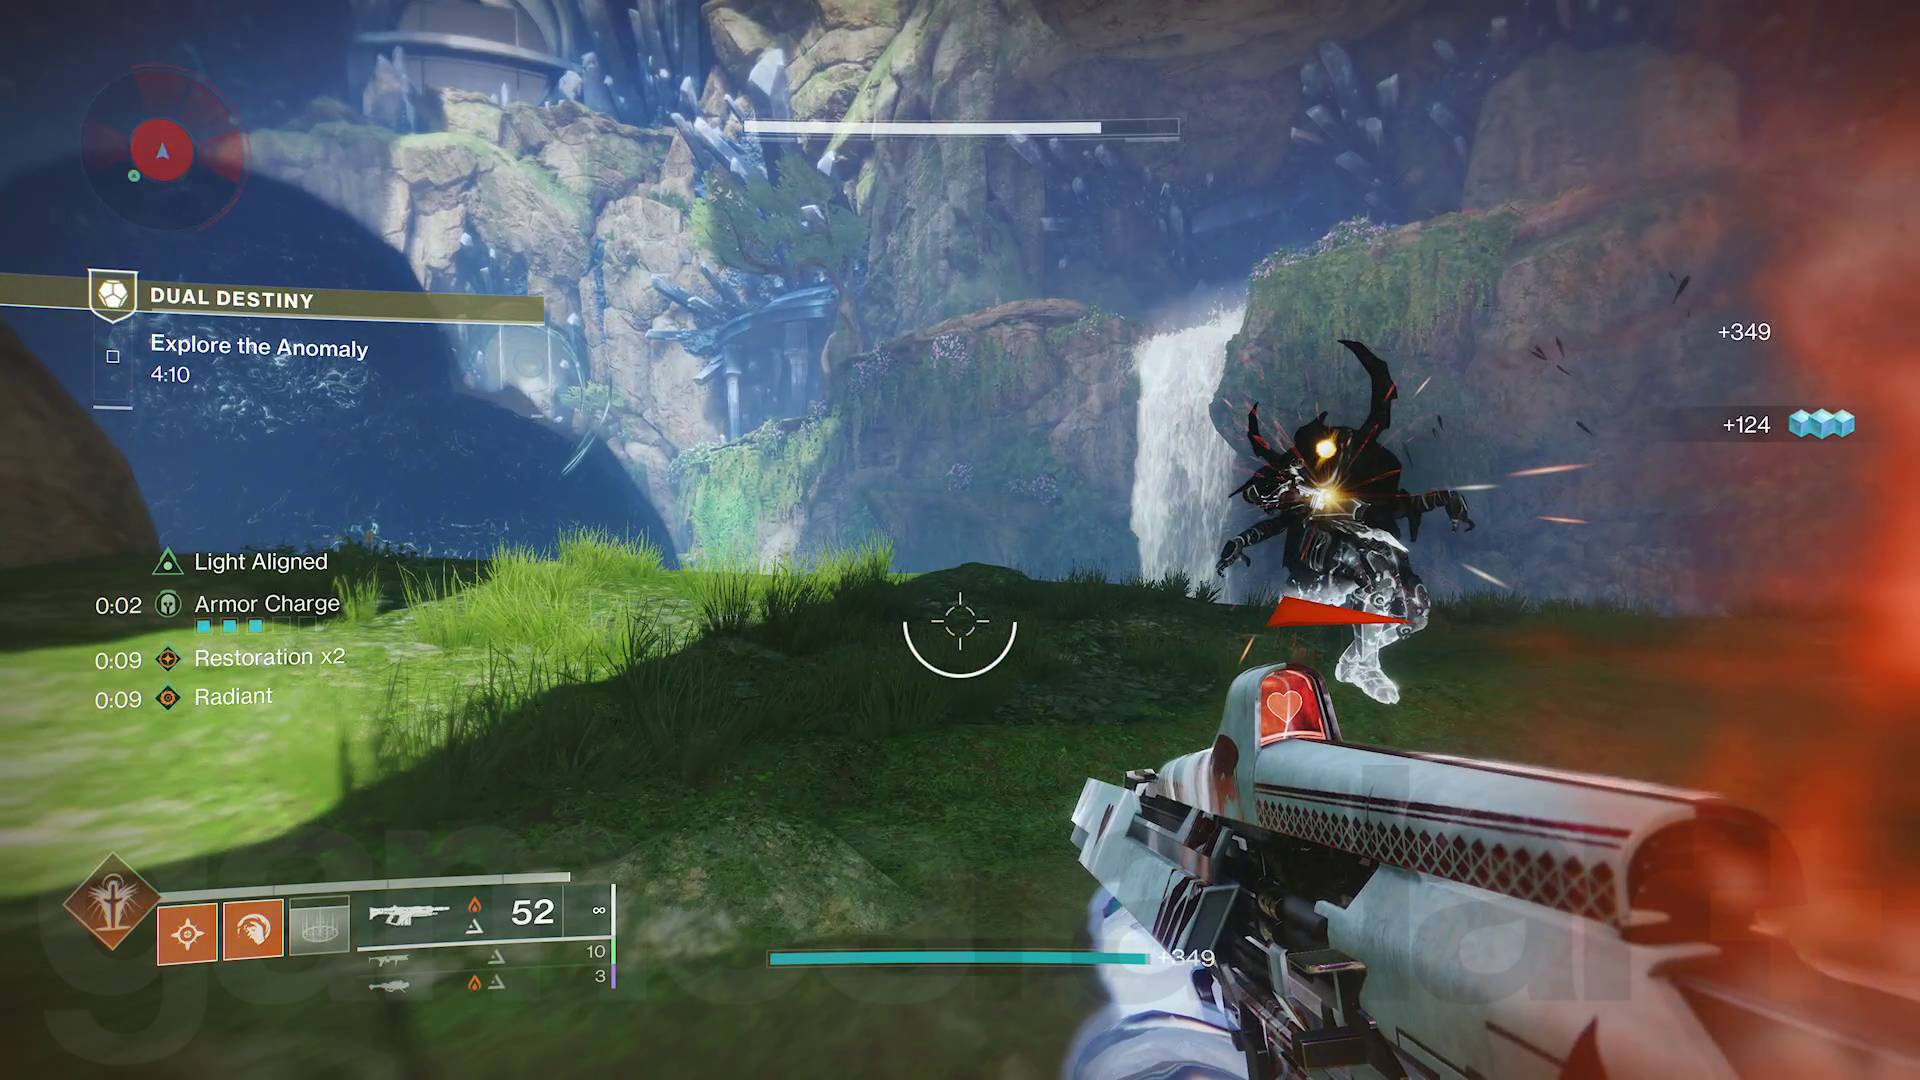
After that, make a beeline for the area where you begin the Moth-Infested Cavern Cyst. There are two Darkness barriers that are brought down when both players stand on the corresponding plates in the area and shoot the Darkness splinters on the barriers. Now you can proceed into the cavern.
Dual Destiny Refraction cavern
The cavern is the first major encounter of Dual Destiny and tasks one member of your duo with identifying symbols that only they can see, while the other player shoots Darkness splinters with matching symbols that only they can see. Stand in the corresponding Light and Darkness rings in this cavern to begin the encounter:
- The Light player kills two Light-aligned Servile Centurions and collects the Motes of Light they drop. This reveals two symbols on the plinths near where the Light ring was.
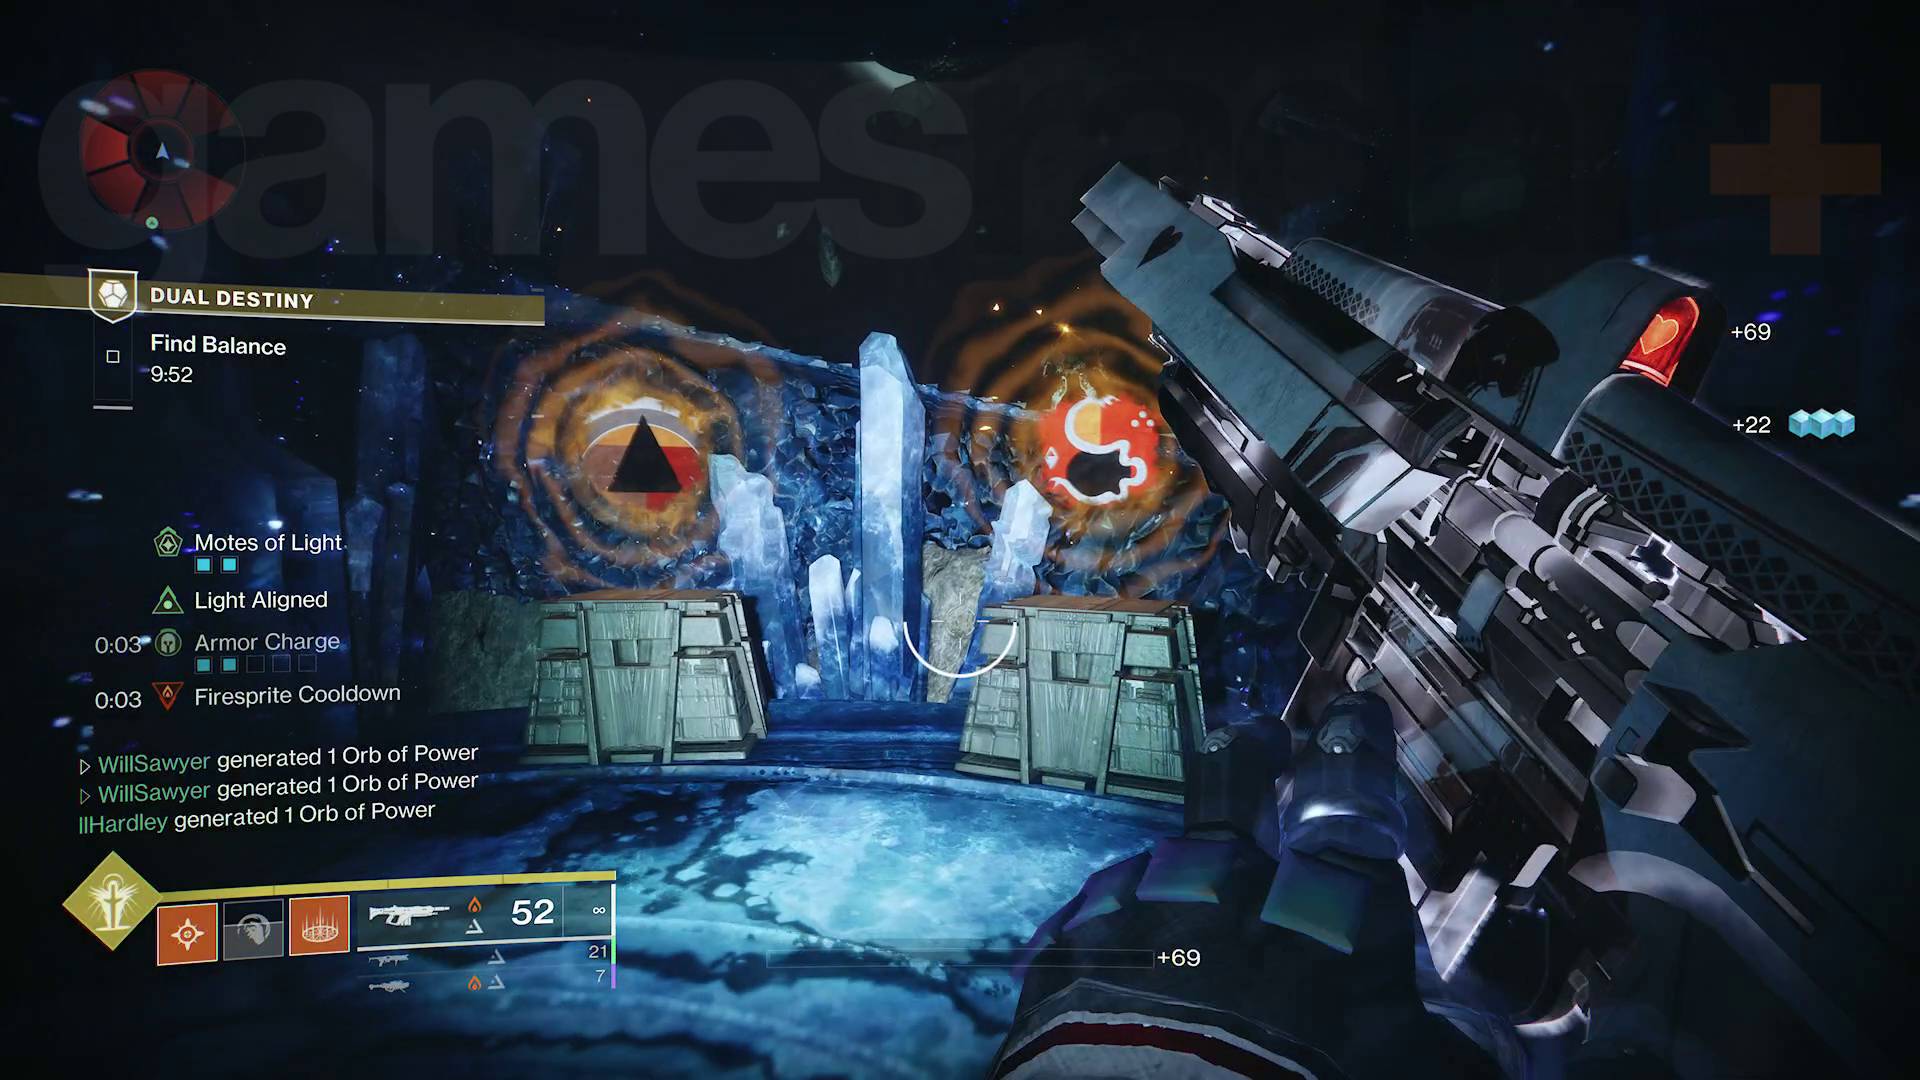
- Meanwhile, the Darkness player kills two Dark-aligned Servile Knights and collects the Motes of Light they drop. This reveals a few Darkness splinters with symbols at a time.
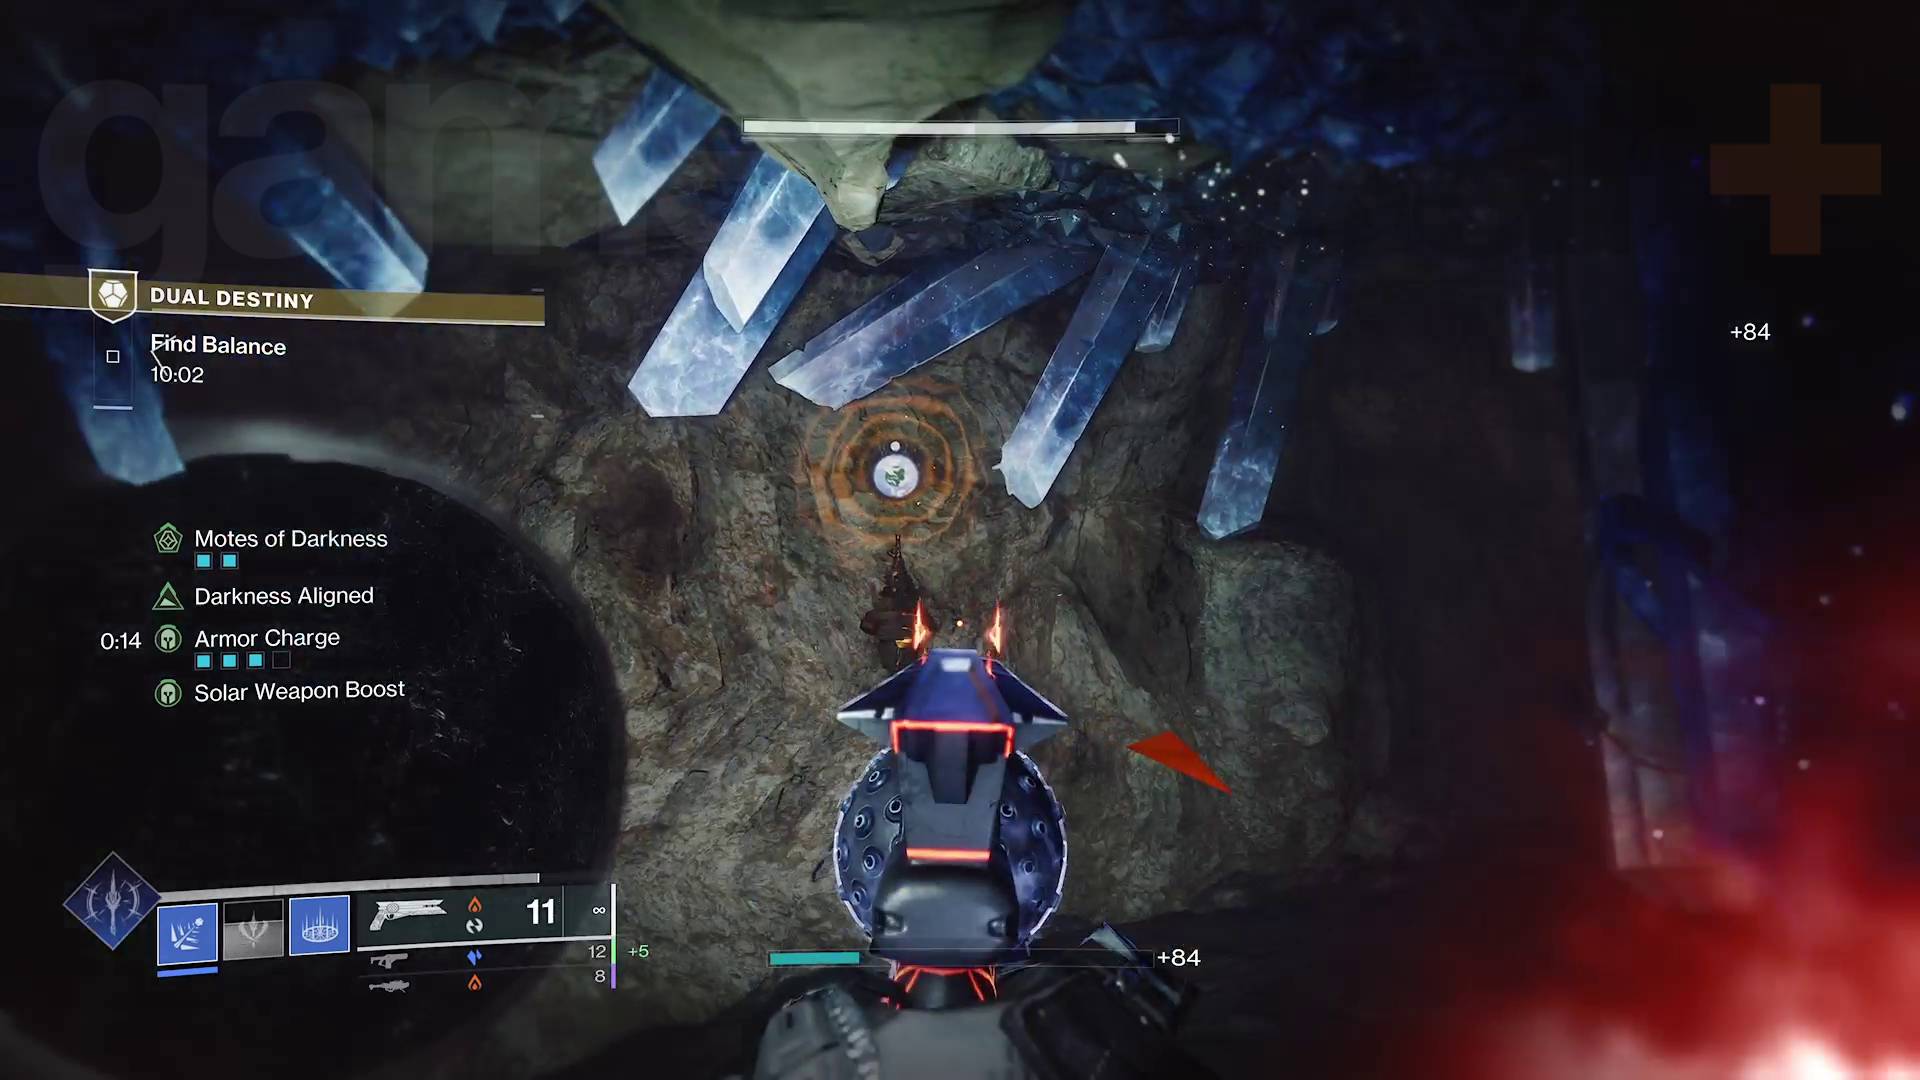
- The Light player tells the Darkness player which two symbols they can see on their plinths in the order that they appeared.
- The Darkness player shoots the matching splinters in the correct order. If done correctly, you'll see the message, "Paracausal energy tears through you!", and will get teleported ahead.
- In the next room, the rules are the same as before, but the roles are swapped (the Darkness player now finds symbols and Light player shoots splinters) and three symbols need to be matched. Succeed and you'll be teleported to the final room.
- In the final room, the rules are the same as in the first room, except four symbols need to be matched. Get everything correct and kill all enemies to get teleported to the next area of the mission.
Dual Destiny Intrusion
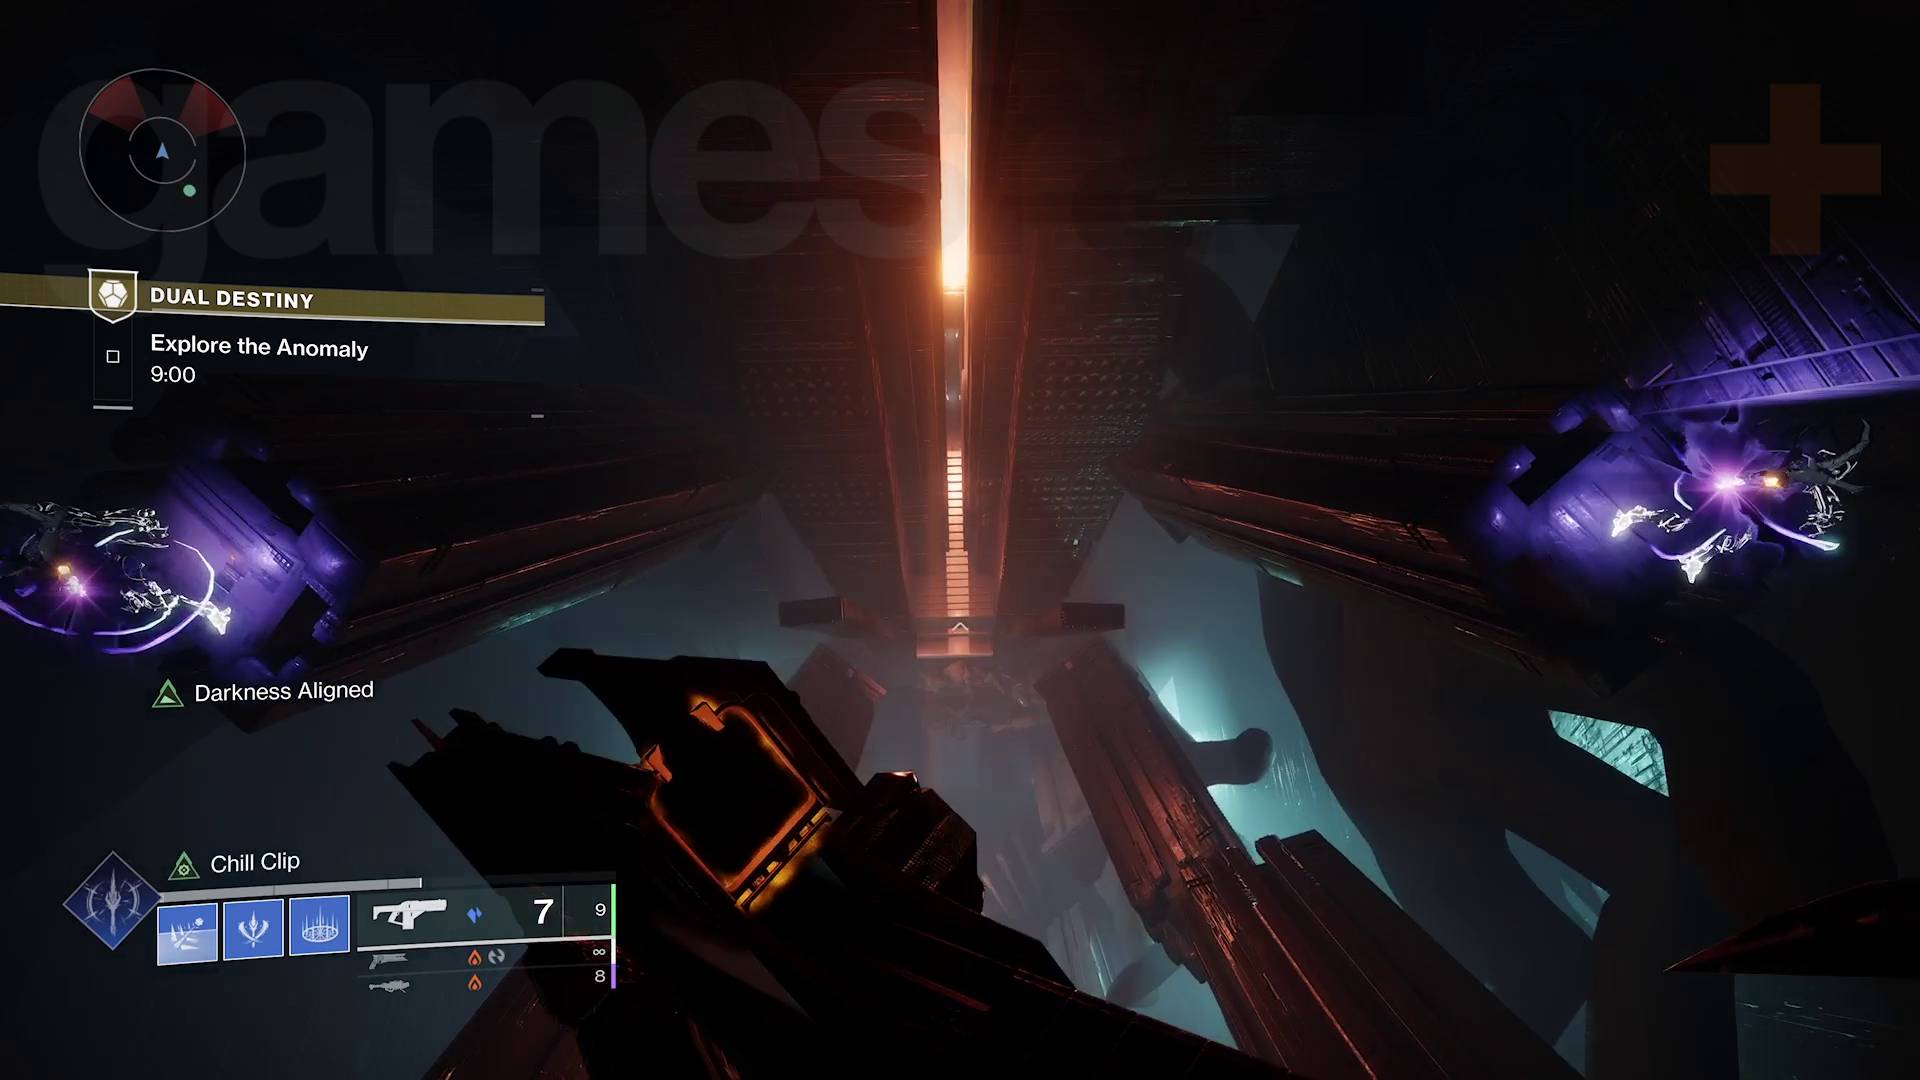
Now you'll be inside a massive structure with black Pyramid architecture. This next exploration section is essentially just a lot of platforming and more pairs of Light and Darkness plates to open the way ahead – watch for enemies, especially Taken Phalanxes, and any moving objects that can push you off.
Eventually you'll reach a large room with an orange barrier blocking the exit door. When you start the encounter by standing on your plates, a Darkness obelisk will appear in front of the barrier, surrounded by nine splinters in a clockface pattern. Six of them will have orange lasers shooting out, but each player sees a different arrangement of lasers with three in common. Loads of Taken, Dread, and even the odd Destiny 2 Tormentor will attack, but here's what you do to get out of this room:
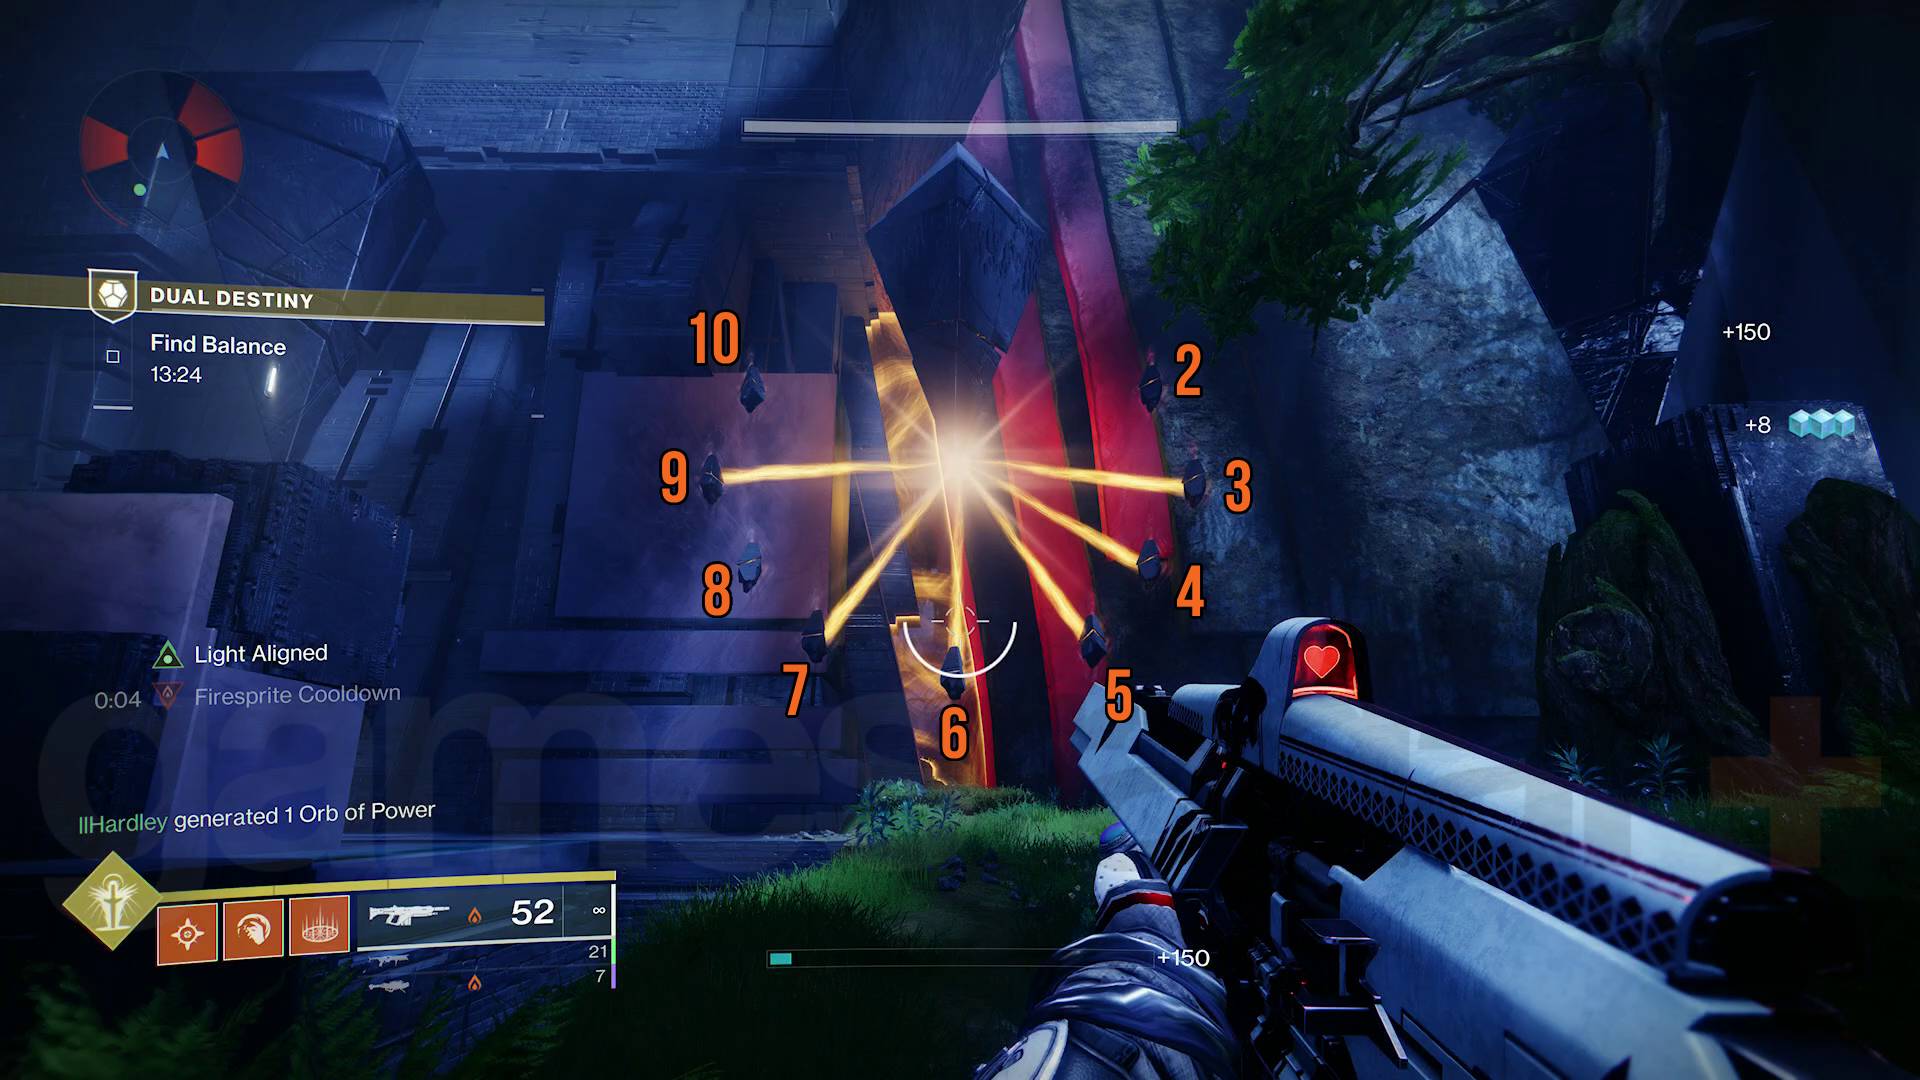
- Identify the three Darkness splinters with lasers that both players can see on their clockfaces. One player should read out the positions of all six lasers, then the other player compares and calls out the positions of the three matches.
- Shoot the matching splinters one by one at the same time as the other player. If done correctly, you'll see the message, "Light and Darkness surge, destabilizing an obelisk!".
- Repeat two more times and the barrier will deactivate, letting you press on.
Dual Destiny final bosses
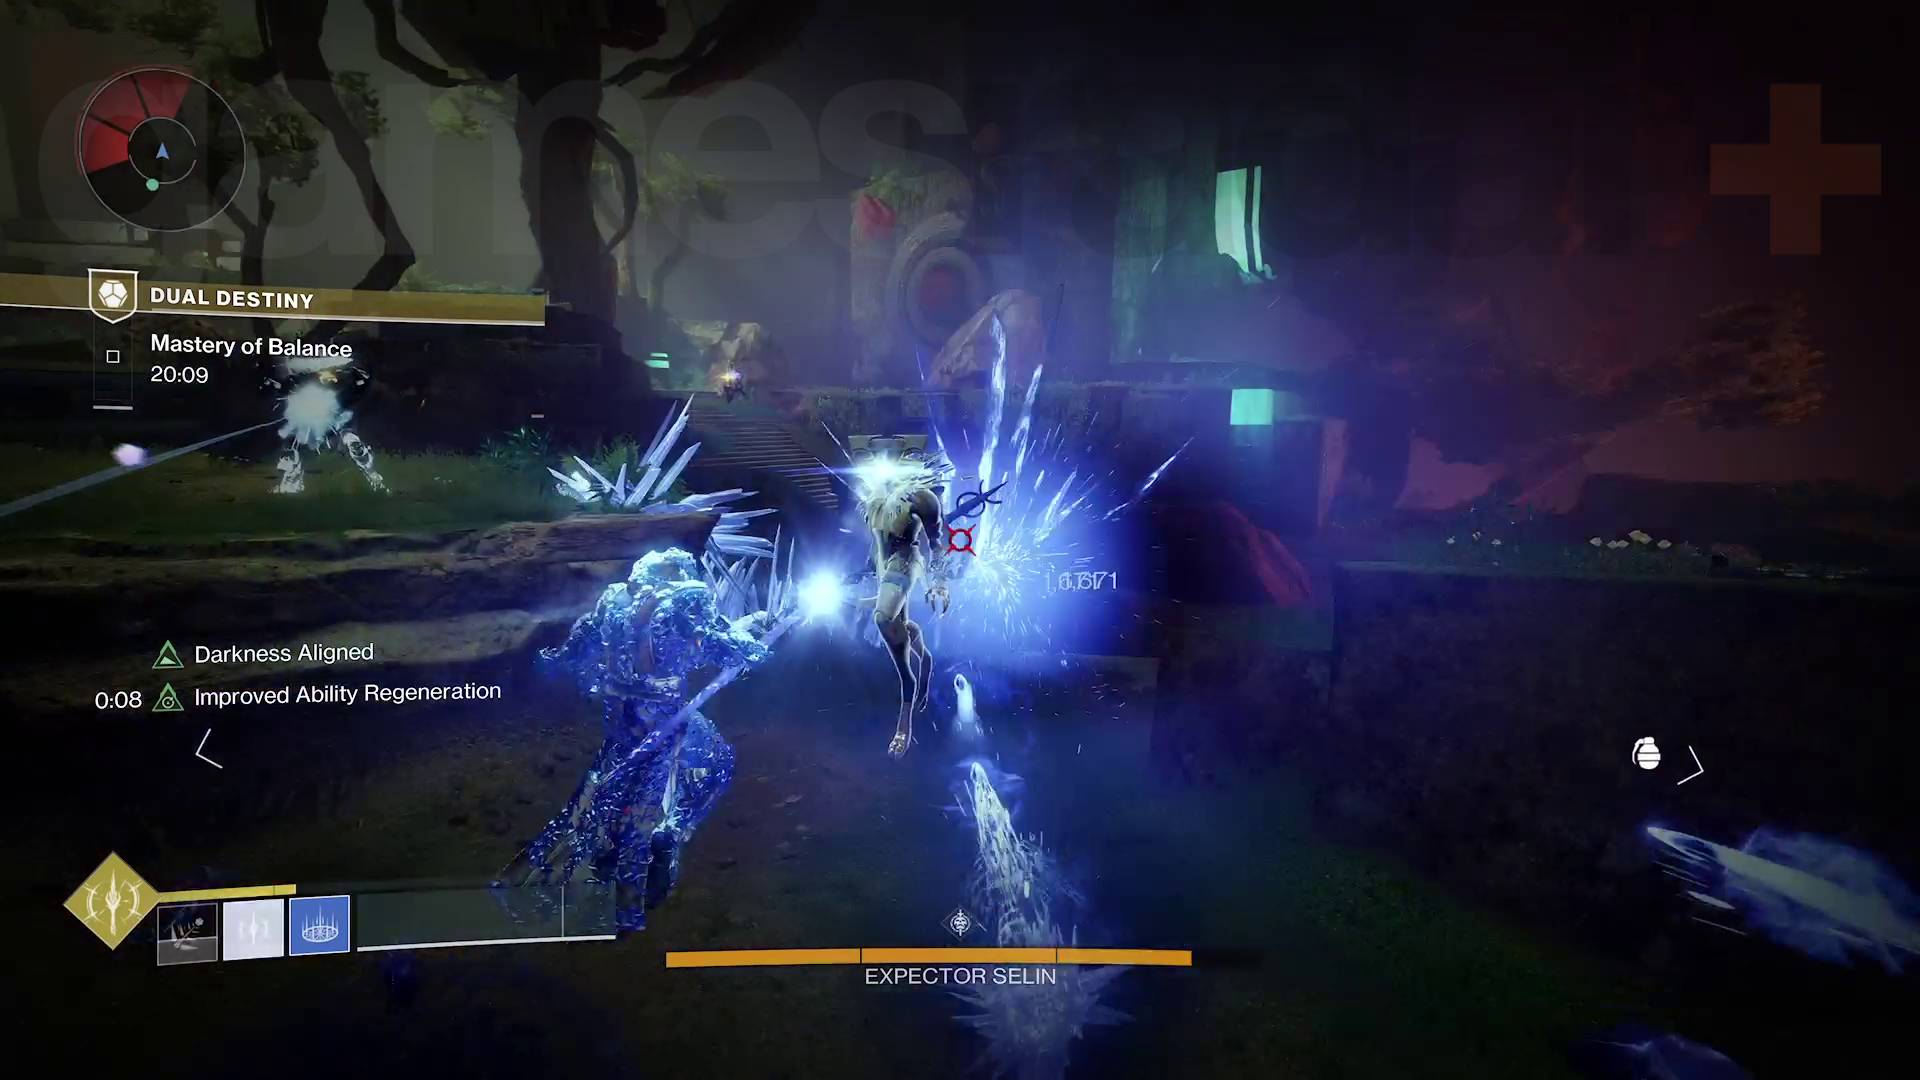
There's a bit of traversal and fighting to do between the Intrusion encounter and the final bosses but it's nothing complicated – kill enemies, stand on Light and Darkness plates to activate gravity lifts, take the lifts to the next area, and repeat until you get shot over to the final boss area. Here you'll face two Subjugators and must use a combination of the mechanics from the last two main encounters – symbols and clockfaces – to beat them:
- Damage Selin until they retreat to a nearby Darkness obelisk and summon a shield.
- Both players must kill the Servile Wizards matching their own Light/Darkness alignment. The Light player will then be able to see three symbols arranged vertically in front of the obelisk, while the Darkness player will see many splinters with symbols around the obelisk.
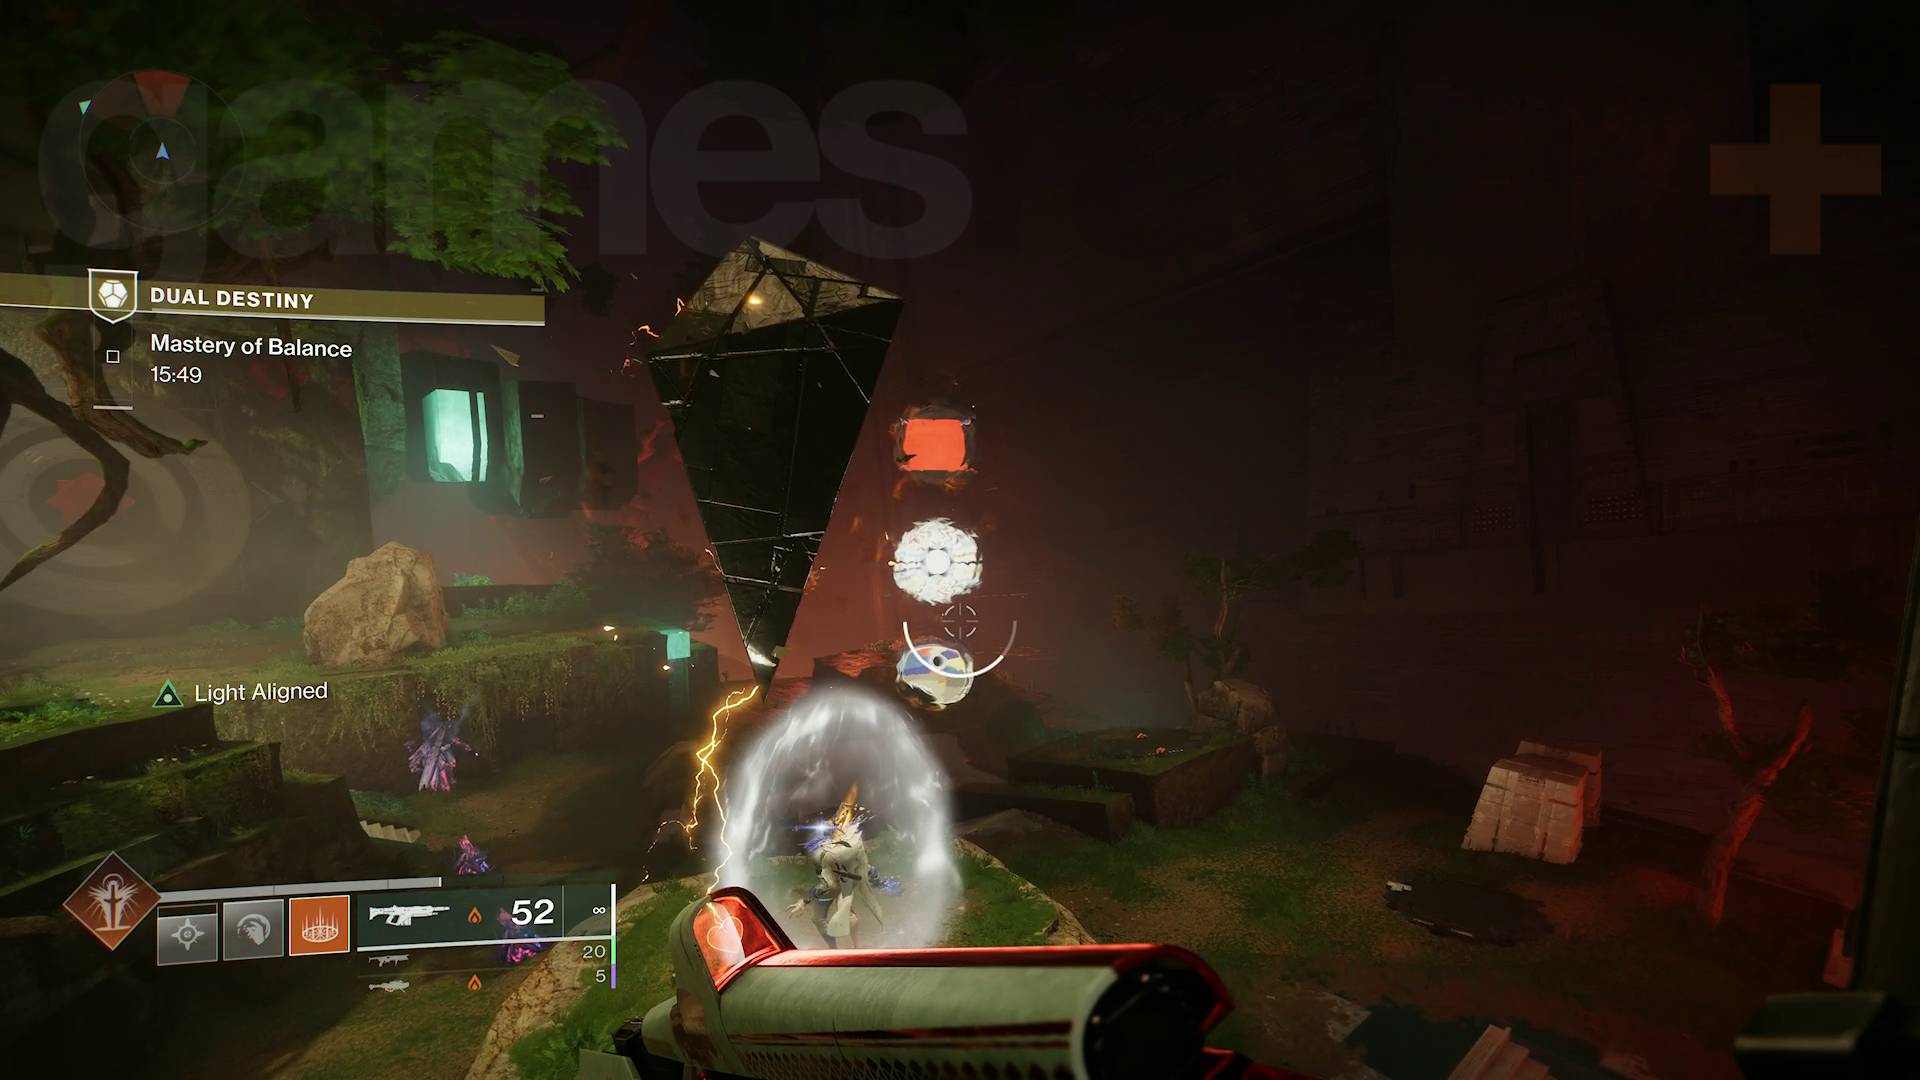
- The Light player reads out the symbols from top to bottom and the Darkness player shoots the matching splinters in order.
- Continue damaging Selin until they retreat again. This will summon Yemiq.
- Repeat steps 1-4 on Yemiq except the roles are switched for the symbols – the Darkness player now reads out the symbols while the Light player shoots the splinters.
- Both players must kill the Servile Wizards matching their own Light/Darkness alignment that are near the laser clockfaces.
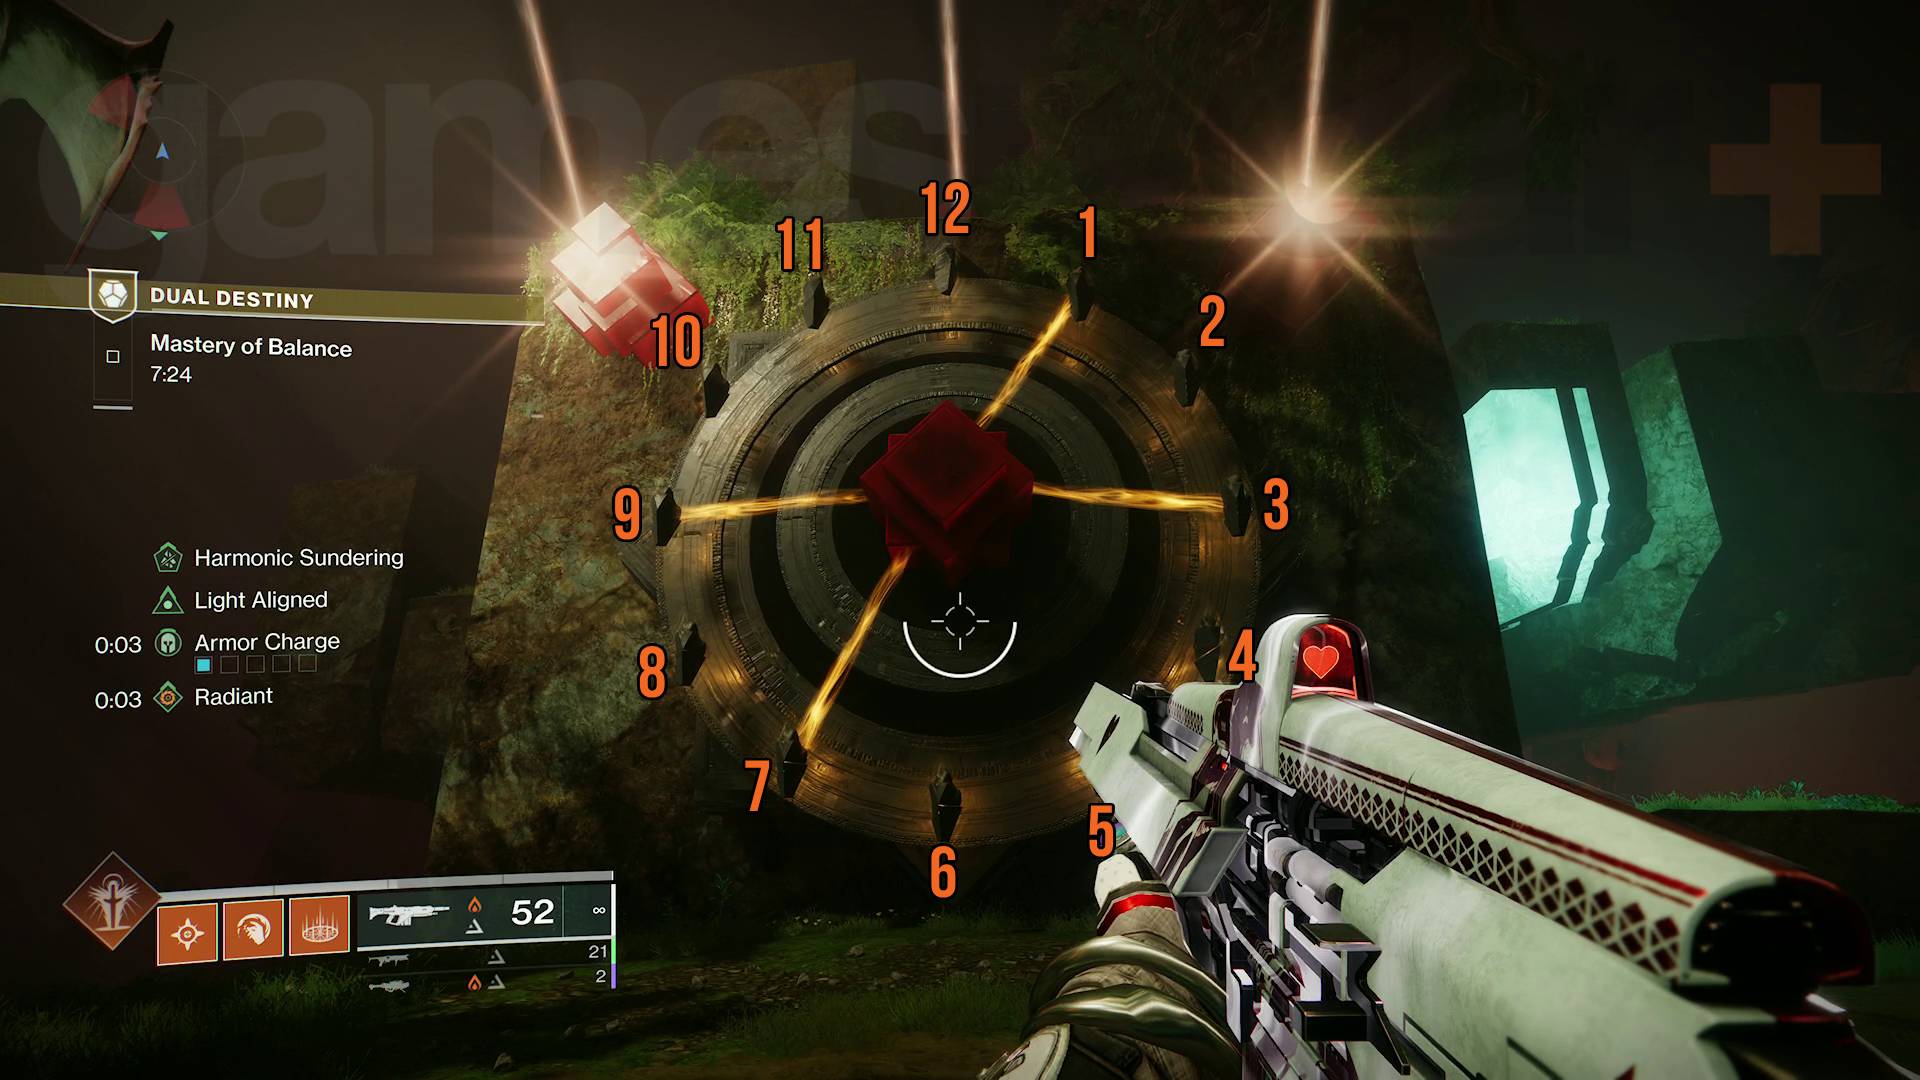
- When a laser pattern appears, both players must shoot the one splinter that is shared by both clockfaces at the same time. Like before, when a laser pattern appears, one player should read out the positions of all four lasers they can see, while the other player compares and calls out which one matches theirs. Do this three times to bring down Selin and Yemiq's shields.
- Defeat Selin and Yemiq.
Now that Selin and Yemiq are both dead, you can run across the newly formed bridge and head through the glowing doorway to claim you loot… sort of.
Dual Destiny Prepare for Battle or Choose Peace choice
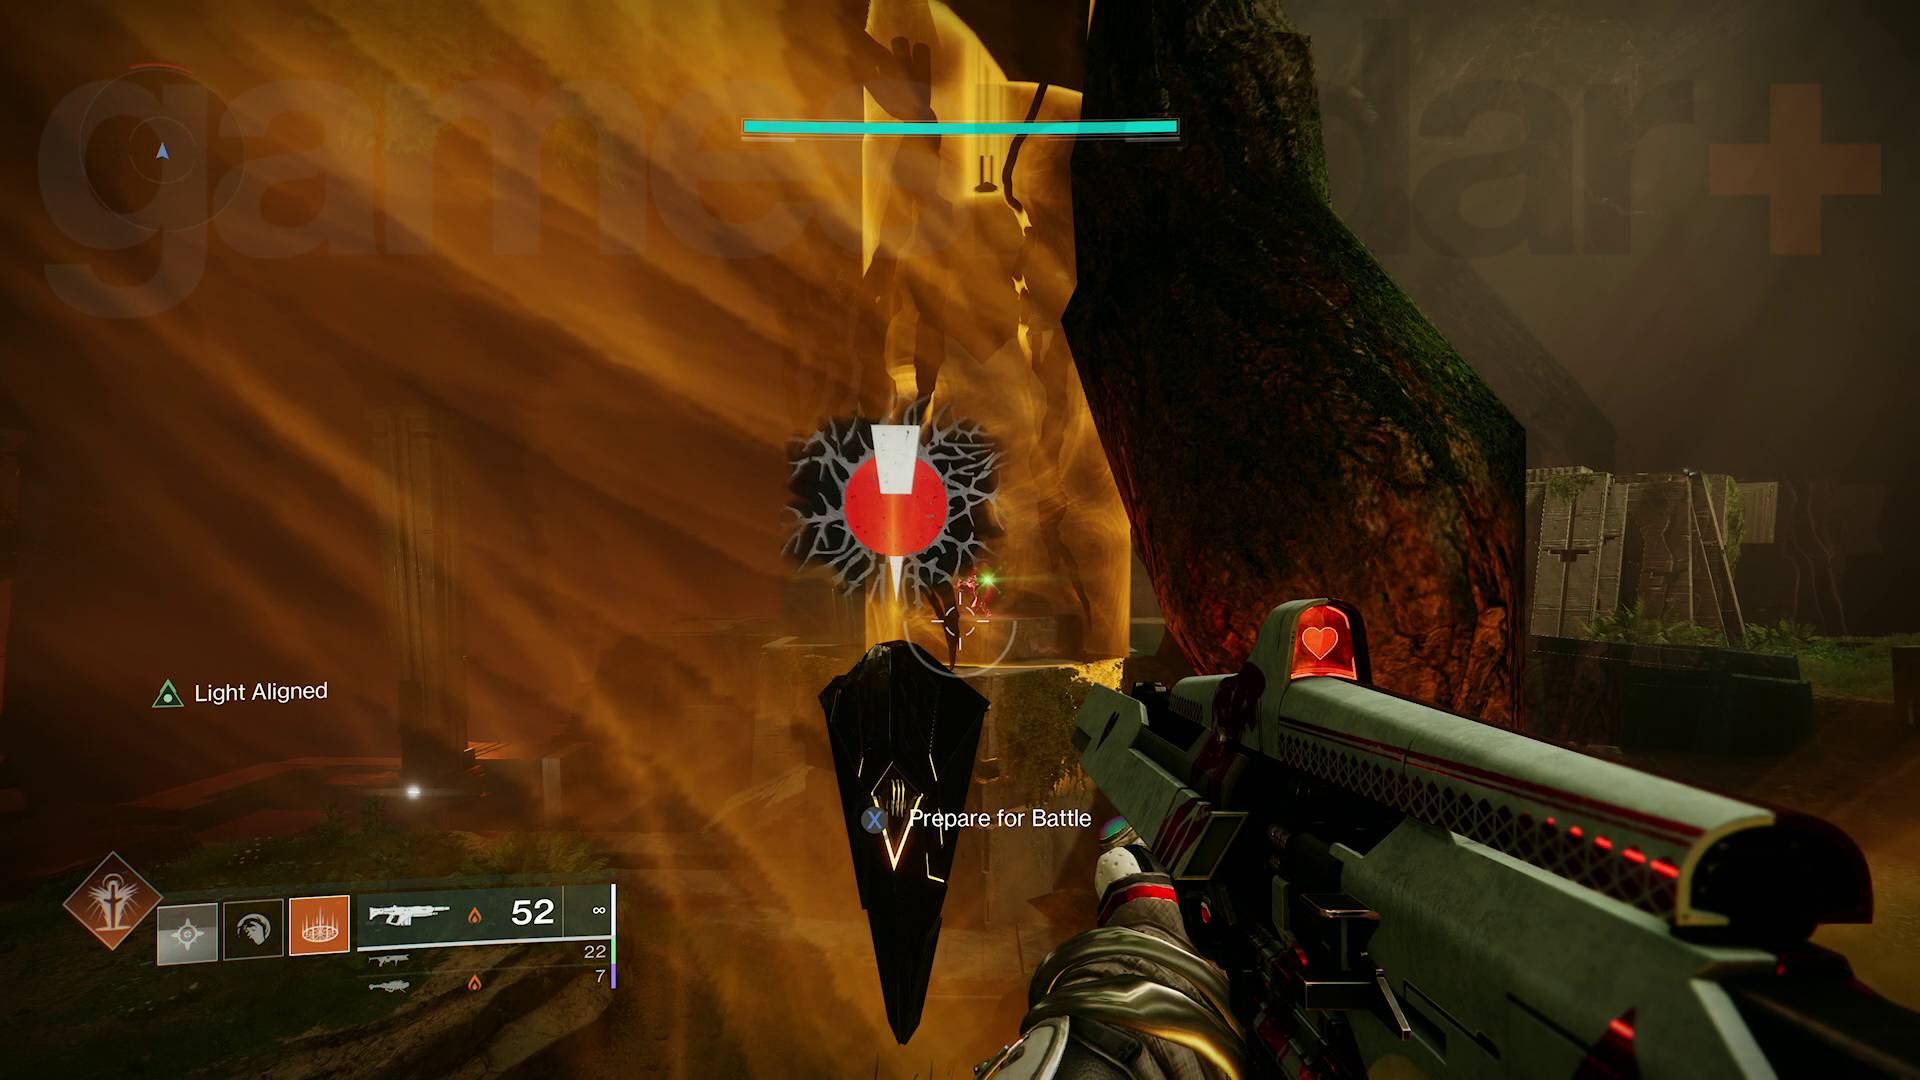
After unceremoniously getting trapped and killed when claiming your loot, you and your friend must make a choice by following the button prompts on the nearby Darkness splinters; prepare for battle or choose peace?
- If both players choose to prepare for battle, the mission turns into a PvP showdown where you must fight your friend to the death. The victor can then attempt to crush their opponent's Ghost but fails and dies.
- If both players choose peace, they both die.
Neither outcome affects your Exotic Class item mission reward, and you can both claim them from the plinths after you respawn, but you do get unique dialogue from Savathun depending on which outcome you choose.
© GamesRadar+. Not to be reproduced without permission.
Sign up to the GamesRadar+ Newsletter
Weekly digests, tales from the communities you love, and more

Will Sawyer is a guides writer at GamesRadar+ who works with the rest of the guides team to give readers great information and advice on the best items, how to complete a particular challenge, or where to go in some of the biggest video games. Will joined the GameRadar+ team in August 2021 and has written about service titles, including Fortnite, Destiny 2, and Warzone, as well as some of the biggest releases like Halo Infinite, Elden Ring, and God of War Ragnarok.


