How to complete the Destiny 2 Graviton Through the Ages Exotic Quest
The Graviton Through the Ages Exotic quest in Destiny 2 Edge of Fate tasks you with finding weapon parts around Kepler
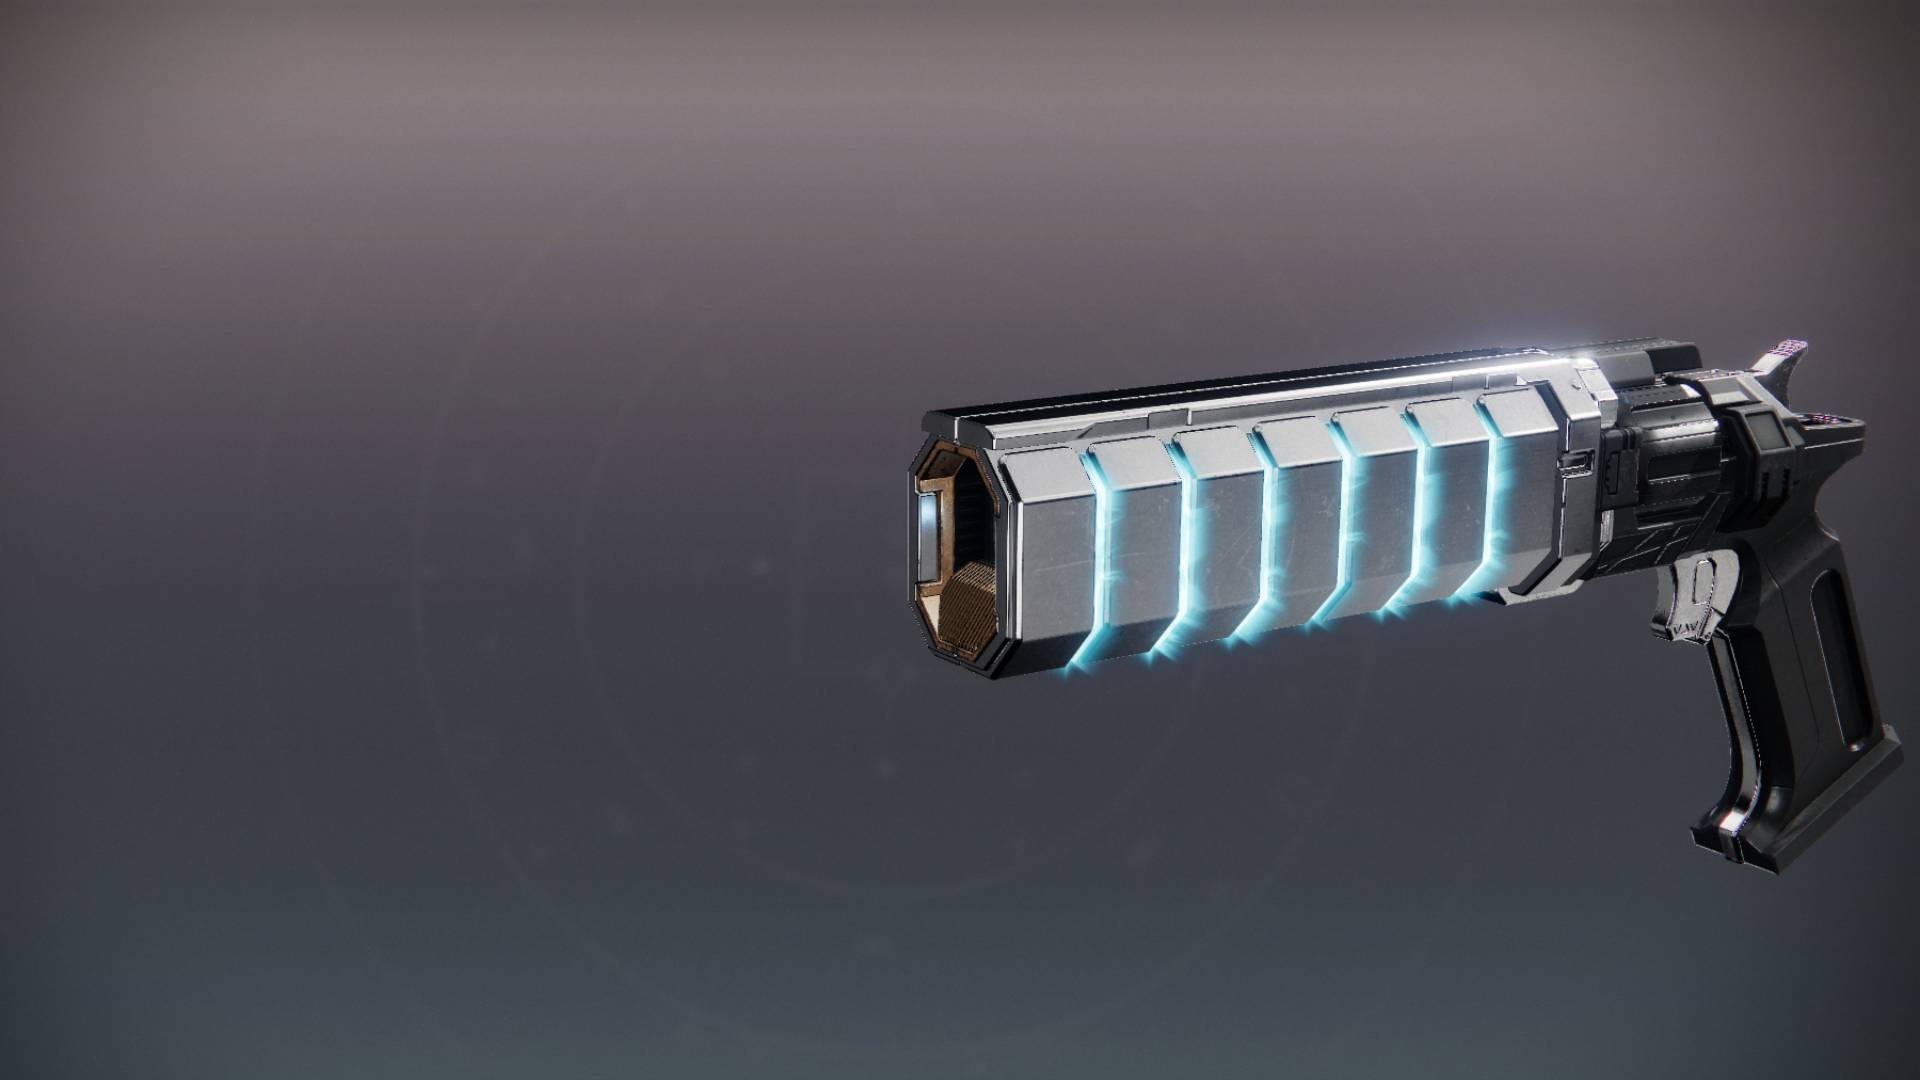
Destiny 2’s Graviton Through the Ages quest is the Exotic quest for the Graviton Spike Exotic Hand Cannon and its crafting pattern. This Hand Cannon is all about swapping between Arc and Stasis to zap and freeze your enemies.
Although, you won’t be able to start Graviton Through the Ages until you complete The Edge of Fate’s campaign. In this Destiny 2 guide, we’ll walk you through how to complete the lengthy Graviton Through the Ages quest and pick up one of the only new crafting patterns in The Edge of Fate.
How to start the Graviton Through the Ages quest
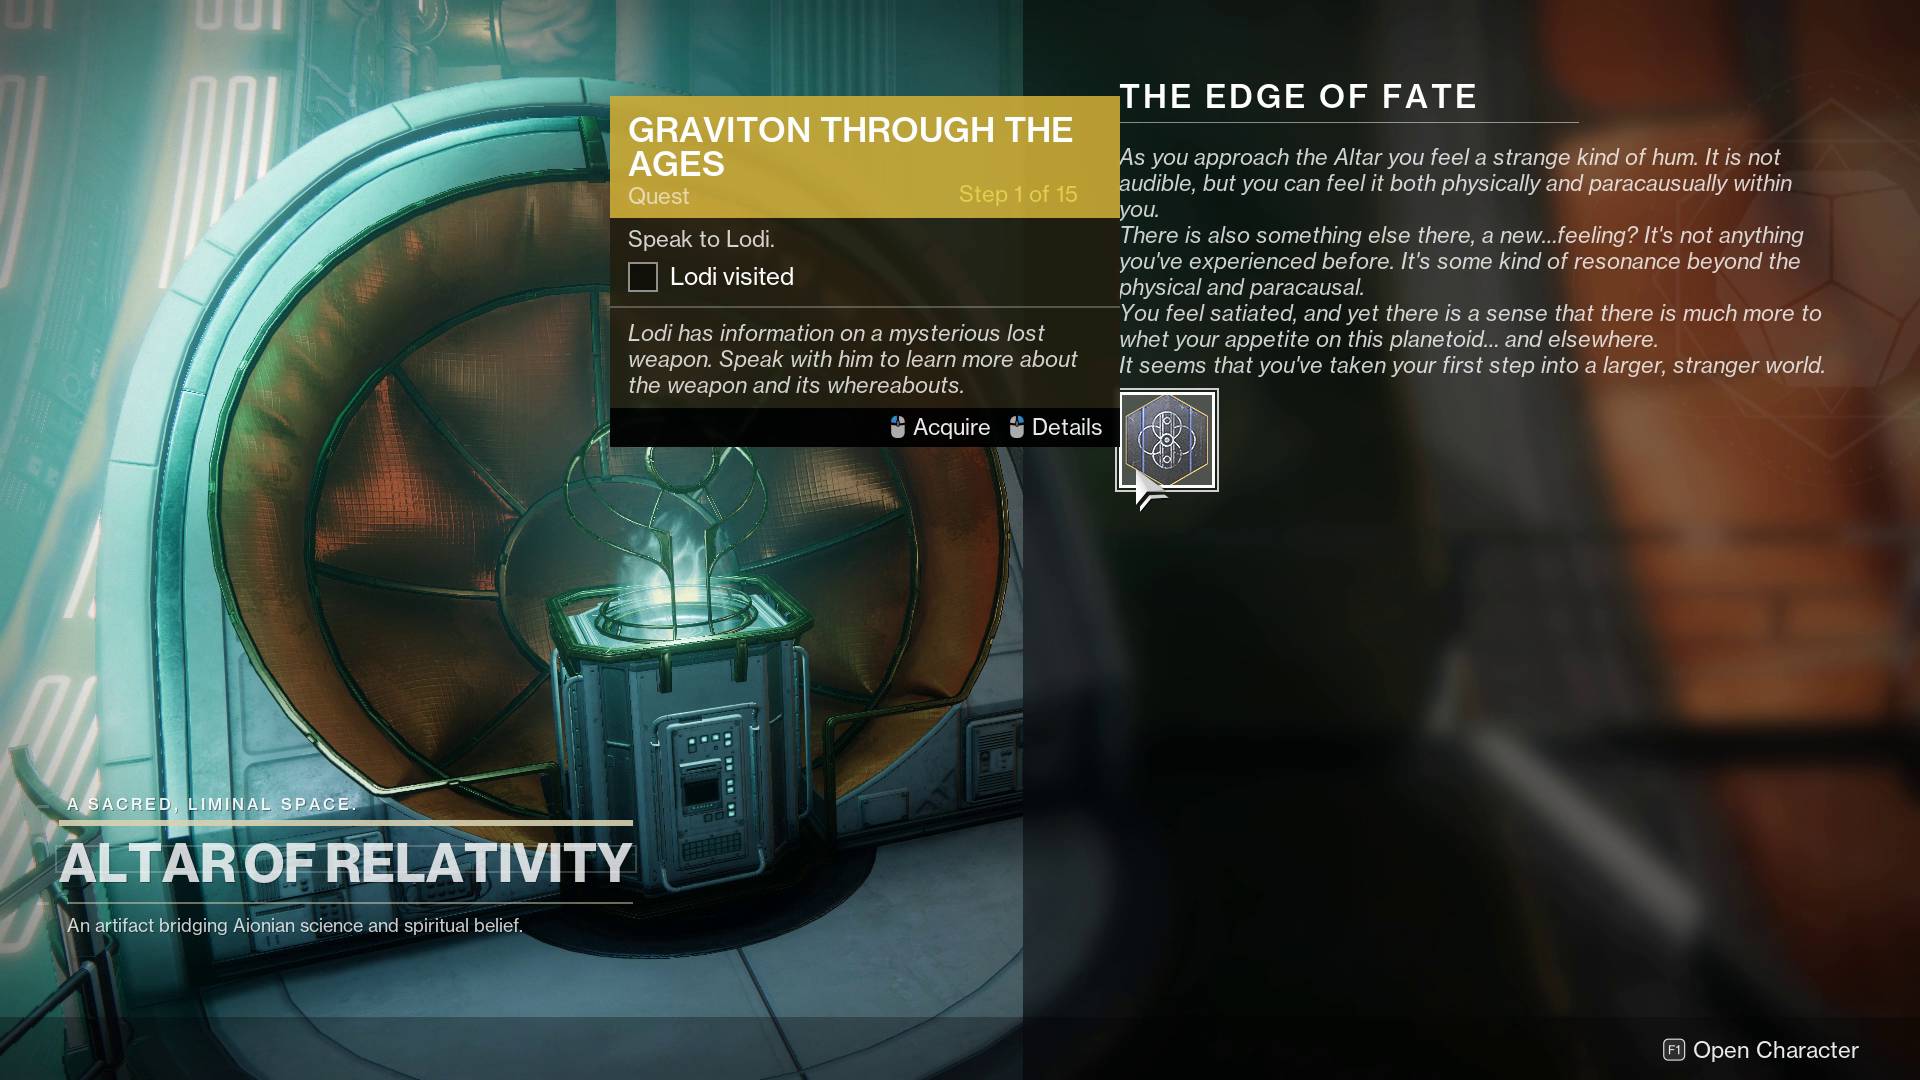
Once you see the final cutscene in the campaign and head back to the Caldera, you’ll be prompted to talk to Lodi and then return to the Altar of Relativity. Here, you’ll pick up the Graviton Through the Ages quest, which will ask you to... promptly return to Lodi. You’ll find him standing on the left platform after you come down the stairs. He’ll unlock Rosetta III for you after you finish talking to him.
Now go talk to The Emeritus, who is also in the Caldera. The Emeritus will then send you on the first leg of your lengthy journey: the Outer Steppes.
How to locate the weapon piece in the Outer Steppes
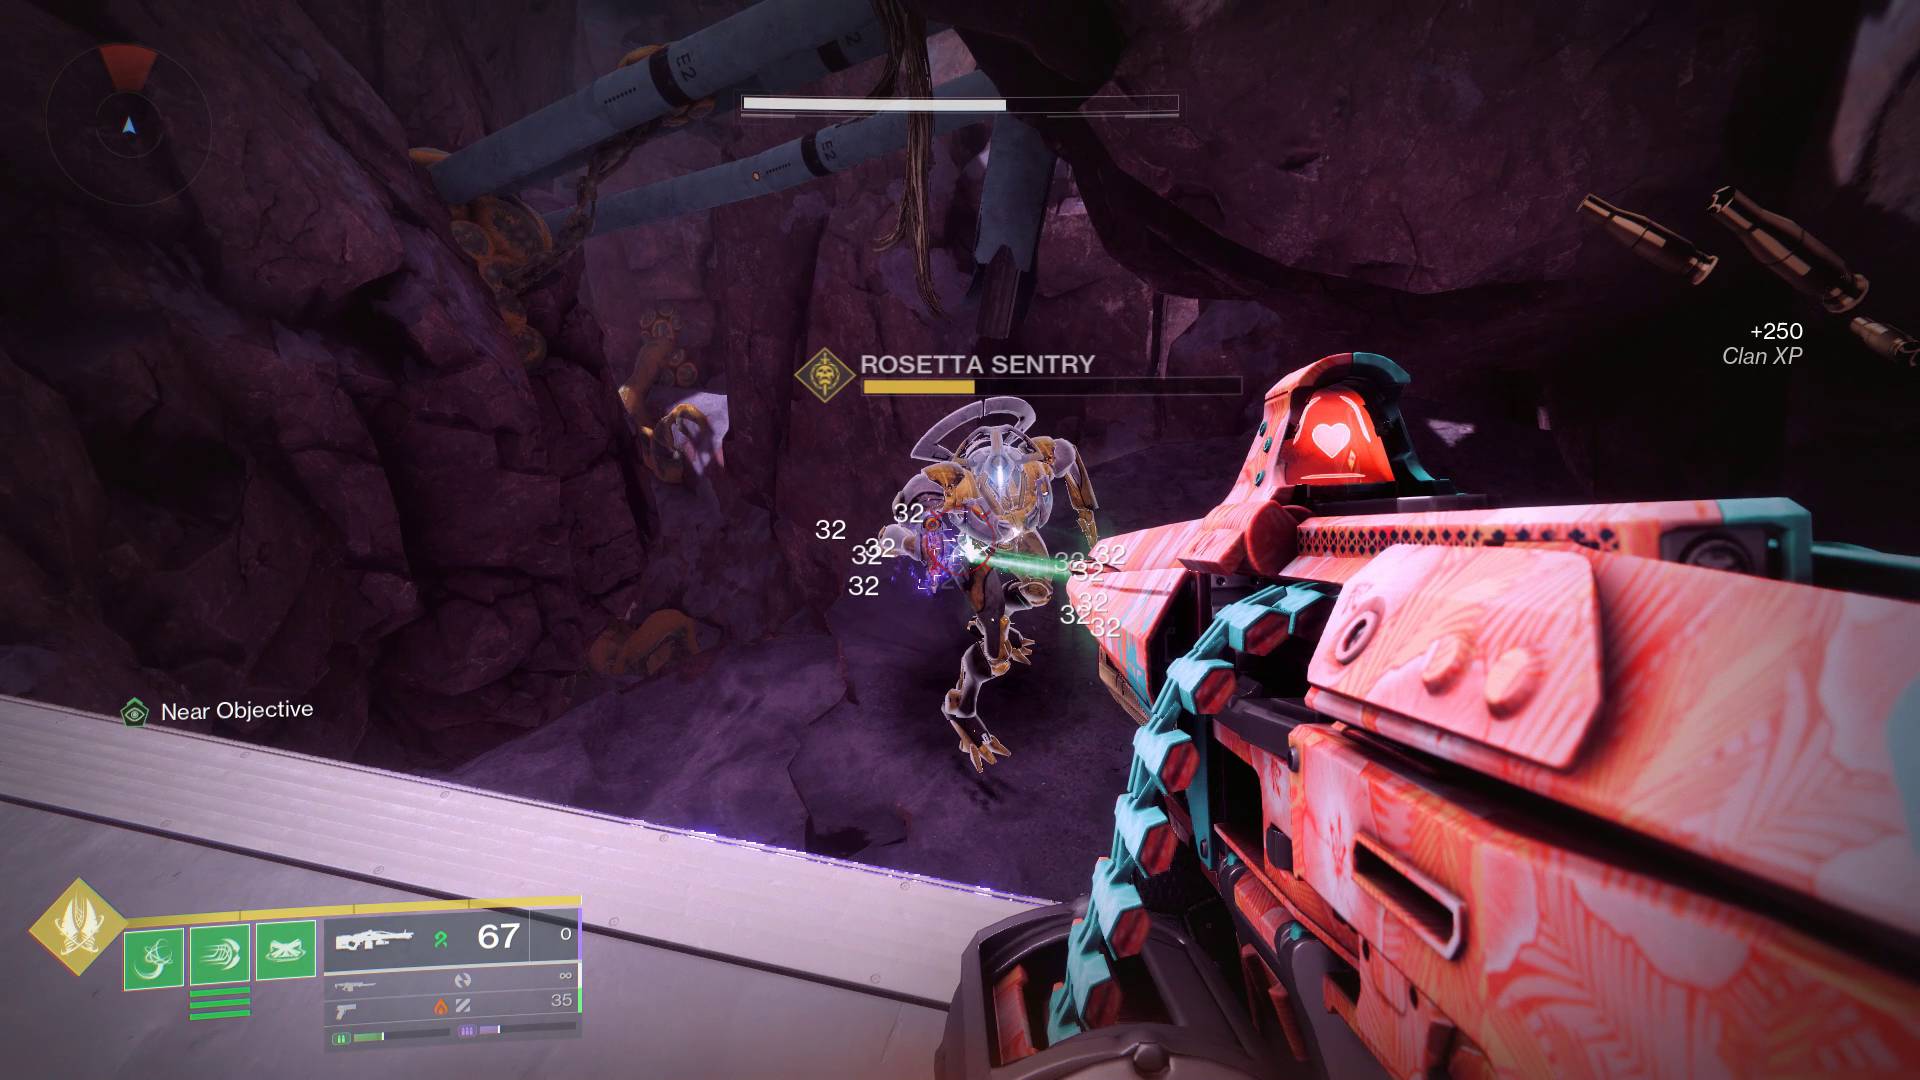
Here's where you need to go and what you need to do to get this first weapon part for the Destiny 2 Graviton Through the Ages quest:
- Open your map and travel over to the Outer Steppes. Once you arrive, you’ll find yourself in The Stacks, at the exact spot where you started your journey on Kepler.
- Mark the quest circle on your map and follow the icon through the opening area and through the tunnel leading to the Outer Wastes. When you arrive, you’ll see a gold health bar Minotaur named the “Rosetta Sentry.”
- Kill the Sentry and bear in mind you’ll be killing three more of these big-ass Minotaurs later.
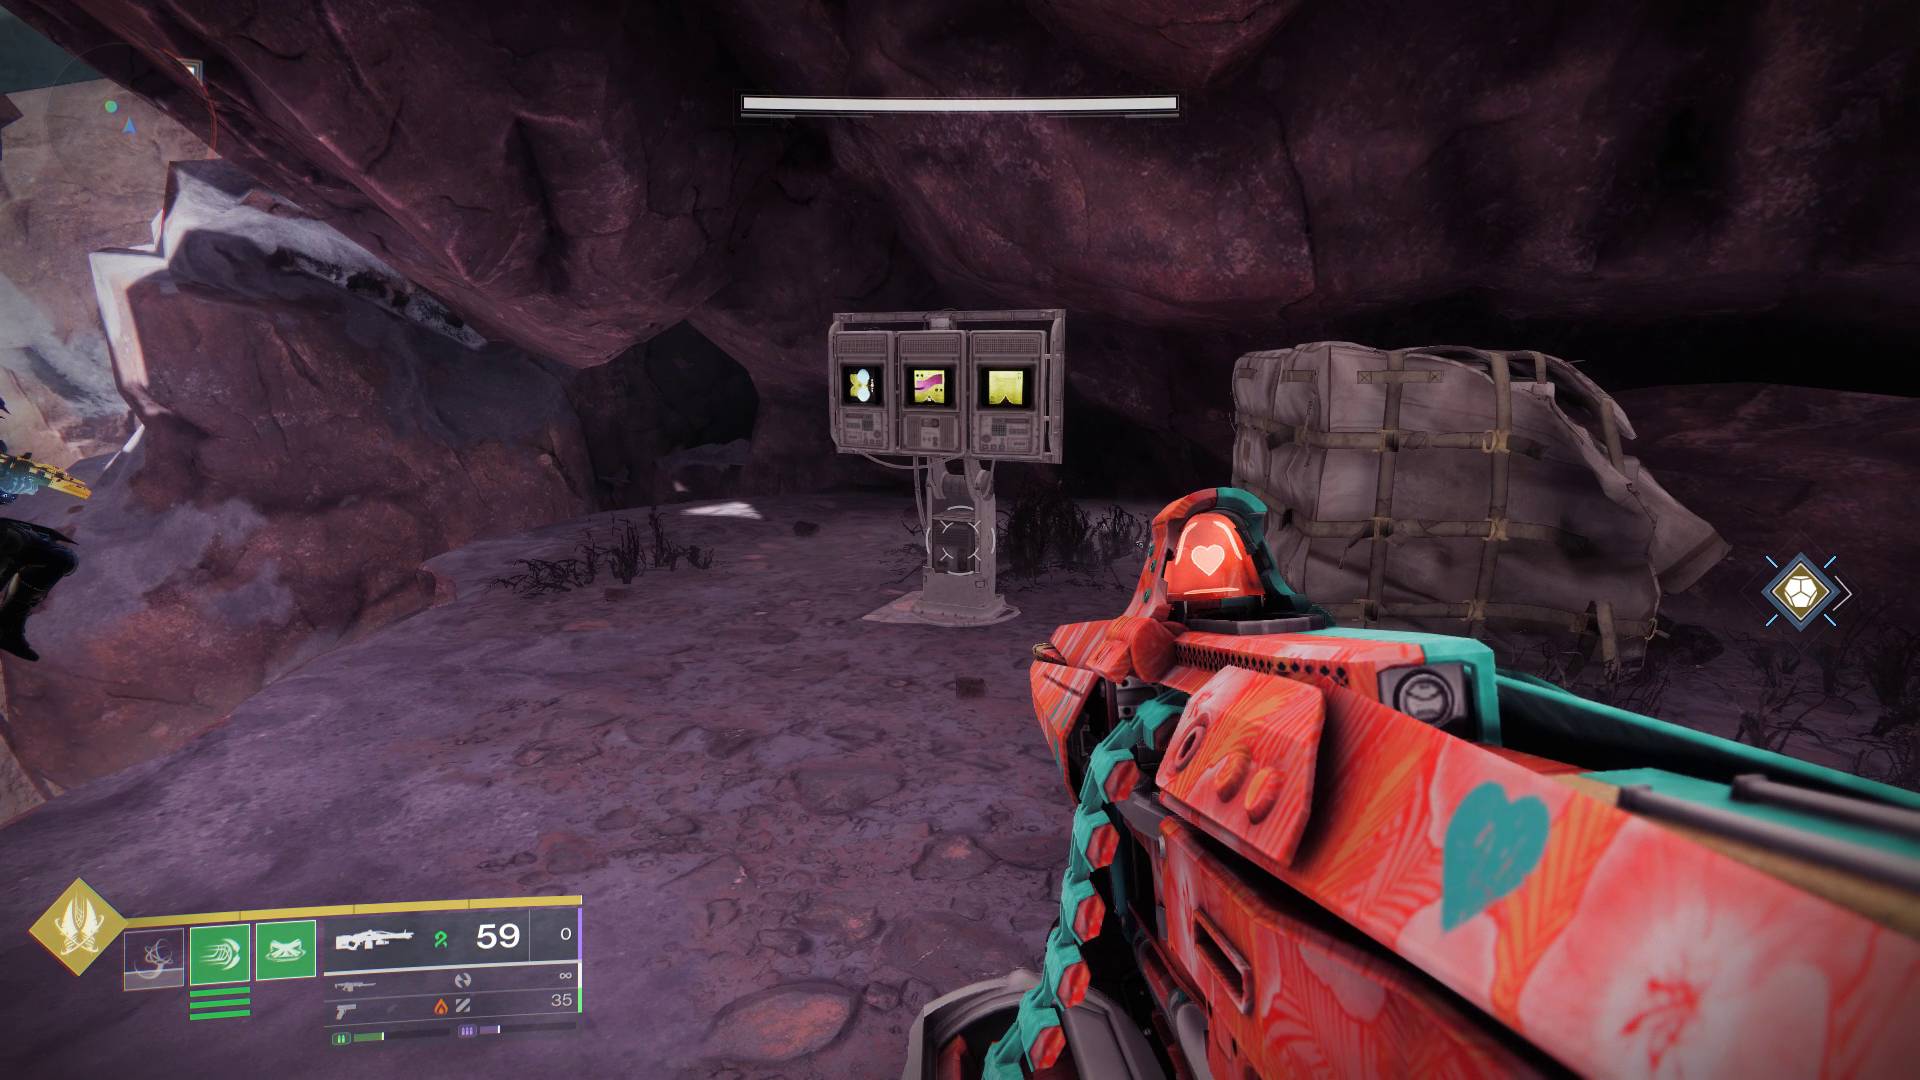
- Access the three-screened computer terminal sitting under the rocks and near the chasm. Doing this won’t actually give you the weapon piece, and will instead just tell you (loosely) where it is.
- With your newfound data, follow the quest marker deeper into the zone (make use of your new Matterspark anywhere abilitiy to do this quickly) and turn left when you get to the generator from the Charge mission in the campaign.
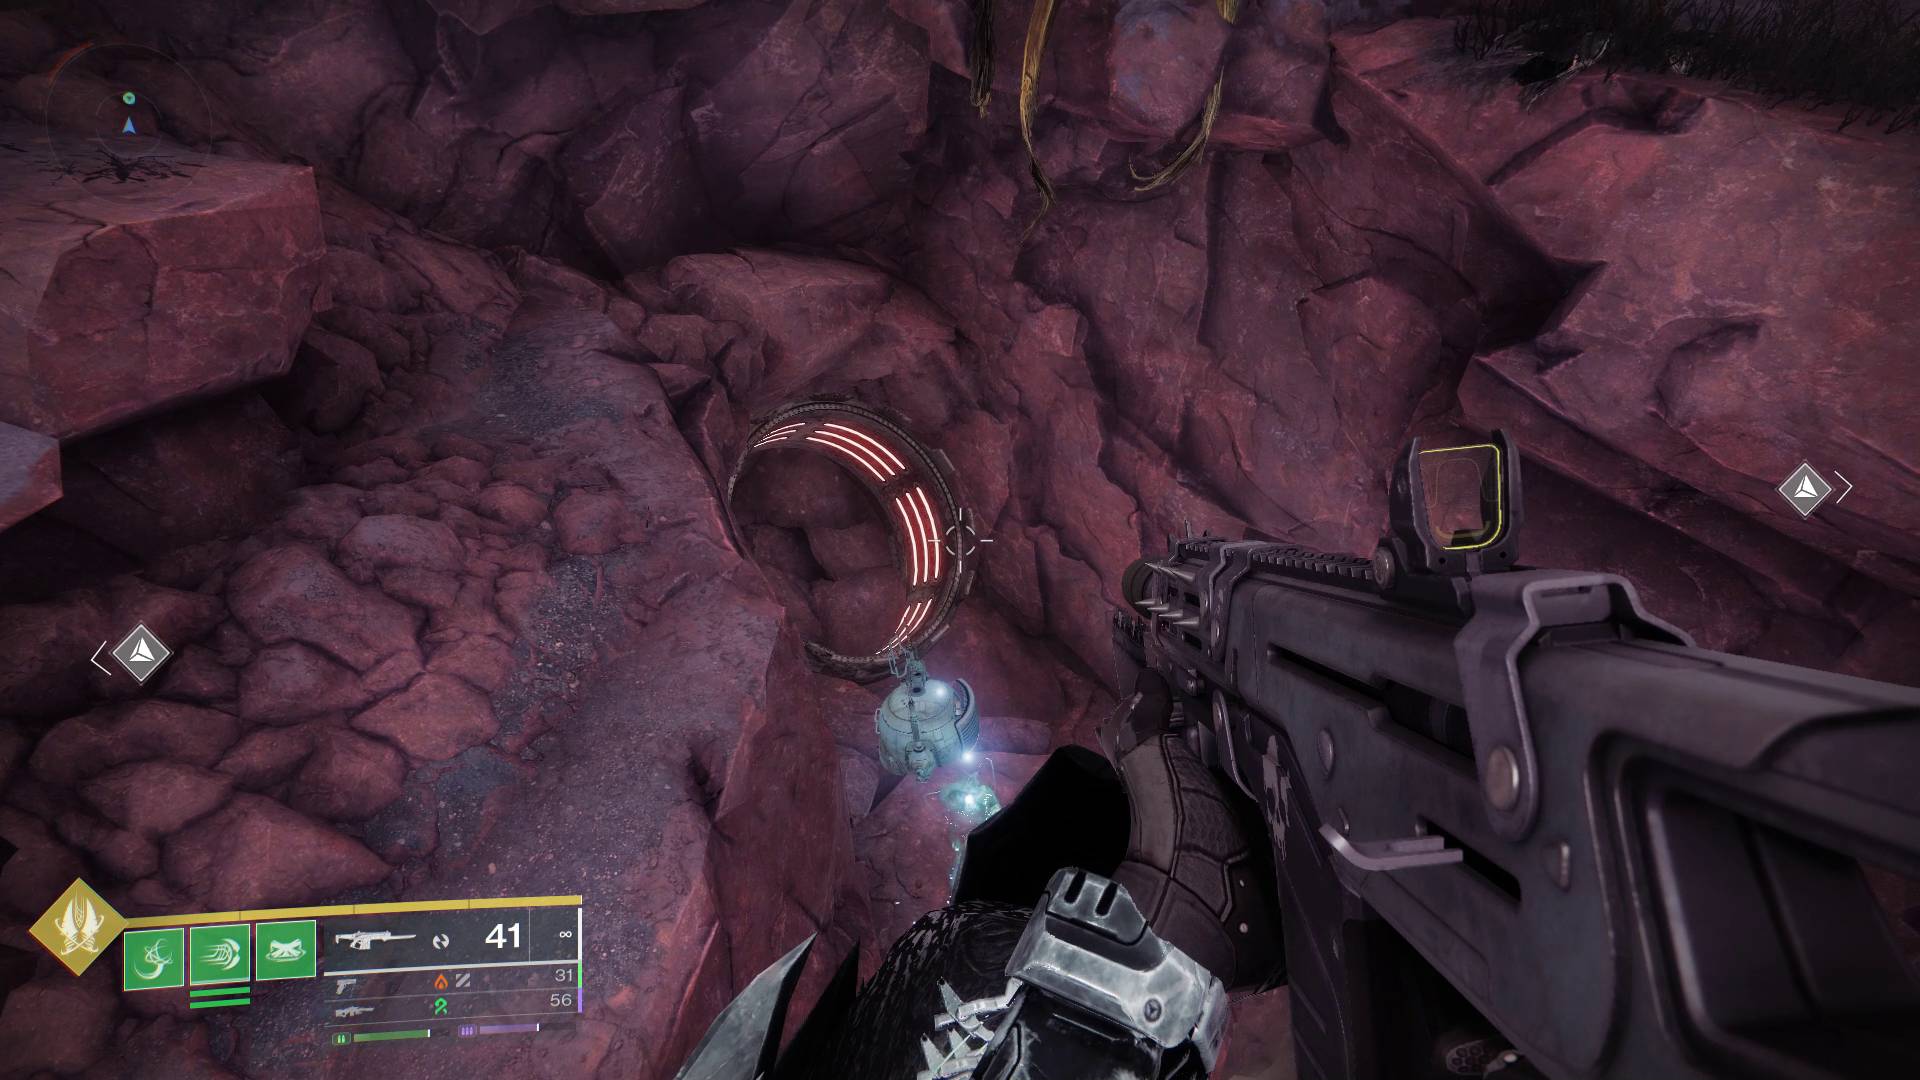
- Continue following the quest marker until you’re back outside. But instead of moving forward to the cool telescope, jump down into the gap before you reach the telescope. You’ll find a dormant cannon and a generator.
- Power the generator up with Matterspark and jump into the cannon.
- When you land, charge up the secondary generator and then go through the hole.
- Charge the final generator to open the door.
- Interact with the scrap on the floor to get your first weapon part.
- Return to the Caldera and talk to The Emeritus to get the next step of the quest.
How to locate the weapon piece in the Gorge
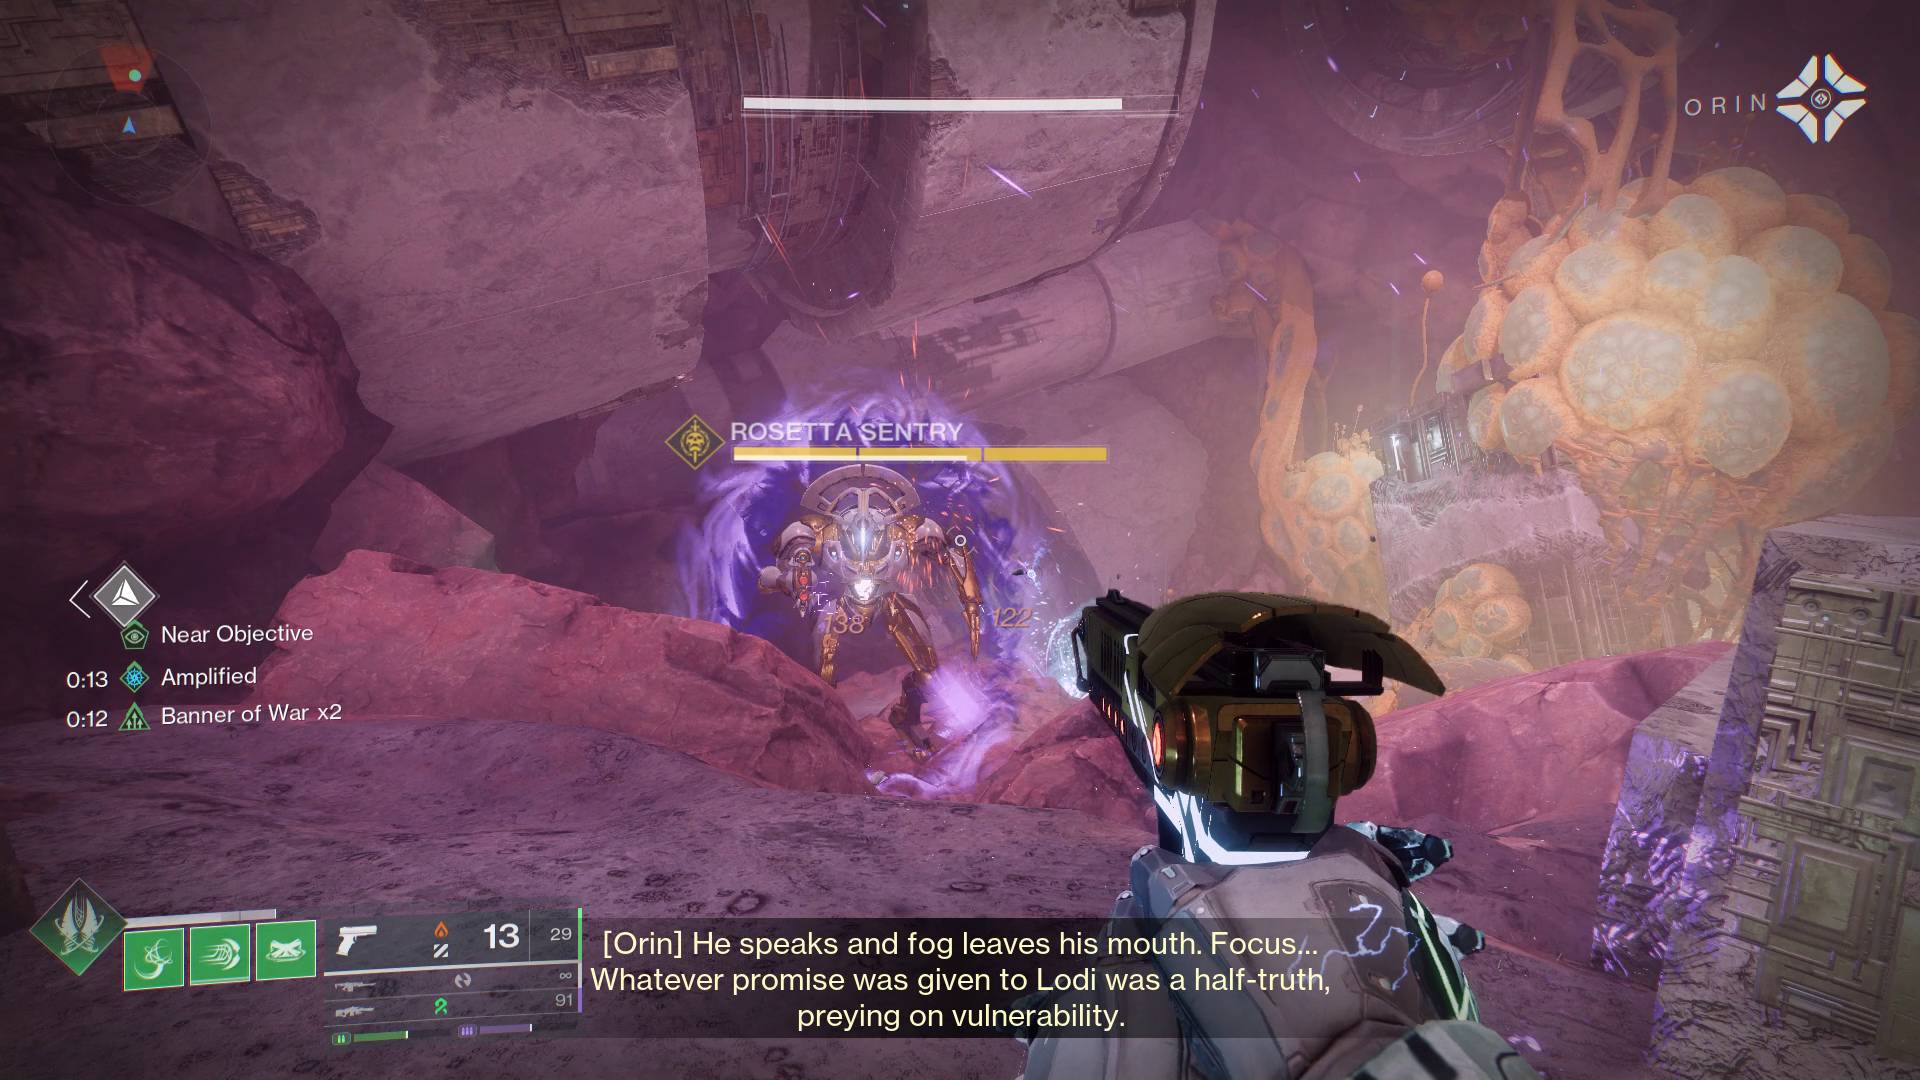
Now it’s time to do exactly (more or less) what you just did in another part of Kepler, the Gorge. More specifically, we’re headed to the Stellar Sink subzone. Mark the quest circle on the map so you can get some guidance, then fast travel to the Assimilated Easement to get started on finding the second weapon piece:
- Once again, follow the marker, climbing the stone steps and rolling over the collapsed columns.
- Use Mattermorph to get through the wall once you hit the blocked path, and continue past the combat arena. Once you turn left out of the tube (do not take the little Matterspark portal), you’ll come across another Rosetta Sentry.
- Take the Sentry down and interact with the nearby computer terminal.
- Continue along the path, following the marker until you reach another massive combat arena.
- Hang left here and you’ll go through a little tunnel with a big cyclops on the other side. This section is pretty tricky, but you can actually solve this very quickly if you know where to look.
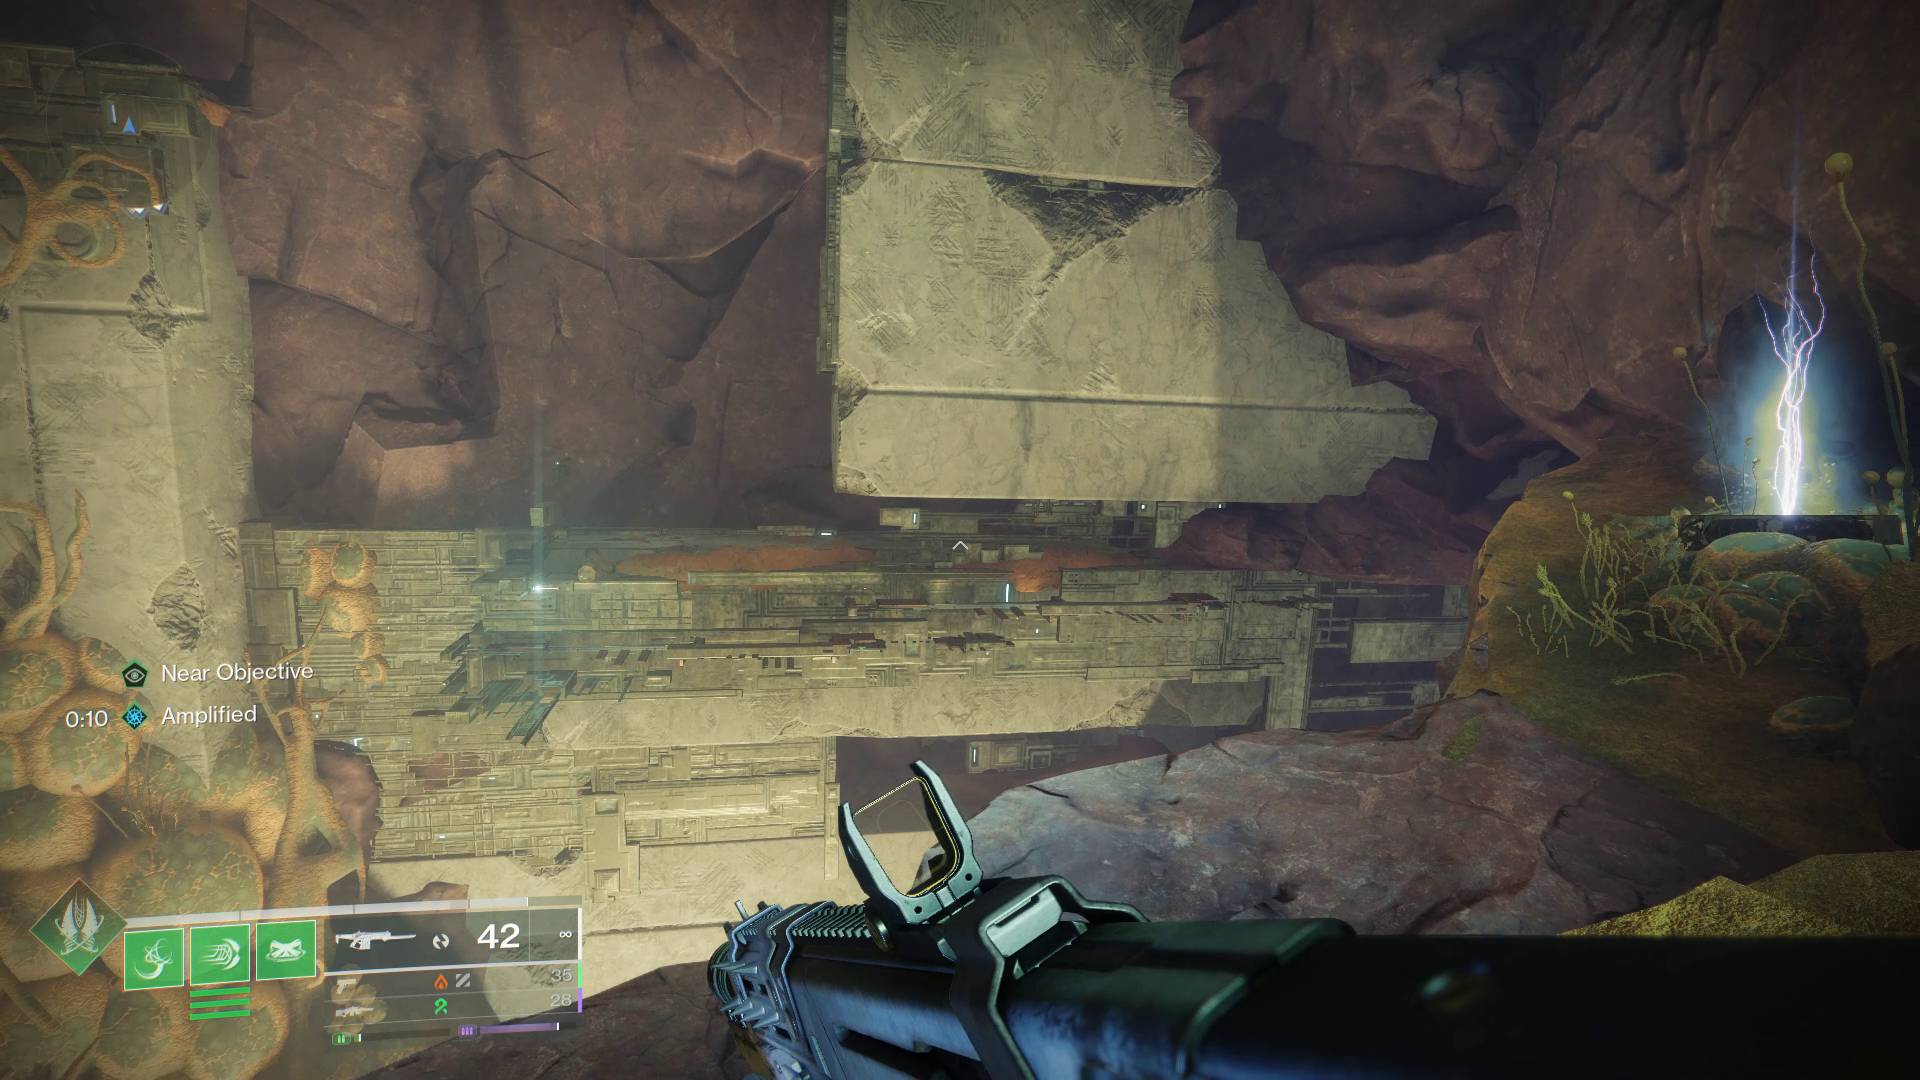
- From where you exit the hole and kill the Cyclops, look forward across the chasm. You’ll see some blue lights and a ledge. Jump over there and drop into your ball form. Roll under the edge and slip past the wall.
- Grab the Mattermorph in here and quickly run out, moving the wall pieces blocking your way back outside.
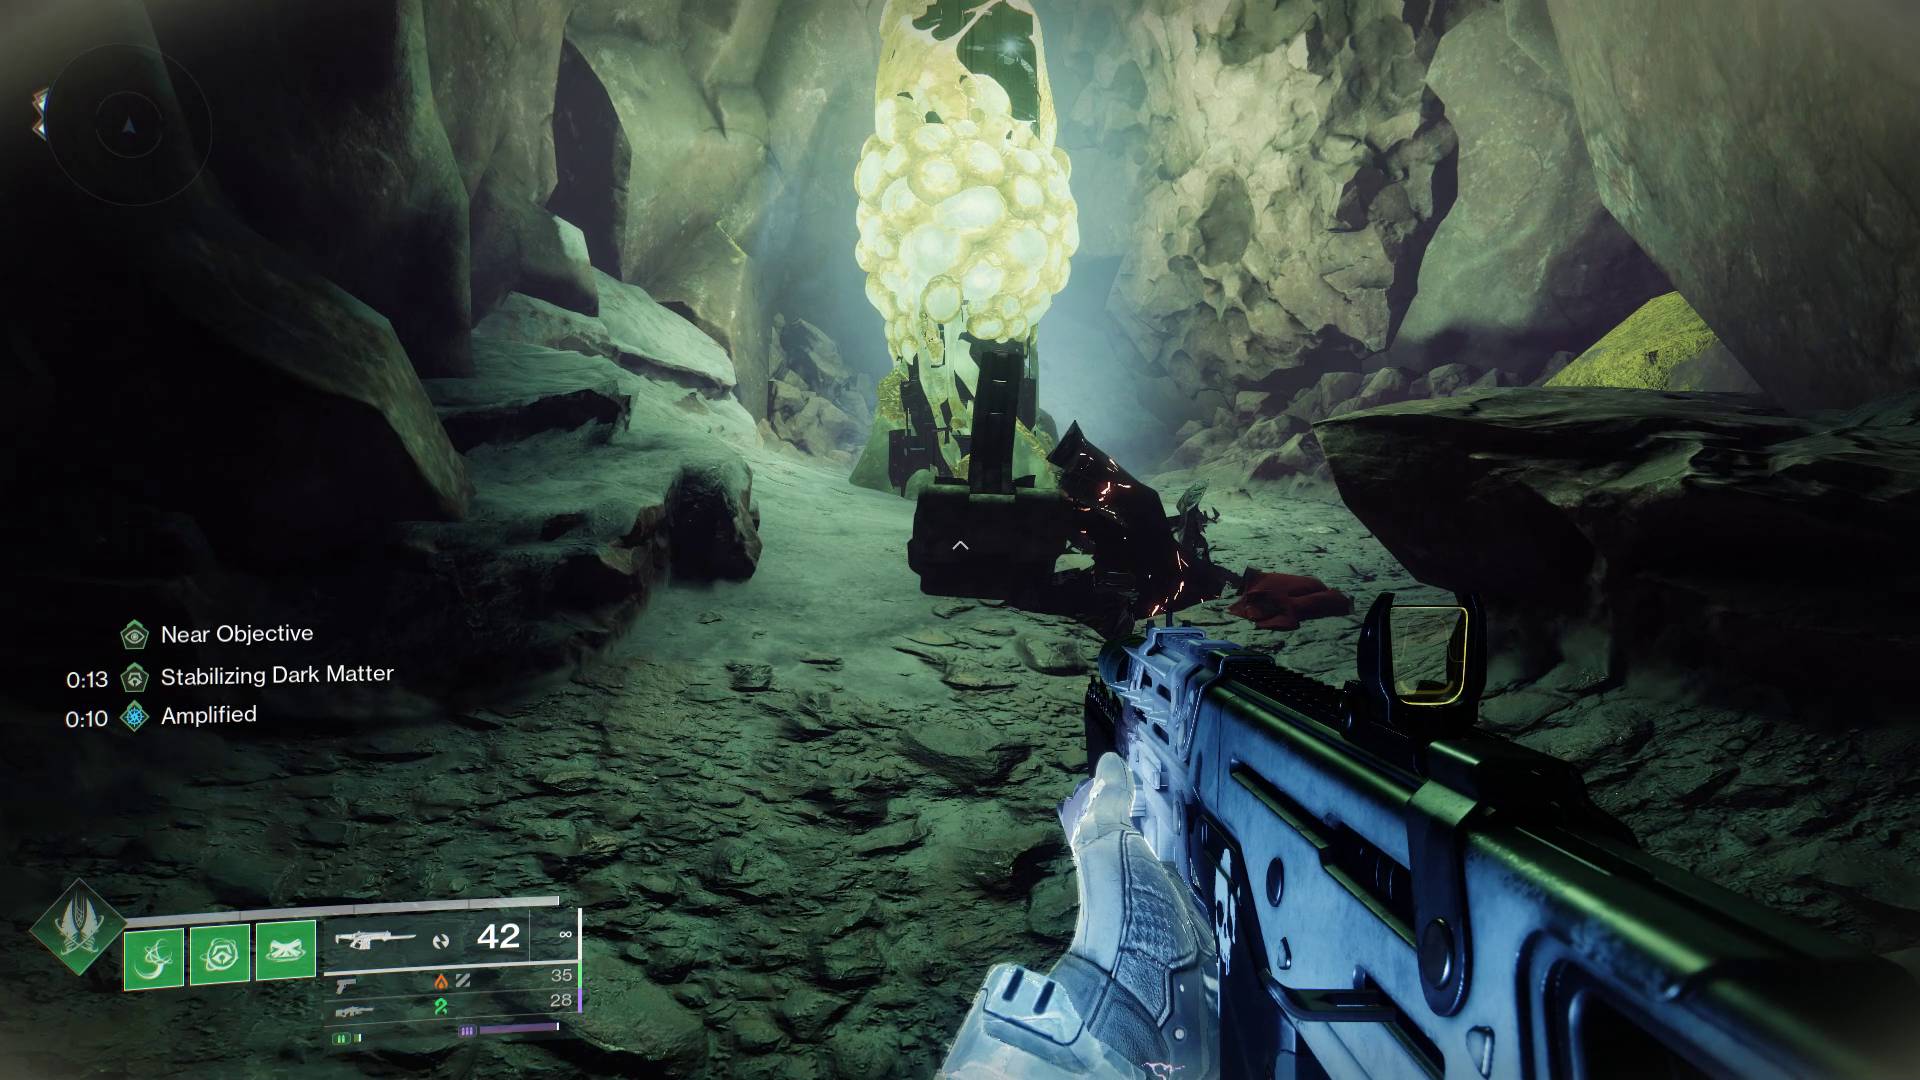
- Roll up the rock ramp and back into the hole that leads to the arena you passed through earlier. But instead of going all the way through, hang right. Midway through the tunnel, you’ll find a new outlet.
- Pop out of your Matterspark and quickly launch another Mattermorph at the wall, opening it. You’ll find the next weapon part waiting for you here.
- Once you have the part, head back to Lodi in the Caldera. Talk to him to get the next step.
How to locate the weapon piece in Exile’s Accord
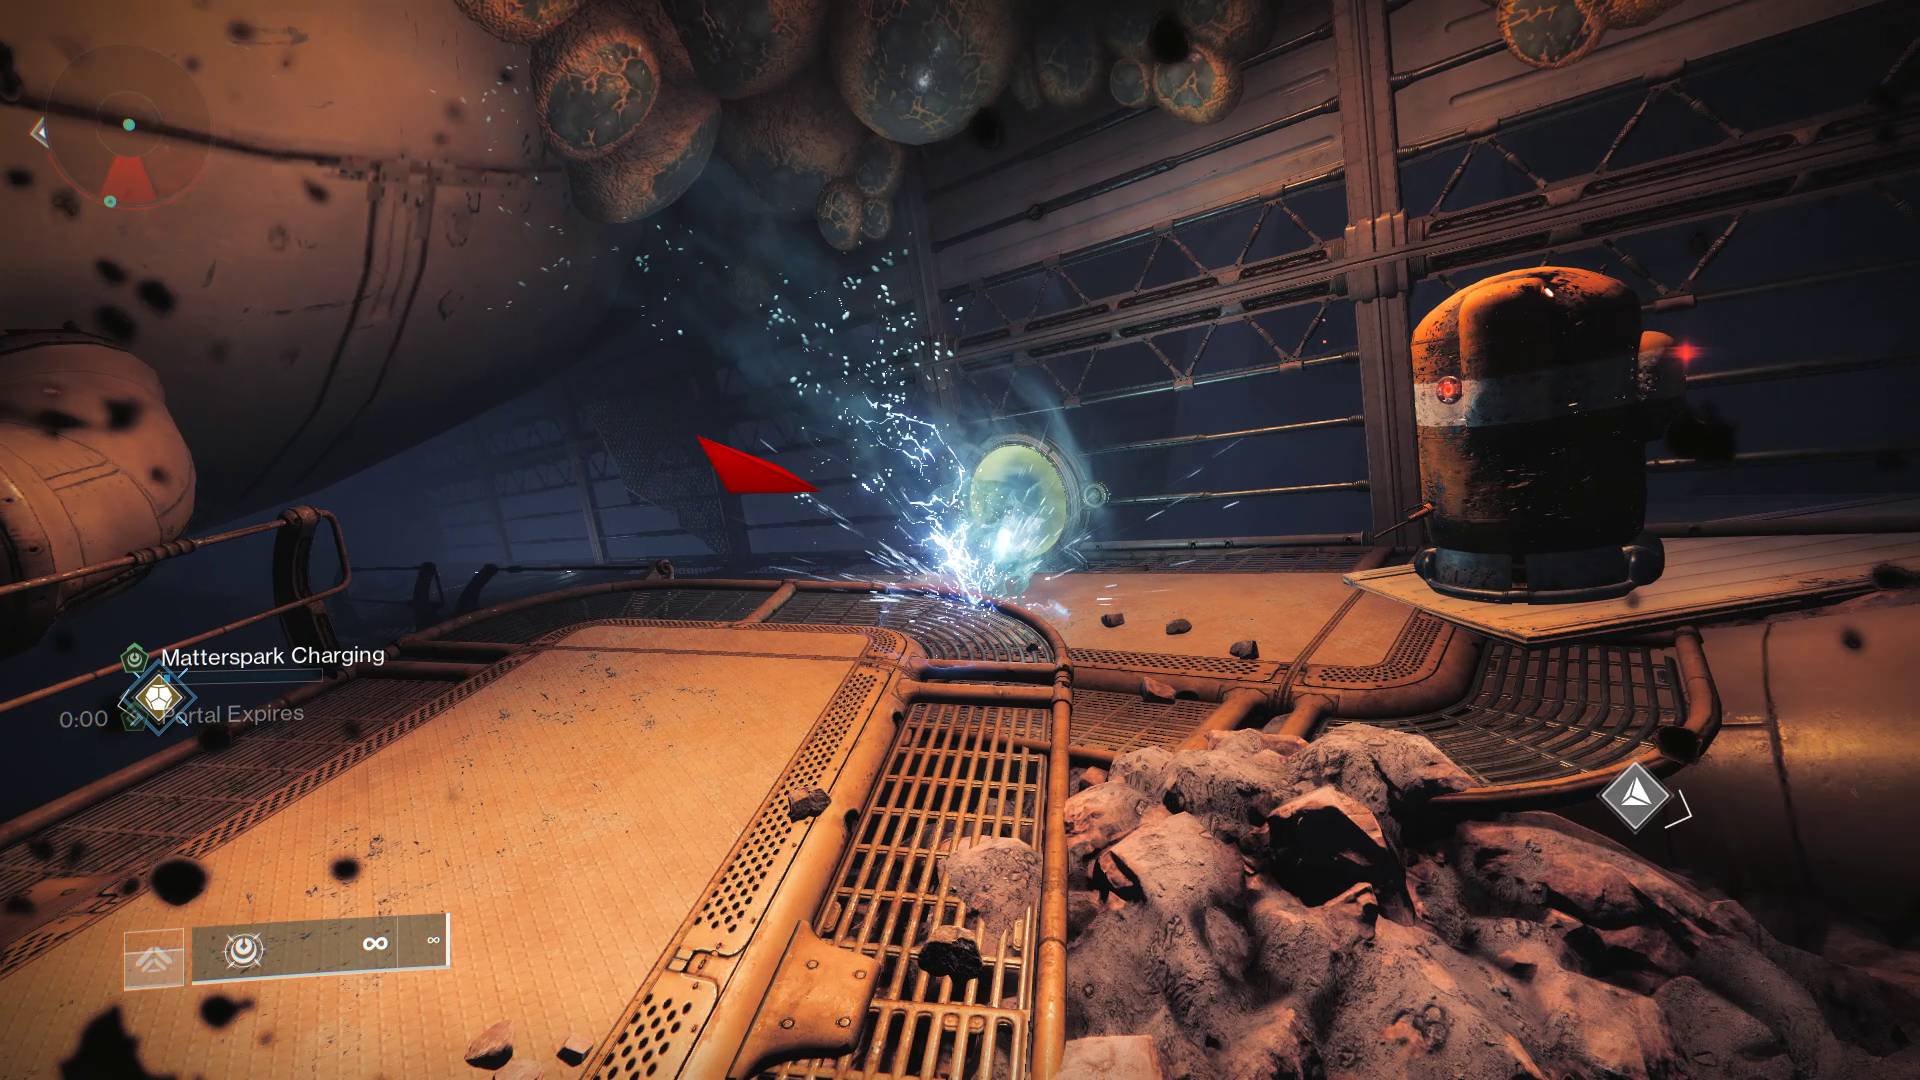
Here's what you need to do to get the third weapon piece in Exile’s Accord:
- Travel to Curtilage Divide and head down the green tunnel in front of you toward Augur’s Bethel.
- Turn left at the junction and follow the marker over to the giant train from the story quest. Take it and you’ll be in a thin hallway with a bunch of tubes.
- Head up the tube on the far right, Matterspark into the hole, and take the upper ramp path like in the story mission. At the end of the long tunnel, you’ll find the Relocator cannon.
- Grab the cannon and drop into the hole. Take the teleporter on the left side of the arena and progress to where you find the Matterspark portal that wasn’t there in the campaign (it opens once you unlock Matterspark 3).
- Go through the portal.
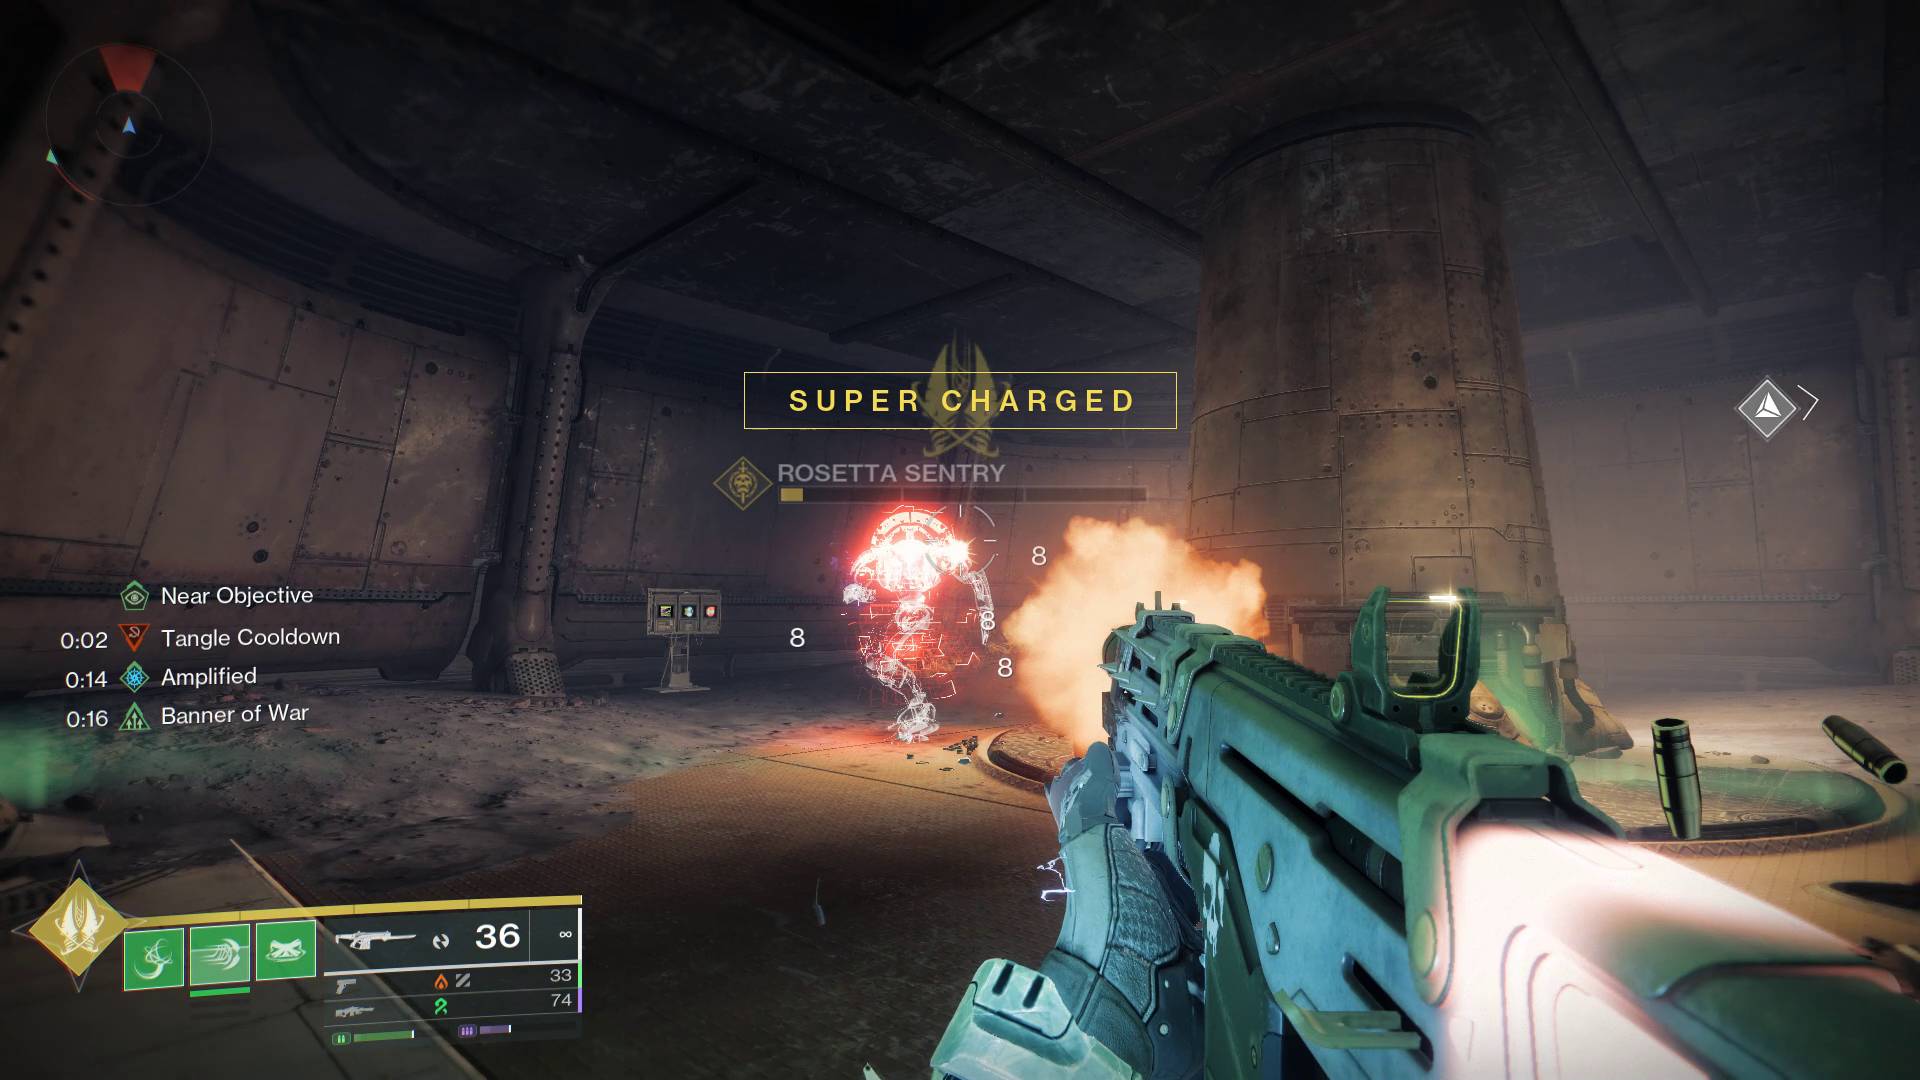
- Head up the path from where you teleport, and you should find yourself in the large area with three turbines, where you fought the massive Servitor during the campaign.
- Turn left and follow the objective marker.
- Take down the Rosetta Sentry Minotaur in the small building and activate the panel behind it.
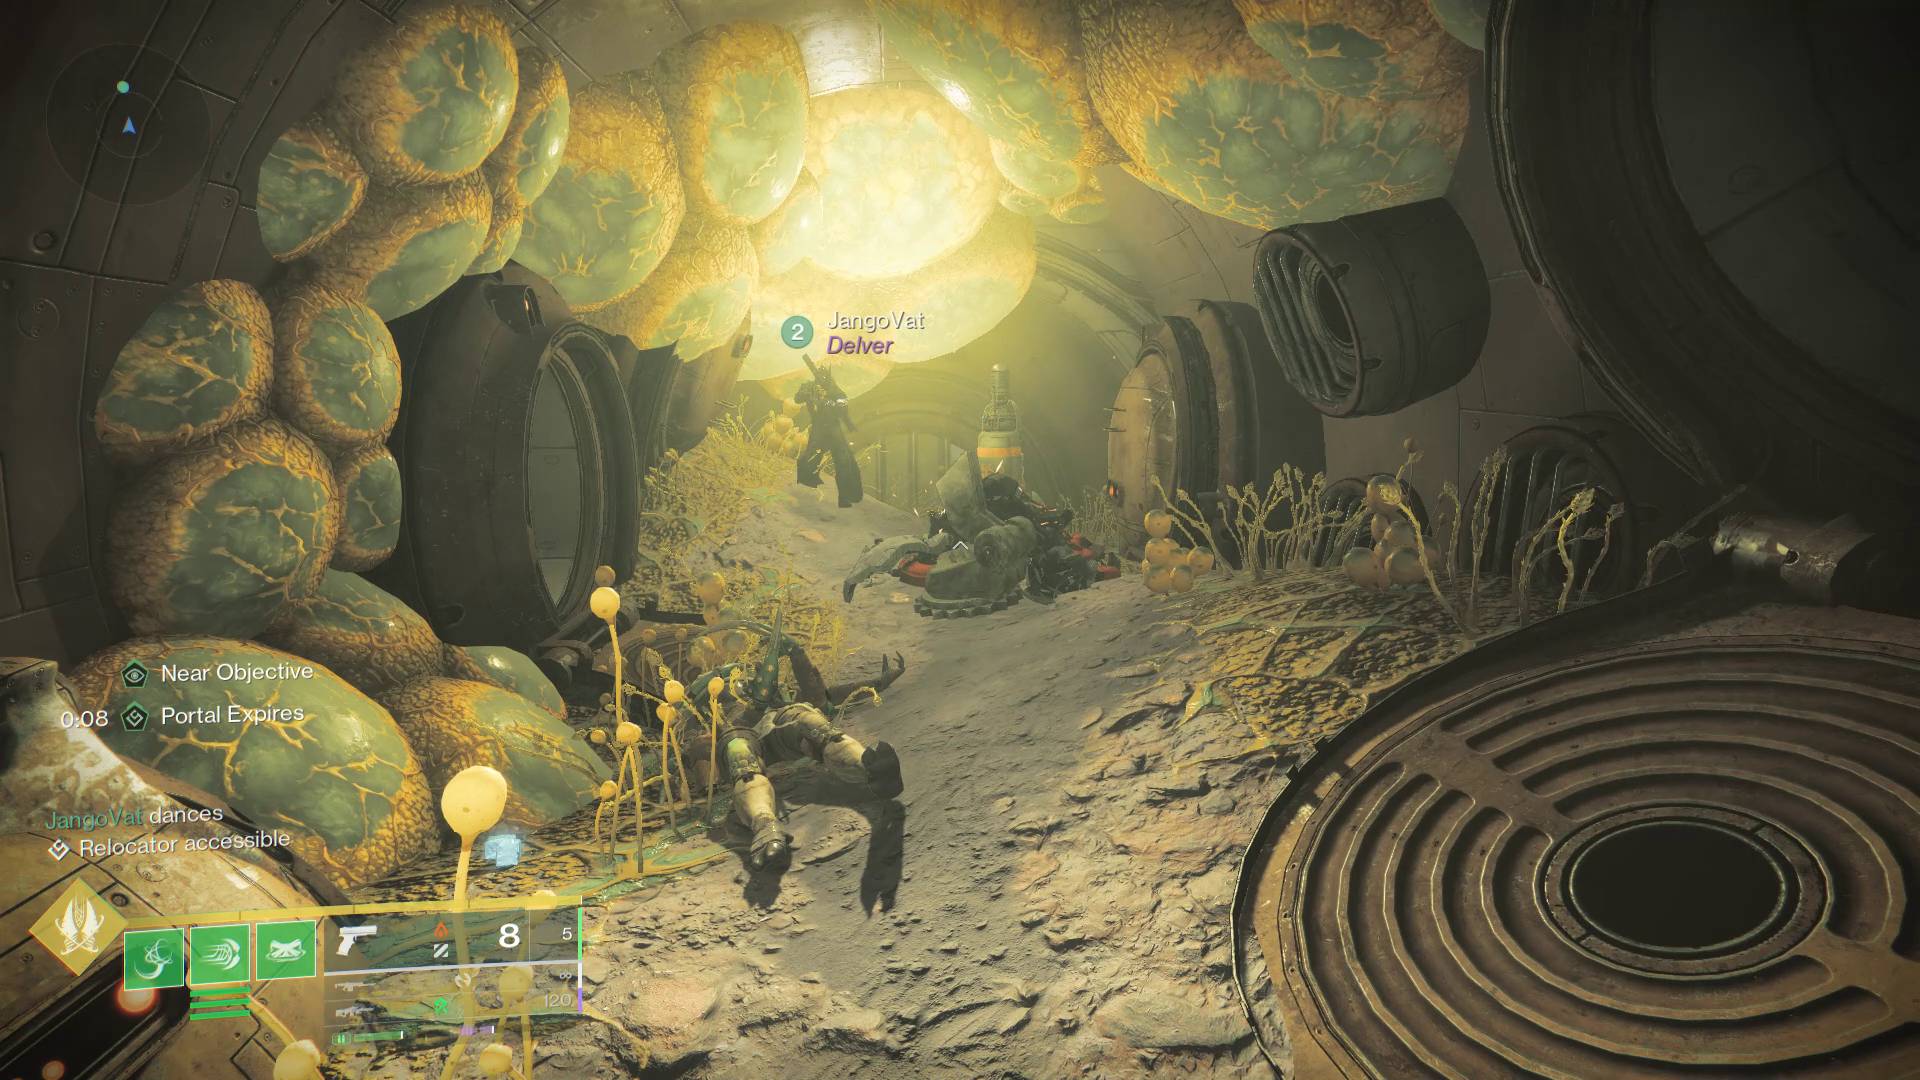
- From the panel room, ignore the objective marker and walk back toward the Matterspark portal you used earlier. Once you get close, the objective marker should correct itself.
- Take the portal and head toward the enemies, past all the pipes, and onto the platform with the teleporter.
- Grab the nearby Relocator cannon and shoot up into the pipe. Teleport and watch out for the obnoxious Fallen assassins waiting for you.
- Kill the assassins and look on the opposite side of the tunnel from the train entrance to find the weapon piece.
- Head back to The Emeritus in The Caldera.
How to collect Vex Data Fragments
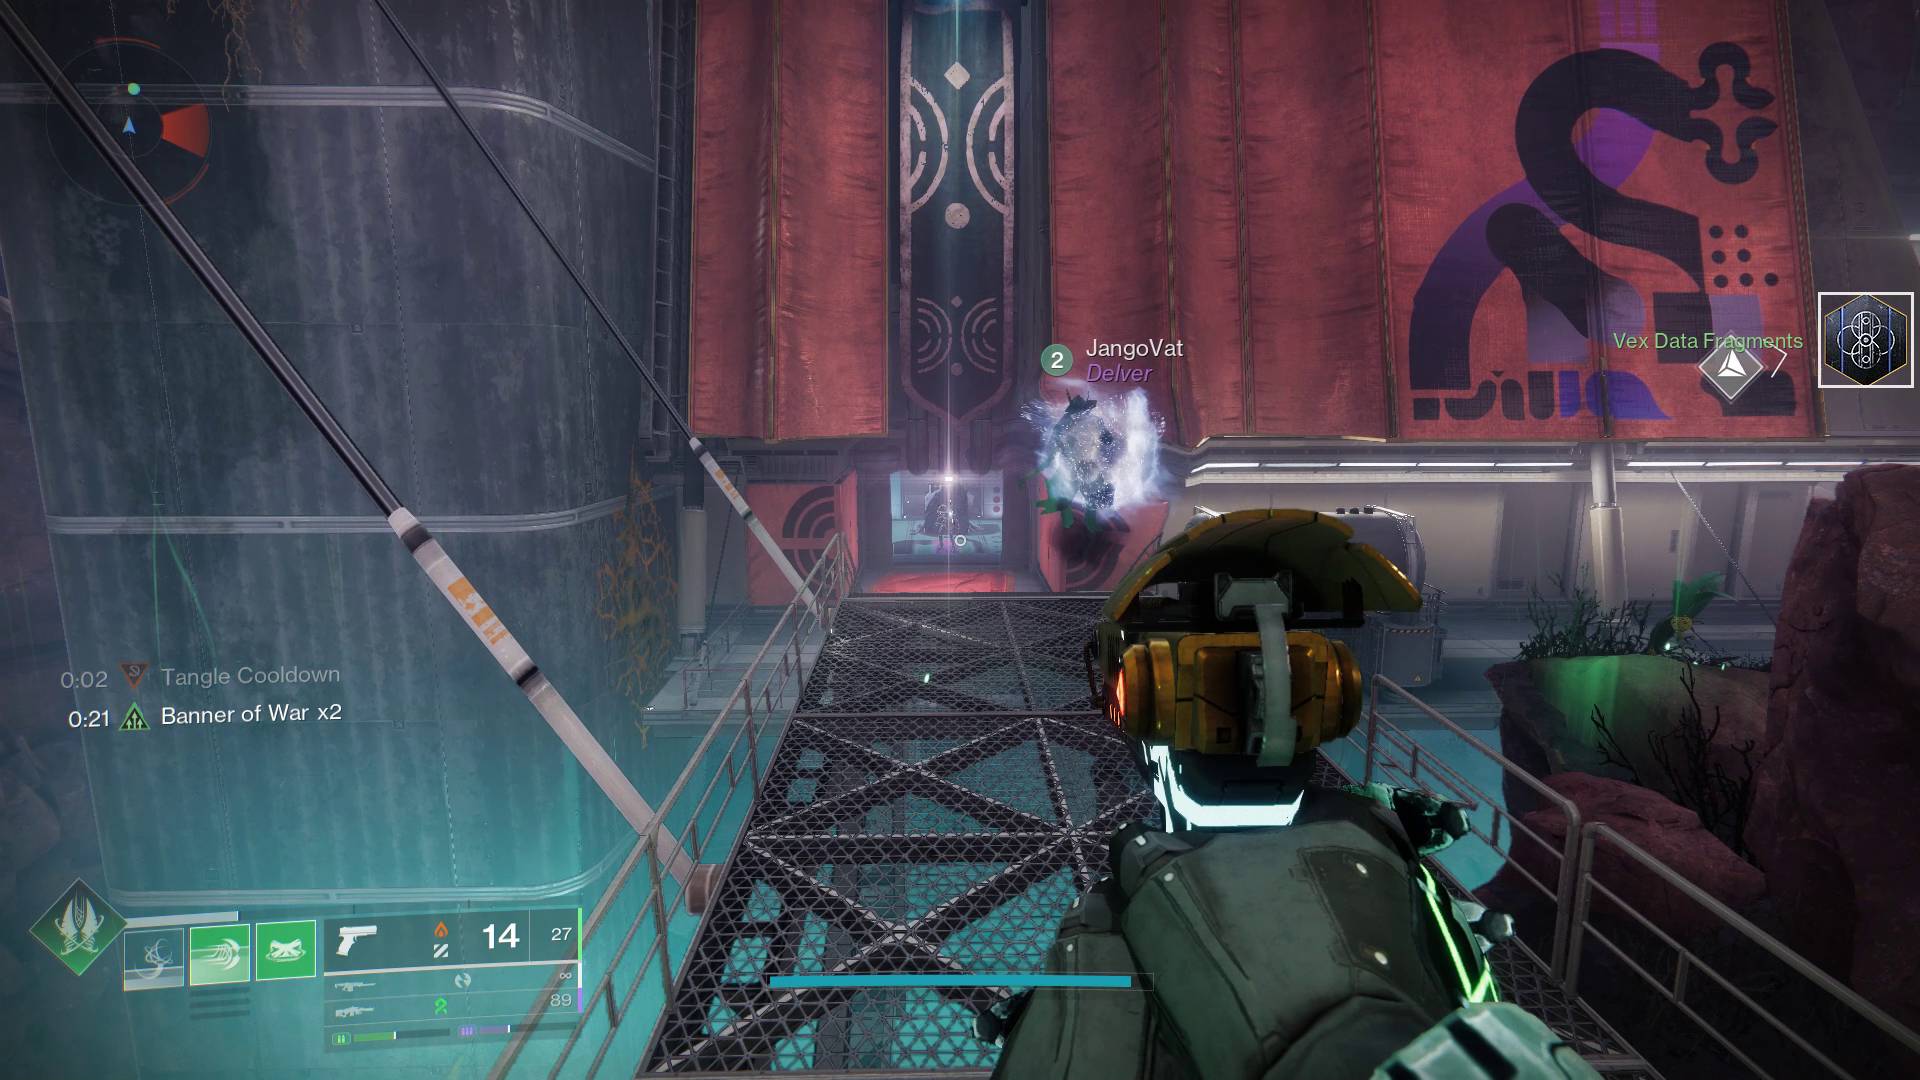
Now comes the part of the Exotic quest where you just have to grind Vex kills for a bit. Before you ask, no, you cannot go to Nessus or another planet to complete this step - you must remain on Kepler itself even though the quest doesn’t specify.
Your best bet here is to head out from the Caldera to where the Vex and Fallen spawn almost continuously. You can kill these Vex for Data Fragments, and they’ll do in a pinch, but you’ll be here forever if you do it that way. Instead, hang a right from the Vex and go into the building that’s caddy-corner from the Caldera, next to the infinite spawn. An event called Energy Pulse can spawn here at what looks like a Vex pillar.
Activate the event to spawn a massive amount of Vex who will keep coming until you dunk 15 Vex data in the pillar. This is perfect for this objective because it spawns a bunch of high level Vex (especially when you finish the event), which drop a ton of Data Fragments.
How to locate the weapon piece in the Department of External Observations
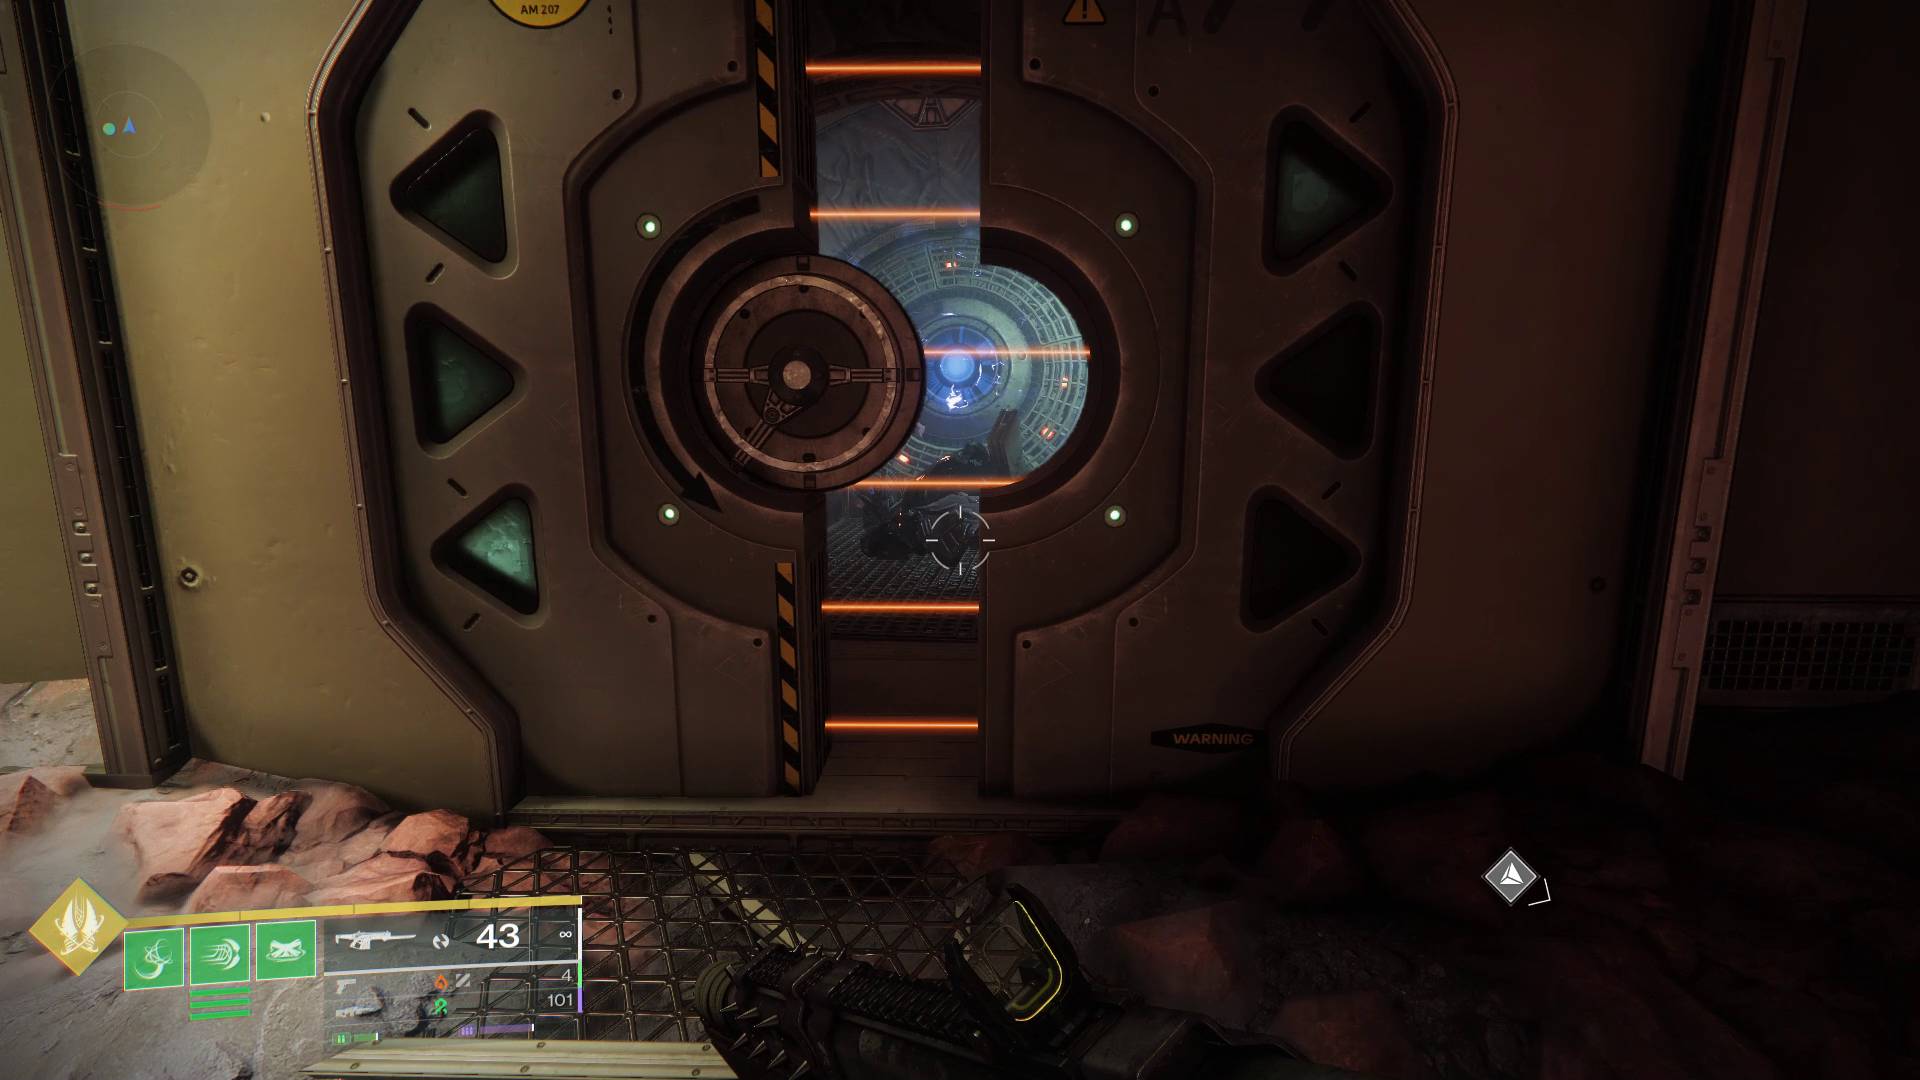
Now that you have all the Vex Data Fragments you need, you can head straight for the final weapon piece as you near the end of the Graviton Through the Ages quest:
- Travel to the Aionian Campus in the Central Academy region and head forward through the courtyard.
- Hang a left and go into the building with two big dots on the front, where the quest marker should be pointing you (make sure to destroy the generators attached to the door or the terminal will lock you out).
- Head down the path until you see a door cracked halfway open with a laser grid guarding the front. And... hey, isn’t that the weapon piece just sitting there, waiting for you to shoot a Relocator through the gap and go in? All you need now is a cannon.
If you immediately saw the piece behind the door and thought, “thanks GamesRadar+, but I’ll take it from here,” and closed the window: welcome back. This puzzle is a doozy, but only because the objects you need are well hidden:
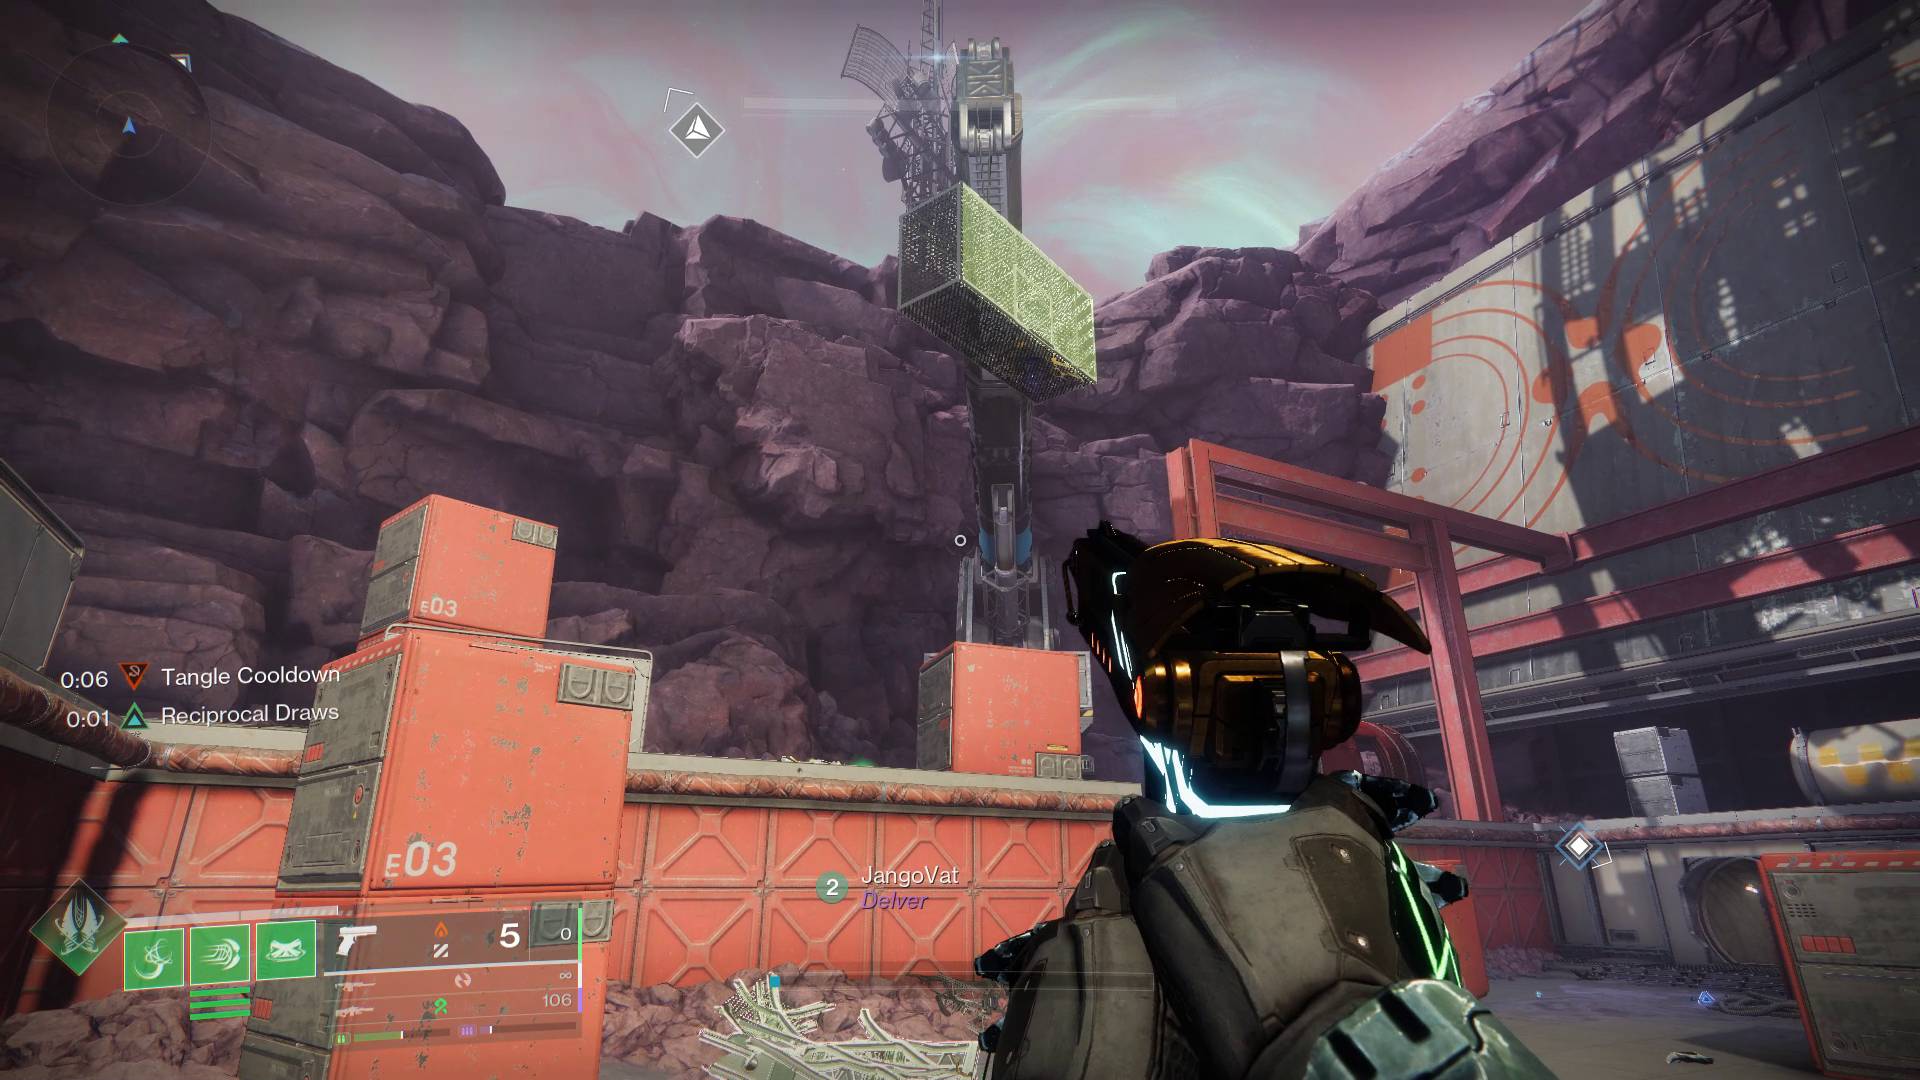
- Continue past the door for now until you reach a courtyard with a big crane in it. If you look at the crane, you’ll notice that it’s holding a box - a box that has your Relocator in it but can only be opened with Mattermorph.
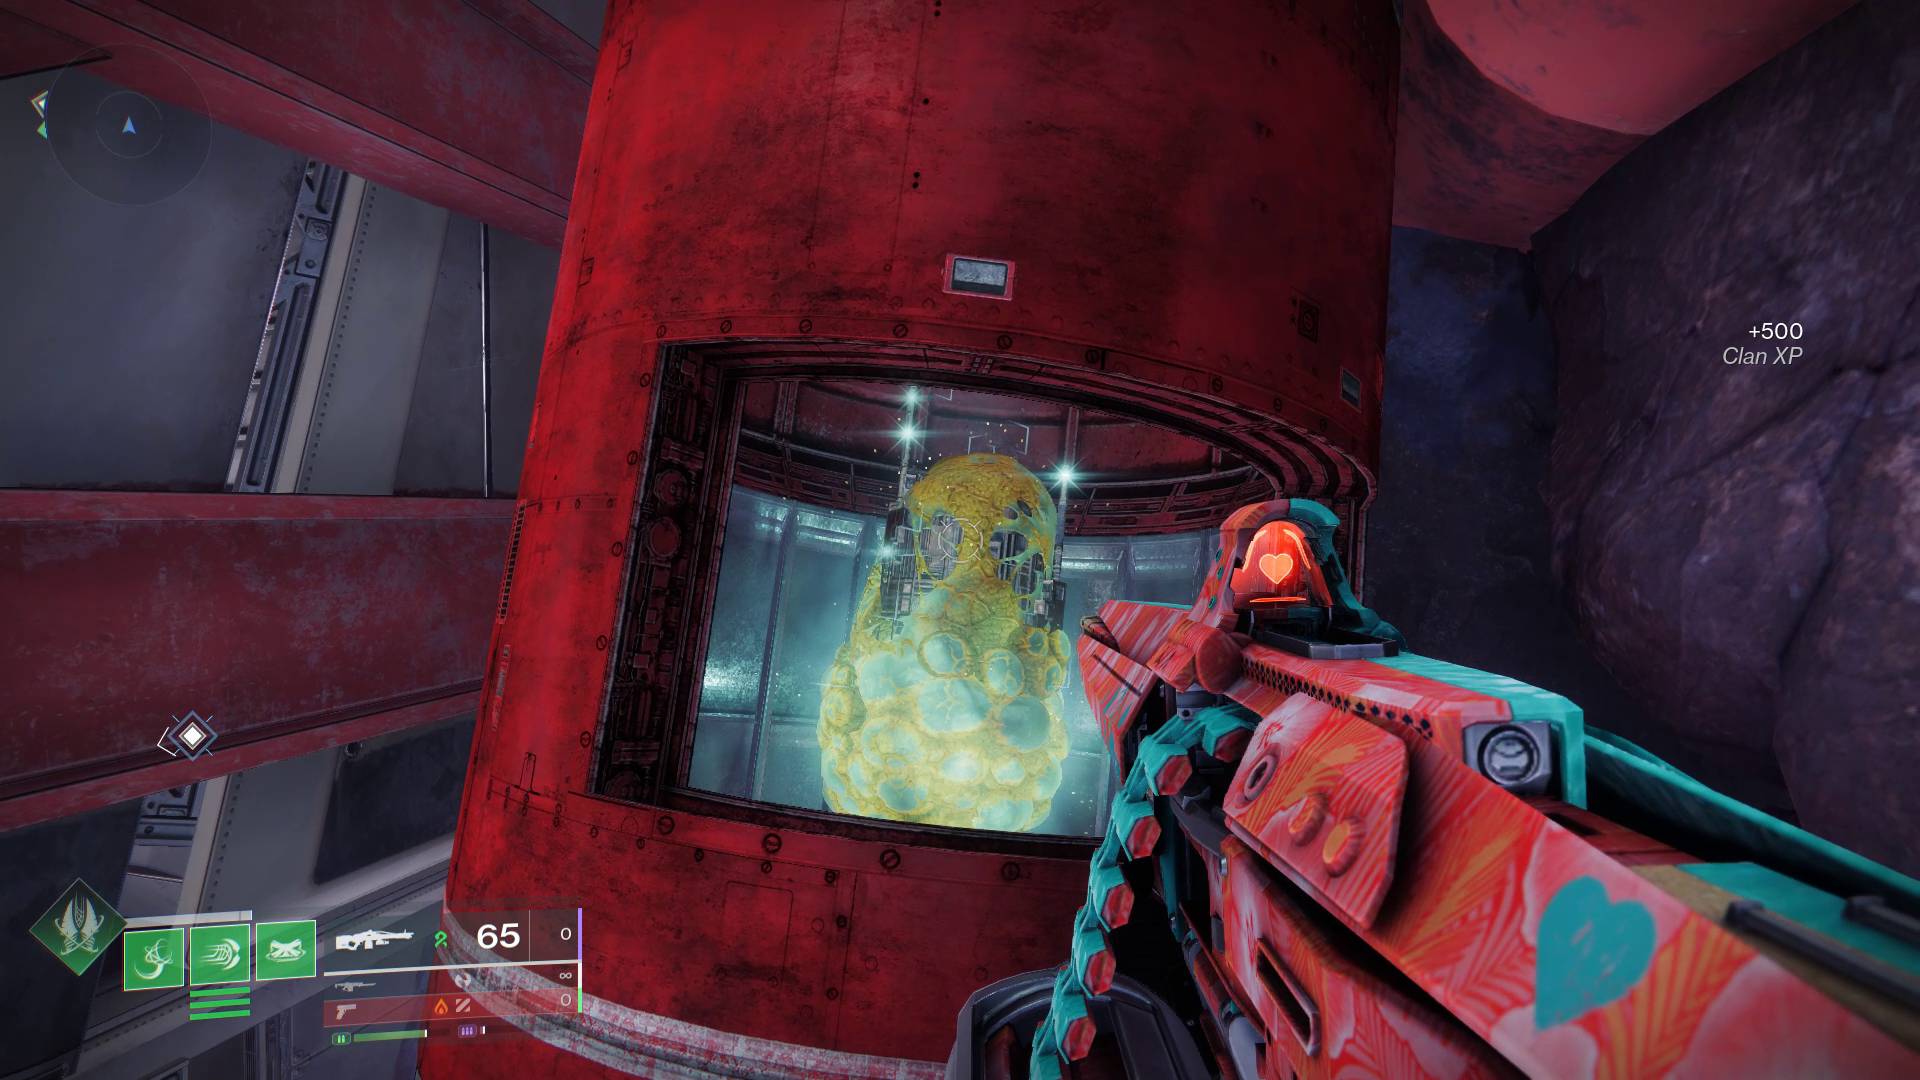
- In the same area as the crane, look in the corner to the left of where you entered for a big red cylinder.
- Walk over to and around it until you find the small opening. Inside, of course, is a Mattermorph hive, so grab that and run over to the crane.
- Chuck your Dark Matter at the crane to rearrange the pieces and grab the Relocator before you run out of time.
- Now all you need to do is run back, shoot the portal through the cracked door (try jumping if you’re having trouble here) with the Relocator, and use the teleporter to get inside.
- Pick up the weapon piece and head back to the Caldera to speak to Lodi.
How to complete the Sieve
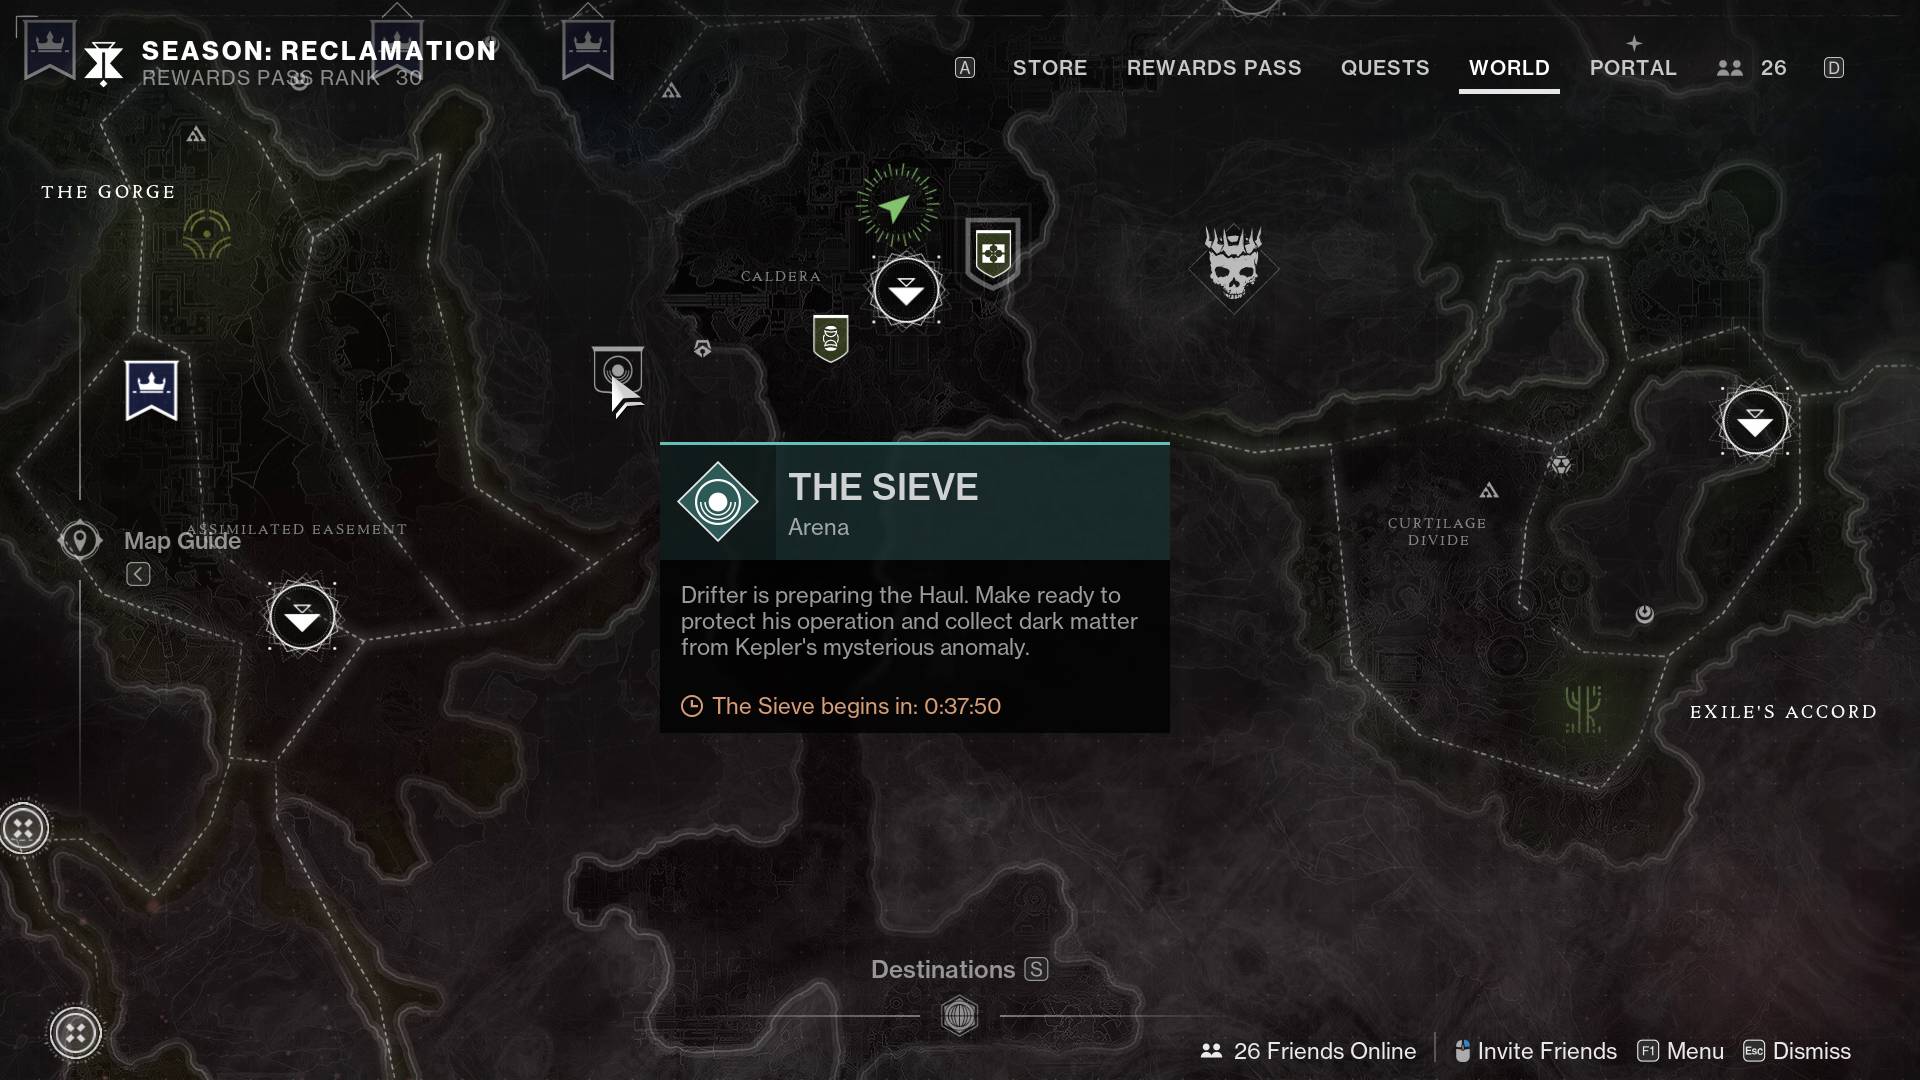
Once you talk to Lodi, he’ll give you your final mission for the Destiny 2 Graviton Through the Ages quest: complete the Sieve, Kepler’s planetary activity. The problem here is that the Sieve is only active for 30 minutes every hour and 45 minutes -- give or take a few minutes. This means that you must wait until the activity goes live, and there’s nothing you can do to speed it up.
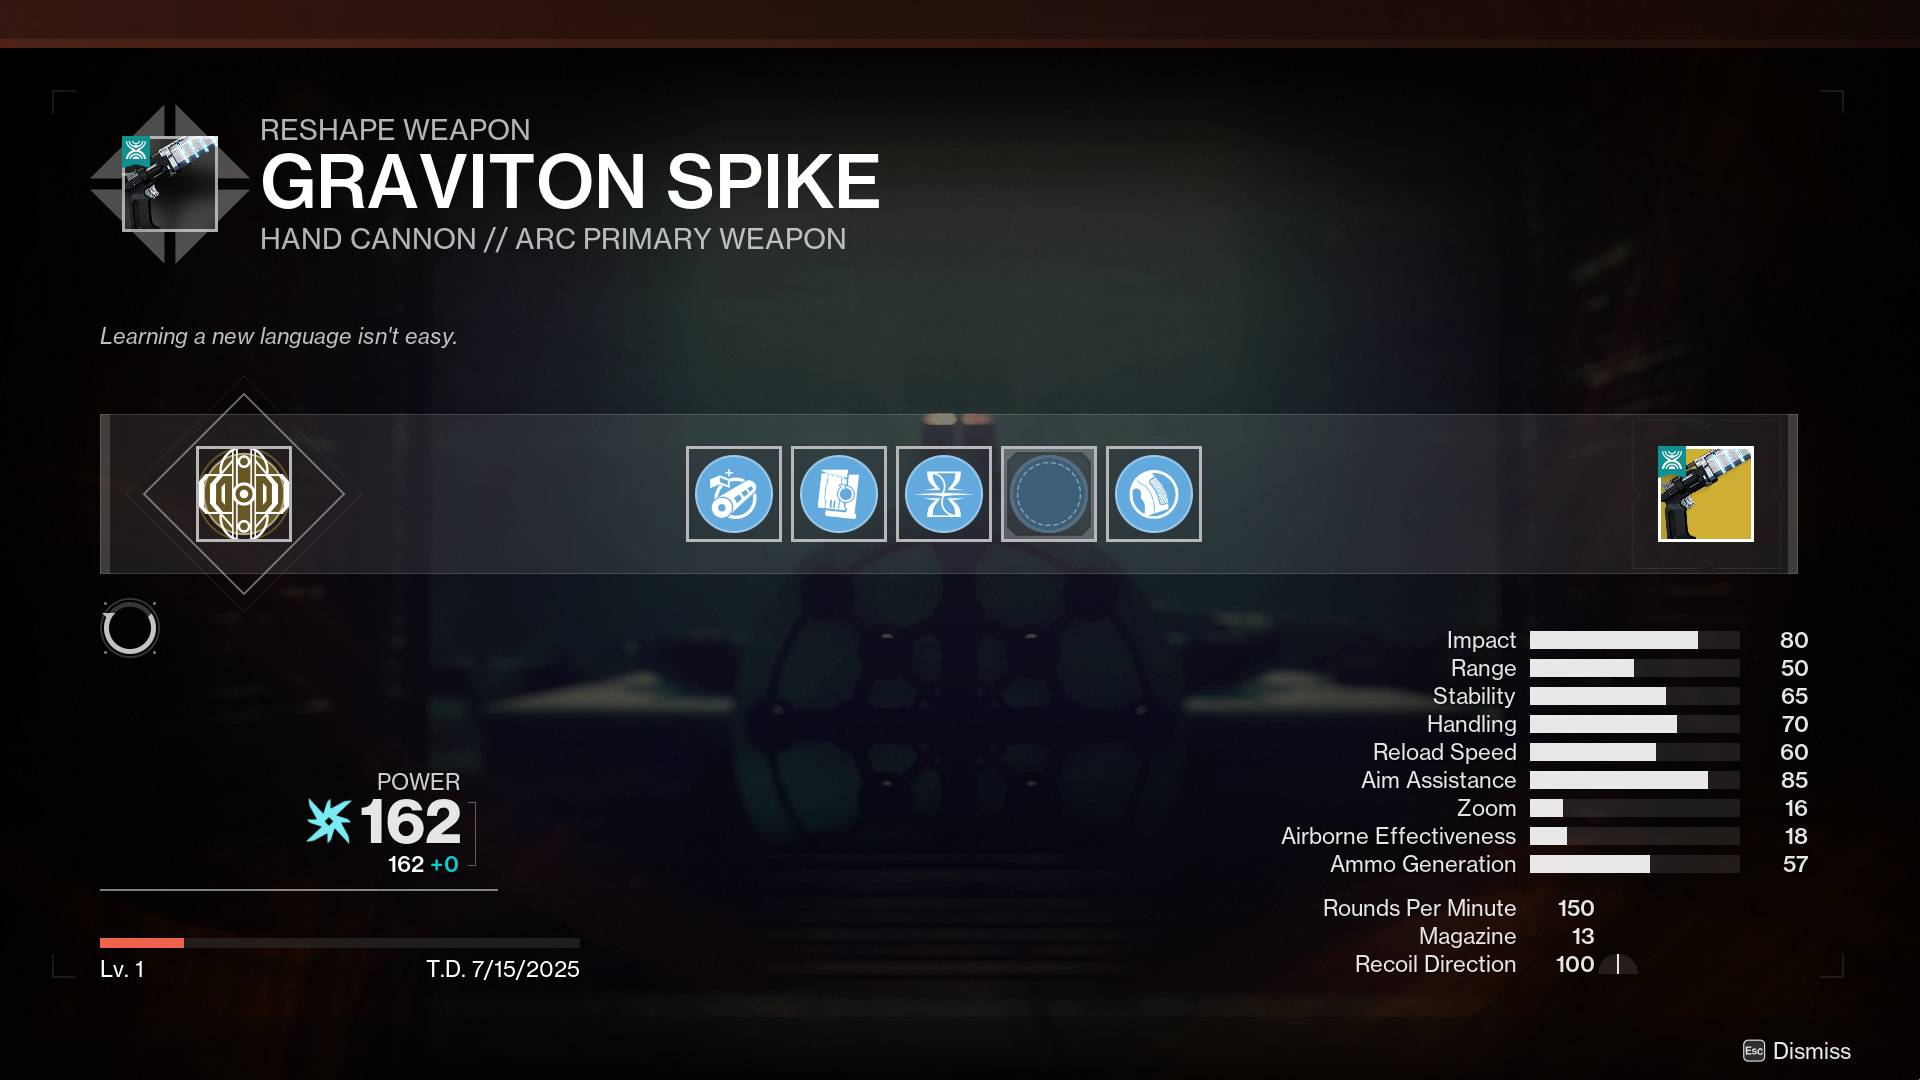
Once you complete the Sieve, the Gravitron Spike Exotic Hand Cannon will drop from the first reward chest. It’s a craftable weapon, and you’ll be able to dismantle it or extract the pattern so you can craft it again. You can also upgrade the weapon’s intrinsic perks and add special Exotic Catalysts, all of which is its own puzzle-ridden process.
For now, enjoy wielding the power of both Arc and Stasis from the comfort of your energy slot.
Graviton Spike is just one of a few Destiny 2 Edge of Fate Exotics to unlock. And if you're also mopping up side quests, we've got a guide for the Destiny 2 Dark Academia quest to help.
© GamesRadar+. Not to be reproduced without permission.
Weekly digests, tales from the communities you love, and more
Ryan started playing games before he started making memories, but he began writing about them for a living in 2016, when his first League of Legends guide for Polygon's satellite esports site, The Rift Herald. After years of freelance, contract, and part-time work with Polygon proper, he was finally hired full-time in 2019. Ryan left Polygon in 2025 after Vox Media sold the site. He's since started his own, alongside a former co-worker, dedicated to high-quality guides: BigFriendly.Guide. Ryan will play pretty much anything, but has a particular affinity to progression-heavy loot games, ARPGs, and metroidvanias. He's written hundreds of Destiny guides over the years, and loves helping others better understand complex games and their systems.
You must confirm your public display name before commenting
Please logout and then login again, you will then be prompted to enter your display name.

