How to beat the Destiny 2 Iconoclasm mission on Legendary in The Final Shape
Here are some tips to help you complete Iconoclasm on Legendary difficulty in Destiny 2
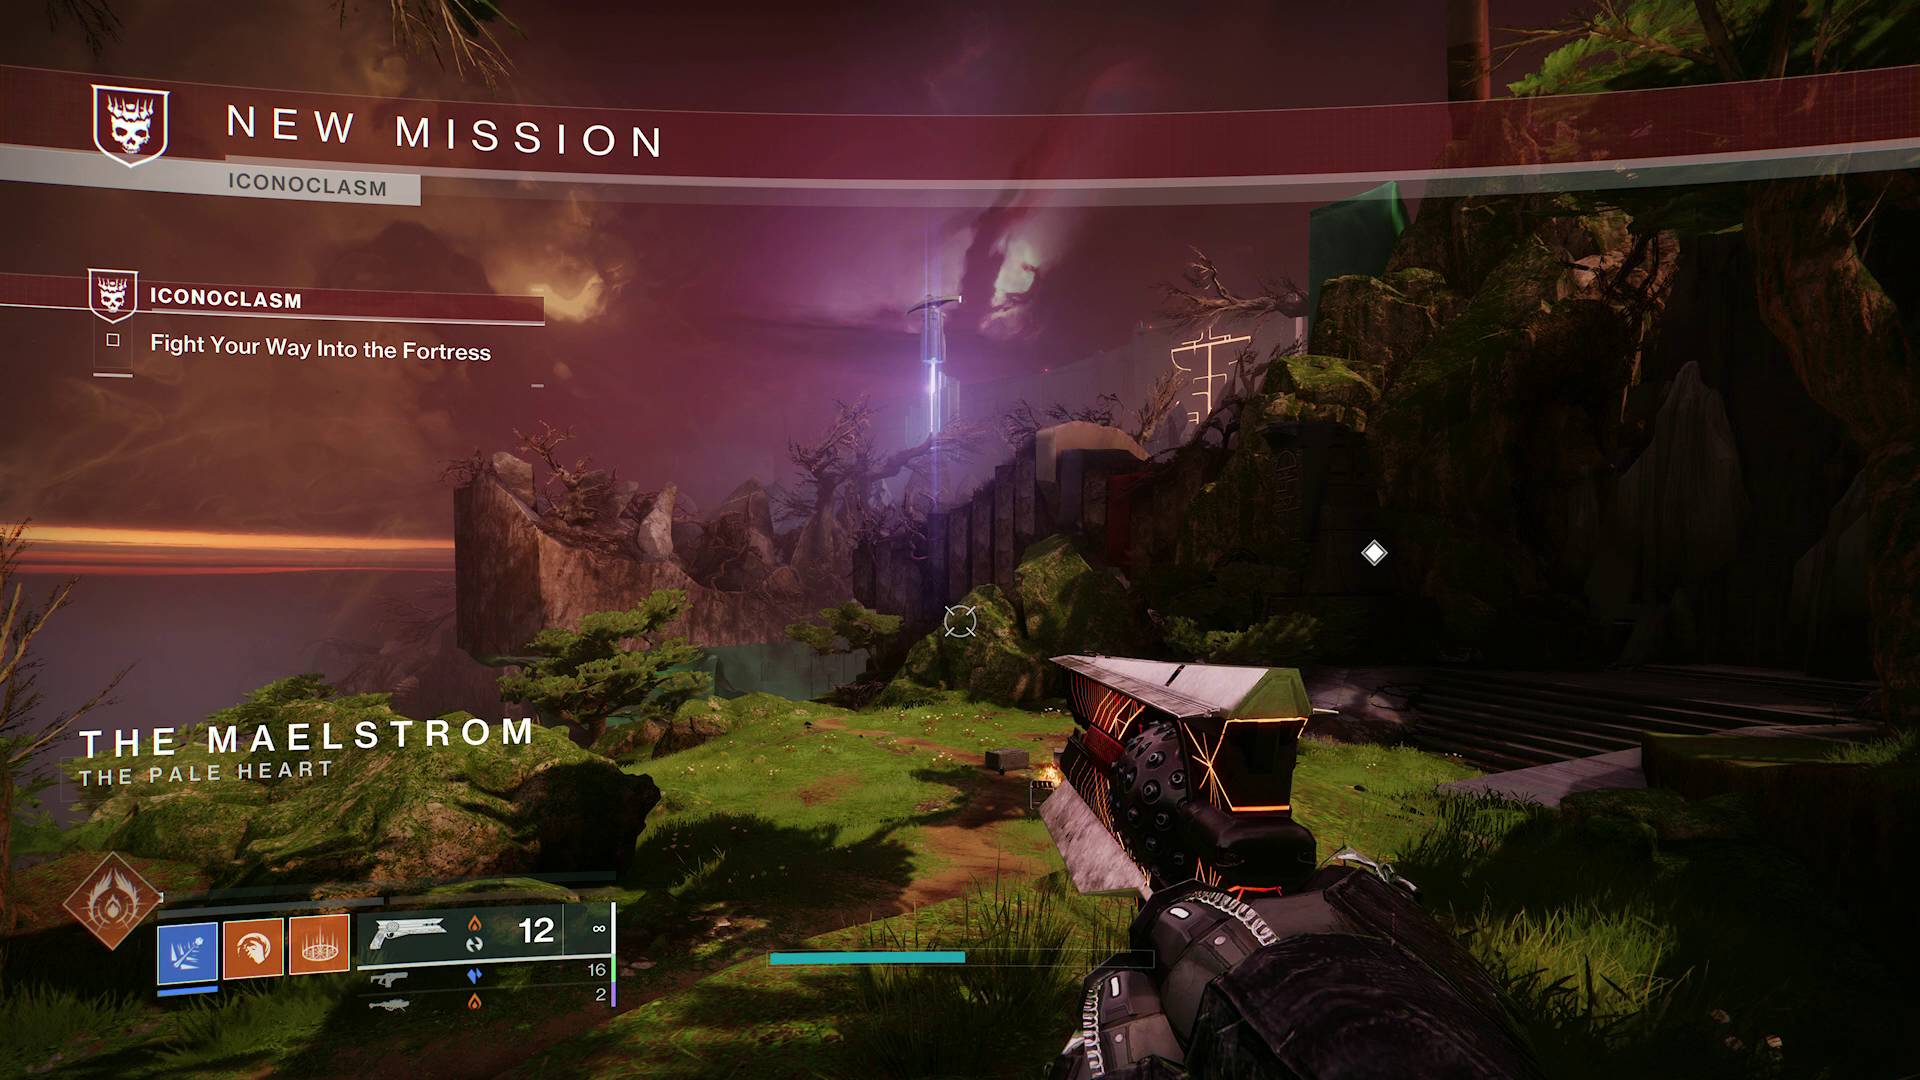
Beating the Destiny 2 Iconoclasm mission and the Witness final boss can be tricky, especially on Legendary difficulty thanks to all the mechanics it piles on. Of course, you'll also be facing the full force of the Dread and the Taken throughout, so it's a challenging end to the campaign of Destiny 2 The Final Shape. After defeating a couple of bosses, you'll also have to climb up the Sacrarium – a labyrinthine construct holding the ritual site where the Destiny 2 villain originated. The complexity of it all means the whole mission is almost like a mini-Raid or Dungeon, so I've laid out some tips for beating the Iconoclasm mission in Destiny 2.
Big spoilers below for The Final Shape campaign since this is the last mission!
Destiny 2 The Final Shape Iconoclasm walkthrough
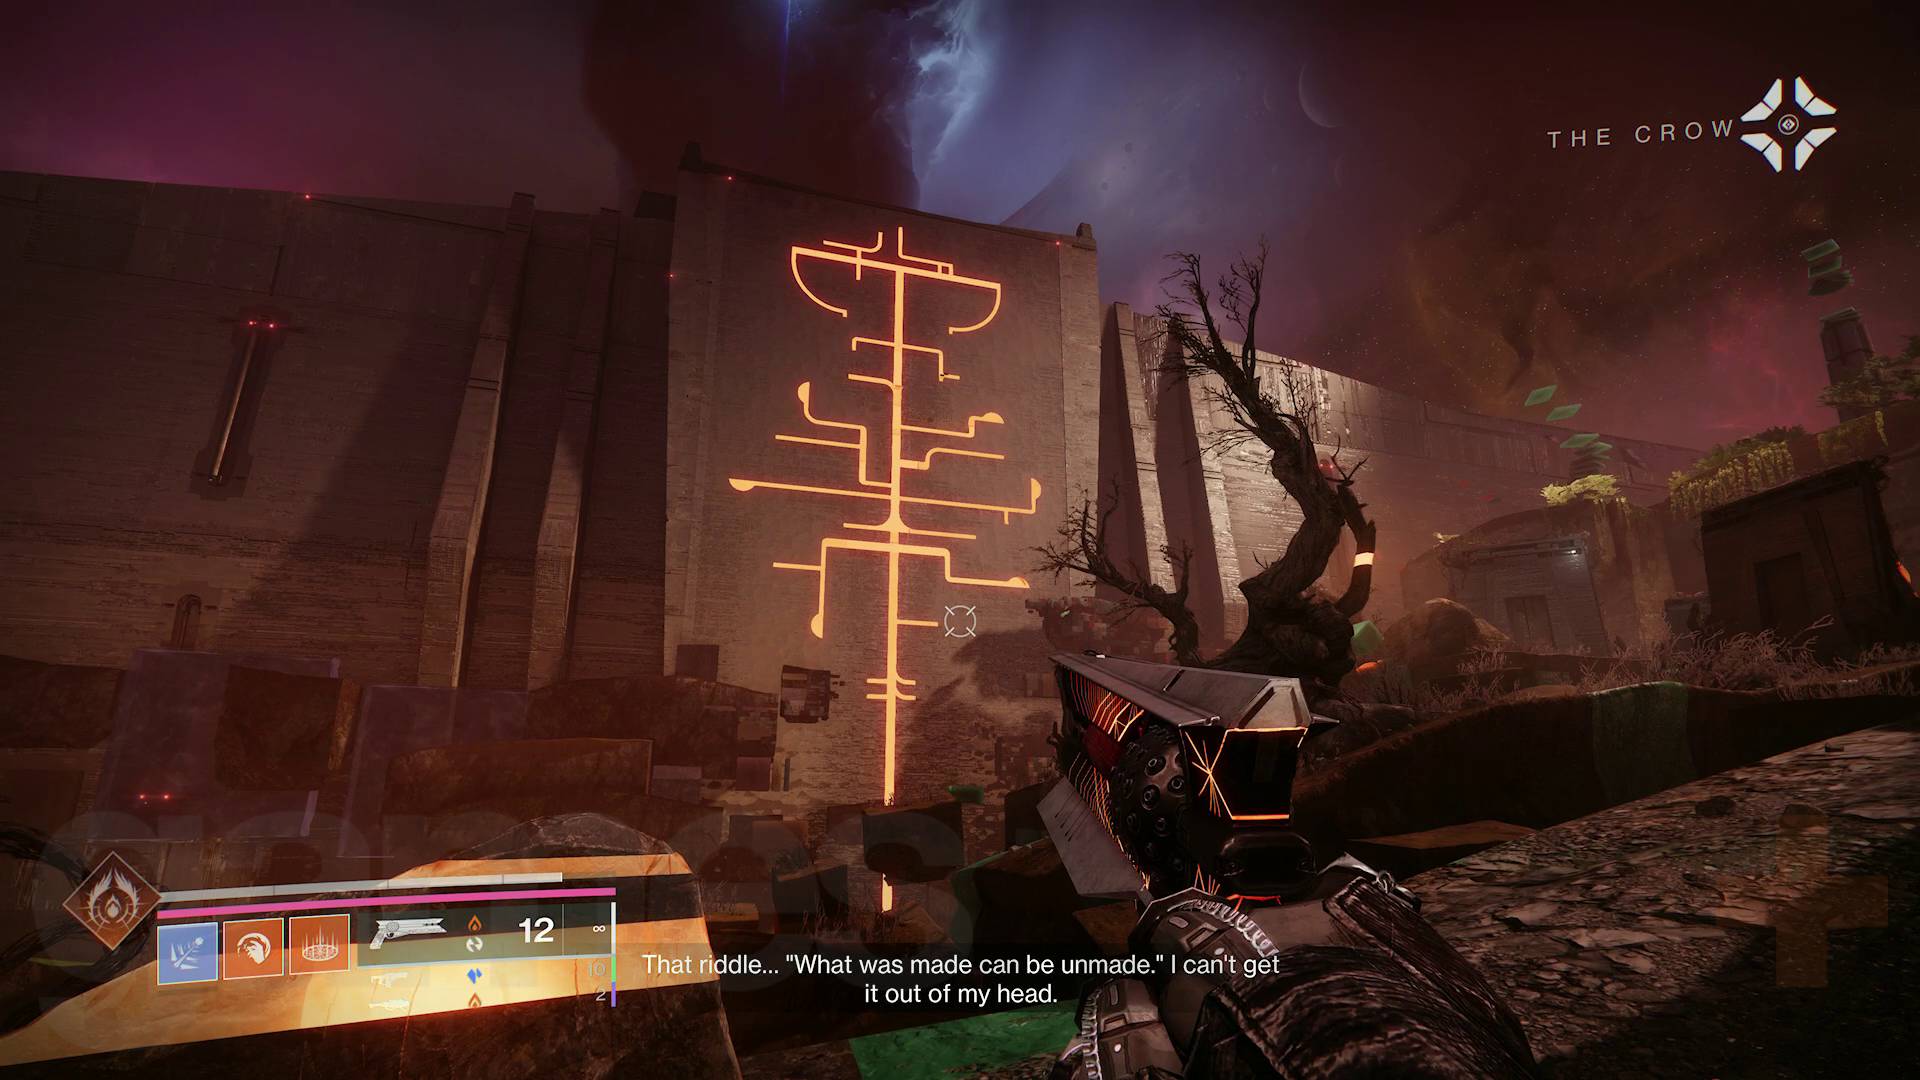
With the knowledge that "what was made, can be unmade" from the veiled statues, it's time to find a way to defeat the Witness at the memory of the ritual site where it was created. However, there is a long and highly perilous journey to get there, all part of the Iconoclasm mission. If you're playing the Destiny 2 Cooperative Focus version of this mission, all the steps below are the same but you need to remember the extra mechanics and increased difficulty:
- Follow the main path to reach the fortress gate. You'll have to fight a lot of Taken along the way. When you get to a large crop field area, jump across the gap to the cliff with a black arm carved in and walk along it to the first encounter.
- Fight the Imprint of Nezarec boss – a Destiny 2 Tormentor. Be very careful where you stand during this fight as I got knocked off the cliff several times when the Tormentor did its big dive attack.
- Head through the gate into the Sacrarium area and bear right. This will eventually lead you to one of the Witness's Darkness anomaly tunnels where you'll see a room full of red-eyed Ghosts. Drop down into the next room to face the first major boss.
- Defeat the Witness's Blessed boss. Full details on how to do that below!
- Head down the left tunnel to go deeper into the Sacrarium. Eventually you'll reach another anomaly which you can walk through, which then leads to another boss fight.
- Defeat Dolgith, Blade of Reasoning. Find an explanation of how to beat Dolgith below.
- Climb the Sacrarium. The massive structure with the glowing orange symbol on it that you probably saw right at the beginning of this mission is full of grooves and passages leading up through it.
- Press on through the Sacrarium halls, tunnels, and corridors until you reach a rally banner.
- Battle the Witness. This is a pretty complicated fight, so it's all explained further down.
Once you've seen that fight through to the end, you've completed Iconoclasm and will now be into the endgame of The Final Shape, helping the Traveler to build in strength before facing the Witness. You'll meet allies such as Micah-10 in Destiny 2 and uncover new Exotics, some of which might be the best Destiny 2 Exotics, such as the Destiny 2 Microcosm, Khvostov, and Ergo Sum. Once you've helped enough, it's time to face the Witness one last time in the Destiny 2 Excision mission.
How to beat the Witness's Blessed boss in Iconoclasm
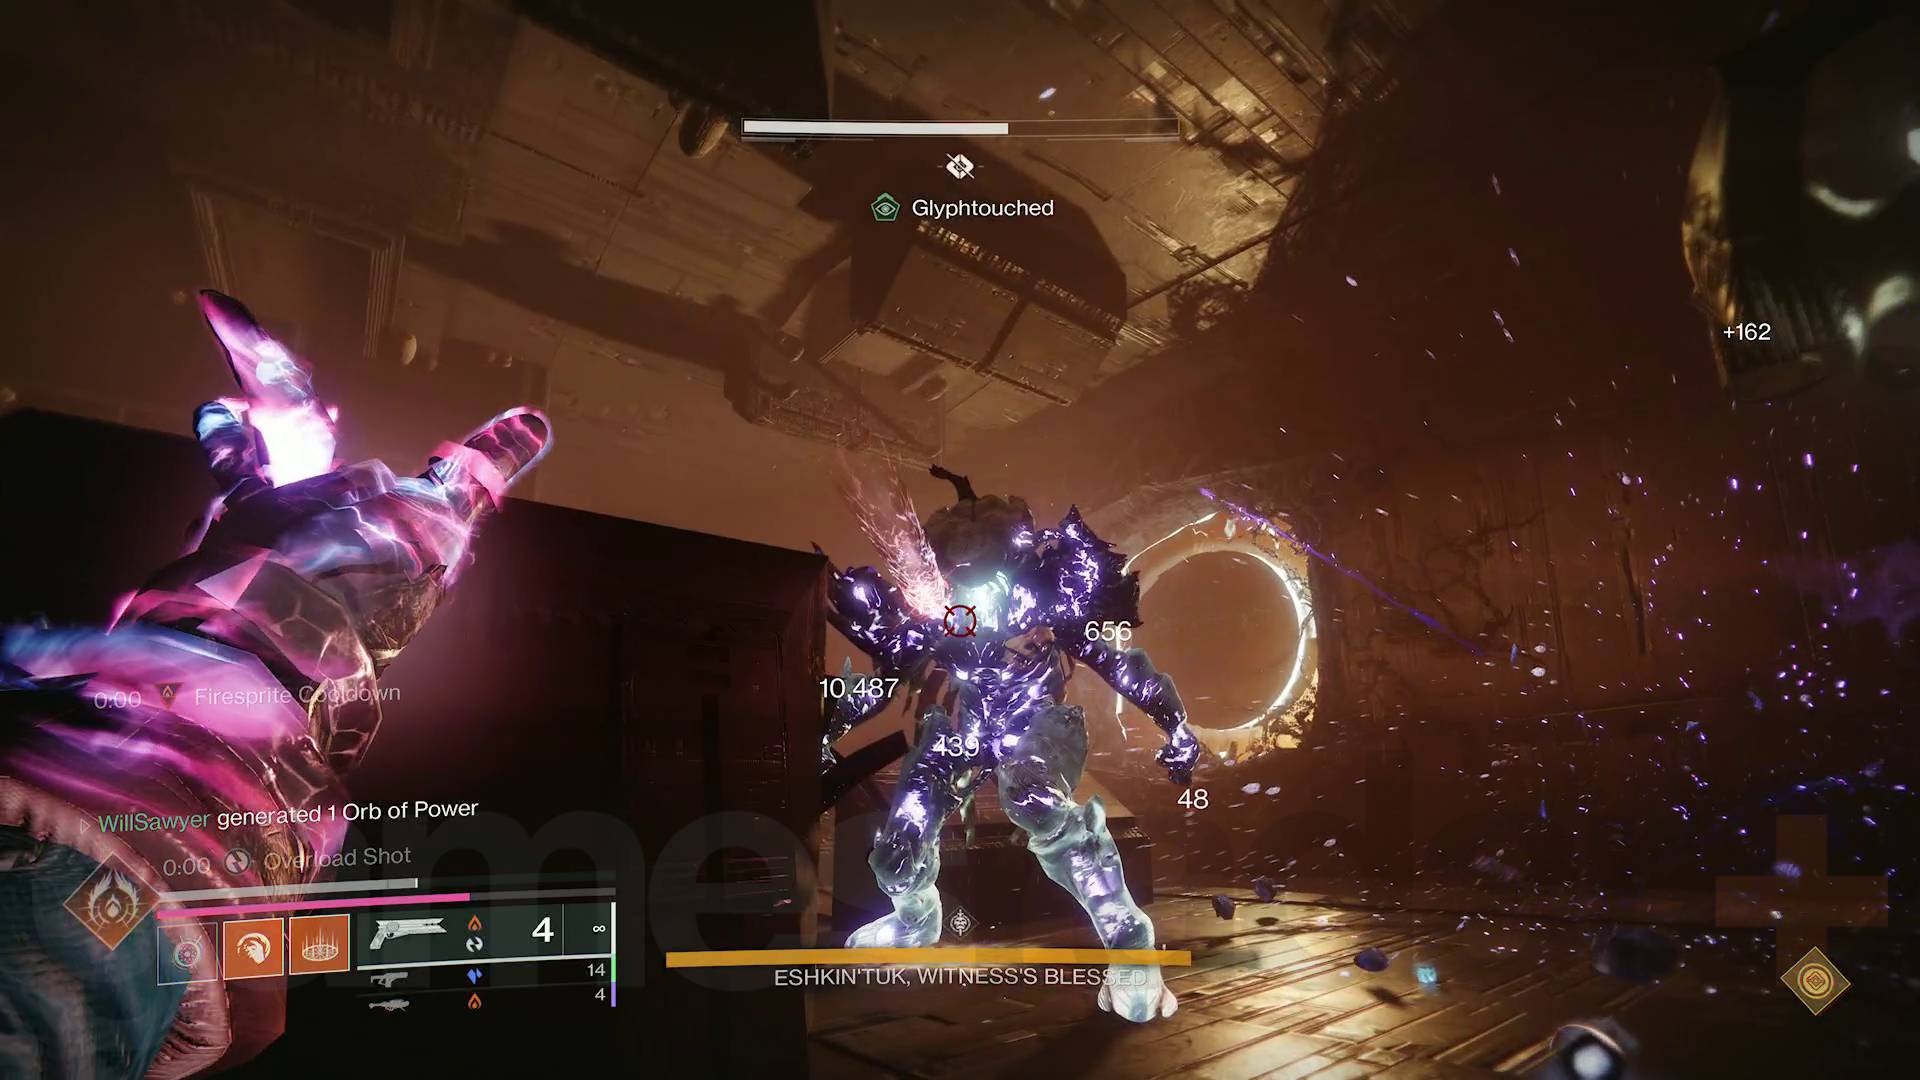
This is quite an involved boss fight in terms of mechanics, with all the work needing to be done before the massive Taken Hive Knight Eshkin'tuk, Witness's Blessed, even appears. And if you die while fighting, you've got to start all over from step one. Here's what to do:
- Clear out the enemies then shoot the Darkness splinter.
- Go to one of the new Darkness orbs on either side of the room and shoot it while standing nearby to get the "Shielded from Darkness" buff. In the next area, the air is toxic so this buff protects you from taking damage for a limited time.
- Jump down the nearby trapdoor and defeat both Resonant Warder Hive Knight minibosses. They're not as strong as they look, but they can teleport unpredictably and have dangerous melee attacks, so don't let them get close to you. There are more Darkness orbs in this room too, so you can refresh your protective buff.
- Look at the glyphs that both Resonant Warders dropped and remember them, then head through the portal to get back up to the first room.
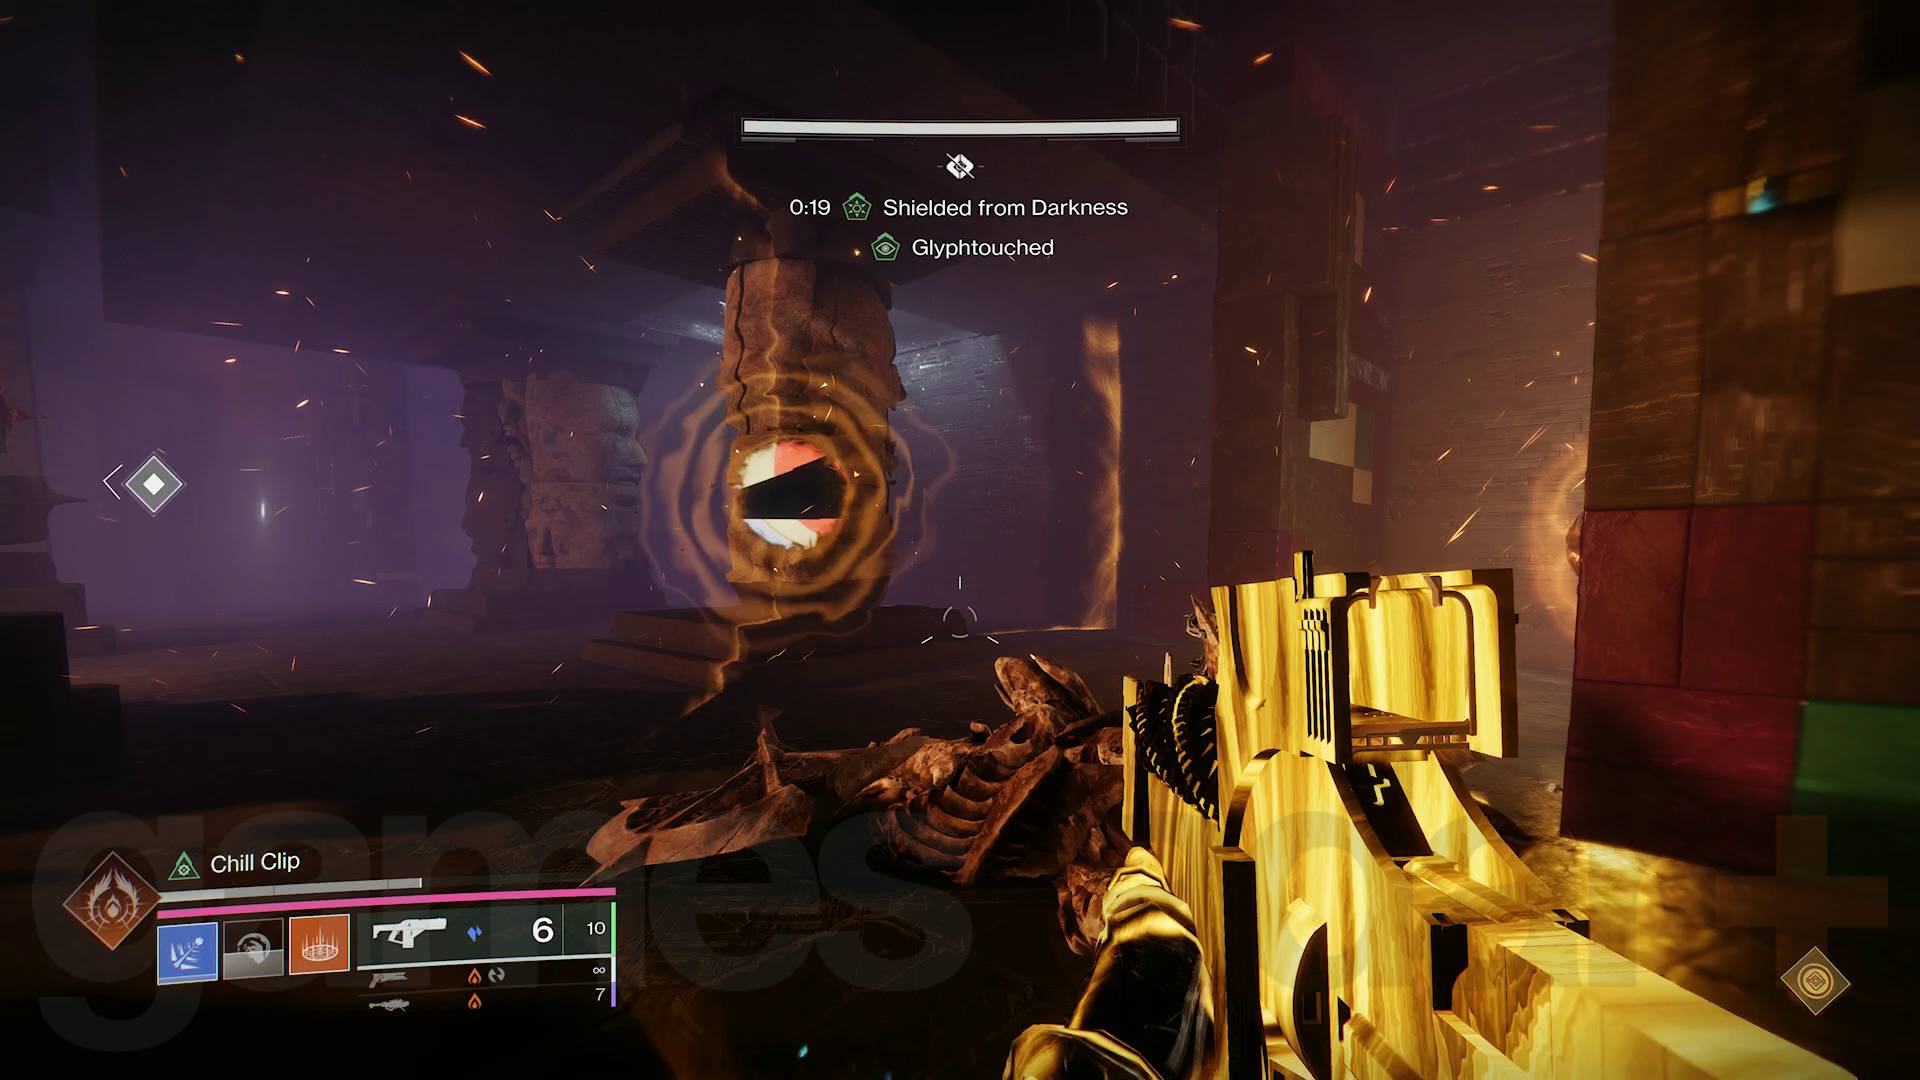
- Find and approach the two glyphs you saw in the previous room. Touching both glyphs summons the Witness's Blessed.
- Defeat the boss. Nothing special here. Just use your weapons and abilities to blast the Taken Knight apart.
How to beat Dolgith, Blade of Reasoning in Iconoclasm
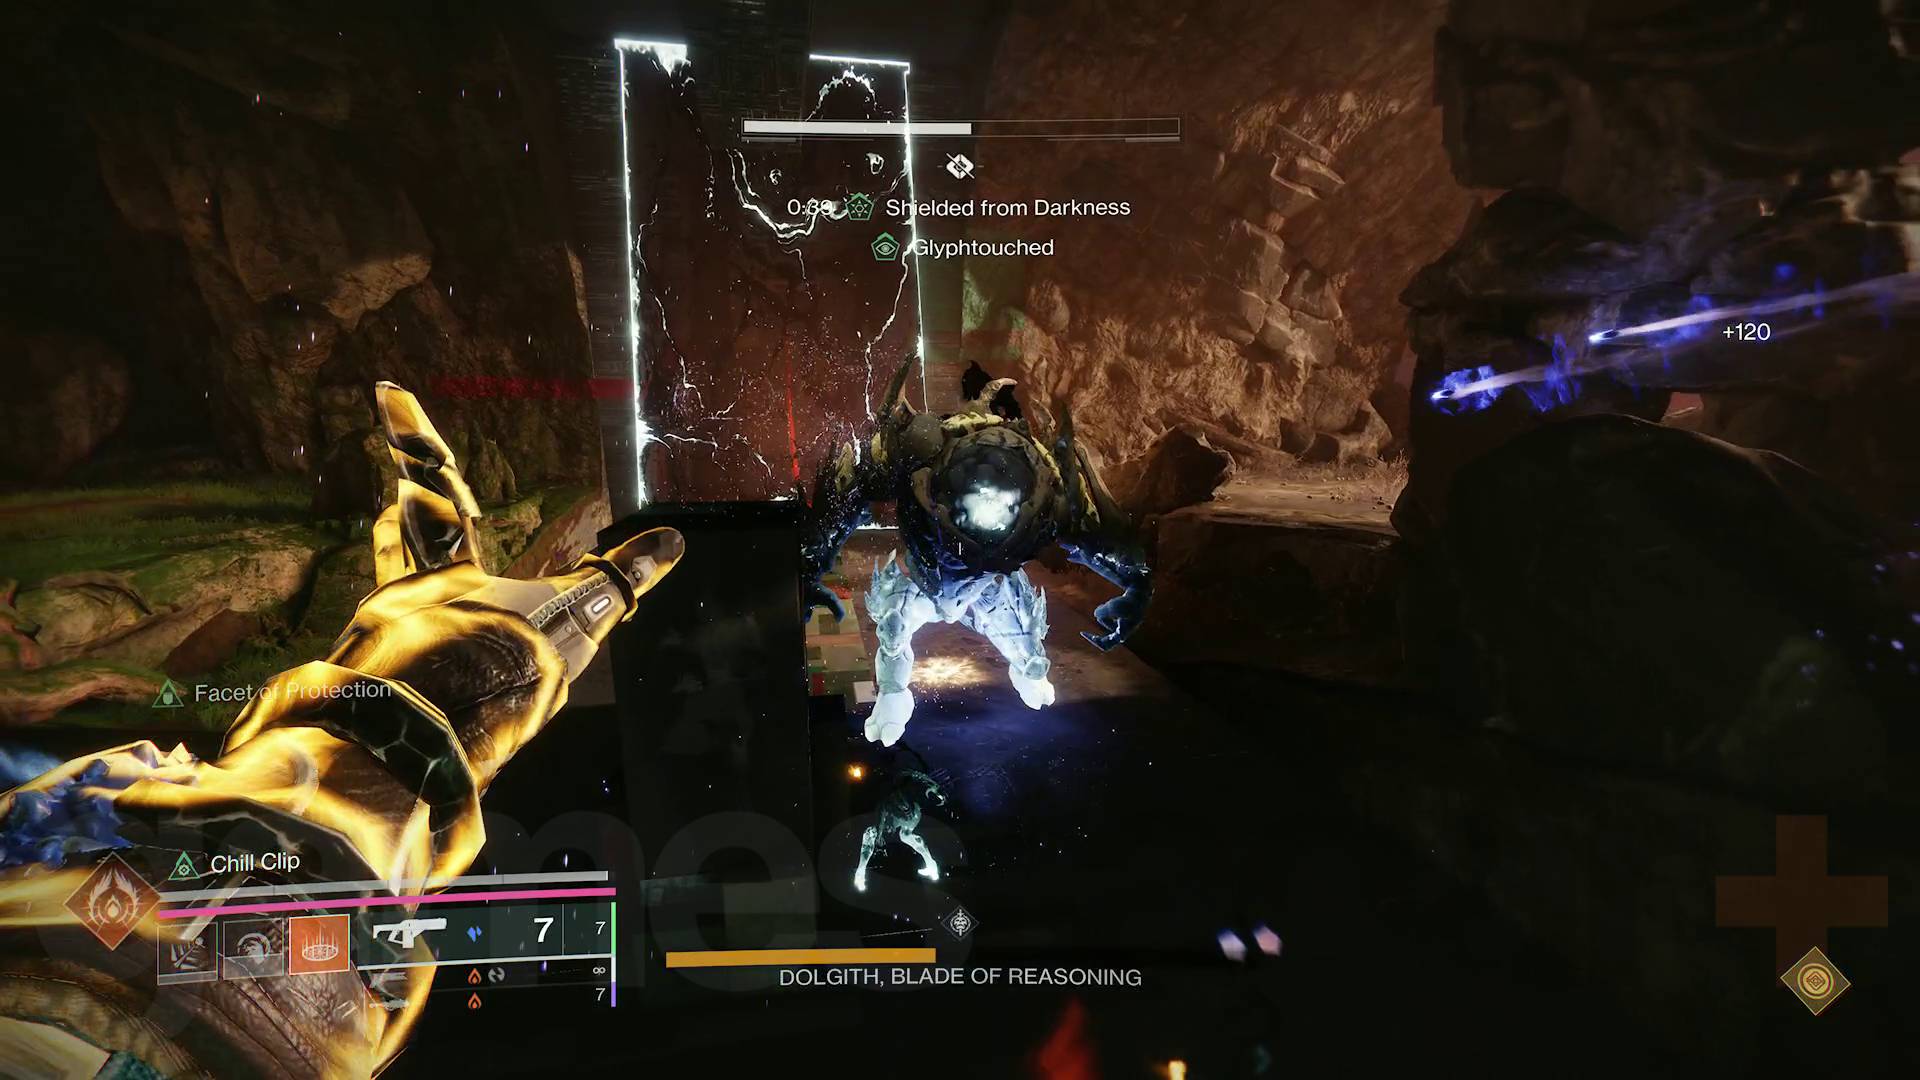
The Dolgith boss fight during the Destiny 2 Iconoclasm mission is mechanically very similar to the previous fight but with a little more complexity. This time, Dolgith is present from the beginning, but has a seemingly invulnerable shield to bring down. Here's how you beat it:
- Clear out the enemies and Taken Blights, then shoot the Darkness splinter. The Taken inside the Blights must be damaged with Prismatic first!
- Shoot one of the Darkness orbs to get the buff, then jump through the portal to the next room.
- Defeat both Resonant Warder Hive Knight bosses and look at the glyphs they drop. This is exactly like the previous boss fight, except the room is packed with pillars to make it more maze-like. Don’t forget to refresh your Shielded from Darkness buff either. Jump through the exit portal when you've checked both glyphs.
- Find and approach the two glyphs. Nullifying the two glyphs summons an Aegis shield for you to grab.
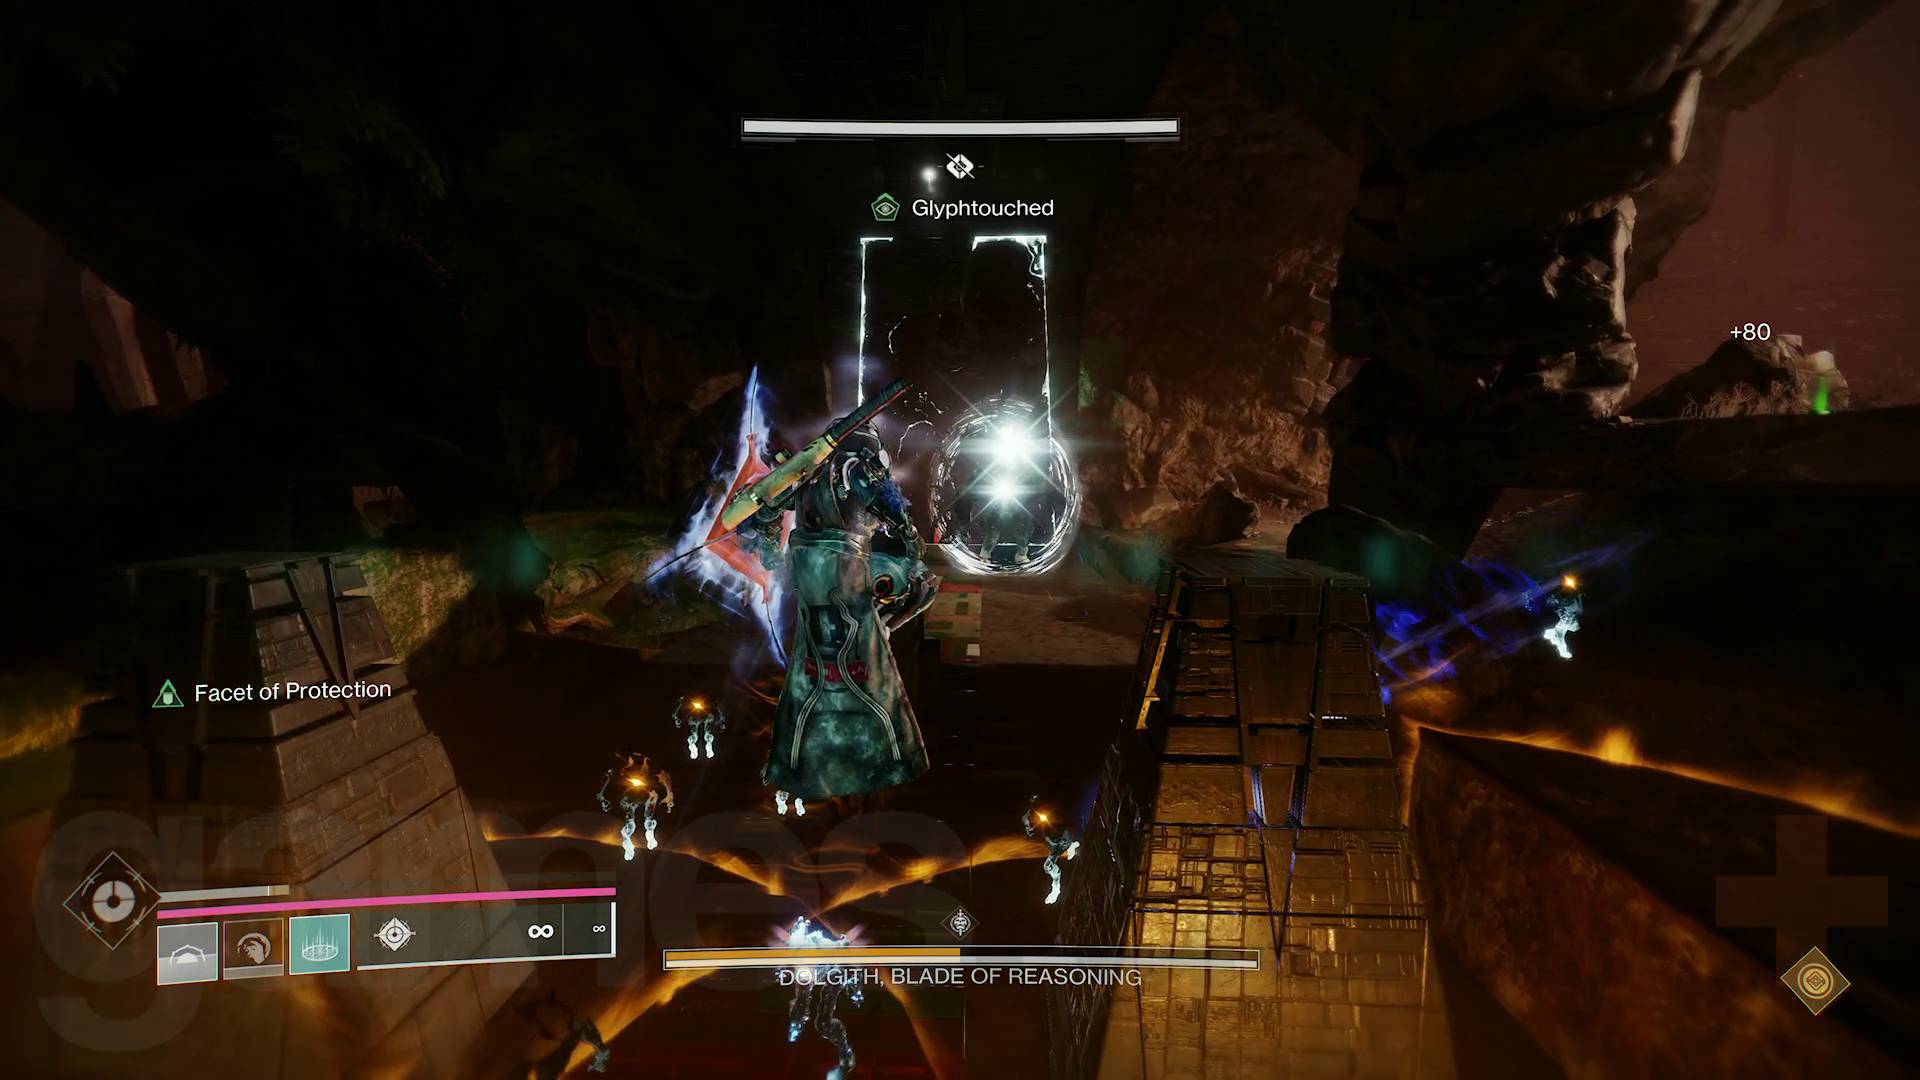
- Destroy Dolgith's shield with the Aegis Super ability.
- Damage Dolgith. Once you halve the boss's health, it'll resummon its shield.
- Repeat steps 1-6. Once you reach the second damage phase, you can kill Dolgith.
How to beat the Witness in Iconoclasm on Legendary
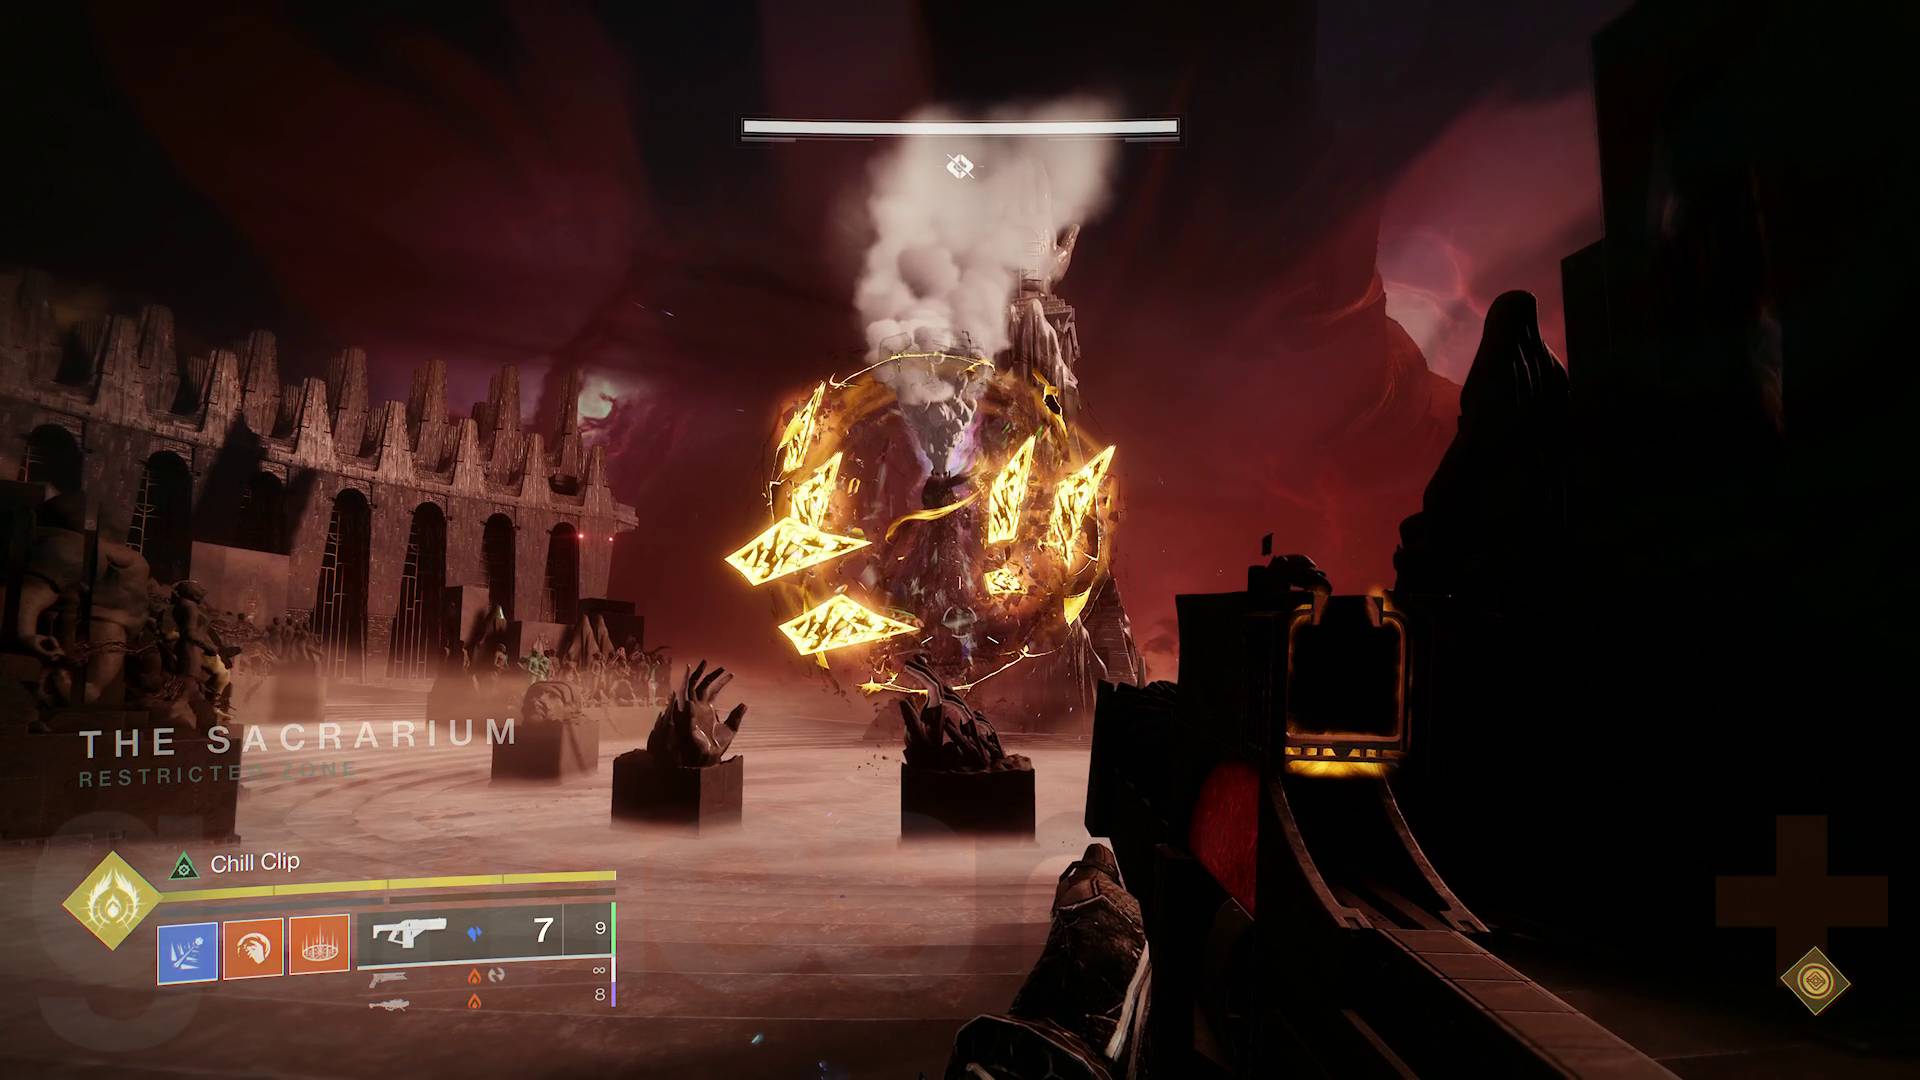
For this fight, you’re not really fighting the Witness directly, mainly focusing on avoiding its attacks and finding ways to slay its Dread protectors. This is a long and challenging battle, especially on Legendary difficulty. There are lots of quite specific steps to follow and plenty of ways to die, sending you right back to the start of the fight. Here are all the steps needed to beat the Witness in the Iconoclast mission, as well as some tips along the way for Legendary difficulty:
- Shortly after starting the fight, you'll see a message in your feed saying, "The Witness unleashes an attack!", and will hear a sound like a sword being drawn. When this happens, get into cover behind one of the many rows of statues and wait for the Witnesses blade attack to hit. The Witness uses this attack throughout the fight, so always look out for the warning message – it can easily kill you if even a few of the blades hit, so don't push your luck.
- Defeat the Dread and get the Omen Subjugator boss (Lenurae, Subjugator of Fluxion) down to half health. Don't get caught near any of its Stasis crystals while fighting as these can easily kill you on Legendary difficulty. Once at half health, it'll shield itself.
- Shoot a Darkness orb to get the protective buff, then head left to grab the Aegis shield.
- Use the Aegis shield Super to destroy the Omen's shield. You can also use the Aegis' bubble shield ability to protect yourself from projectiles.
- Run to the Fissure of Light near the door you entered the arena from and hold down the bubble shield ability. The Witness will then summon a tornado of Darkness blades, but your shield will block them, with the fissure providing infinite energy for this ability. Maintain the bubble until the tornado ends.
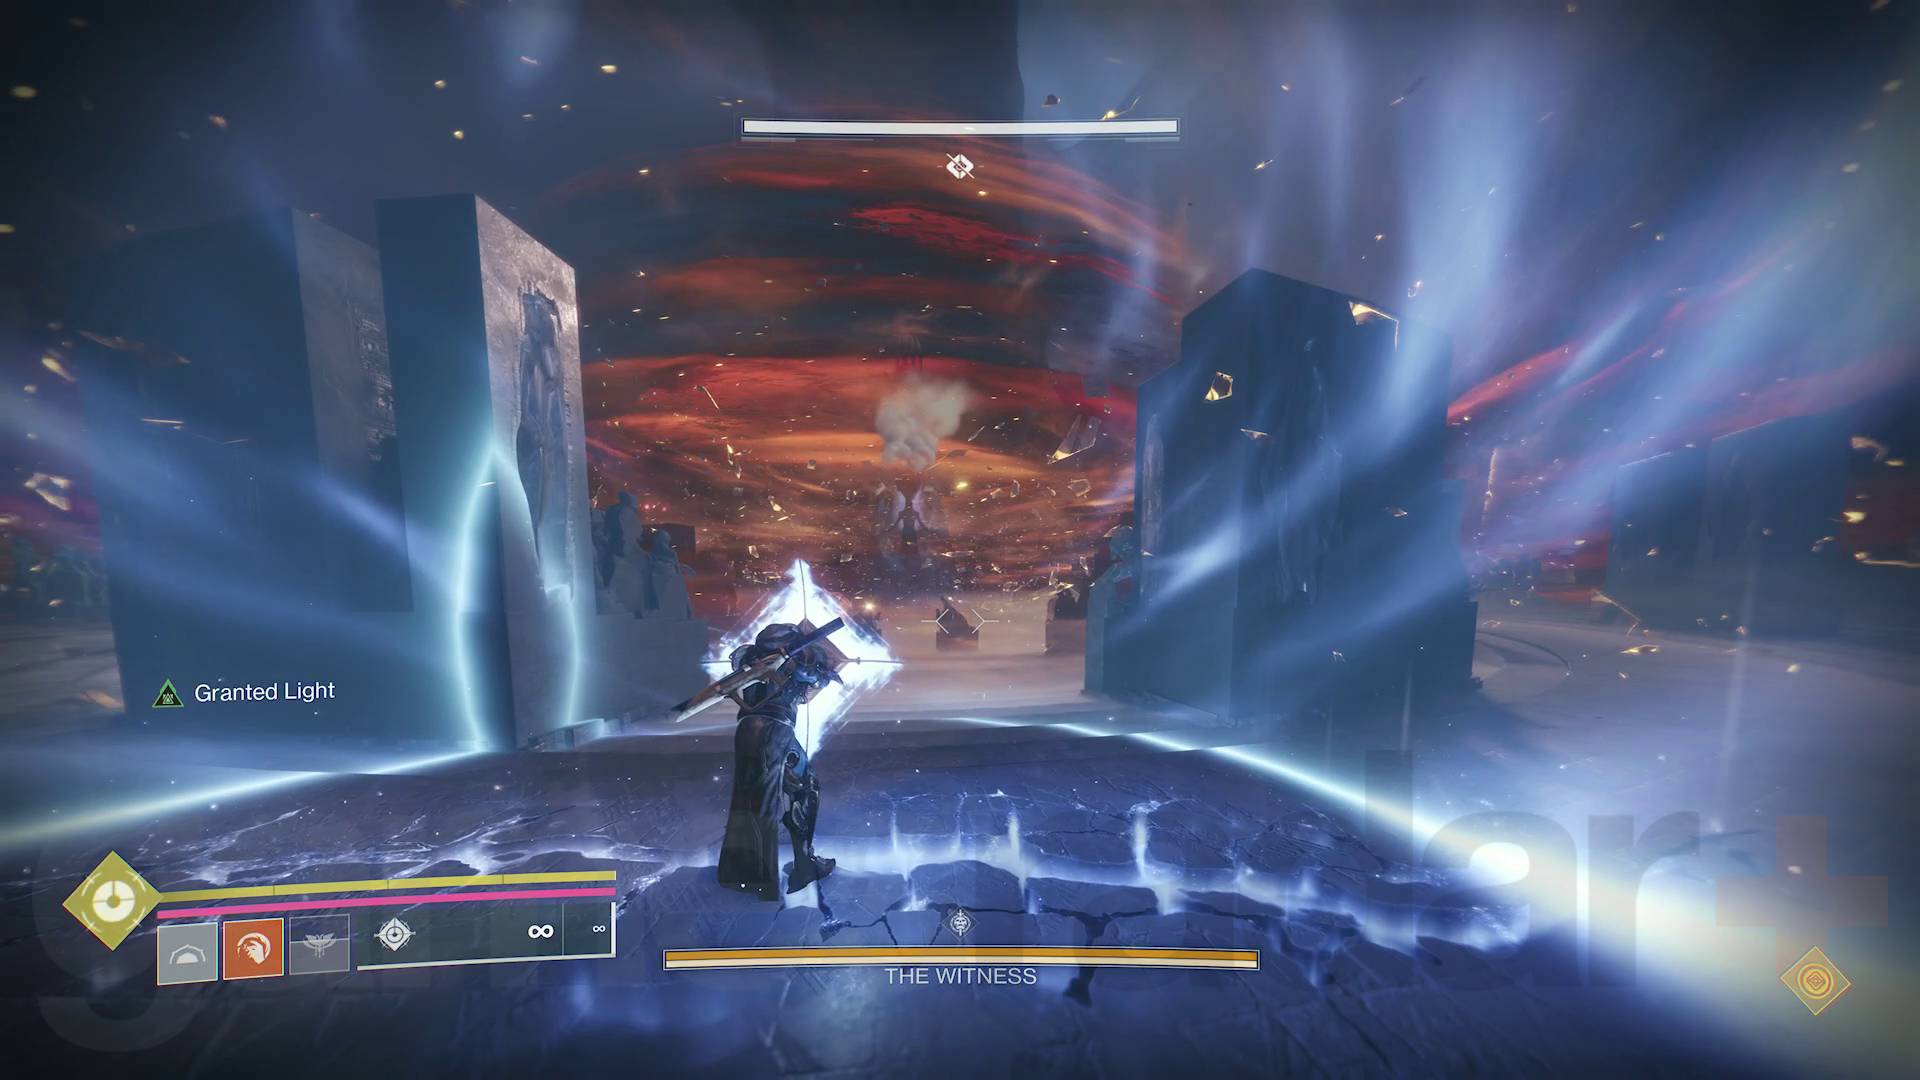
- Kill the Omen. With its shield down, you can resume damage to defeat the boss.
- Grab the Sword of the Traveler and slice the Darkness node in front of the veiled statues. Follow the button prompt to embrace the Darkness and get teleported to a new area.
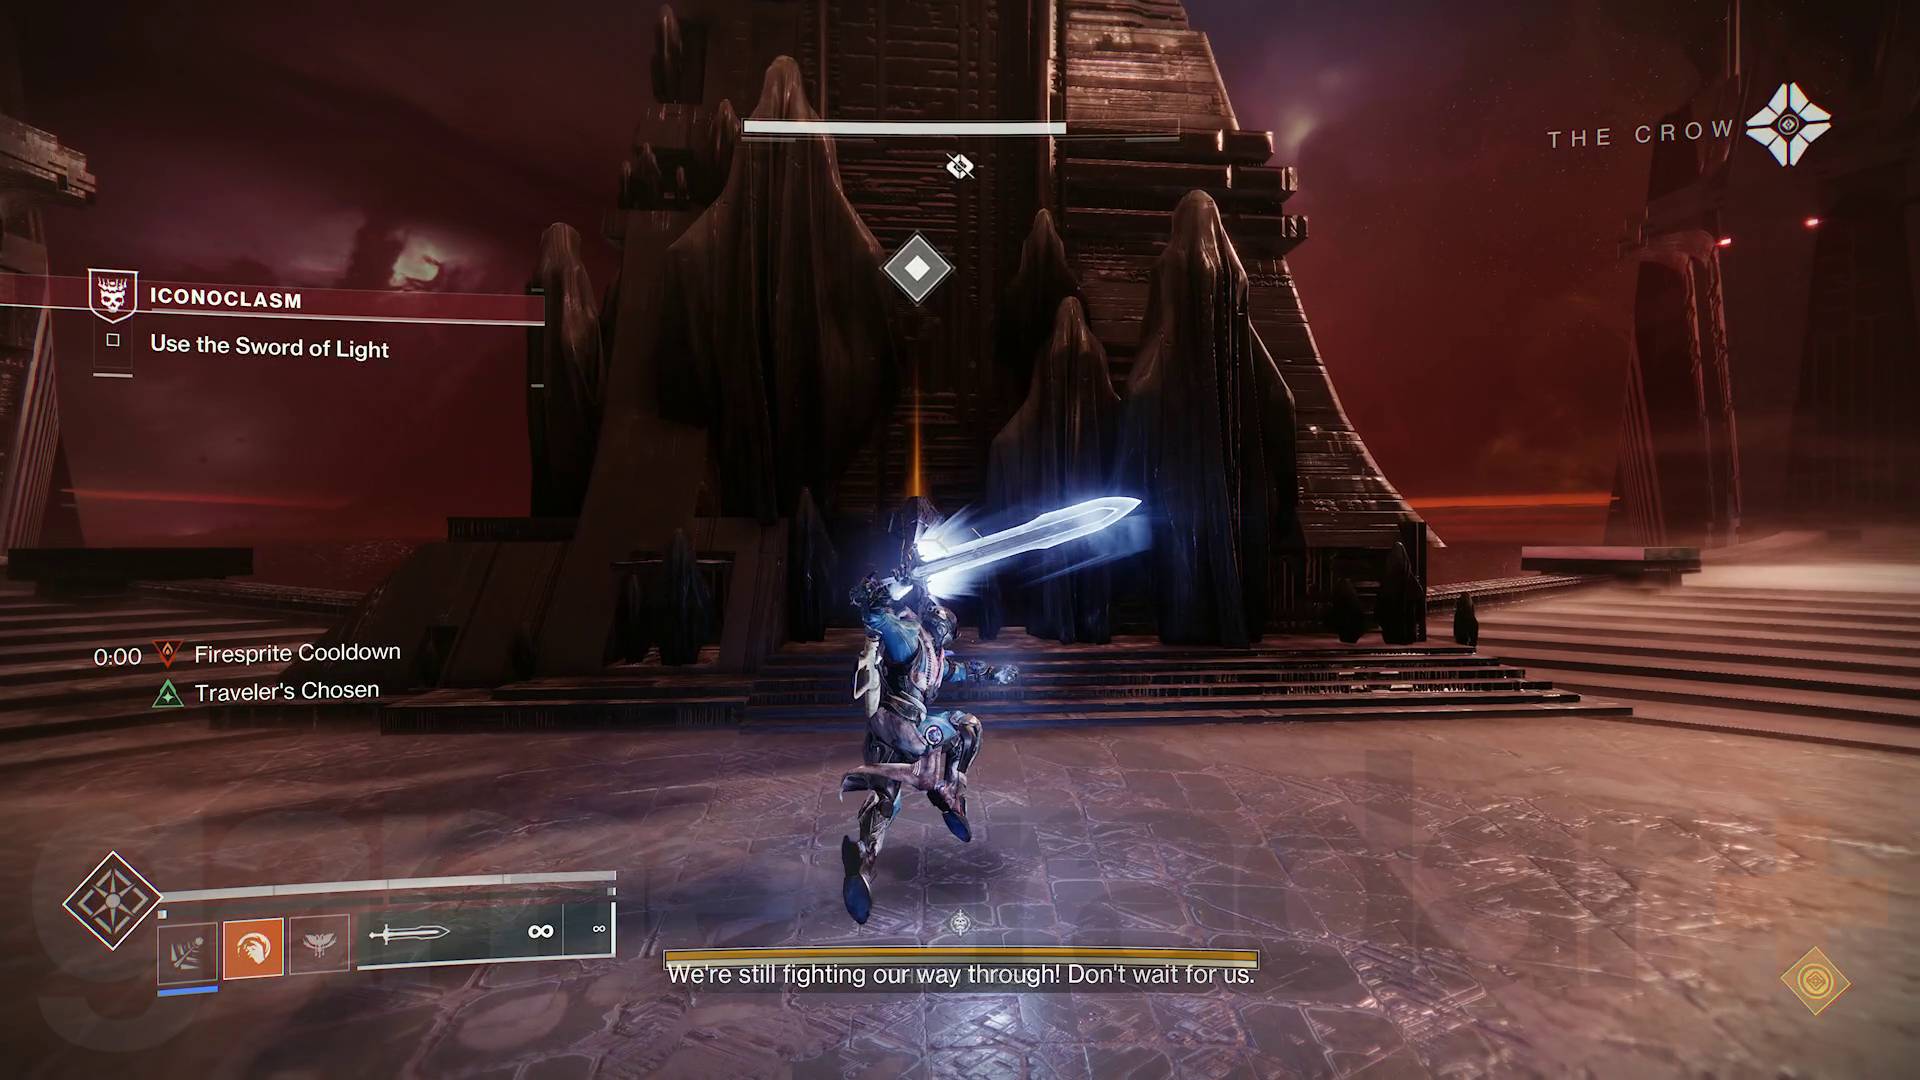
- Destroy the middle veiled statue with the sword. You'll get teleported back to the arena after.
- Repeat step 2, although this time, the boss will be a Harbinger Subjugator (Molak'al, Subjugator of the Traveler), so watch out for its suspending Strand powers. The other main difference is that the air is now toxic, which means you'll need to shoot Darkness orbs to keep your Shielded from Darkness buff topped up.
- Head right and grab the Aegis shield.
- Repeat step 5 and then kill the Harbinger boss. Be aware that lots of enemies will be protected by Prismatic barriers at this point, so it's good to have Transcendence ready to use here.
- Repeat step 7 and destroy the left veiled statue with the sword.
- Grab another sword and slice the Darkness node one more time and destroy the final veiled statue. When you grab sword, you'll see that your Vanguard allies have joined you in the fight. Lots of Dread enemies will also arrive but you don't have to fight them, so just focus on the node.
- You'll now be teleported to a twisted corridor full of darkness blades. Grab the Aegis and use the bubble shield to block the blades, moving from fissure to fissure to restore energy to the shield. Do not drop the bubble shield or fall off the walkway.
- Reach the end and make your escape. Get to the end of the corridor and a cutscene will play where you make your escape thanks to Queen Mara.
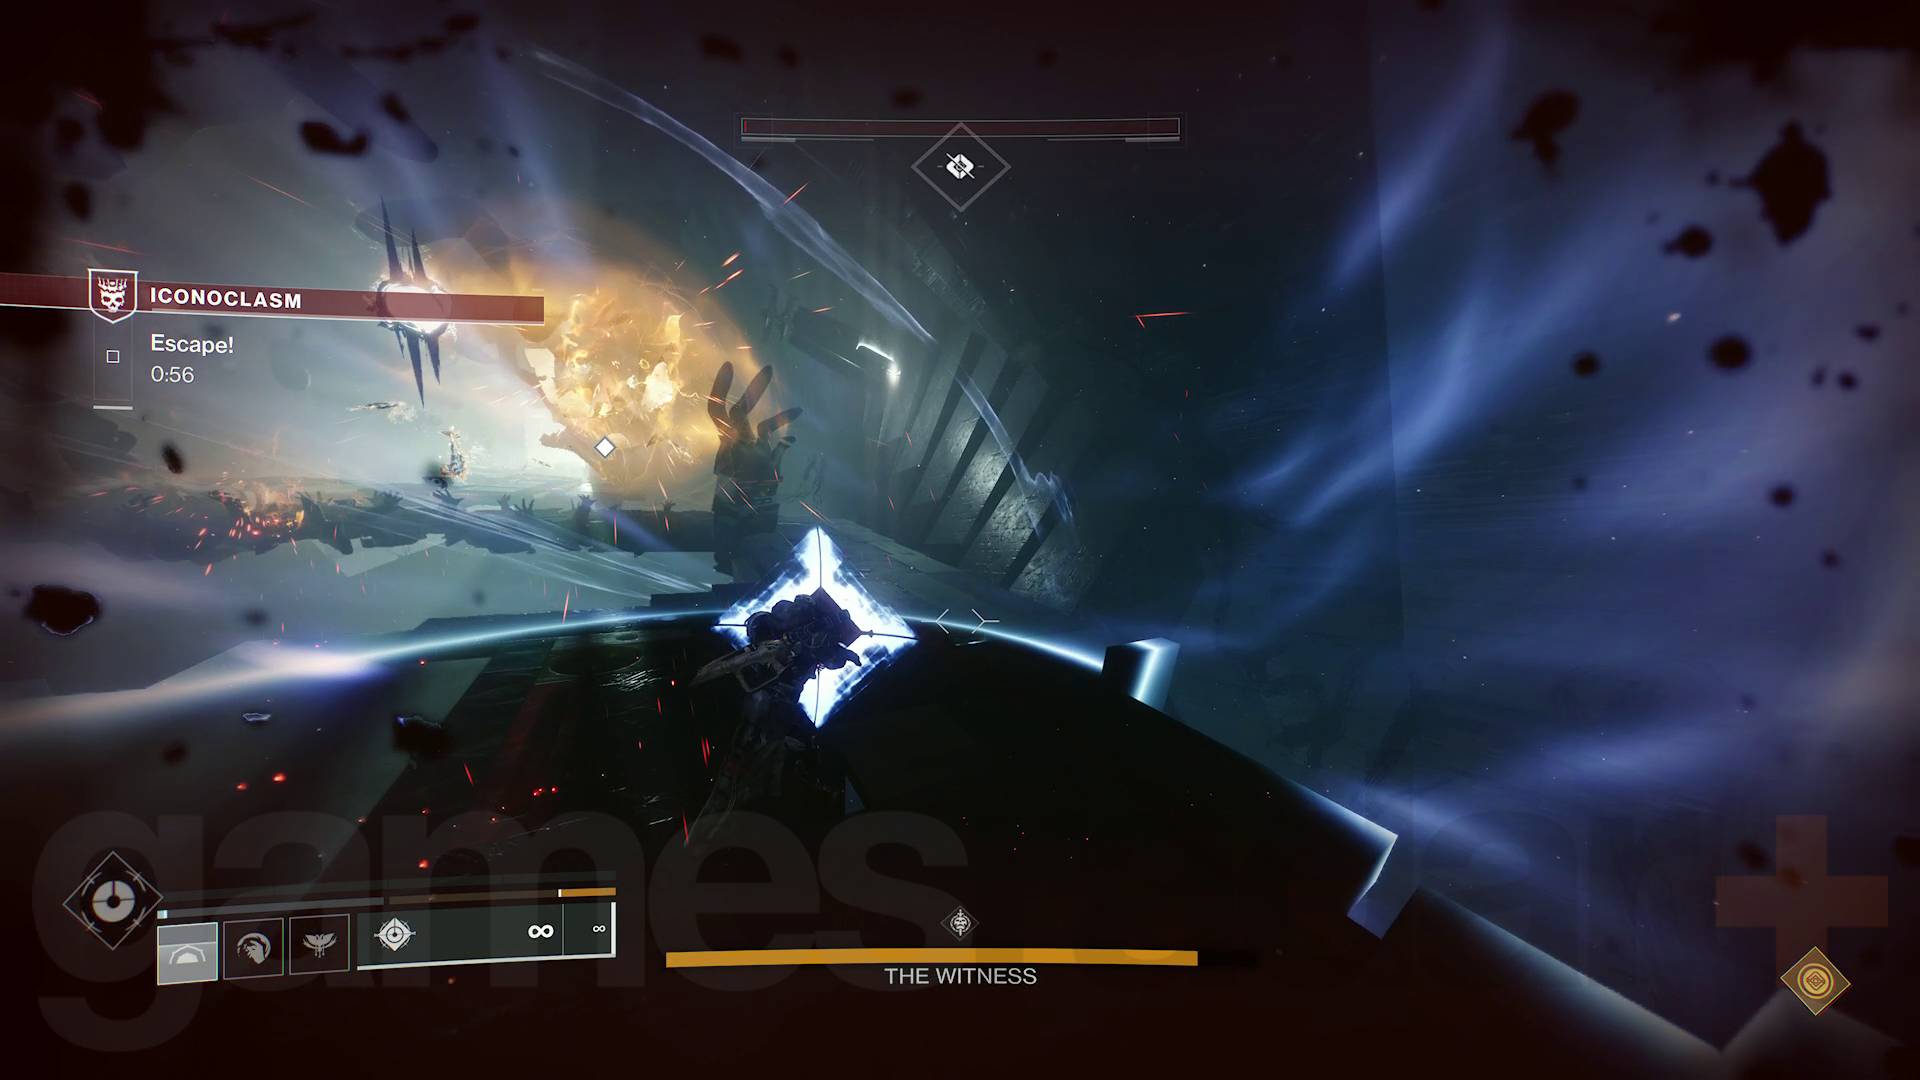
Phew! All that just to wound the Witness a little, while Ghost and the Guardian both almost die completely. All that's left is to finish the fight in the Destiny 2 Salvation's Edge Raid and then the Excision mission.
© GamesRadar+. Not to be reproduced without permission.
Sign up to the GamesRadar+ Newsletter
Weekly digests, tales from the communities you love, and more
Will Sawyer is a guides writer at GamesRadar+ who works with the rest of the guides team to give readers great information and advice on the best items, how to complete a particular challenge, or where to go in some of the biggest video games. Will joined the GameRadar+ team in August 2021 and has written about service titles, including Fortnite, Destiny 2, and Warzone, as well as some of the biggest releases like Halo Infinite, Elden Ring, and God of War Ragnarok.


