How to farm XP in Clair Obscur: Expedition 33
Get XP fast in Clair Obscur: Expedition 33 with this farming method to blast through enemy groups and rack up experience points
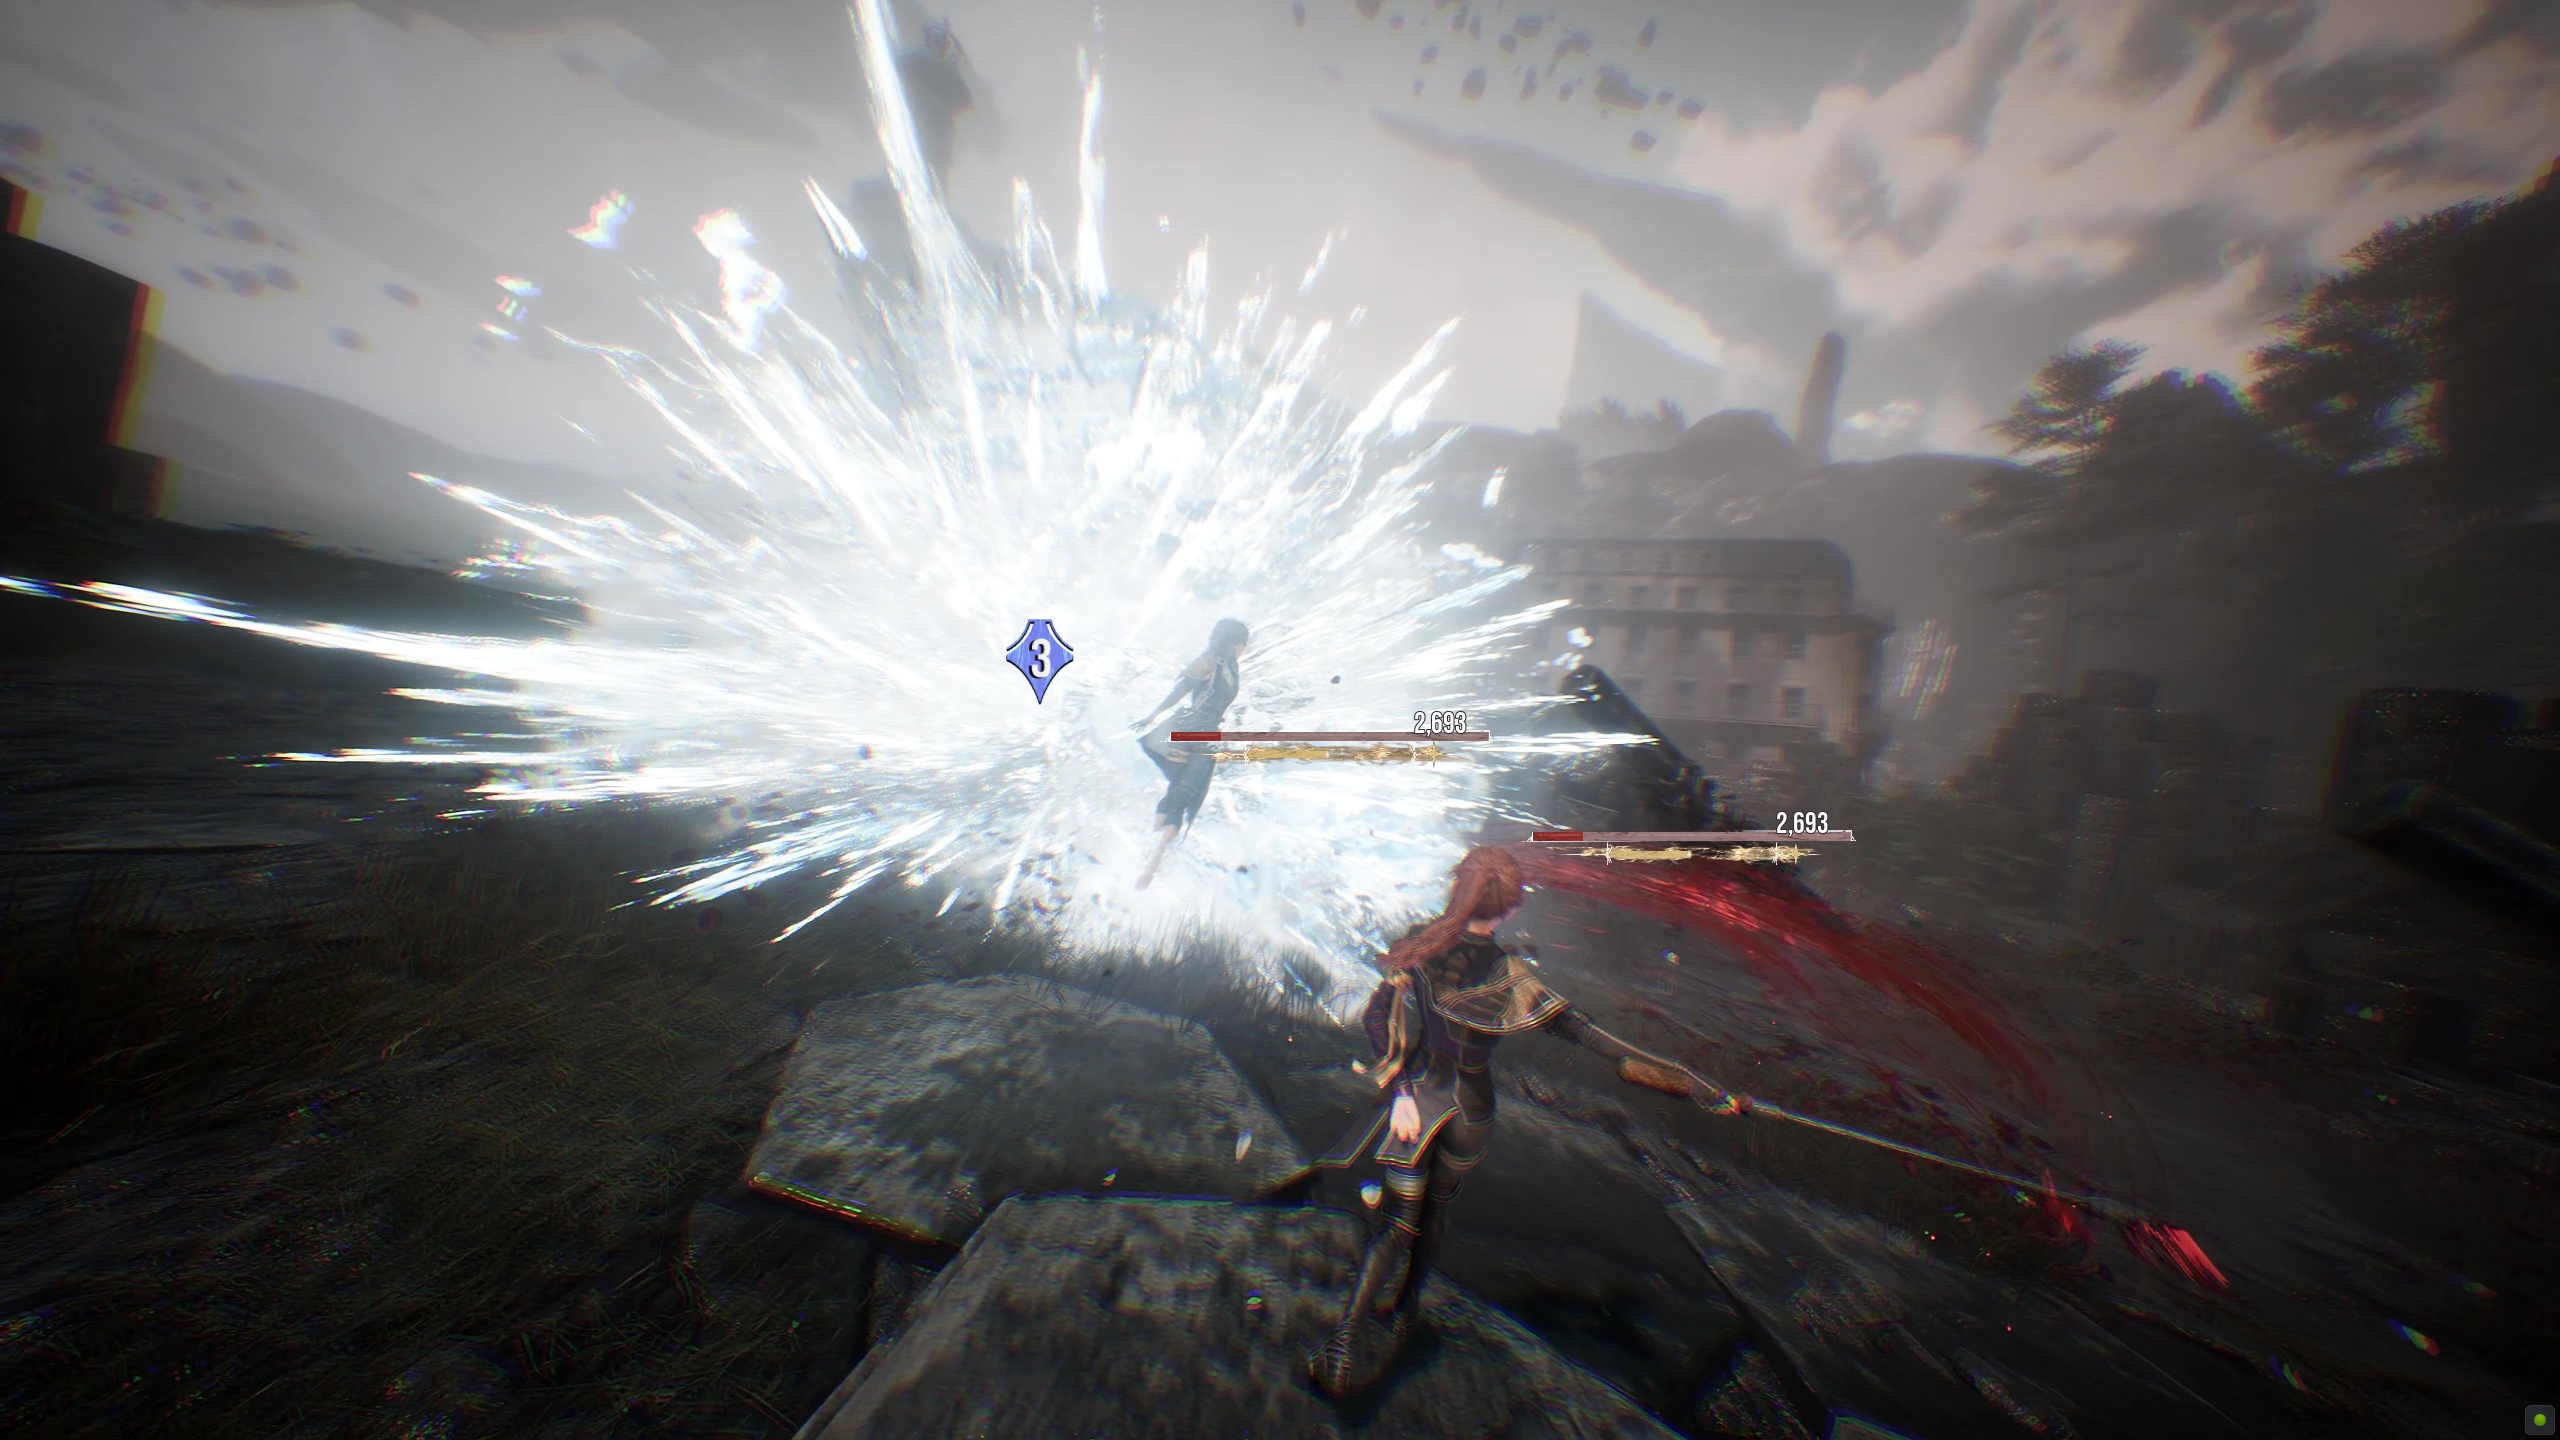
Like in any RPG, knowing how to farm XP in Clair Obscur: Expedition 33 will help you in the many battles ahead – crossing blades, scythes, and staves with all manner of Nevrons across the fractured world on the quest to stop The Paintress, who is slowly erasing the last remnants of humanity. Beat enemies and you get experience points, becoming stronger – and you'll need to improve if you have any hope of taking her on.
In our Clair Obscur: Expedition 33 review, we loved the battles. Not just for how the system incorporates timing elements to boost attacks and parry strikes right back at foes, but how they're paced as well. Across the overworld and within dungeons there are challenging encounters, but never too many. However, there still might be points you want to just plow through mobs of enemies, grab as much extra battle loot as you can, or hoover up XP points. The difficulty is mostly well-judged, but if you want to explore different stats or skills, you'll need as many as you can. Luckily, we have developed one simple trick random enemy mobs hate that's become one of our favorite ways to farm XP in Clair Obscur: Expedition 33 and stomp through areas near unhindered.
If you're looking for more help, we also have some essential Clair Obscur: Expedition 33 tips to steer you in the right direction.
How to easily farm XP in Clair Obscur: Expedition 33 and clear enemy groups
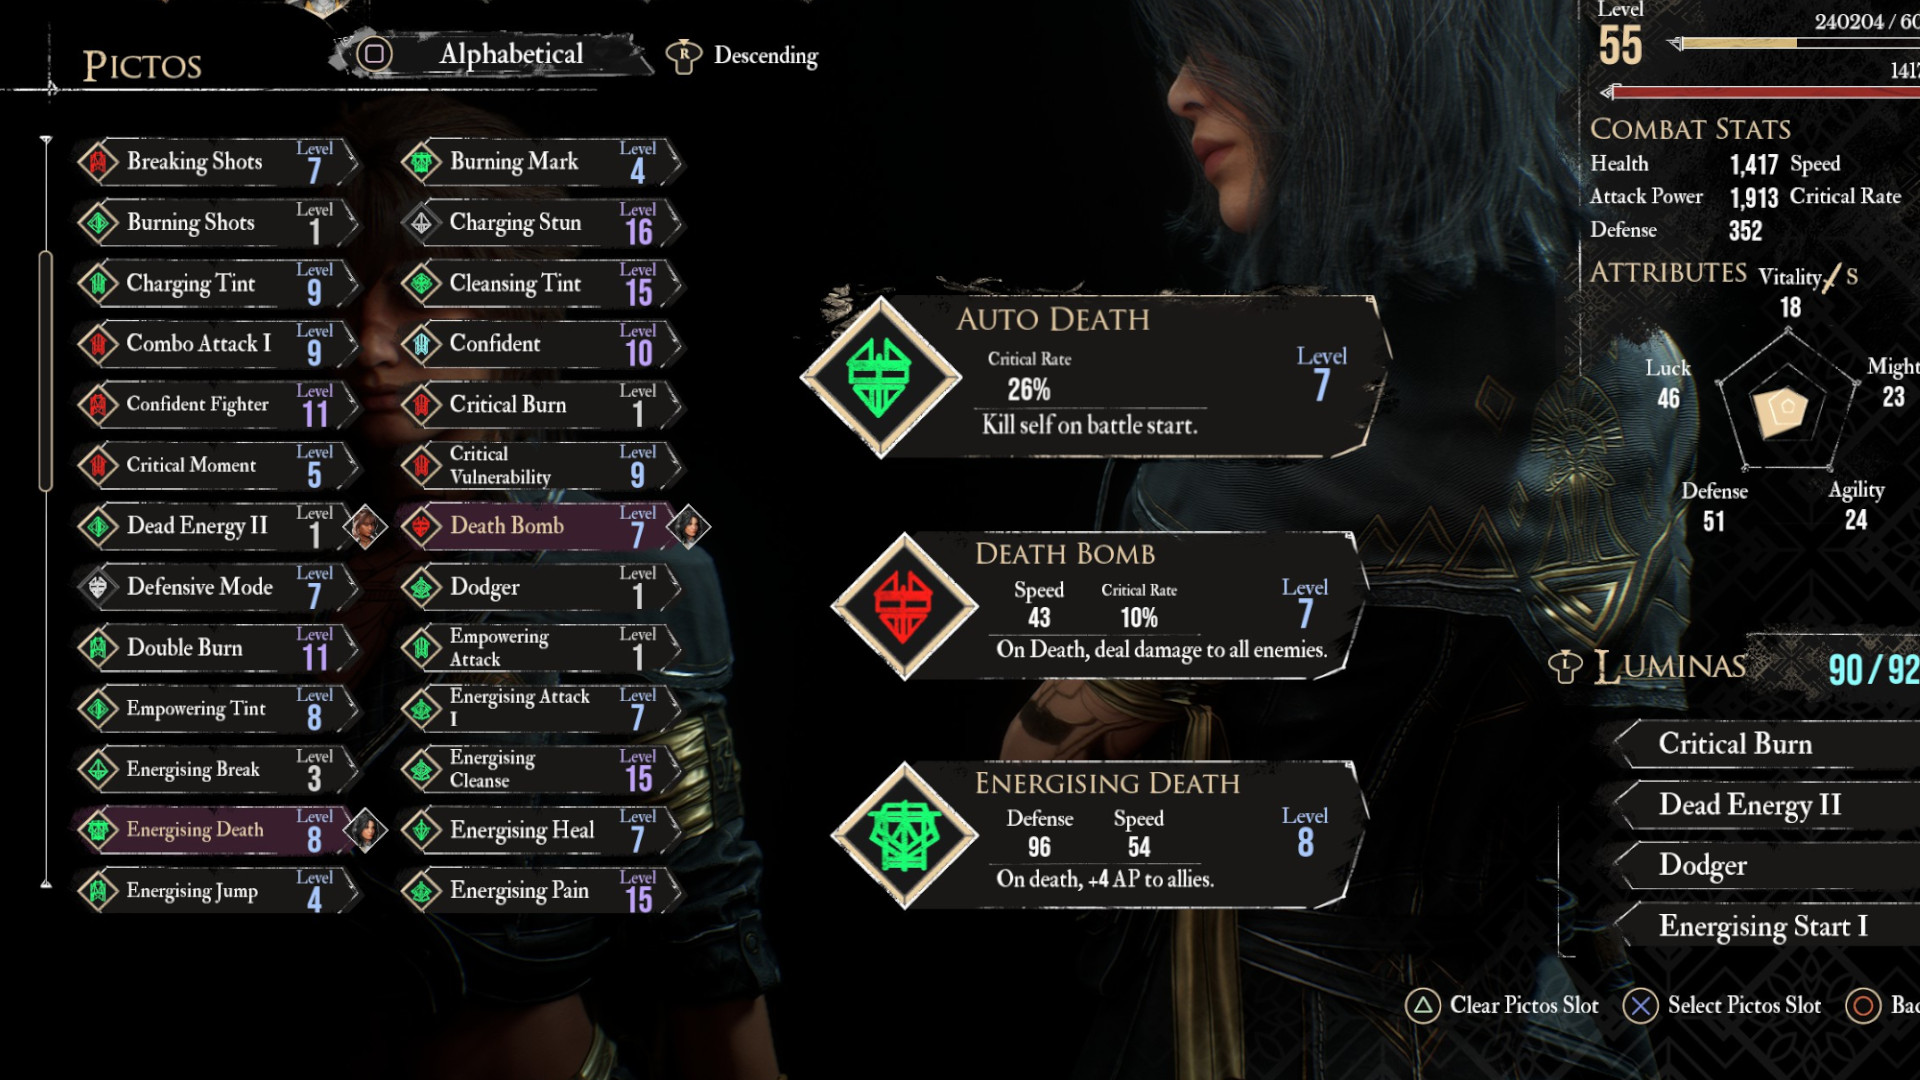
The core of the idea revolves around using pictos – essentially buff-granting gear – to turn one of your three party members into a devastating bomb that activates as soon as an encounter starts. Beyond just powerful effects, these pictos often have many synergies you can explore when putting them on a character. Their three main pictos also boost stats, but you can equip many more effects of previously learned pictos using lumina energy. The thrust of my preferred method is having this set-up on a character like Gustave:
- Auto Death
- Death Bomb
- Energizing Death
- (with Energizing Start on other party members)
The first two are the ones crucial to get the explosion to happen instantly. While you can attach these with lumina to get the same effect, we currently prefer ensuring the likes of Auto Death are attached as full pictos to get a lovely boost to critical hits.
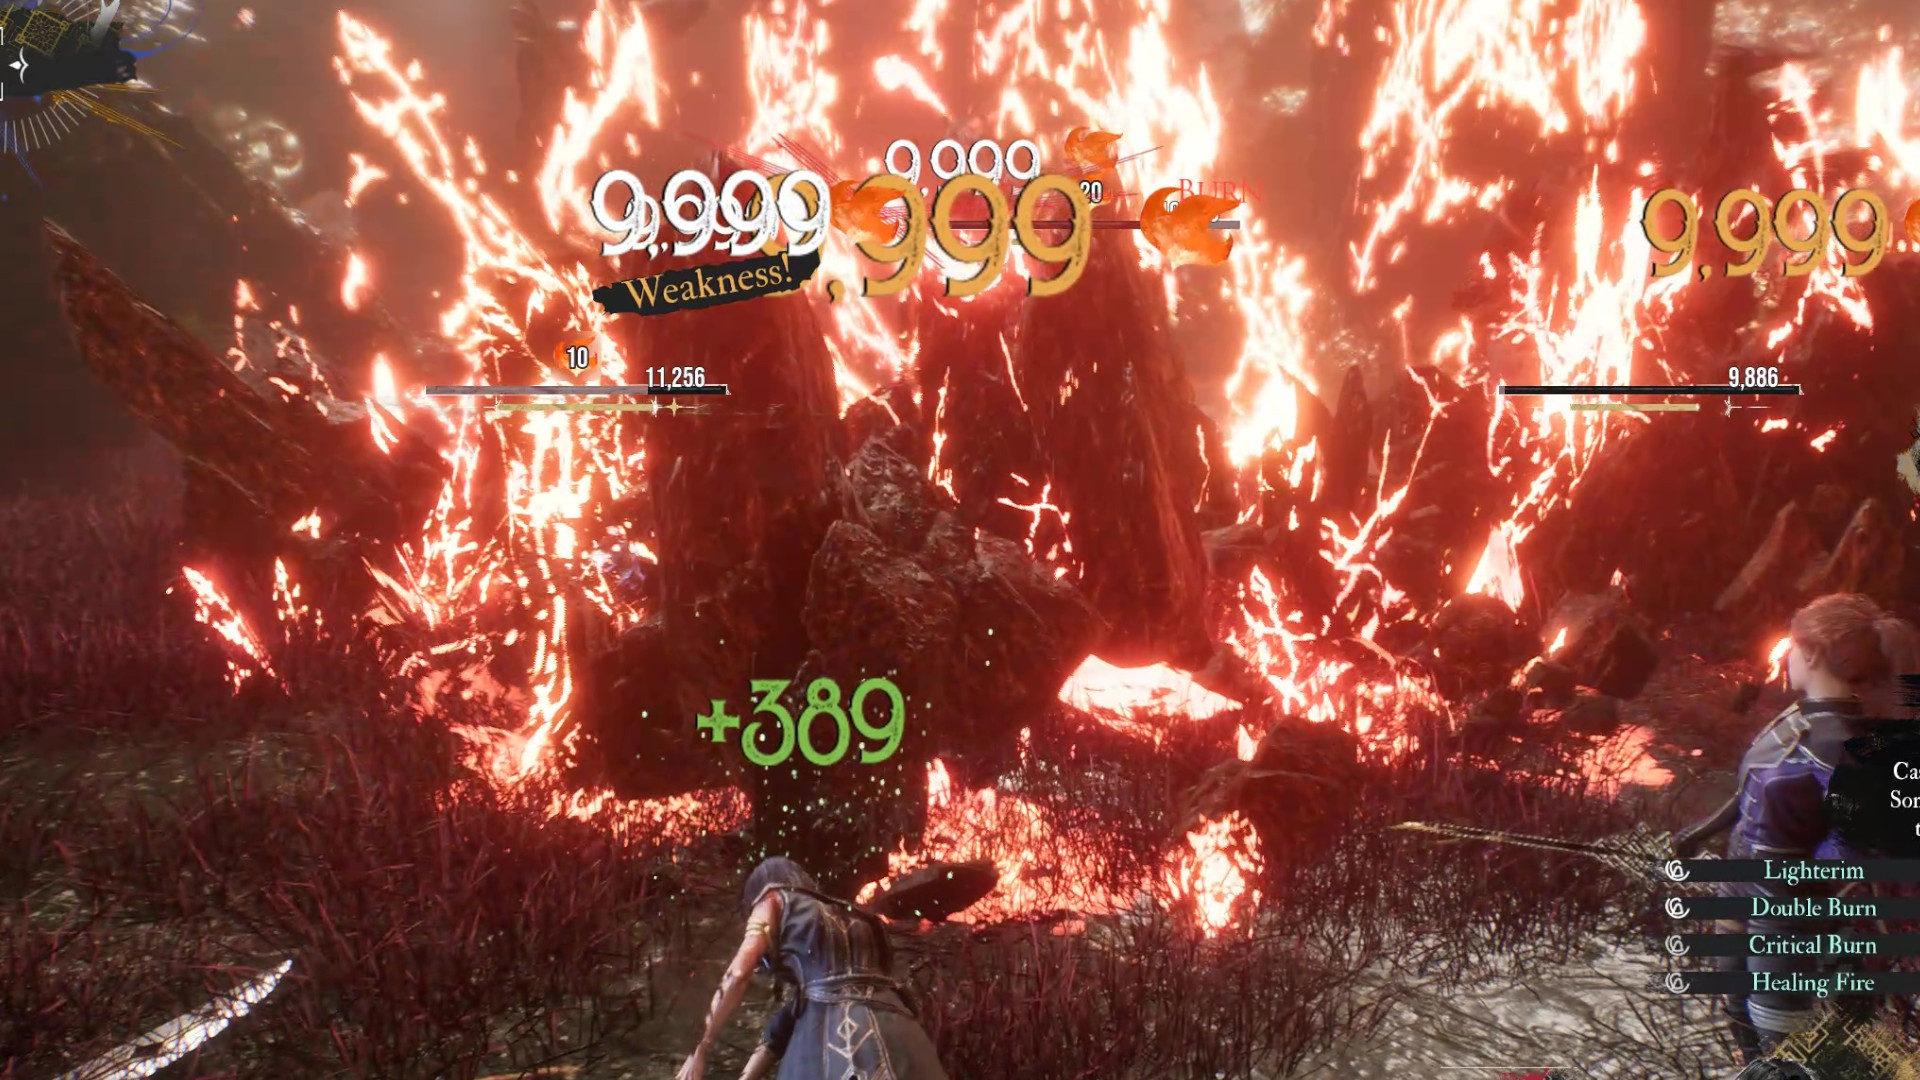
With the above combination, Gustave will immediately enter battle and explode, dealing large damage to a group of enemies, and will then distribute +4 AP to the rest of the party. If any enemies survive, the rest of the party will have an easier time mopping up the rest. If they're equipped with some kind of Energizing Start pictos (which are plentiful), they will also start the battle with +1 AP anyway. This means by their turn they'll have the max 9 AP, able to use their strongest area-of-effect moves to quickly finish a battle before it begins if you've managed to get the surprise attack on enemies out in the wild.
Lune in particular is able to cast devastating spells. I'm quite partial to using Hell right after this, which for a lot of encounters, even on Normal difficulty, can finish off an enemy mob – and if it doesn't burn them so badly then the damage-over-time will kill them before they can act. There's a lot of different options to get a similar effect, however. Likewise, Energizing Death can be swapped out for other on-death effects, especially as you don't get that pictos until a little bit later. Other on-death effects can also be applied via lumina for even more synergies.
Where to find Death Bomb in Clair Obscur: Expedition 33
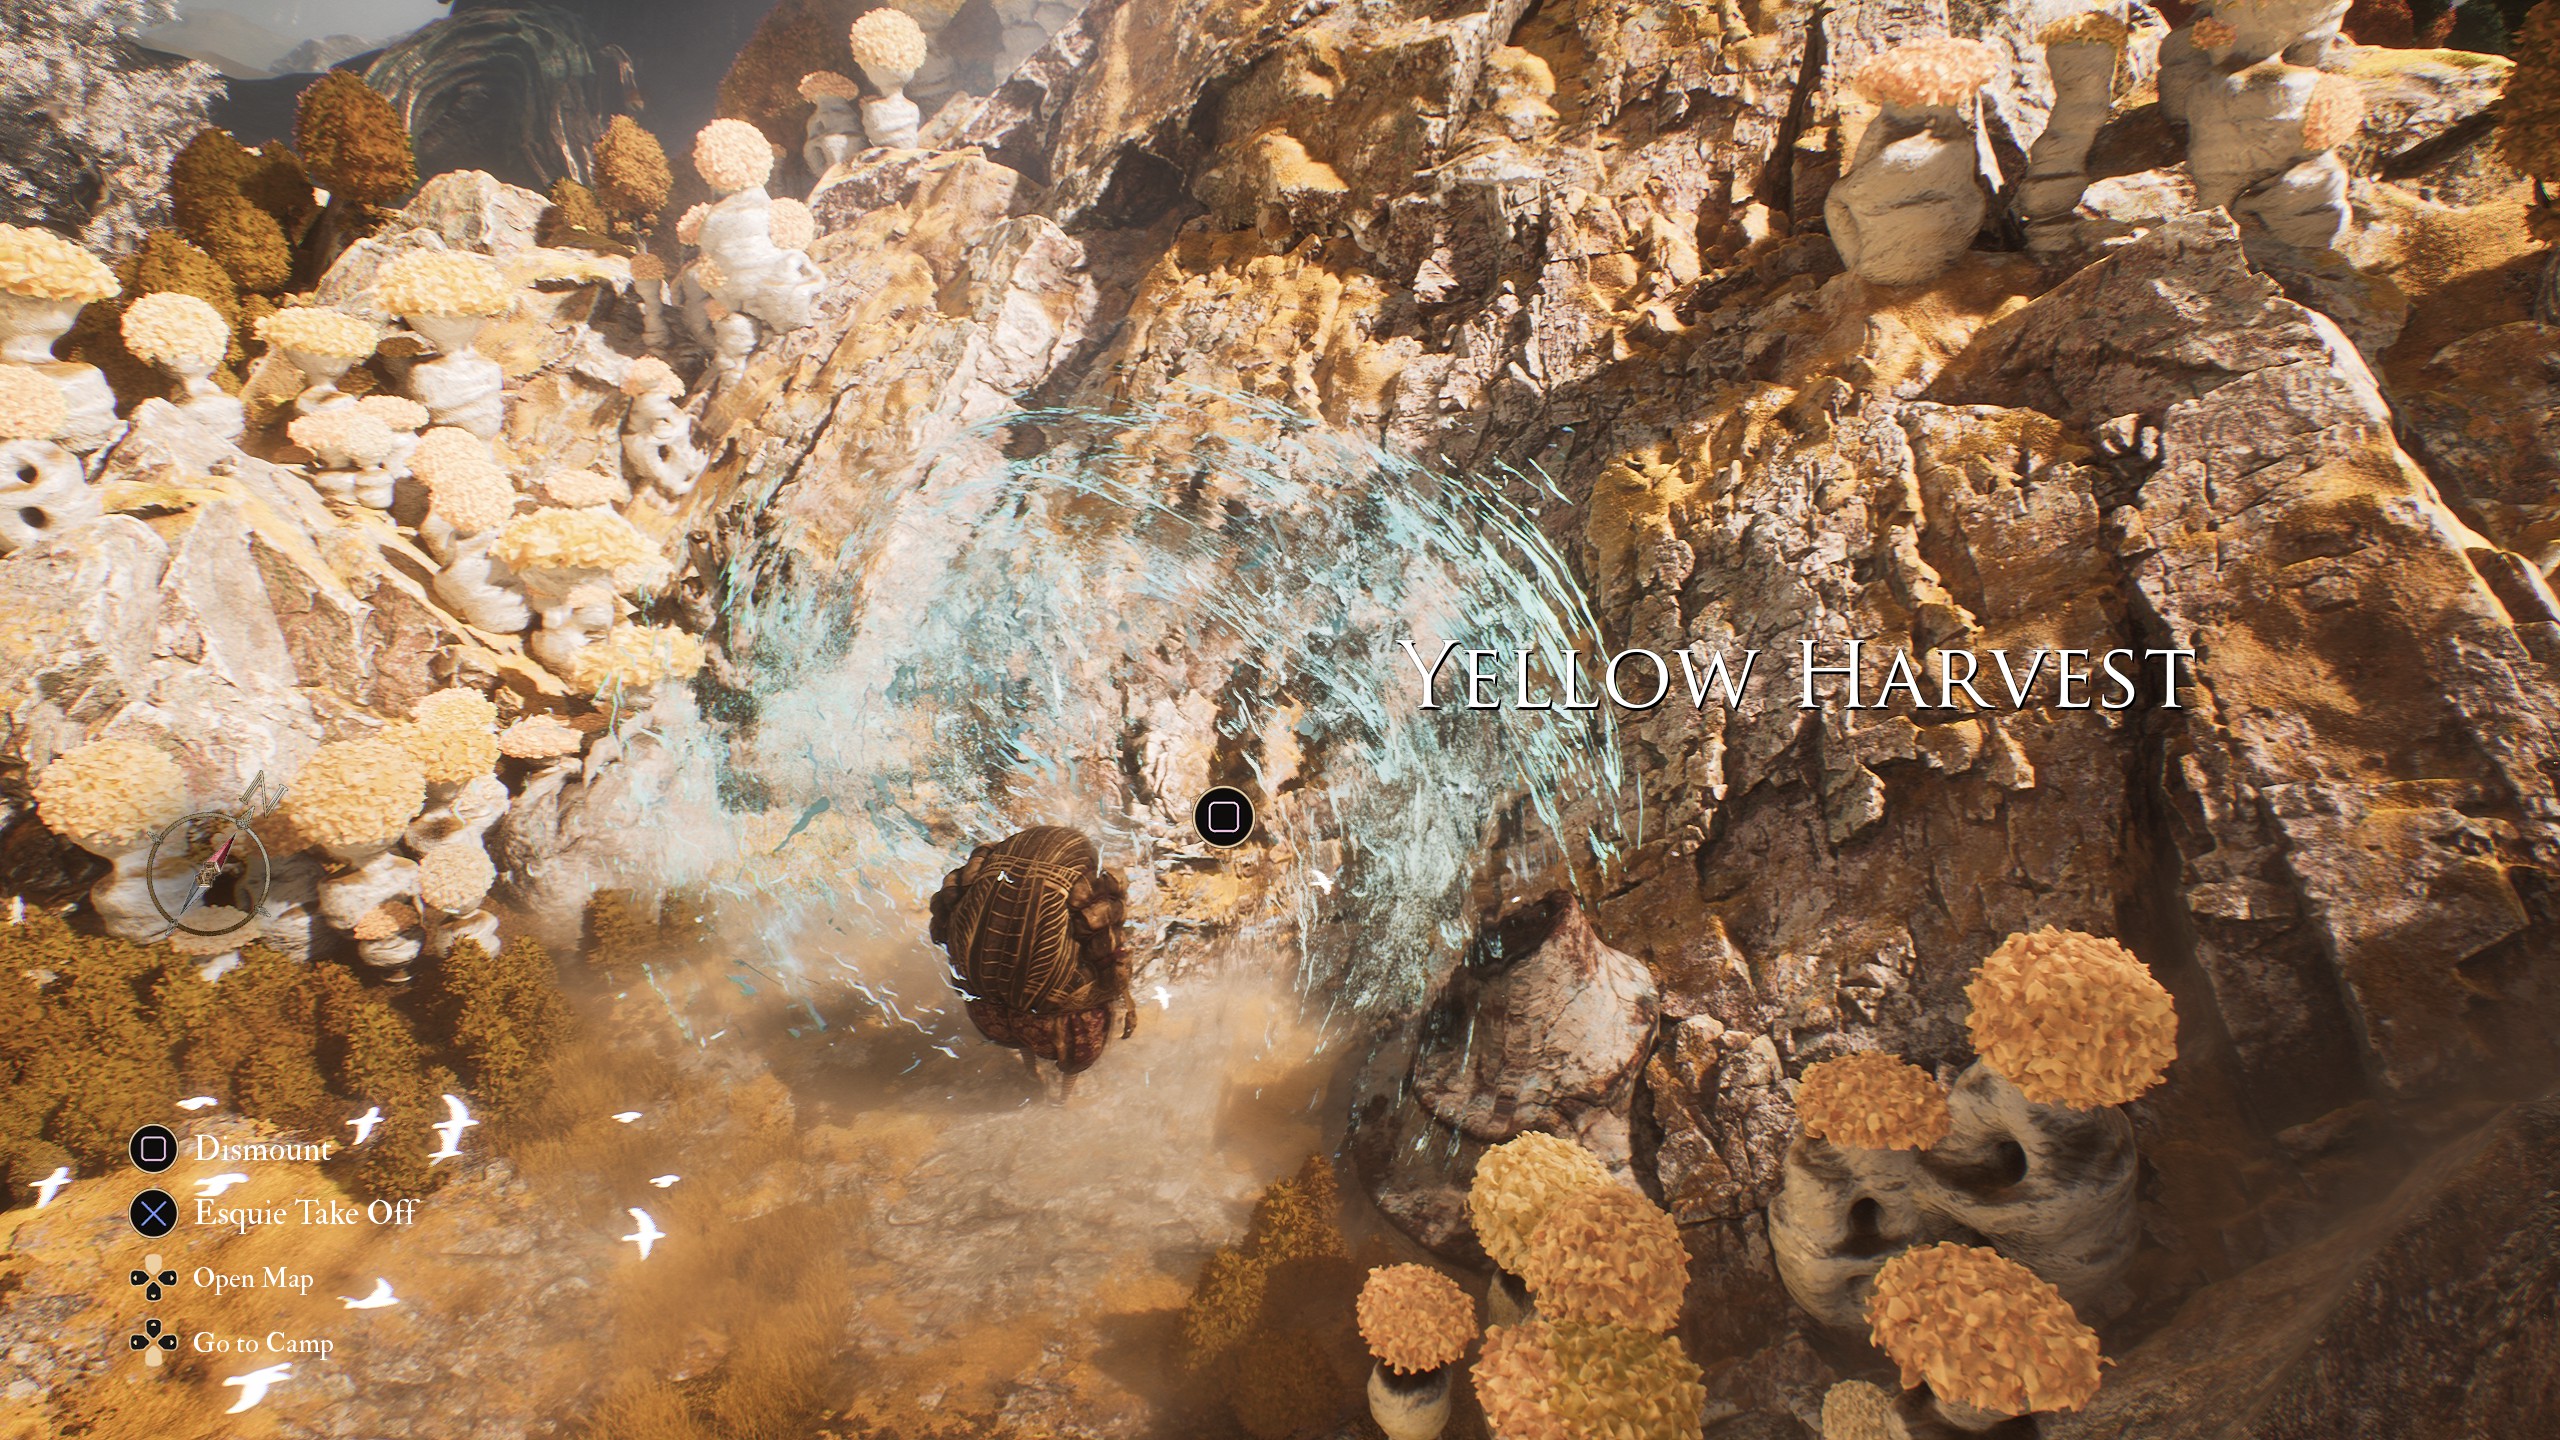
You need to go to the optional area, Yellow Harvest. This is easily accessible on the overworld from around the time the party prompts you to seek out Esquie. Ideally you want to head here before you get to the Stone Wave Cliffs, though with that said in Clair Obscur: Expedition 33 it is often easy enough to backtrack to previous areas.
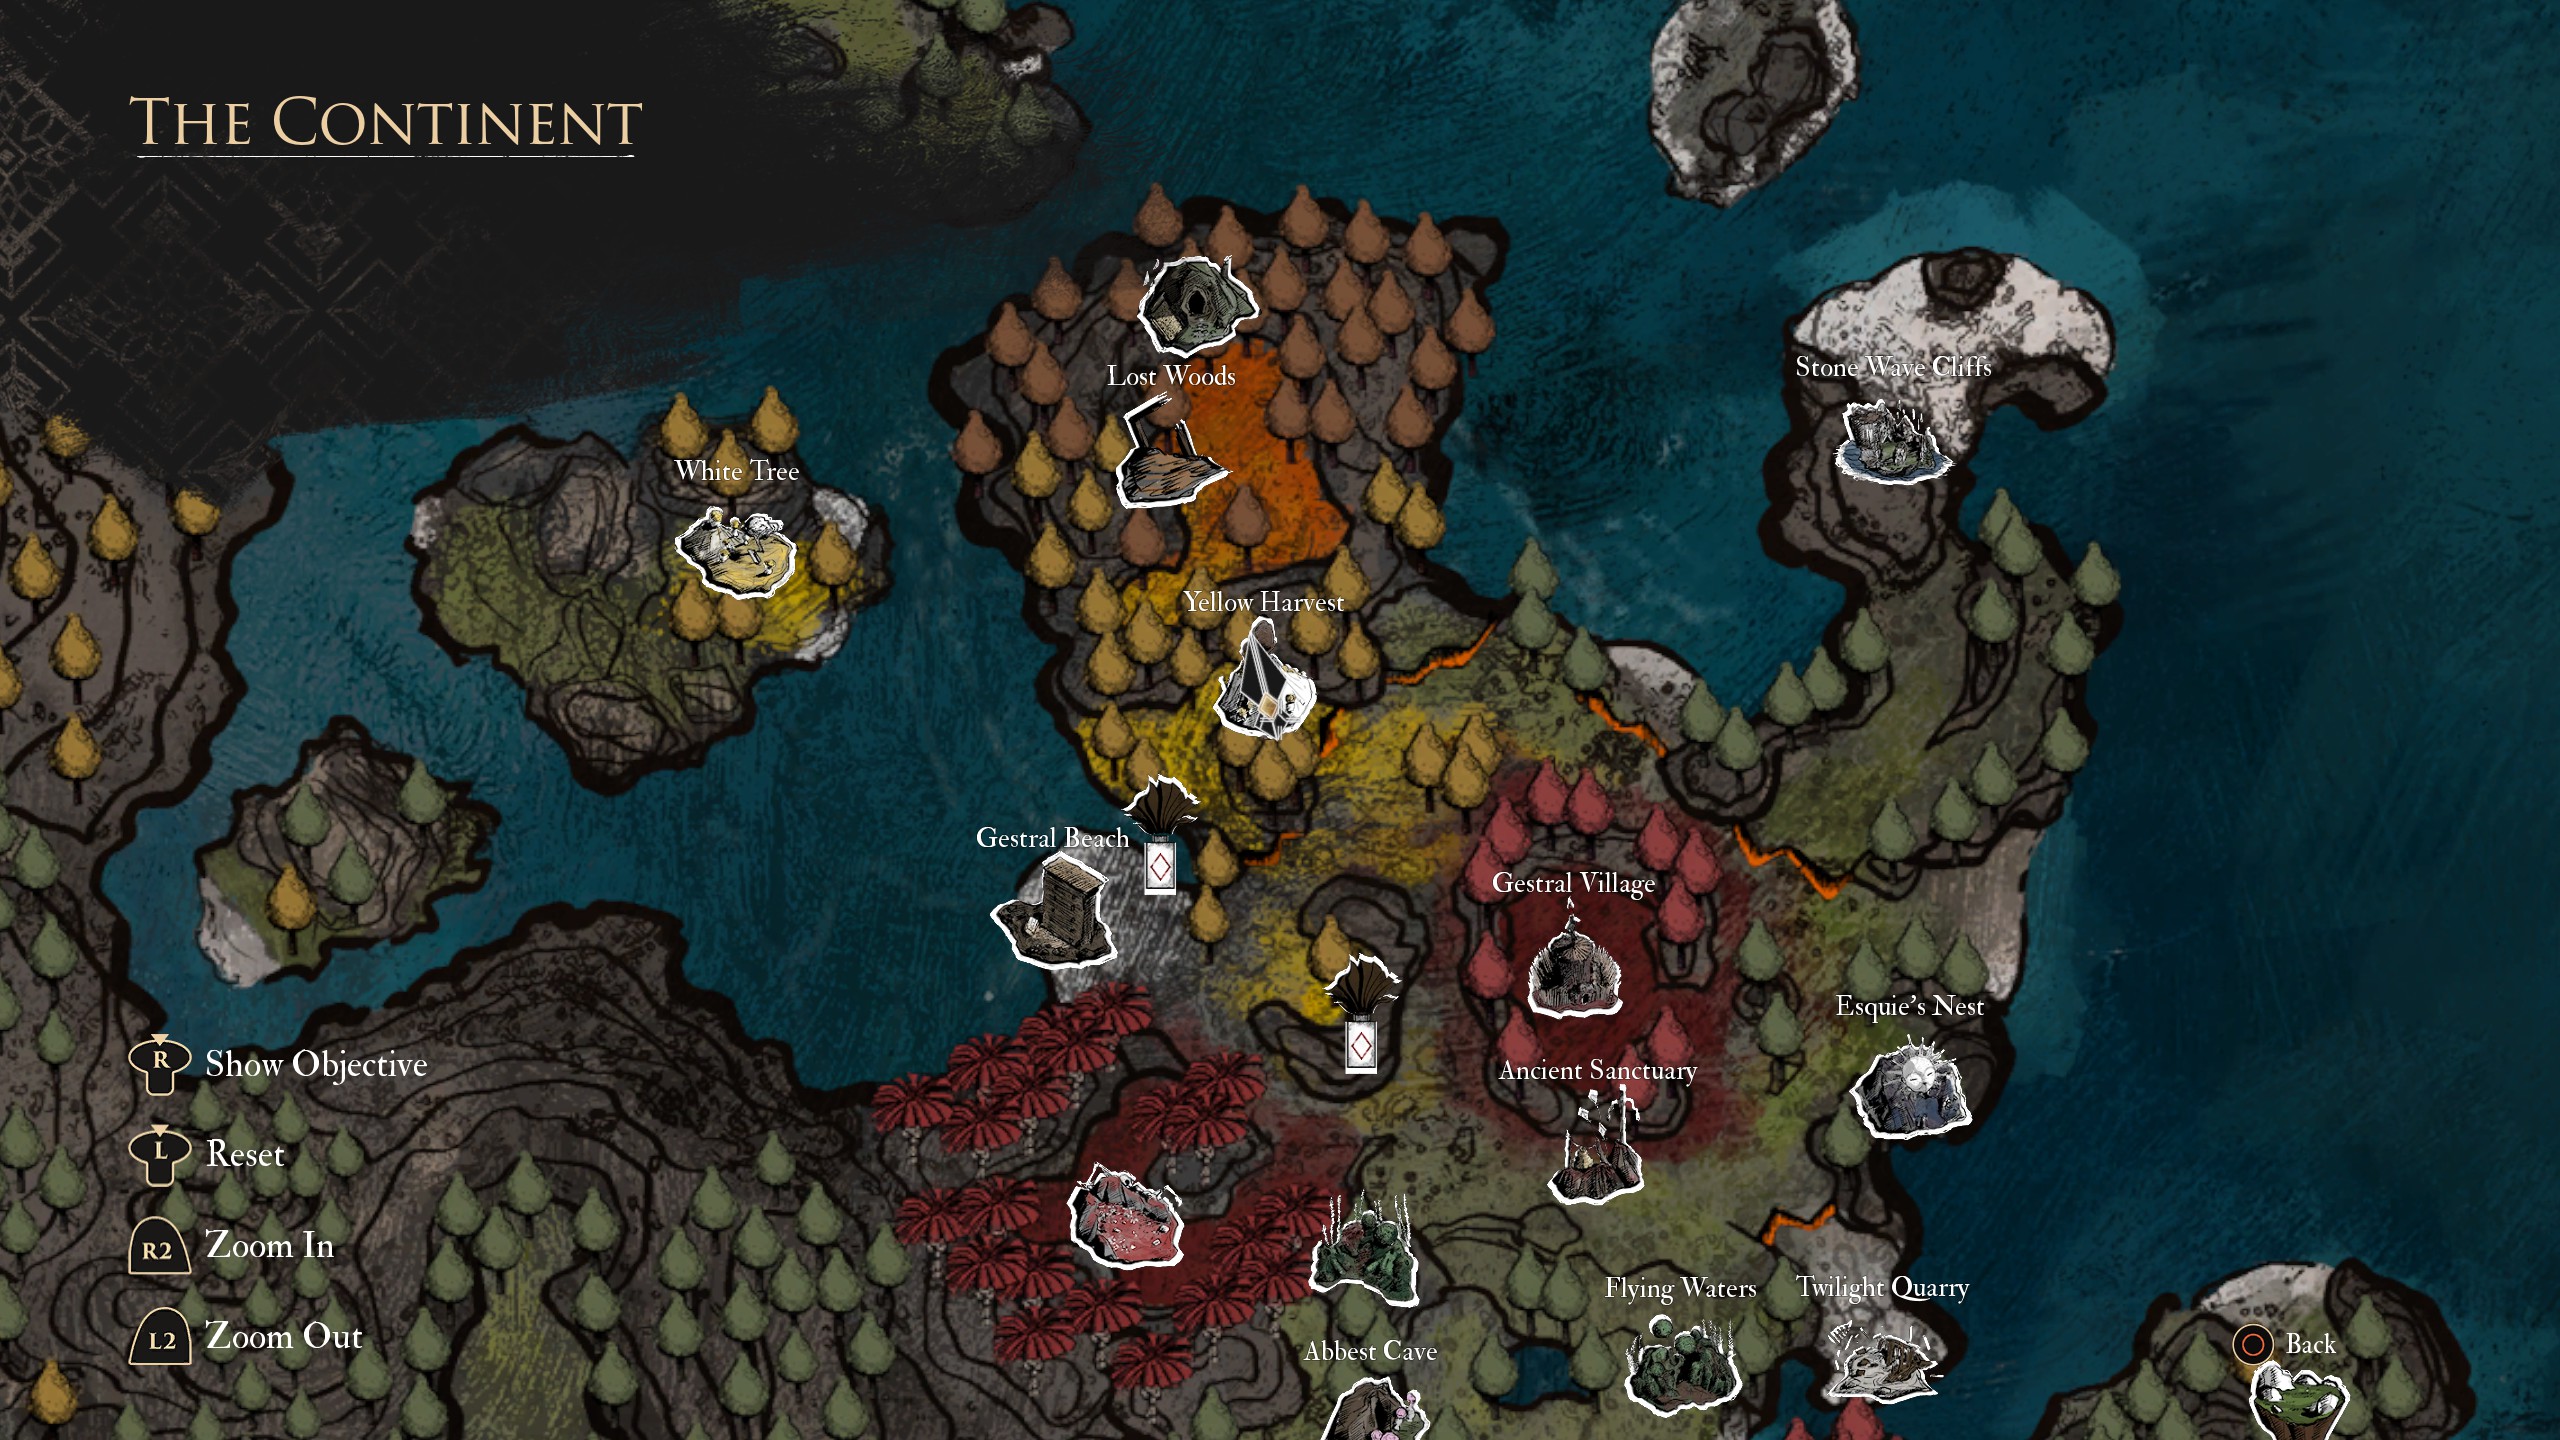
In Yellow Harvest, you'll want to progress forward through the somewhat tricky encounters (though they're not as hard as some of the optional areas) until you reach the Harvester's Hollow checkpoint. If you end up at Yellow Spire Rocks, and fighting the optional boss Glaise, you've gone too far.
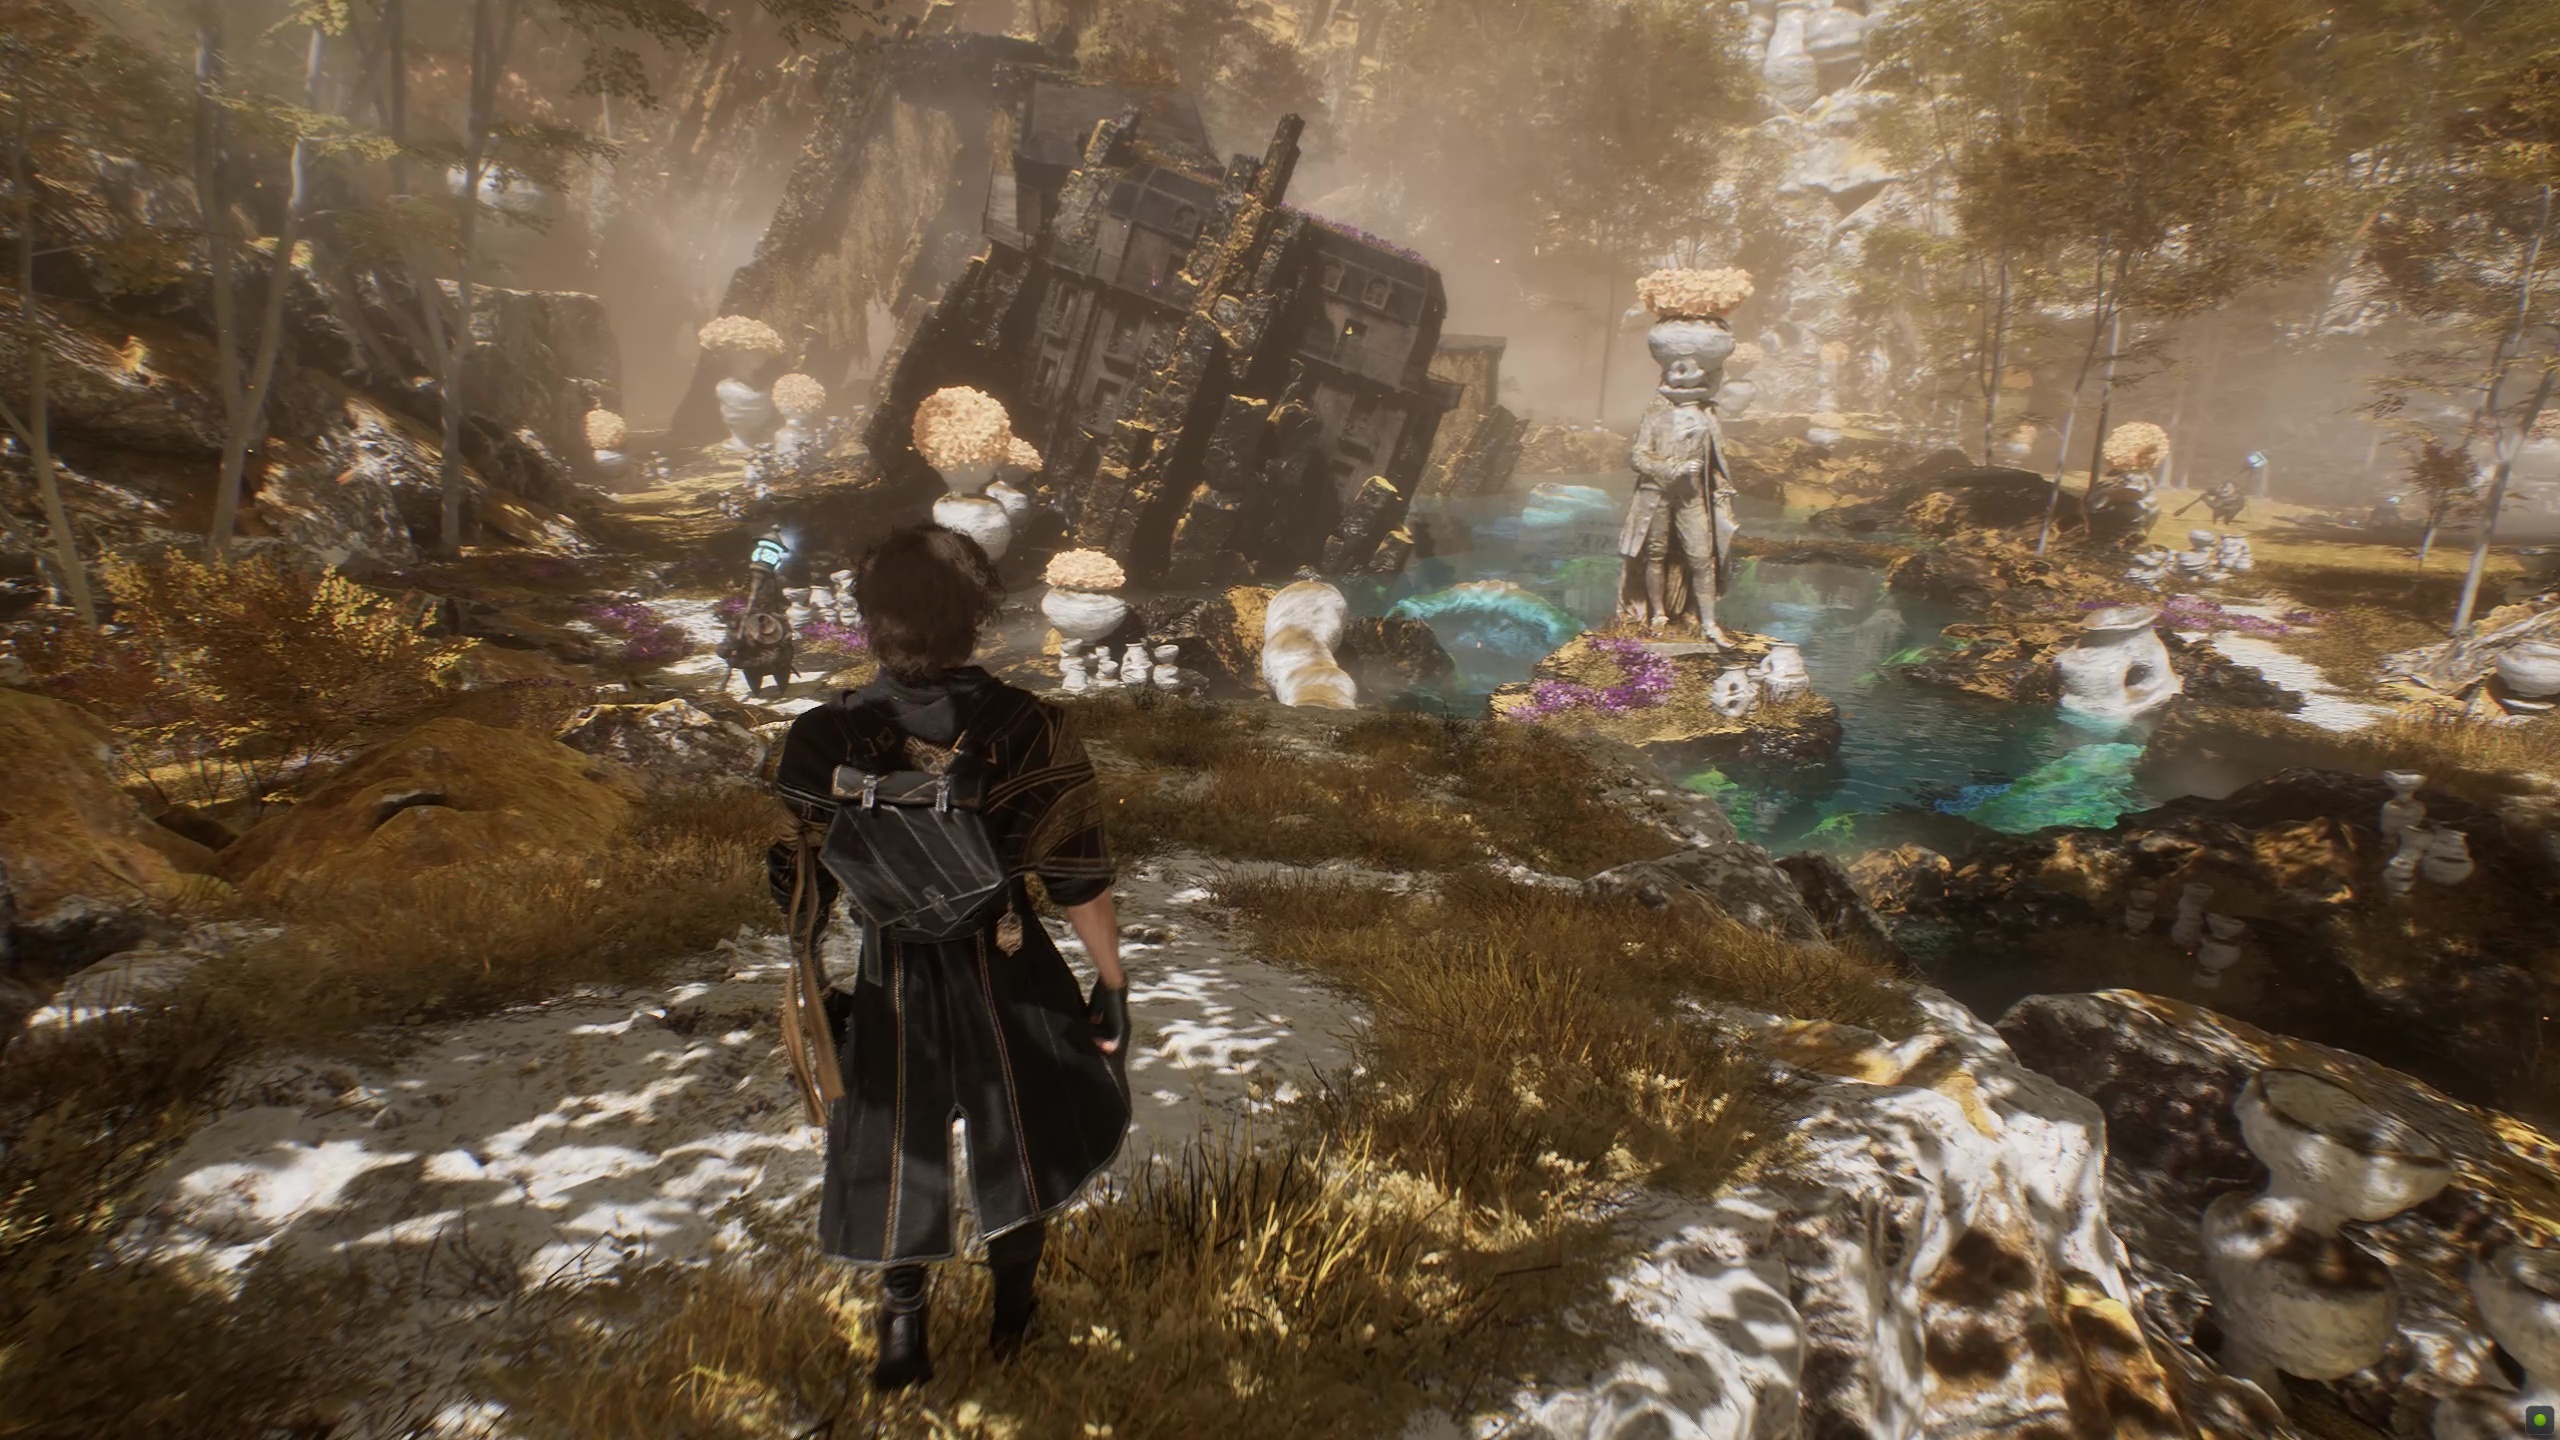
From Harvester's Hollow, you'll see a sort of lake with crumbled buildings in the middle you'll eventually have to climb. The path splits in two here (the picture above), prompting you to go left. Instead, look right, and you'll see an enemy patrolling in front of a slope made of rocks. You want to head here, and instead of going up the slope, continue at ground level along the slope's right edge. In the crevice, you'll find the ruins of the camp with Death Bomb ready for you to snag.
Where to find Auto Death in Clair Obscur: Expedition 33
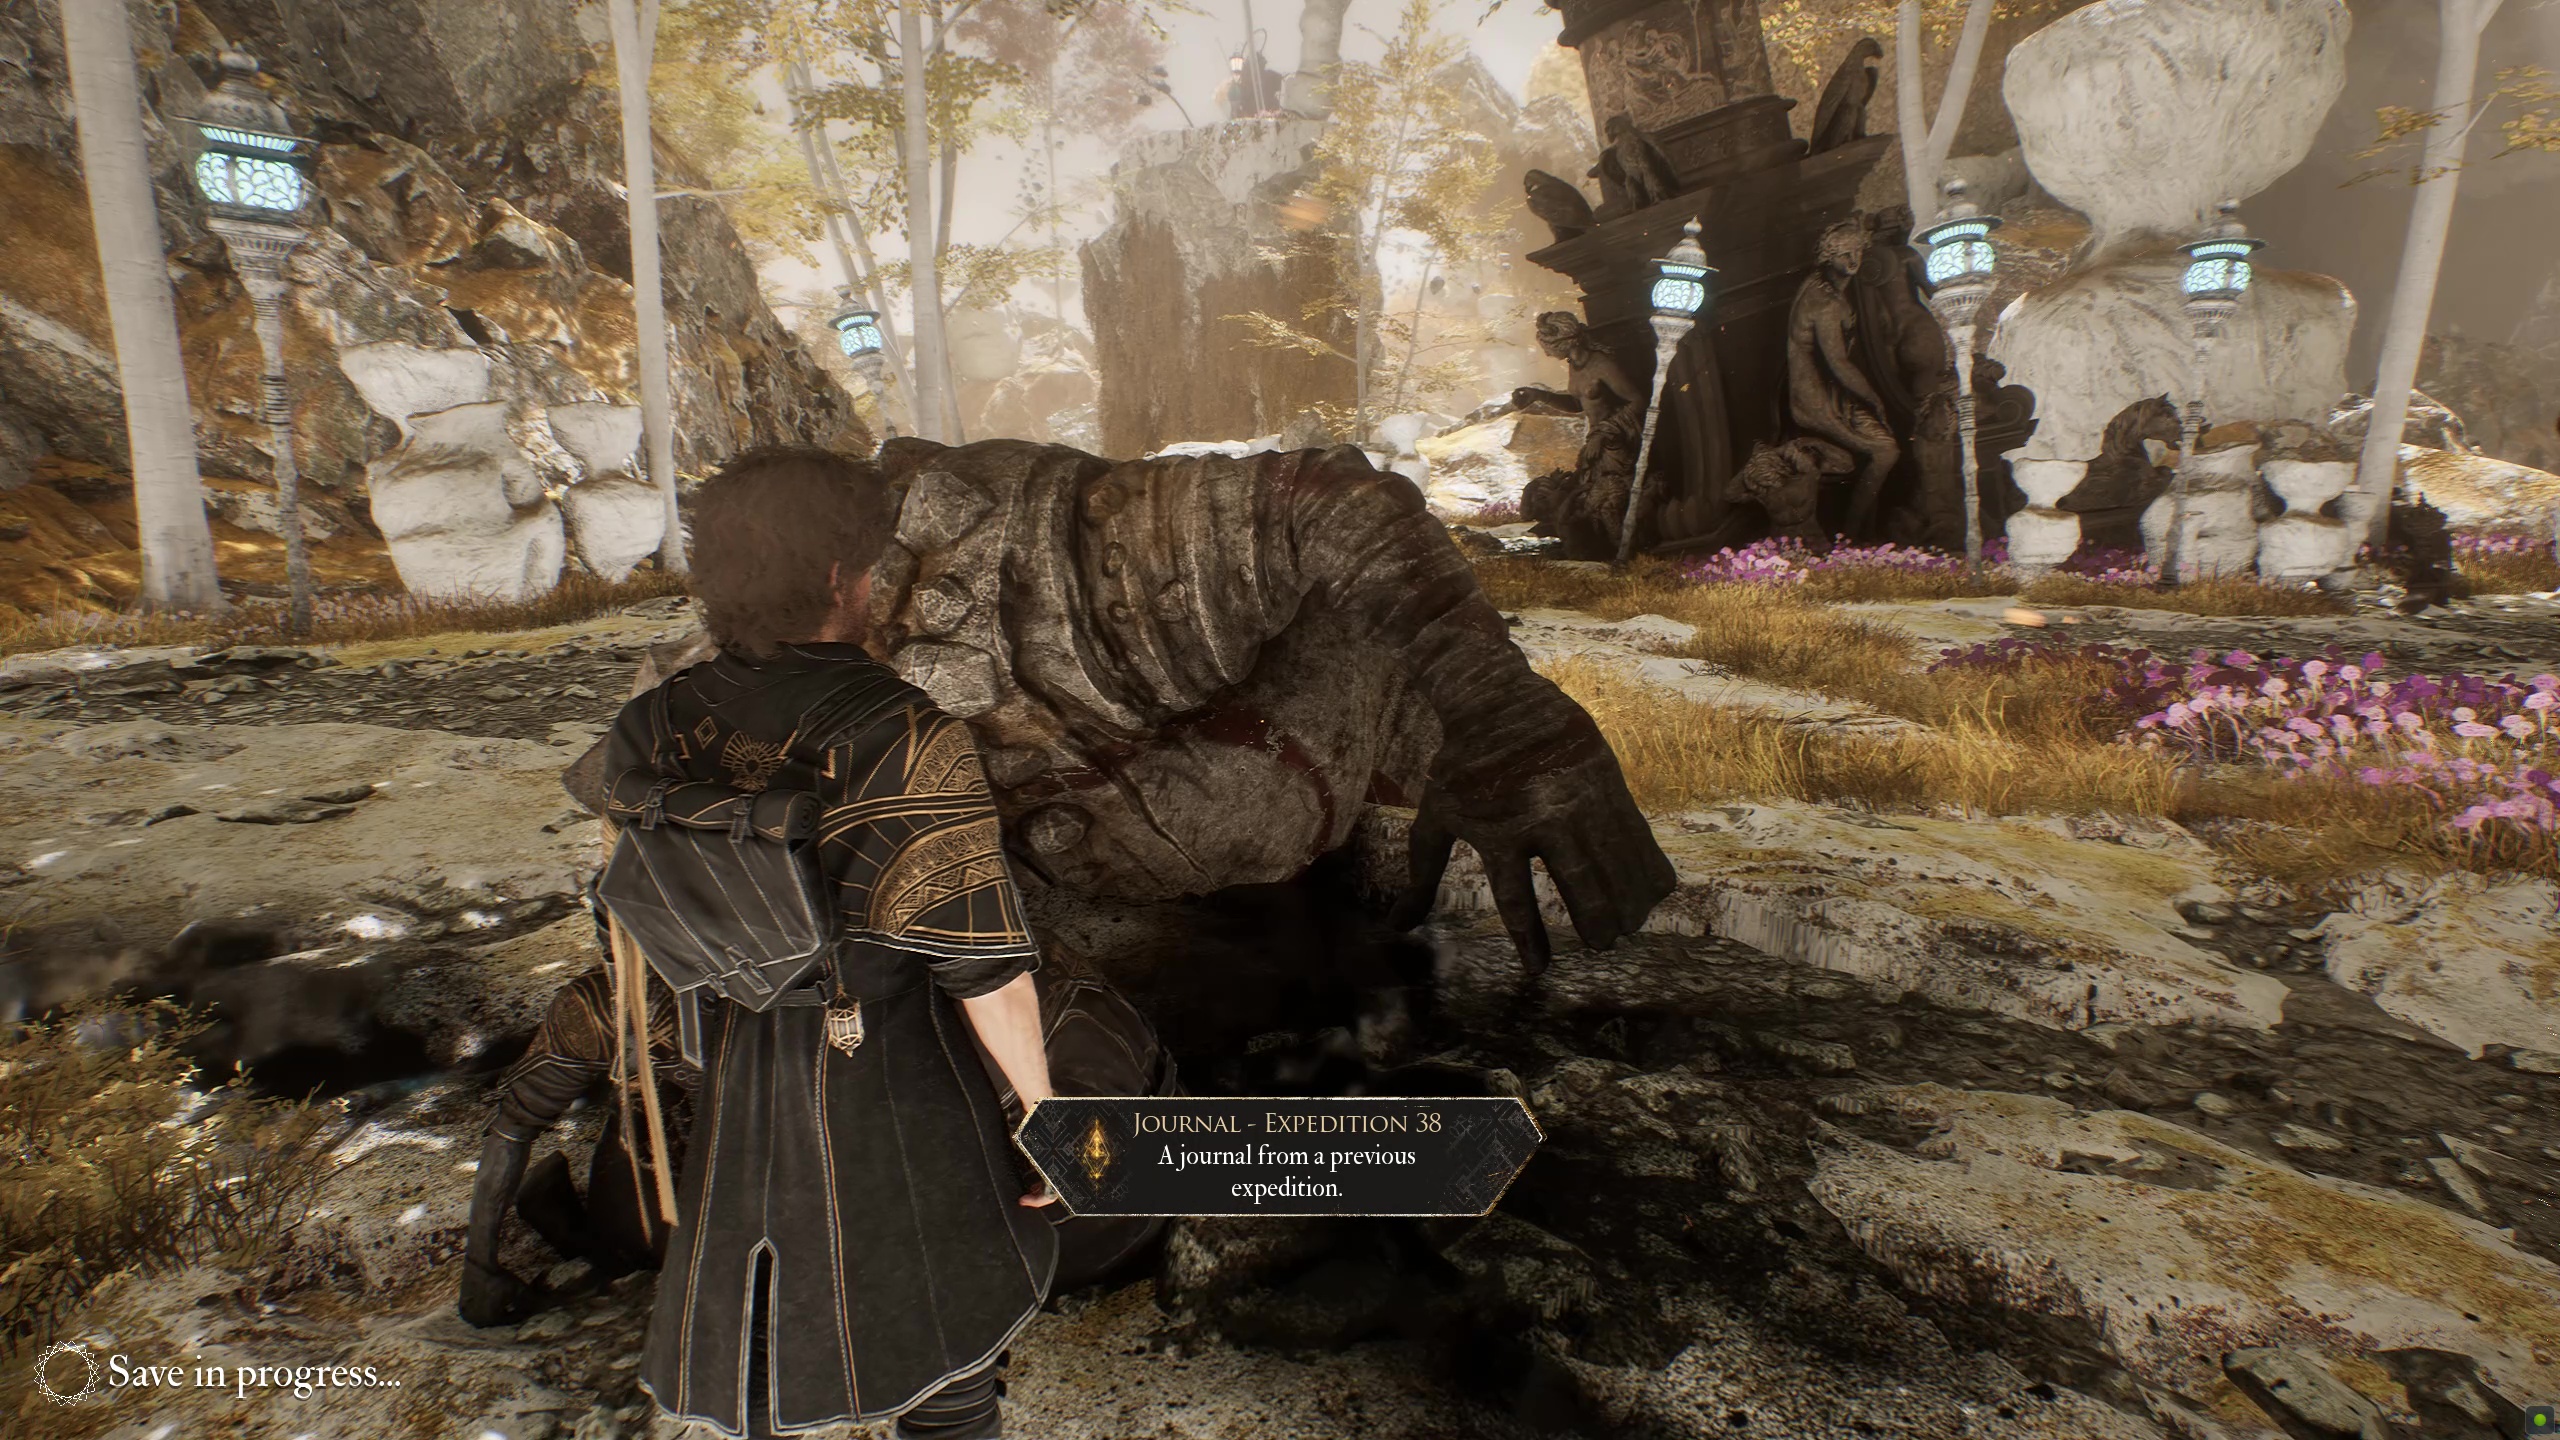
Handily, Auto Death is also in Yellow Harvest, located just a stone's throw away from Death Bomb. Almost as if the devs are tempting us to make Gustave go boom for maximum damage. From where you got the last pictos, head back and now up the slope. You'll come across a tragic journal entry up here near some more stony humans.
Continue forward and you'll notice a conspicuous lack of additional loot on this little plateau. Reach the end, though, and you may feel a thrumming in your controller. The vibration indicates a grapple point and, indeed, there is one that's tough to spot, sending you flying into the air to meet a gestral merchant. His goodies include Auto Death without even having to fight him, for only 5,320 chroma – a modest sum.
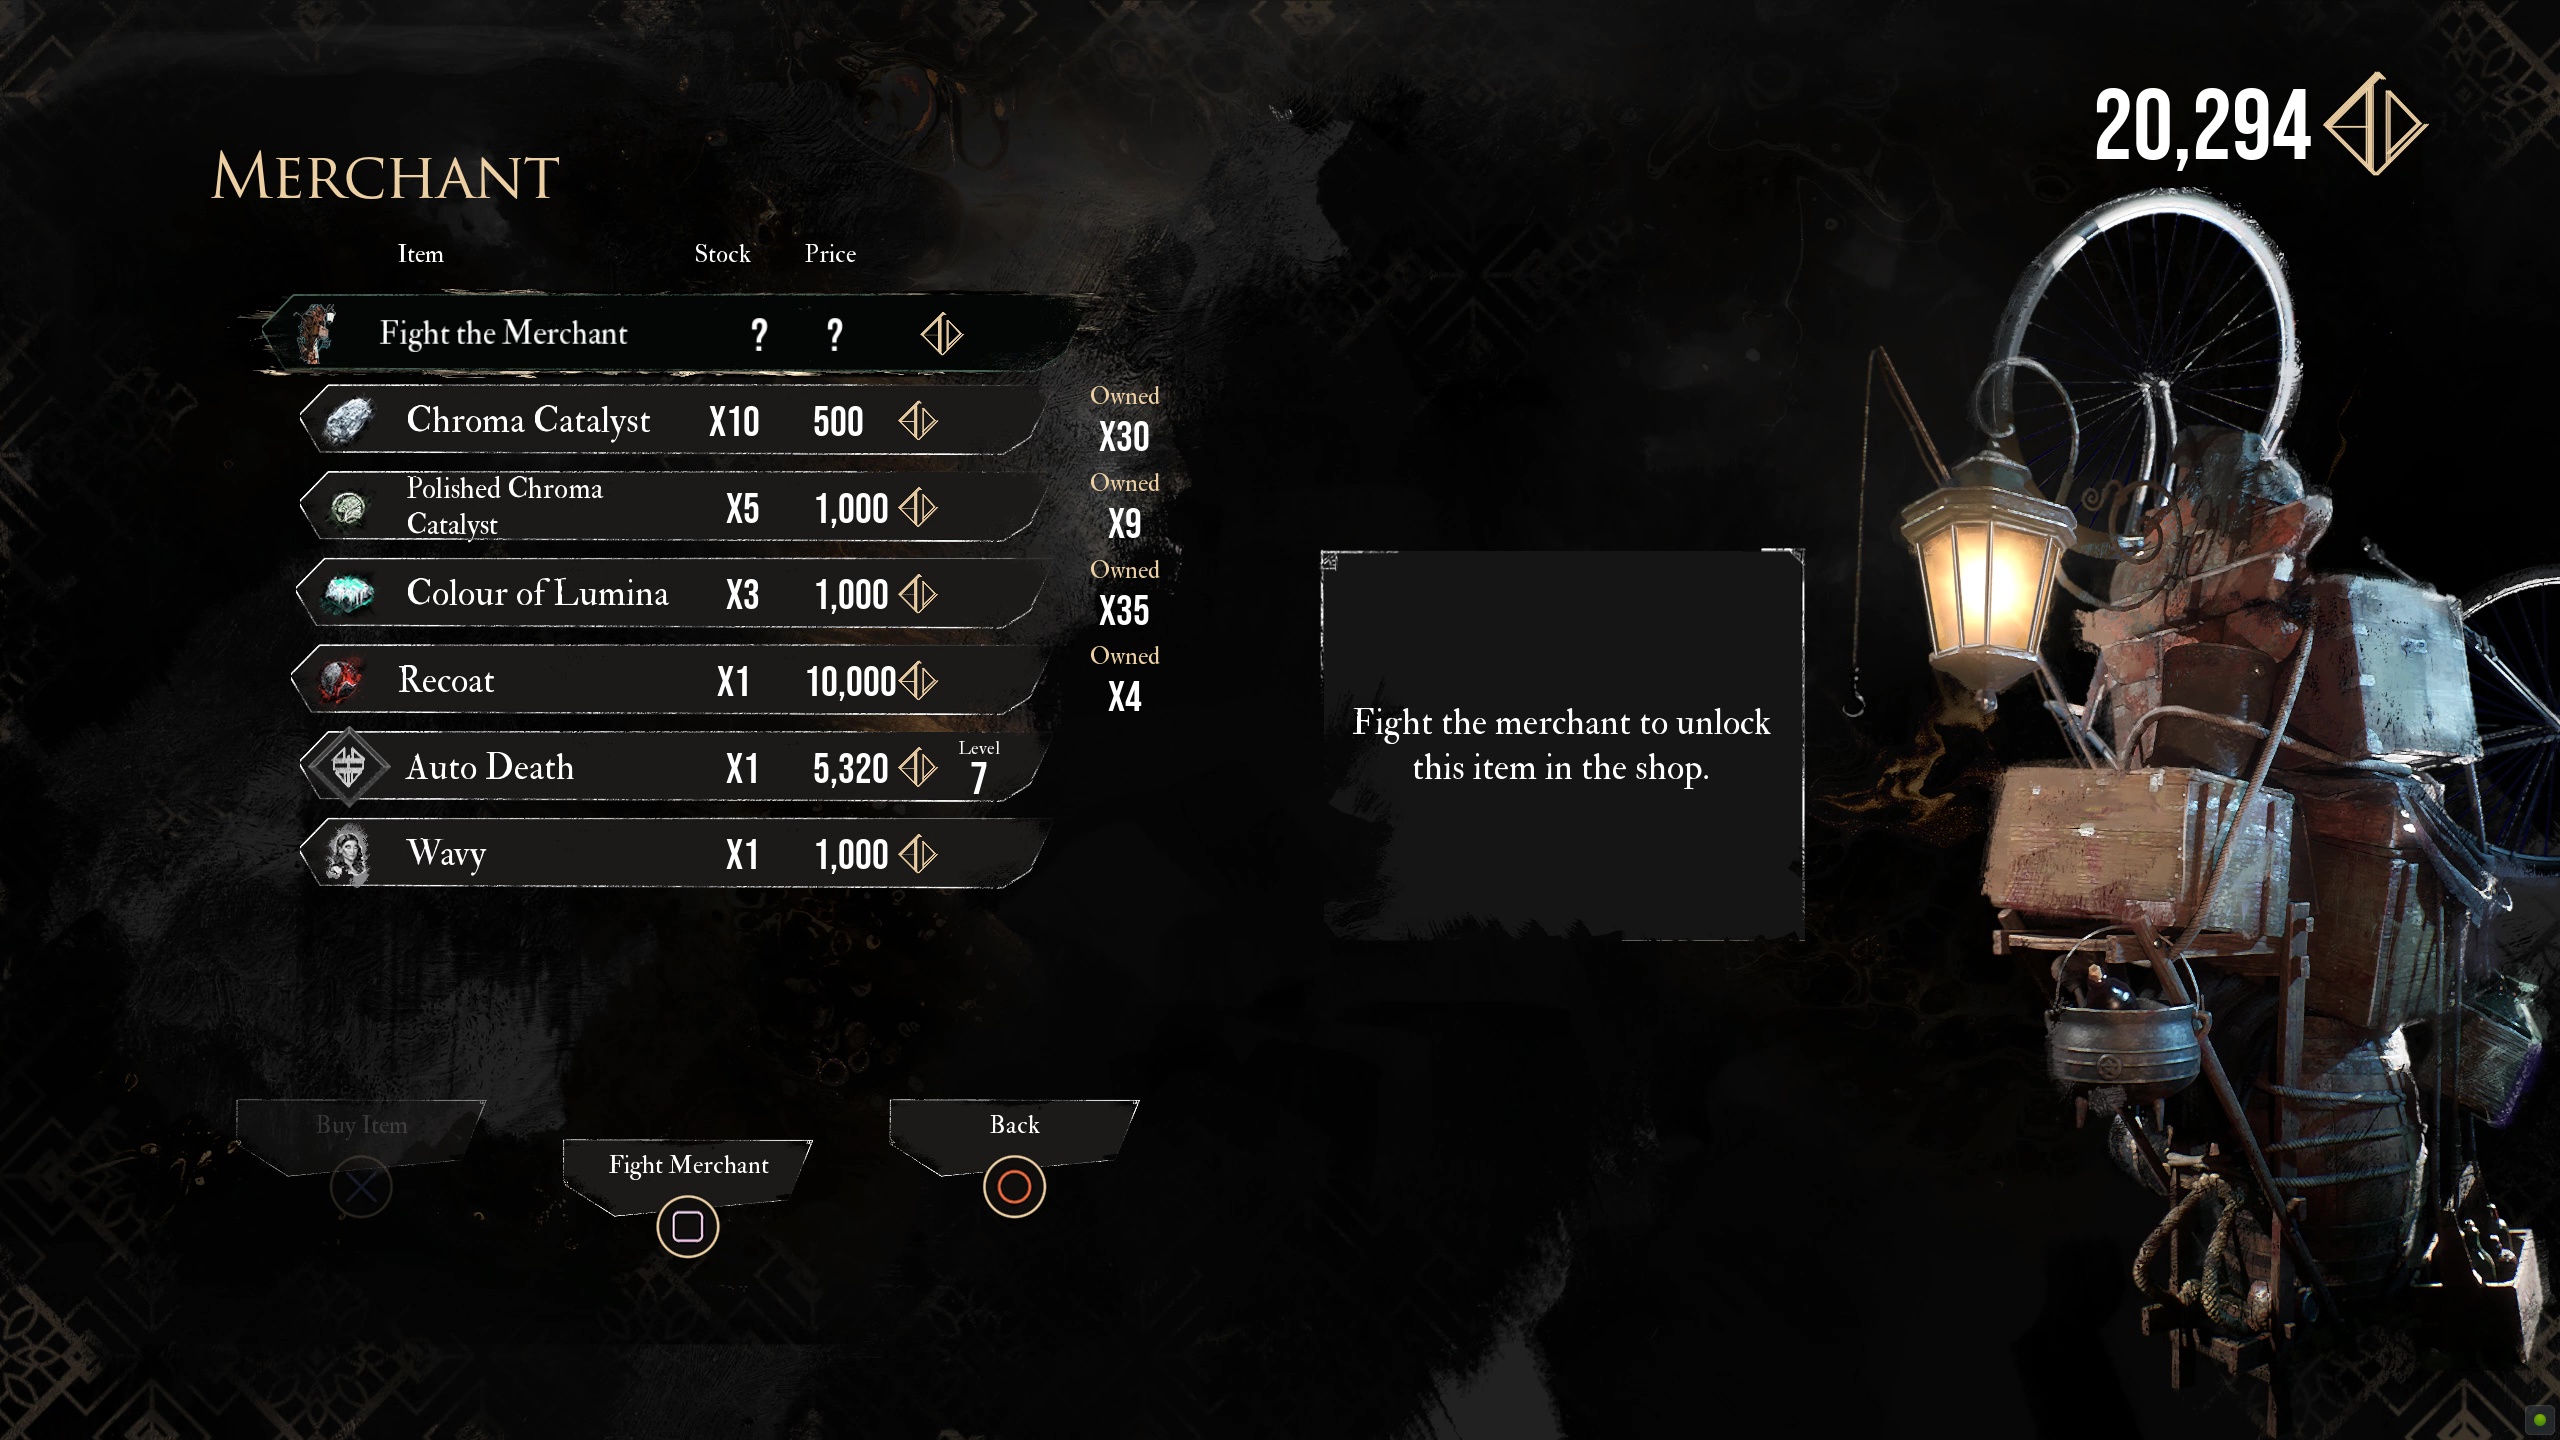
Grab it and either continue forward to finish the area of return back from where you came. With both in hand you've enough to get this engine started. Equip just these two and you'll see the effect it has immediately, allowing you to start tearing through wandering groups of enemies fast.
Where to find Energizing Death in Clair Obscur: Expedition 33
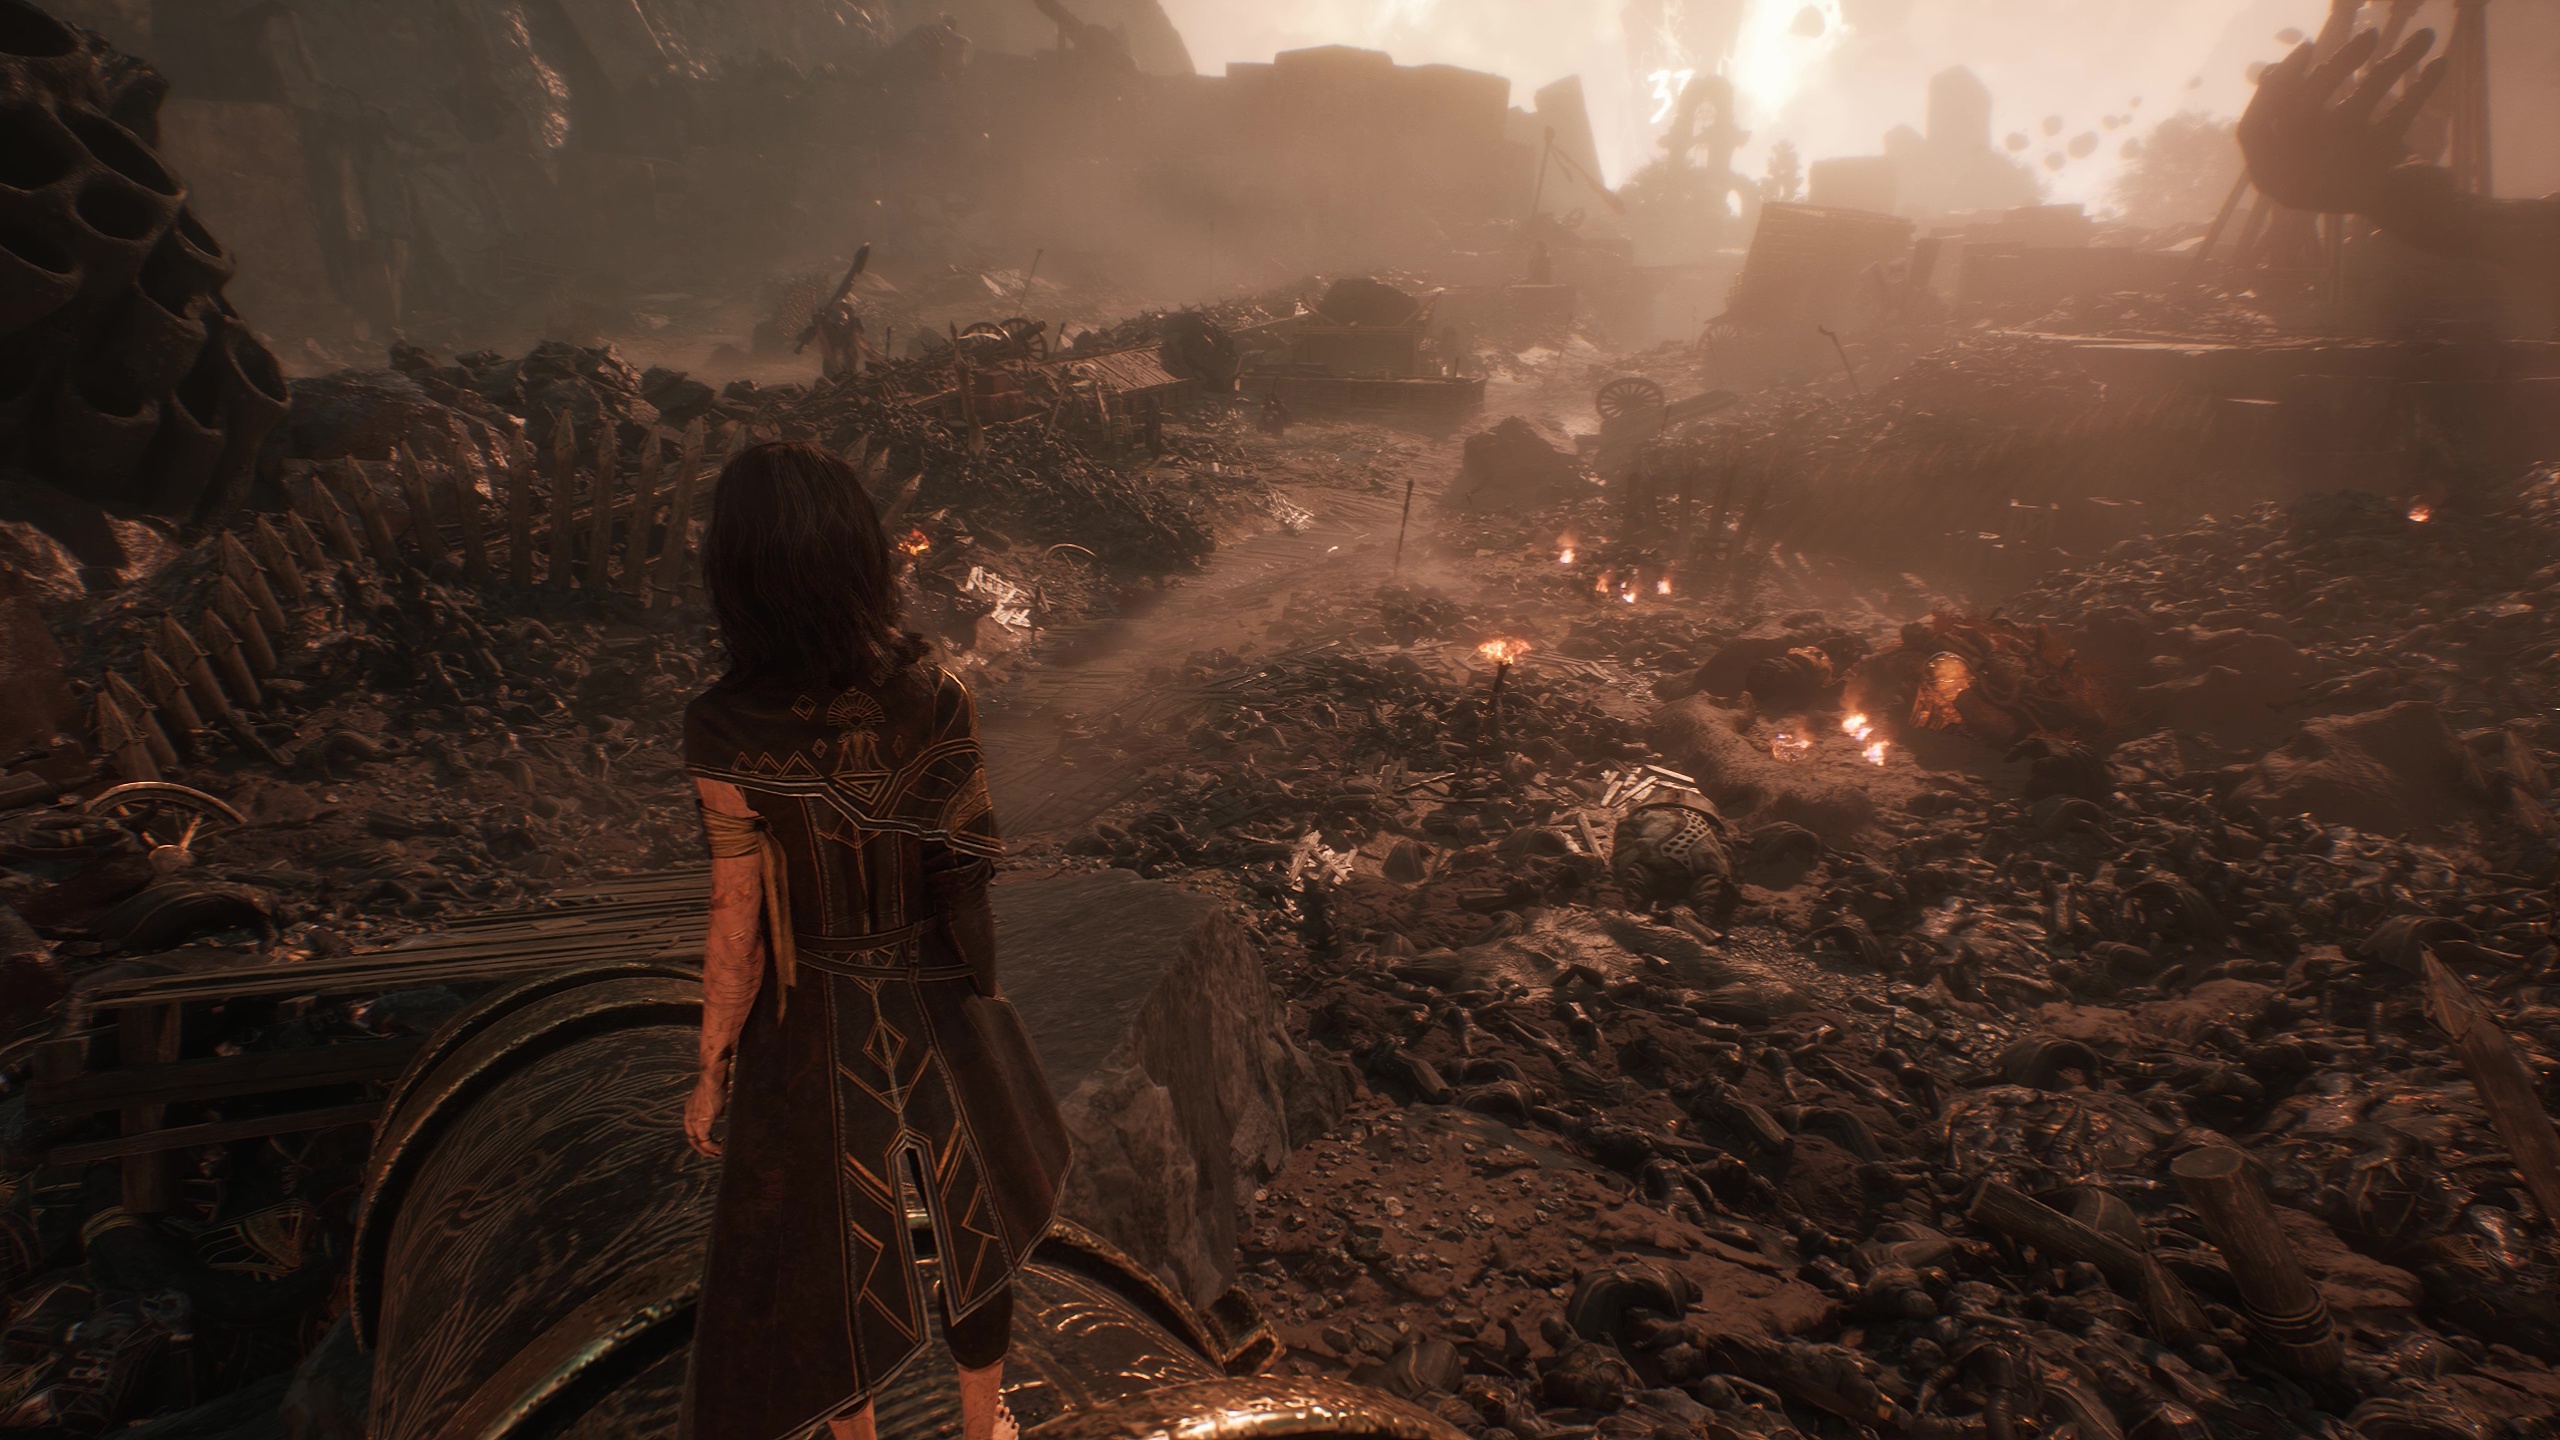
Forgotten Battlefield is your next main quest destination after Stone Wave Cliffs, though just before this you get the option to sail the seas and explore a lot of side content. Keep pushing forward, however, and you'll come across this final pictos for my favorite variation on this mega damage first turn combo, although it is easy to miss.
Continue along the main path that veers to the right of the battlefield (there are a lot of goodies to the left, but it eventually funnels you on this right path no matter what). Here, it splits in two, with two checkpoints to match. The left leads to Vanguard Path, the main way forward, and is not where you want to go for this bit of gear.
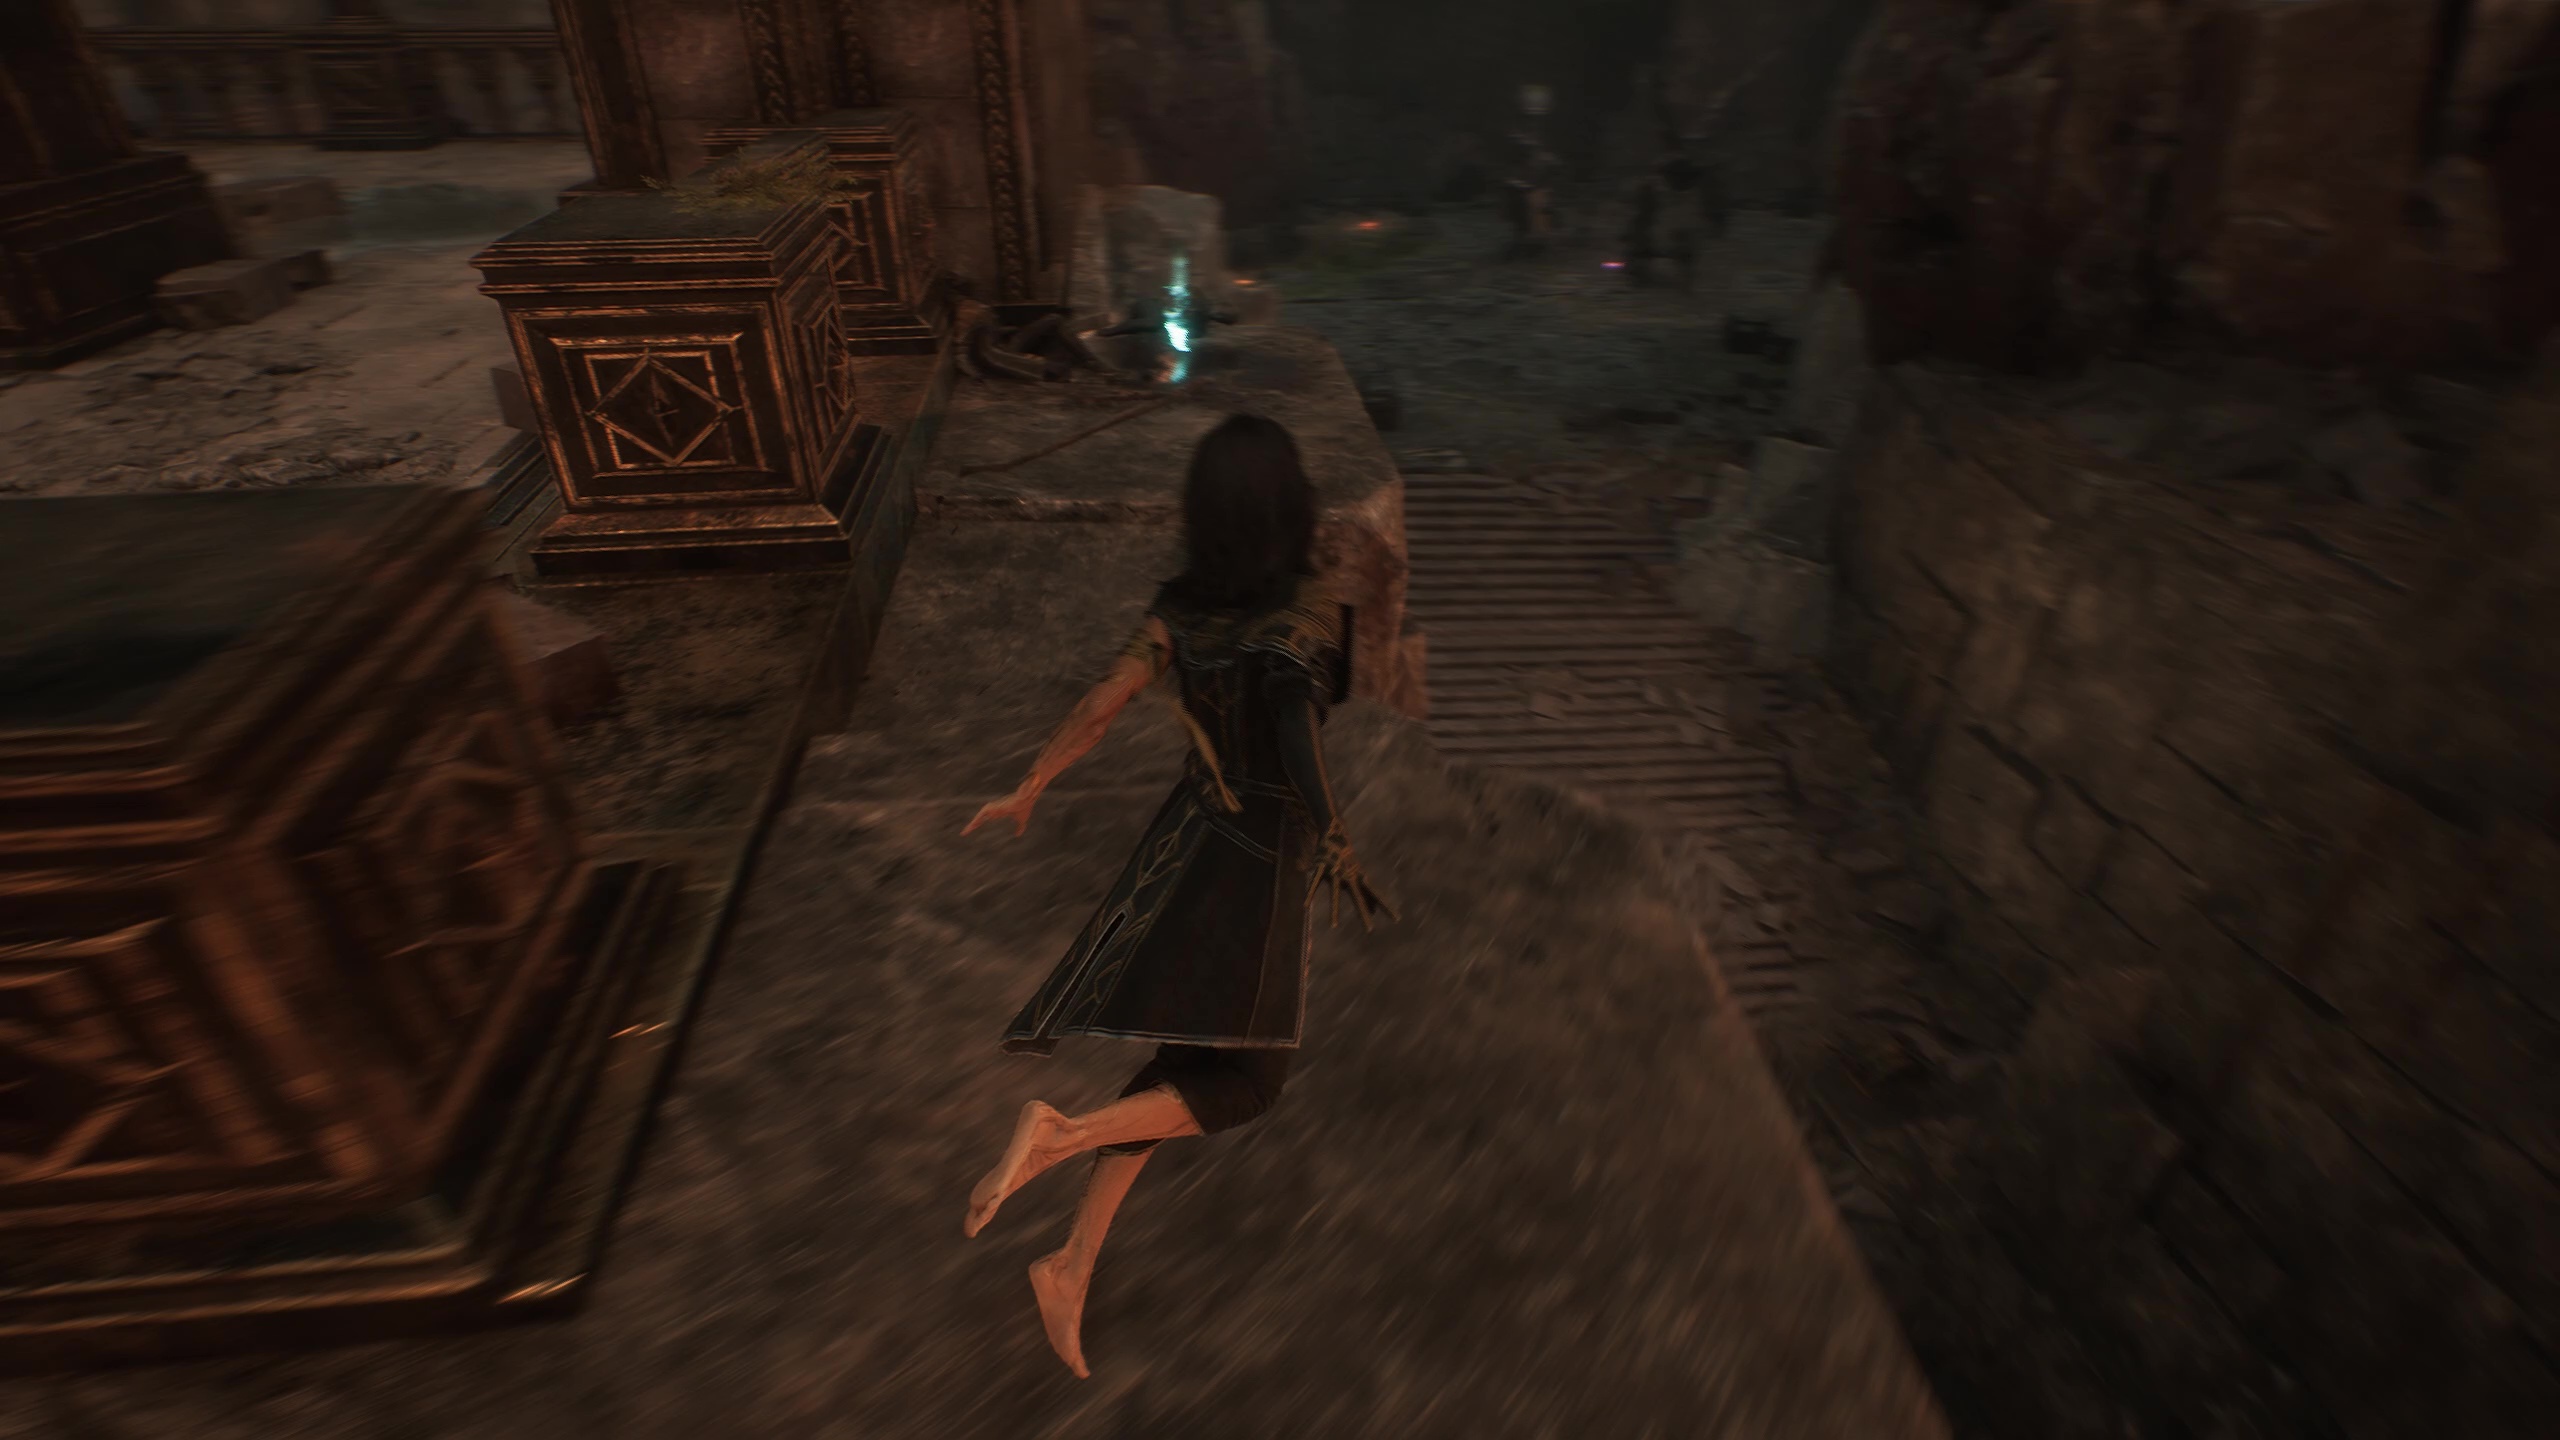
Instead, go right again and you'll come to the Fort Ruins checkpoint. There's not a lot to this small detour, but after climbing a bit you'll come to a group of three enemies with a purple pick-up in the middle of them. This isn't it. Instead, go right when you see them and up some steps. At the top is a sort of stone balcony area. Follow this crumbled ledge as it loops around to the left and you'll find the Energising Death pictos there on the ground, ripe for the taking.
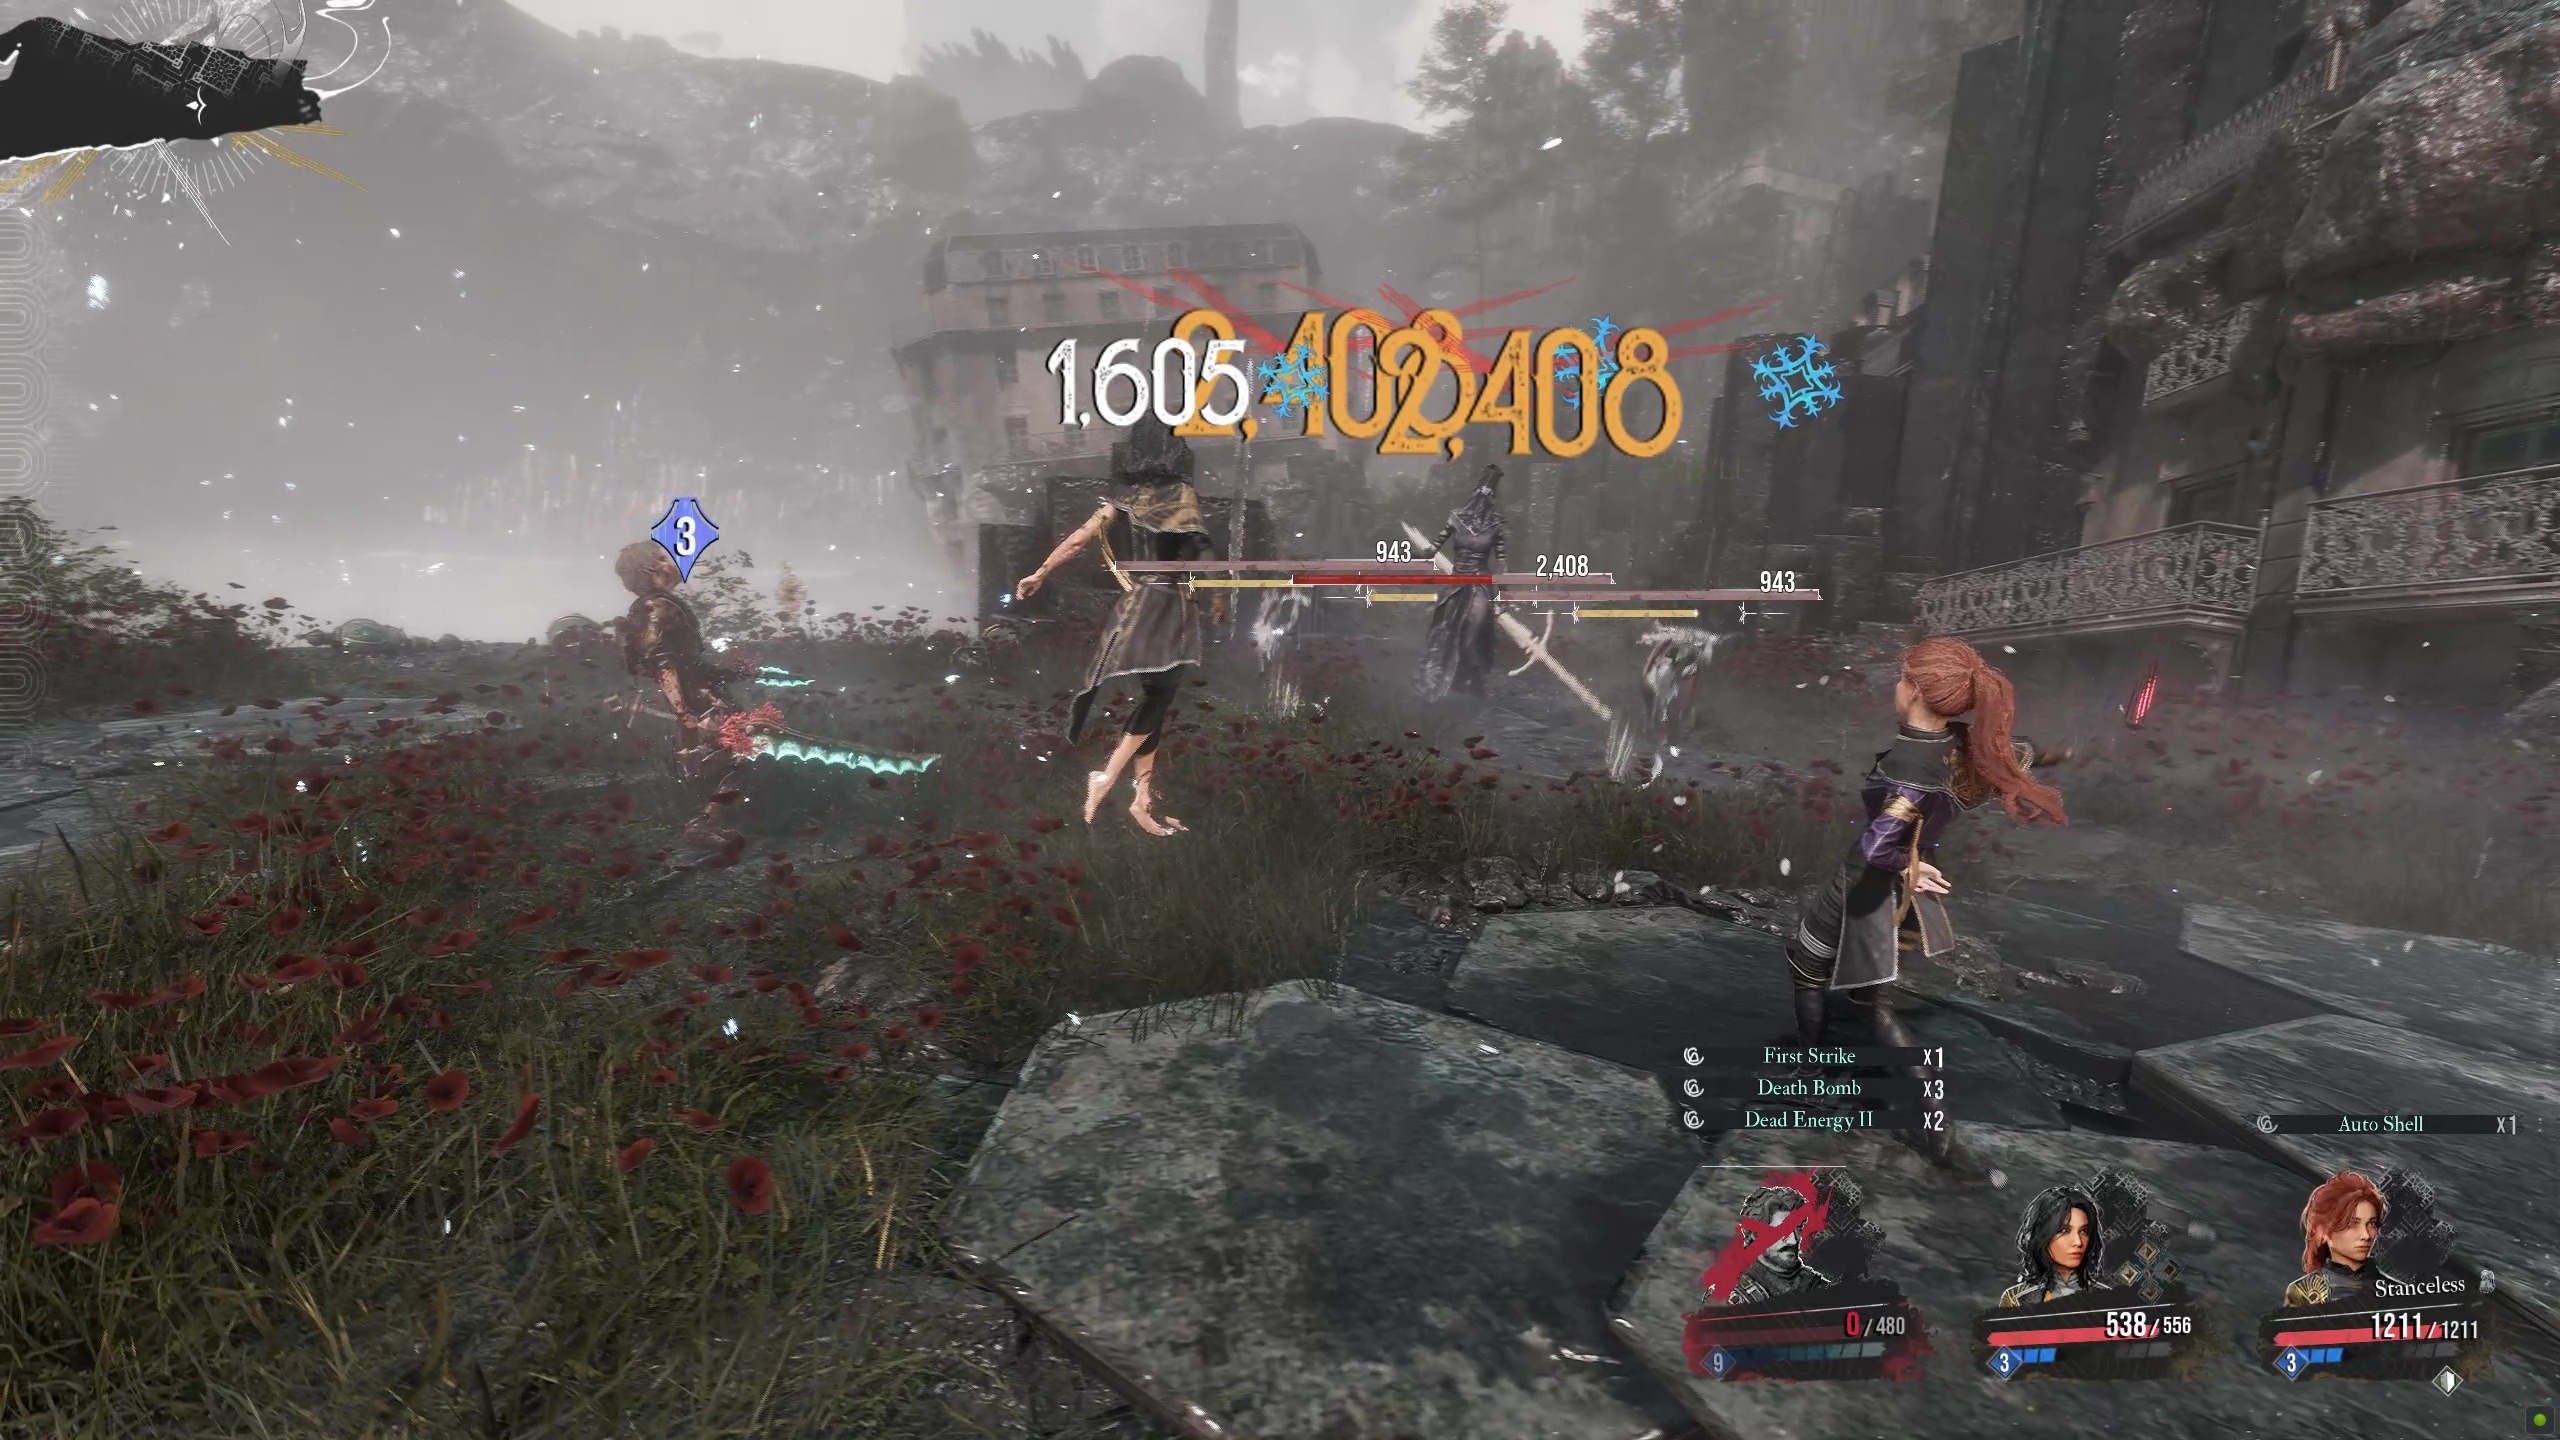
As I mentioned, there are variations on this combo and other ways to enhance it. To 'learn' the pictos so multiple people can equip it you will have to revive the user to make it through five battles, but after that these powers are up for grabs for anyone – though strongest when used together as main equipment.
While this isn't a useful power against most bosses, it can help you clear most regular enemy groups on the first turn even later into the game when used in concert with max AP skills like Lune's Hell. I love how many options pictos give you to create playful builds like this. Now get out there and get going!
Take a look at our best RPG games for more like this!
© GamesRadar+. Not to be reproduced without permission.
Sign up to the GamesRadar+ Newsletter
Weekly digests, tales from the communities you love, and more

Games Editor Oscar Taylor-Kent brings his Official PlayStation Magazine and PLAY knowledge to continue to revel in all things capital 'G' games. A noted PS Vita apologist, he's always got his fingers on many buttons, having also written for Edge, PC Gamer, SFX, Official Xbox Magazine, Kotaku, Waypoint, GamesMaster, PCGamesN, and Xbox, to name a few.
When not knee deep in character action games, he loves to get lost in an epic story across RPGs and visual novels. Recent favourites? Elden Ring: Shadow Of The Erdtree, 1000xResist, and Metaphor: ReFantazio! Rarely focused entirely on the new, the call to return to retro is constant, whether that's a quick evening speed through Sonic 3 & Knuckles or yet another Jakathon through Naughty Dog's PS2 masterpieces.
You must confirm your public display name before commenting
Please logout and then login again, you will then be prompted to enter your display name.
