How to beat the Devourer in The First Descendant
The Devourer boss fight in The First Descendant can be beaten with careful use of electrical power
Weekly digests, tales from the communities you love, and more
You are now subscribed
Your newsletter sign-up was successful
Want to add more newsletters?
Join the club
Get full access to premium articles, exclusive features and a growing list of member rewards.
The First Descendant Devourer boss fight has the player go up against another Void Intercept powerhouse, this one dealing in toxic damage and brute force - not to mention the ability to self-heal, making it one of the hardest fights in the game. The Devourer is something that many players struggle with, but it can be beaten, with specific weaknesses to be exploited - that we've listed all below. Though it'll take most players a few attempts, there is a method to beat the Devourer in The First Descendant - namely, electrical damage and conserving your most powerful attacks.
How to beat the Devourer boss fight in The First Descendant
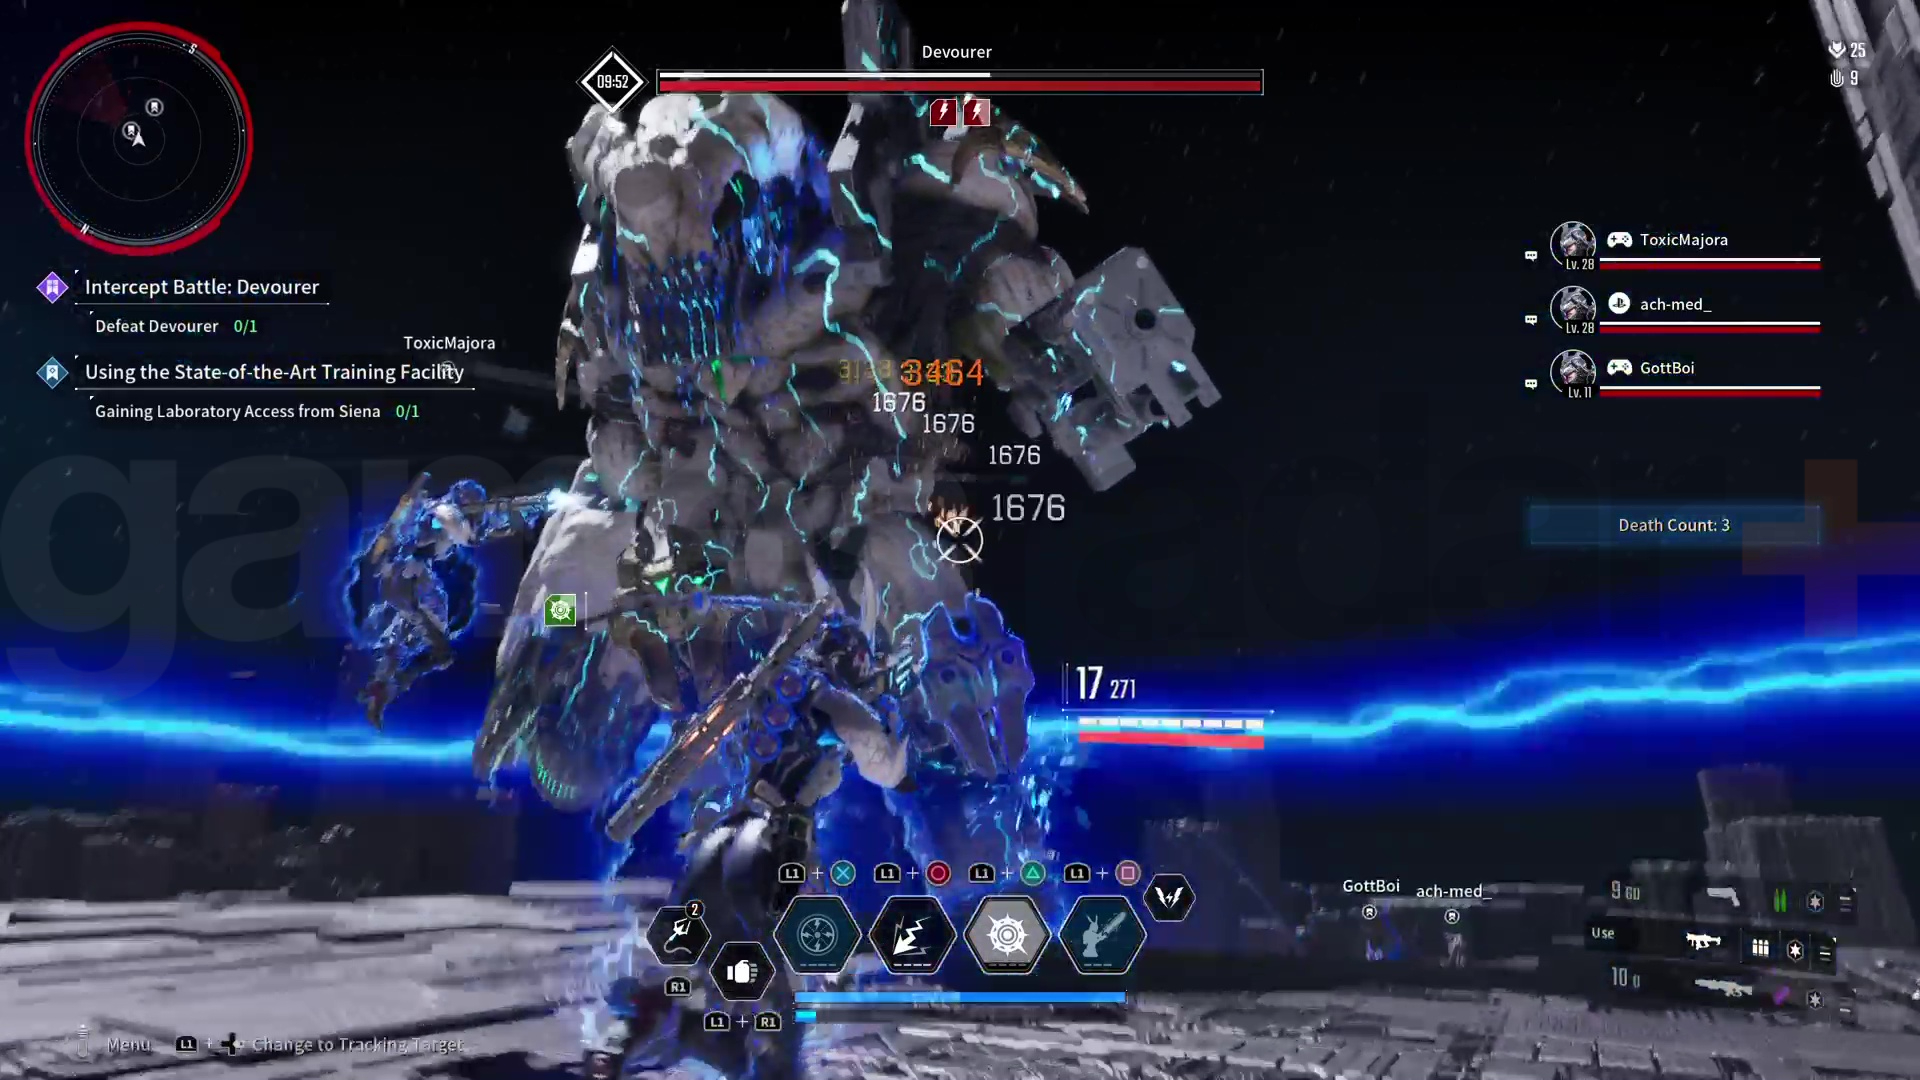
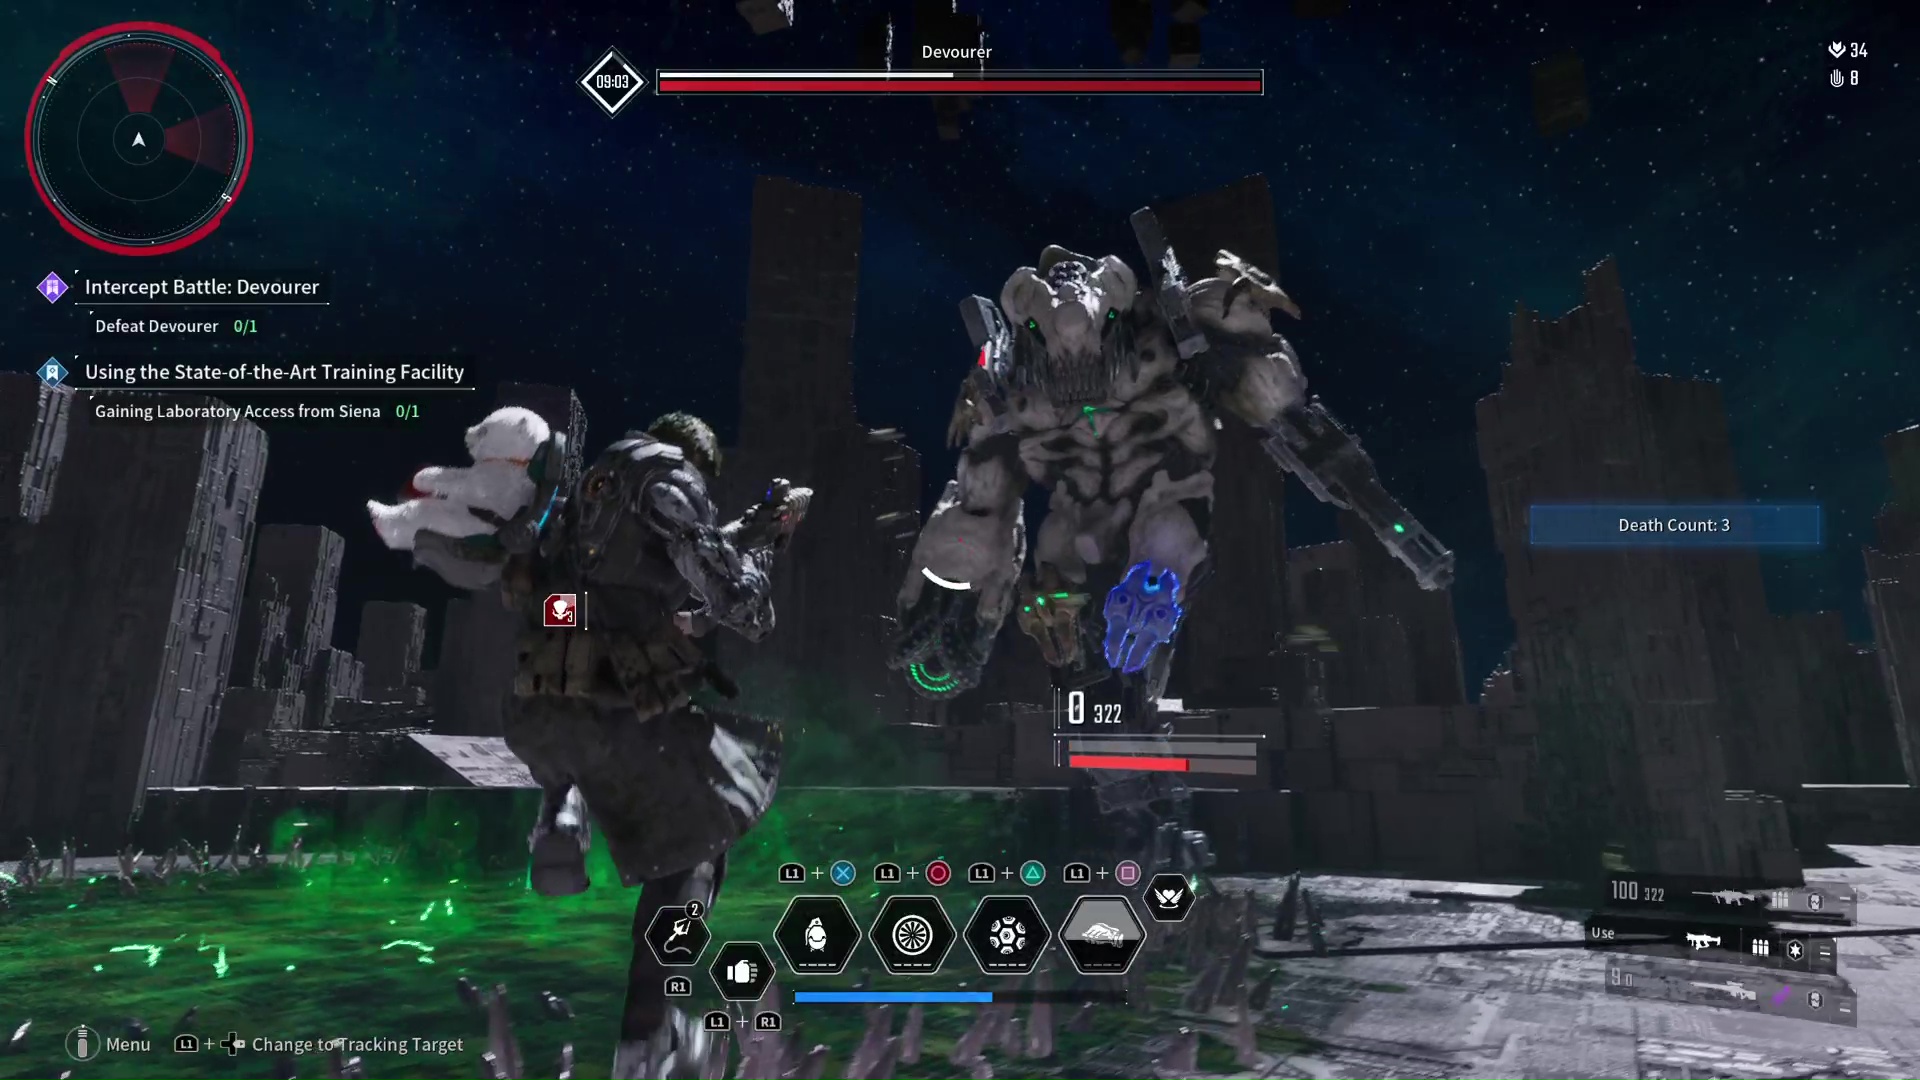
To beat the Devourer in The First Descendant is complicated and I'll go into more detail on how it's done further below, but here's a basic summary of the points you need to know.
- The Devourer is weak to Electrical damage, with Fire damage coming in second. You absolutely need to exploit this.
- The Devourer's strongest attacks are all Toxic-based, so build your resistance to that with Modules.
- Bunny is a fantastic Descendant choice, as her speed and electrical power is a natural counter to the Devourer's strengths.
- Stay up-close and behind the Devourer - most of its attacks are front-facing and it struggles to target enemies who are too close to it.
- The Healing "Symbiont" Pods require your strongest attacks to destroy quickly, so save those for when they spawn in.
- The summoned Roly-poly bots are slow, but durable, and while they're not much of a threat, destroying them for resources will take time.
- It's worth playing solo if you don't have a good team, as coordination is needed to cancel out the Devourer's extra health.
- Being high up allows you to avoid many of the Devourer's attacks, as it loves to cover sections of ground with acid.
Devourer weaknesses
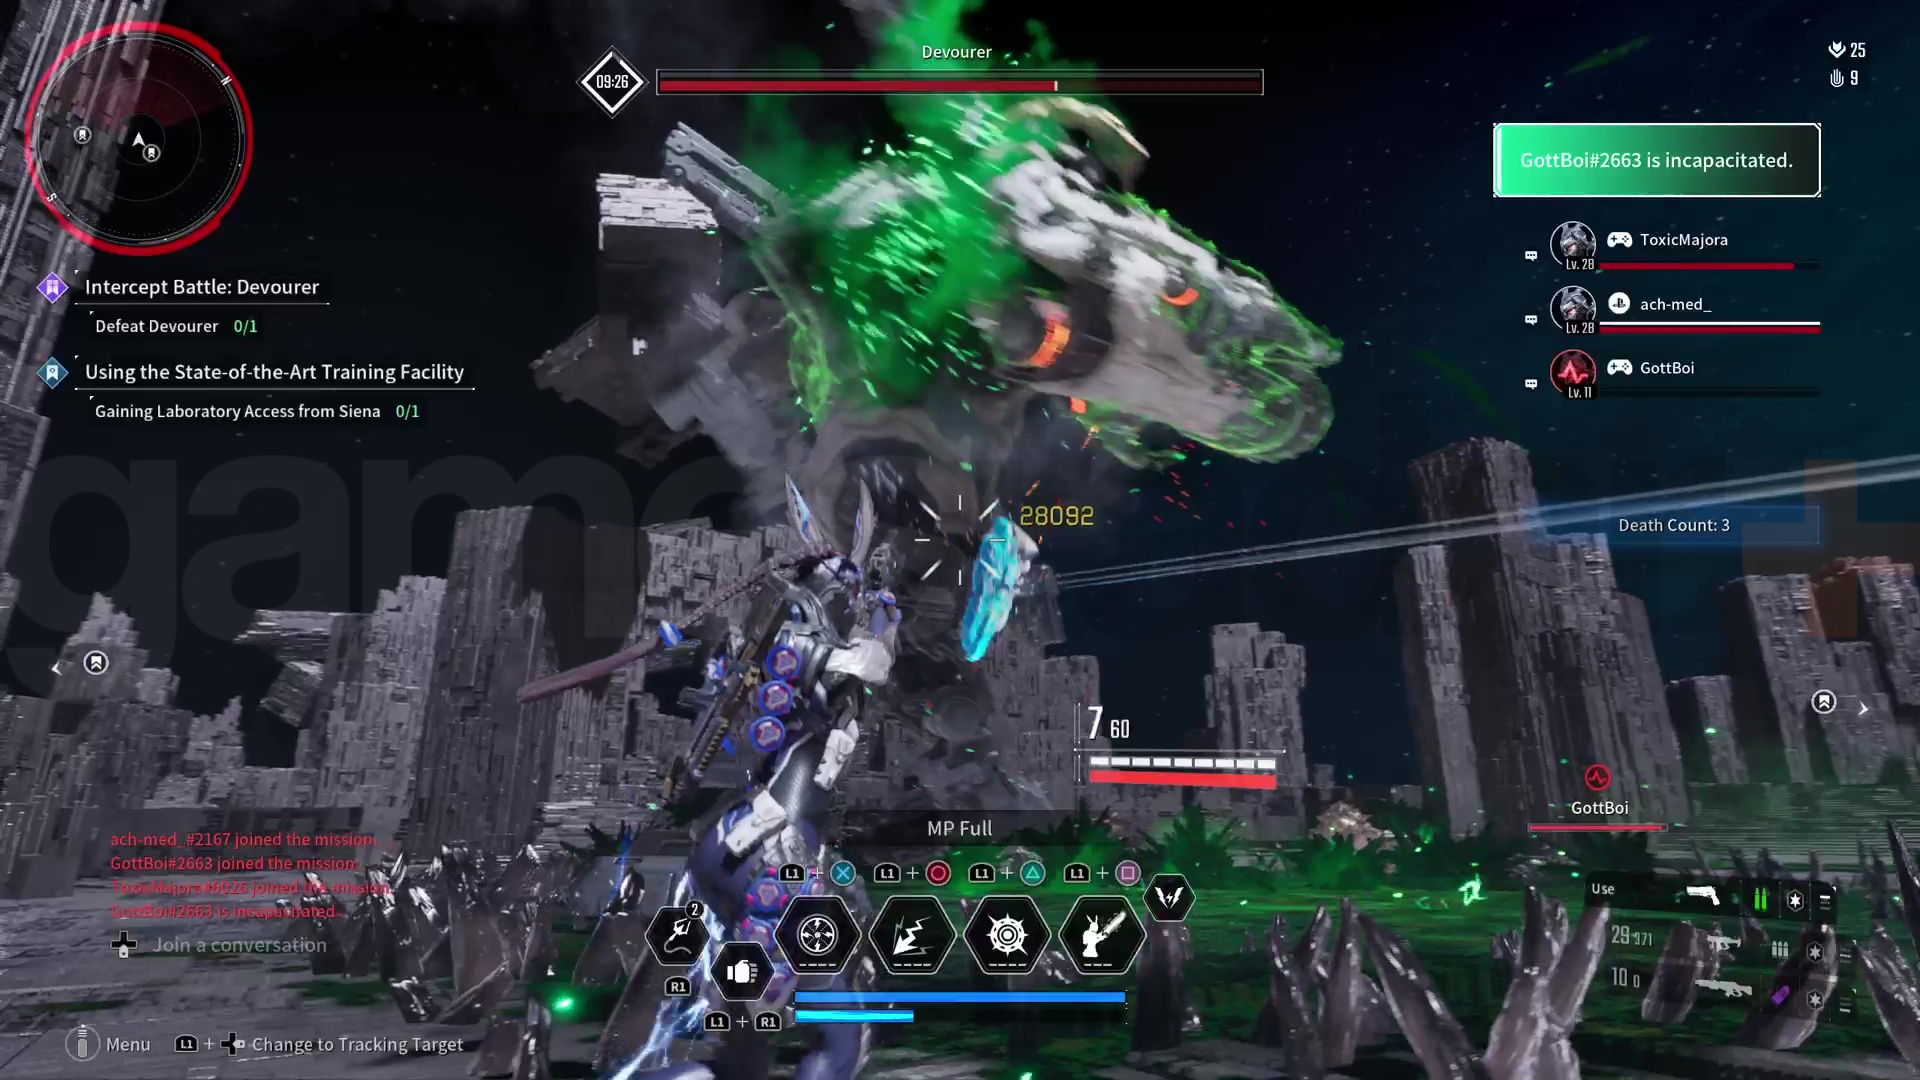
Like with The First Descendant Dead Bride boss fight before it, elemental power and exploiting weaknesses are essential to victory here. The Devourer is massively weak to electrical damage, so you should absolutely use whatever weapons and powers you have. If you haven't broken out Bunny since The First Descendant Follow Their Traces mission, now's the time to pull her back into the action (her natural speed will also help in this regard).
The Devourer also has a few physical weaknesses that can be checked up on before the fight and marked with your scanner, which we've listed down below. In combat, these should be a priority.
- Destructible Parts: Eye, Heart, Knees
- Removable Parts: Shoulders, Heart
Devourer strategy and tips
To begin with, it might be worth doing this fight solo, rather than part of a group, if you're not confident about your team. Both the Devourer and its summons (including the healing pods) get scaling health buffs as more players show up, like all bosses in The First Descendant, and without good coordination a team won't be able to secure victory. It'll still be hard solo, but it will be achievable. However, if you're confident about those you're playing with and you all understand the strategy below, a team is better than playing solo.
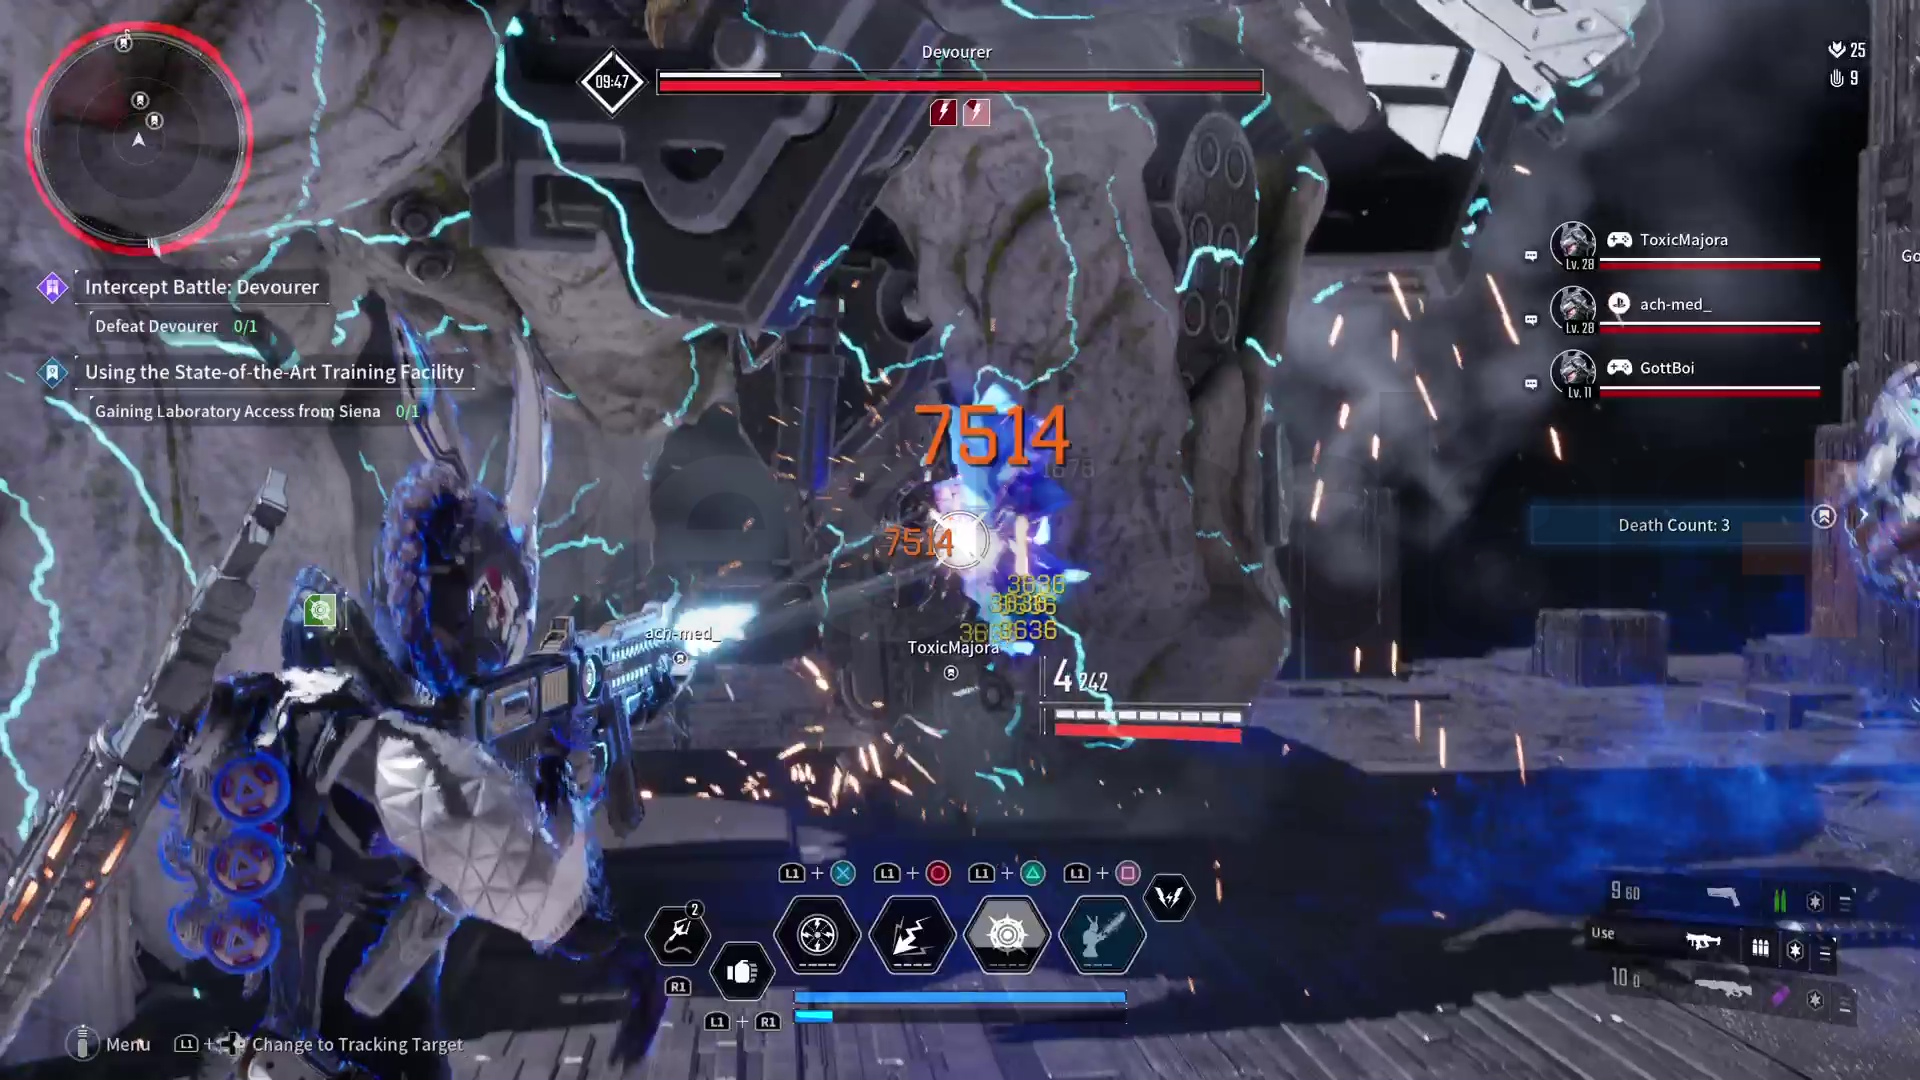
When you go in, find high ground if you're fighting at range, otherwise you want to stay close and behind the Devourer. Its guns can't fire at targets that close, and its melee attacks are largely front-facing. If you're playing as Bunny like we recommend, this is the chance to trigger your electrical aura, to keep zapping it as you run between its legs.
Whittling the Devourer down is relatively simple, even if it is nonetheless still challenging. Its attacks are a mix of turrets, spewing acid to cover the ground, melee strikes and Roly-poly summons. A good team strategy here is to try and have those on the ground stay close and hold the Devourer's attention, while those up top target the weak points of its body. It also helps to have everybody take time to kill the summons every now and then - though not much of a threat, it's good to have their health, MP and ammo drops scattered around.
Weekly digests, tales from the communities you love, and more
How to stop the Devourer from Healing
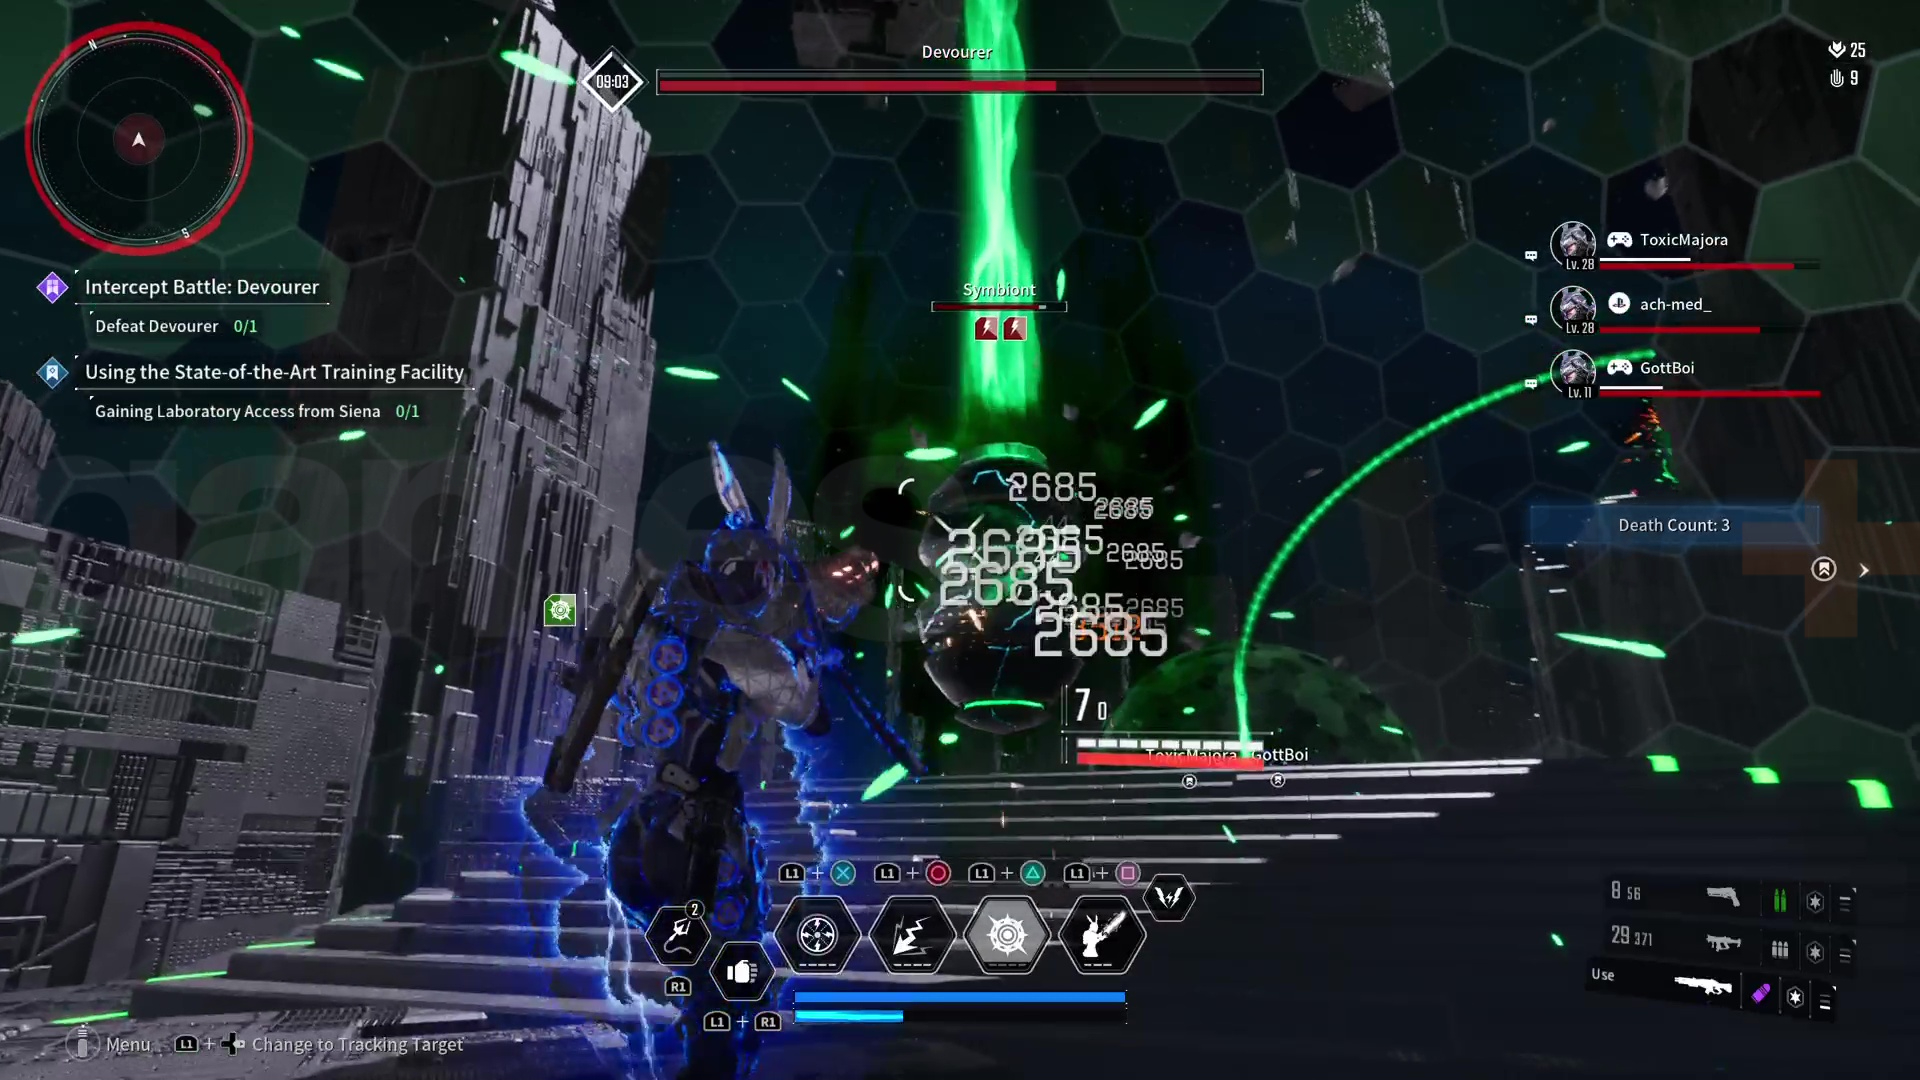
Once its shields are gone and at around half health, the Devourer will become immune to damage and summon three Symbiont healing pods under protective bubble shields.
These are your immediate priority - until now you'll want to have saved your most powerful attacks - shotguns, launchers, Ultimate Skills, whatever does high damage - for these pods. Immediately home in on the nearest one and unleash the most powerful attacks you have just to get rid of the damn things. If you're not quick, the Devourer can get back to full health altogether - but if you're lucky, it should only get some back.
You'll likely have to deal with these pods a couple of times throughout the fight, and these are what you should save your greatest firepower for each time. If you're well-equipped, your raw damage output should outmatch the Devourer's periodic healing - and win you the boss fight once and for all.
© GamesRadar+. Not to be reproduced without permission

Joel Franey is a writer, journalist, podcaster and Very Tired Man with a BA from Brunel University, a Masters from Sussex University and a decade working in games journalism, often focused on guides coverage but also in reviews, features and news. His love of games is strongest when it comes to groundbreaking narratives like Disco Elysium, UnderTale and Baldur's Gate 3, as well as innovative or refined gameplay experiences like XCOM, Sifu, Arkham Asylum or Slay the Spire. He is a firm believer that the vast majority of games would be improved by adding a grappling hook, and if they already have one, they should probably add another just to be safe. You can find old work of his at Eurogamer, Gfinity, USgamer, SFX Magazine, RPS, Dicebreaker, VG247, and more.
 Join The Community


