Gears 5 components: Where to find all Jack upgrades and component locations in Gears 5
All of the Gears 5 component locations so you can get every one of the Jack upgrades
Act 3 Chapter 1
Gears 5 components: Act 3 Chapter 1
Component
Location: Abandoned airfield base
Current Objective: Go see Baird
After the act's opening cutscene and you regain control, head to the small office next to the bar. You'll find the component to the right of the office doorway.
Component
Location: Abandoned airfield base
Current Objective: Go see Baird
When you leave the bar at the beginning of the chapter, head downstairs. Notice the row of computers to your right. Walk to the opposite side of those computers to find the component.
Component 3-Pack
Location: Abandoned airfield base
Current Objective: Go see Baird
Walk past the metal detectors and into the room with baggage claim. Then enter the adjacent room to the right. Turn to your left almost 180 degrees to find a component 3-pack on a metal shelf. You'll need Jack's help to get it.
Component 3-Pack
Location: Abandoned airfield base
Current Objective: Go see Baird
Weekly digests, tales from the communities you love, and more
Walk through the metal detectors and turn right. Continue onward to the room at the other end. Once inside, look to your left, turning almost 180 degrees. You'll find the component 3-pack behind the fuse box.
Hijack Ability
Location: Abandoned airfield base
Current Objective: Go see Baird
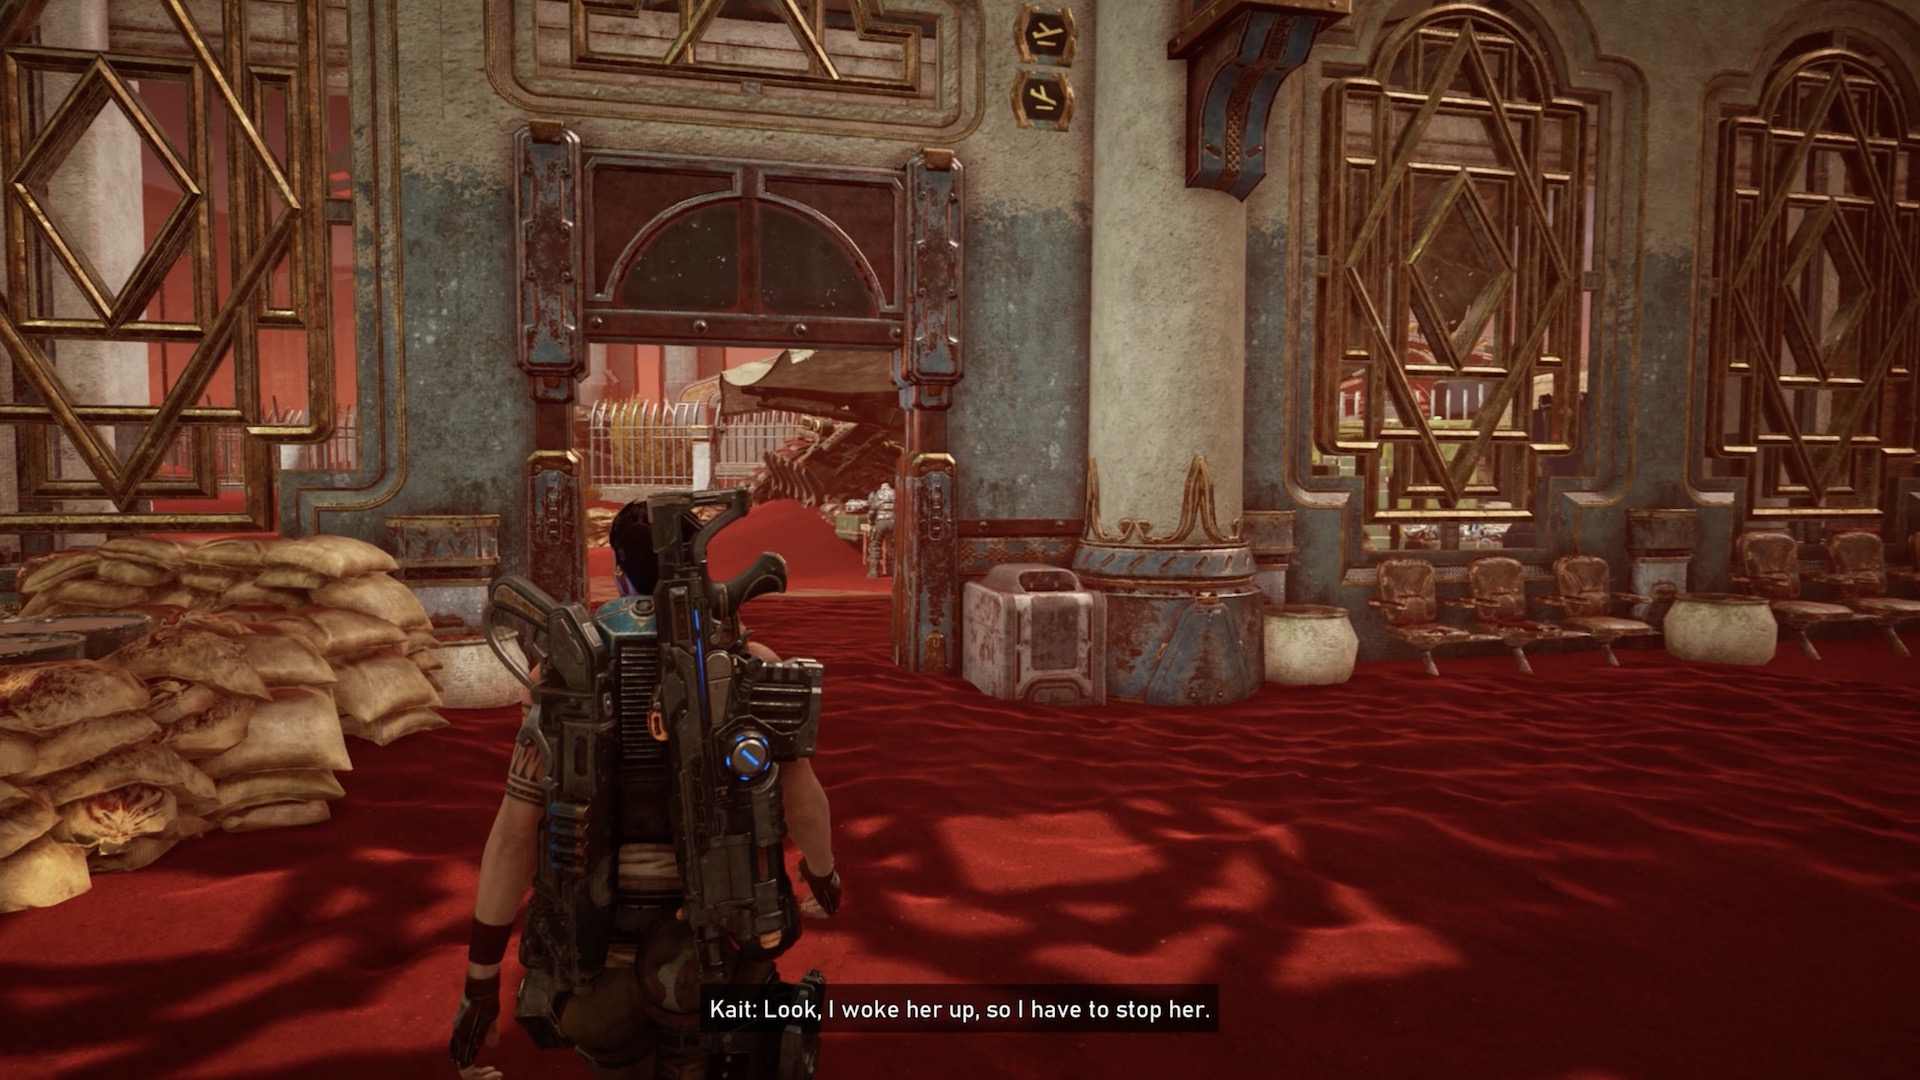
After the chapter starts, simply go outside to find Baird. He'll have the Hijack ability ready for you. All of Jack's abilities are useful, but this one is especially valuable since it can temporarily turn an enemy into a temporary squadmate.
Component
Location: Main base, outside, near Hijack ability pick-up location
Current Objective: Follow Baird
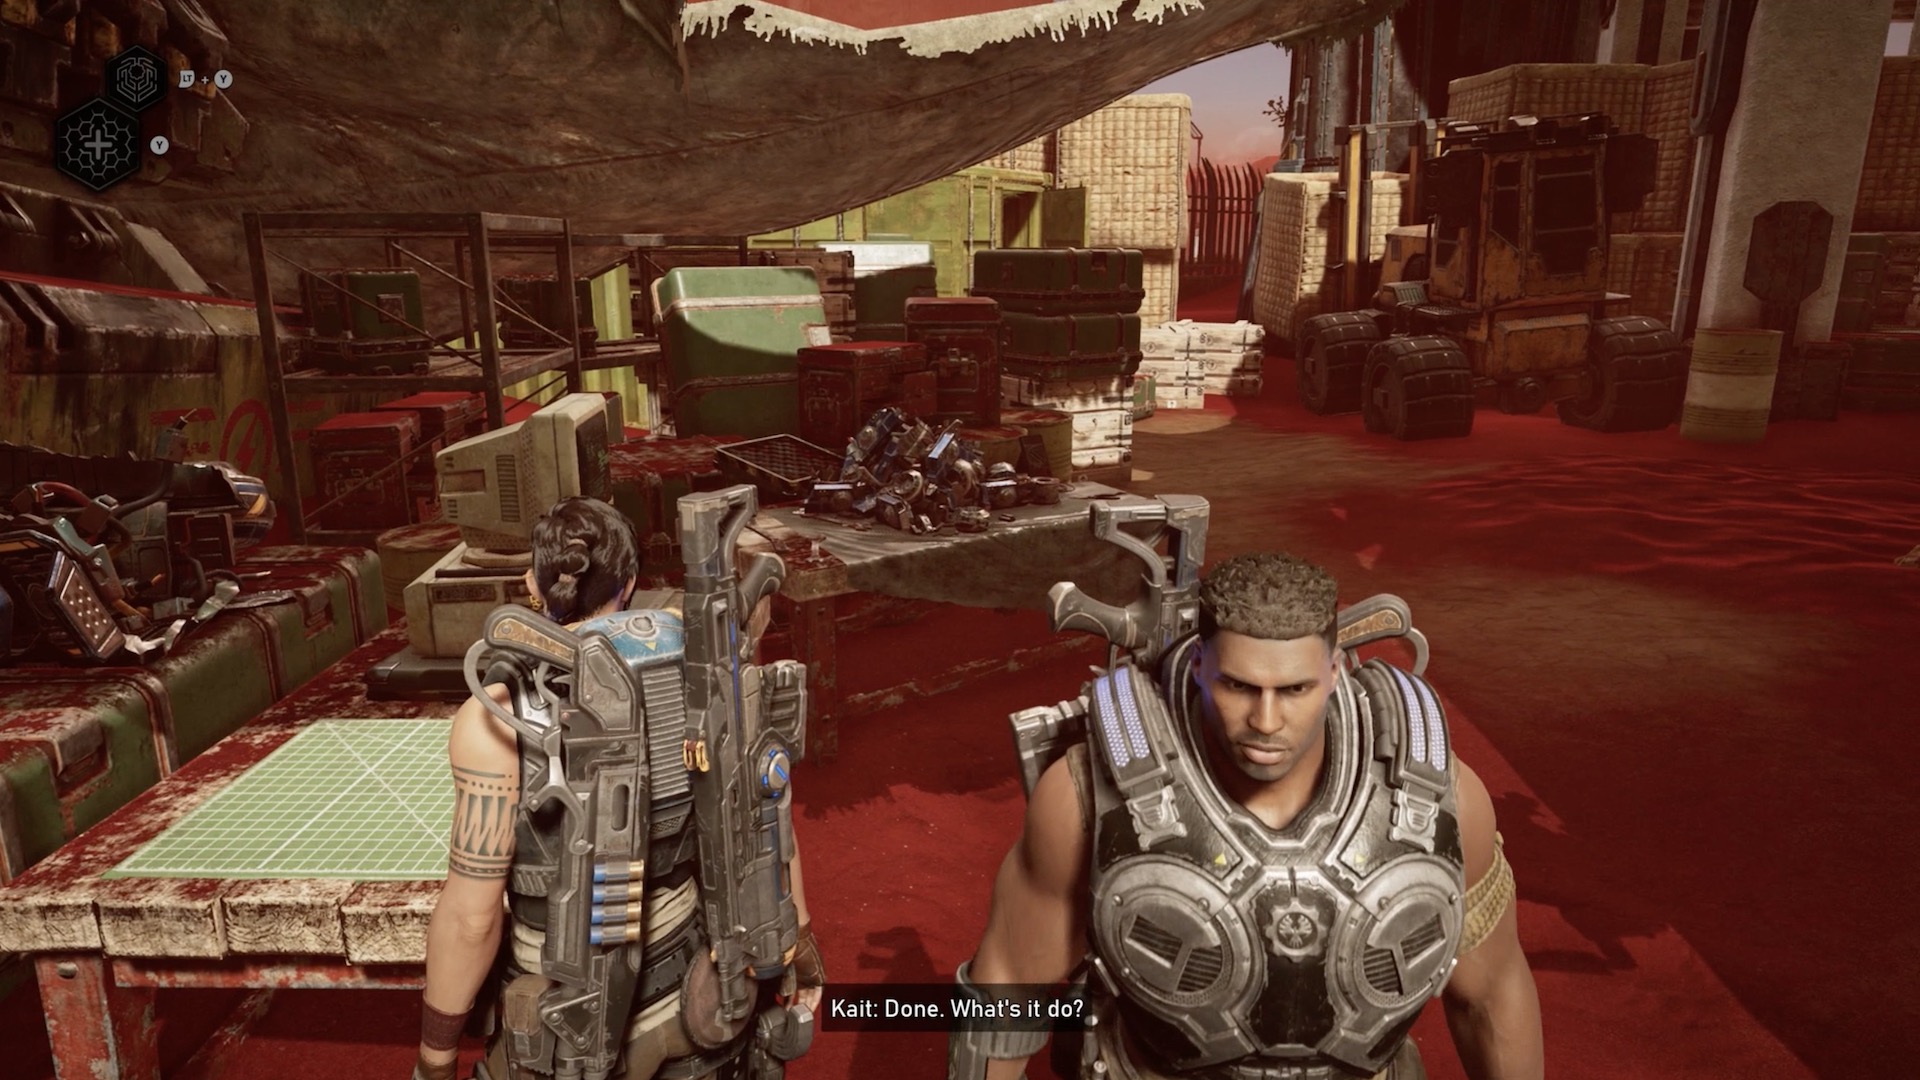
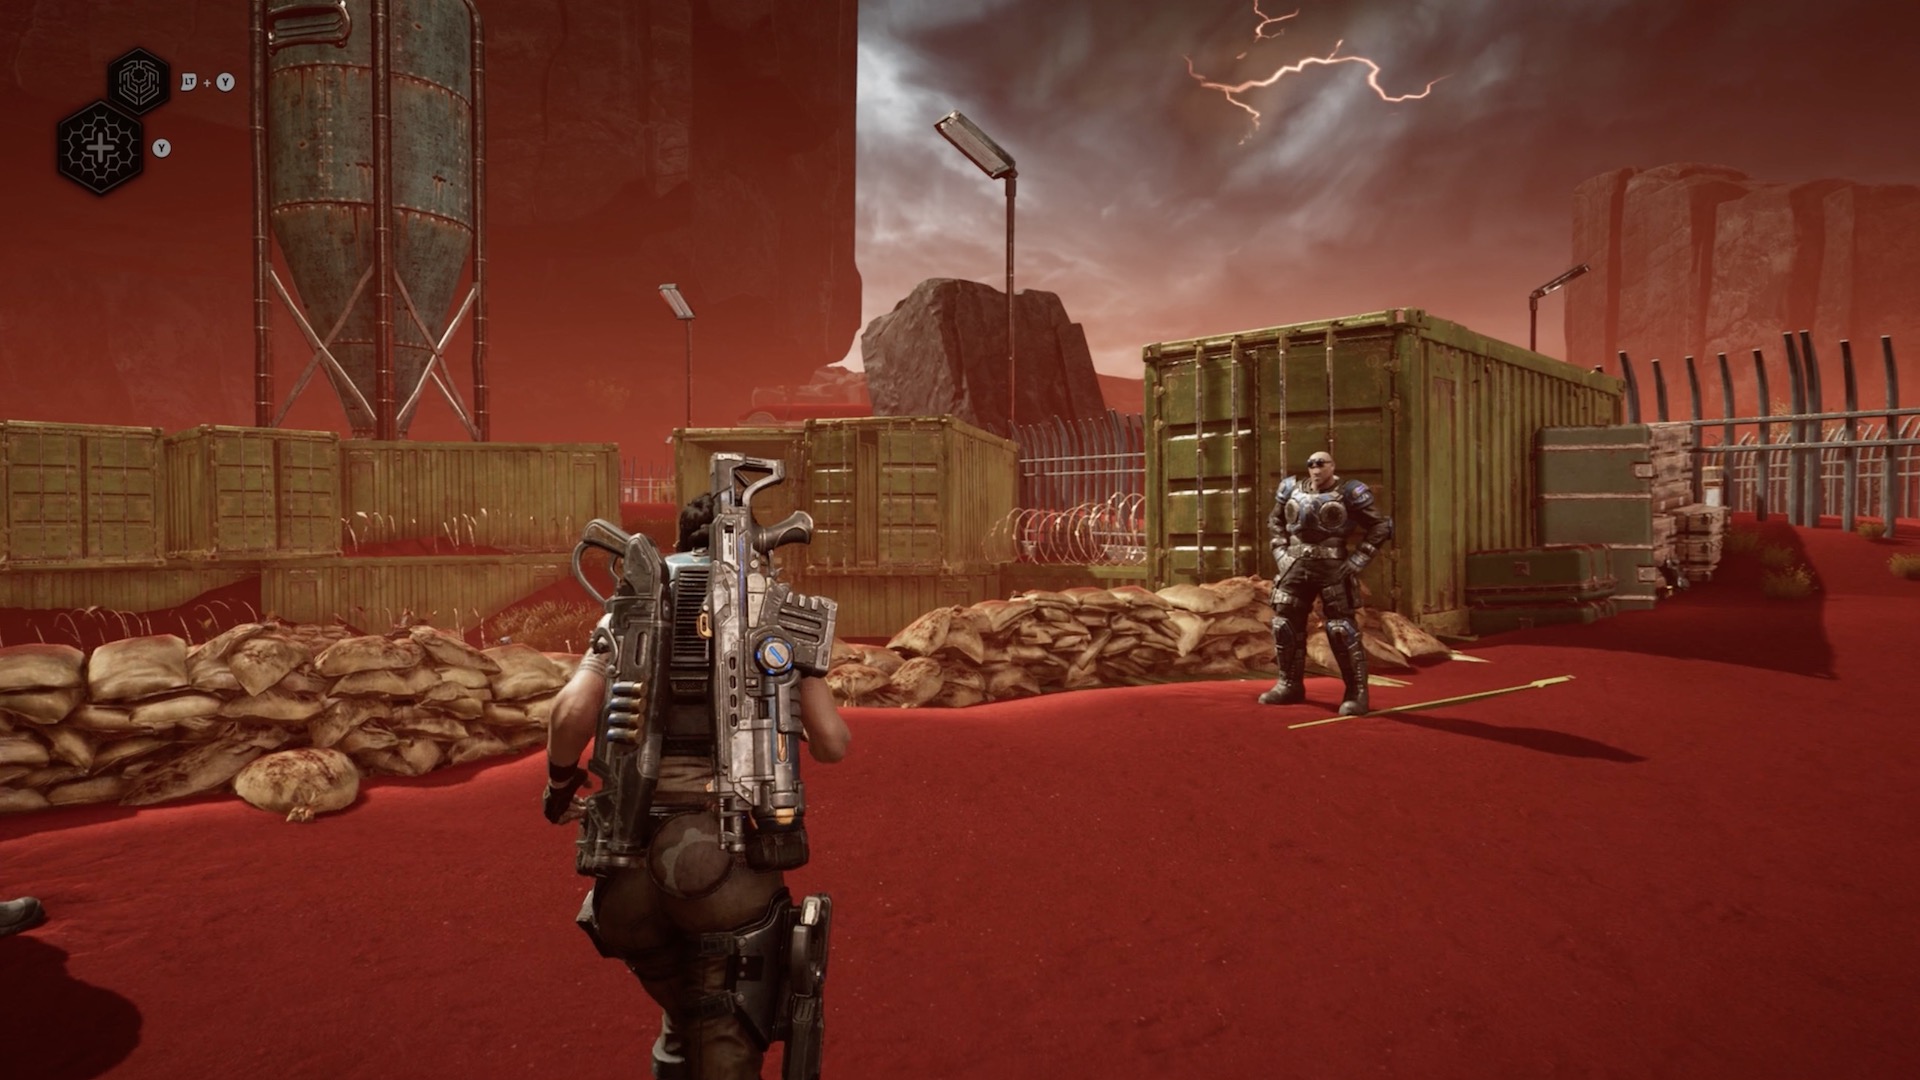
After you pick up and install the Hijack ability, walk to your right. You'll find a component on the ground, in front of some shipping containers.
Component 3-Pack
Location: Main base, outside, right of the Hijack ability test location
Current Objective: Go see Paduk
Follow Baird to test out the Hijack ability. After the test, walk over to the pile of crates and boxes to the right of the test area.
Component 5-Pack
Location: Main base, outside, behind the tent where Paduk shows you the Claw
Current Objective: Get to the runway
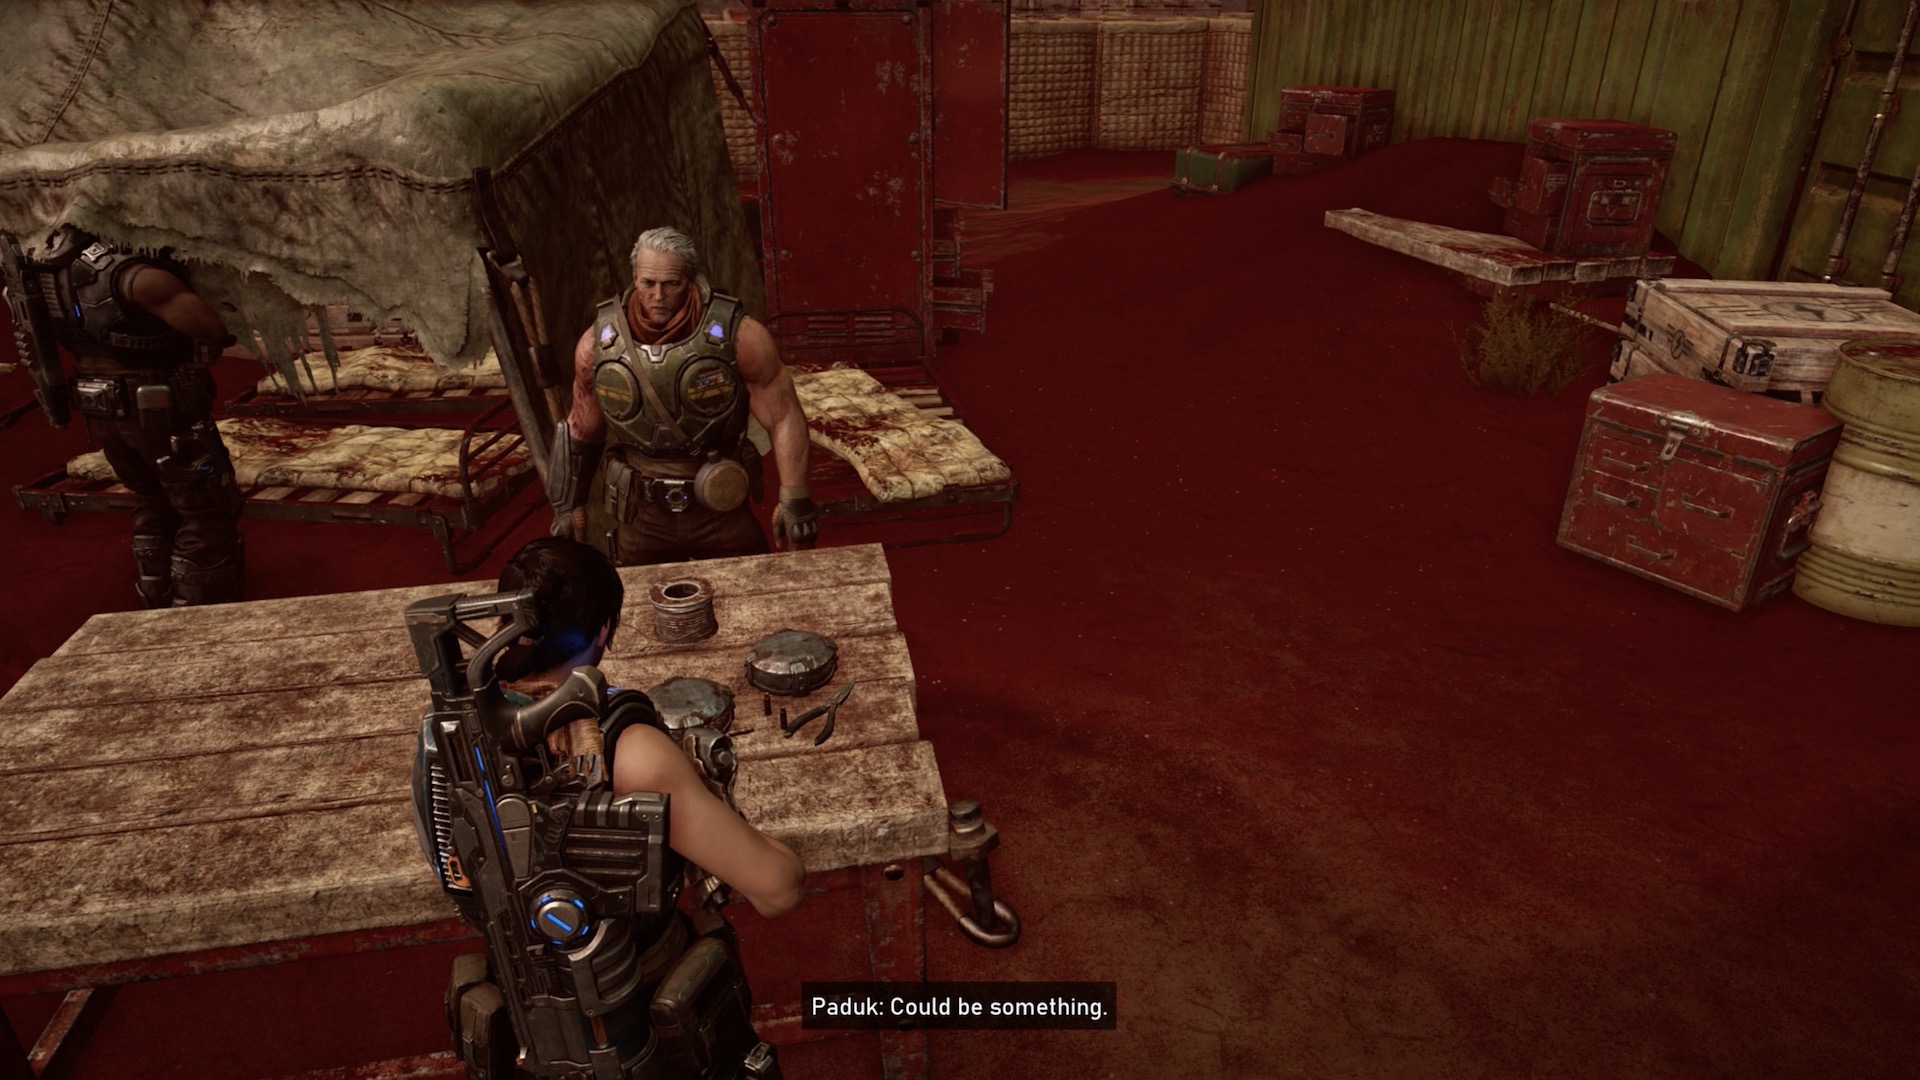
After the Hijack ability weapons test, you'll be tasked to see Paduk. He'll want to show you the Claw weapon. After this introduction, run behind the test Paduk was standing in front of. There you'll find a safe with a component 5-pack. As always, use Jack to open the safe.
Component
Location: Main base, outside, opposite where Paduk is standing
Current Objective: Get to the runway
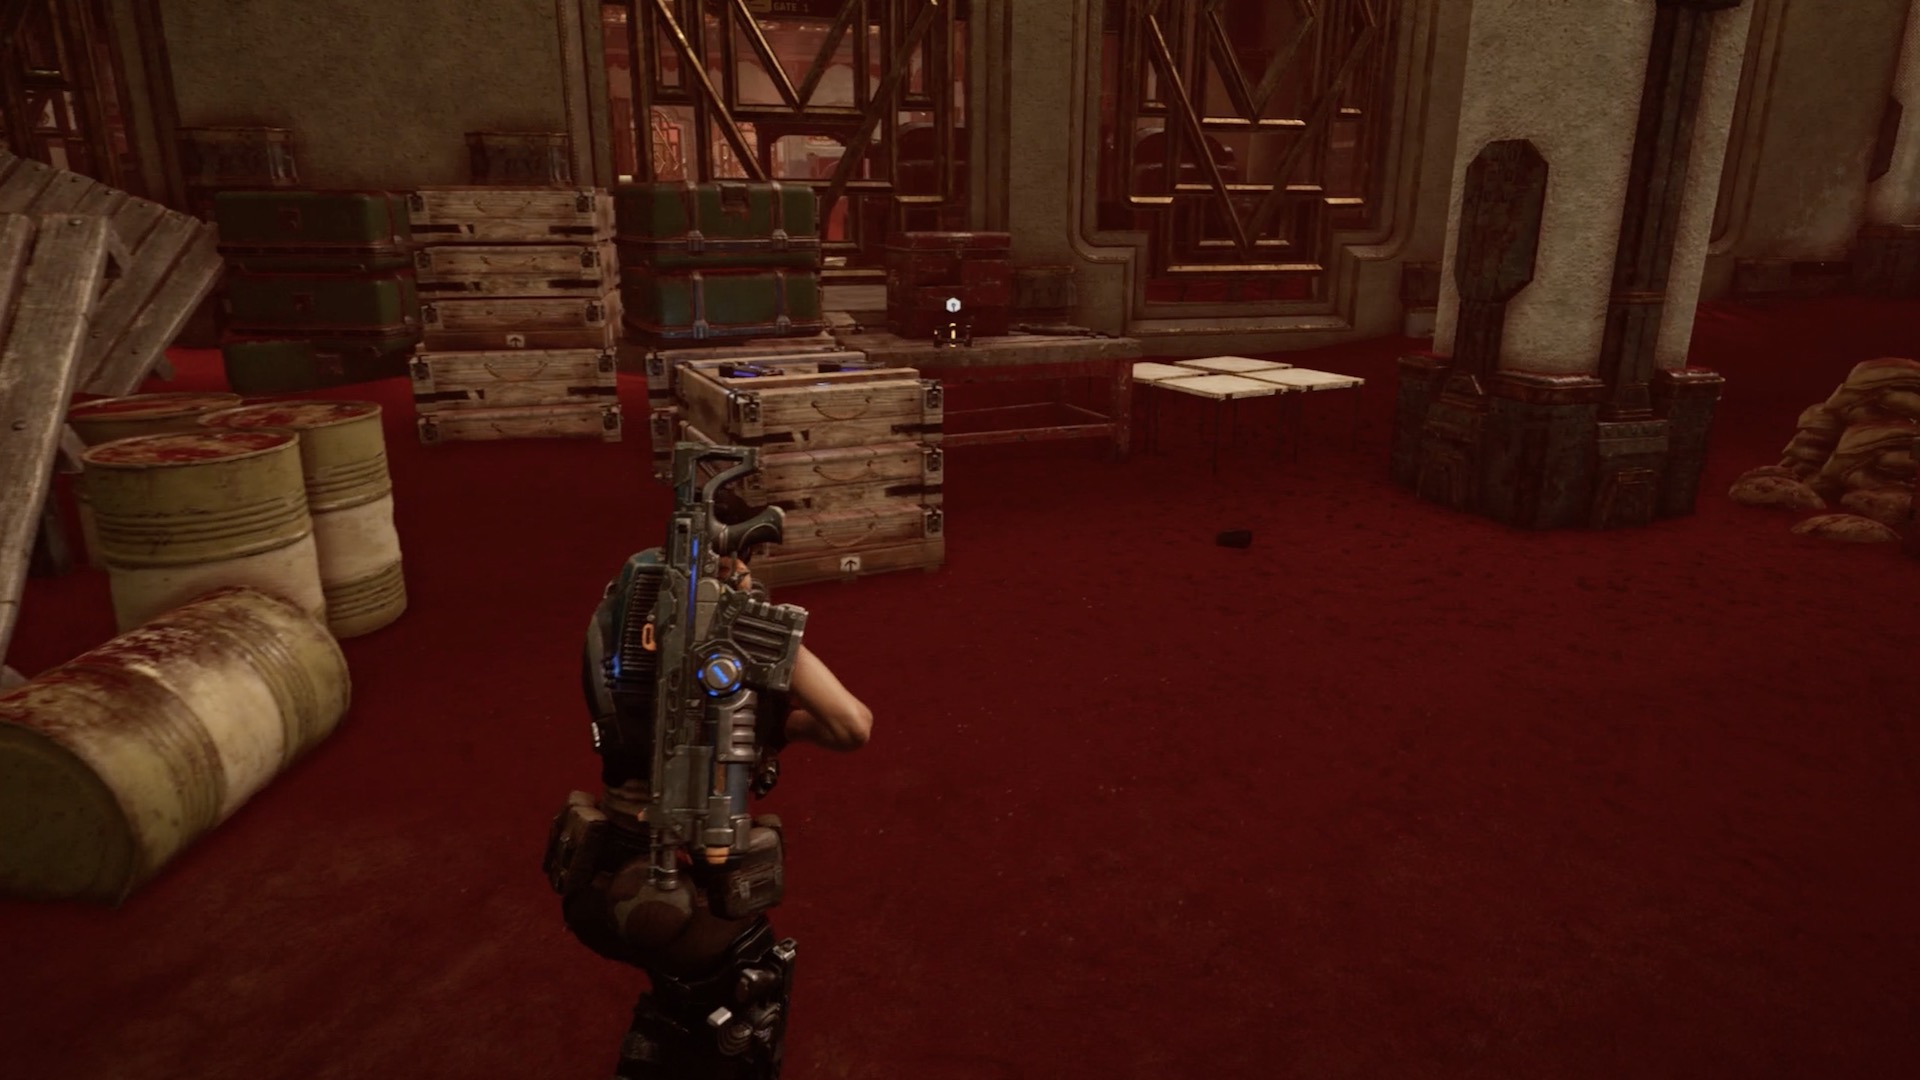
Using Paduk as a reference point (after he shows you the Claw) swing the camera around 180 degrees. You'll find this component near the outside wall of the base.
Component 5-Pack
Location: Far hangers, outside Hanger 2
Current Objective: N/A, free roam
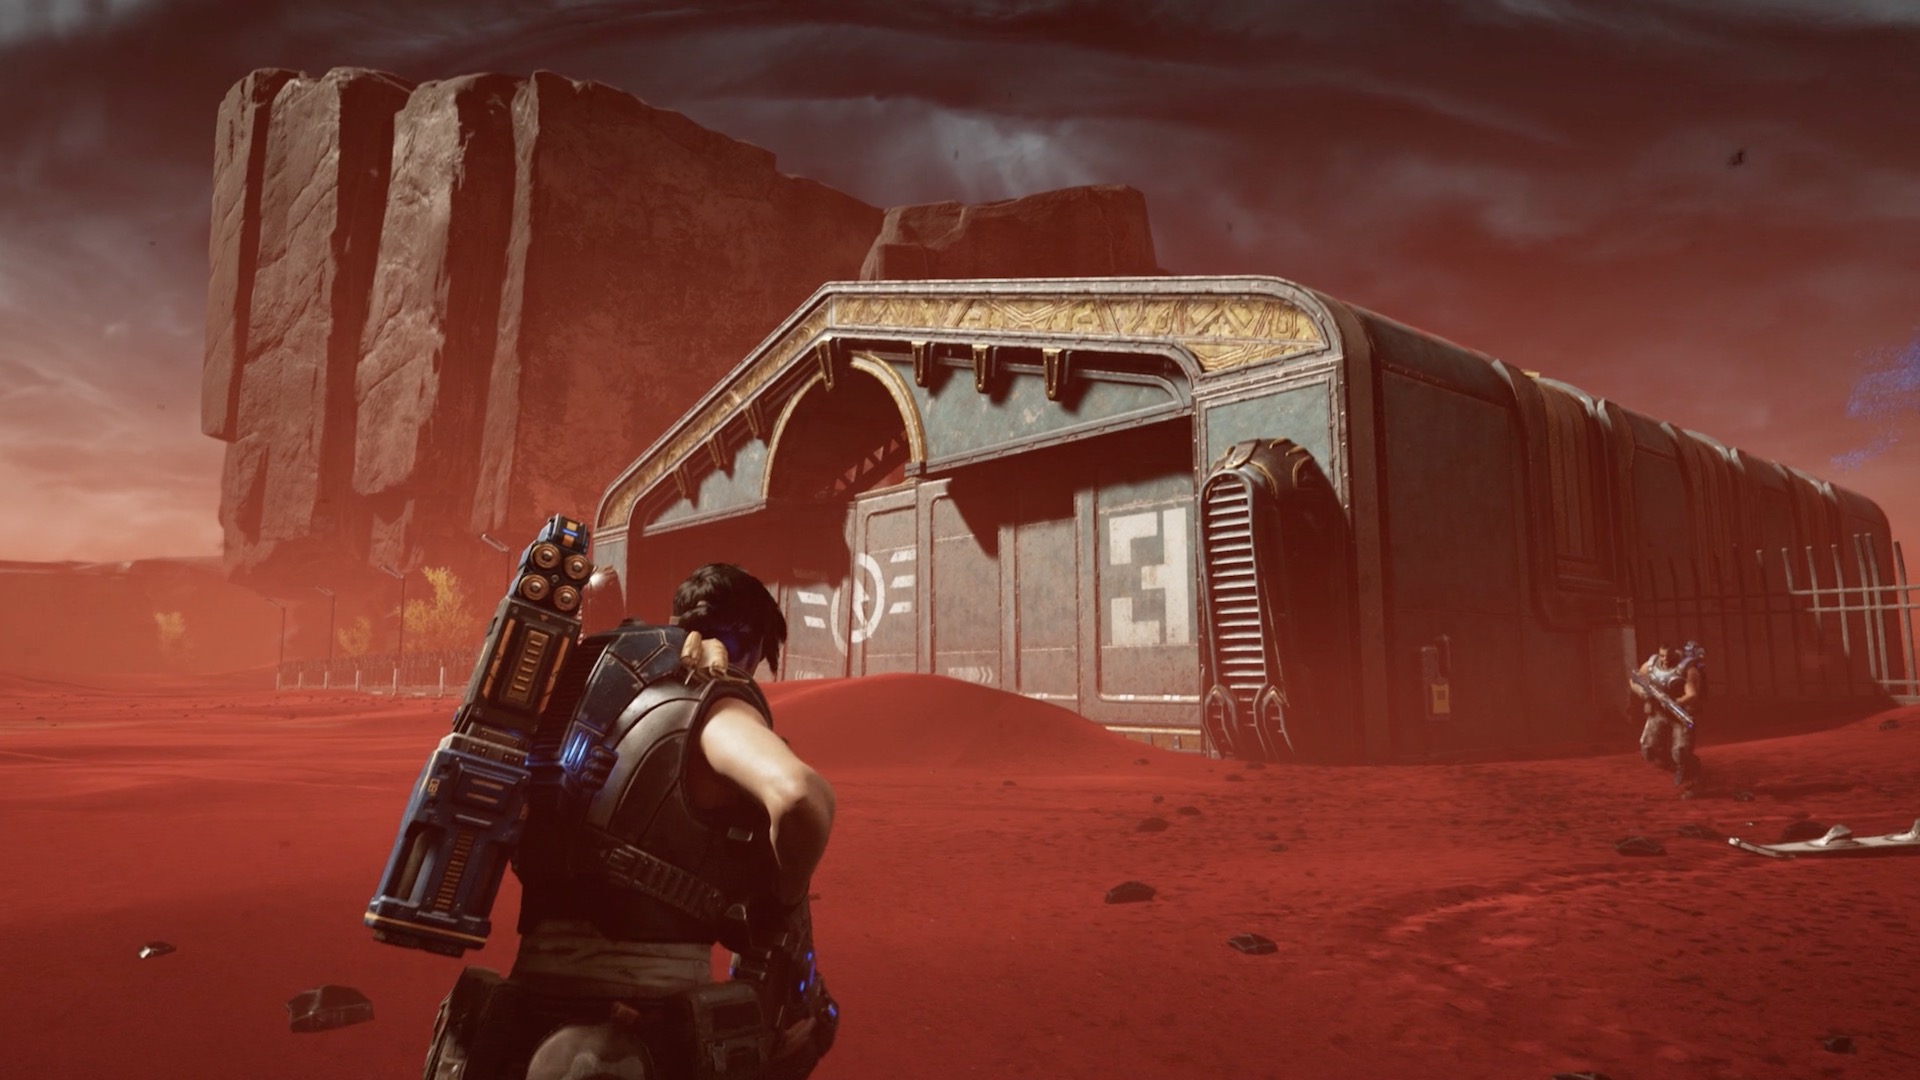
Use the main runway as reference point, where the main base is on your left. Look to your right and you'll notice a row of hangers, sharing the same numbers as other hangers on the base. Head over there and focus on Hanger 2. When facing the hanger, look for a yellow panel on the right outer wall. There you'll find a component 5-pack.
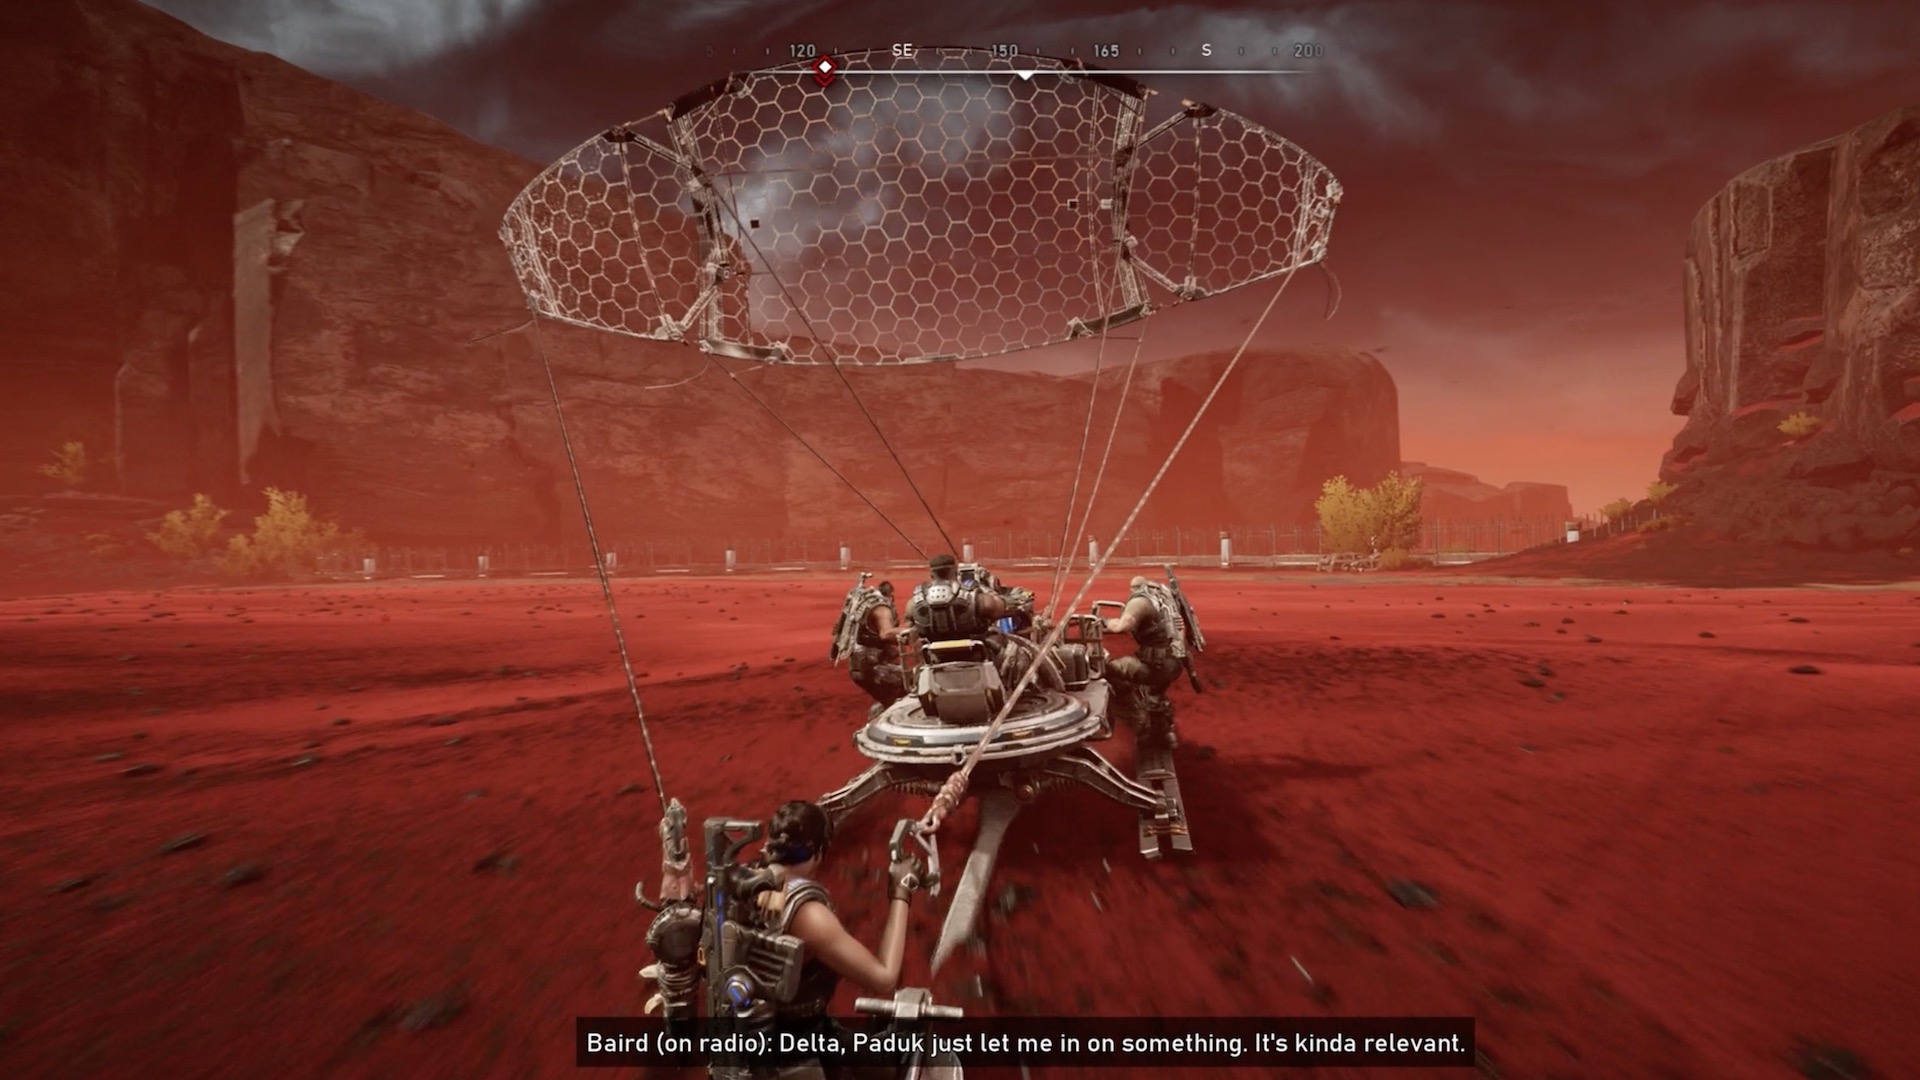
Component
Location: Fence, far in front of the base
Current Objective: N/A, free roam
Using the runway as a starting point head straight and very slightly right. Eventually, you should come across a fence with an abandoned car and a corpse. You'll find the component at the feet of the corpse.
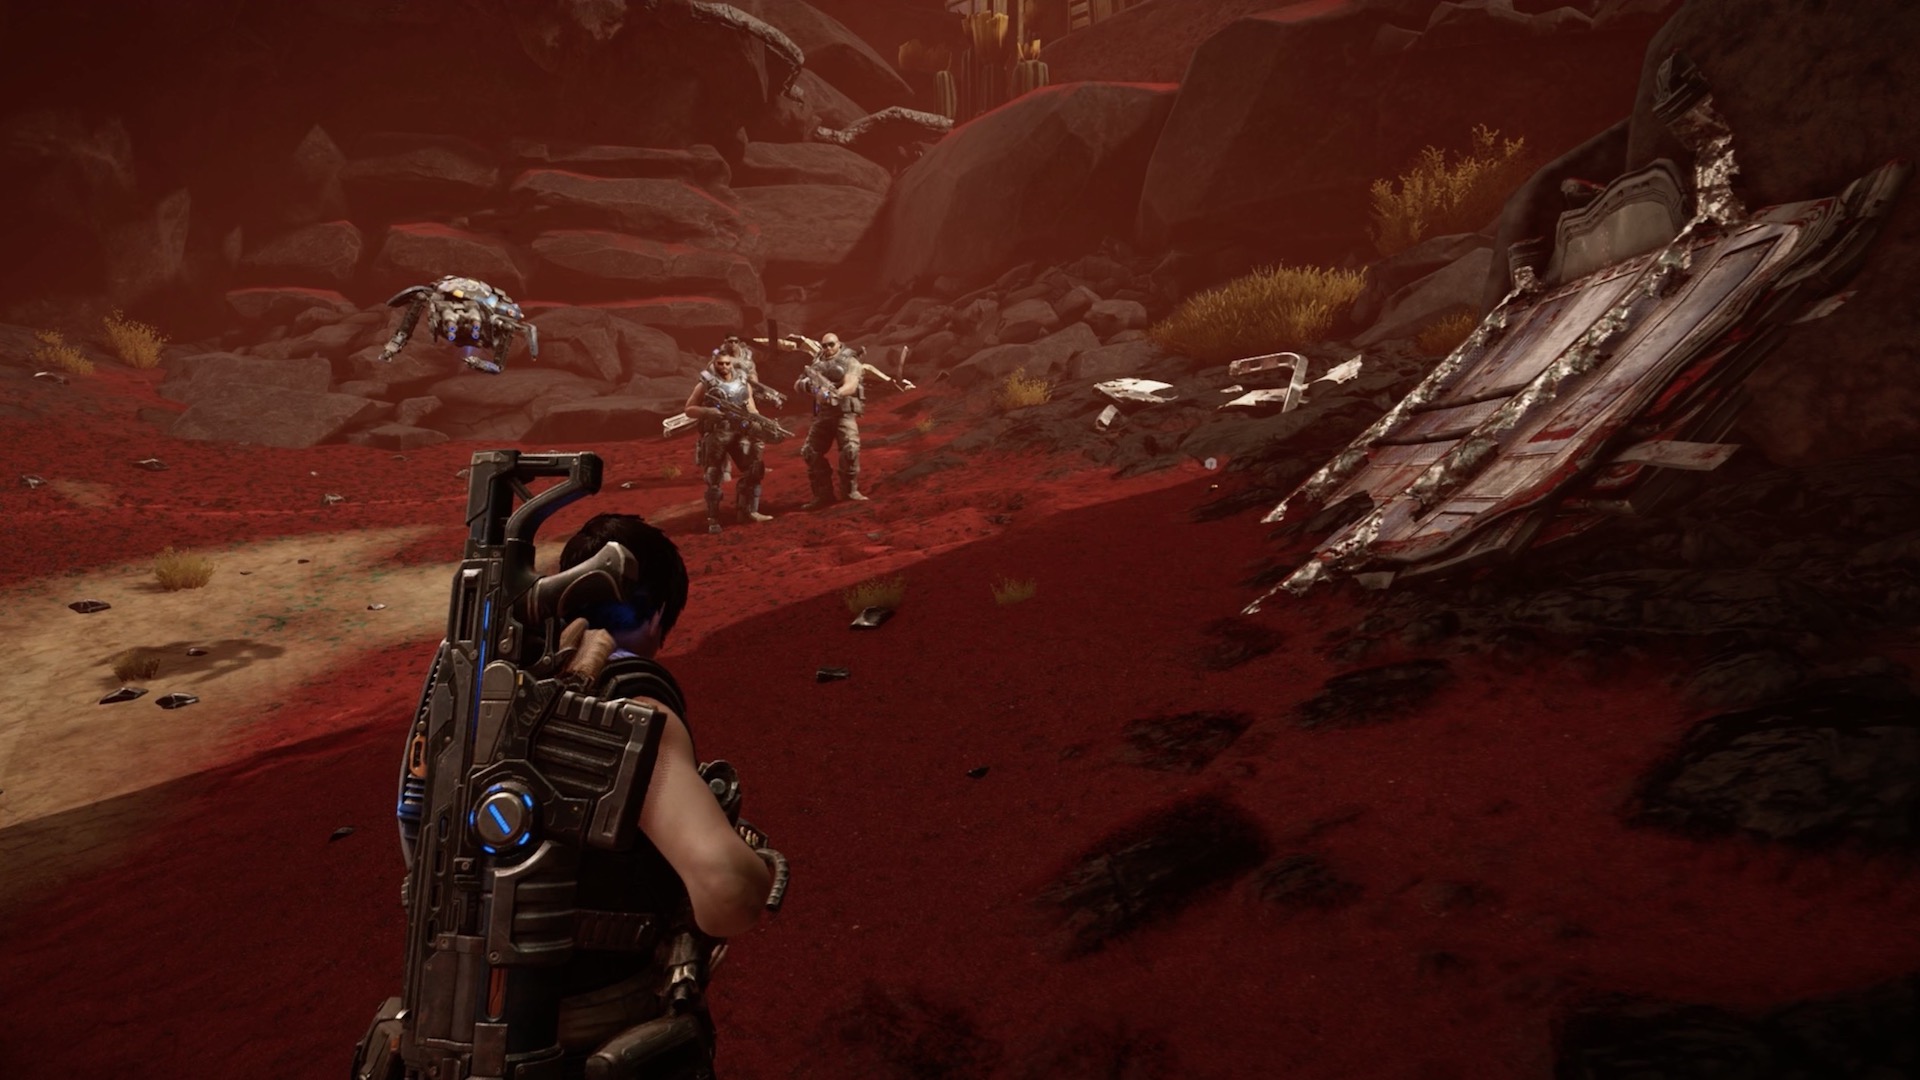
Component
Location: Cosmonaut Training Facility, outer entrance
Current Objective: Investigate the building
You'll find this training facility slightly east of the water tower. And like the water tower, you'll need to take an almost-spiral path to higher ground. When you arrive at the facility, walk past the anti-tank barriers and veer to the left, without ascending to the actual buildings. You'll eventually come to a dead end, which is where you'll find the component.

Component 3-Pack
Location: Cosmonaut Training Facility, first room
Current Objective: Investigate the building
Assuming you've made your way to the Cosmonaut Training Facility, ascend to the only accessible building, enter though the large hole. Then immediately make a left. You'll find the component in behind the yellow panel.
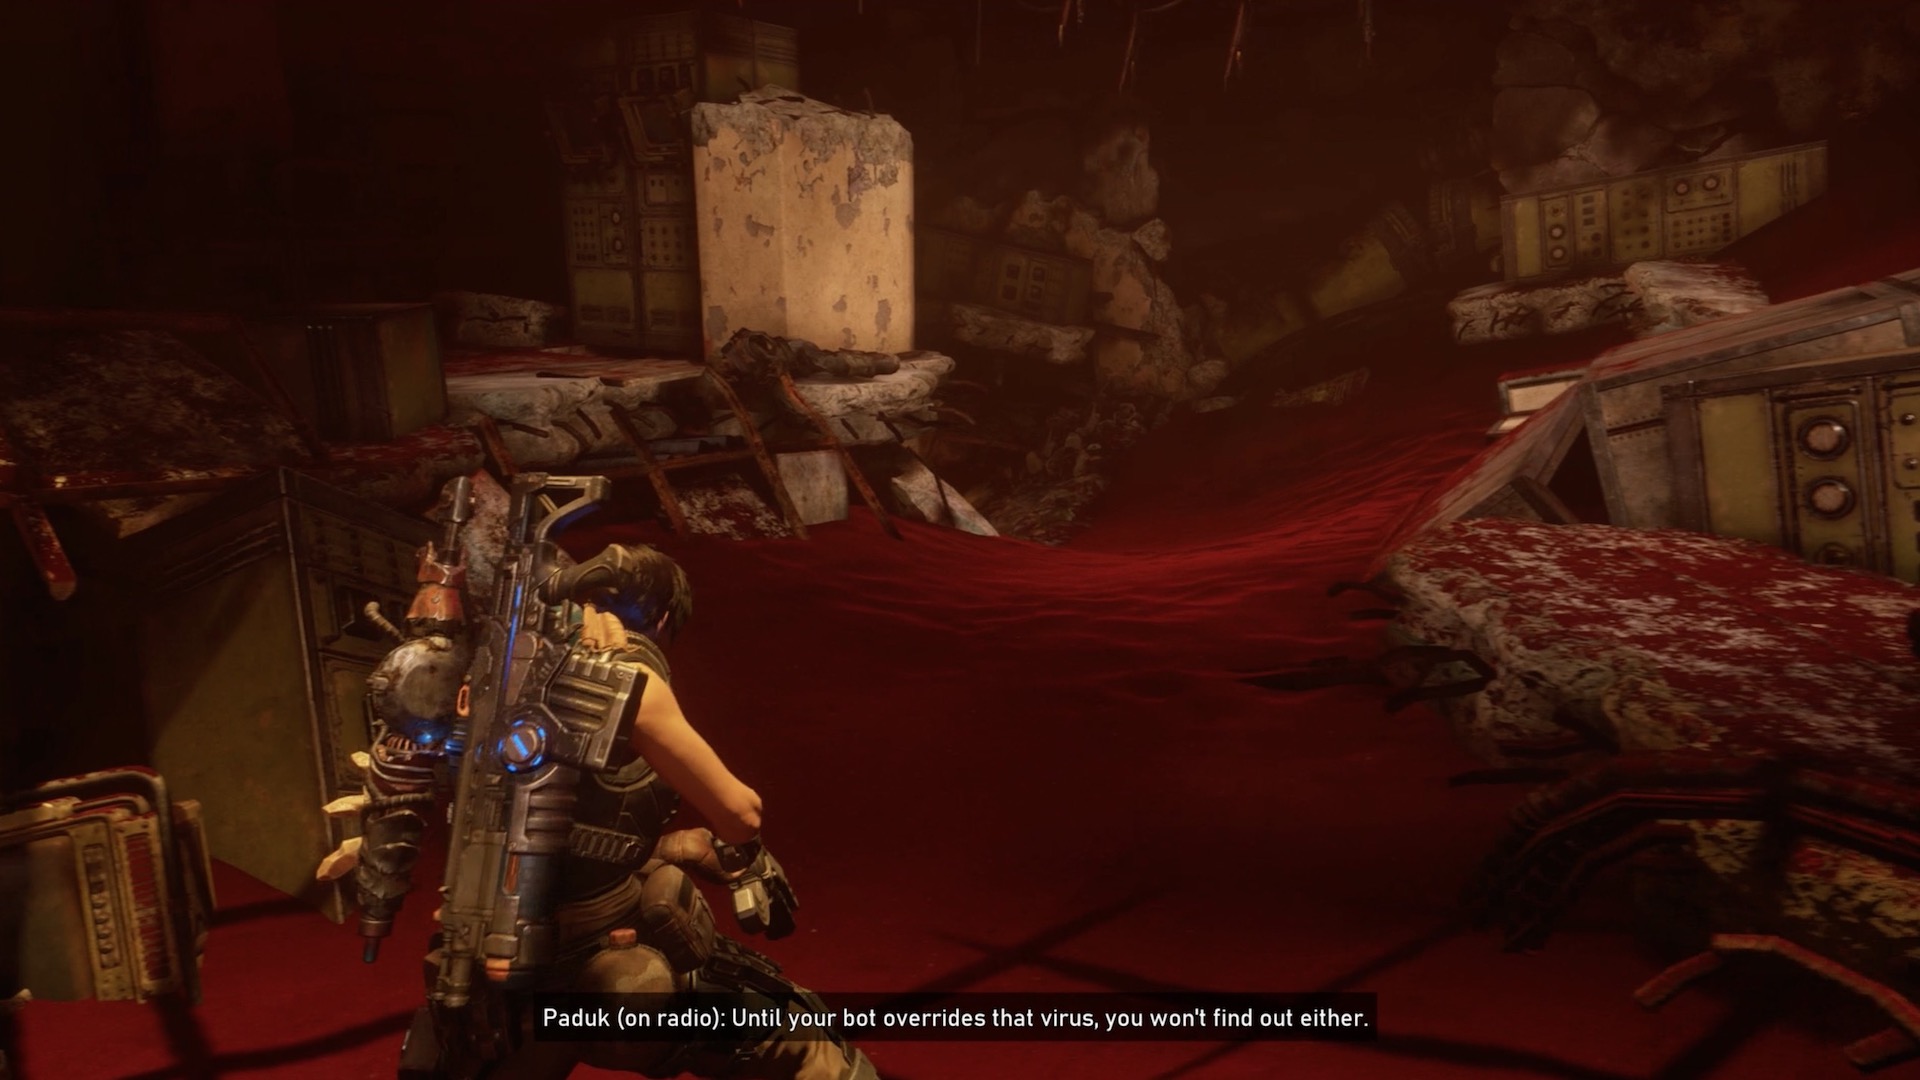
Component
Location: Cosmonaut Training Facility, first hallway
Current Objective: Hack into a security terminal
When inside the Cosmonaut Training Facility, advance until you need help from your fellow Gears with the first heavy door. Then you'll find yourself in a wide derelict curved hallway. Keep your eye on the left side of the hallway and look for an unreachable component. You can use Jack to grab the component for you.
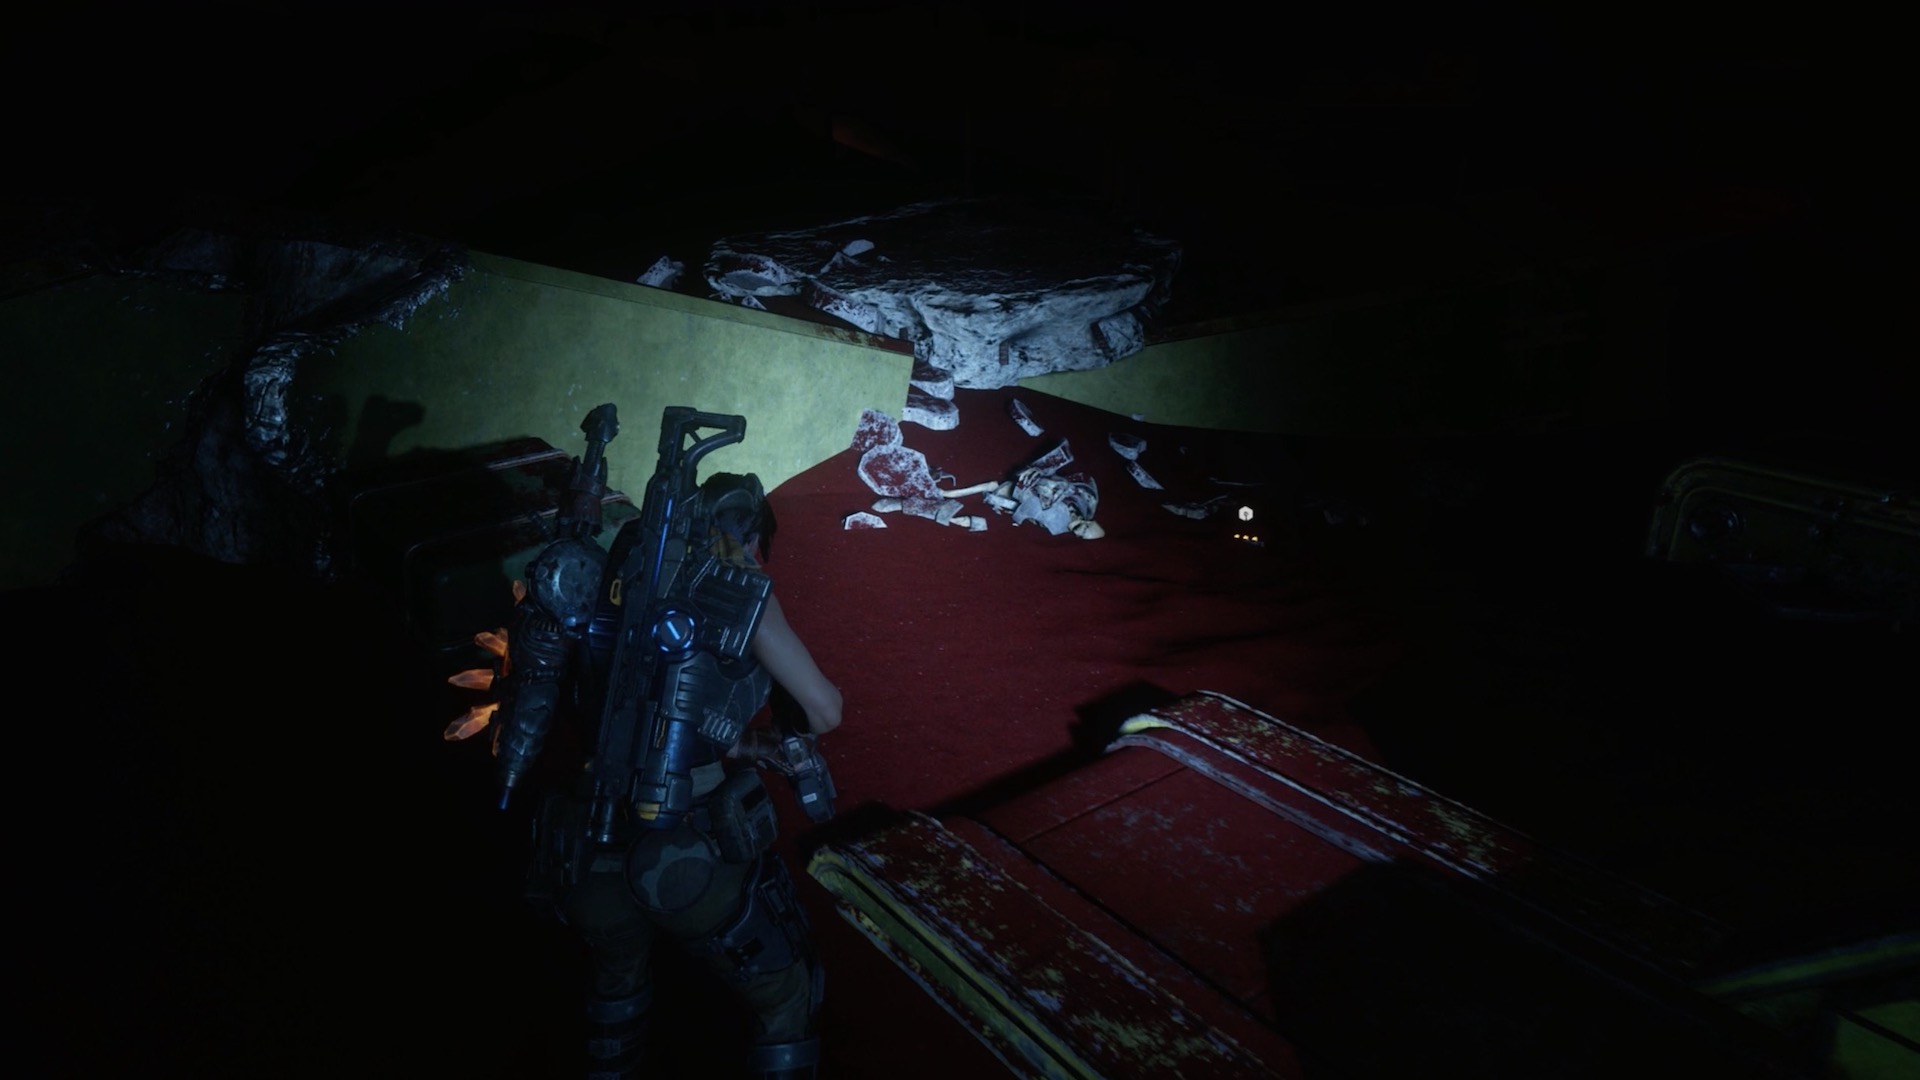
Component 3-Pack
Location: Cosmonaut Training Facility, security gate
Current Objective: Hack into a security terminal
Advance through the Cosmonaut Training Facility until you've reached the first large open area, which is right after the first hallway. Upon entry, look to your left to find two sets of metal detectors, part of a security checkpoint. Walk to the other side of the checkpoint to find the component 3-pack, partly buried under the sand.
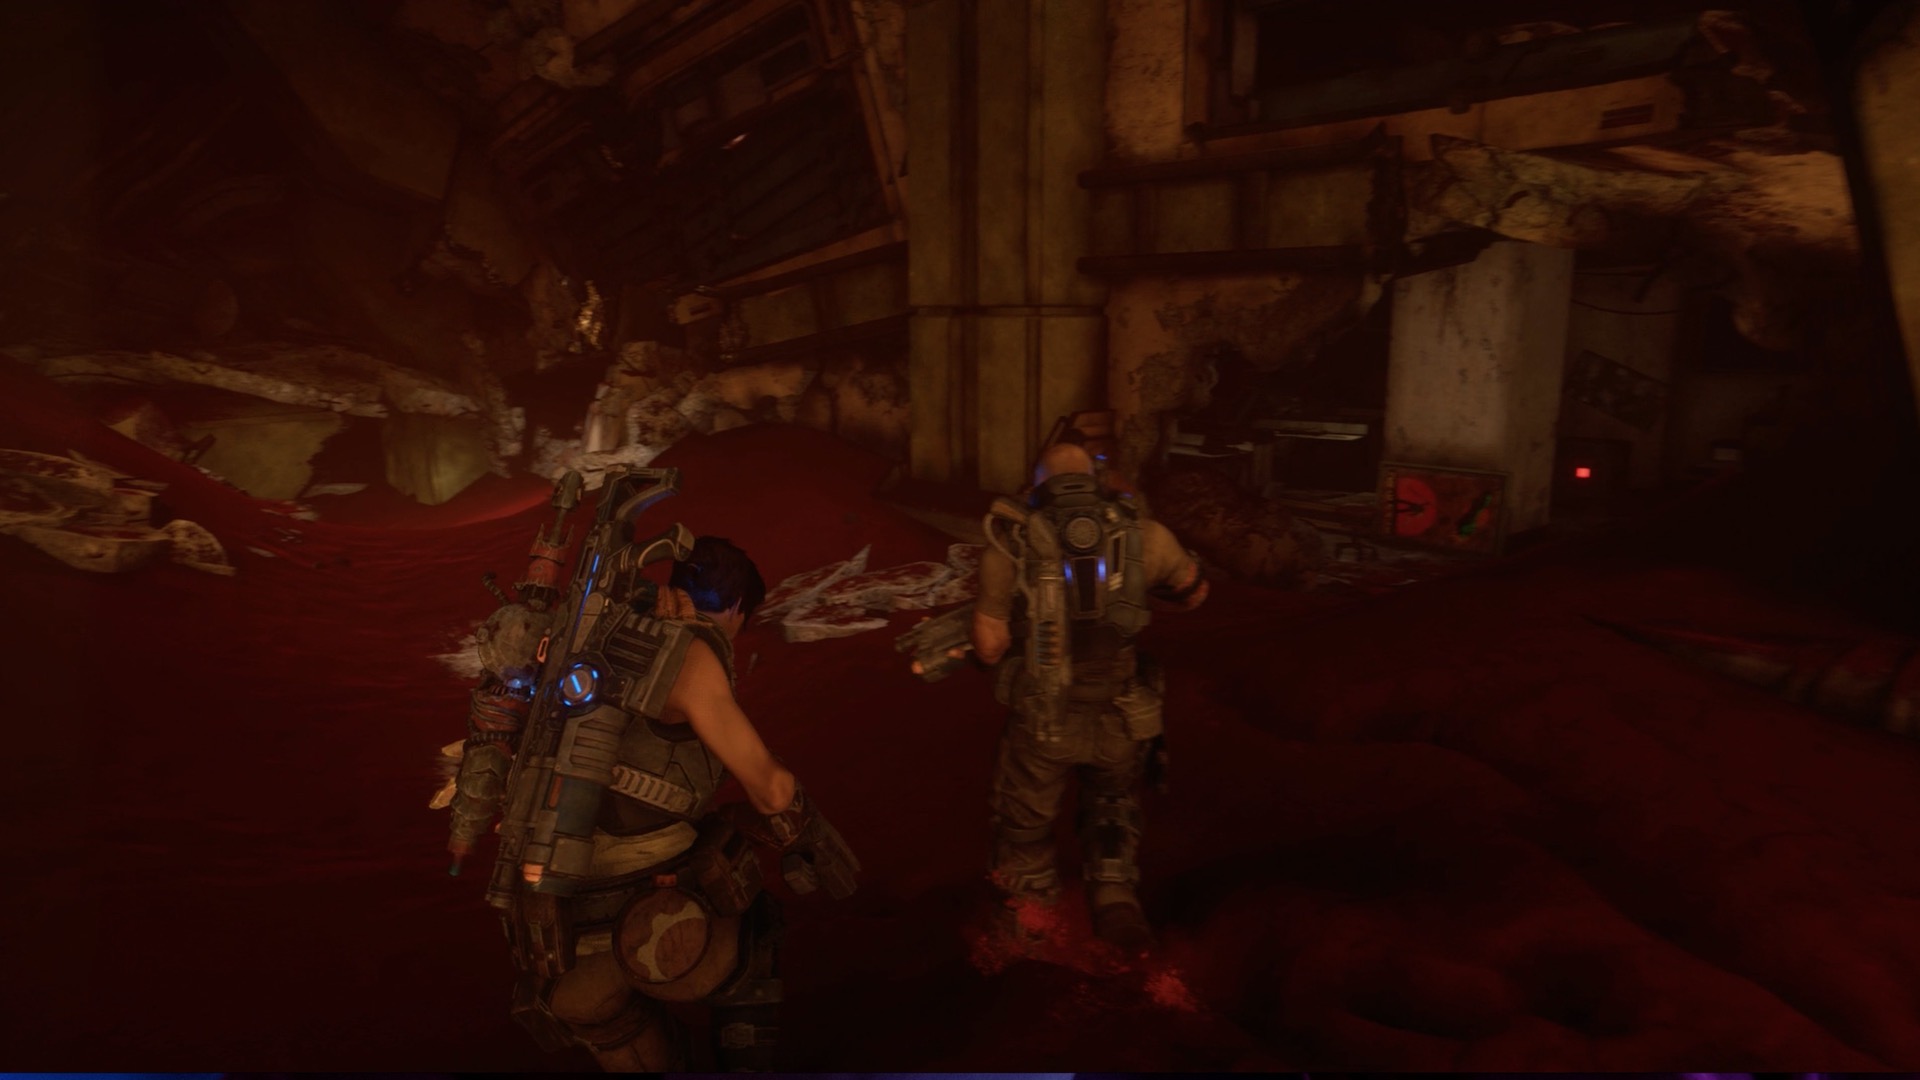
Component 5-Pack
Location: Cosmonaut Training Facility, past the viewing room
Current Objective: Get to the centrifuge chamber
Advance through the Cosmonaut Training Facility until you reach a viewing deck where you can get a good view of the centrifuge. Your squad will also comment on a downed Condor nearby. Proceed forward and vault over a fallen column. Look to your immediate right for a hole in the wall. Enter the hold to find a safe that Jack can open. Now you have another component 5-pack.
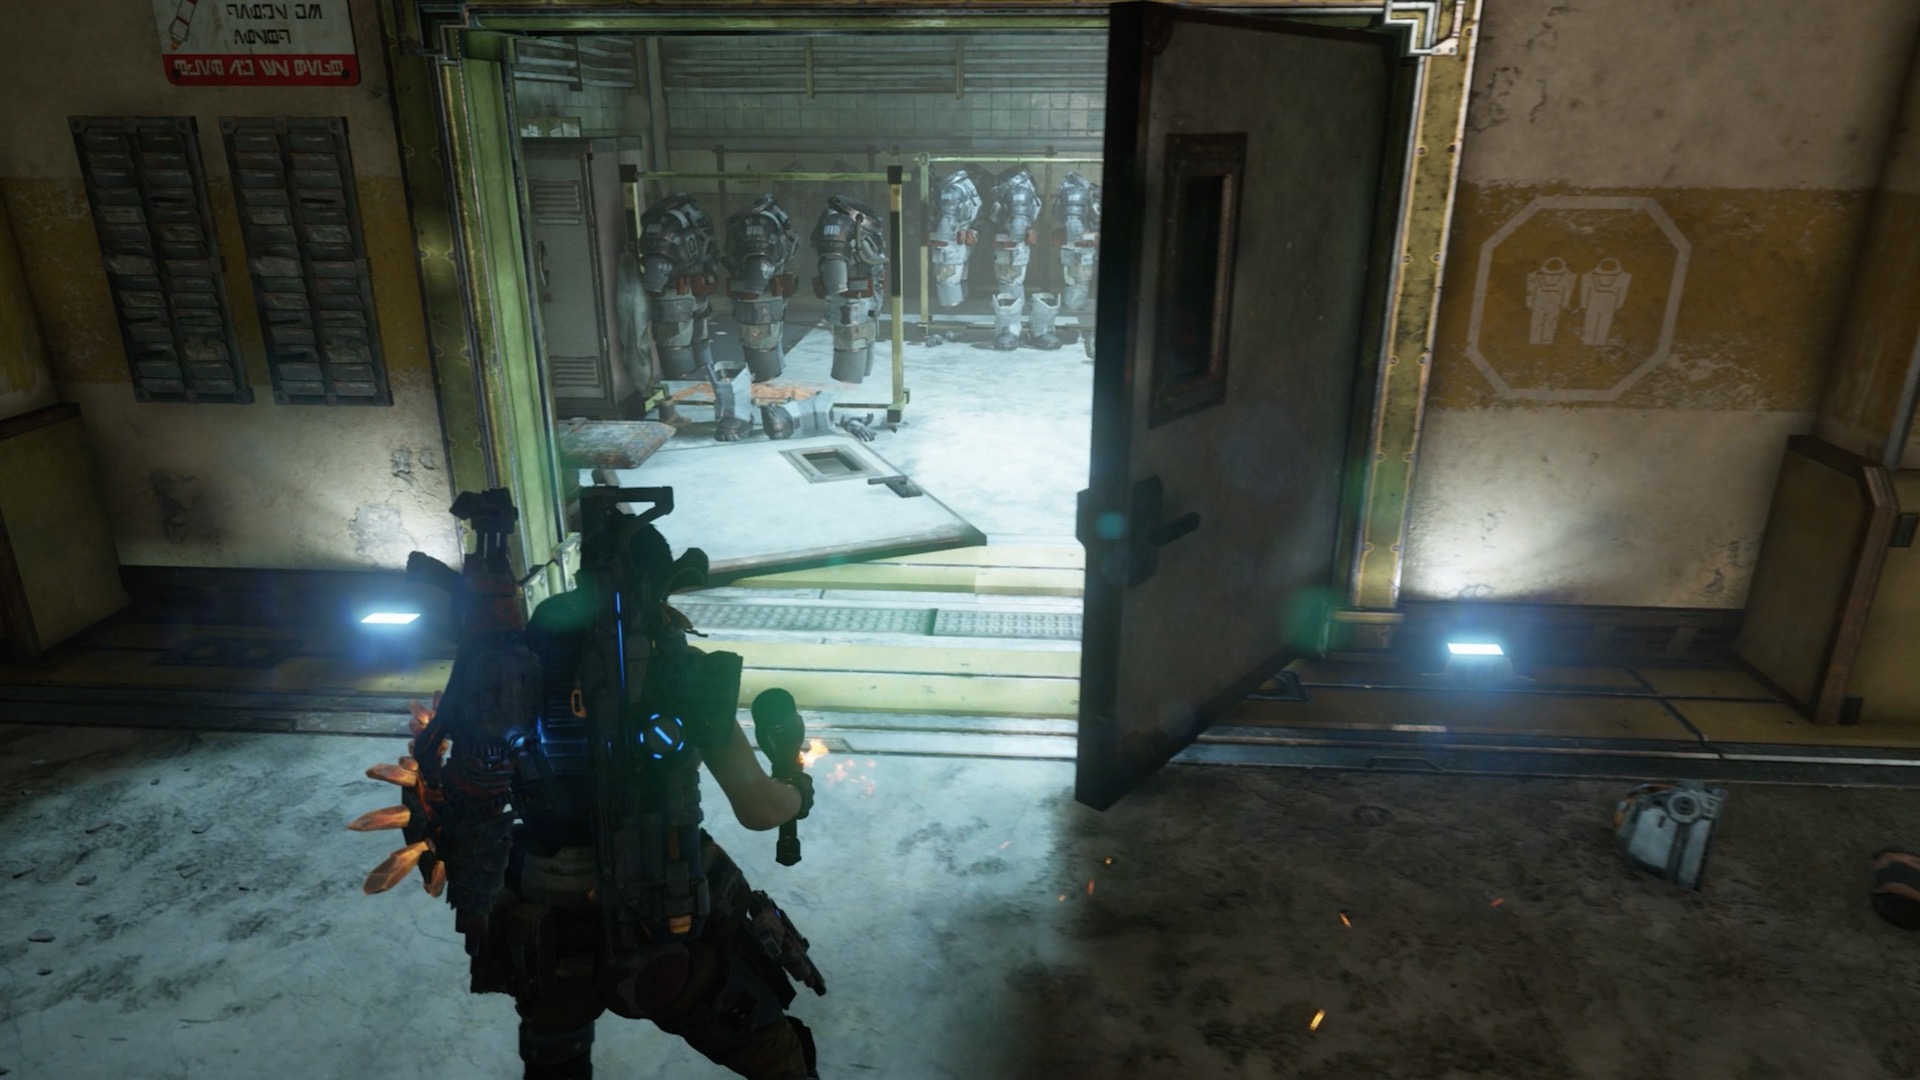
Component 3-Pack
Location: Cosmonaut Training Facility, lockers
Current Objective: Get to the centrifuge chamber
Advance through the Cosmonaut Training Facility until you have your first shootout. After the battle, go to the area previously held by the Swarm and kick open the double doors. One of the rooms on the right is a locker room containing a lot of space suits. You'll find a component 3-pack in the back of the room.
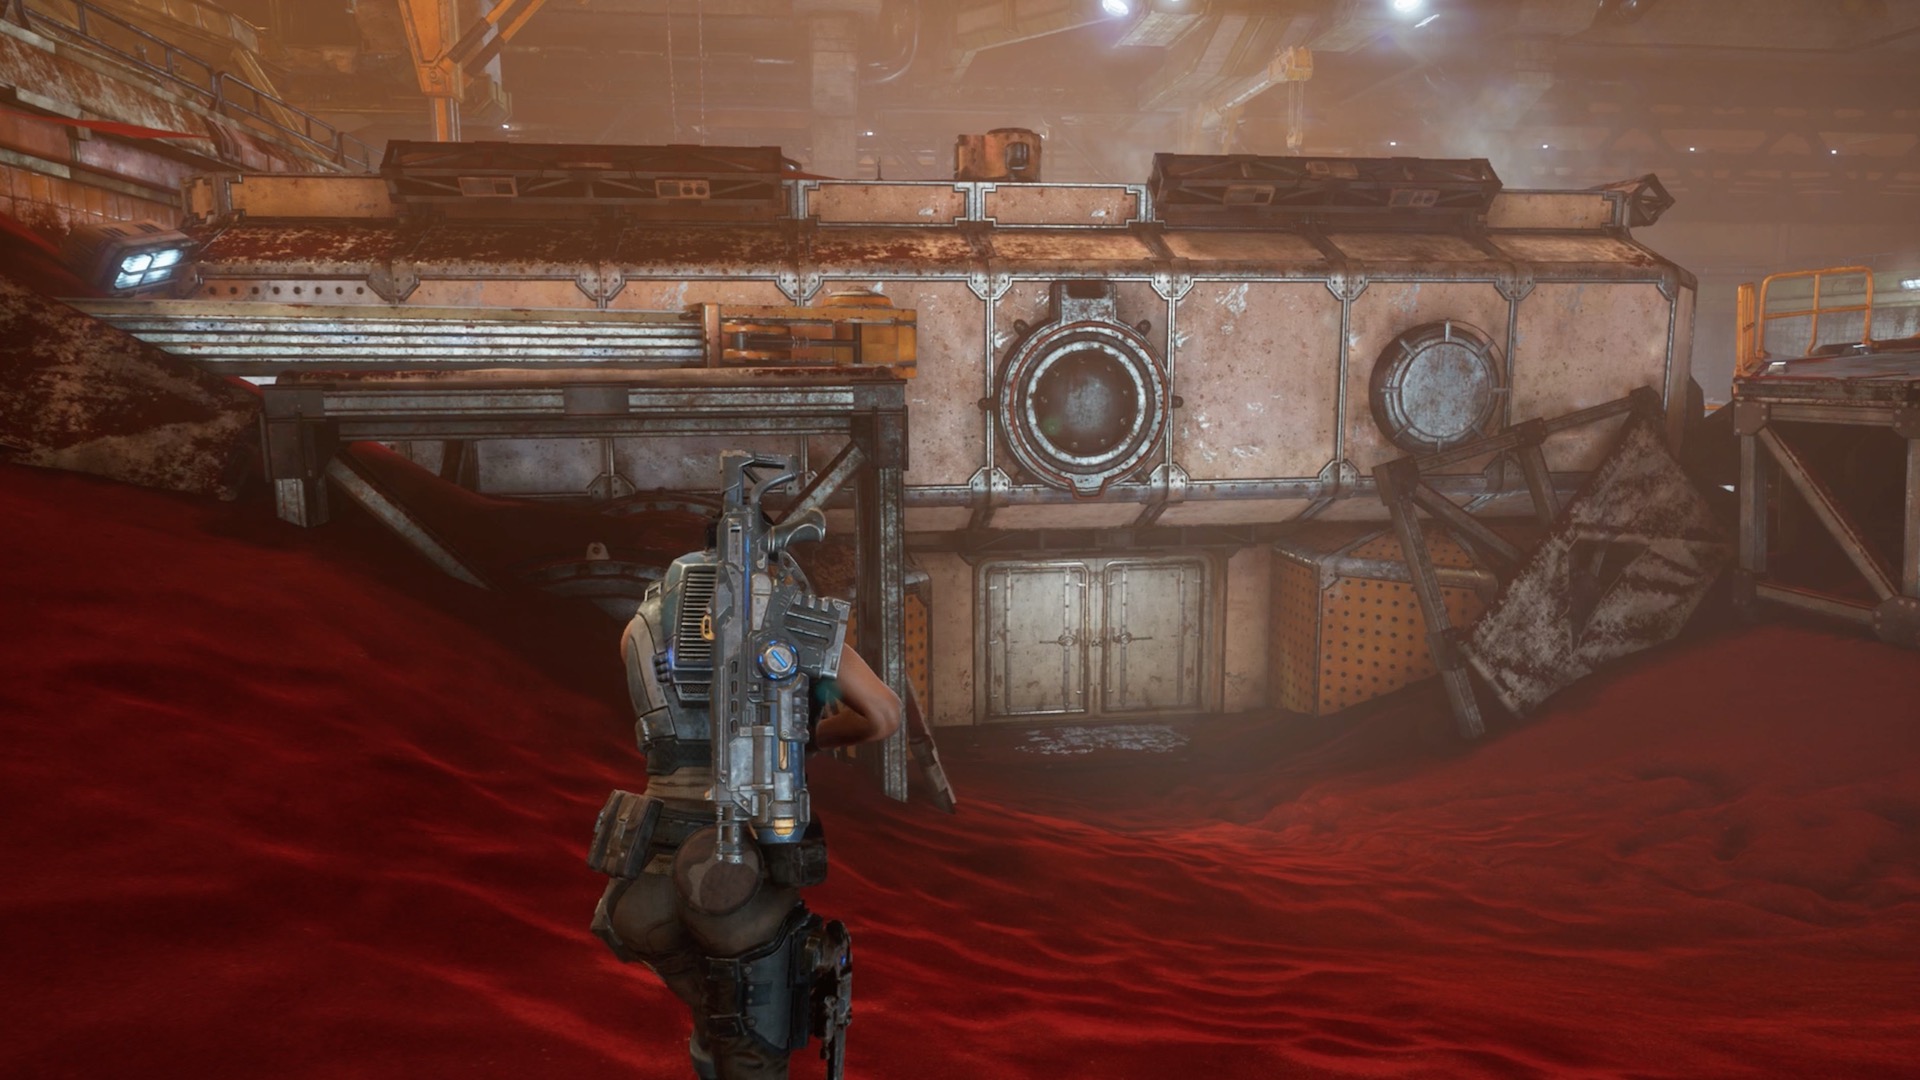
Component 5-Pack
Location: Cosmonaut Training Facility, chain-locked room
Current Objective: Get to the centrifuge chamber
Advance through the Cosmonaut Training Facility until you've reached the section where you use Jack's hacking skills to create a few cylindrical bridges. After you pass this section, look for a pair of doors shut by a chain (if you pass under some hanging DeeBees, you've gone too bar). Break open this door and look at the inner door frame for a component 5-pack.
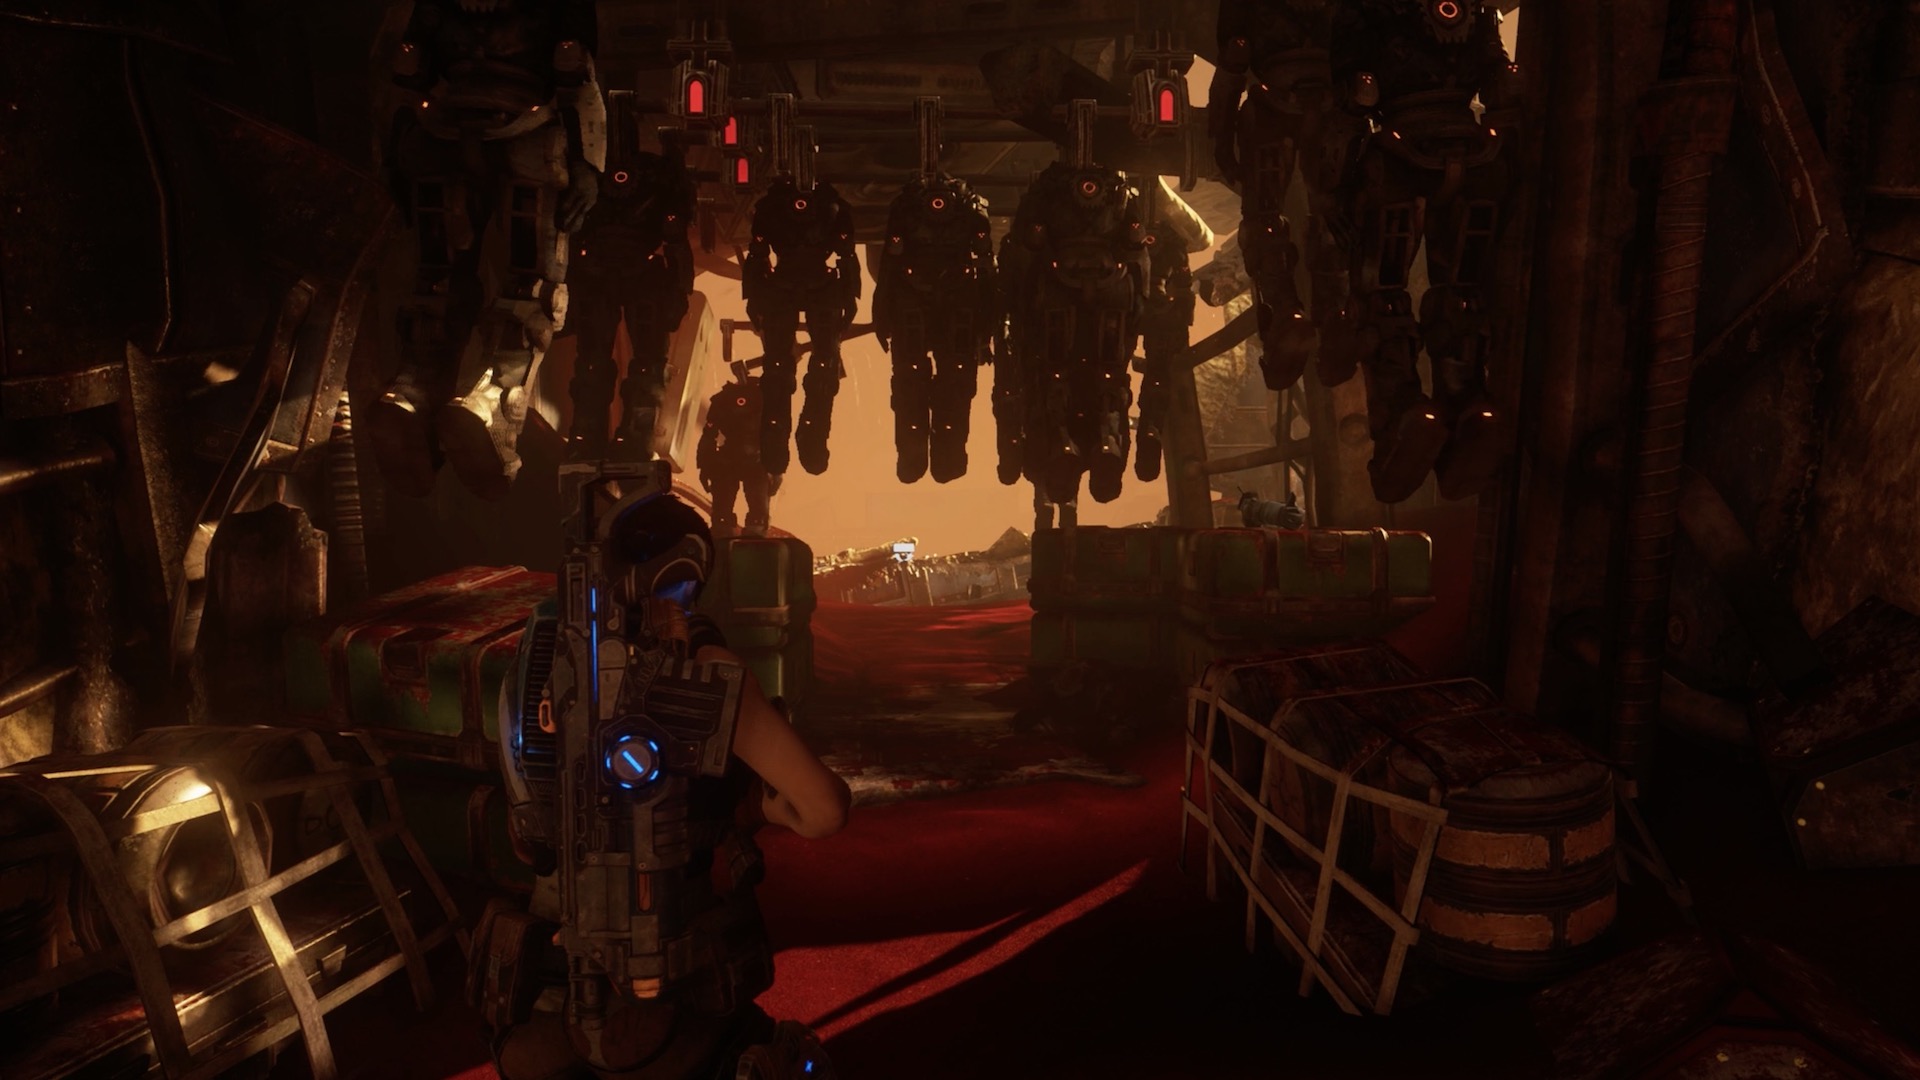
Component 3-Pack
Location: Cosmonaut Training Facility, past the hanging DeeBees
Current Objective: Get to the centrifuge chamber
Advance through the Cosmonaut Training Facility until you've reached an outdoor passage with several hanging deactivated DeeBees. Go past the DeeBees and veer right along the only available path. Before the path veers another right, look for a component 3-pack on the ground.
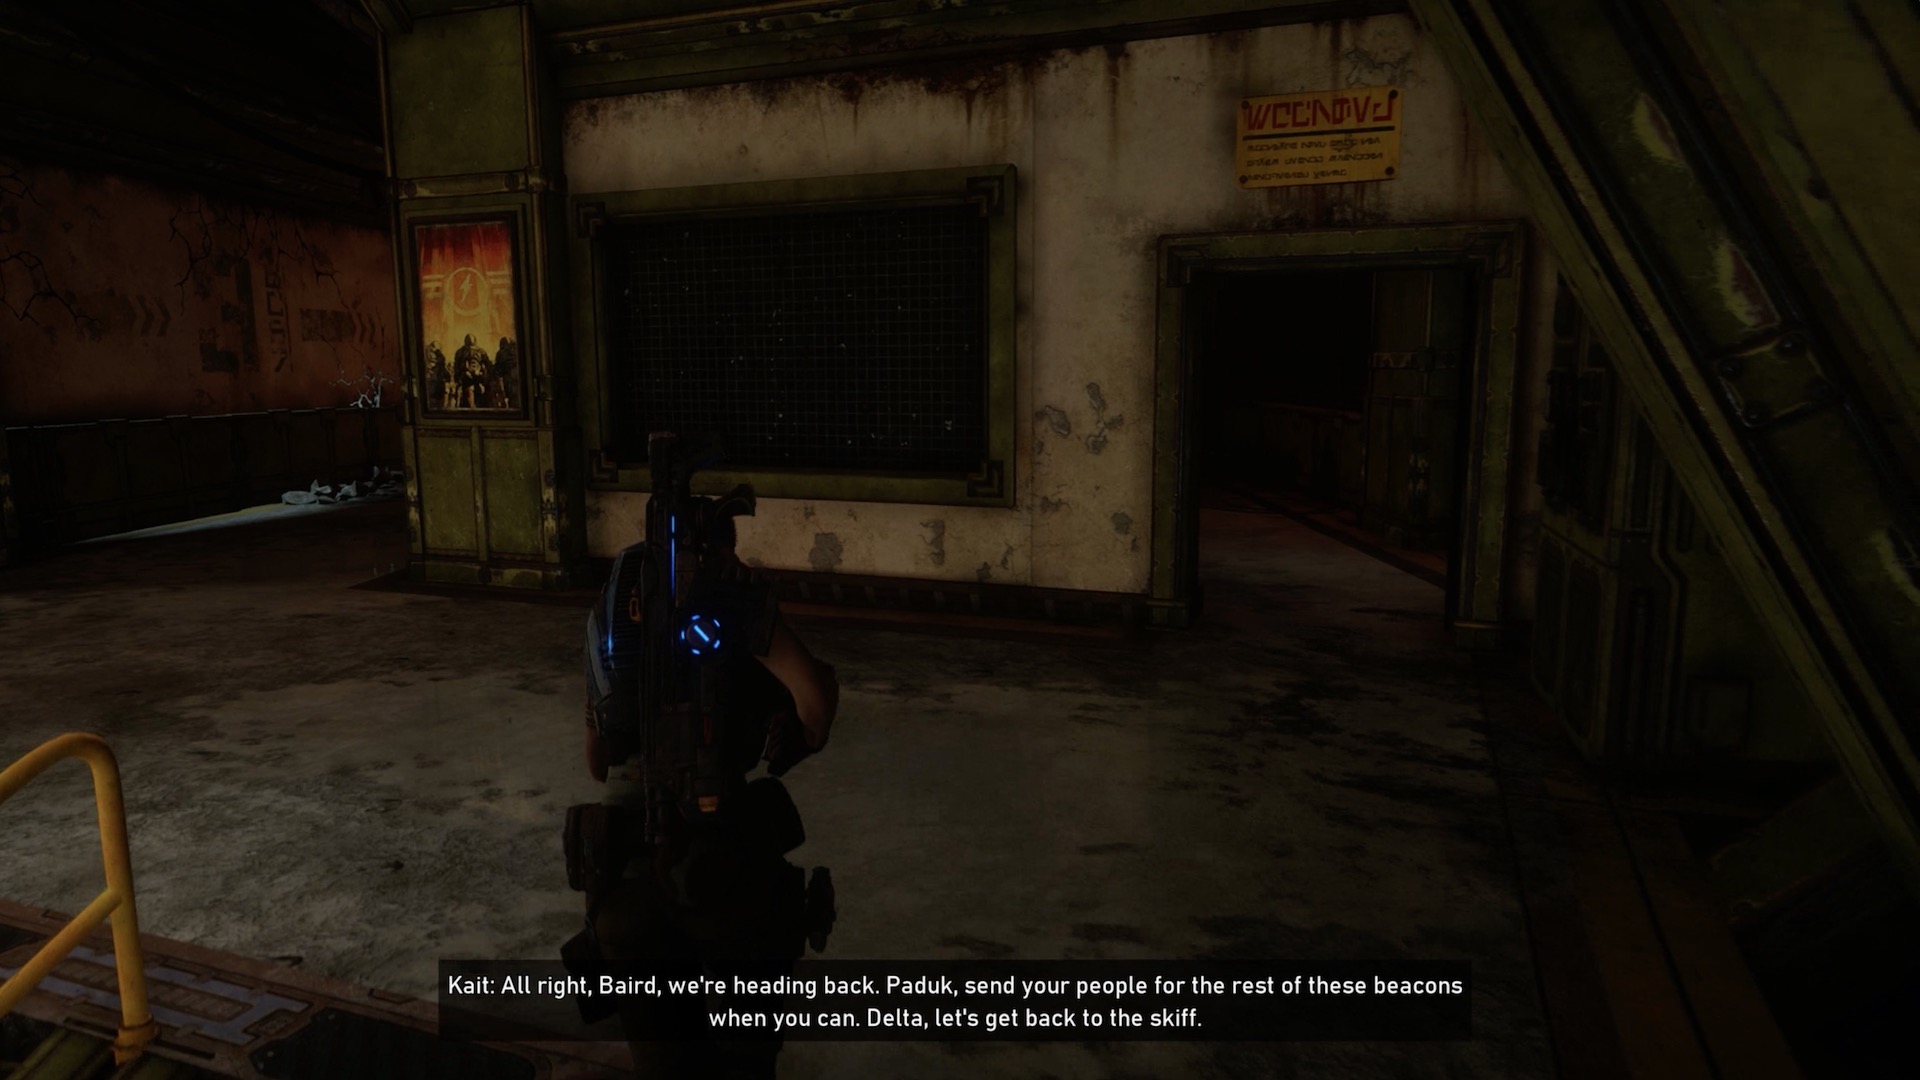
Component 5-Pack
Location: Cosmonaut Training Facility centrifuge chamber, near exit
Current Objective: Leave the training facility
As you finish what you needed to do in the centrifuge chamber, head for the exit. Around the time Kait notifies Baird that they're leaving, the 'Leave the training facility' notification should pop-up. You should notice double doors nearby. That's your exit, but don't leave just yet. Instead, move past the still-closed double doors to find a small control room. Relying on Jack's light, look for a yellow panel. Here you'll find another useful component 5-pack.
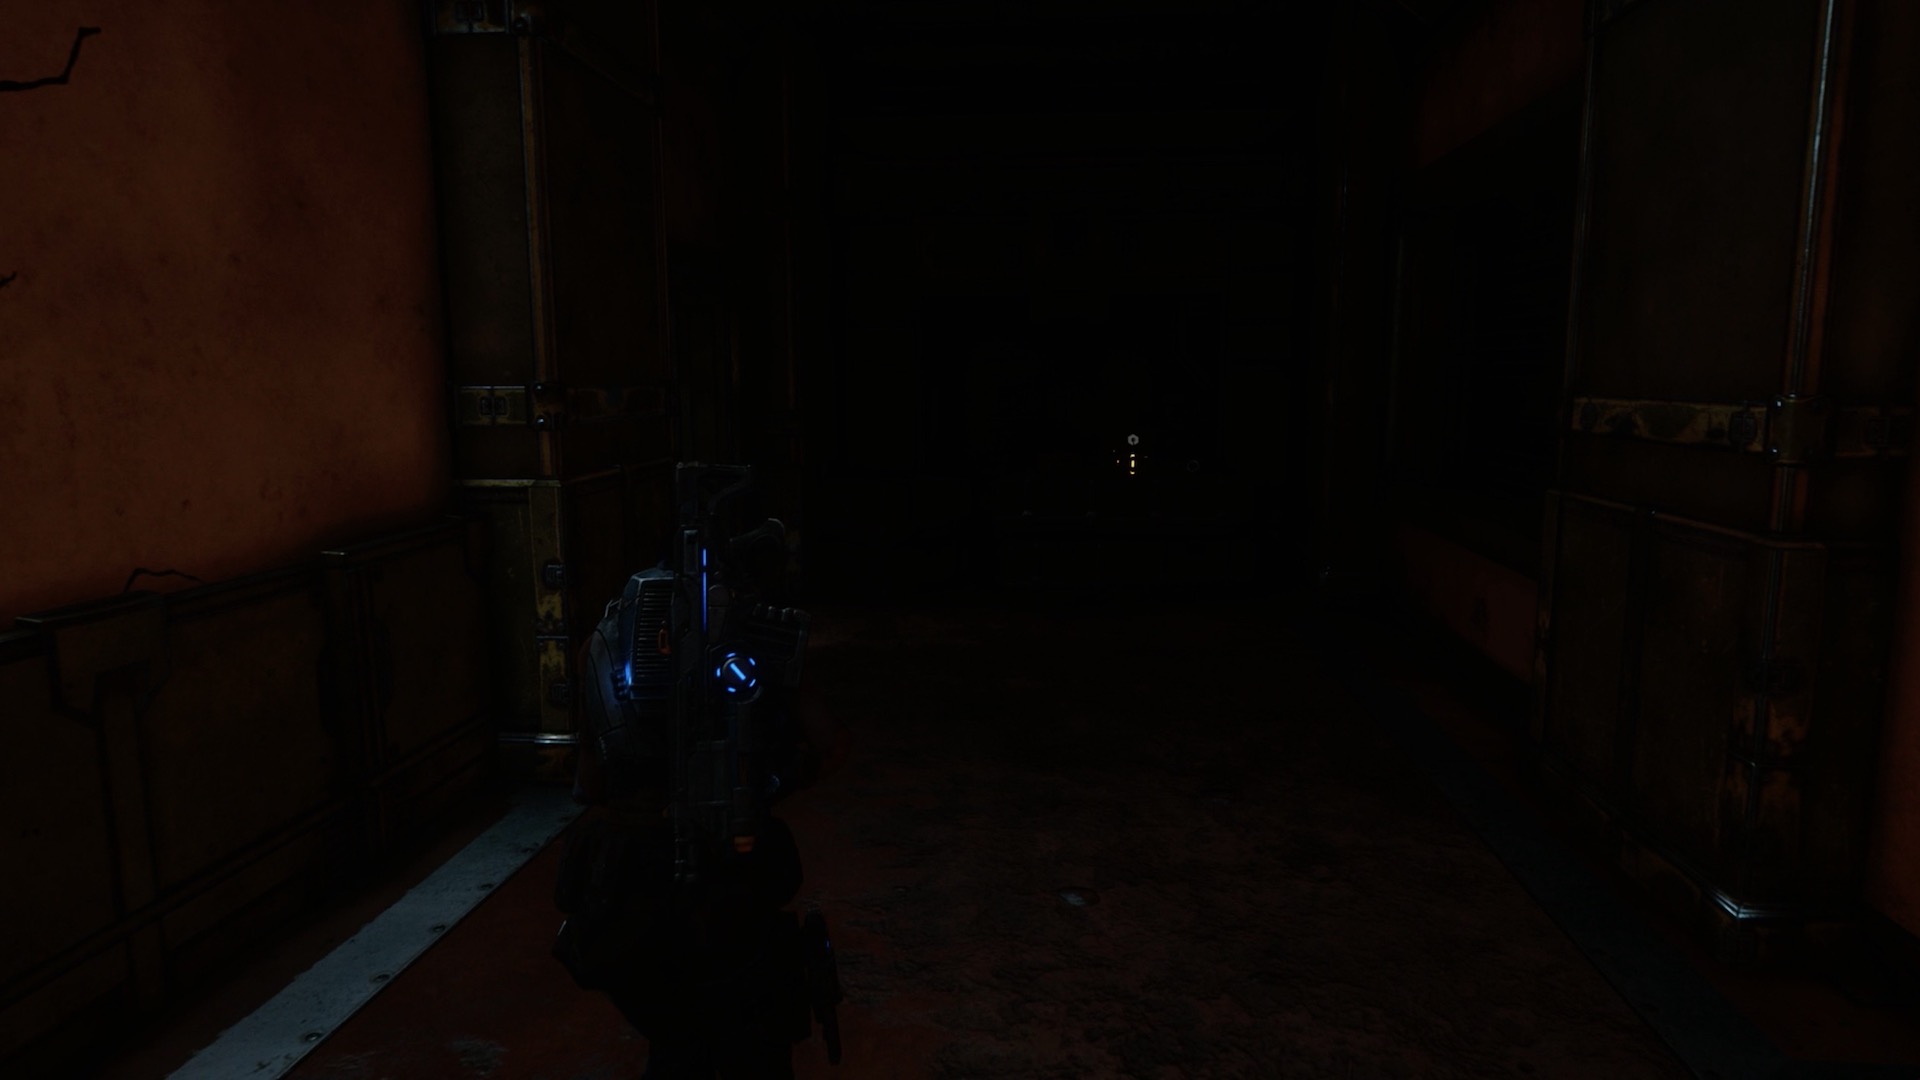
Component
Location: Cosmonaut Training Facility centrifuge chamber, near exit
Current Objective: Leave the training facility
As you finish what you needed to do in the centrifuge chamber, head for the exit. Around the time Kait notifies Baird that they're leaving, the 'Leave the training facility' notification should pop-up. You should notice double doors nearby. That's your exit, but don't leave just yet. Instead, move past the still-closed double doors to find a small control room. To the left of the control room is a dark hallway and at the end of that hallway is a component.
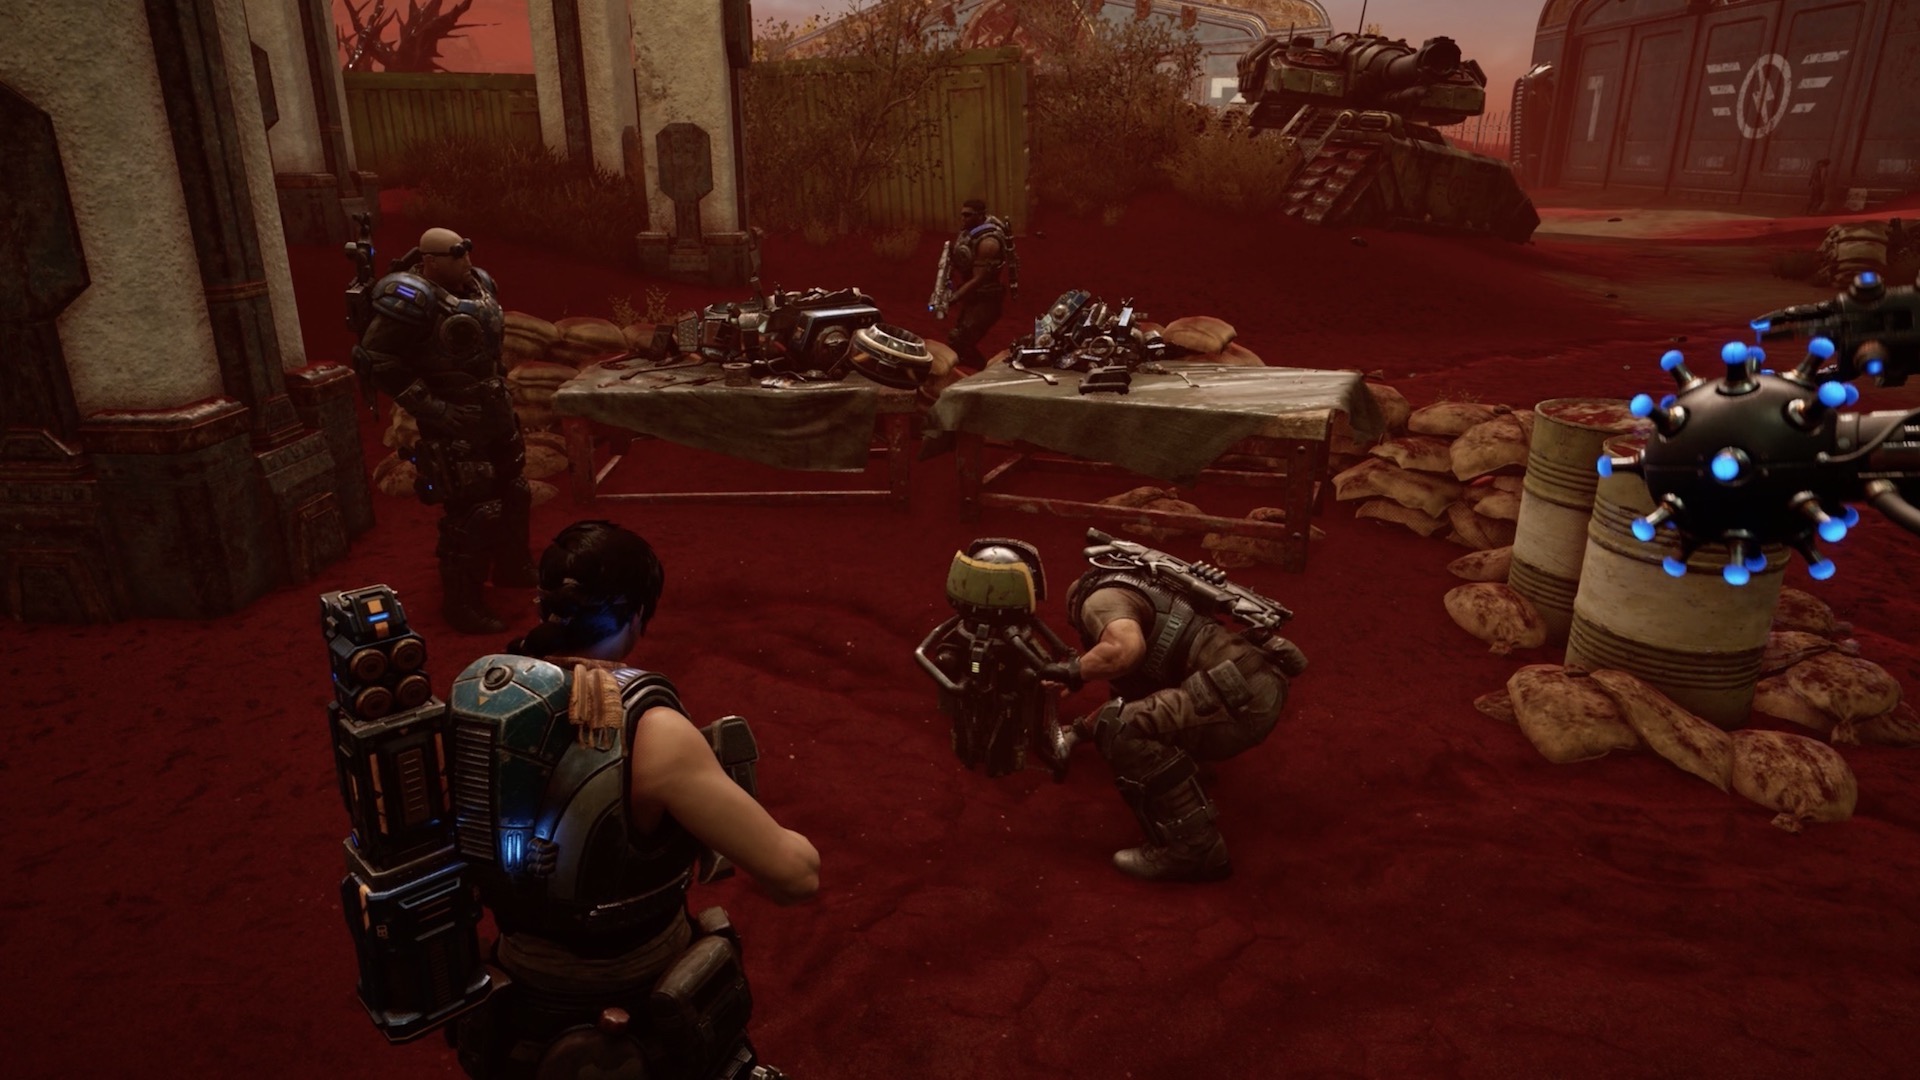
Barrier Ability
Location: Abandoned airport base
Current Objective: Bring the beacon to Baird
Assuming you've completed the mission at the Cosmonaut Training Facility, return to base. Report to Baird at the base exterior, where JD will drop off the beacon. Baird will then go over this very useful protective ability for Jack.
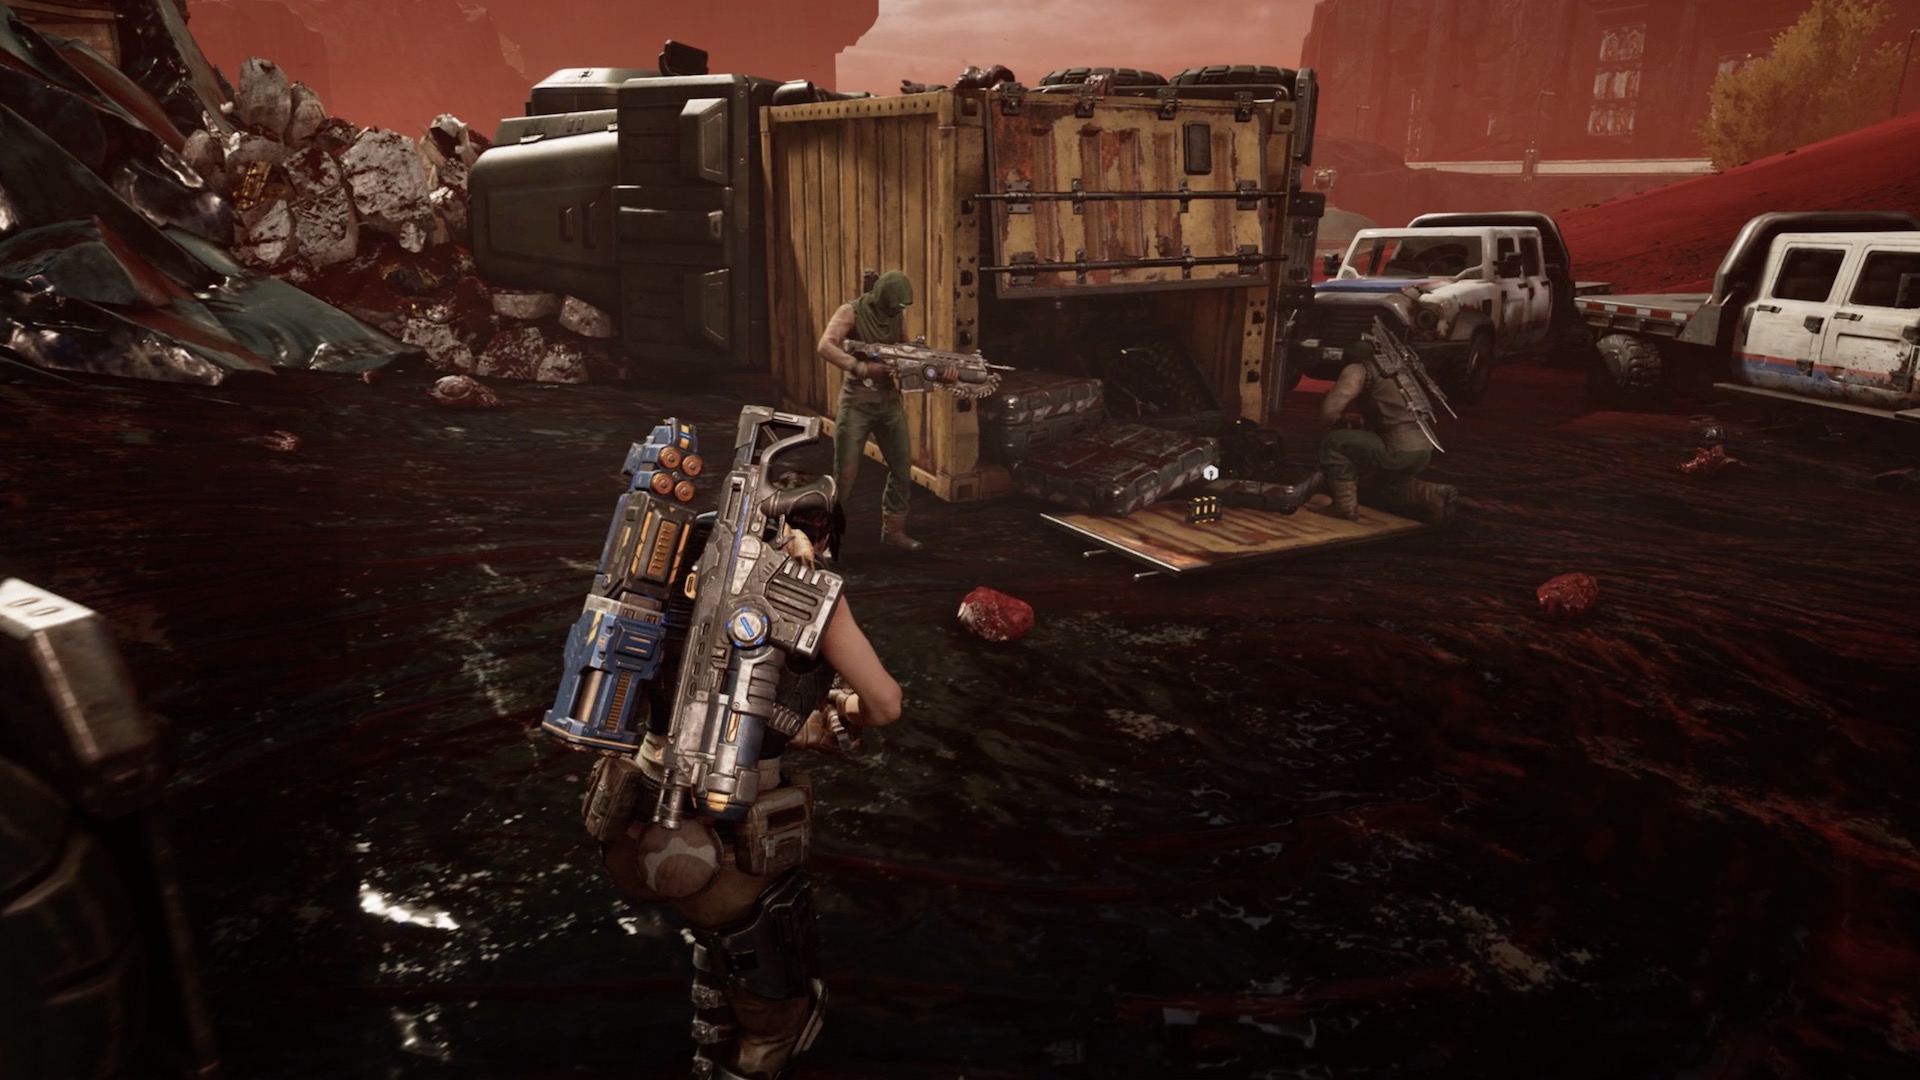
Component 3-Pack
Location: Ambushed convoy
Current Objective: Nomad Convoy main objective - Defend the convoy
Using the water tower as a reference point, move eastward along the northern portion of the map. Eventually you'll find a dip in the terrain and the ruins of a convoy. There are still survivors and you're tasked with helping them from the nearby Swarm. After you've completed the task, walk over to the back end of the convoy to find a large open container. There you'll find a component 3-pack.
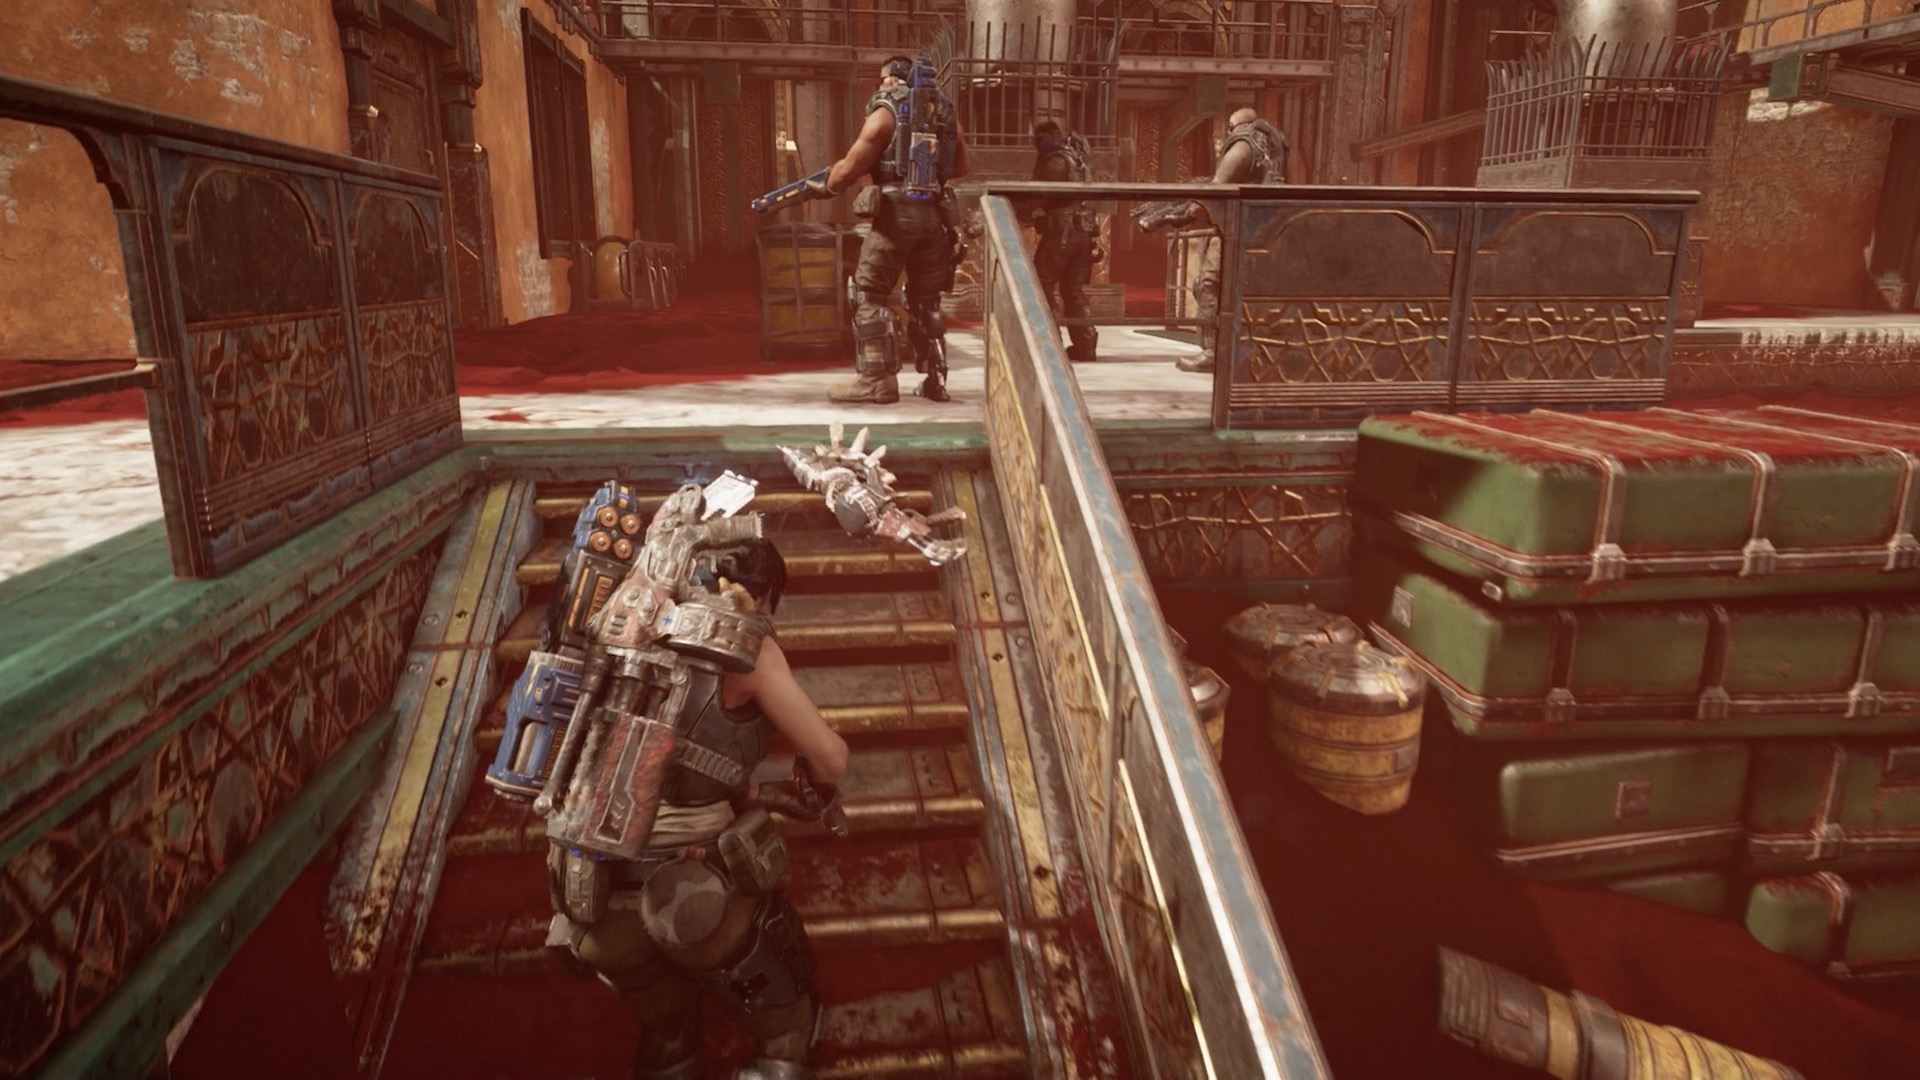
Component 3-Pack
Location: Water Tower
Current Objective: Secondary Mission: Waterworks - Find the nomad engineer
This is the first of three optional locations related to restoring the local water system. You'll find this water tower slightly west of the Cosmonaut Training Facility. When you enter the water pump, get great for a fight. After surviving the shootout, head up the steps until you reach a room where a Nomad locked herself inside. Before going inside, inspect the outer wall opposite the side of the room's door. There you'll find a component 3-pack.
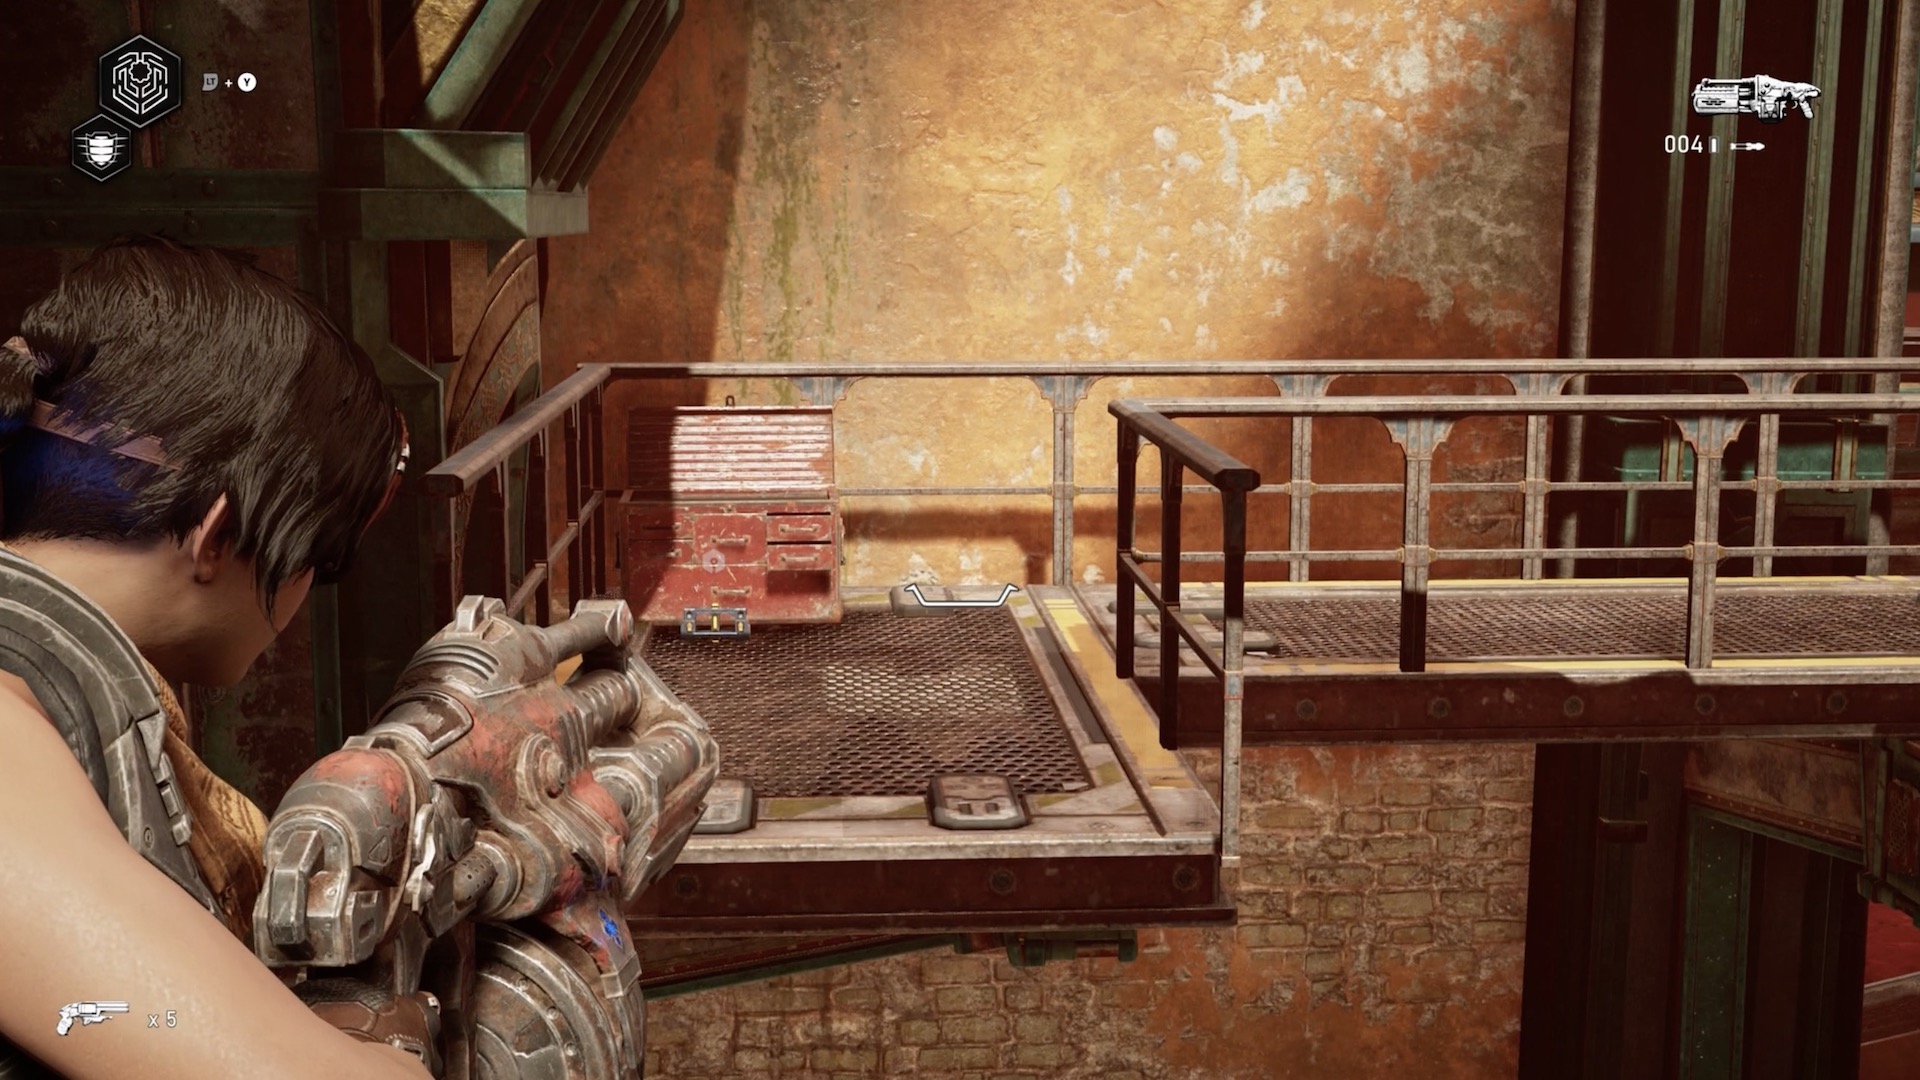
Component
Location: Water Tower
Current Objective: Secondary Mission: Waterworks - Find the nomad engineer
After surviving the shootout in the water tower, head up the steps until you reach a room where a Nomad locked herself inside. Before going inside, climb up the ladder on the wall perpendicular to the nomad's door. Walk along the catwalk until you can go no further. Notice the component at the other catwalk section. Use Jack to grab the component.

Component 3-Pack
Location: City Ruins interior
Current Objective: Secondary Mission: Scavengers - Search for supplies
Reach the City Ruins by heading slightly northeast of the Water Pump station and the Cosmonaut Training Facility. Search the place after you've clear it of Swarm. Head to the upper area and look for a wide hallway with a couch and two doorways next to each other. Go through the doorway and swing the camera 180 degrees to find a yellow panel on the side of the doorway. There you'll find another component 3-pack.
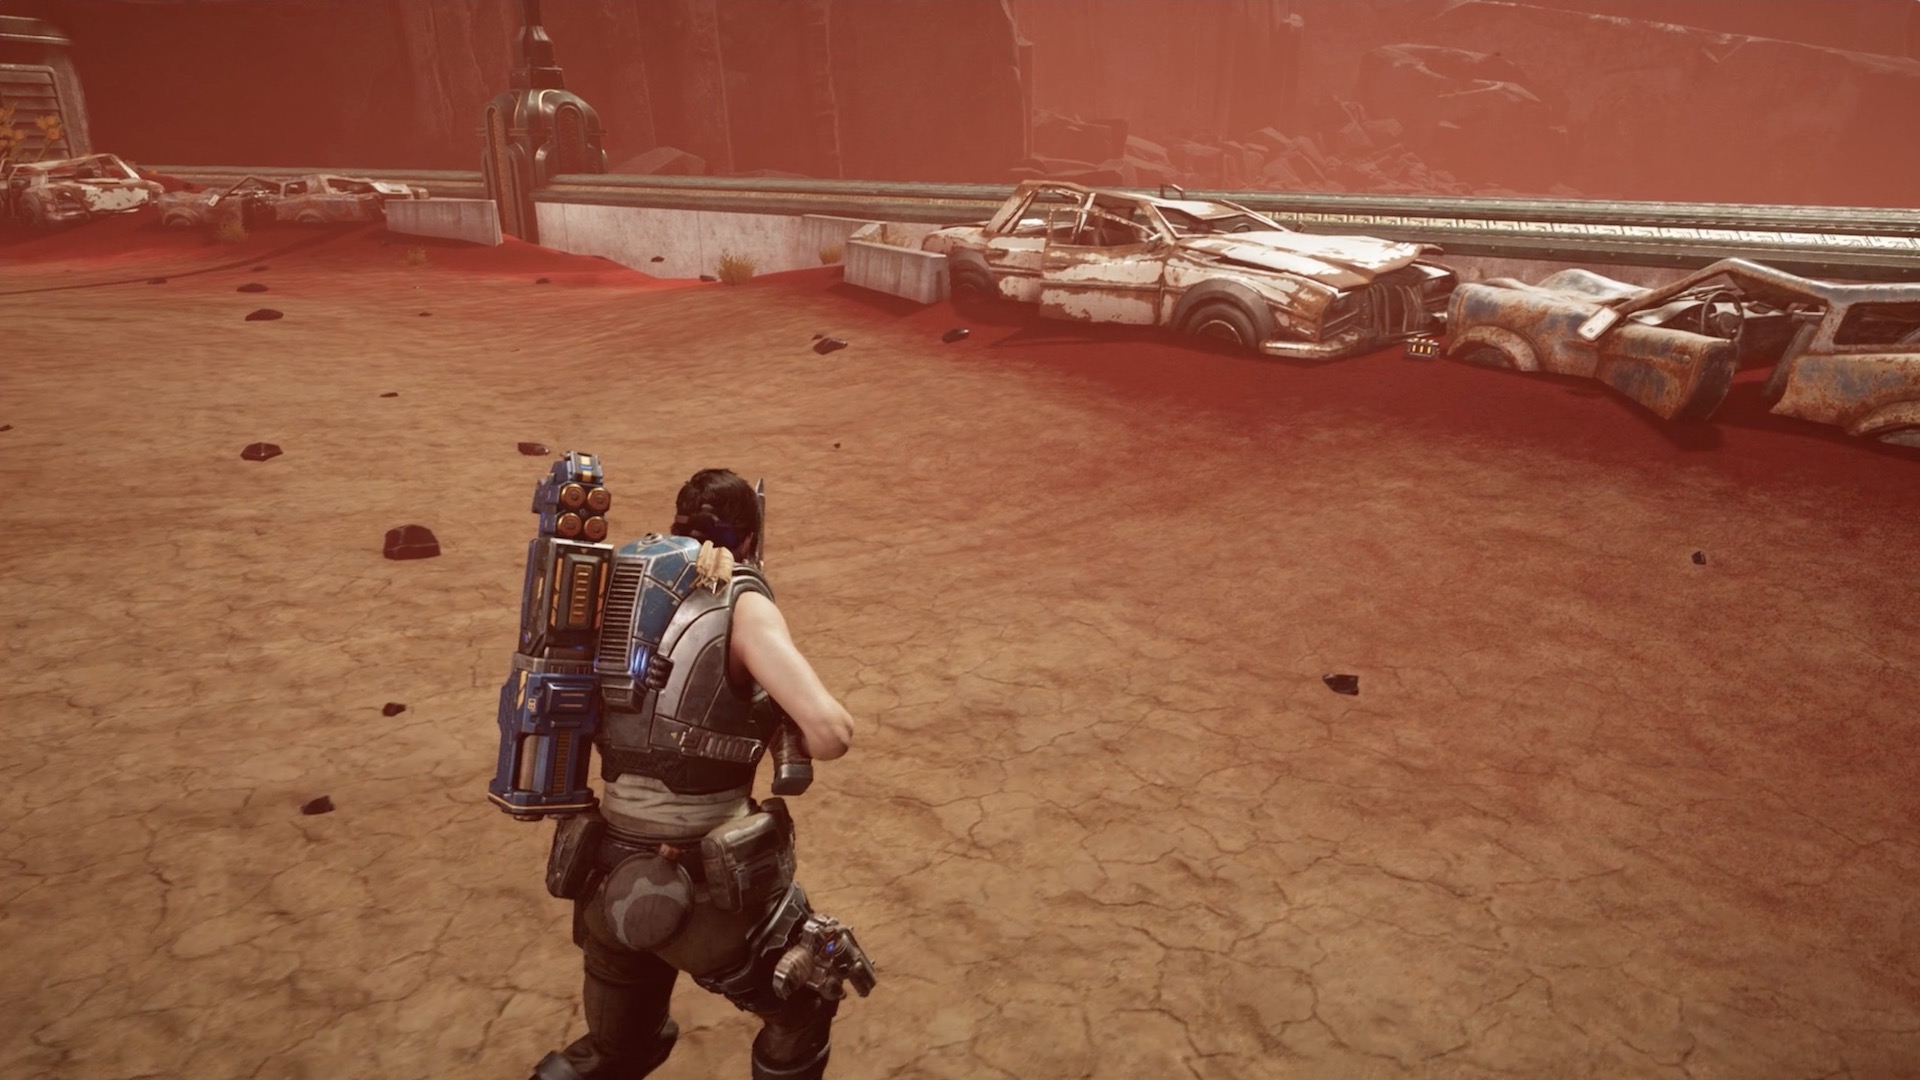
Component 3-Pack
Location: Outside the Water Pump station
Current Objective: N/A, free roam
Using the Rocket Hanger main objective as a reference point, head directly west, which will include a climb up the terrain with the skiff. When you reach the pump station, don't enter it. Instead, look at the abandoned cars sitting along the perimeter. You'll find a component 3-pack on the ground near one of the cars.
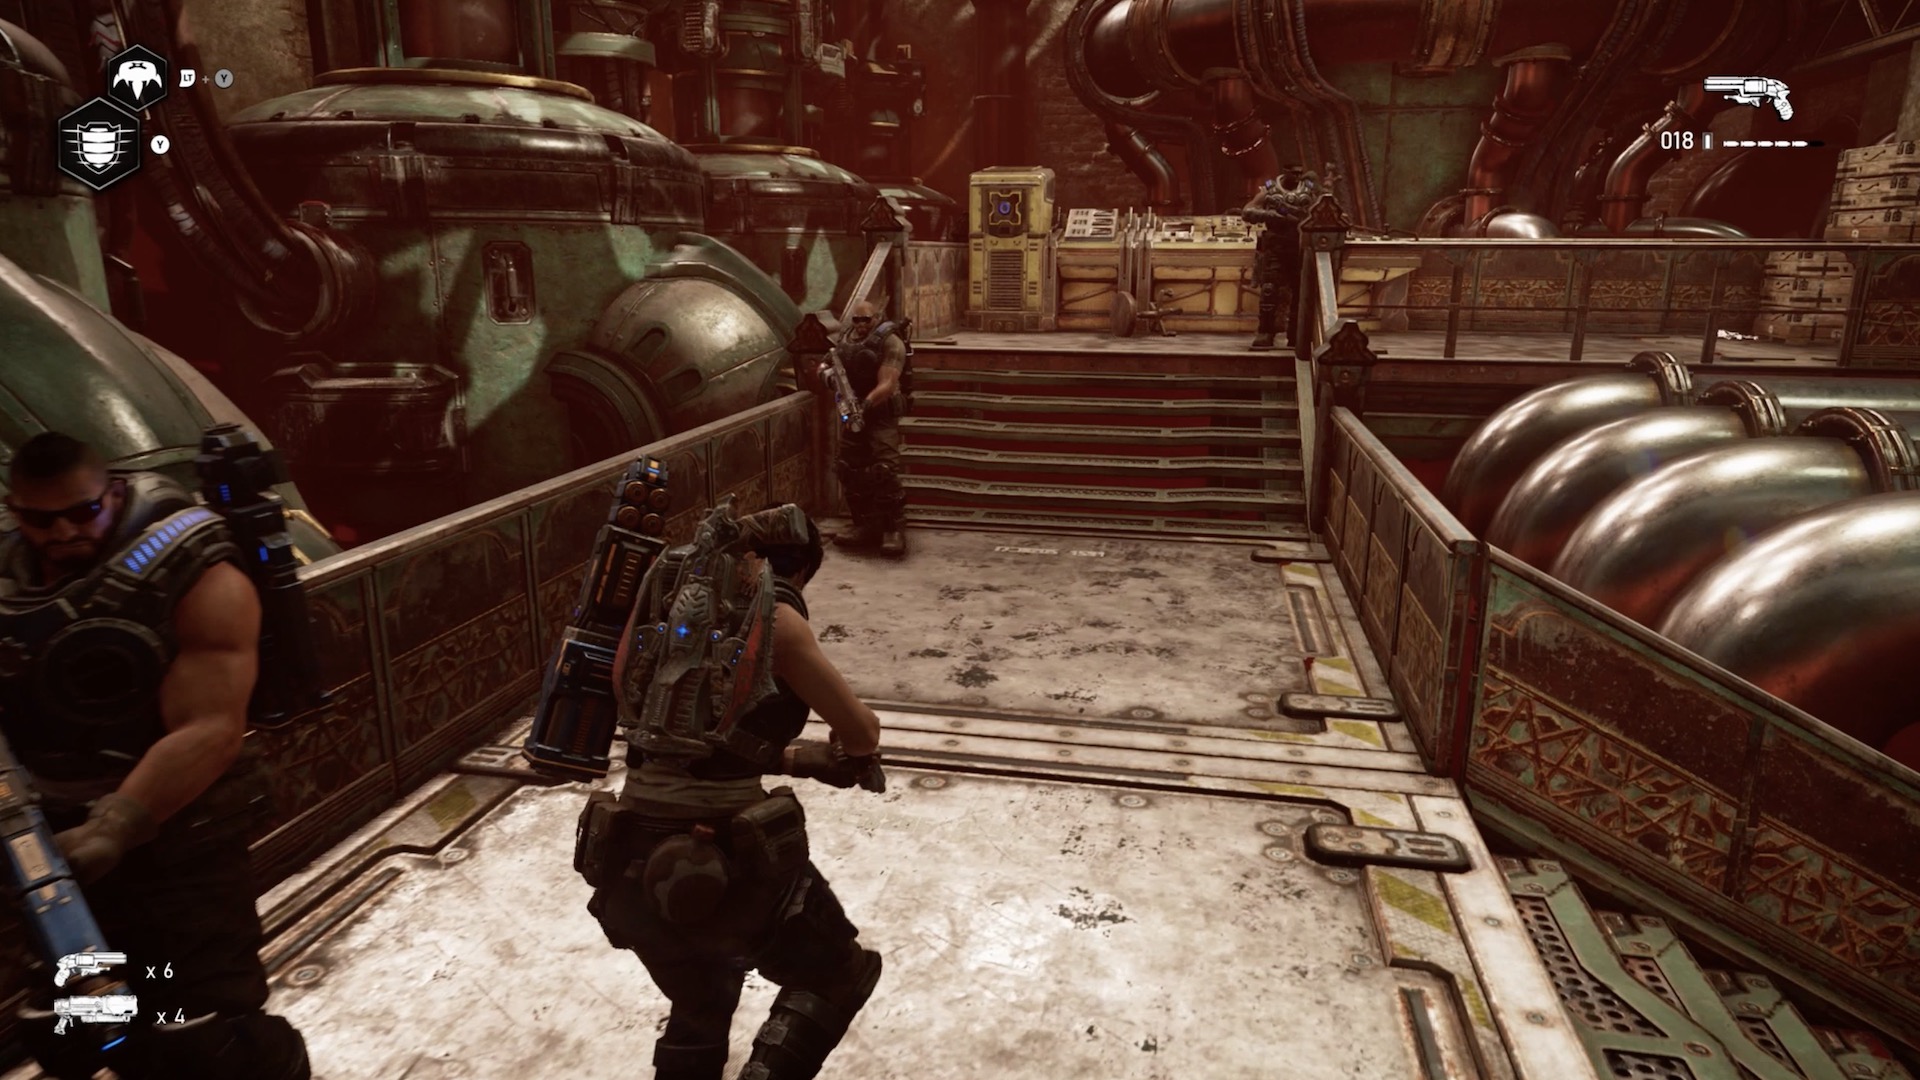
Component
Location: Inside the Water Pump station
Current Objective: Repair the pump system
Assuming you've reached the pump station, head inside, and prepare to defend it. After the enemies have been taken down. Walk past the main controls and look to the left of the double doors. There you'll find a component.
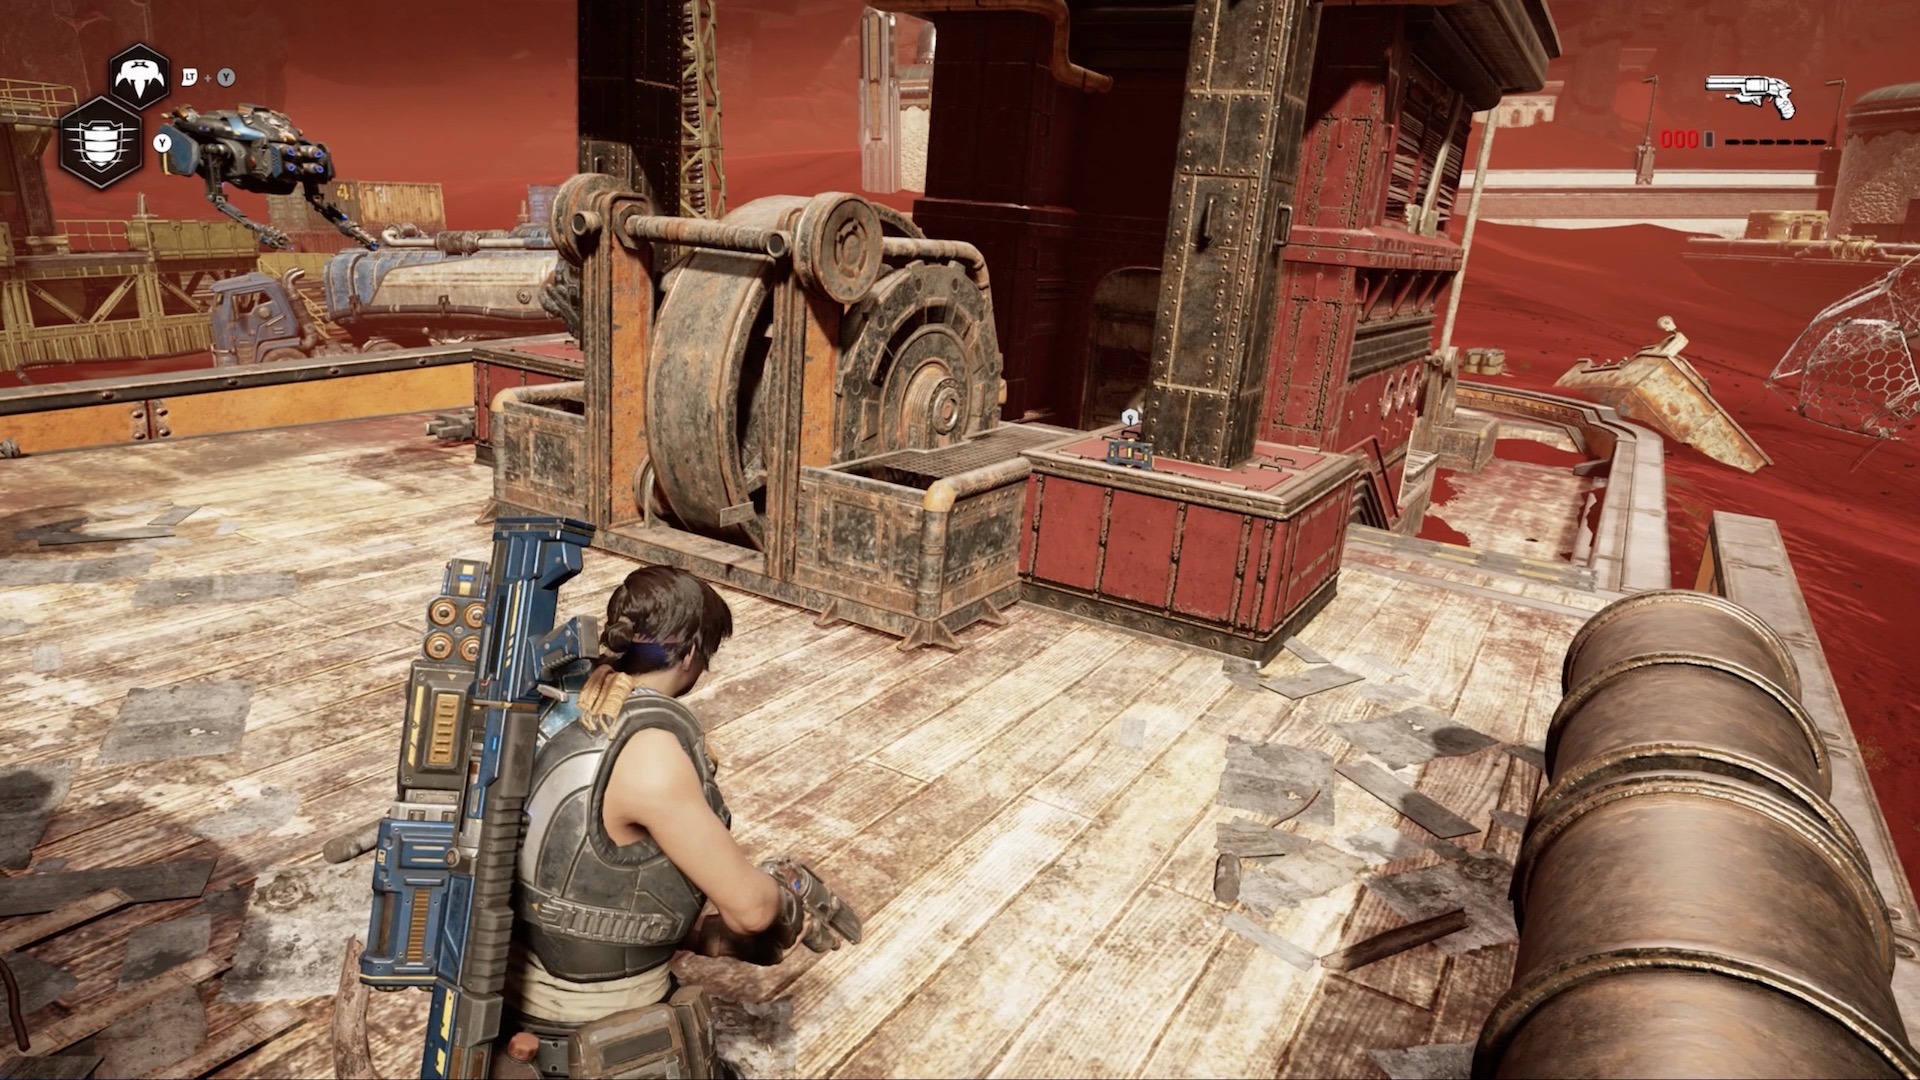
Component
Location: Harbor Docks
Current Objective: Help repair the drill.
Using the pump station as a reference point, head south to the other Waterworks icon (which by now should be unlocked). This is the harbor docks, the last location of the Waterworks secondary mission. After you've clear it out of Swarm, search it thoroughly for weapons and items. Look for one of the more well-preserved ships and board it. You'll find a component at one end of the ship.
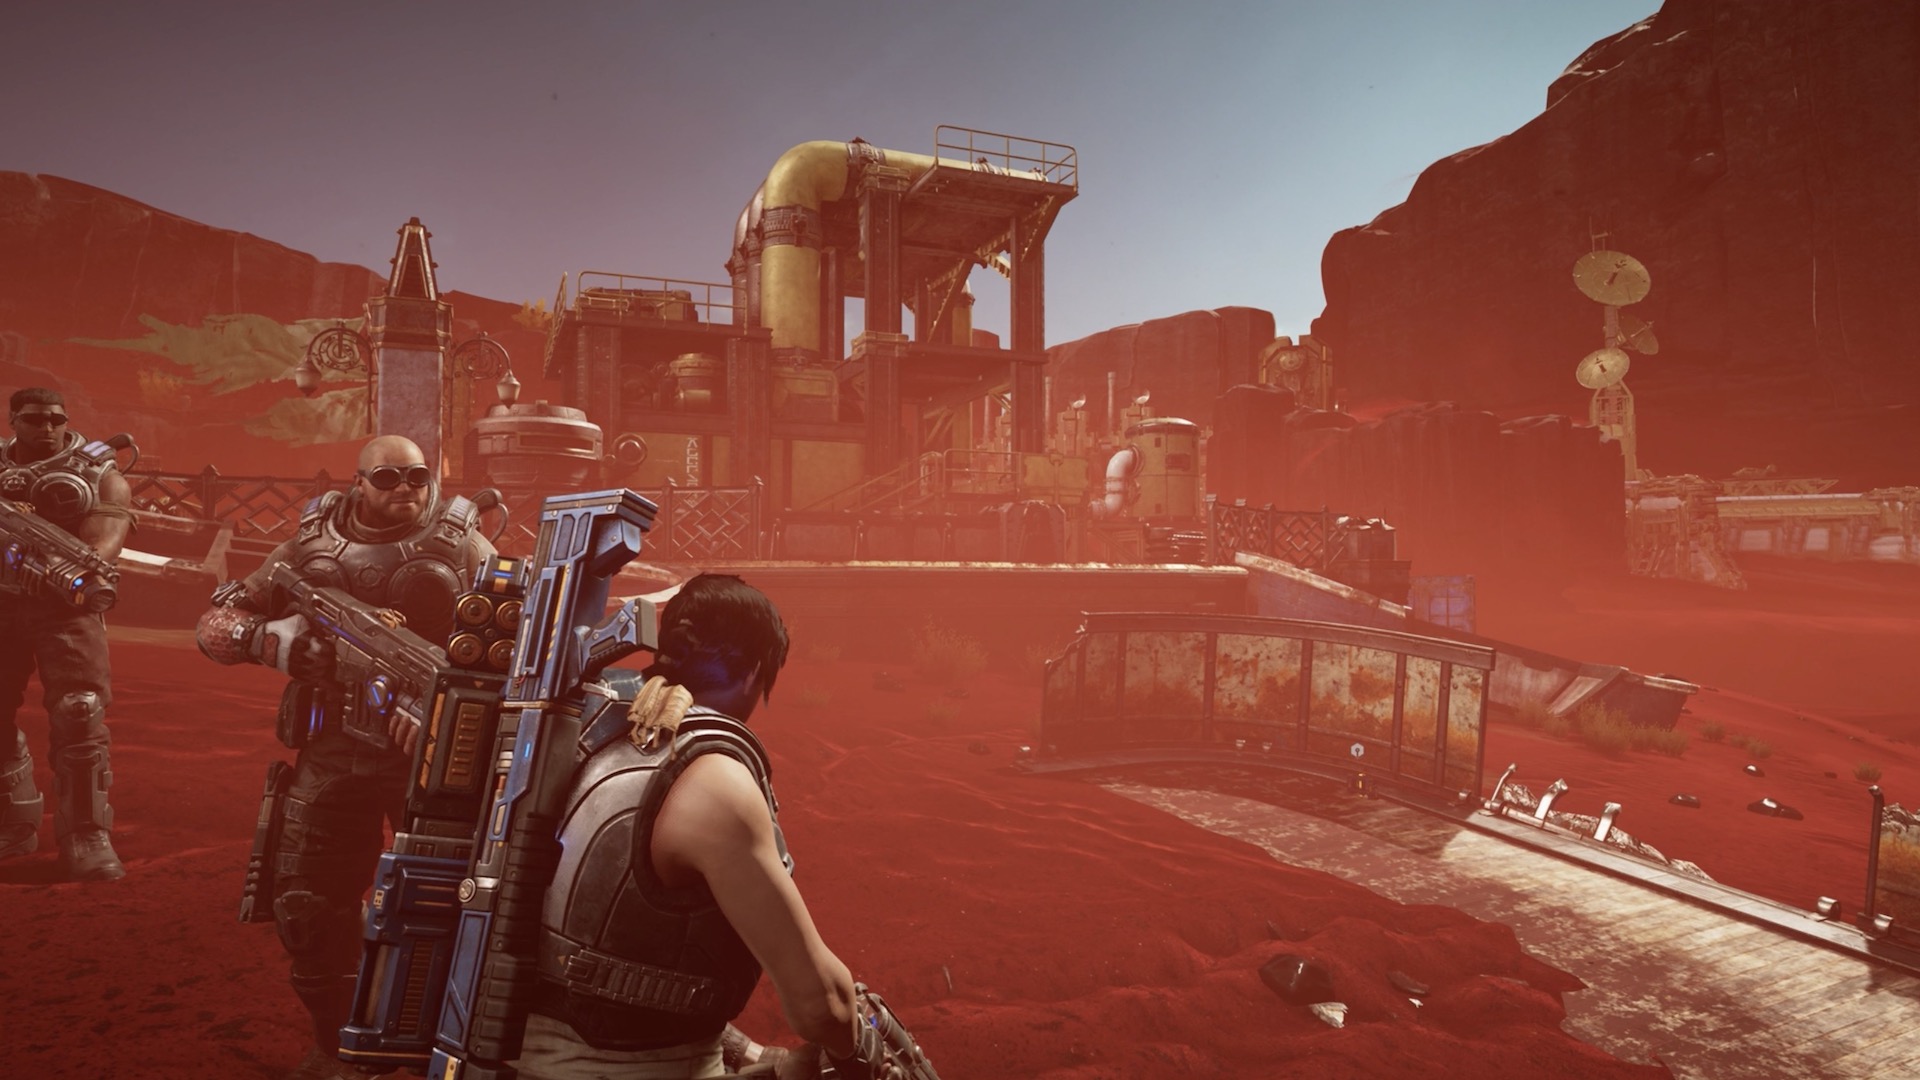
Component
Location: Harbor Docks
Current Objective: Help repair the drill.
Using the pump station as a reference point, head south to the other Waterworks icon (which by now should be unlocked). This is the harbor docks, the last location of the Waterworks secondary mission. After you've clear it out of Swarm, walk over to the south side of the Harbor Docks. You should be able to see the rocket hanger in the distance and the drill in the foreground. You can find a component well-concealed behind a ship fragment.
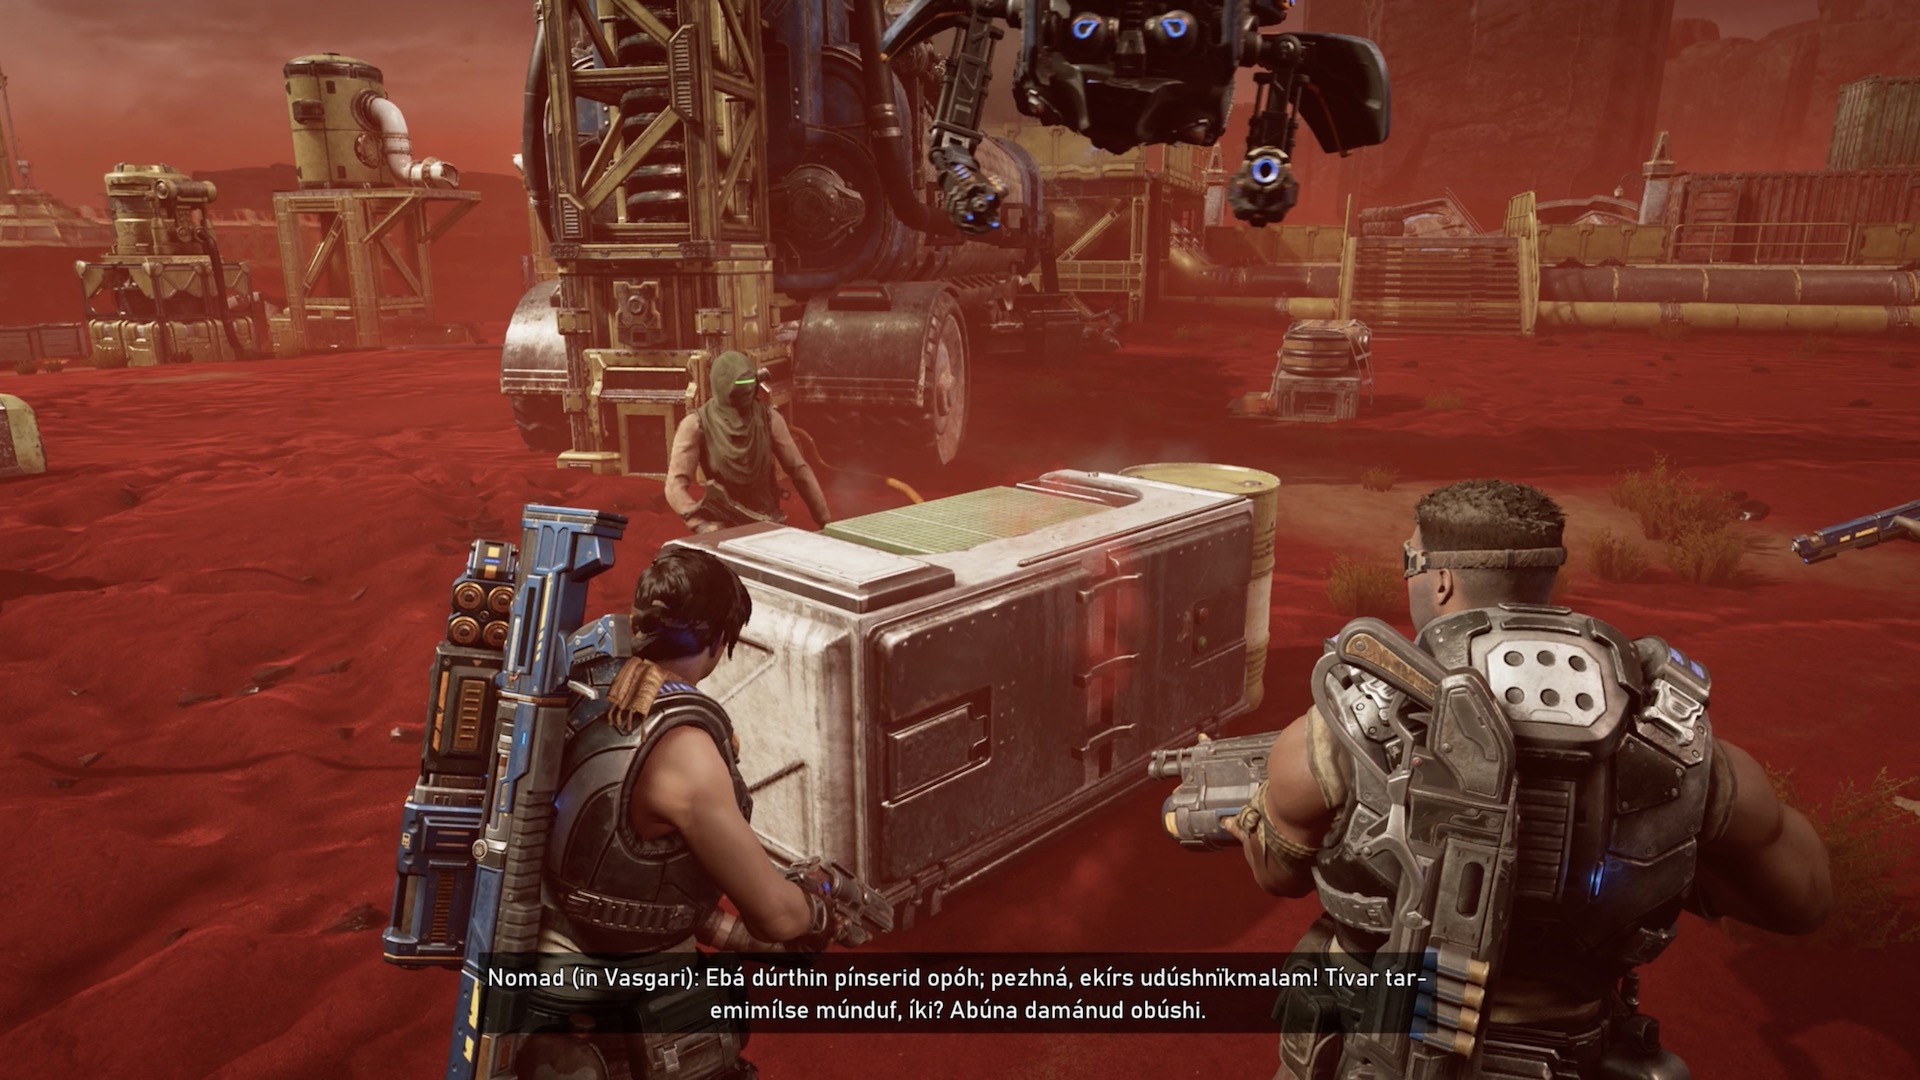
Ultimate Upgrade: Slayer
Location: Harbor Docks
Current Objective: Pick up the upgrade module
Using the pump station as a reference point, head south to the other Waterworks icon (which by now should be visible if you finished the first Waterworks mission). This is the harbor docks, the last location of this secondary mission. After you've clear it out of Swarm, use Jack to reactivate the drill. A nomad from a previous mission will appear and reward you with this Slayer module, which is the best upgrade for the Cloak ability.
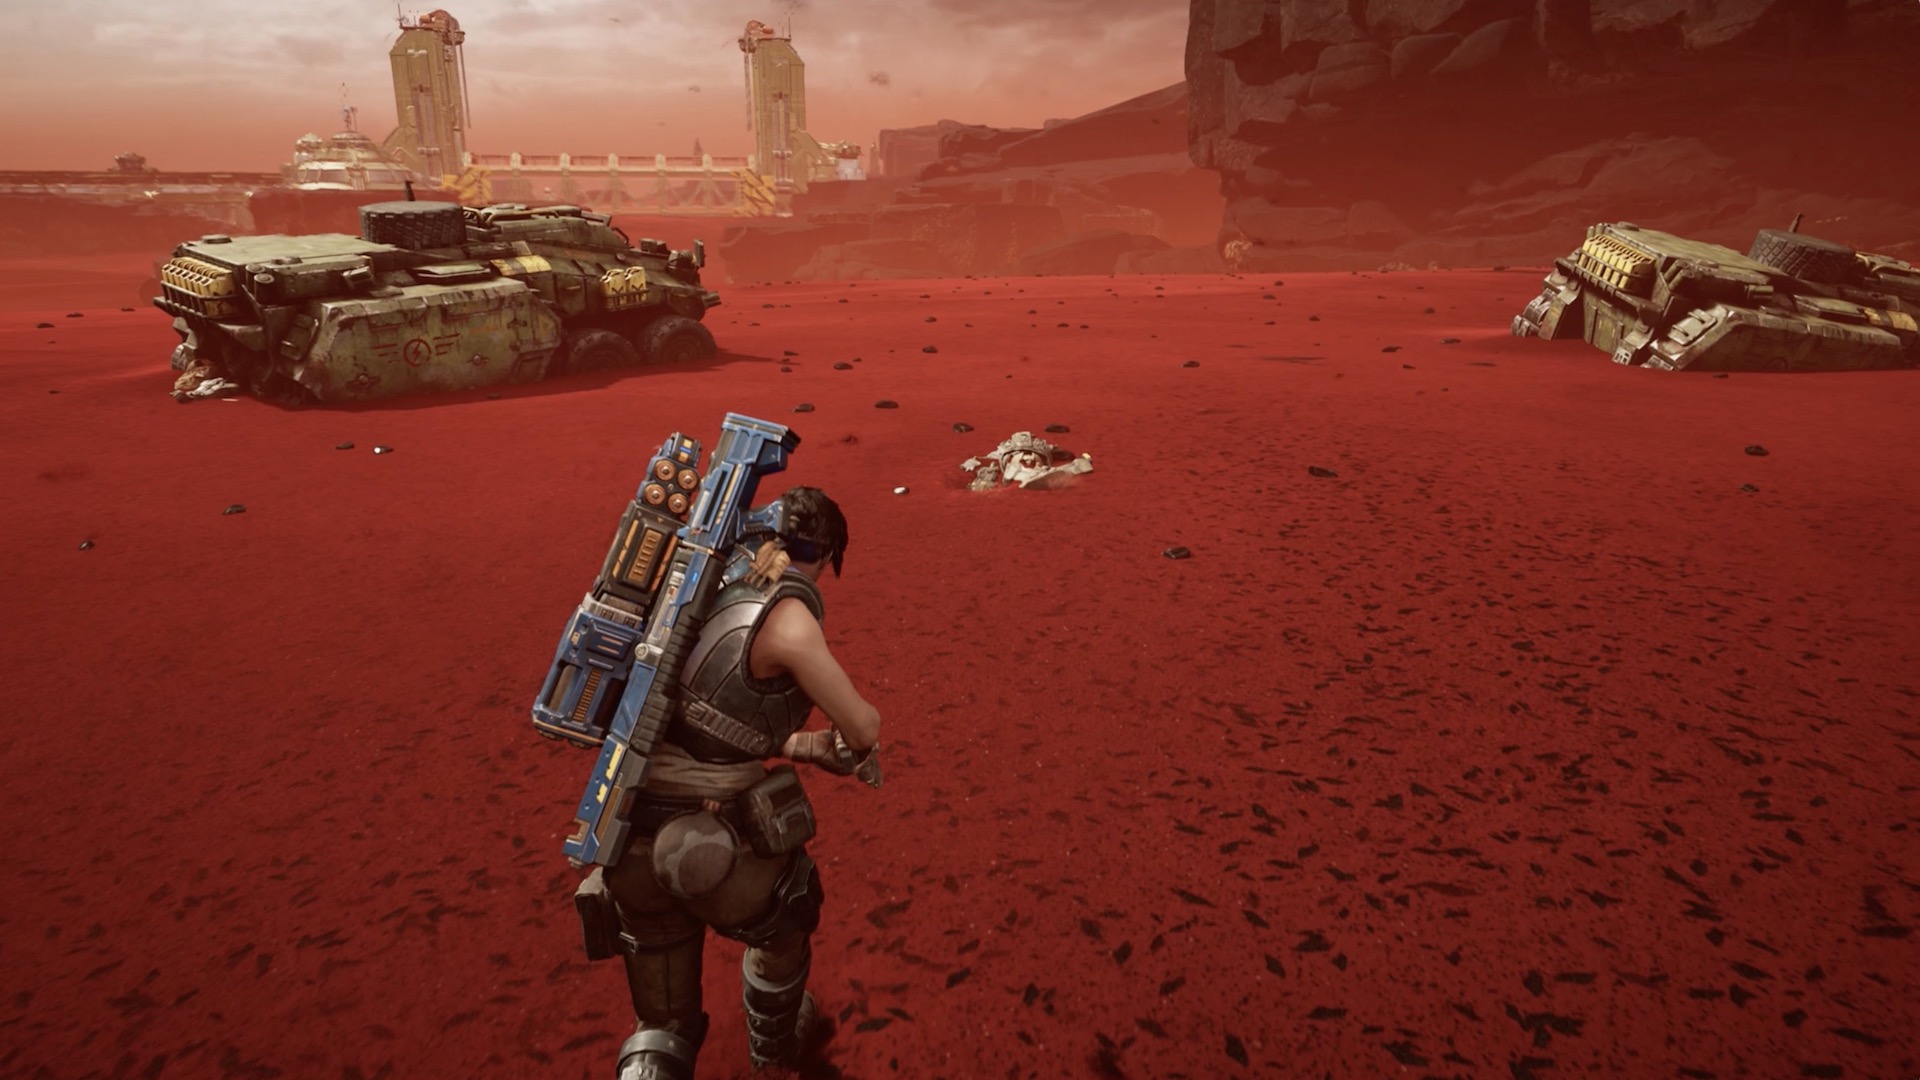
Component 5-Pack
Location: Military transport ruins
Current Objective: N/A, free roam
This spot is easy to miss as it's relatively far from large landmarks like the Rocket Hangar. That said, your best option is to use the Harbor Docks as a reference point. From the docks, head directly south. Simply look for a collection of military transport ruins with some corpses. You should also be ready for a Swarm attack After things are clear, look for a corpse lying face down. It's close to but not next to any vehicle. It's worth the search since the component is a 5-pack.
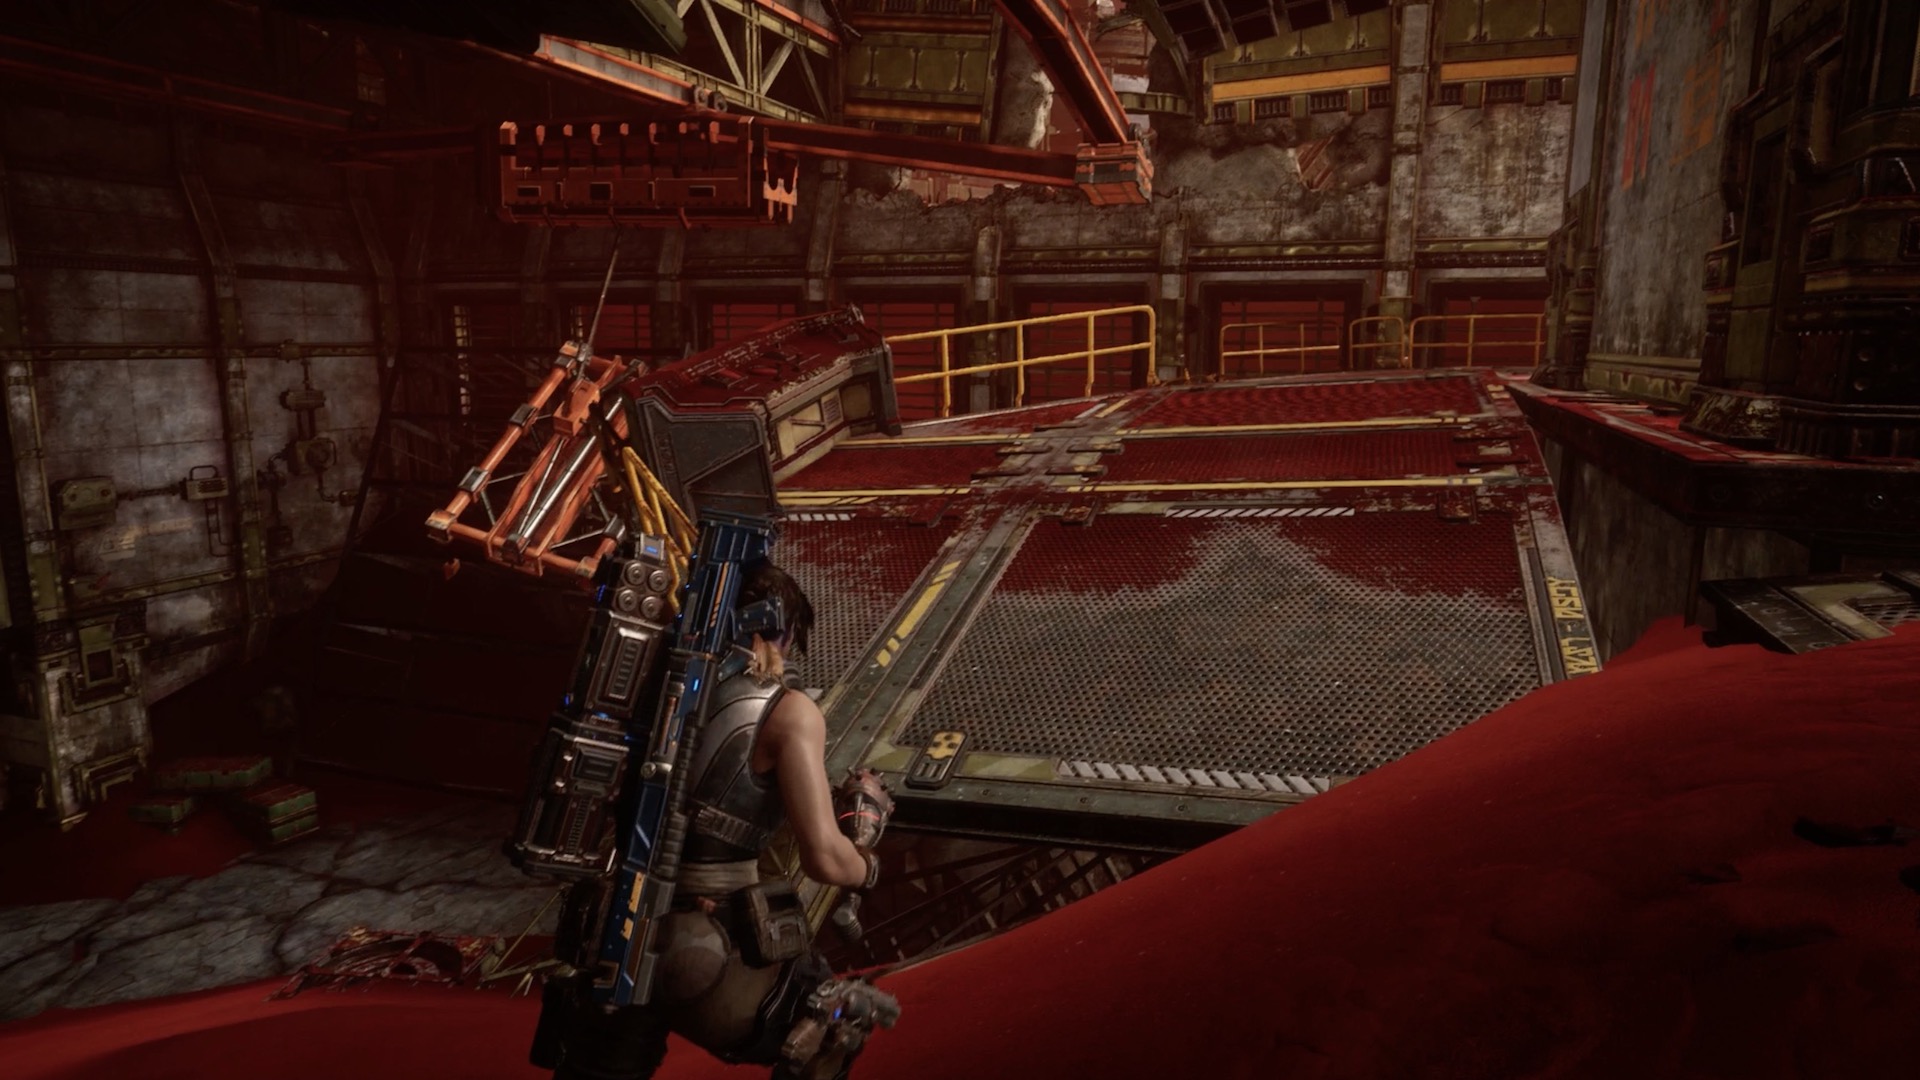
Component 3-Pack
Location: Rocket Hangar entrance
Current Objective: Find a way into the hangar
When you're ready to take on the main objective involving the Rocket Hangar, be sure to have your best weapons at the ready. The path to the hangar door alone will be met with fierce resistance. After you've taken on all the hostilities outside the hangar, look for a platform overlooking the double door hangar entrance. Hang a right on the platform to find a component 3-pack.
Act 3 Chapter 2
Gears 5 components: Act 3 Chapter 2
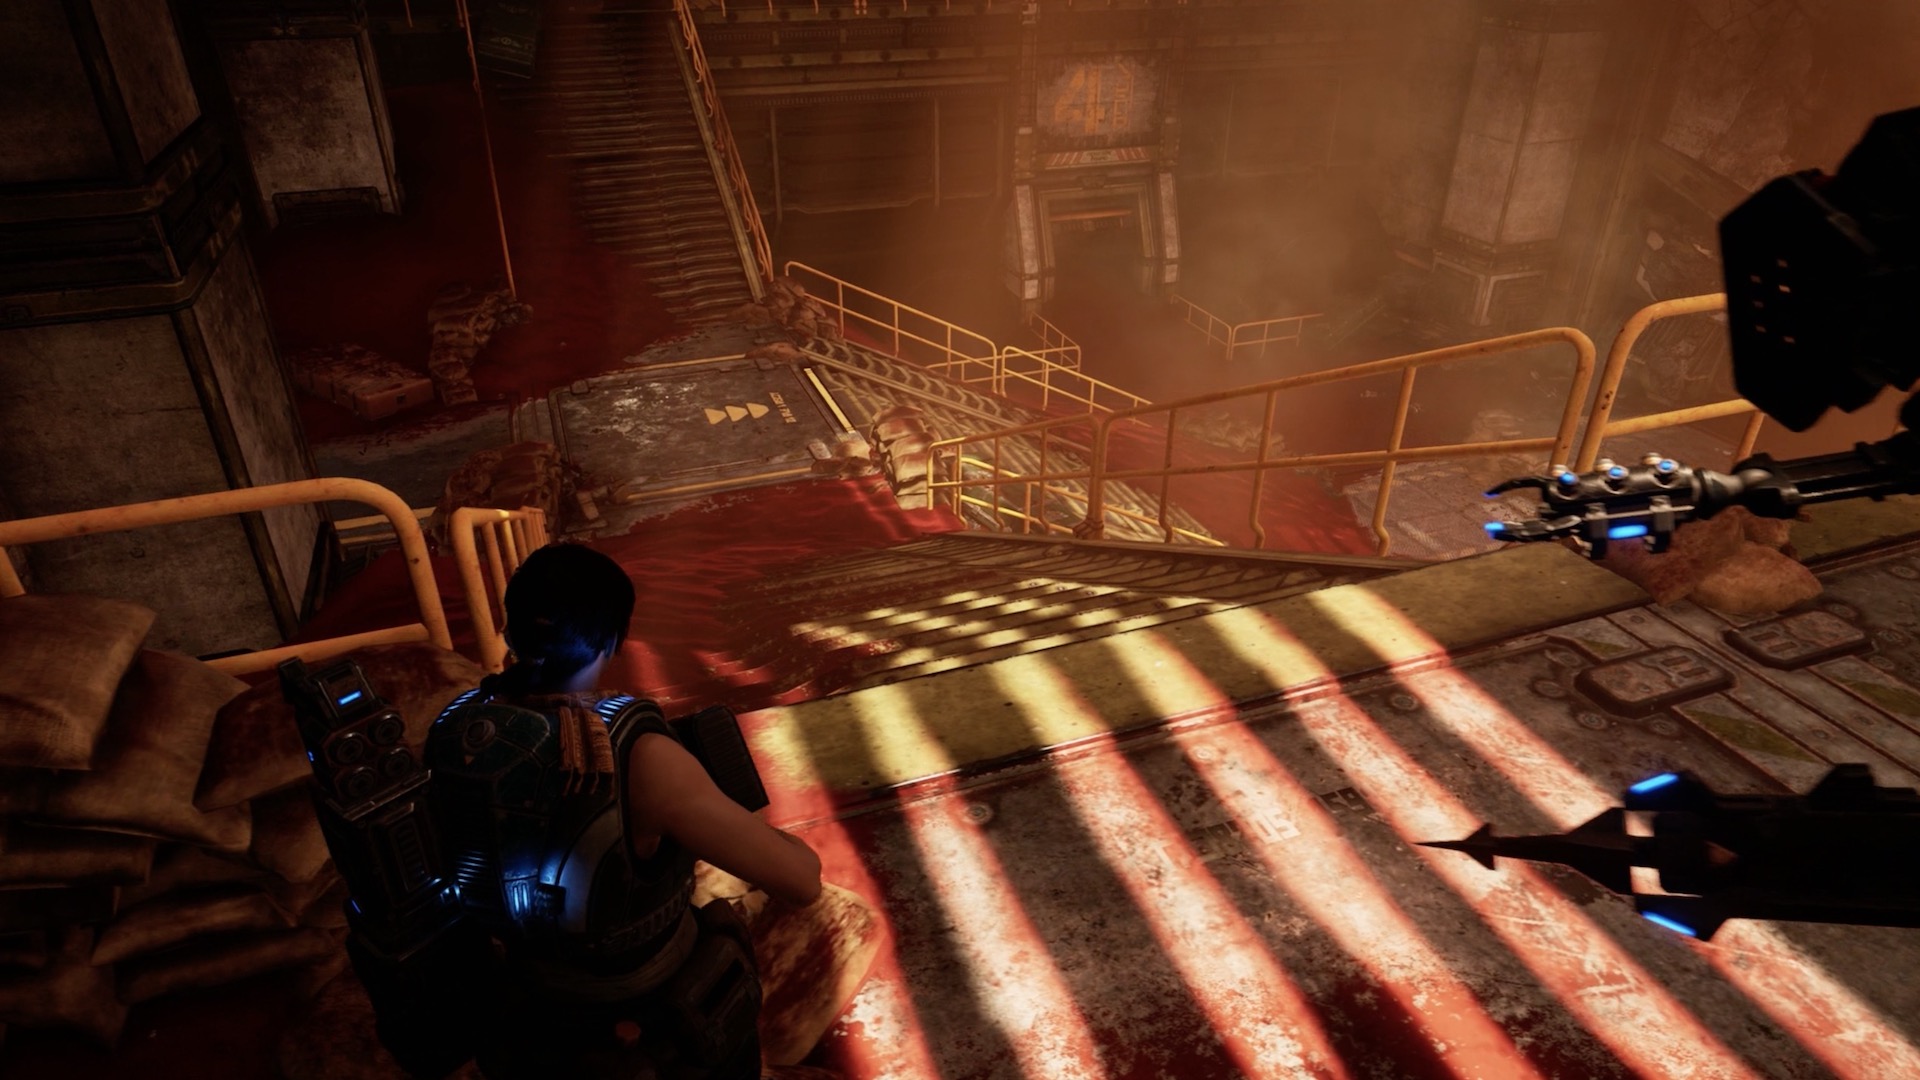
Component
Location: Inside the Rocket Hangar, first room
Current Objective: Get to the command center
Once you enter the Rocket Hangar (and Chapter 2 formally begins), go down the stairs on your left. Then go up the other set of steps in front of you. Turn right to find a component on the ground, surrounded by crates and sandbags.
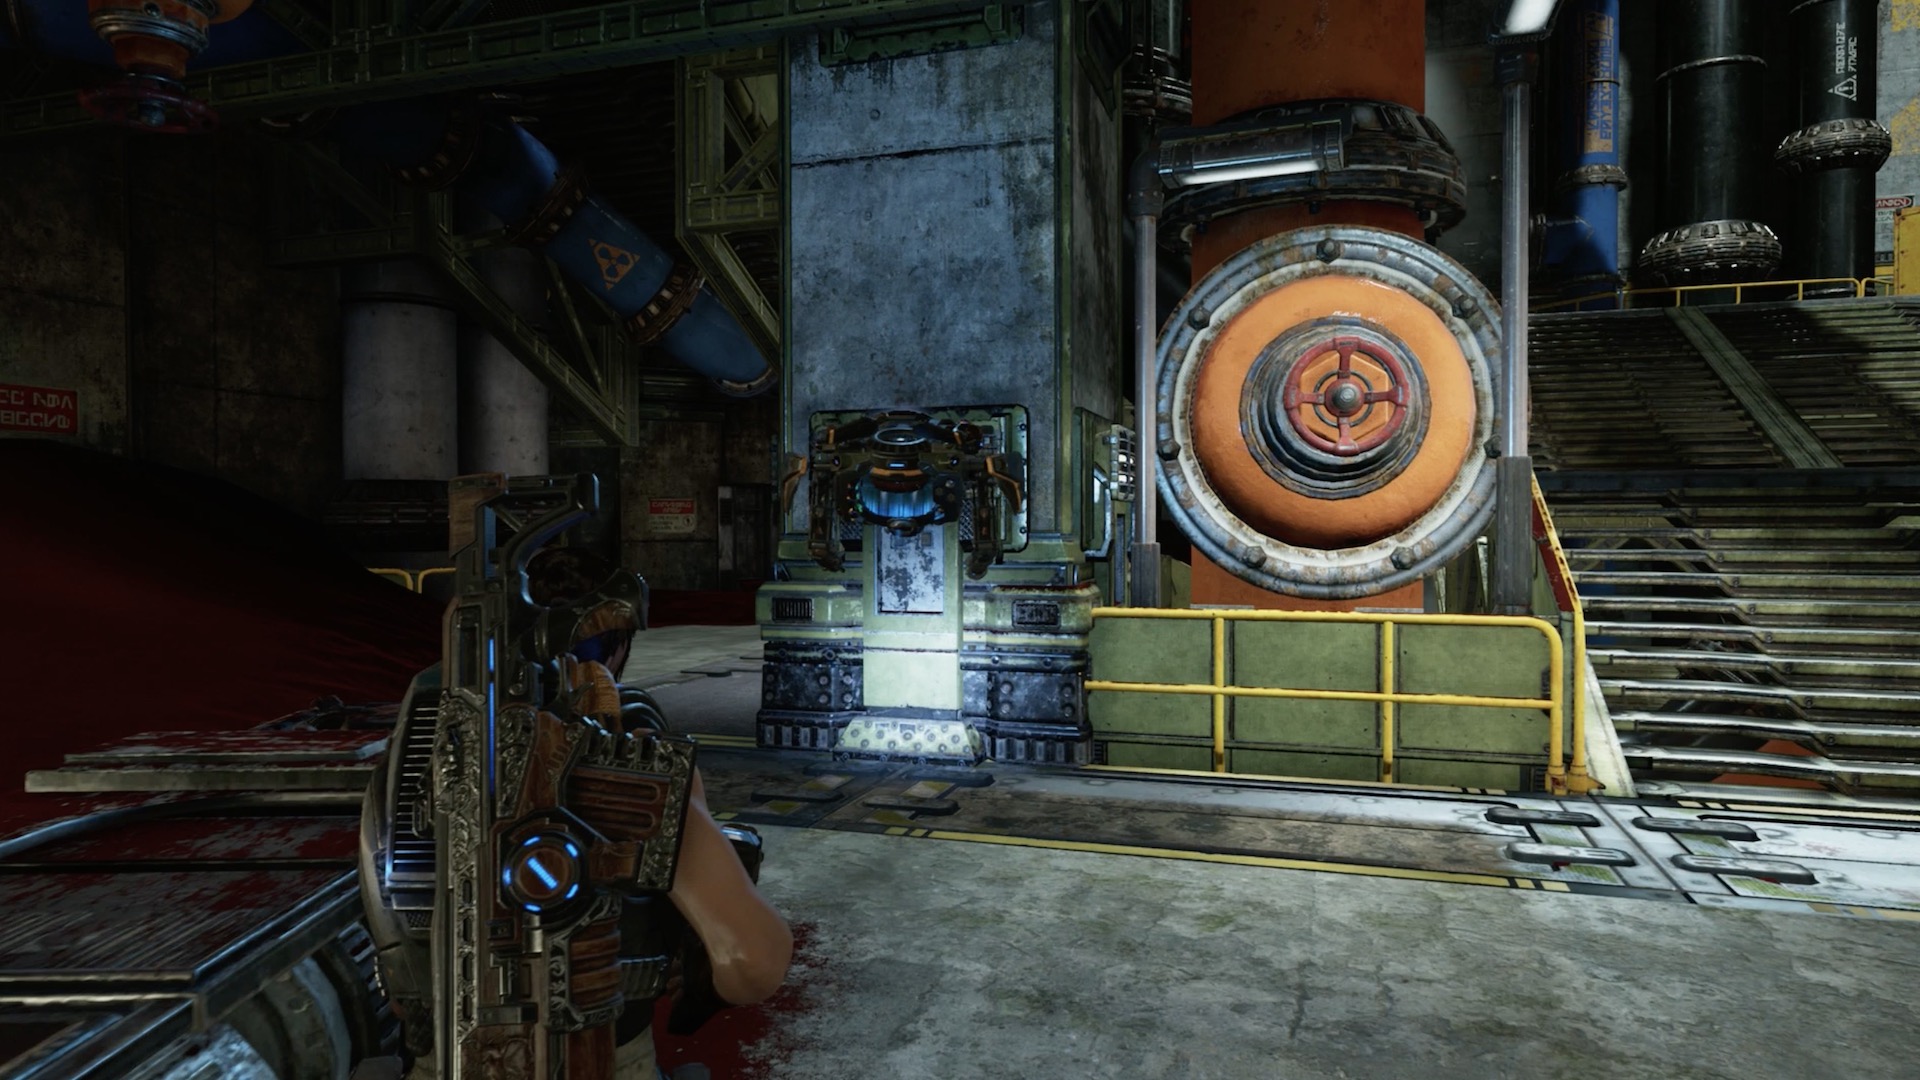
Component 3-Pack
Location: Rocket Hangar main section, first area
Current Objective: Cross to the other side of the hangar
After you leave the command center but before you cross to the other side of the hangar, explore the right side of half of the hanger you're currently at. As you descend the stairs, look for a giant orange pipe. Take a U-shaped route around the pipe and head forward. You'll find a component 3-pack along the wall on the left.
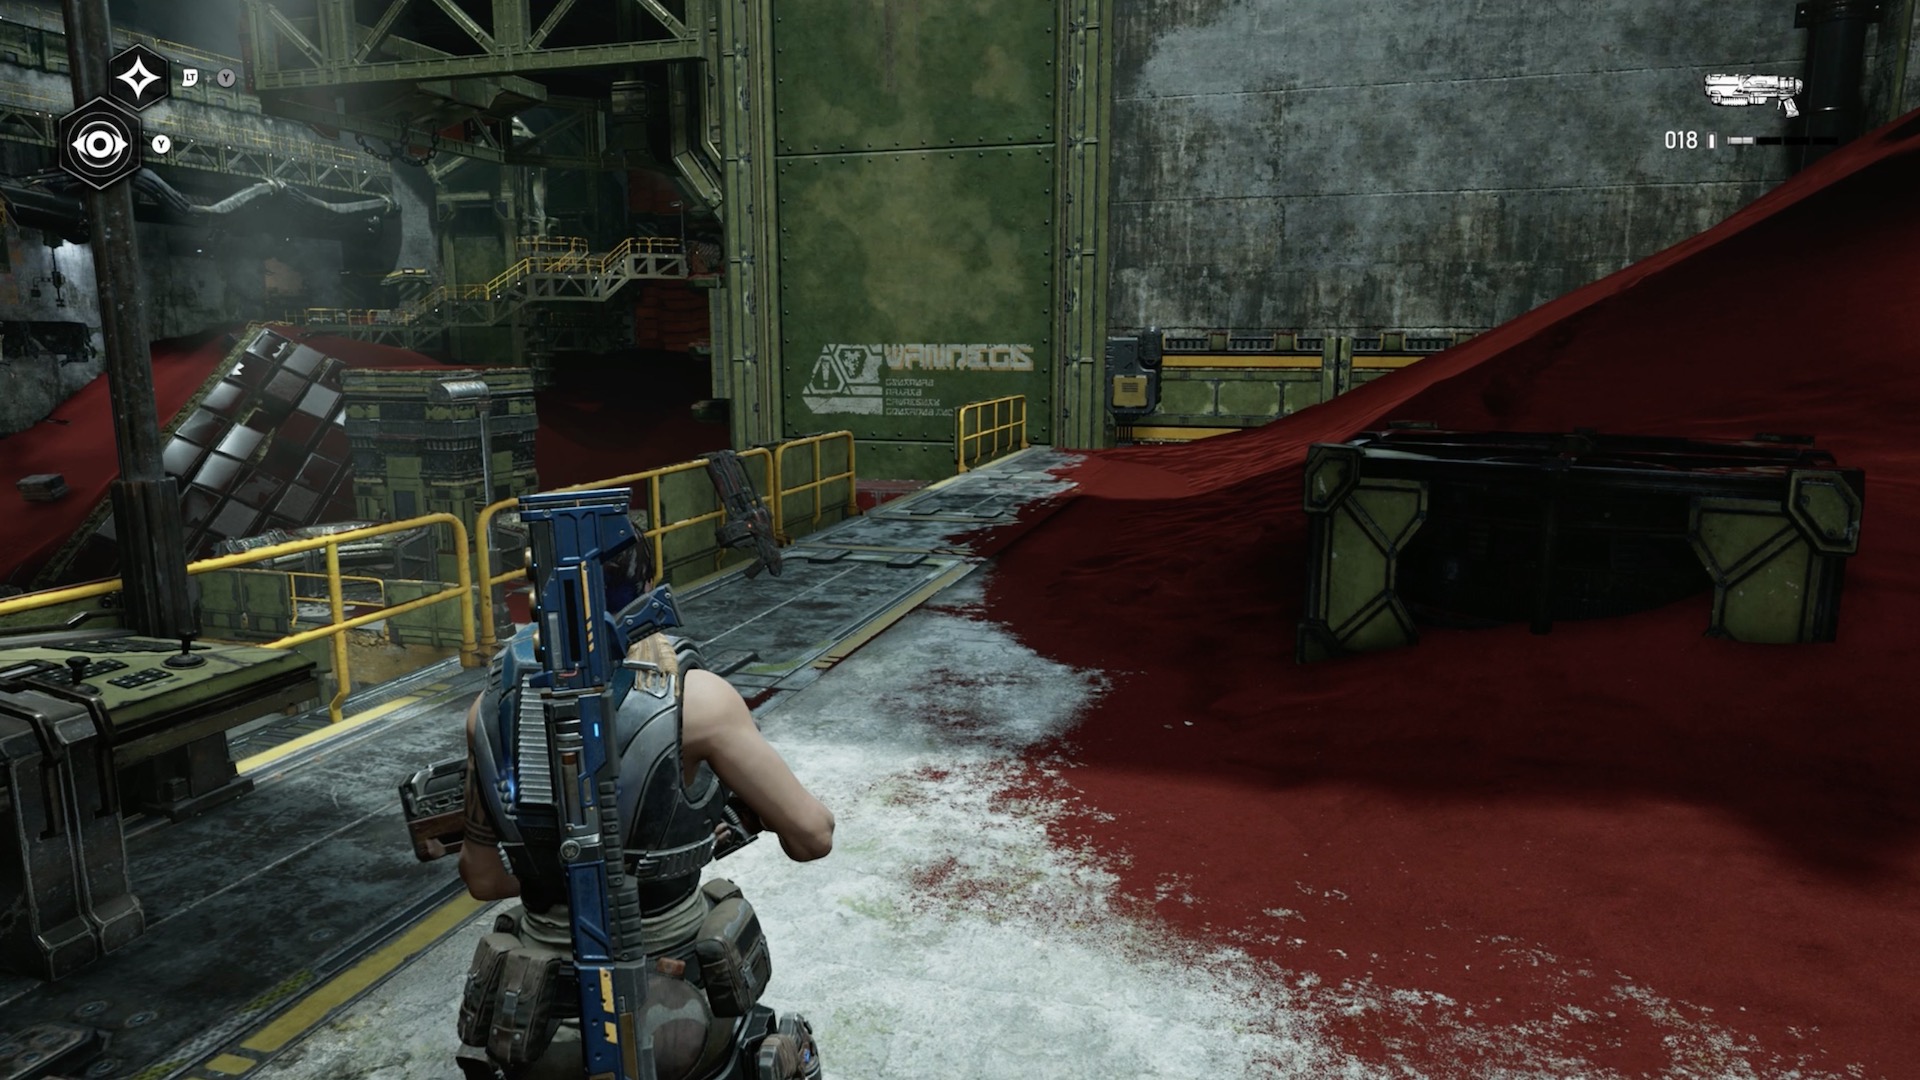
Component 3-Pack
Location: Rocket Hangar main section, first area
Current Objective: Cross to the other side of the hangar
After you leave the command center but before you cross to the other side of the hangar, explore the right side of half of the hanger you're currently at. At the furthest end, you'll find a fuse box holding a component 3-pack.
Component 3-Pack
Location: Rocket Hangar main section, second area, after crossing with the gantry
Current Objective: Cross to the other side of the hangar
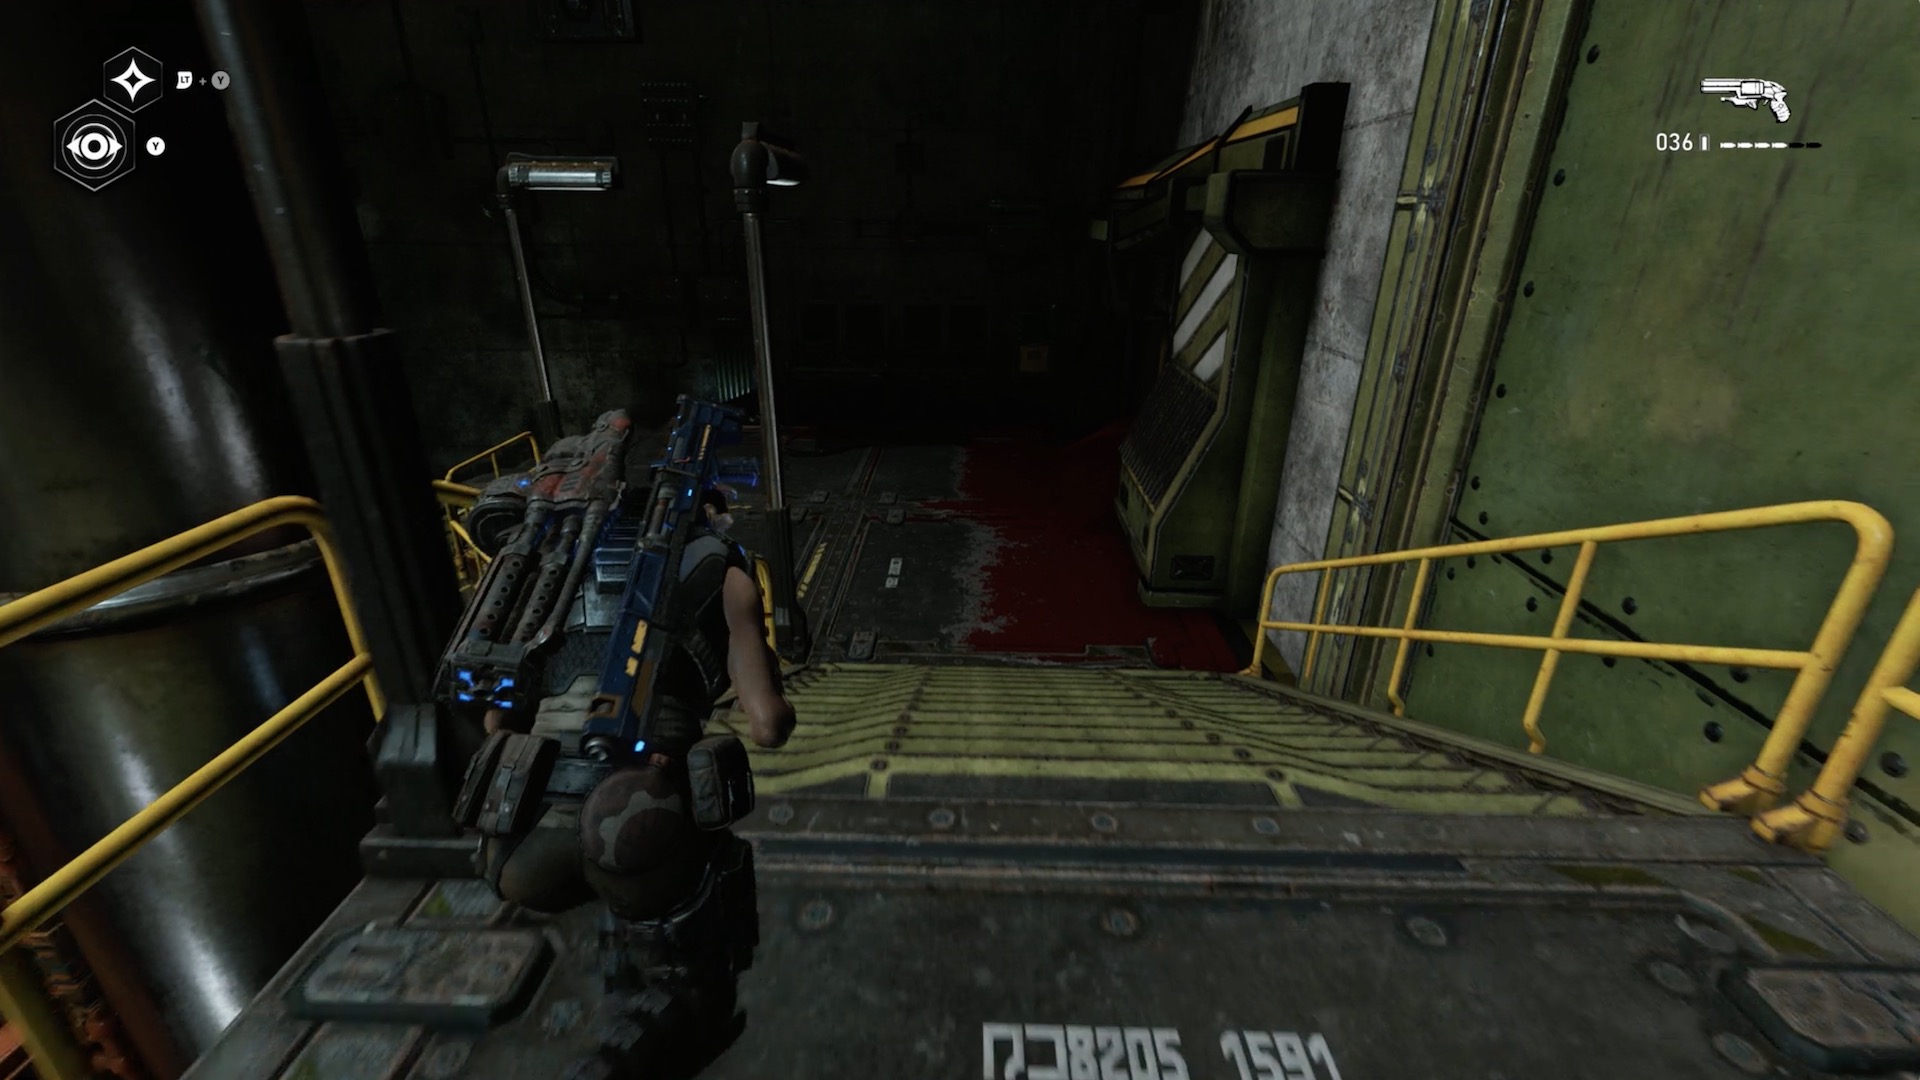
Progress through the hangar until you cross the first gap with the gantry. When you arrive on the other side, proceed left, go down the stairs, and keep going until you reach a dead end. In the darkness, you'll find a component 3-pack in a yellow fuse box on the wall.
Component 3-Pack
Location: Rocket Hangar, catwalk above the Number Two door
Current Objective: Find the rocket nose cone
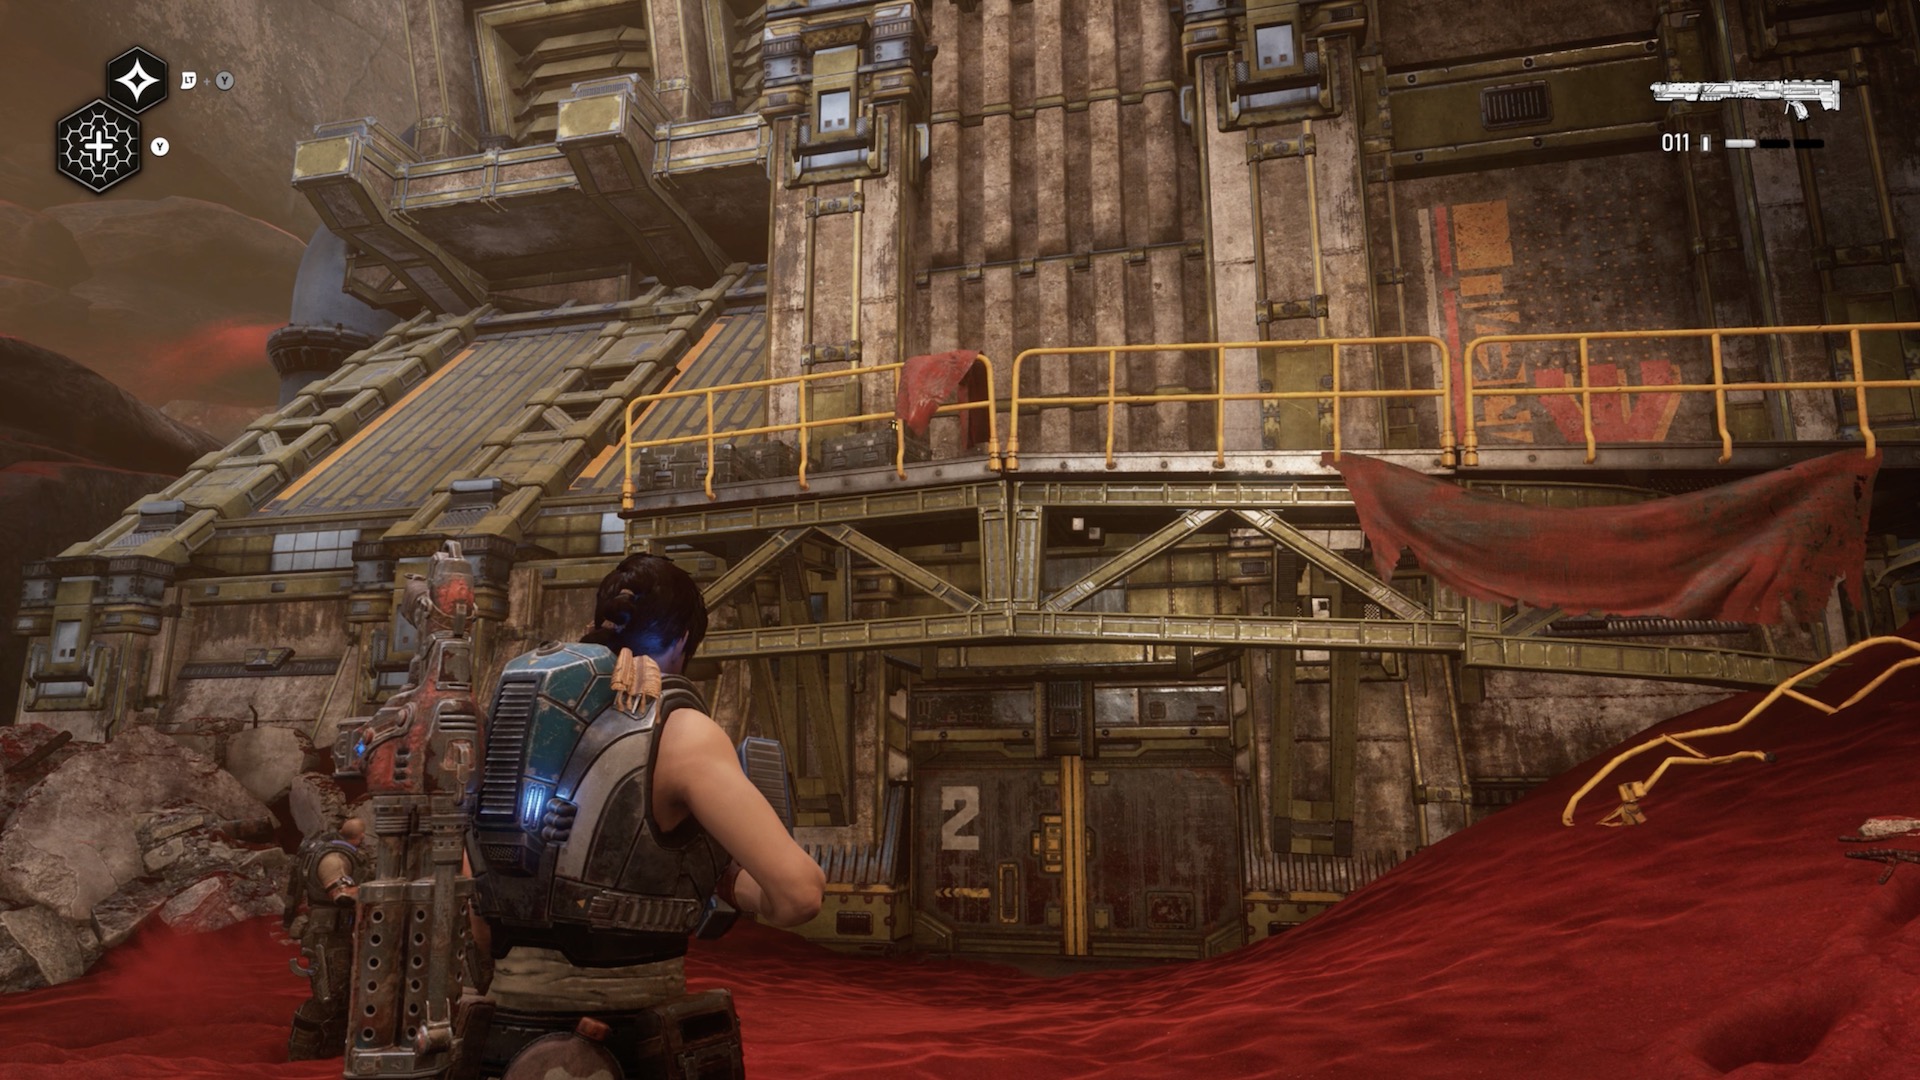
After you leave the hangar interior for the first time, you'll end up in an outdoor area plus at least one firefight. Proceed until you see a set of double doors labeled '2' and a catwalk above it. Climb up the mound of sand on the right to reach the catwalk. The component 3-pack is at the end of the catwalk.
Component 3-Pack
Location: Rocket Hangar, long corridor previously defended by UIR, with a door shut by metal plates
Current Objective: Find the rocket nose cone
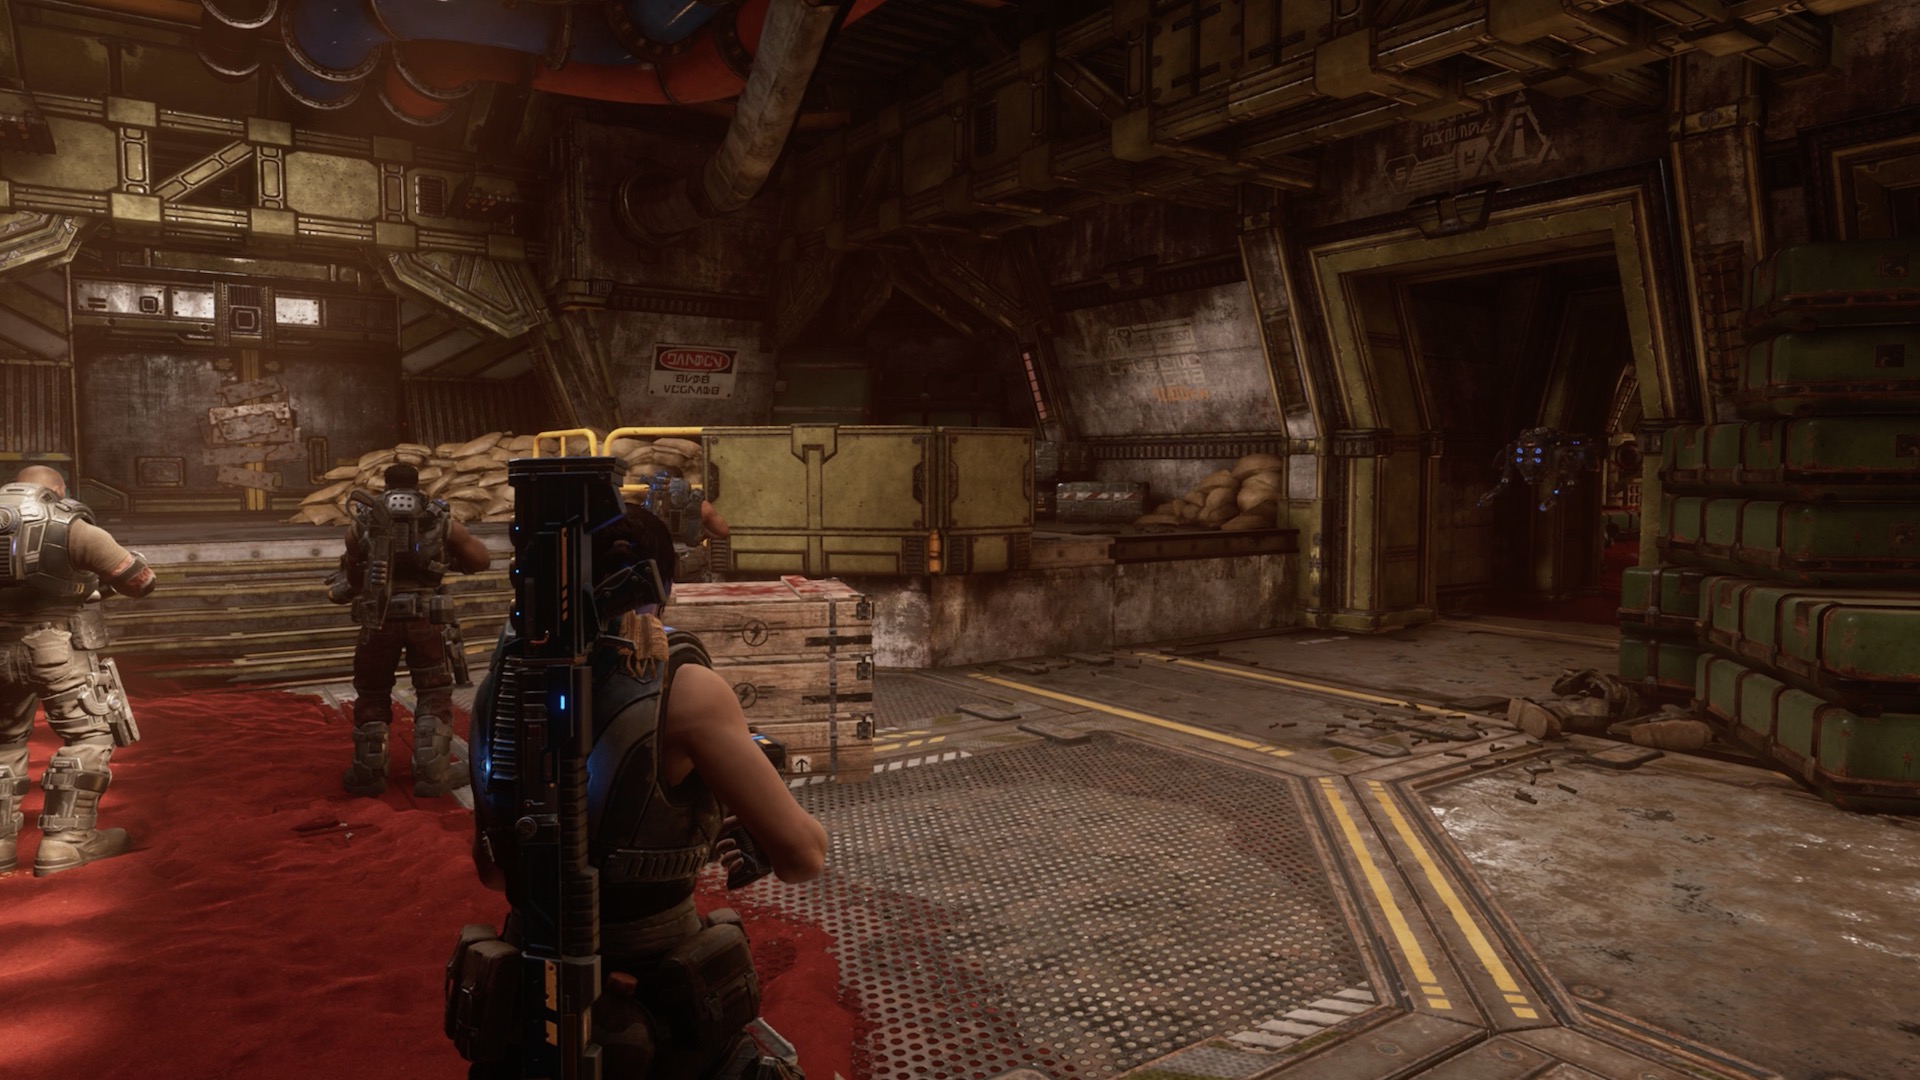
Proceed through the rocket hangar until you reach a long and wide corridor strewn with UIR corpses. You'll eventually come across a pair of double doors held shut by a bunch of metal plates. Before you address the door (thereby triggering a firefight), make a right into the adjacent room. There you'll find a yellow panel; open it for another component 3-pack.
Component 3-Pack
Location: Rocket Hangar, rocket conveyance intersection
Current Objective: Follow the rocket nose cone
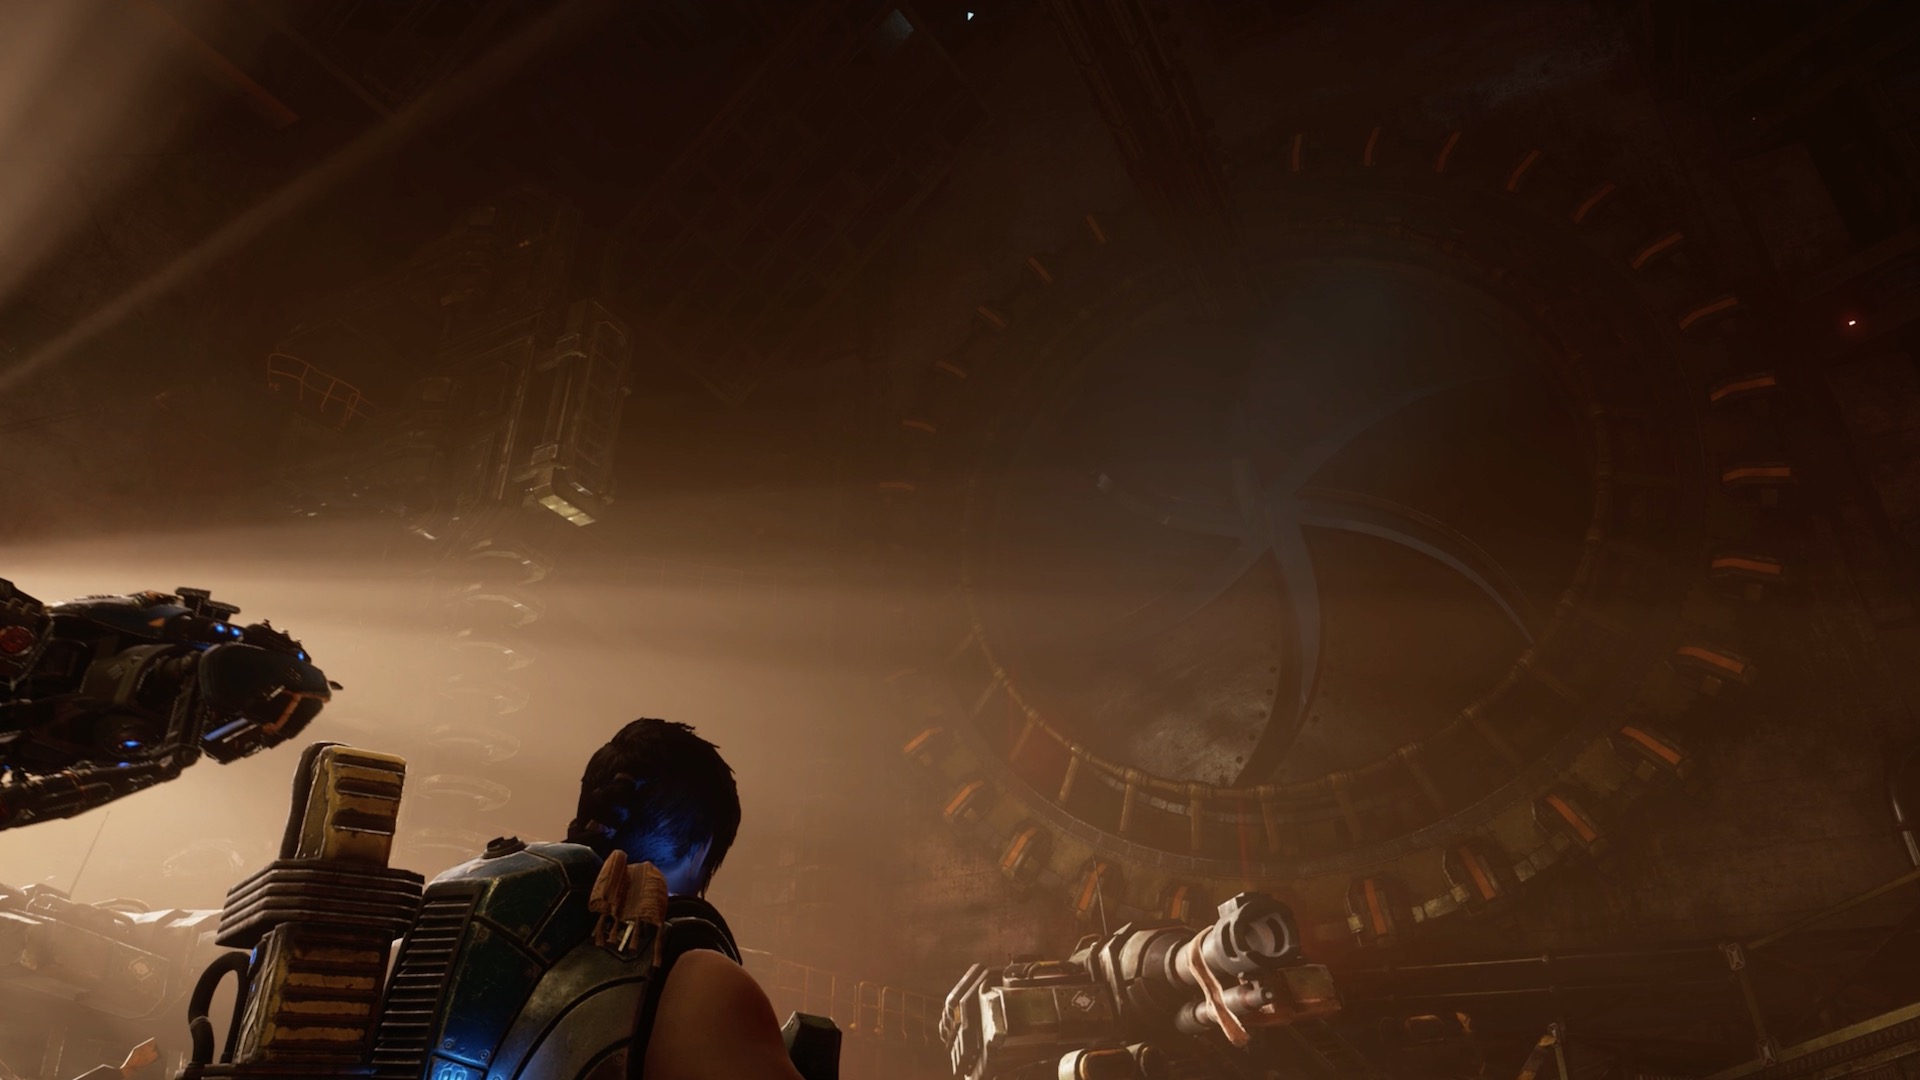
Progress through the chapter until you've managed to move the rocket nose cone. As you're following it, search the giant room that appears to offer multiple paths for the nose cone. Look up for a partly-opened (but stuck) portal. Head toward that direction and you'll find another fuse box with a component 3-pack at ground level.

Component 3-Pack
Location: Rocket Hangar, long dark hallway past the rocket conveyance intersection
Current Objective: Follow the rocket nose cone
Follow the rocket nose cone and move through the rocket conveyance intersection. Keep an eye out as you enter makeshift passages, ie. holes in the wall (as opposed to actual doors). You'll eventually reach and go through a very dark hallway. Notice the exit on the left leading to a brighter area, but don't enter that room just yet. Instead, continue straight into the darkness. At the end you'll find a component 3-pack.
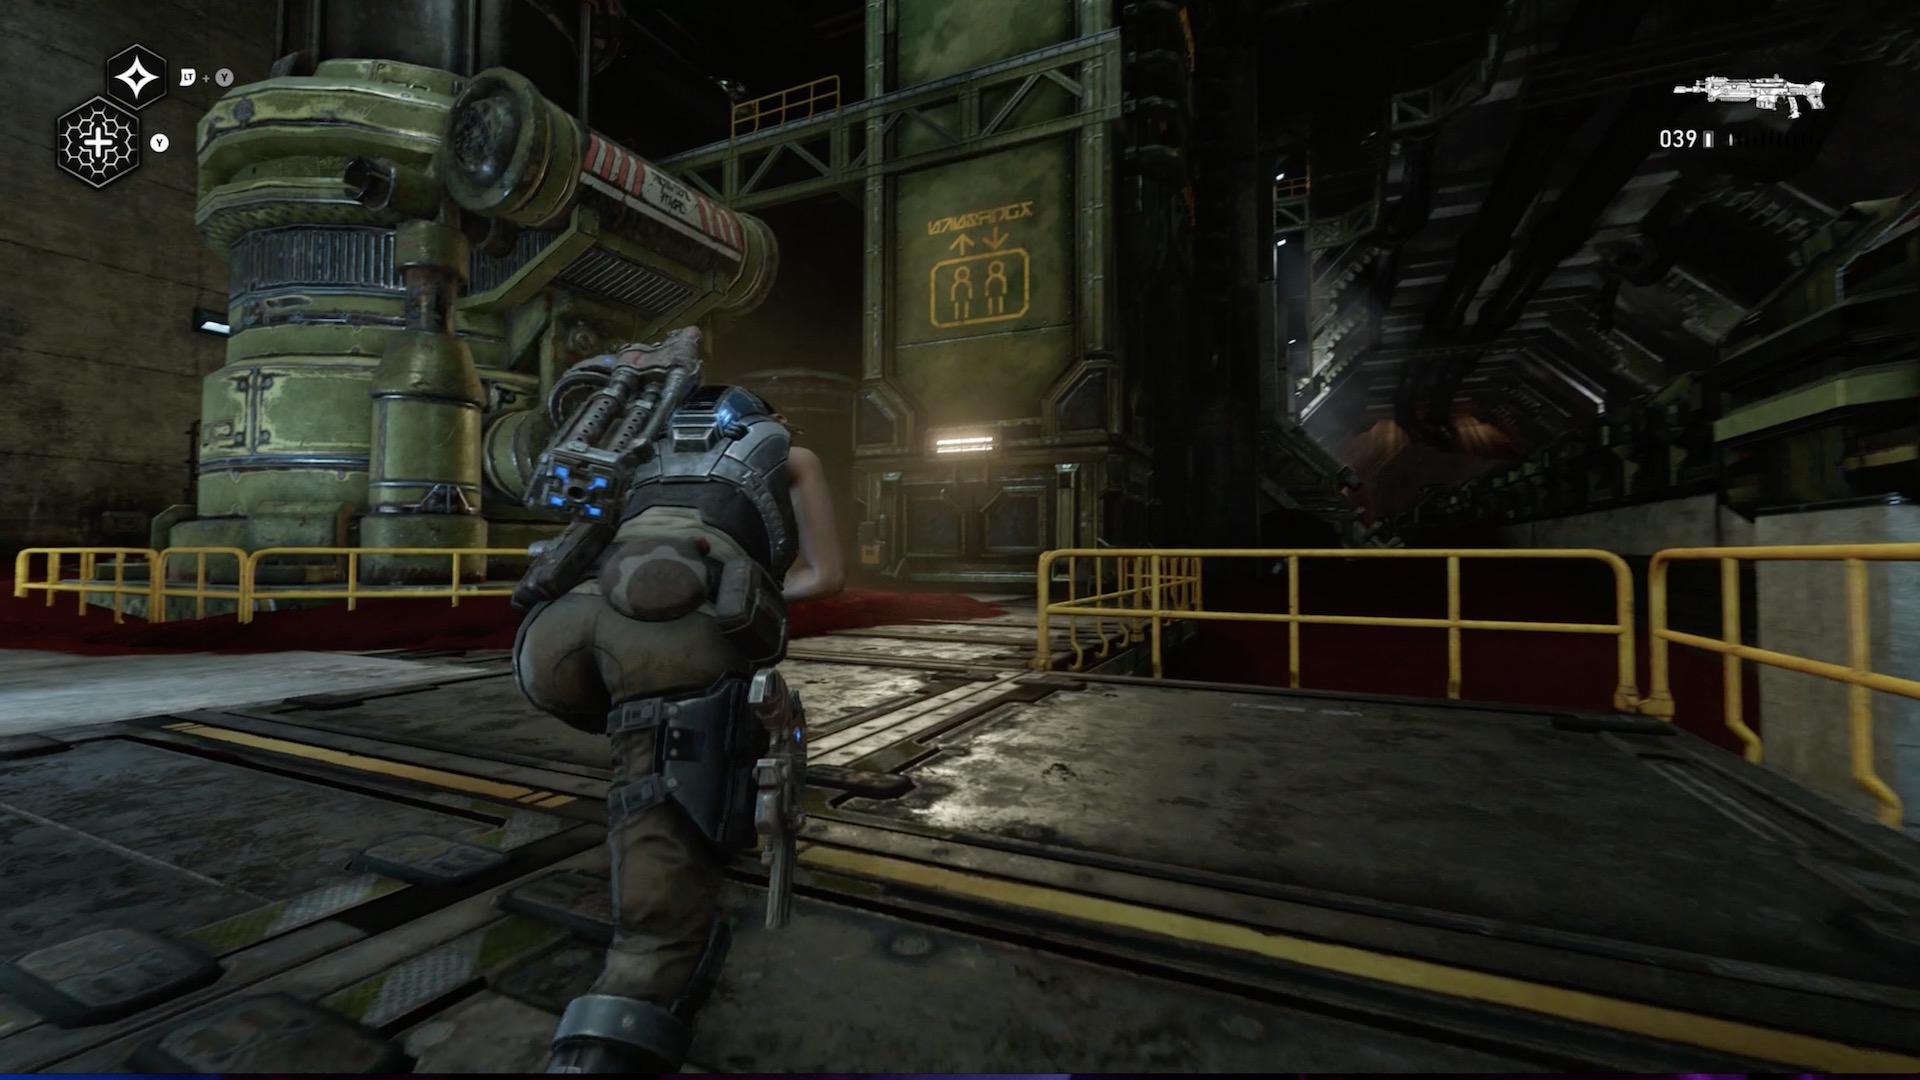
Component 3-Pack
Location: Rocket Hangar, maintenance lift
Current Objective: Use the maintenance lift
After you followed the rocket nose cone, progress through the hangar, take on a Carrier, after which you'll arrive at a maintenance lift. Before boarding the lift, notice the large lift iconography on the metal column nearby. Another fuse box with a component 3-pack is right at the base of that column.
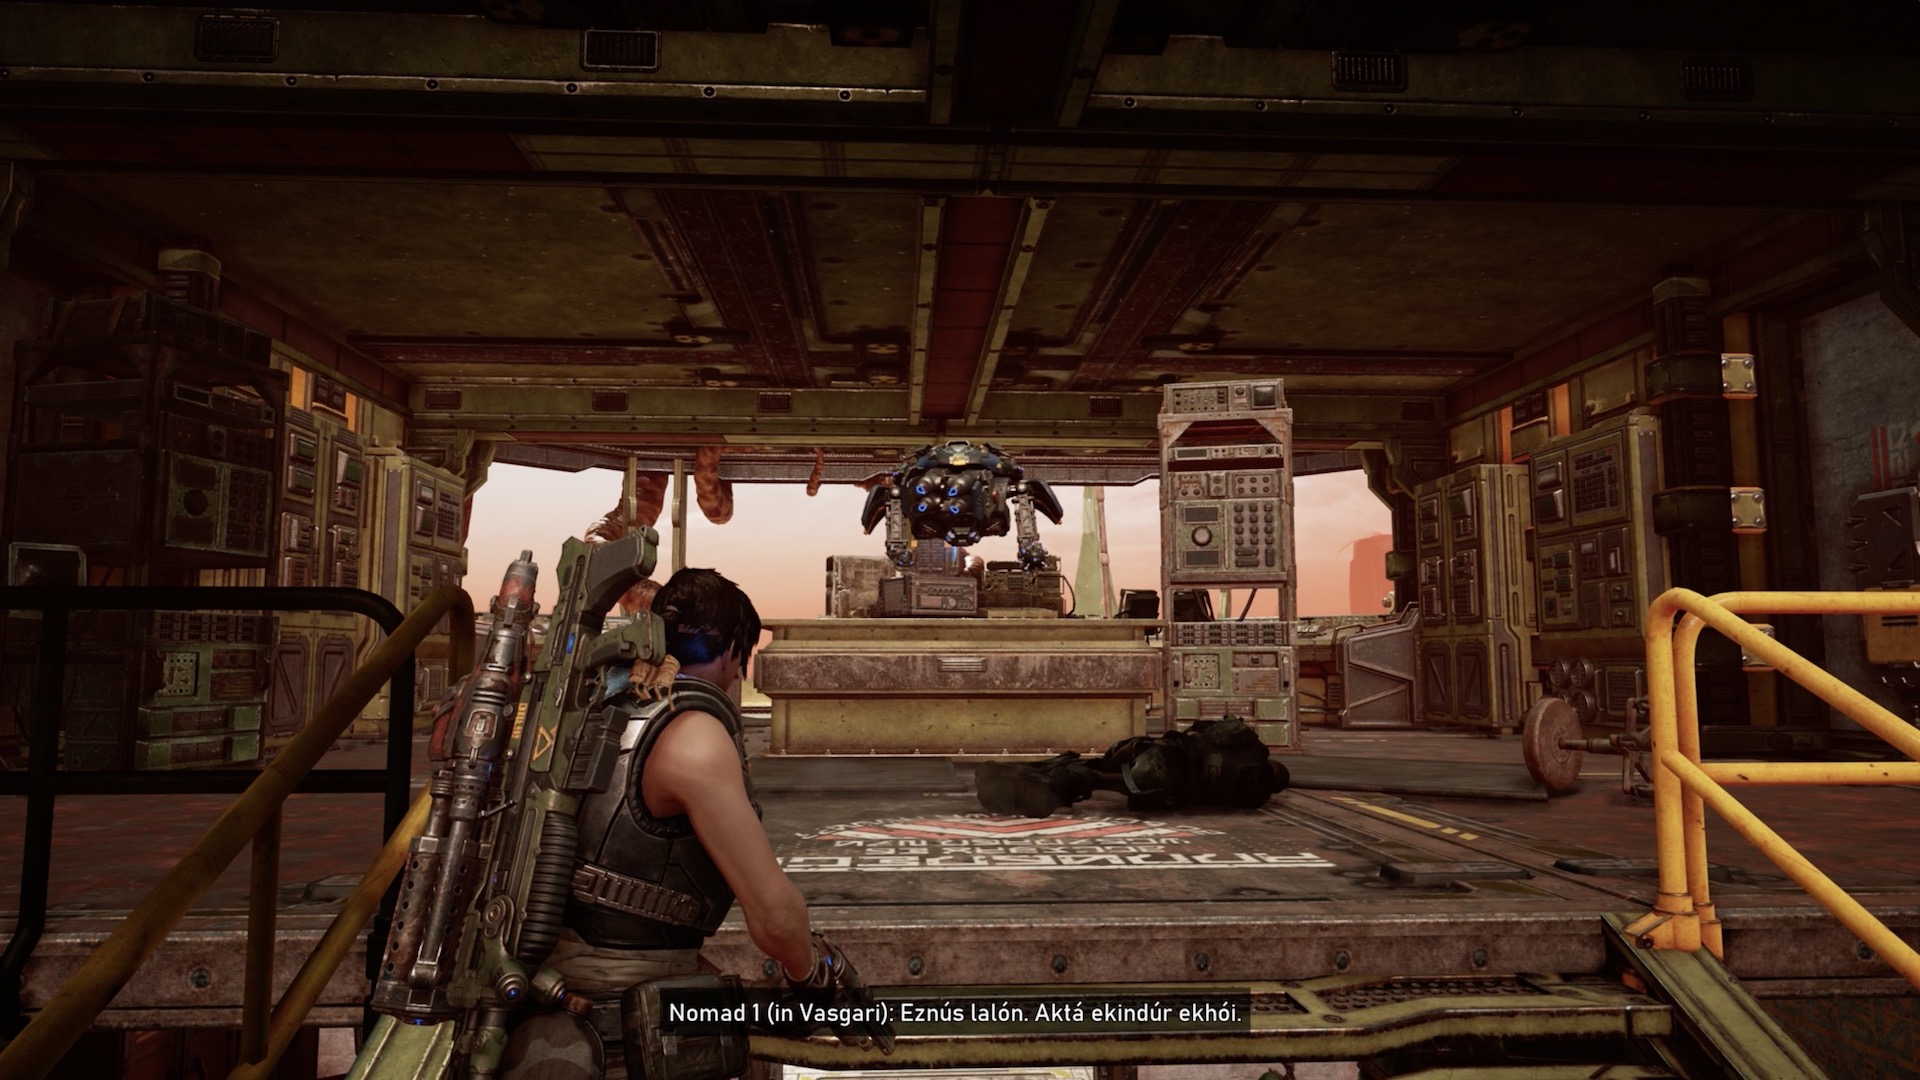
Component 3-Pack
Location: Secondary mission: Scavengers - Artillery Battery
Current Objective: Search for UIR radio tech
This is one of the first areas you can visit in the east after the nomads lift the train bridge. This artillery battery is immediately south of the bridge. Enter the battery to trigger the next Scavengers mission. After you save the nomads, enter the control center overlooking the battery. There you'll find a component 3-pack on the right wall.
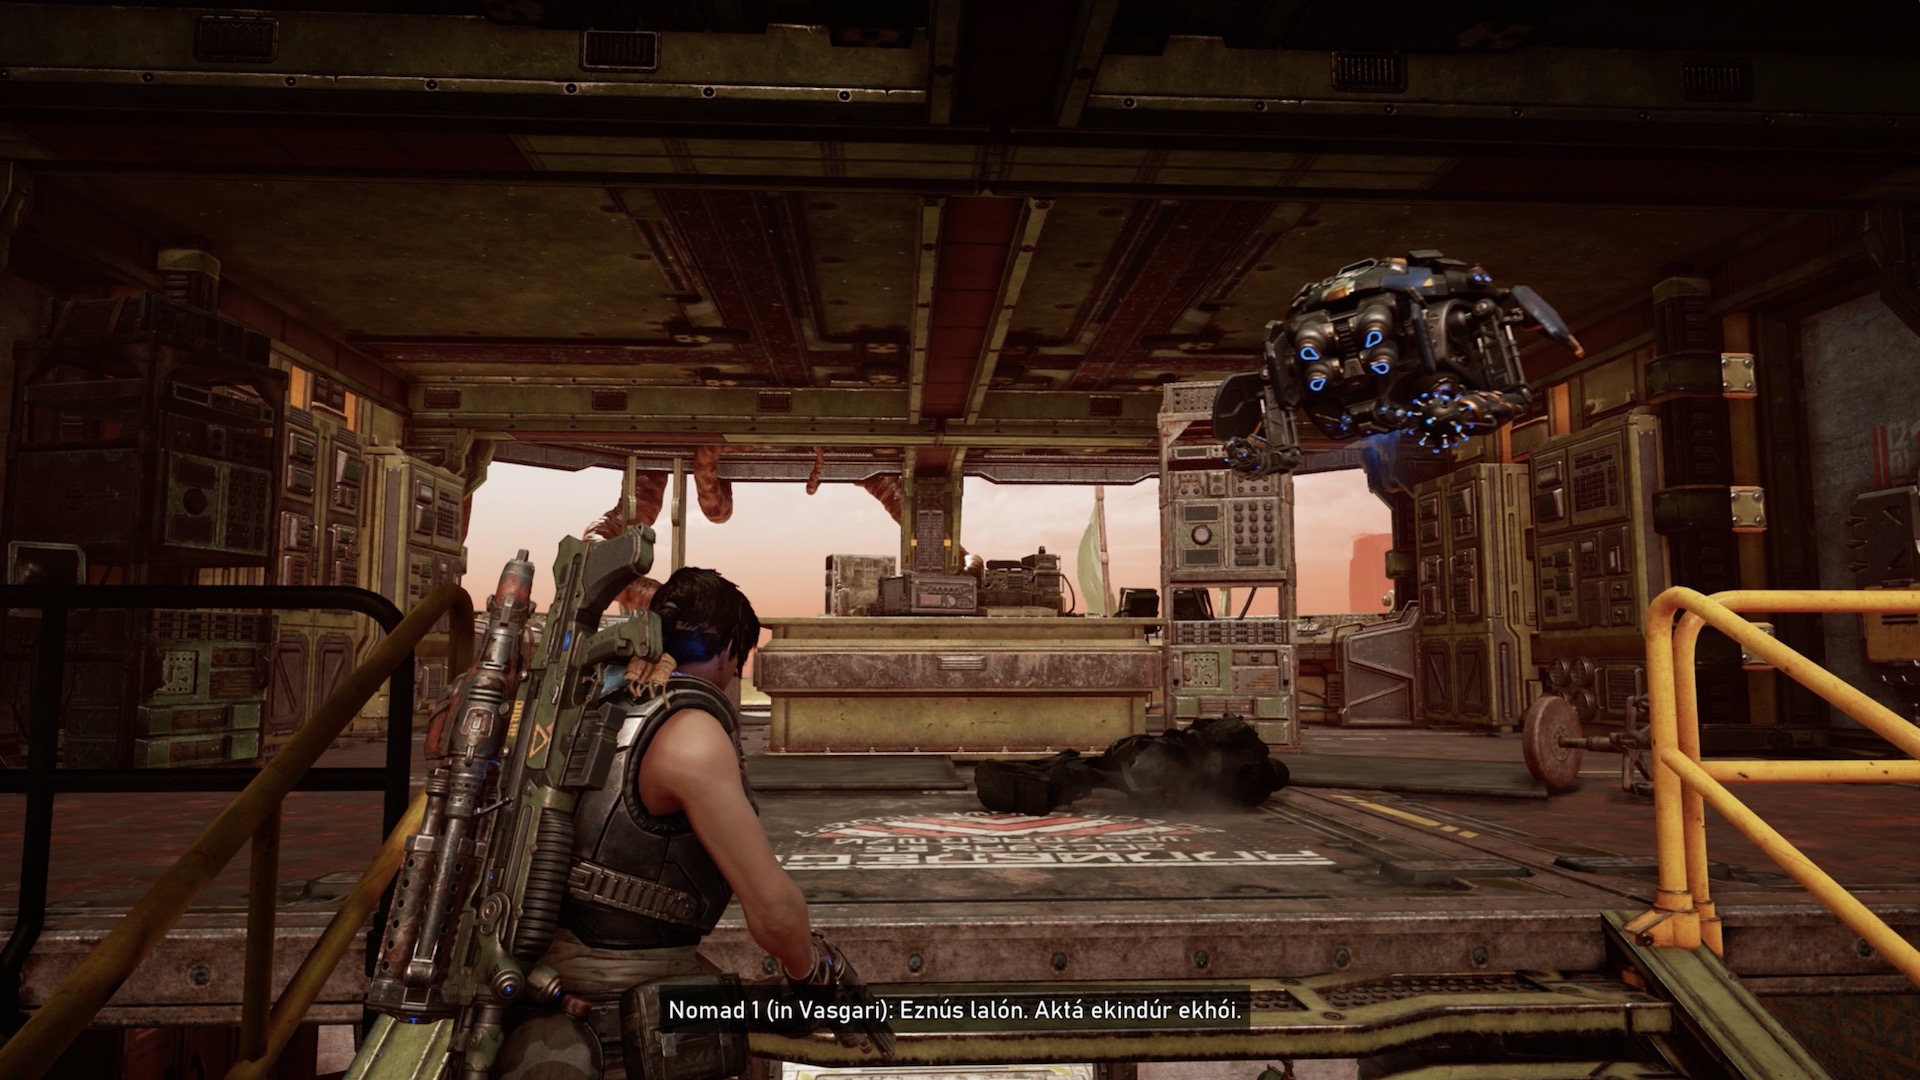
Ultimate Upgrade: Detonator Implant
Locations: Secondary mission: Scavengers - Artillery Battery and Cargo Shipwreck
Current Objective: N/A, free roam
This two-part item hunt is set in two locations east after the nomads lift the train bridge. One of the locations is the artillery battery immediately south of the bridge. After you save the nomads at the battery, enter the control room overlooking the site. You'll find the UIR LC Circuit B1 at the center table in the control room.
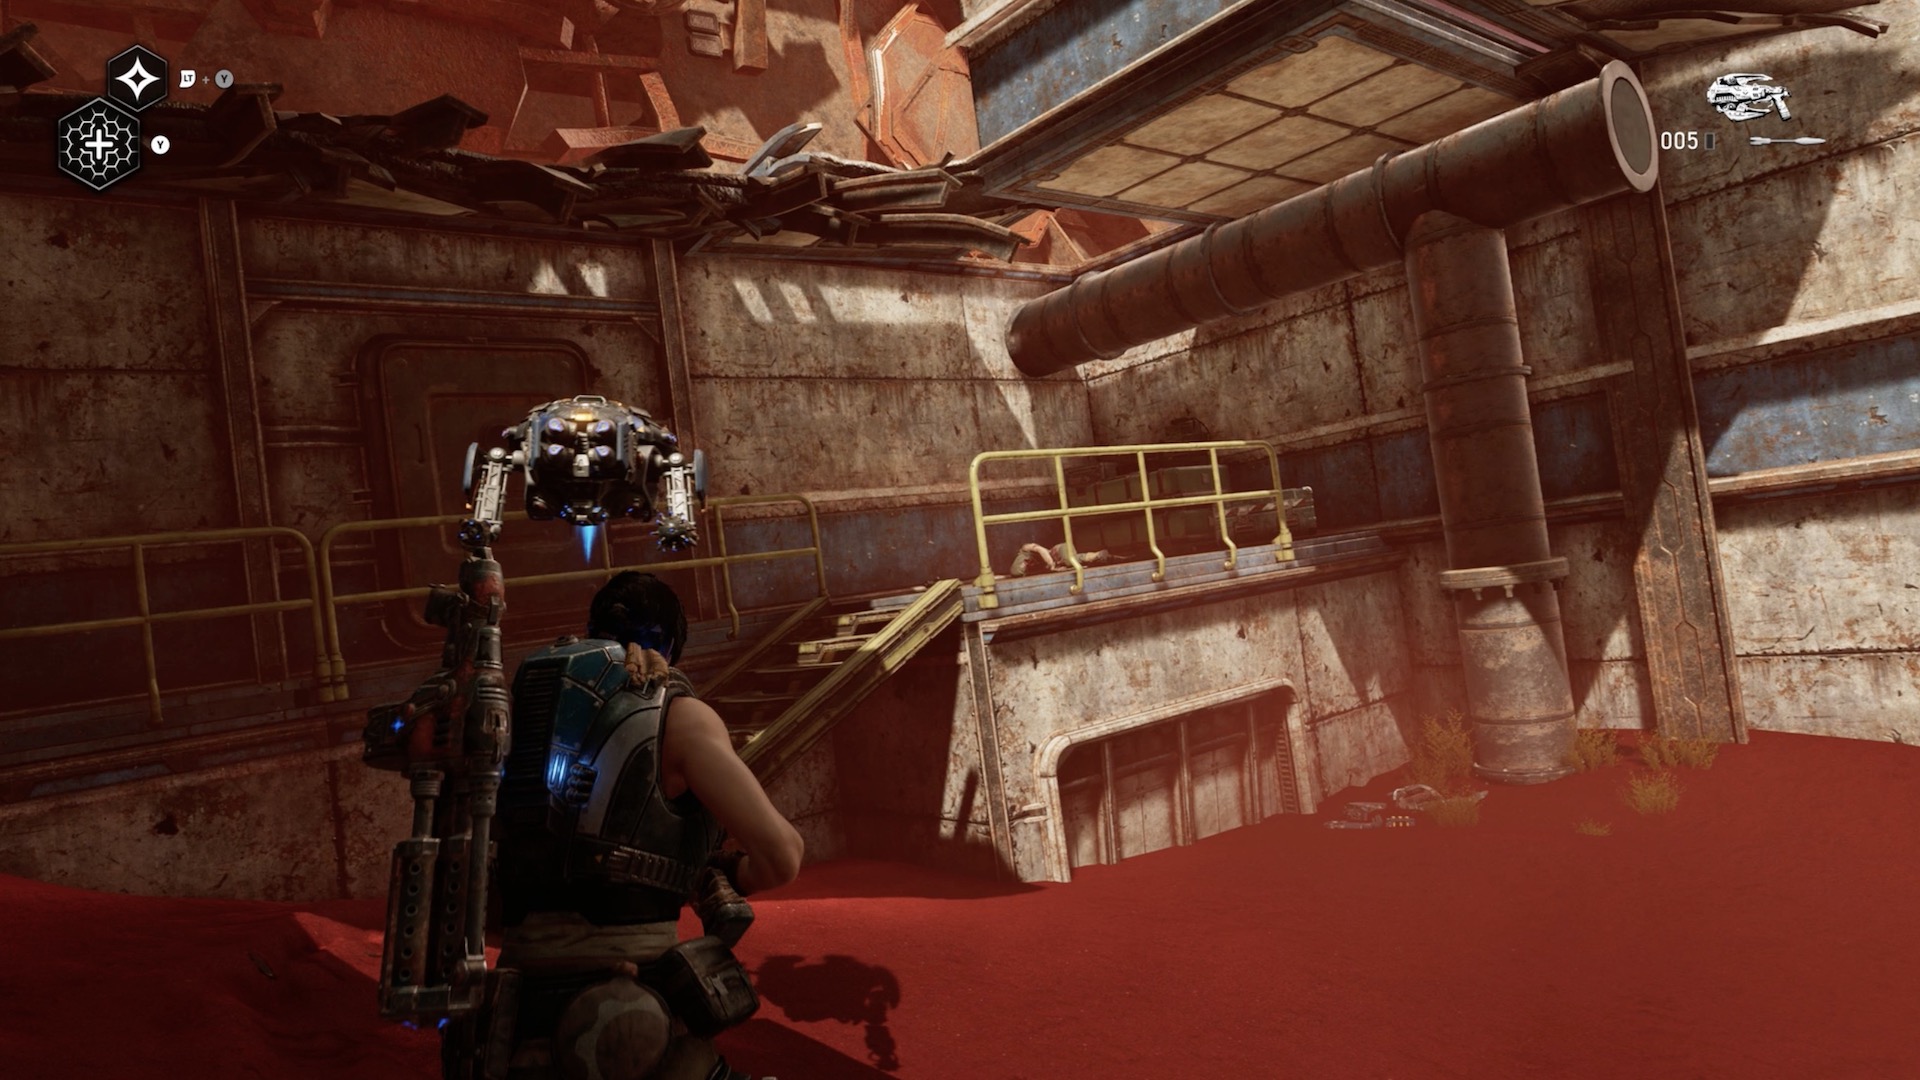
The next location is the Cargo Shipwreck, directly east of the train bridge, past the sandstorms. This area is in a much bigger state of disarray than the battery, so search thoroughly for supplies. The upgrade part, UIR LC Circuit B1, can be found at the top of the ramp at the far end of the inner area of the shipwreck.
This flashy ultimate upgrade is for Jack's Hijack ability. It saves you the hassle of killing the enemy you've hijacked by letting him explode after the ability wears off.
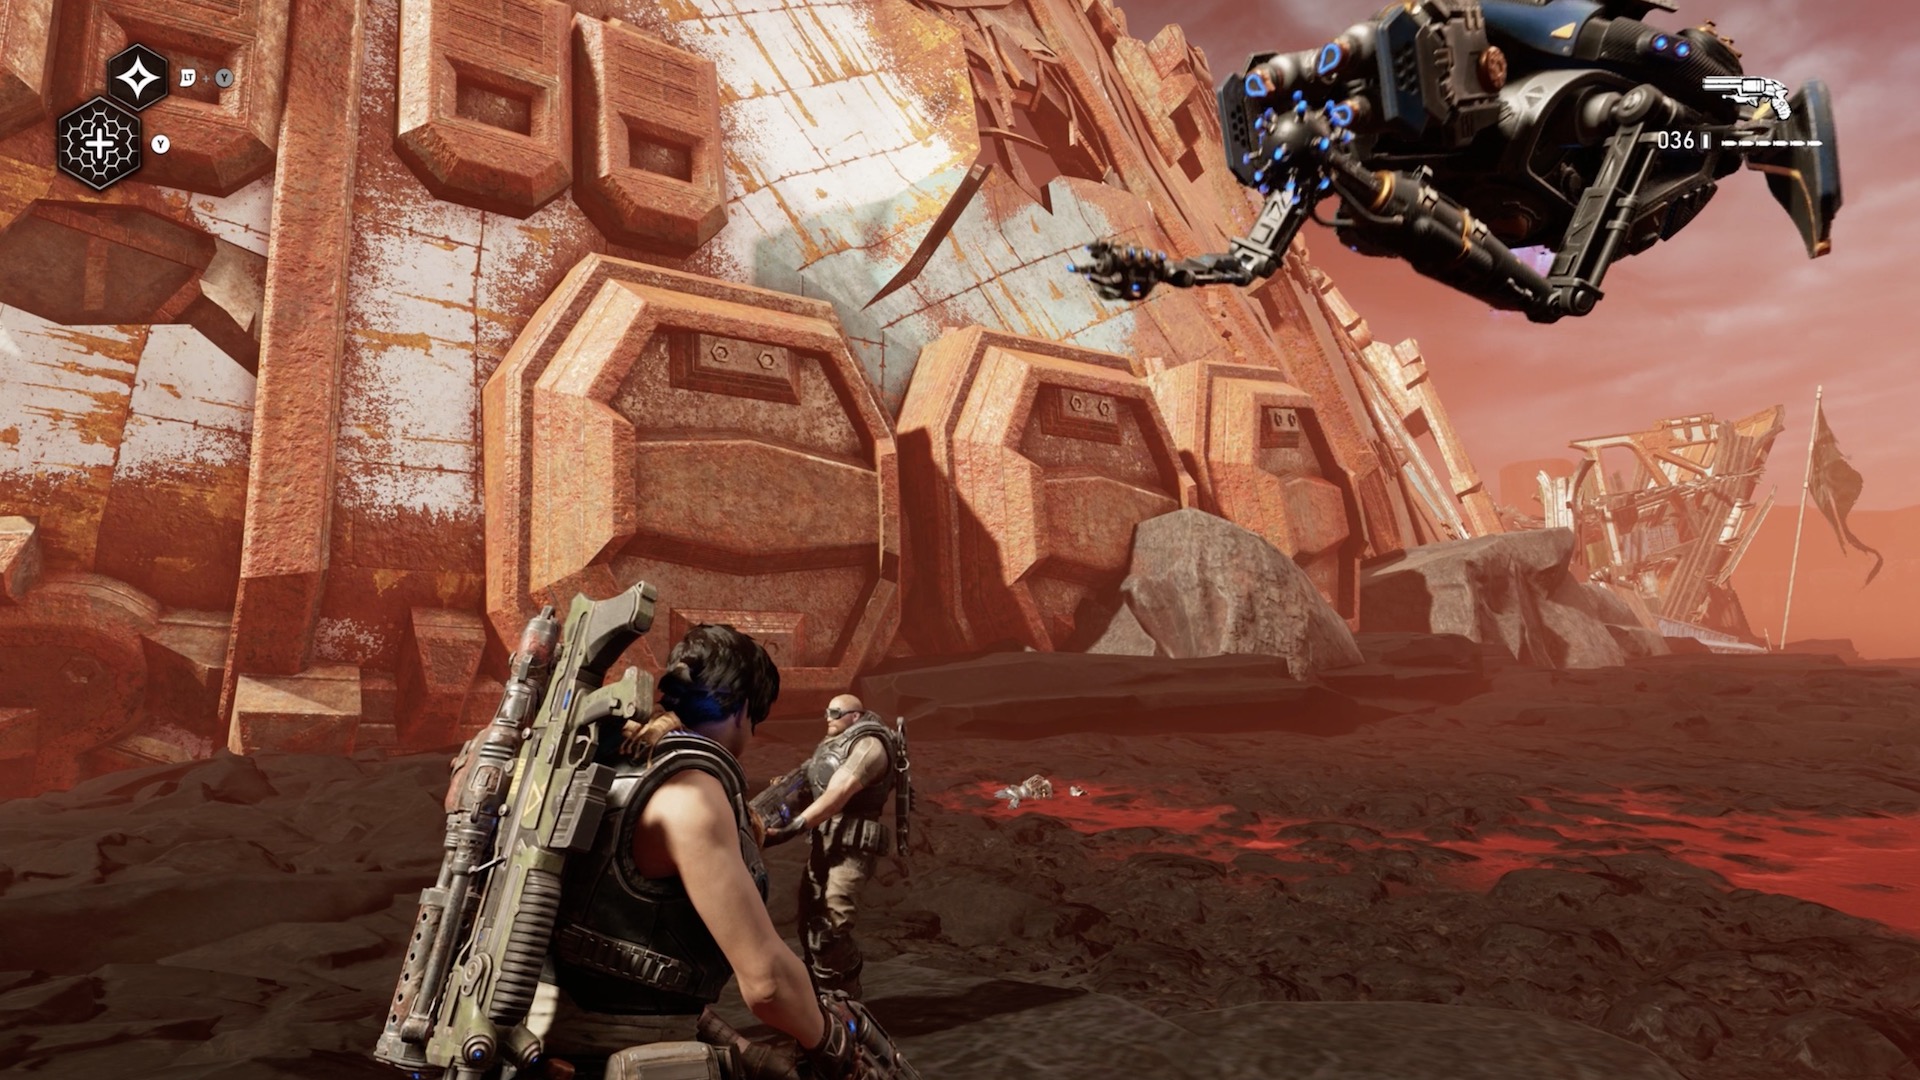
Component 3-Pack
Location: Secondary mission: Scavengers - Cargo Shipwreck
Current Objective: N/A, free roam
This Cargo Shipwreck is directly east of the train bridge, past the sandstorm. Using the shipwreck flag marker as a reference point, walk left without entering the shipwreck itself. Look for a partly buried corpse to find a component.
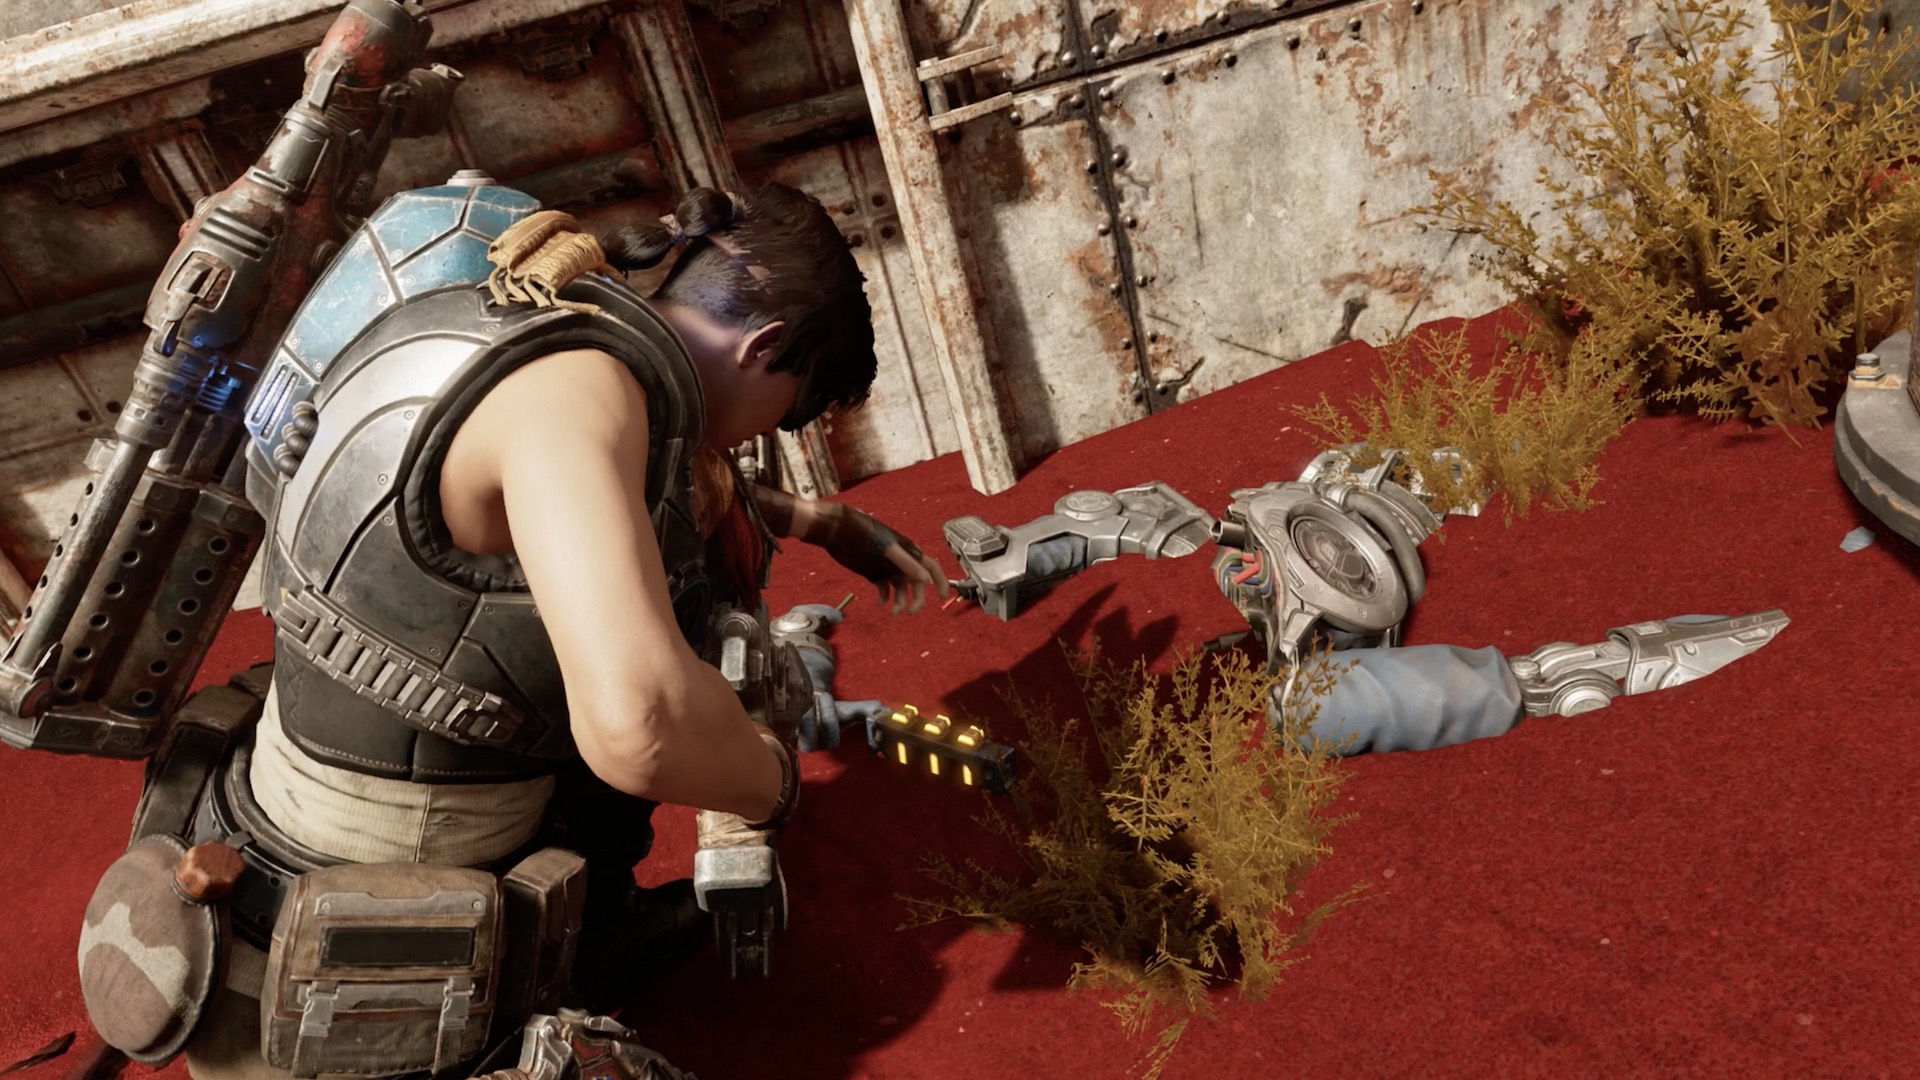
Component 3-Pack
Location: Secondary mission: Scavengers - Cargo Shipwreck
Current Objective: N/A, free roam
This Cargo Shipwreck is directly east of the train bridge, past the sandstorm. Enter the shipwreck and clear it out of all hostilities. Then head for the ramp at the opposite end of the shipwreck entrance. At the base of the ramp you'll find a component 3-pack next to a corpse.
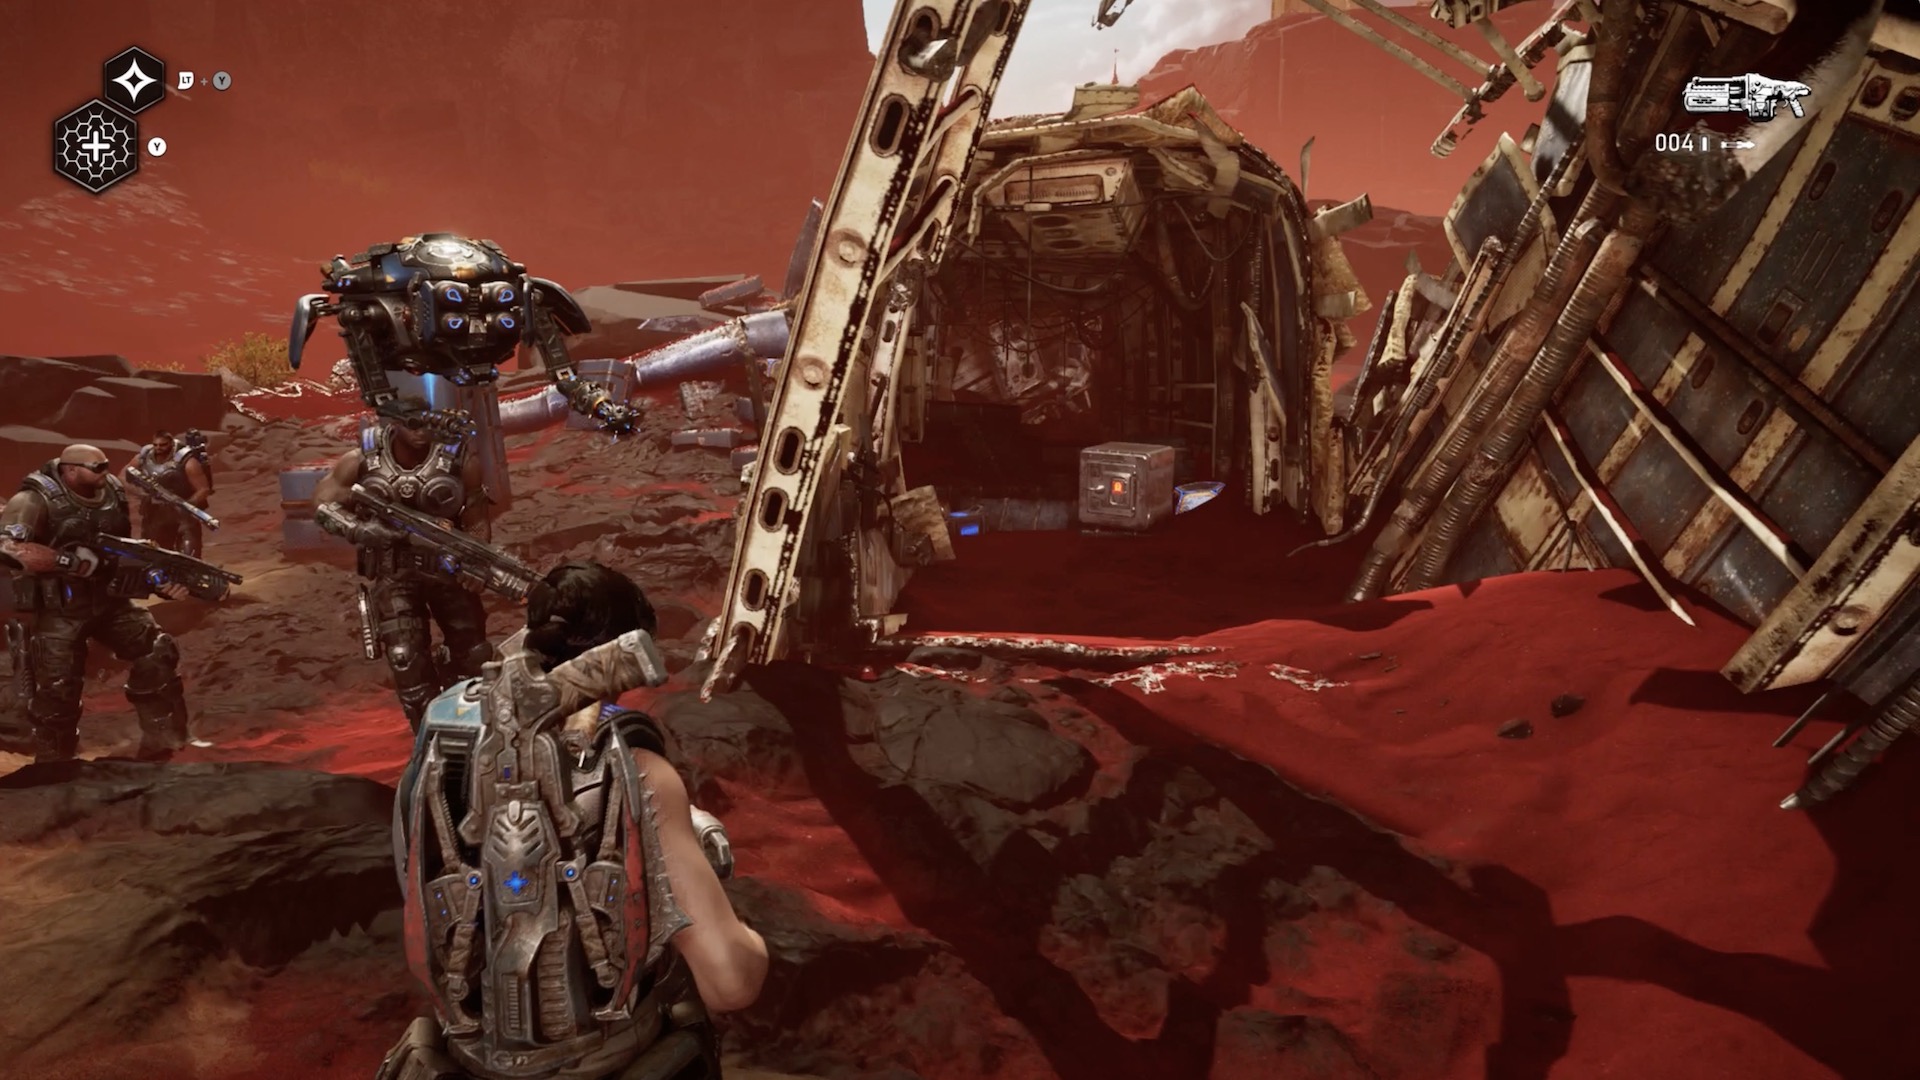
Component 5-Pack
Location: Secondary mission: Downed Condors
Current Objective: Search for supplies
To find the Downed Condors mission in Act III, you'll need to travel far east, beyond both the shipwreck and the sand storm. When you survive the storm, you should be able to spot the wreckage of a crashed Condor. When you've cleared out the local opposition, focus on the main portion of the Condor wreckage. Go inside what's left of the fuselage to find a safe. Use Jack to open it, revealing a component 5-pack.
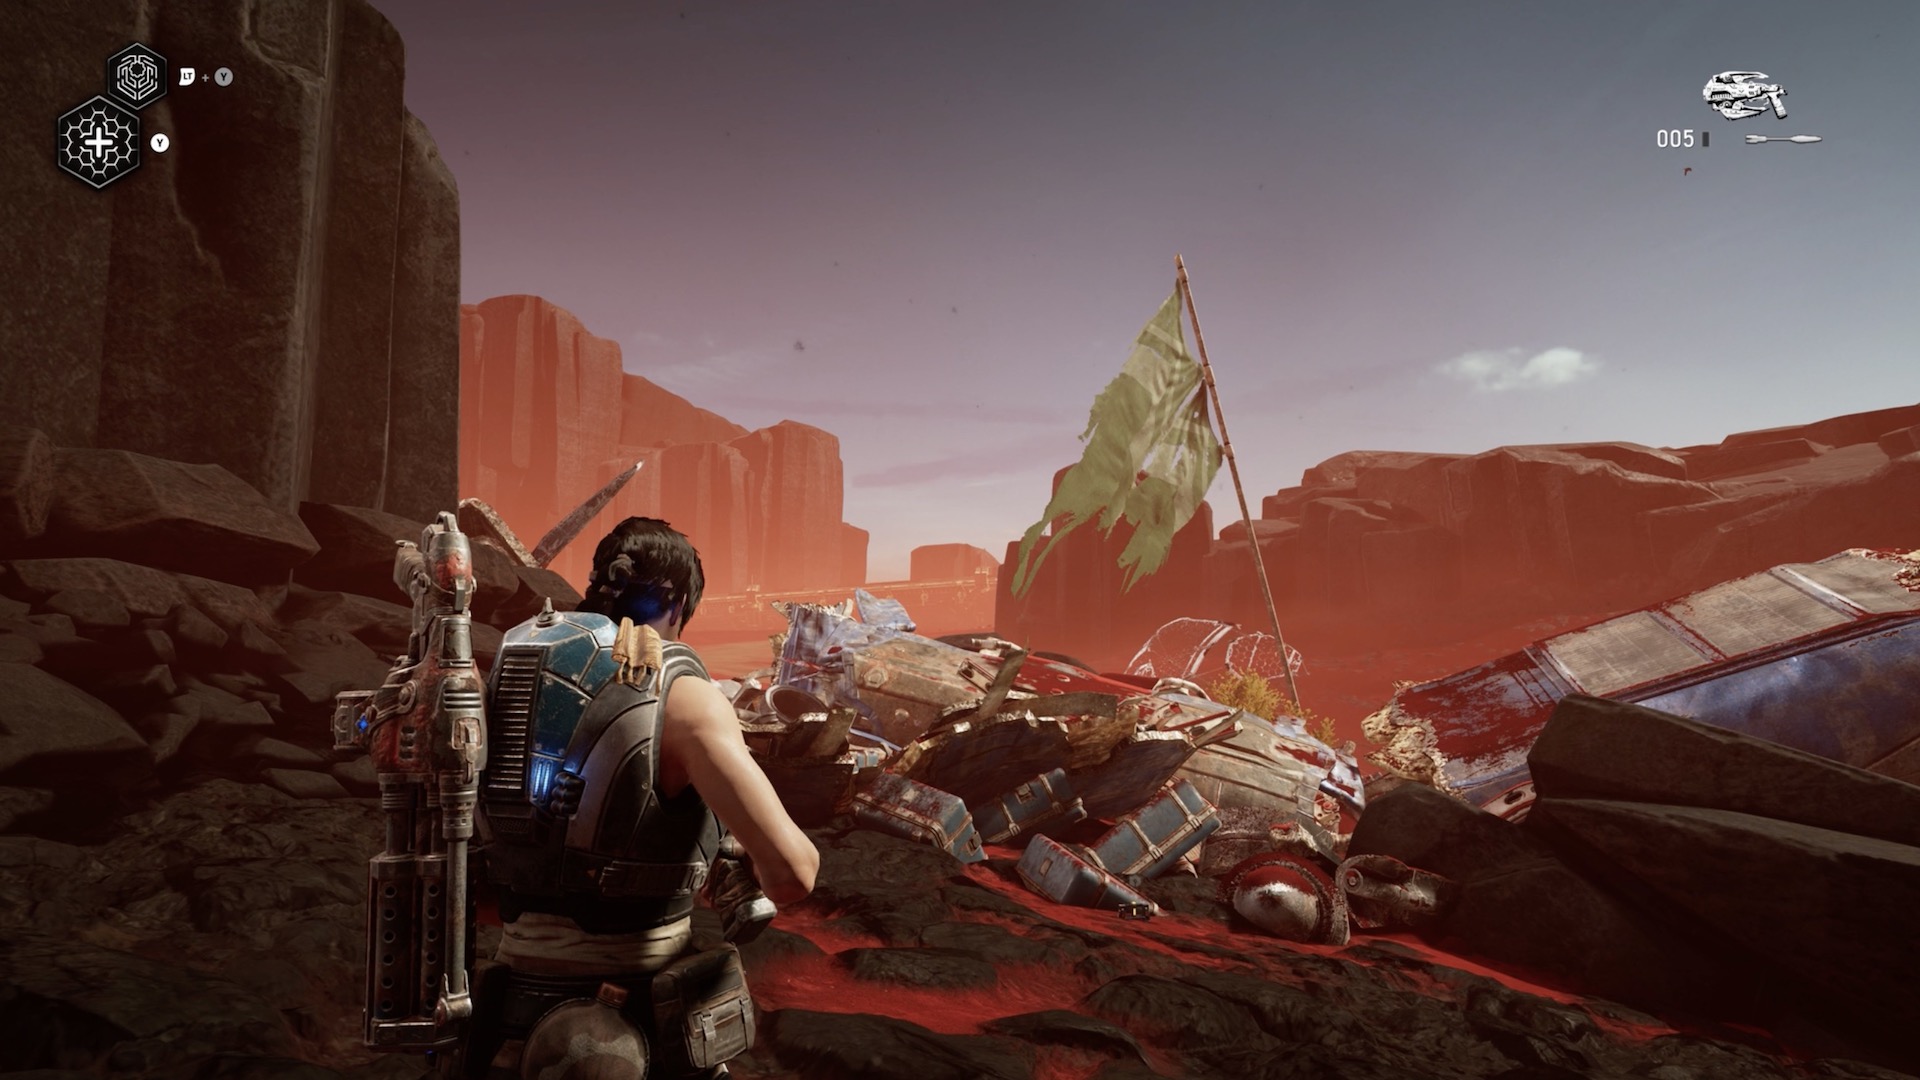
Component
Location: Secondary mission: Downed Condors
Current Objective: Search for supplies
As you search the wreckage of the downed Condor in the far east of the map, walk to the other side of the wreckage, at the far opposite of the flag marker (the flag should be in the background and still within your field of view). There you'll find a component.
Component
Location: Secondary mission: Downed Condors
Current Objective: Search for supplies
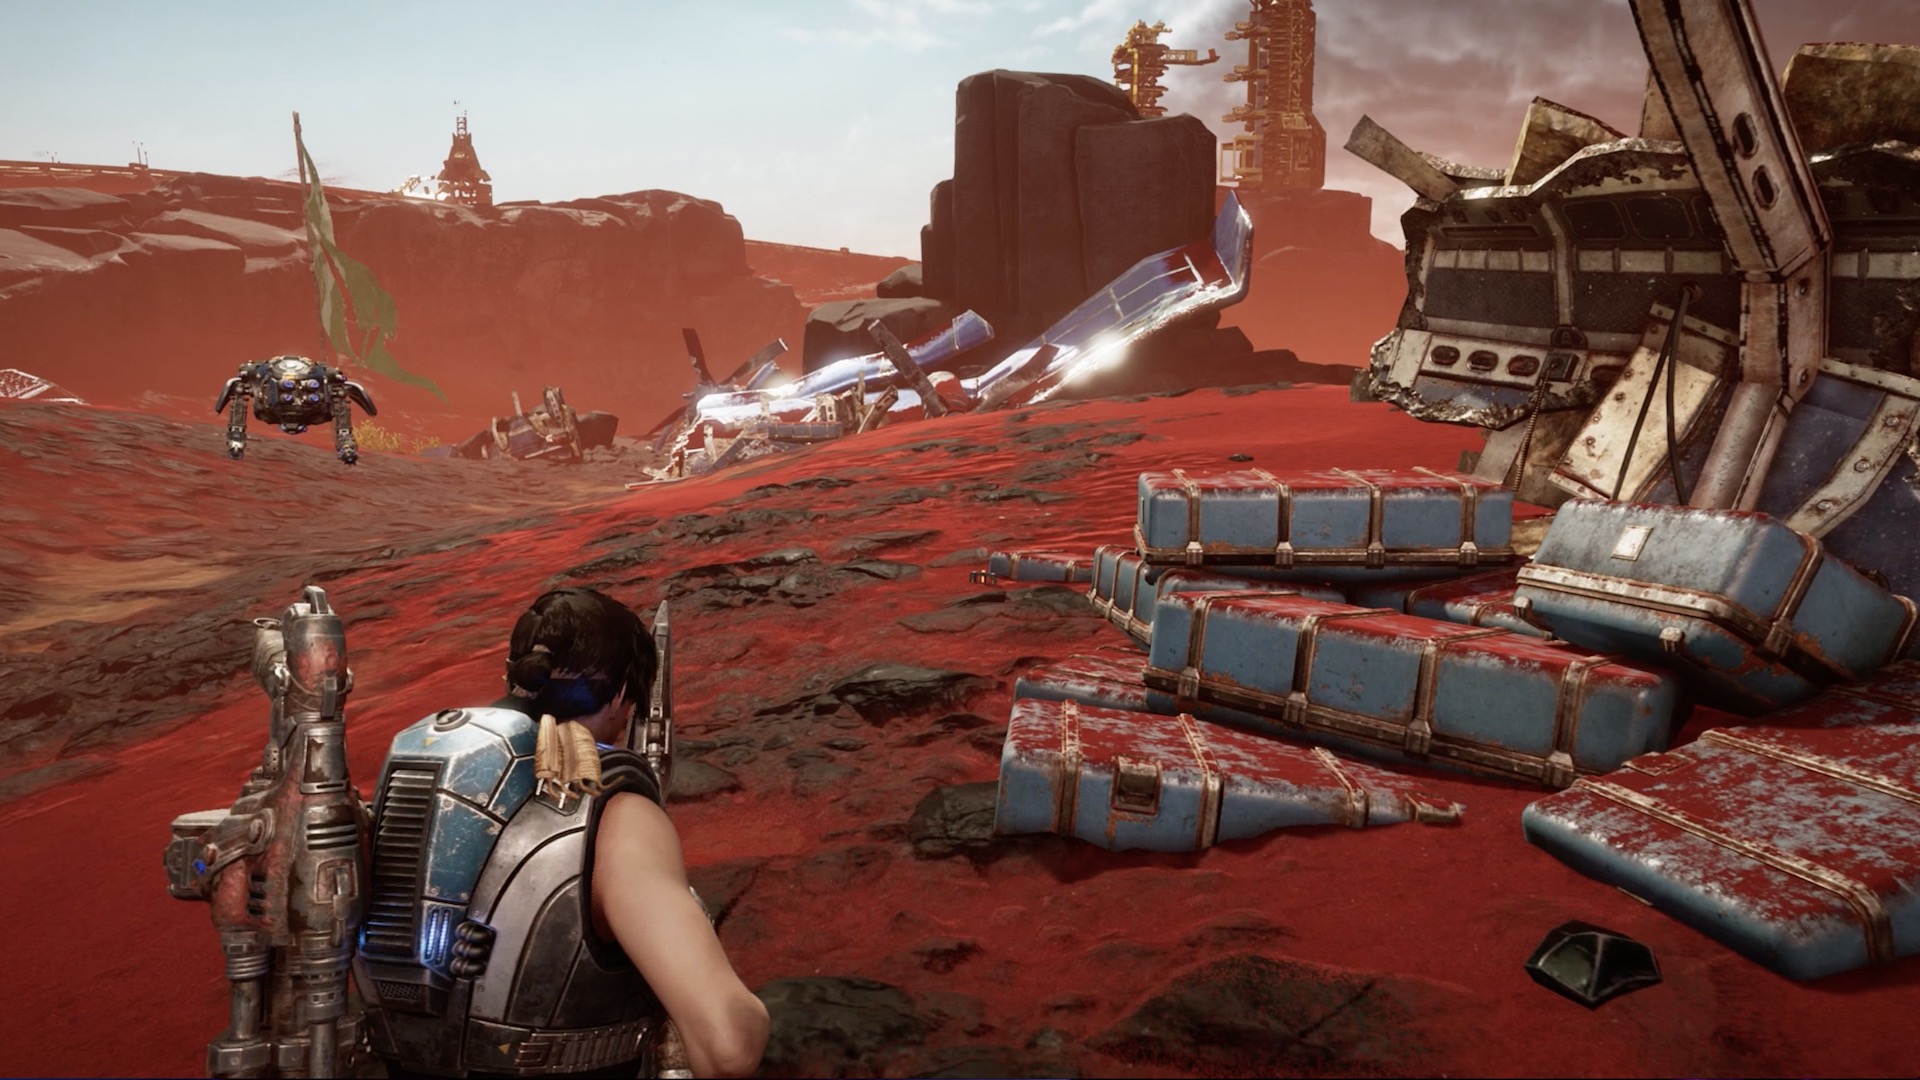
Using the mission's flag marker as a reference point, walk to the wreckage to the right, beyond the main fuselage. Look for a collection of pale blue containers that look like giant suitcases. There you'll find a component.
Component
Location: Secondary mission: Downed Condors
Current Objective: Search for supplies
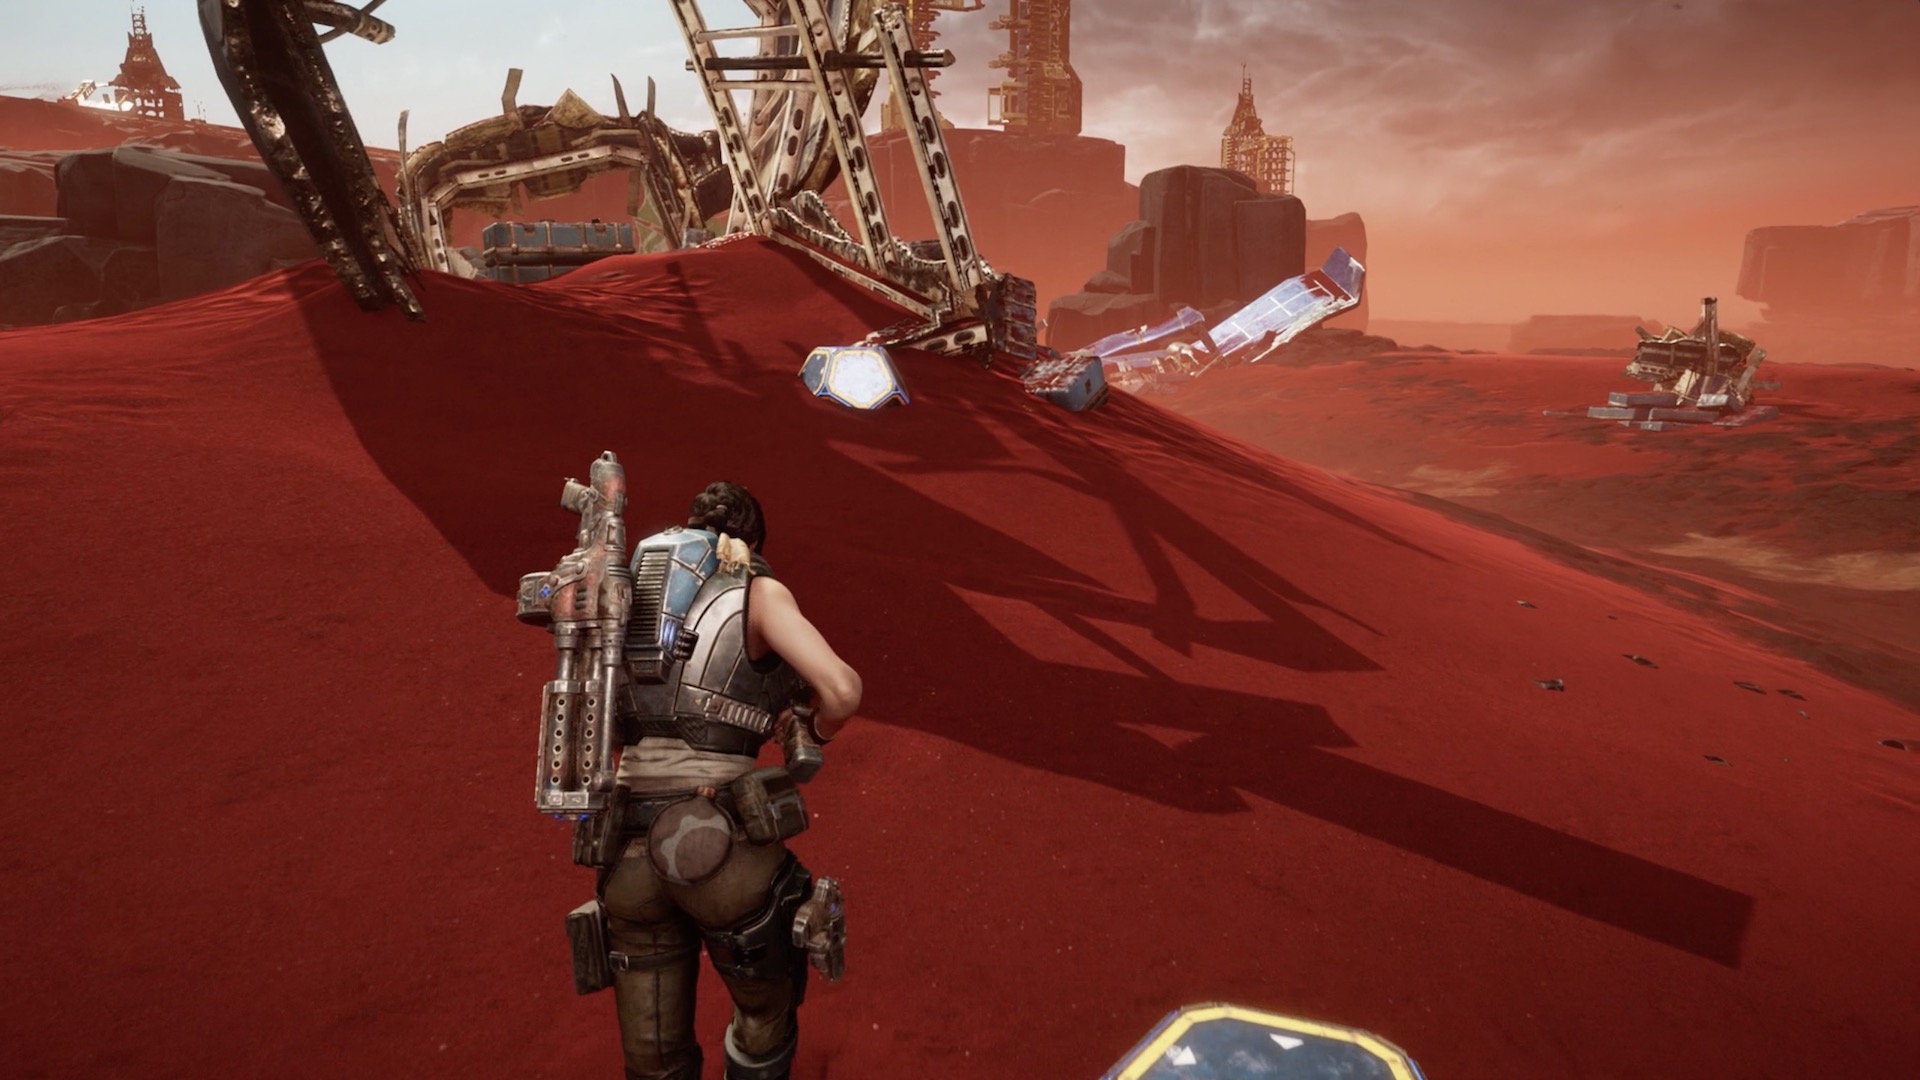
Using the mission's flag marker as a reference point, walk to the wreckage to the right, beyond the main fuselage. Look for a few unopened drop pods around the scant remains of a small section of the Condor's skeleton. There you'll find a component sitting atop some crates.
Component 3-Pack
Location: Train turntable control room
Current Objective: Realign the turntable tracks
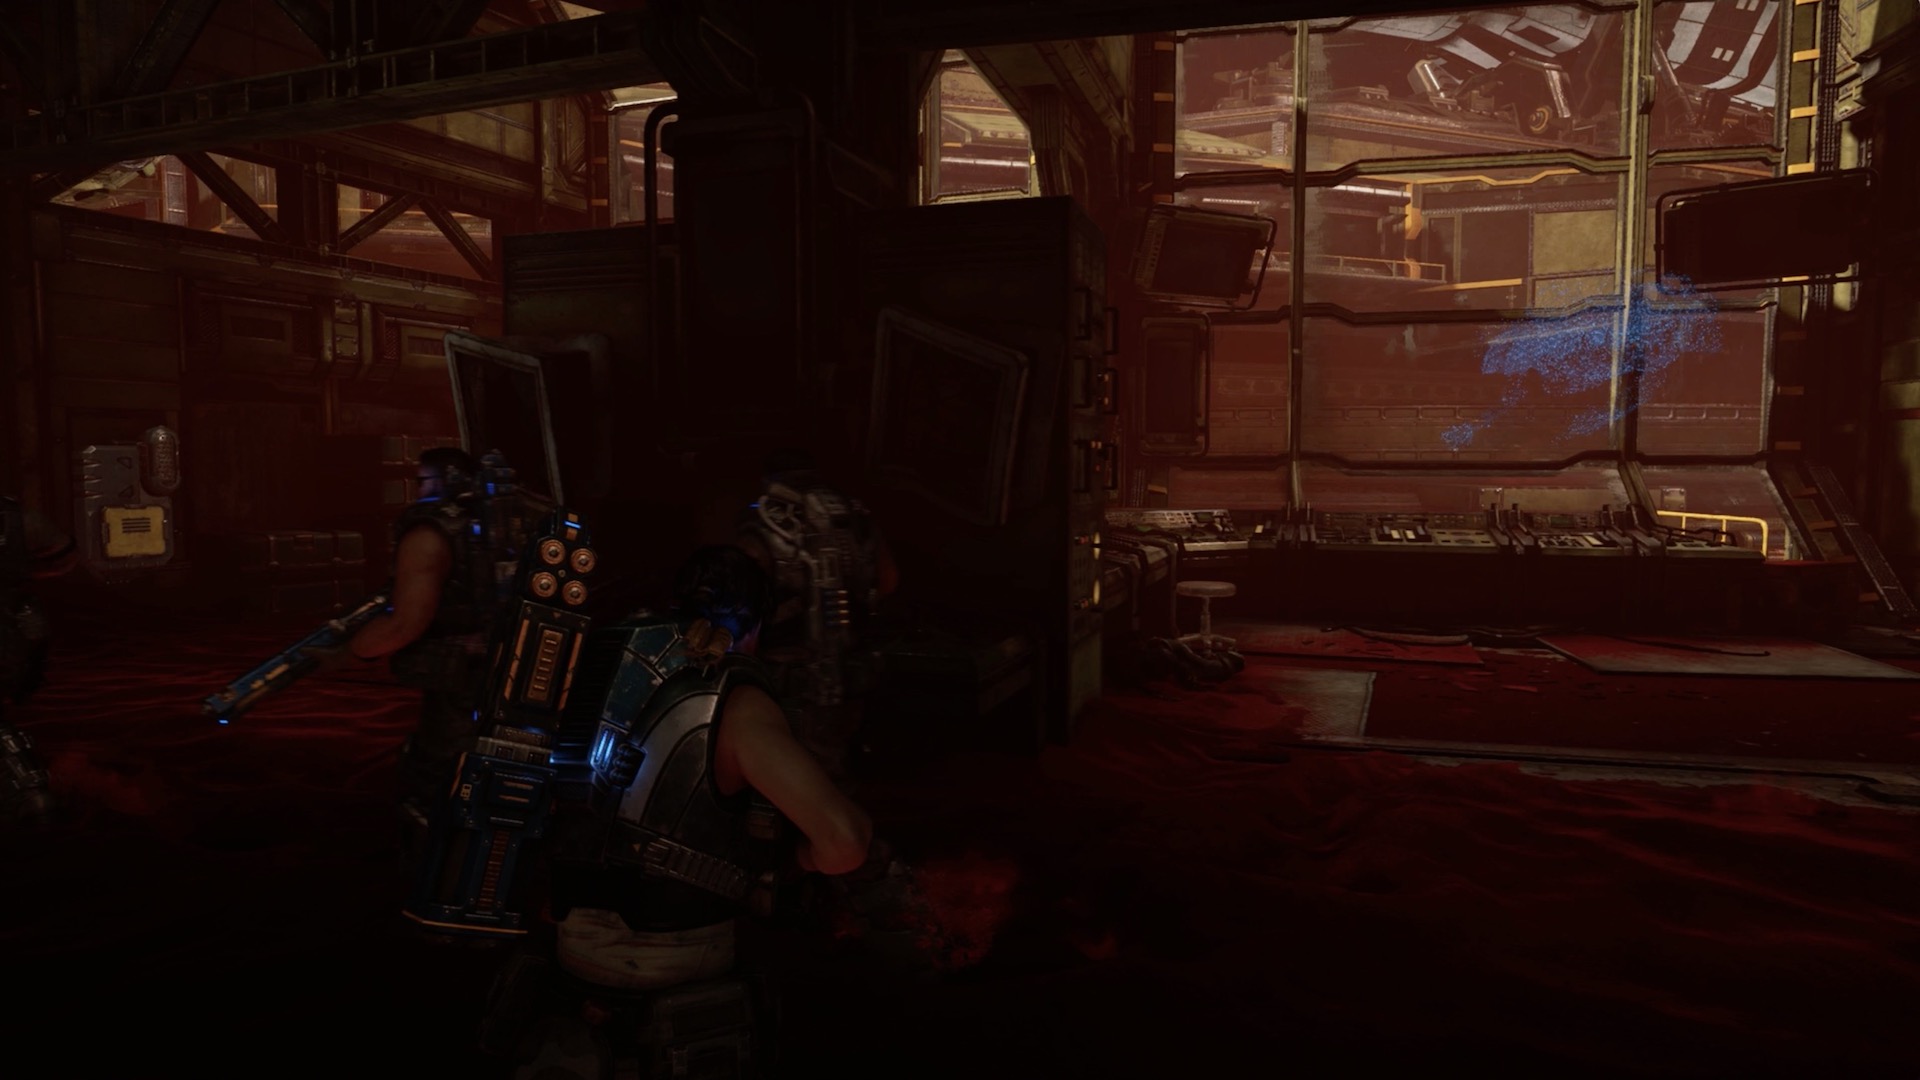
When you've reached the mission involving the train turntable, progress until you've reached the first room, which is the control room. Walk to the other side of it to find a yellow panel. Inside you'll find a component 3-pack.
Continue to Gears 5 components Act 4
Current page: Gears 5 components: Act 3
Prev Page Gears 5 components: Act 2 Next Page Gears 5 components: Act 4