Gears of War 4 collectibles guide – all 50 collectible documents and dog tags locations
Find all 50 collectible documents and dog tags with our complete illustrated guide

Gears of War 4 began a new trilogy for the series, and thanks to Xbox Games with Gold in August 2019 there's a fresh opportunity to meet the new generation of rebellious squadmates the game introduced. This also means there's a set of Gears of War 4 collectibles to track down over the five acts in the campaign, with plenty of fresh locations to search for these documents and dog tags. Some are easier to find than others, but following our guide will show you the locations of all 50 Gears of War 4 collectibles and the order in which you can find find them.
How to use this guide: The main text of each entry details when and where you should find the collectible. The “Current Objective”, seen at the upper left corner of the screen from time to time, also coincides with when you should start looking for a collectible. An additional screenshot has been added for each entry to show the general area near a collectible, and they are listed in the order in which you can find them in a single playthrough.
Act I: 0. Prologue
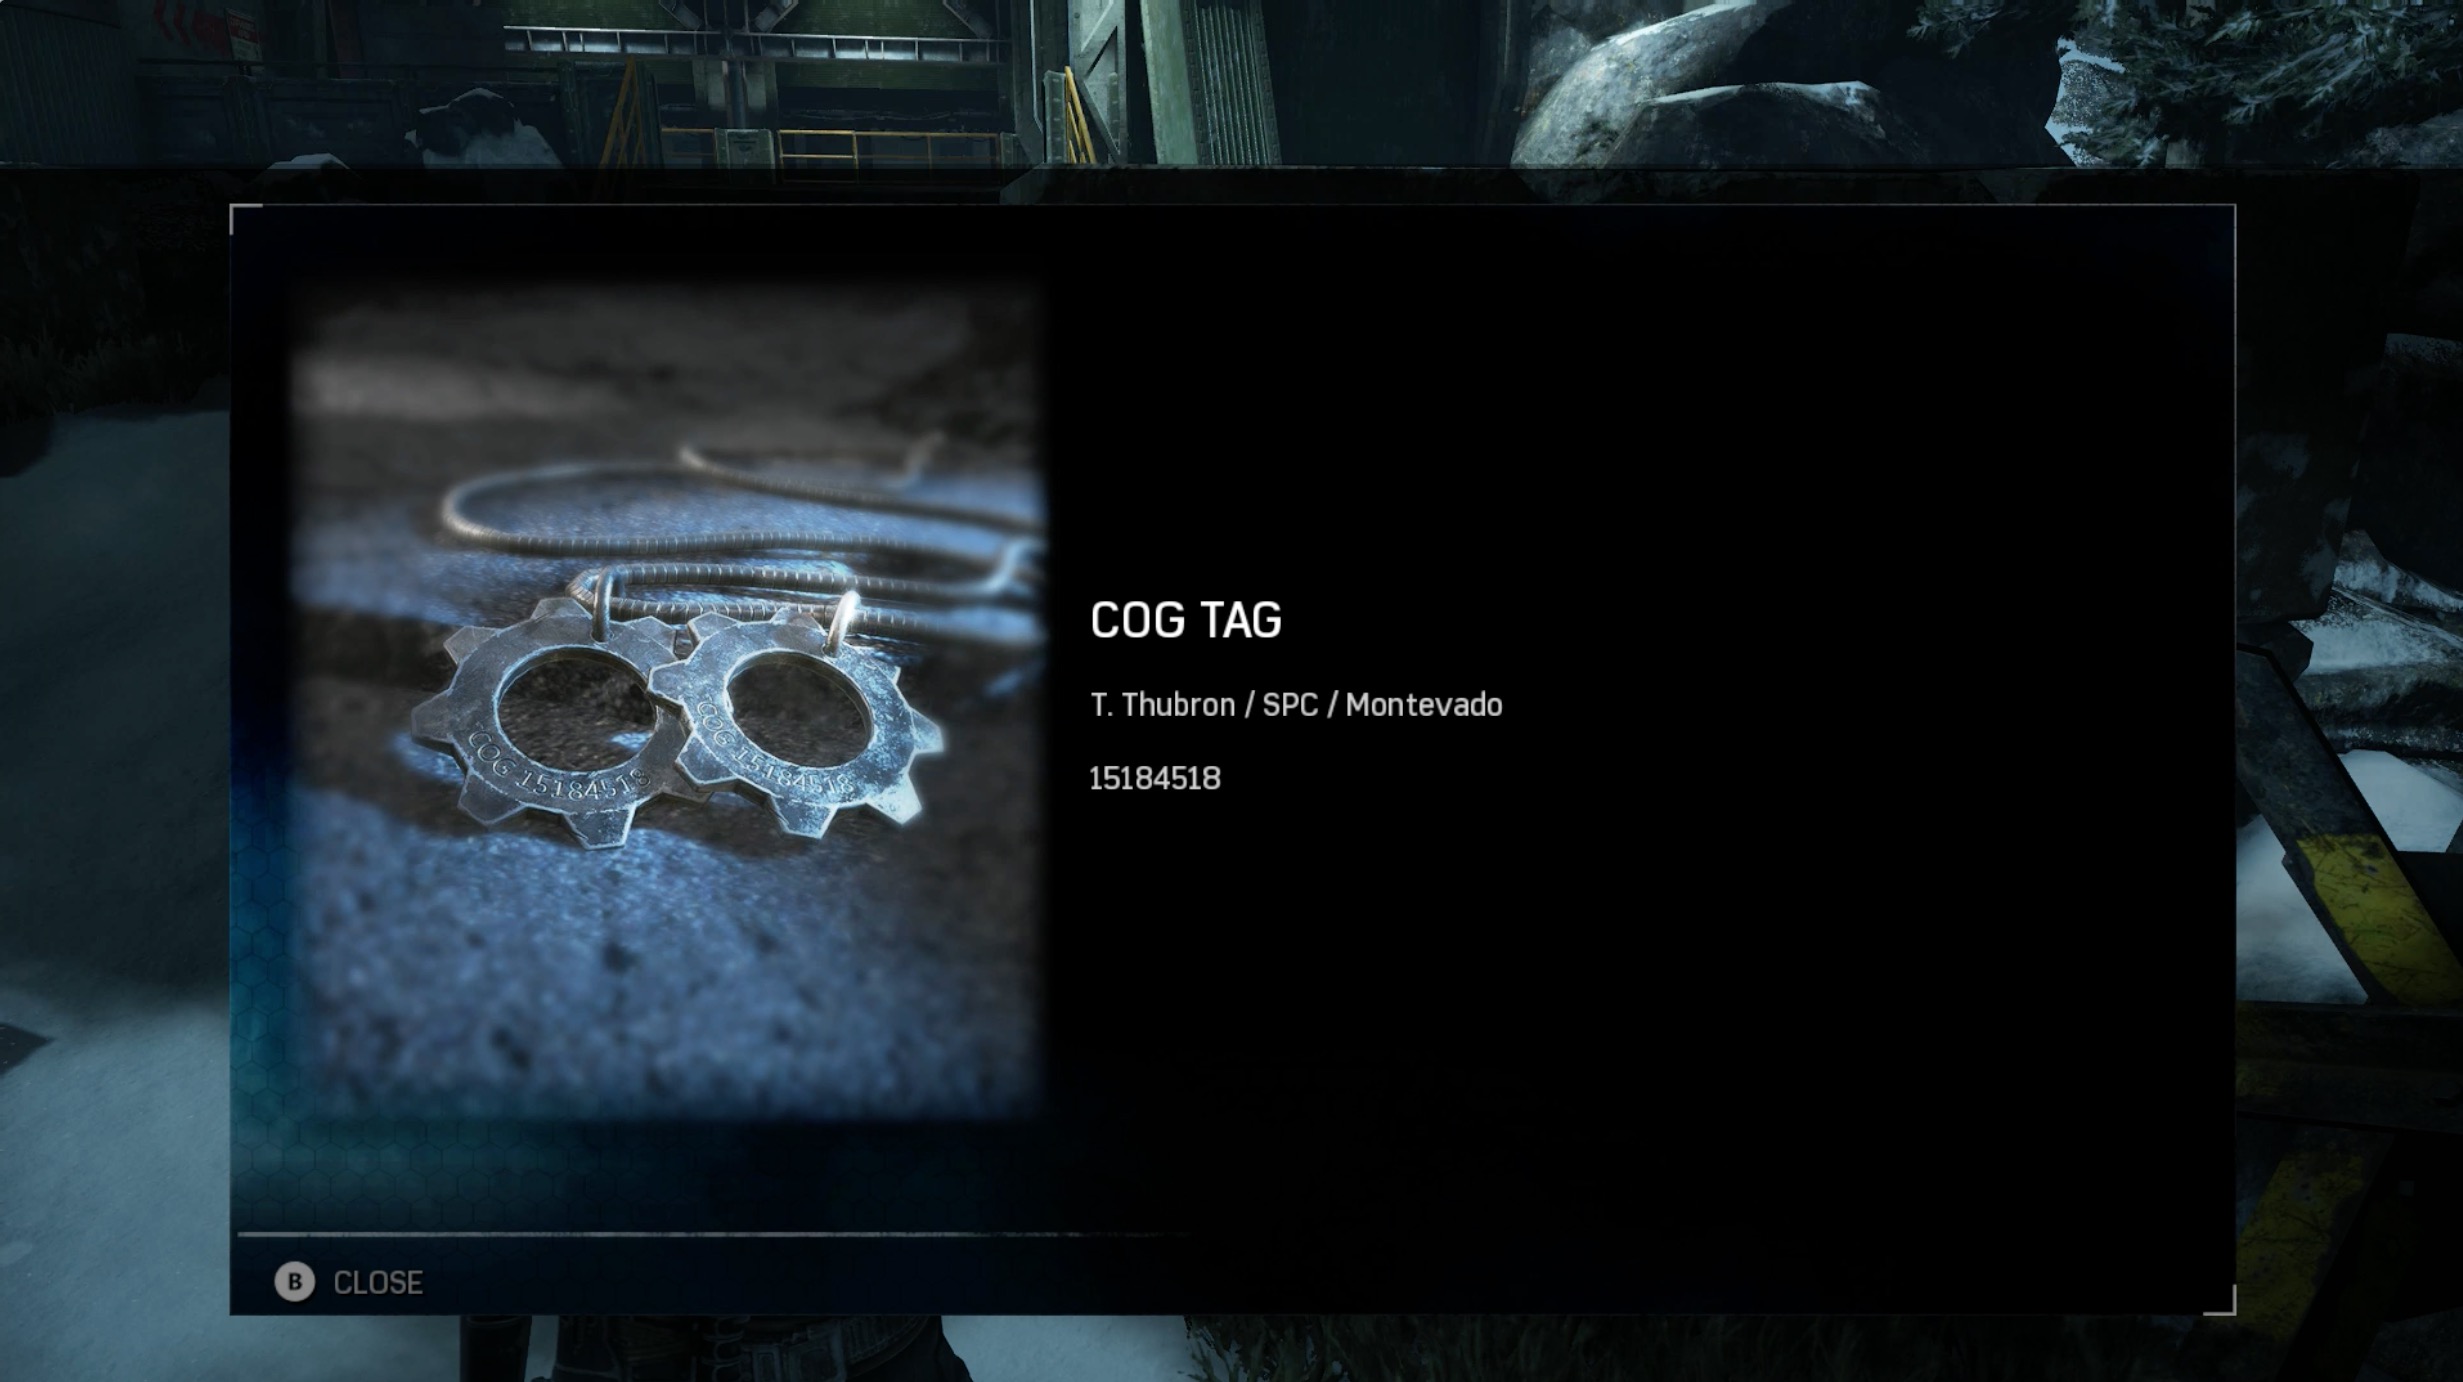
COG Tag: T. Thubron
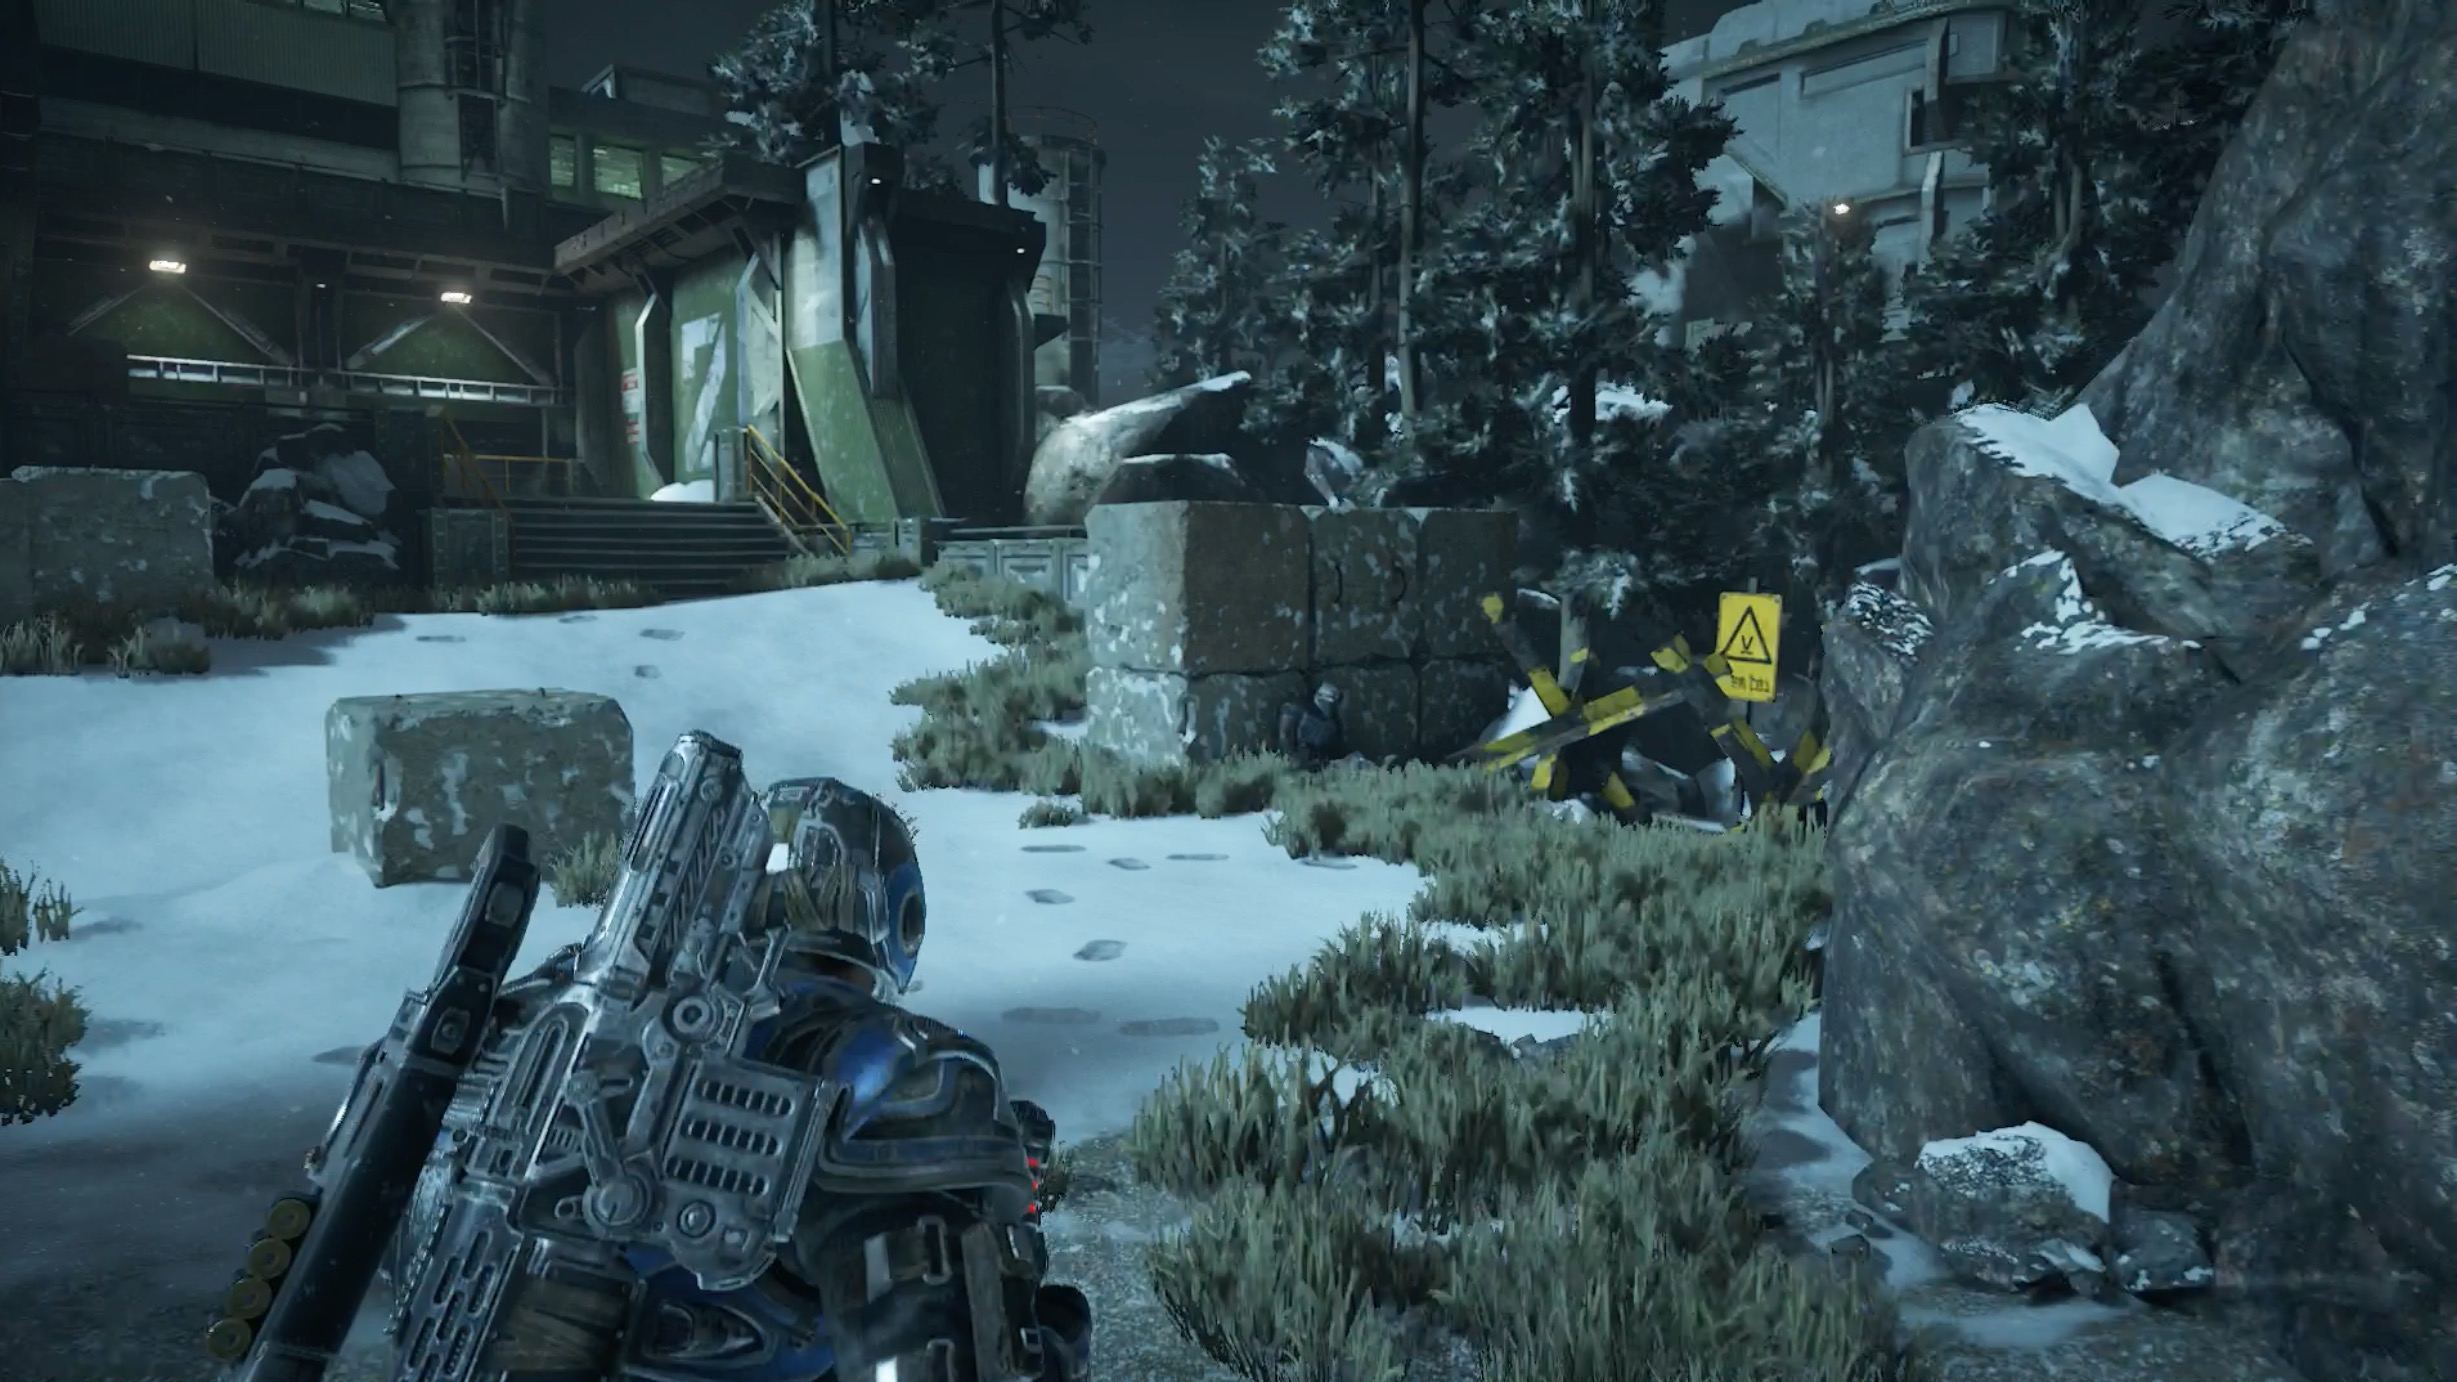
Current Objective: Enter the weapons facility.
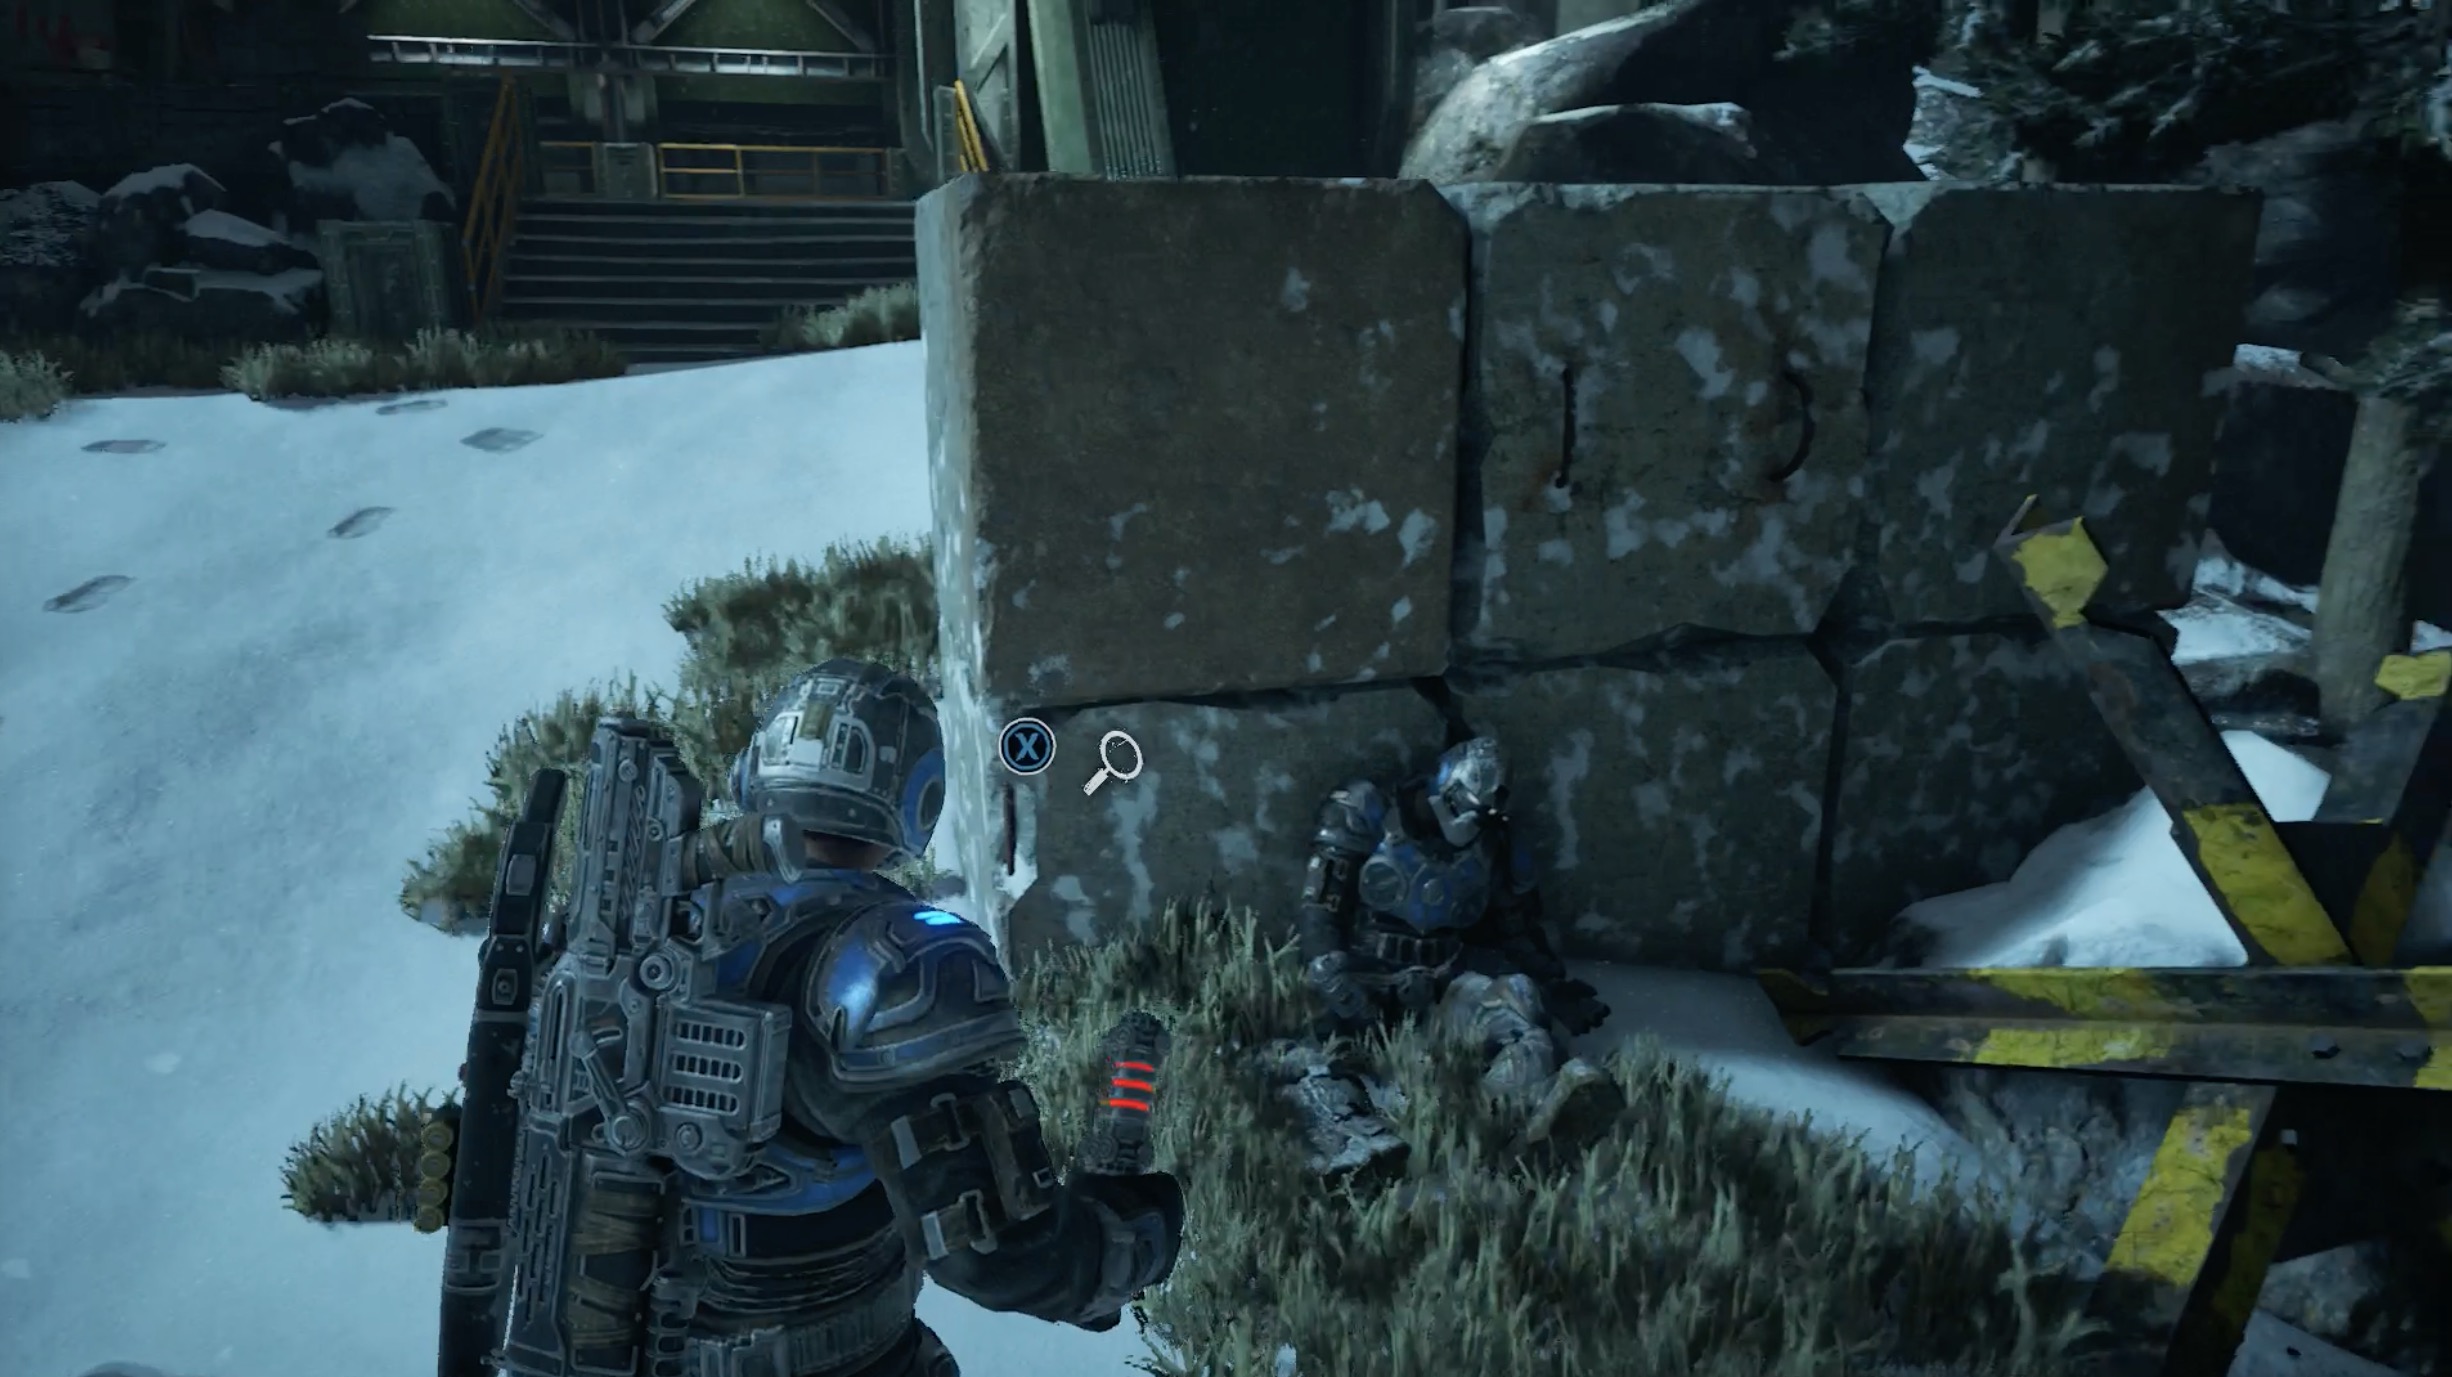
Progress until your squad splits into two pairs. Head along the path on the right. As you approach the gun turret, look for a dead soldier on the right side of the path. The COG tag is next to him. You can still access this collectible if you took the path on the left. You just have to backtrack on the path on the right.
UIR Security Report
Current Objective: Enter the weapons facility.
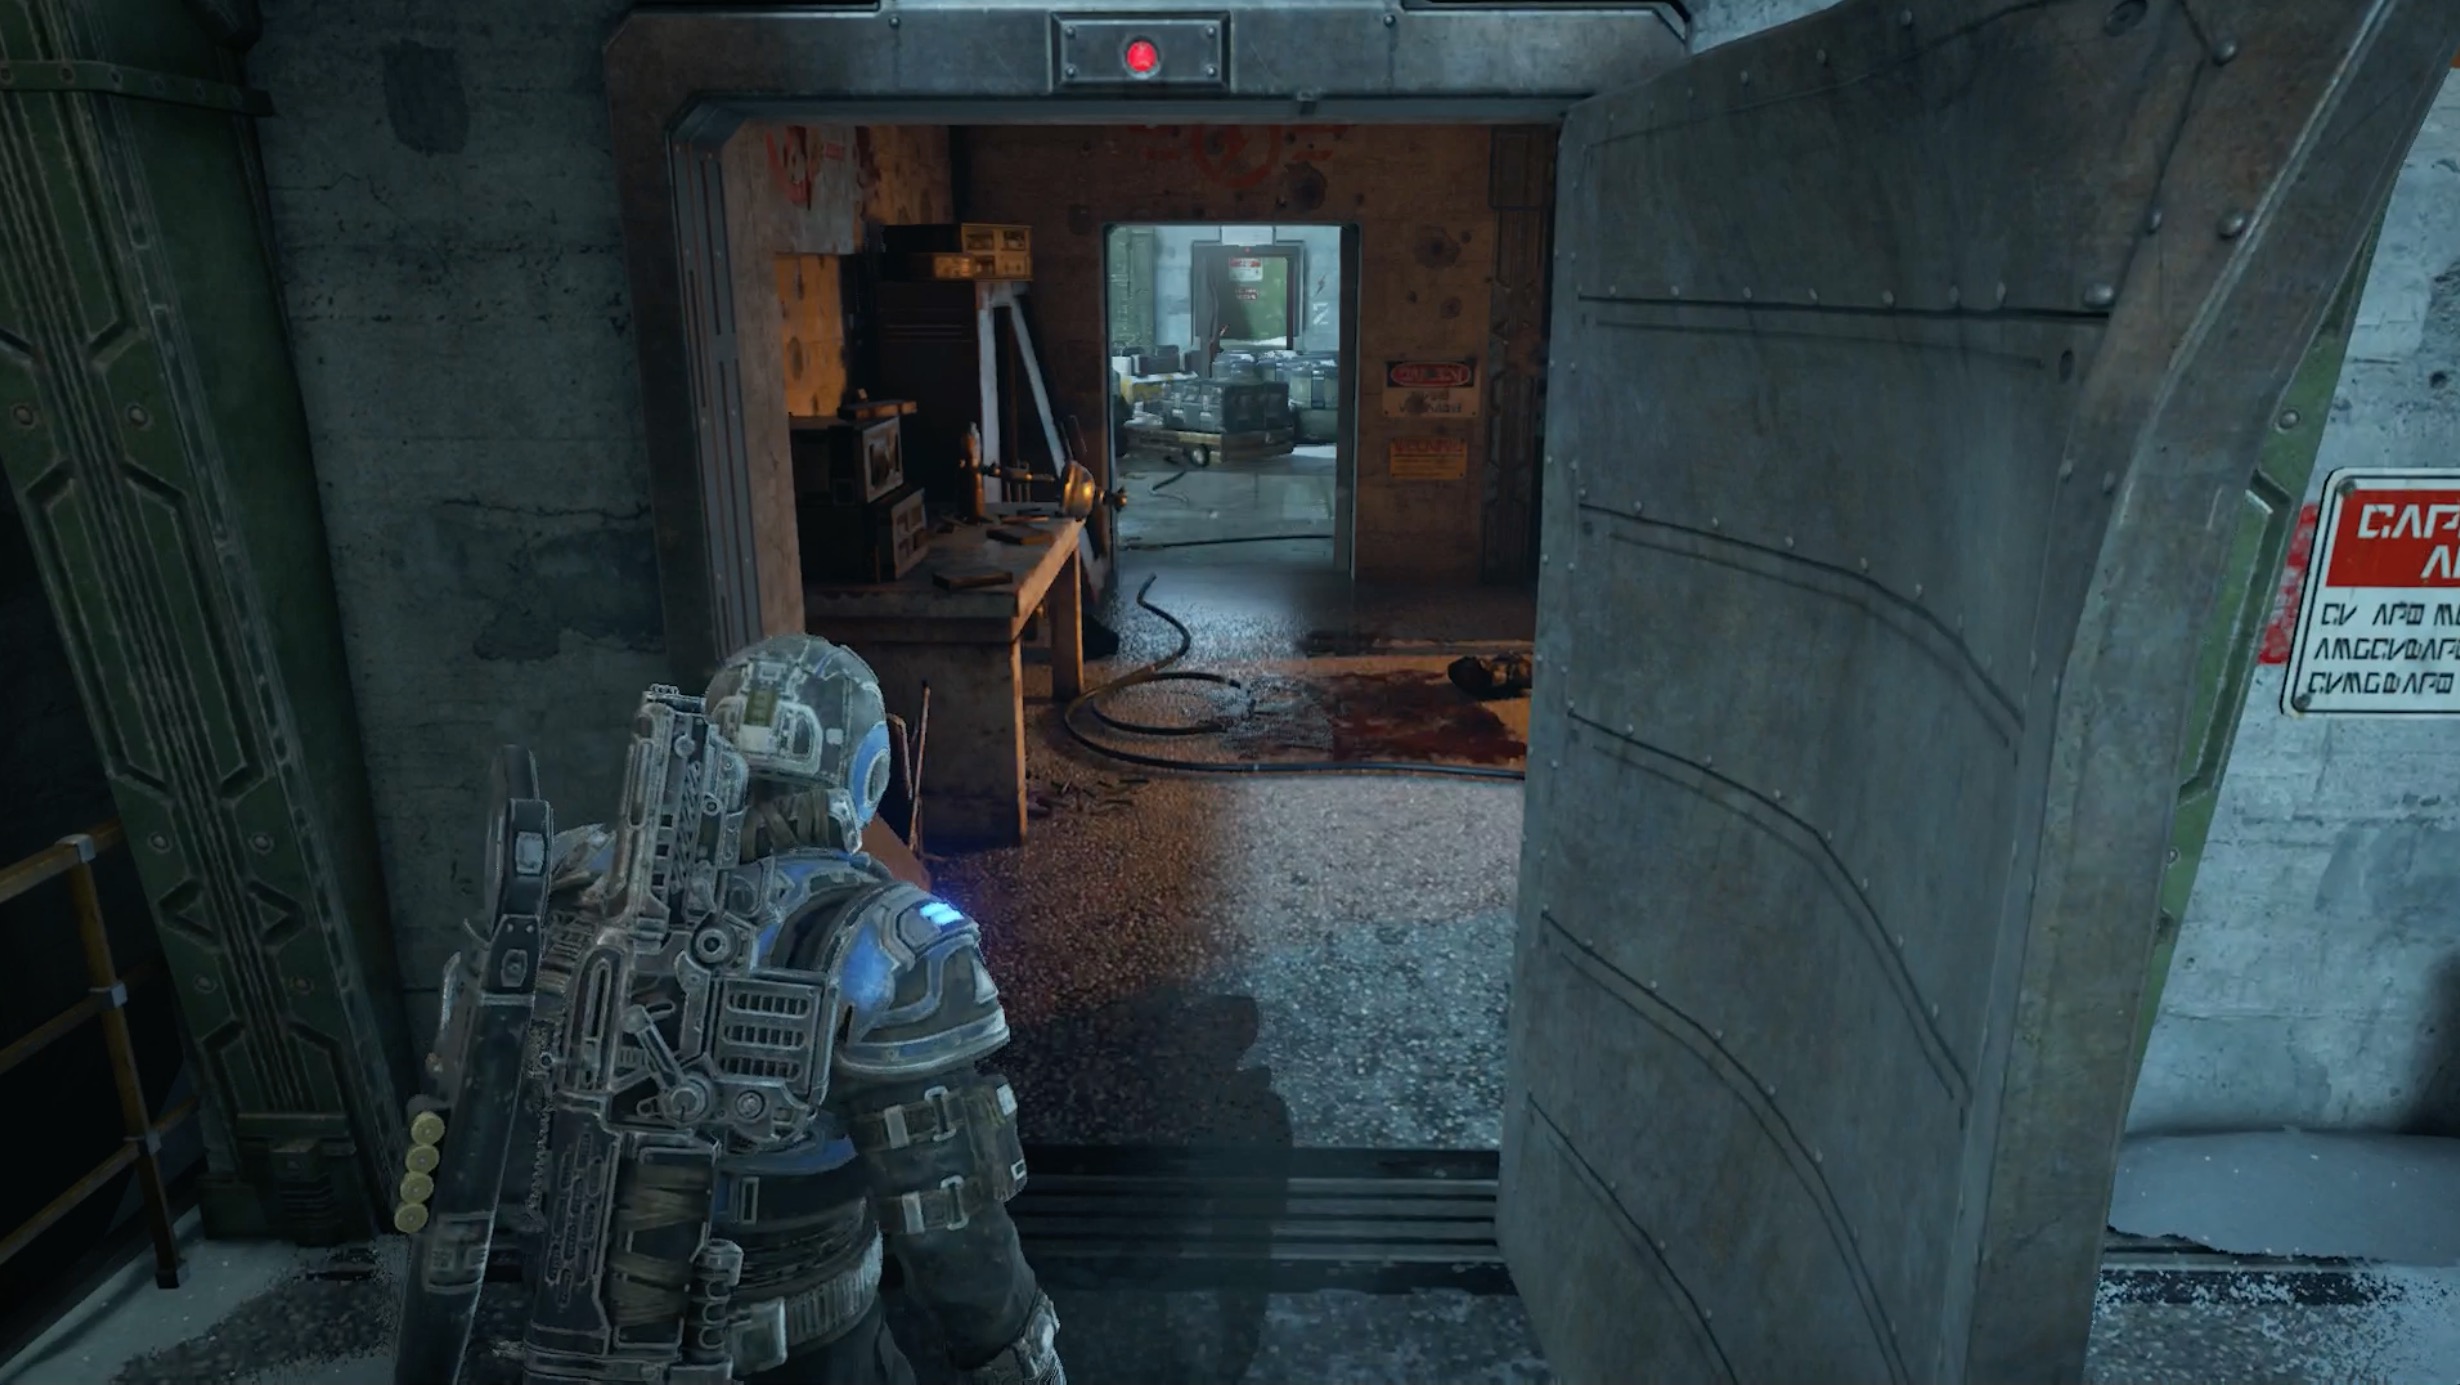
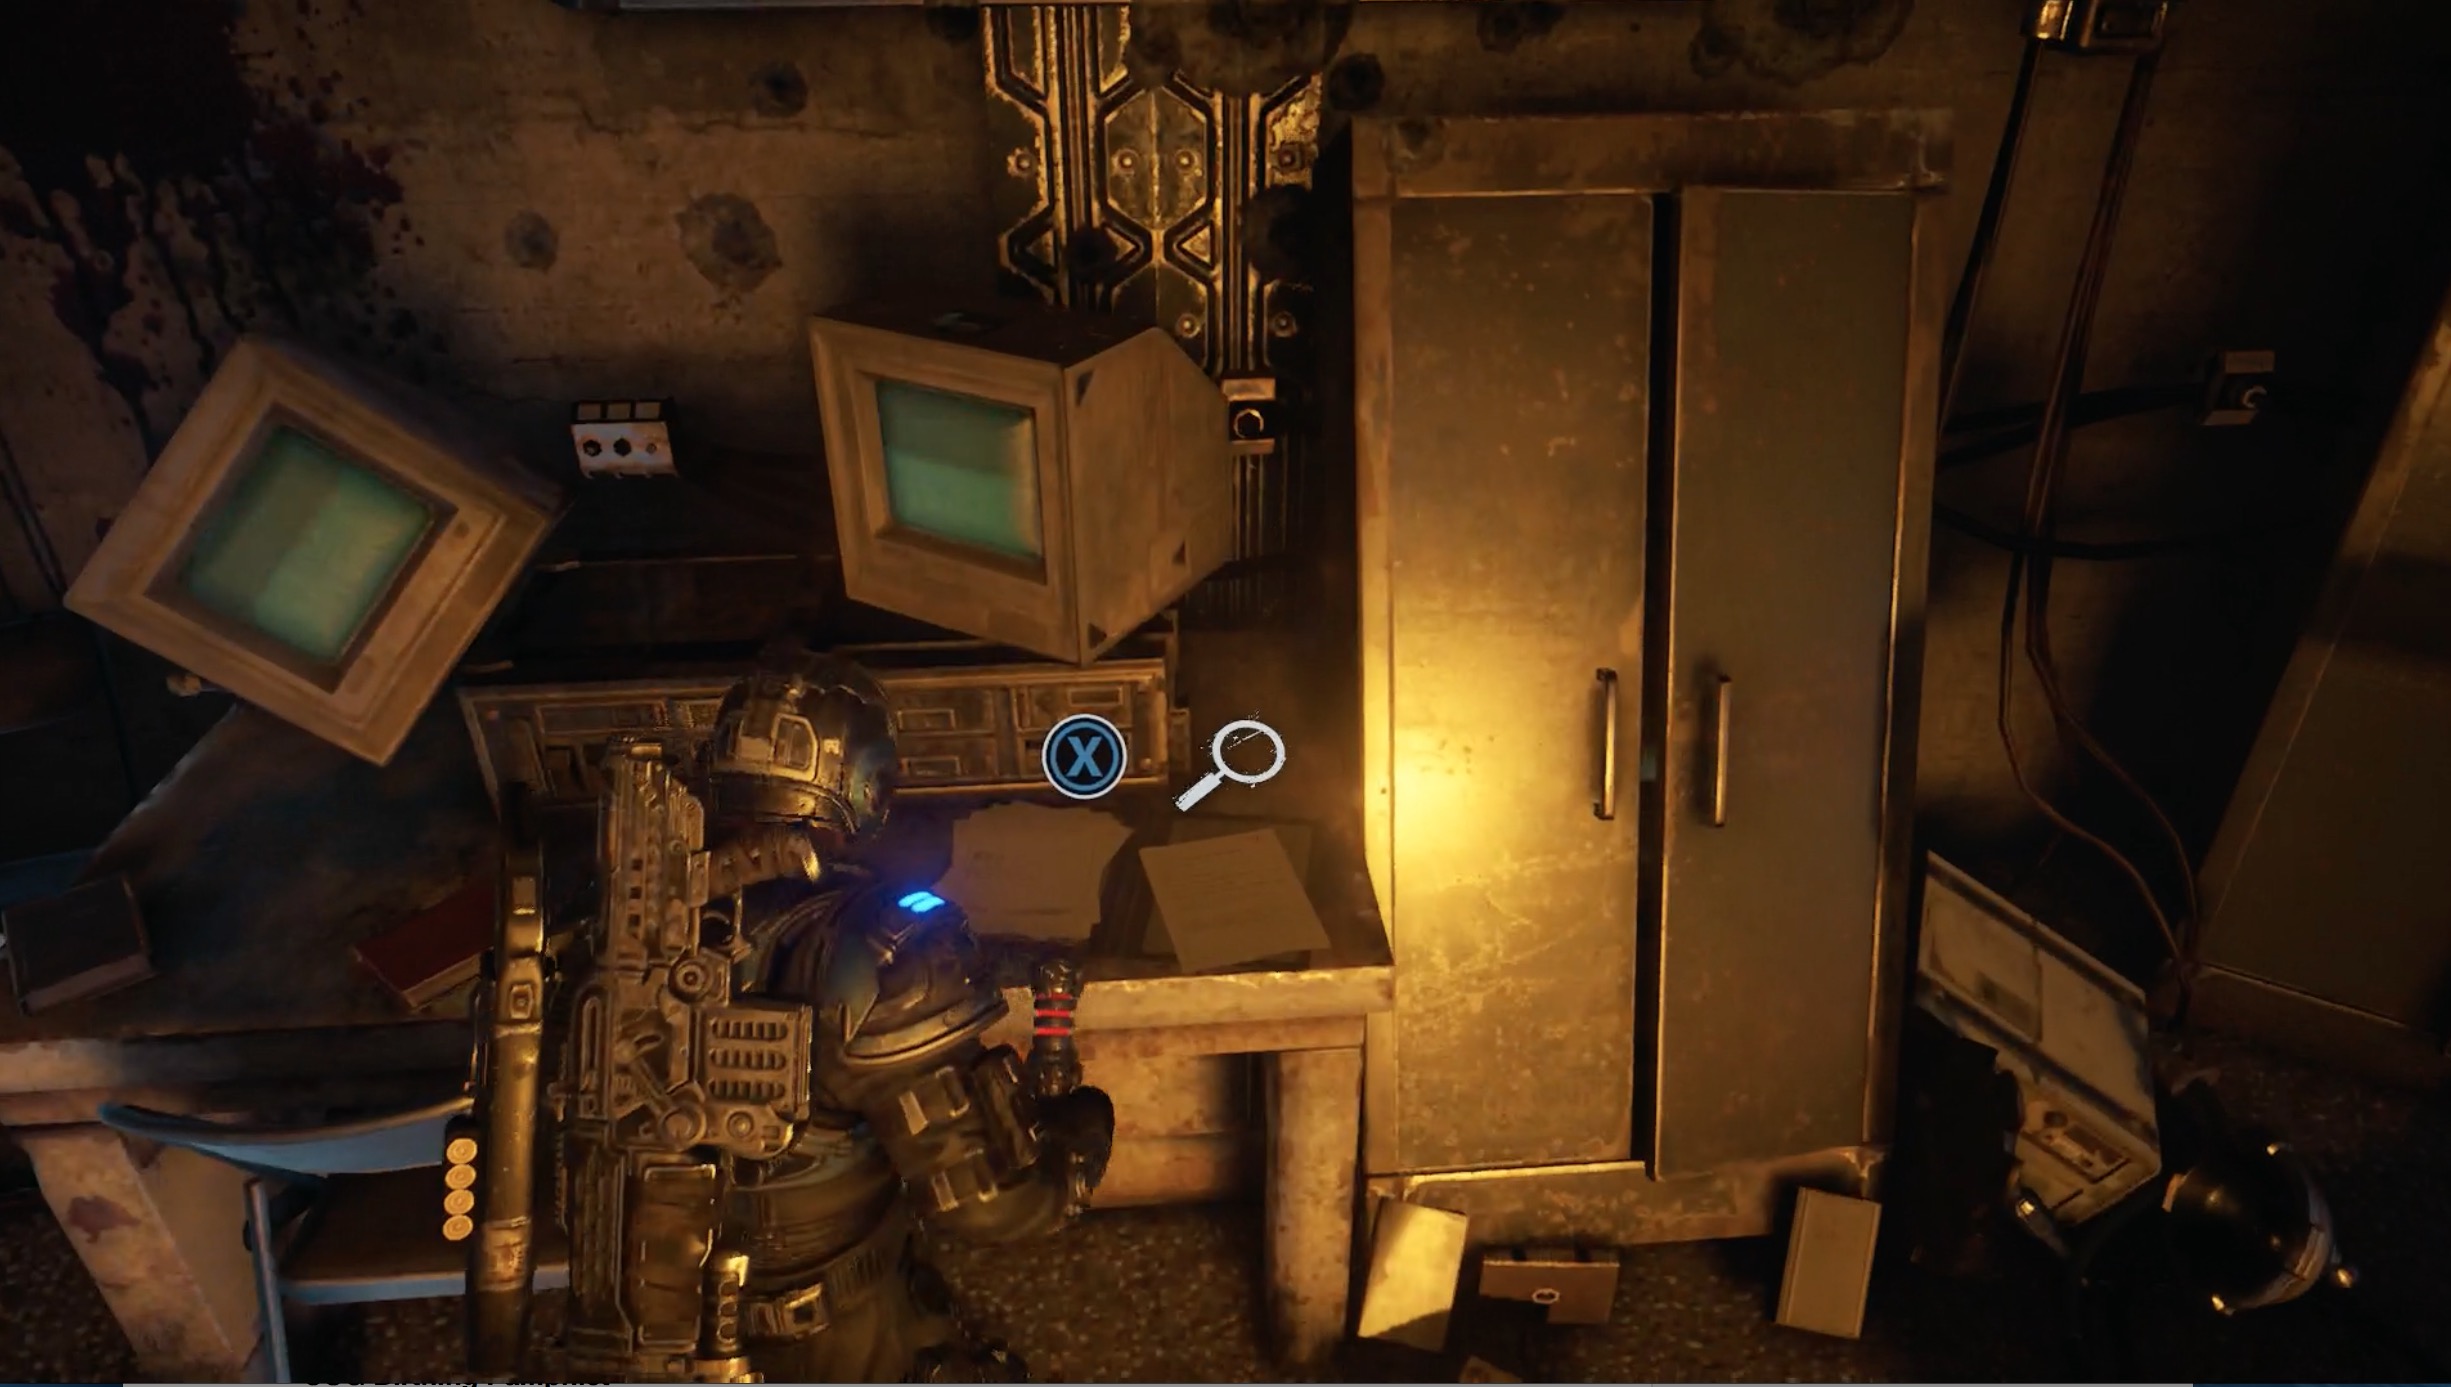
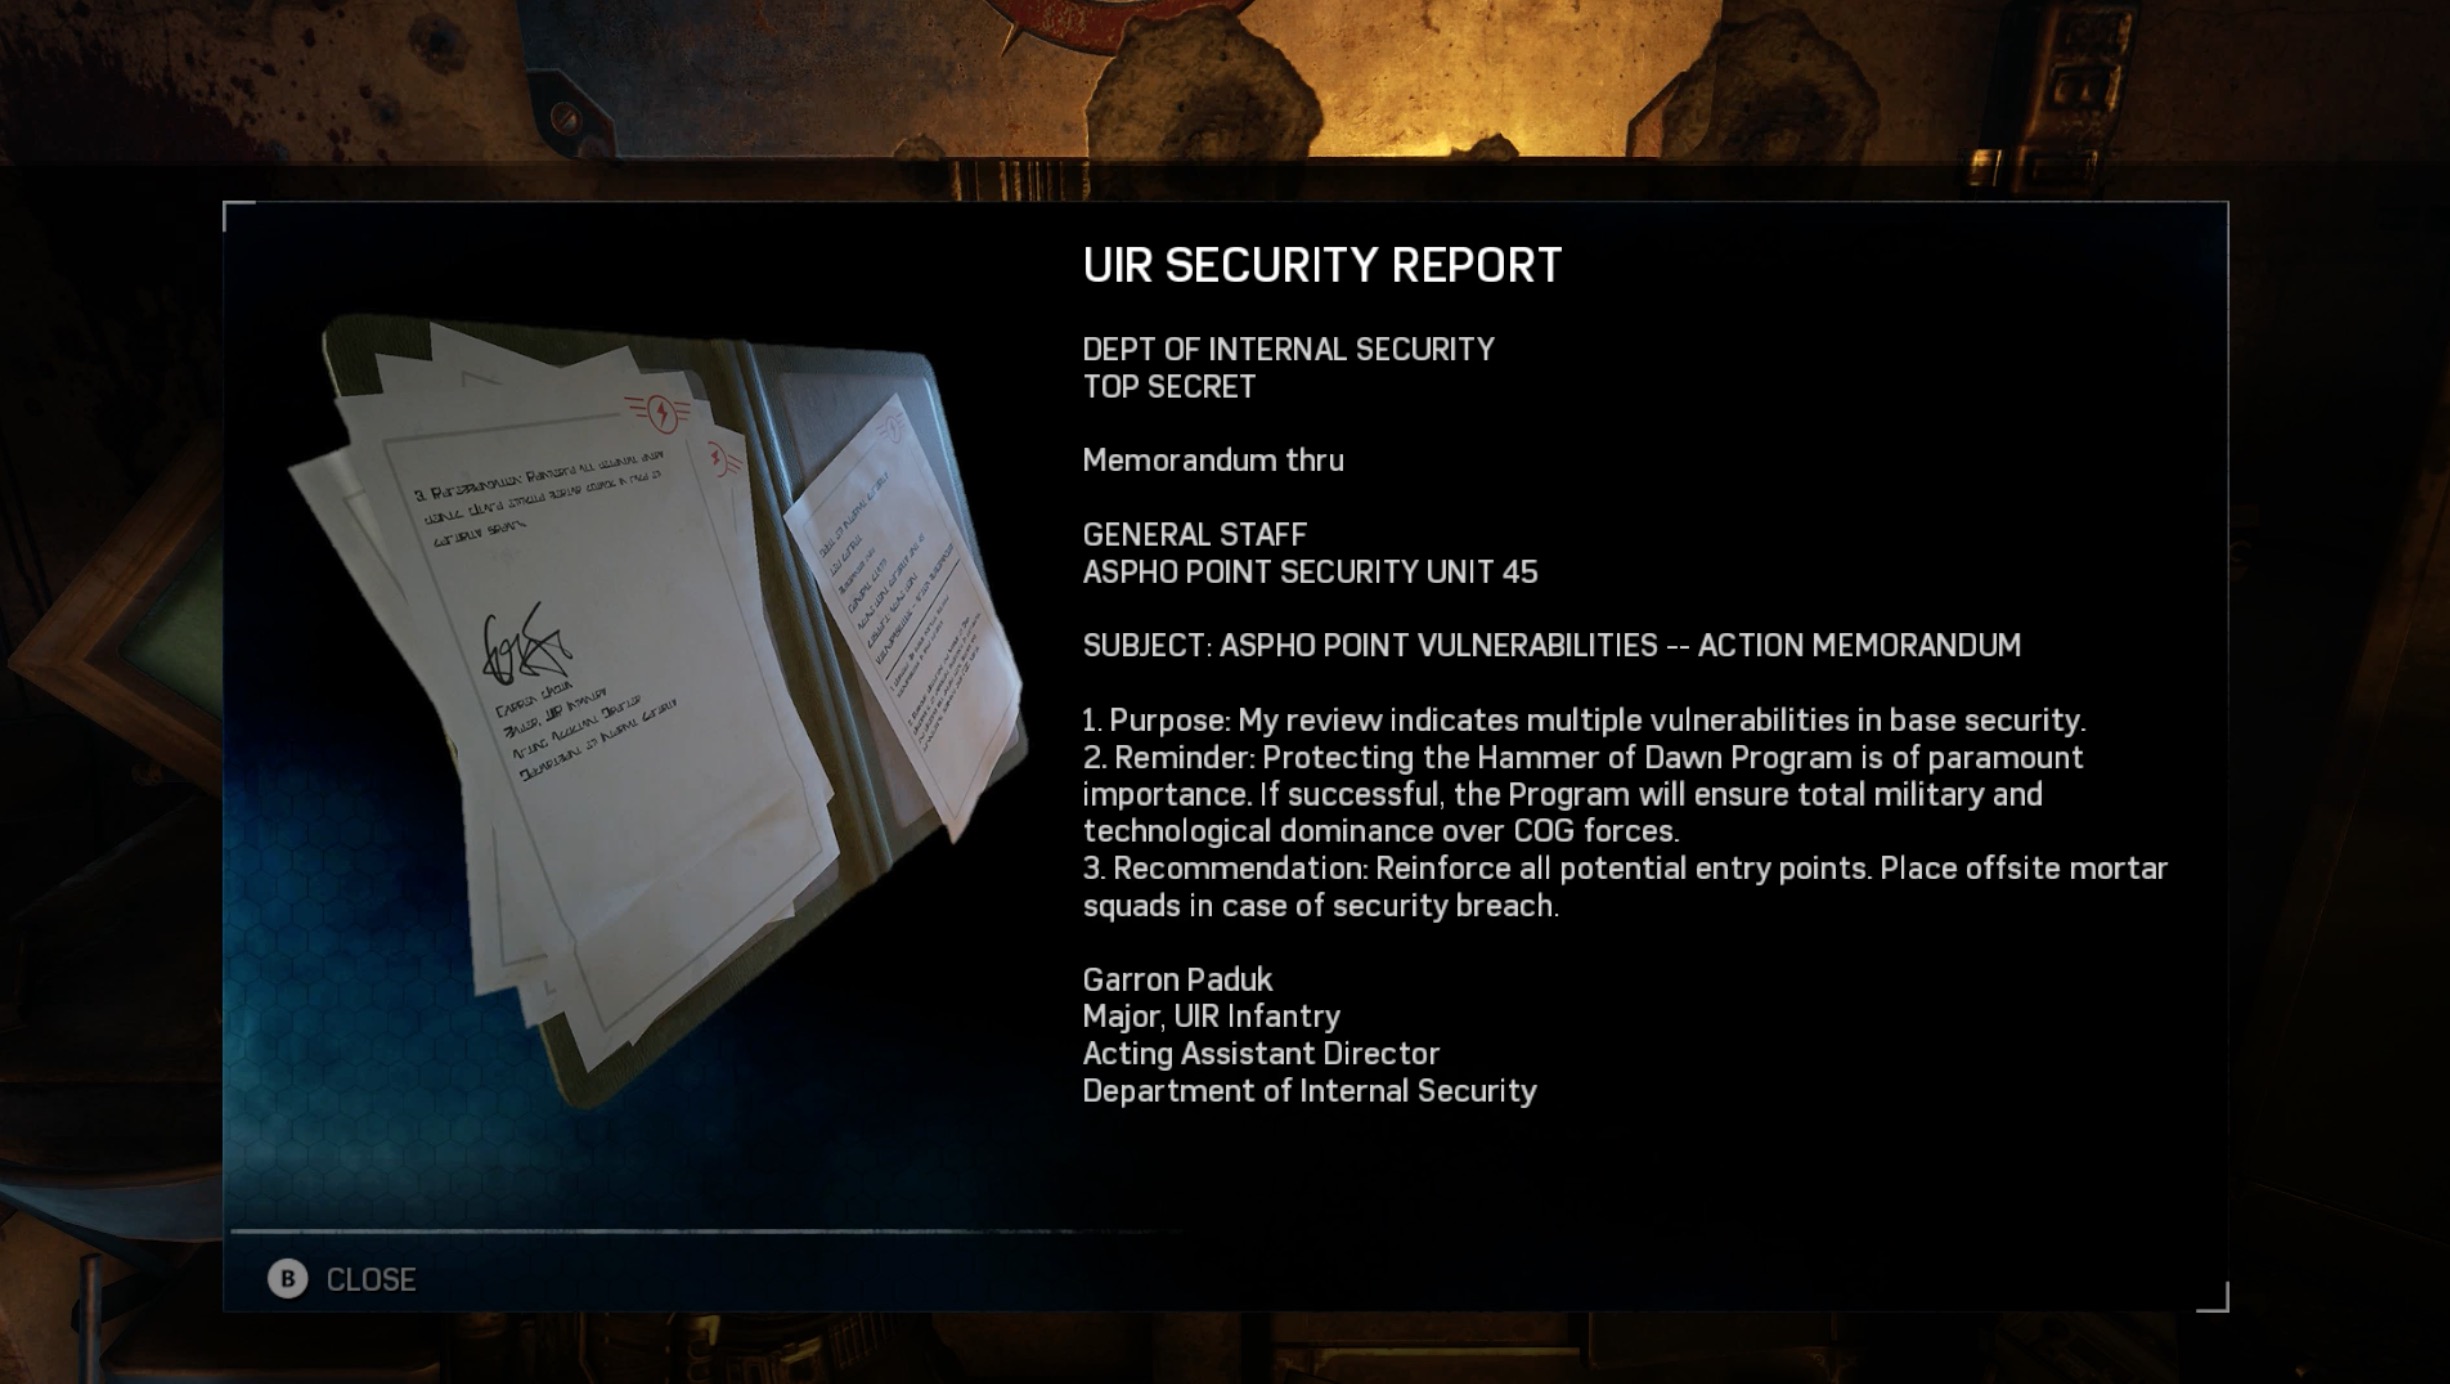
Progress until your squad splits into two pairs. Both paths are protected with a gun turret. As you reunite your squad, head into the room with the gun turret that was protecting the path on the right. The report is on the desk in the back of the room.
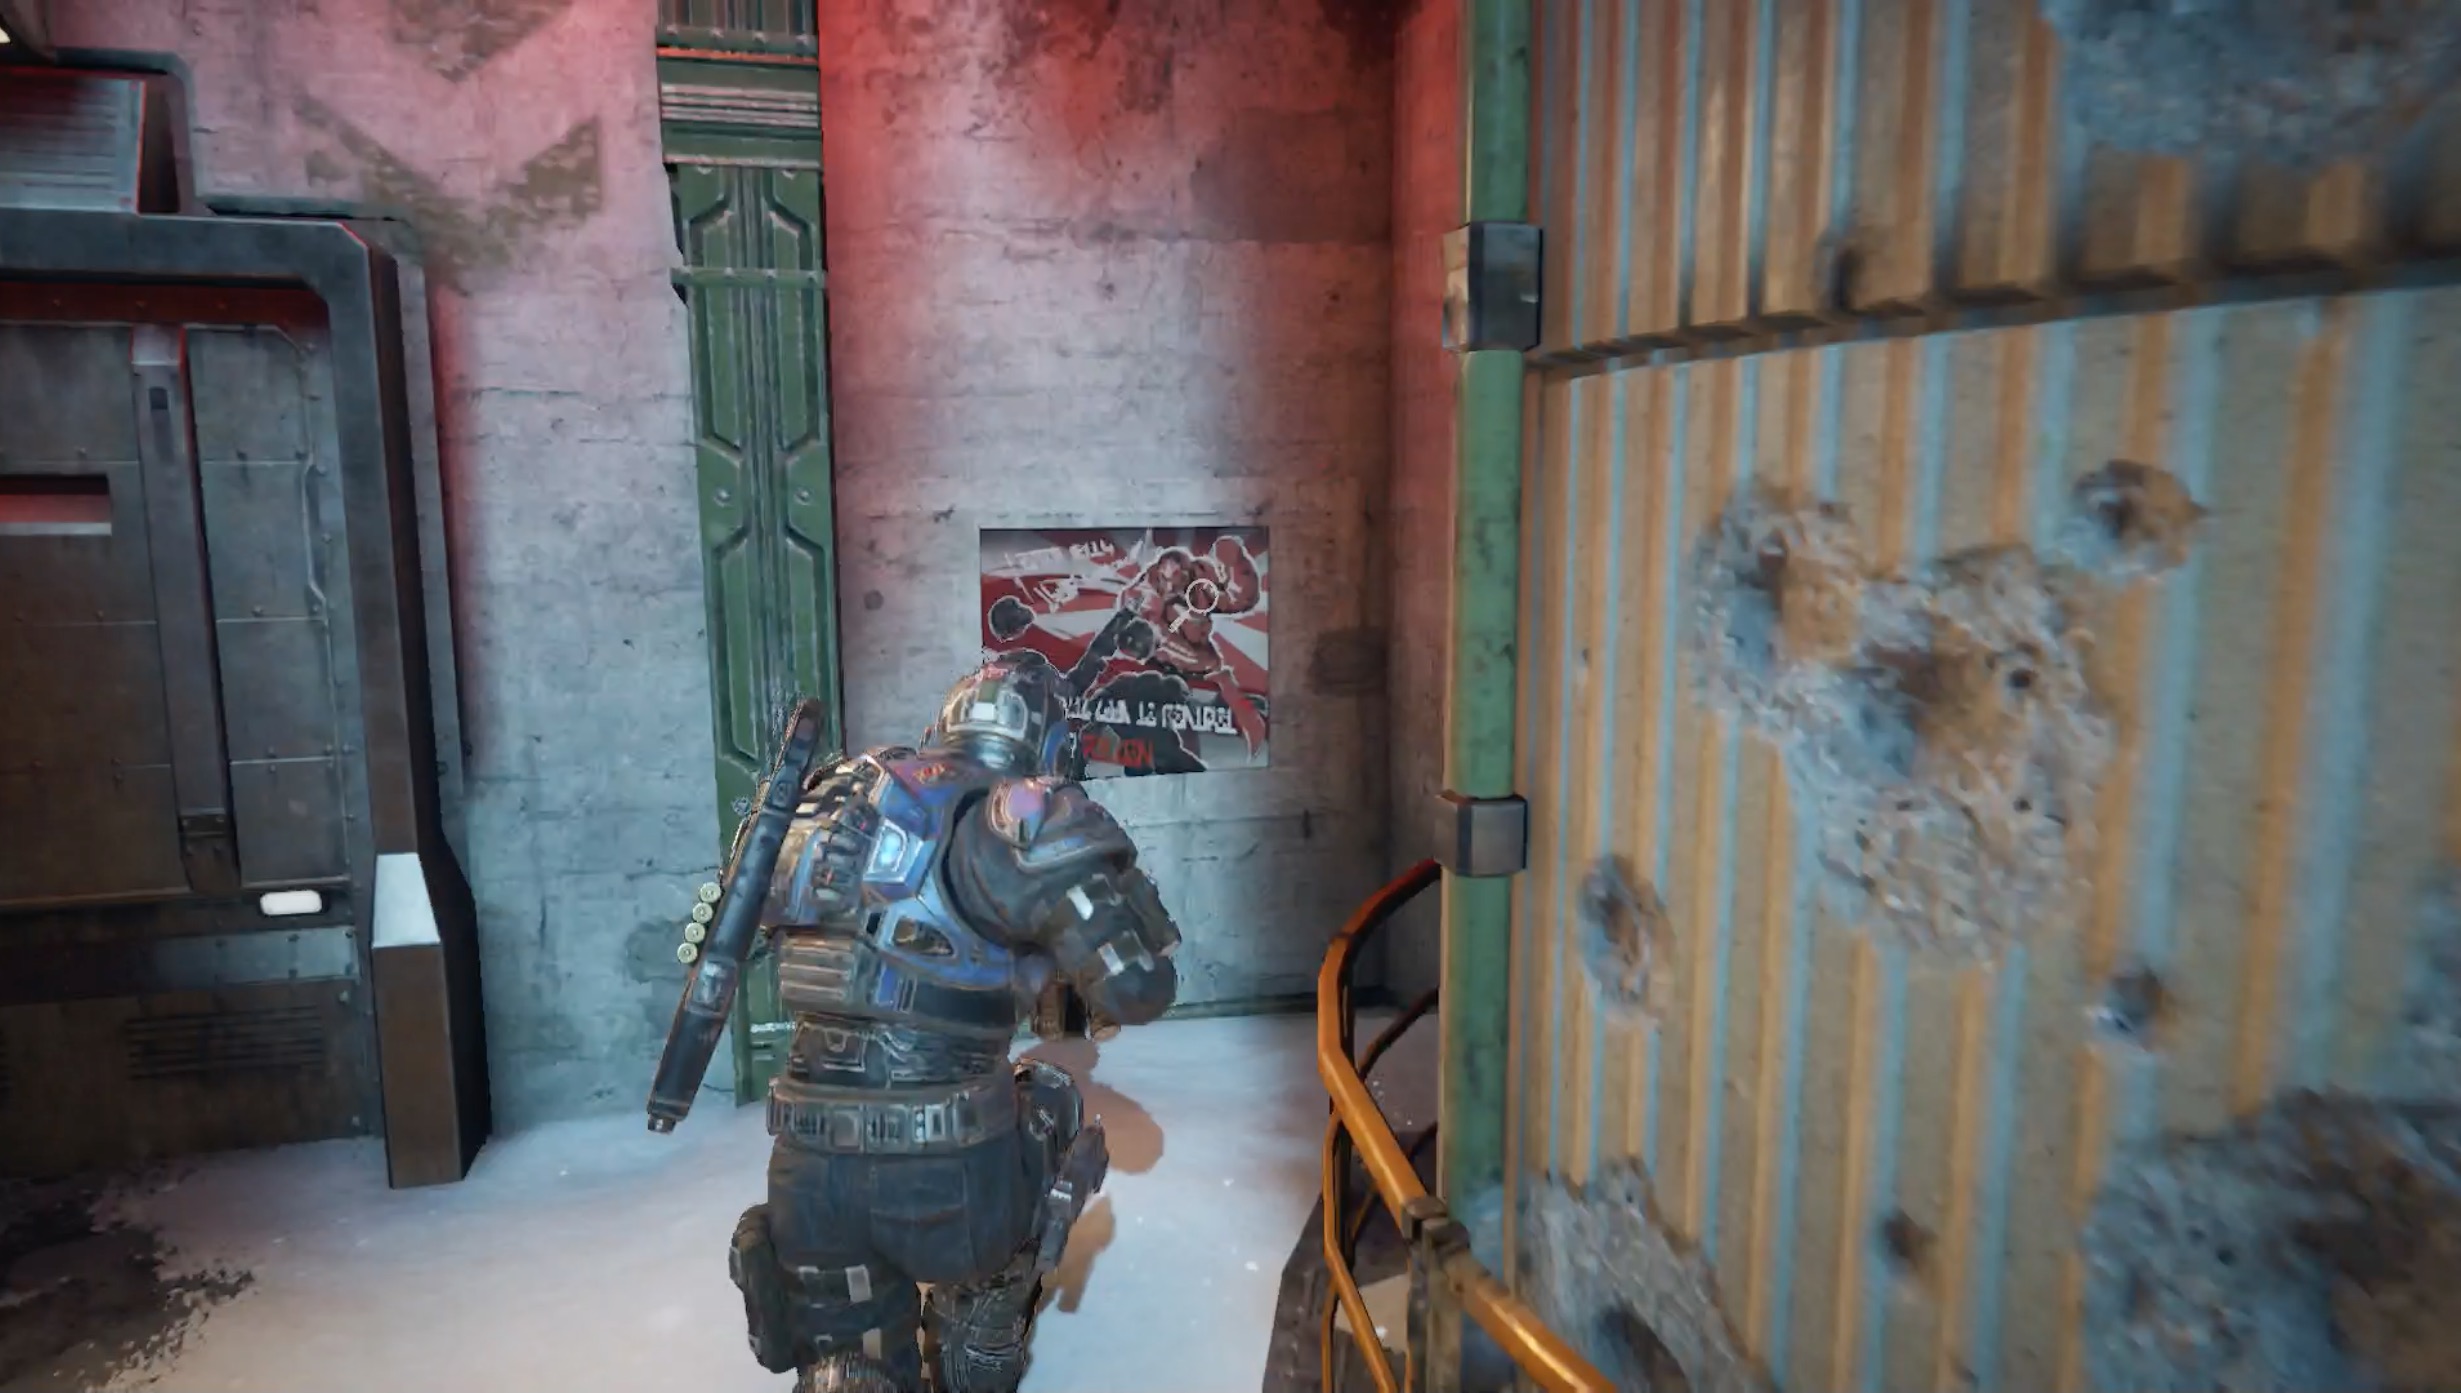
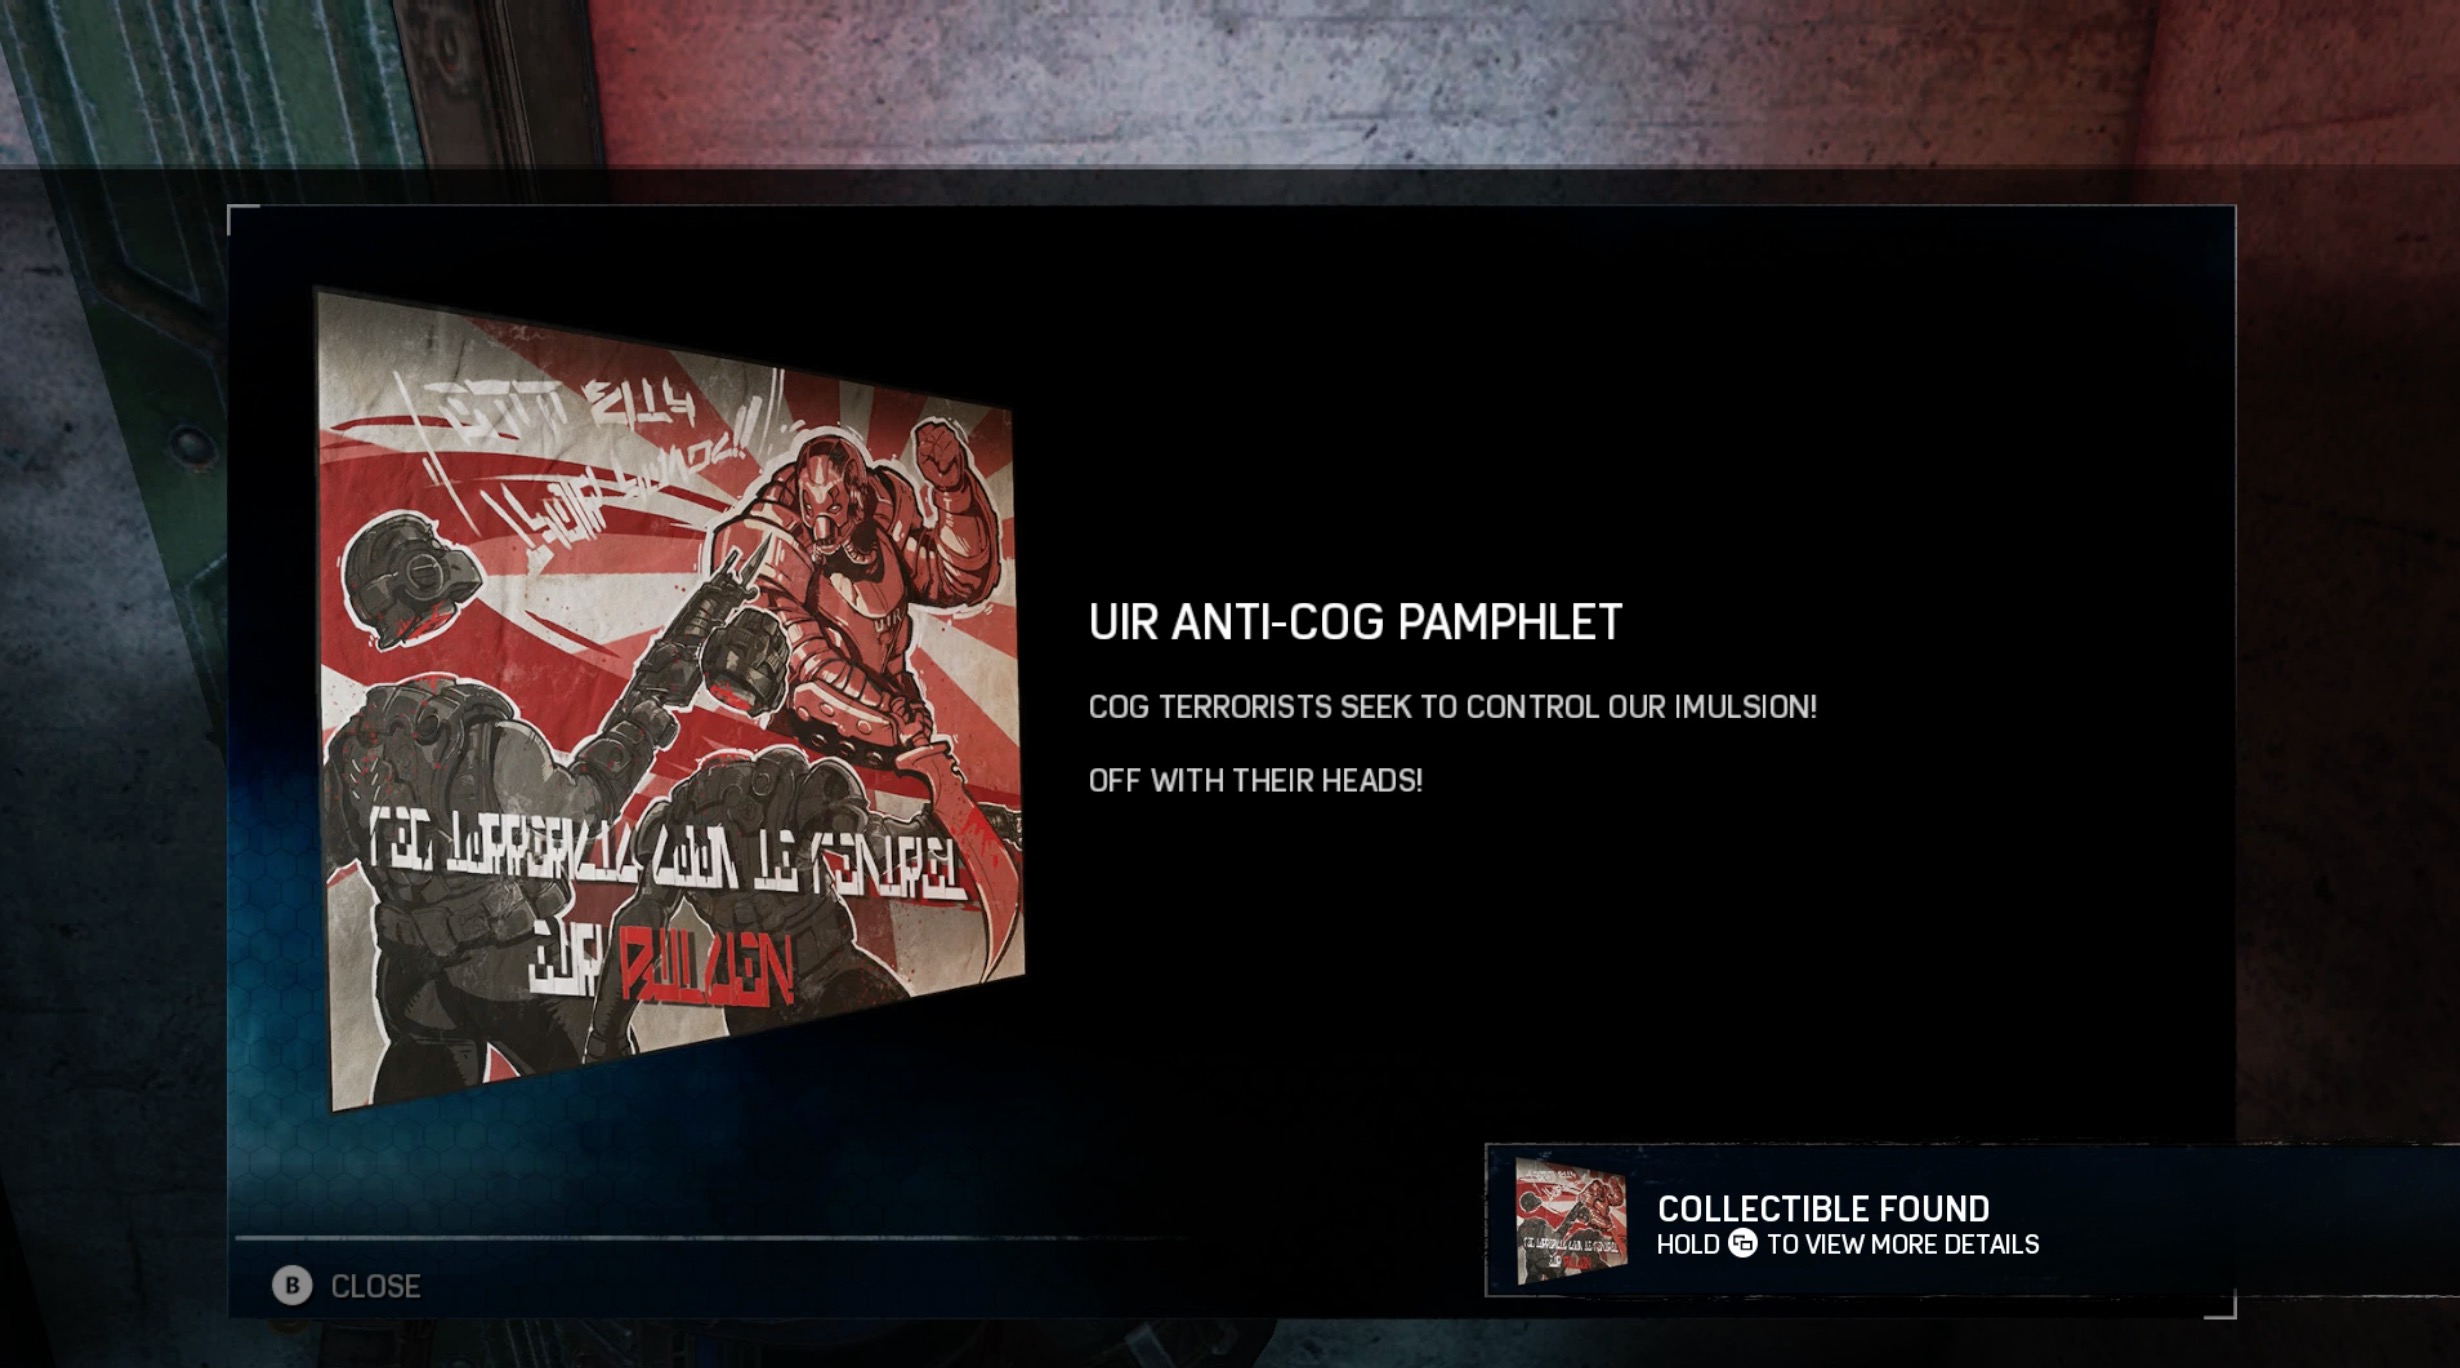
UIR Anti-COG Pamphlet
Current Objective: Override the lab security door.
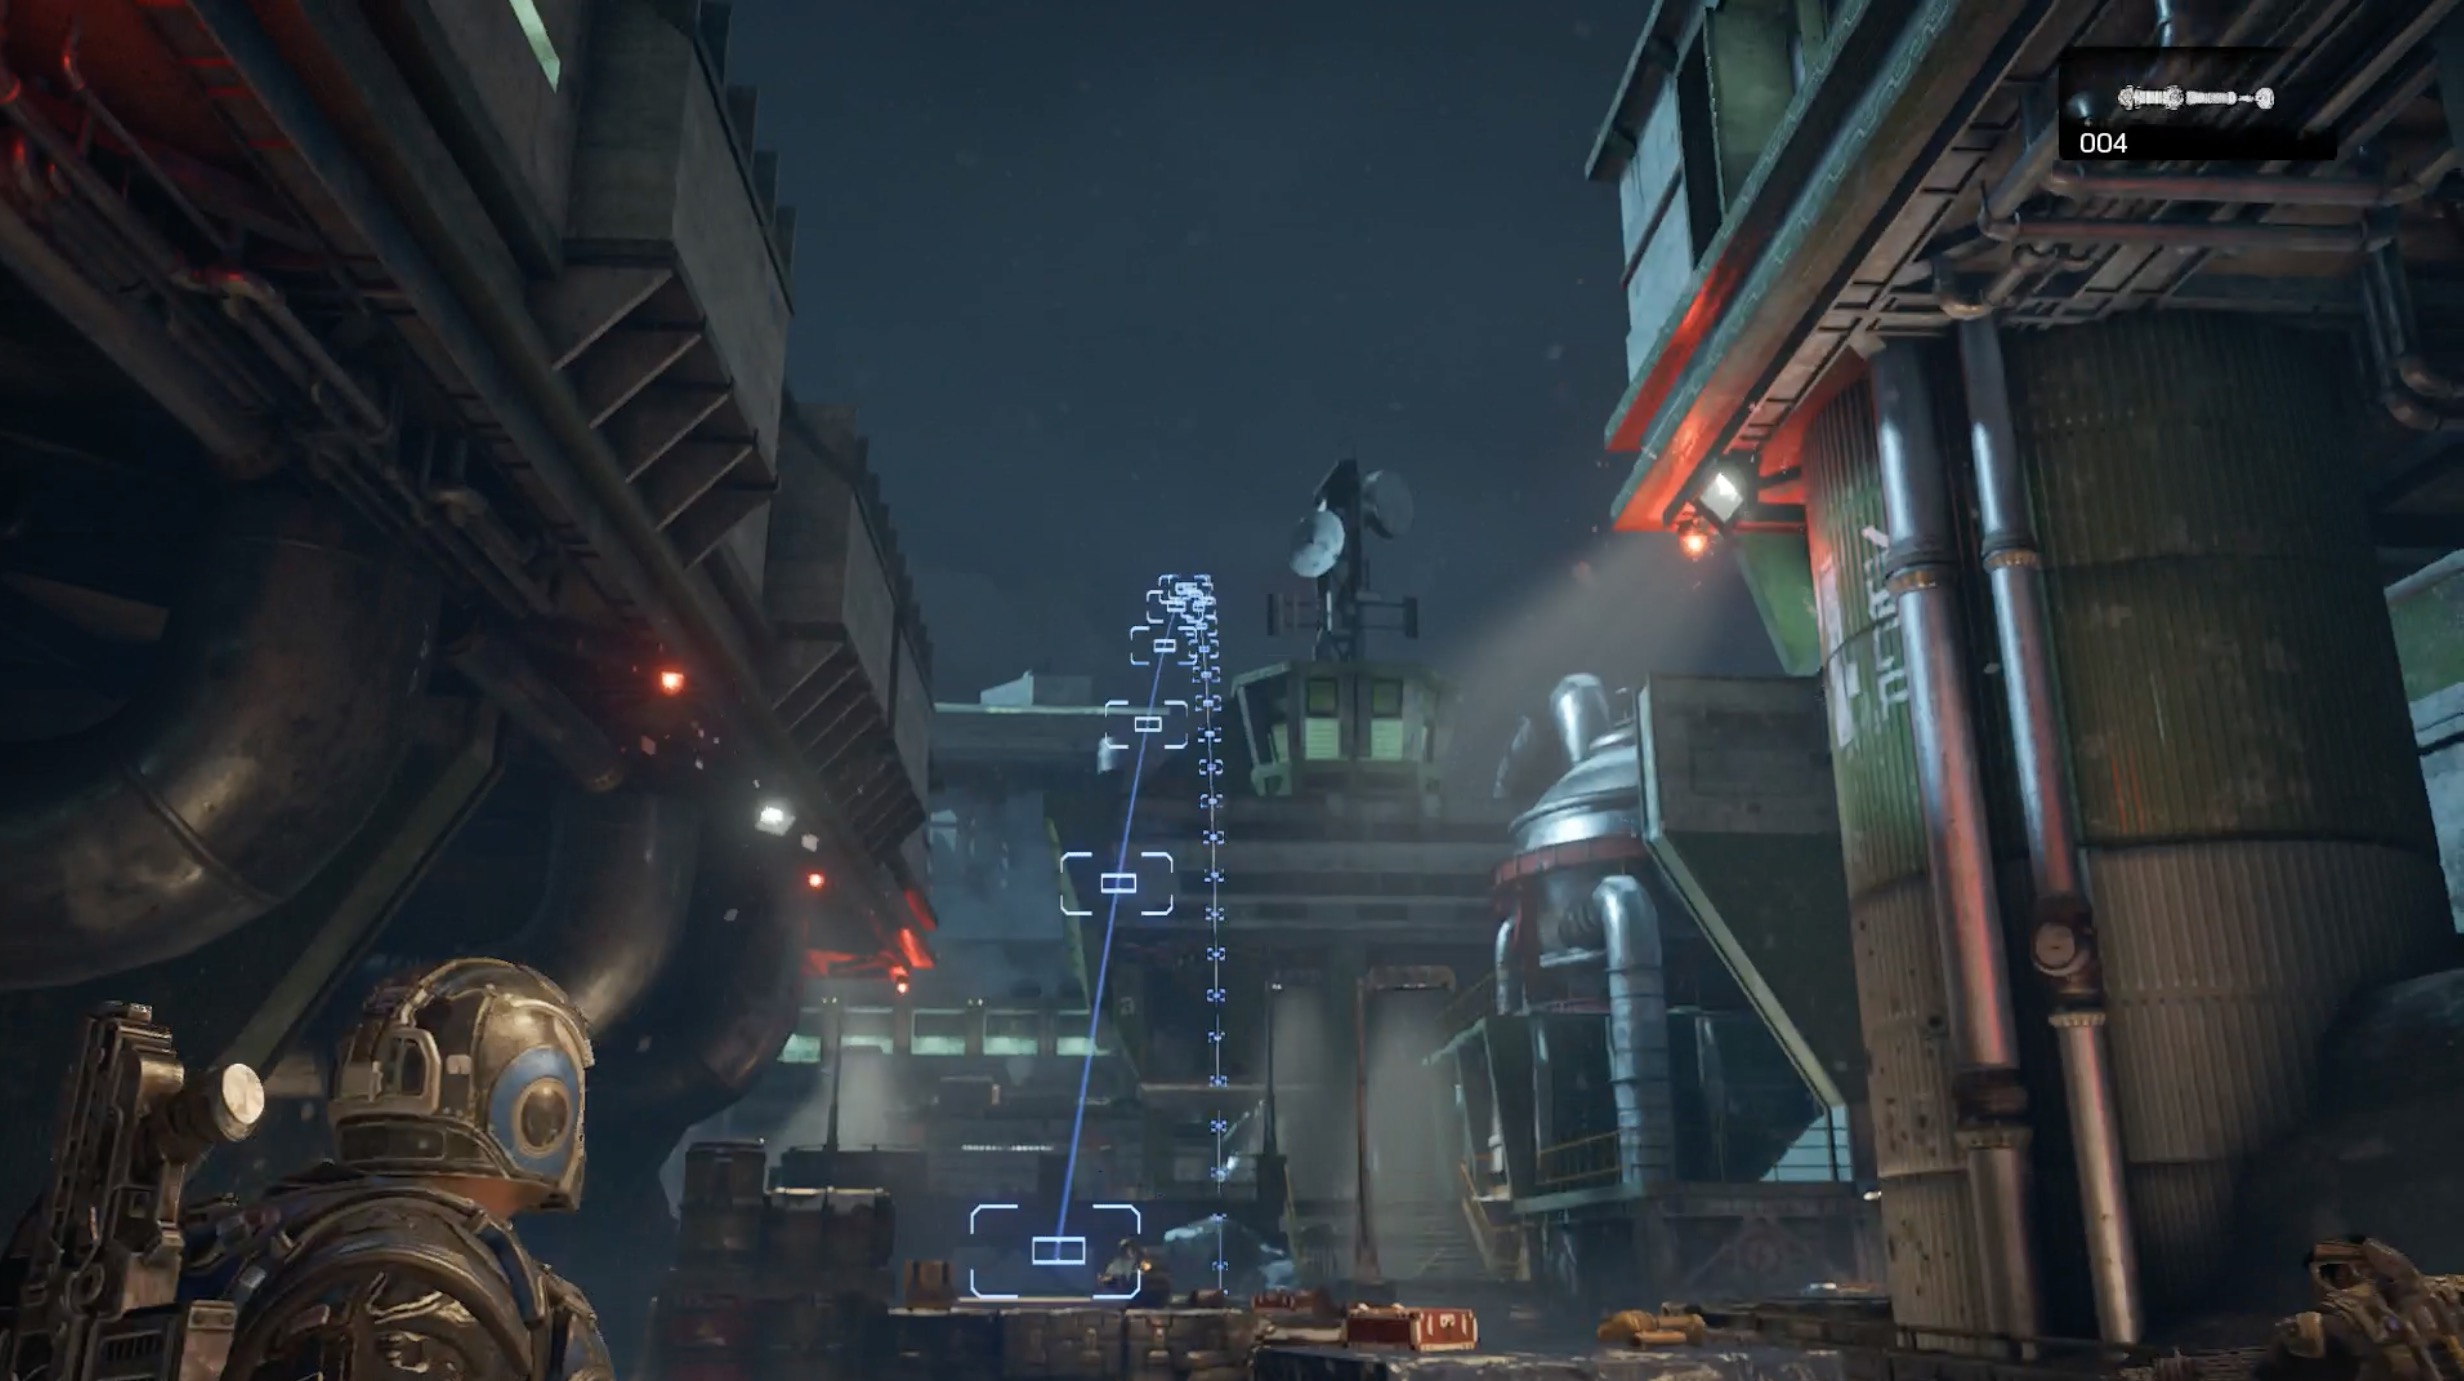
Advance until you’ve reached the shootout with the communications tower in the background. The pamphlet will be to your right, once you enter the area of the shootout.
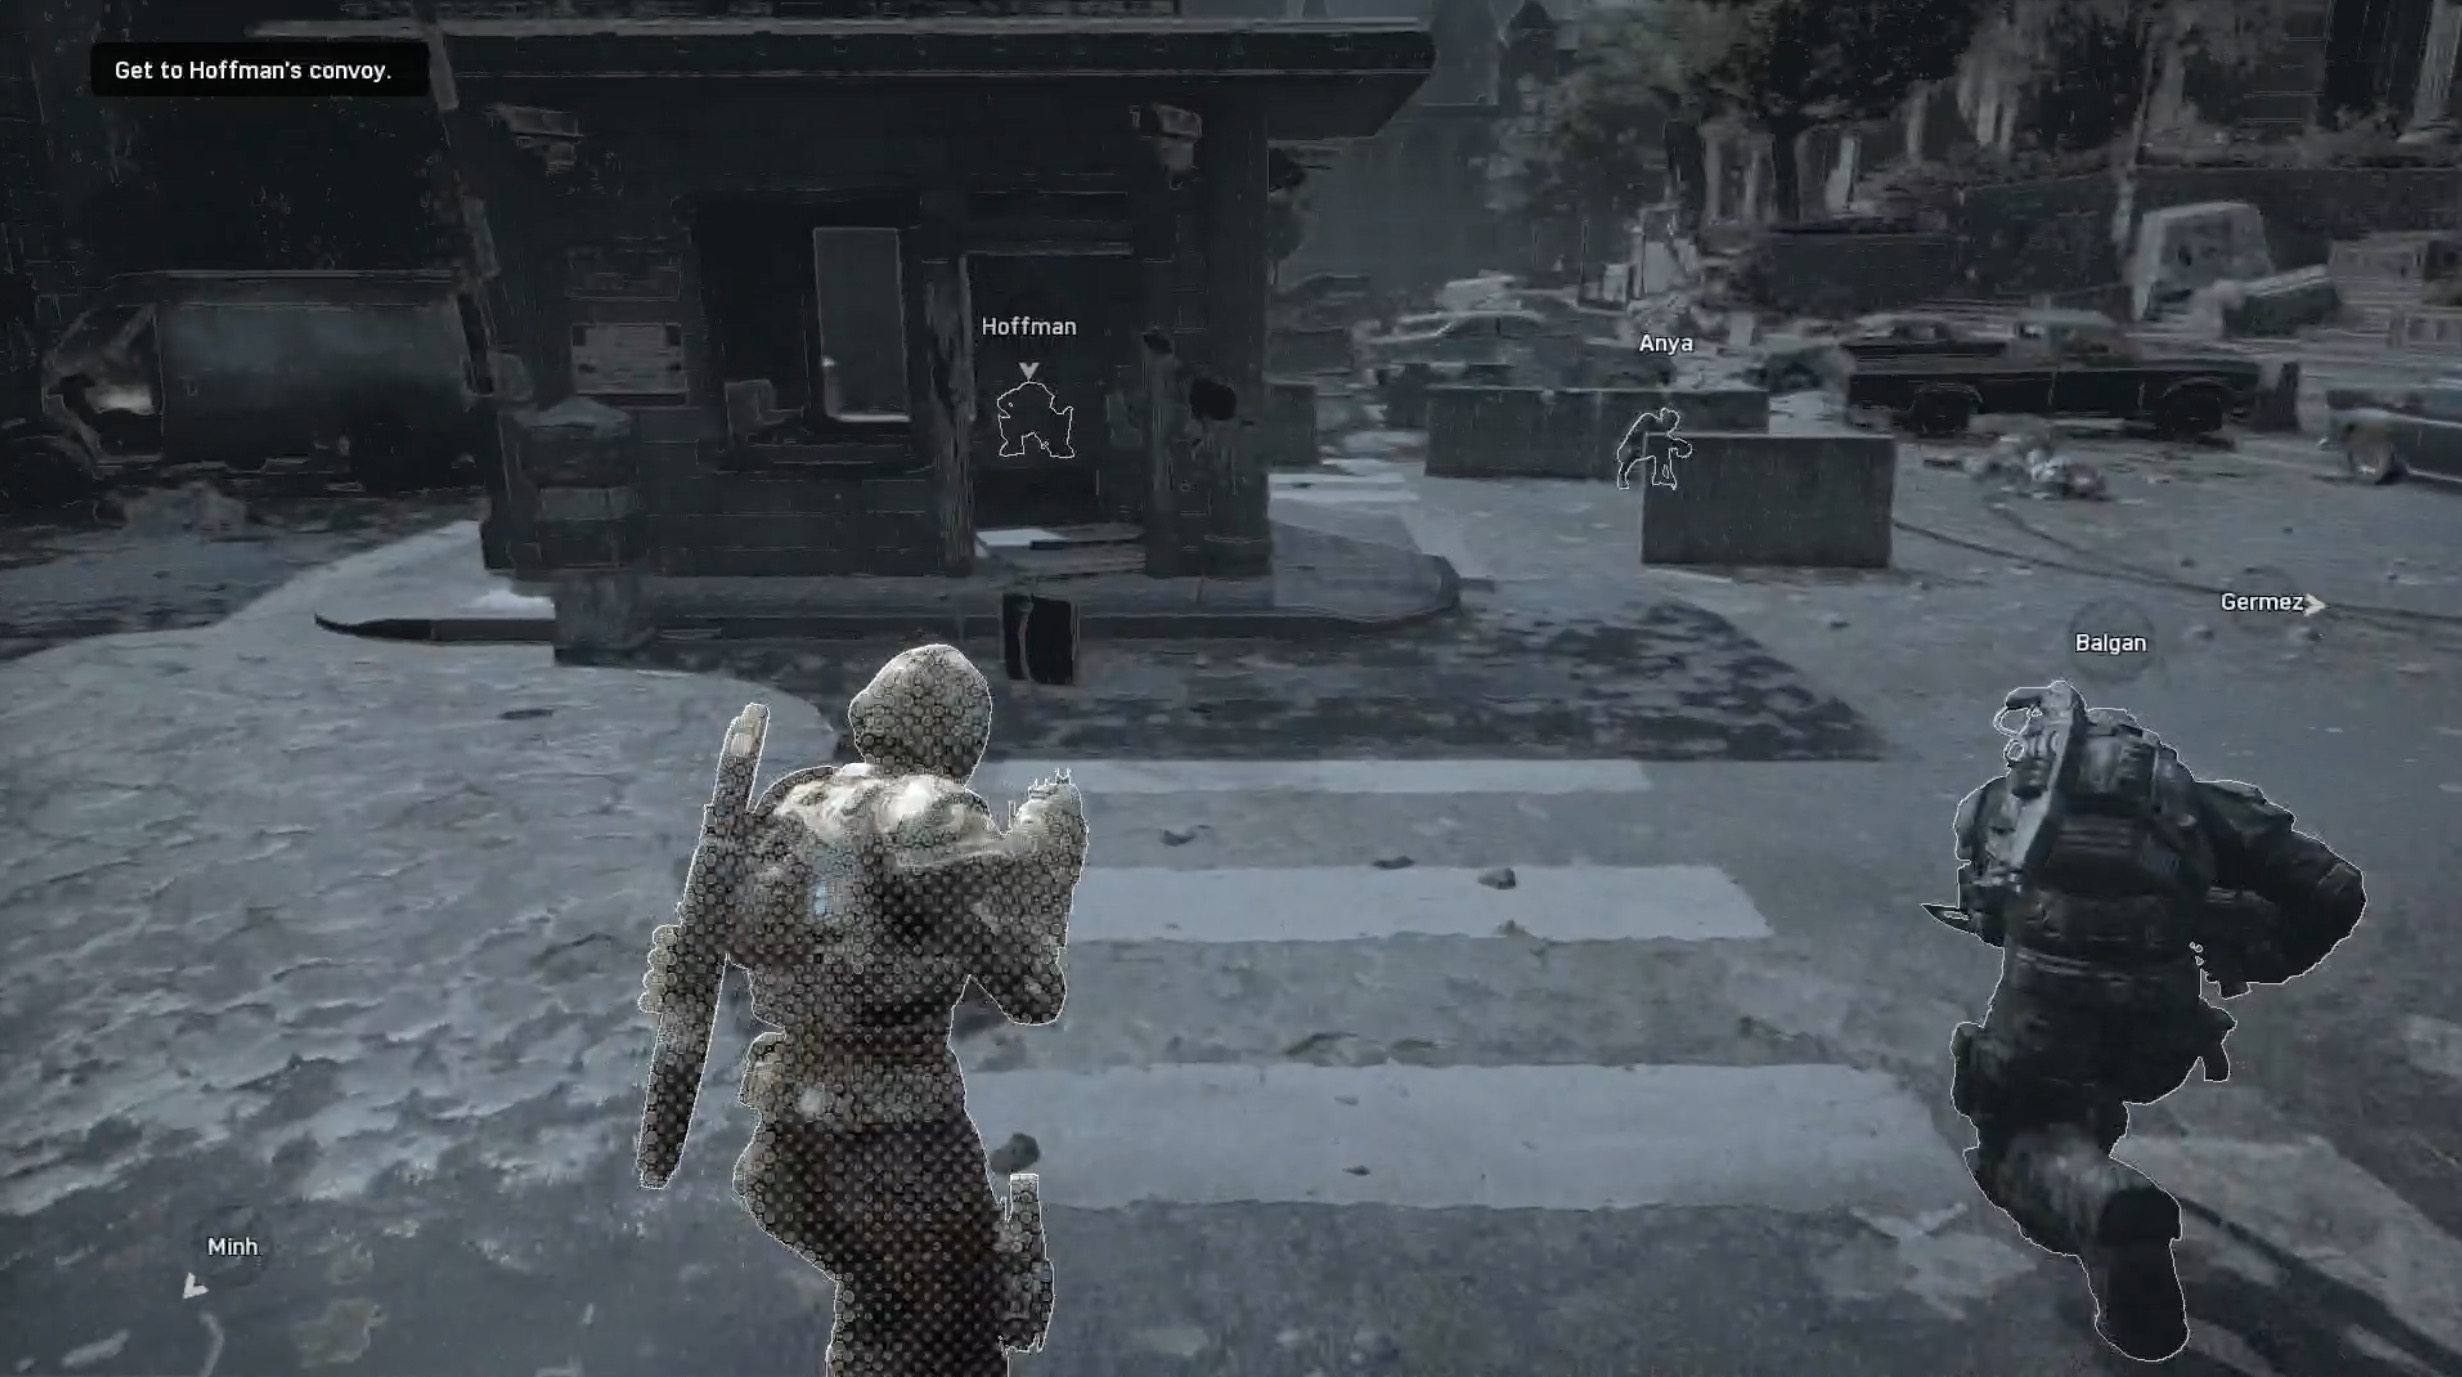
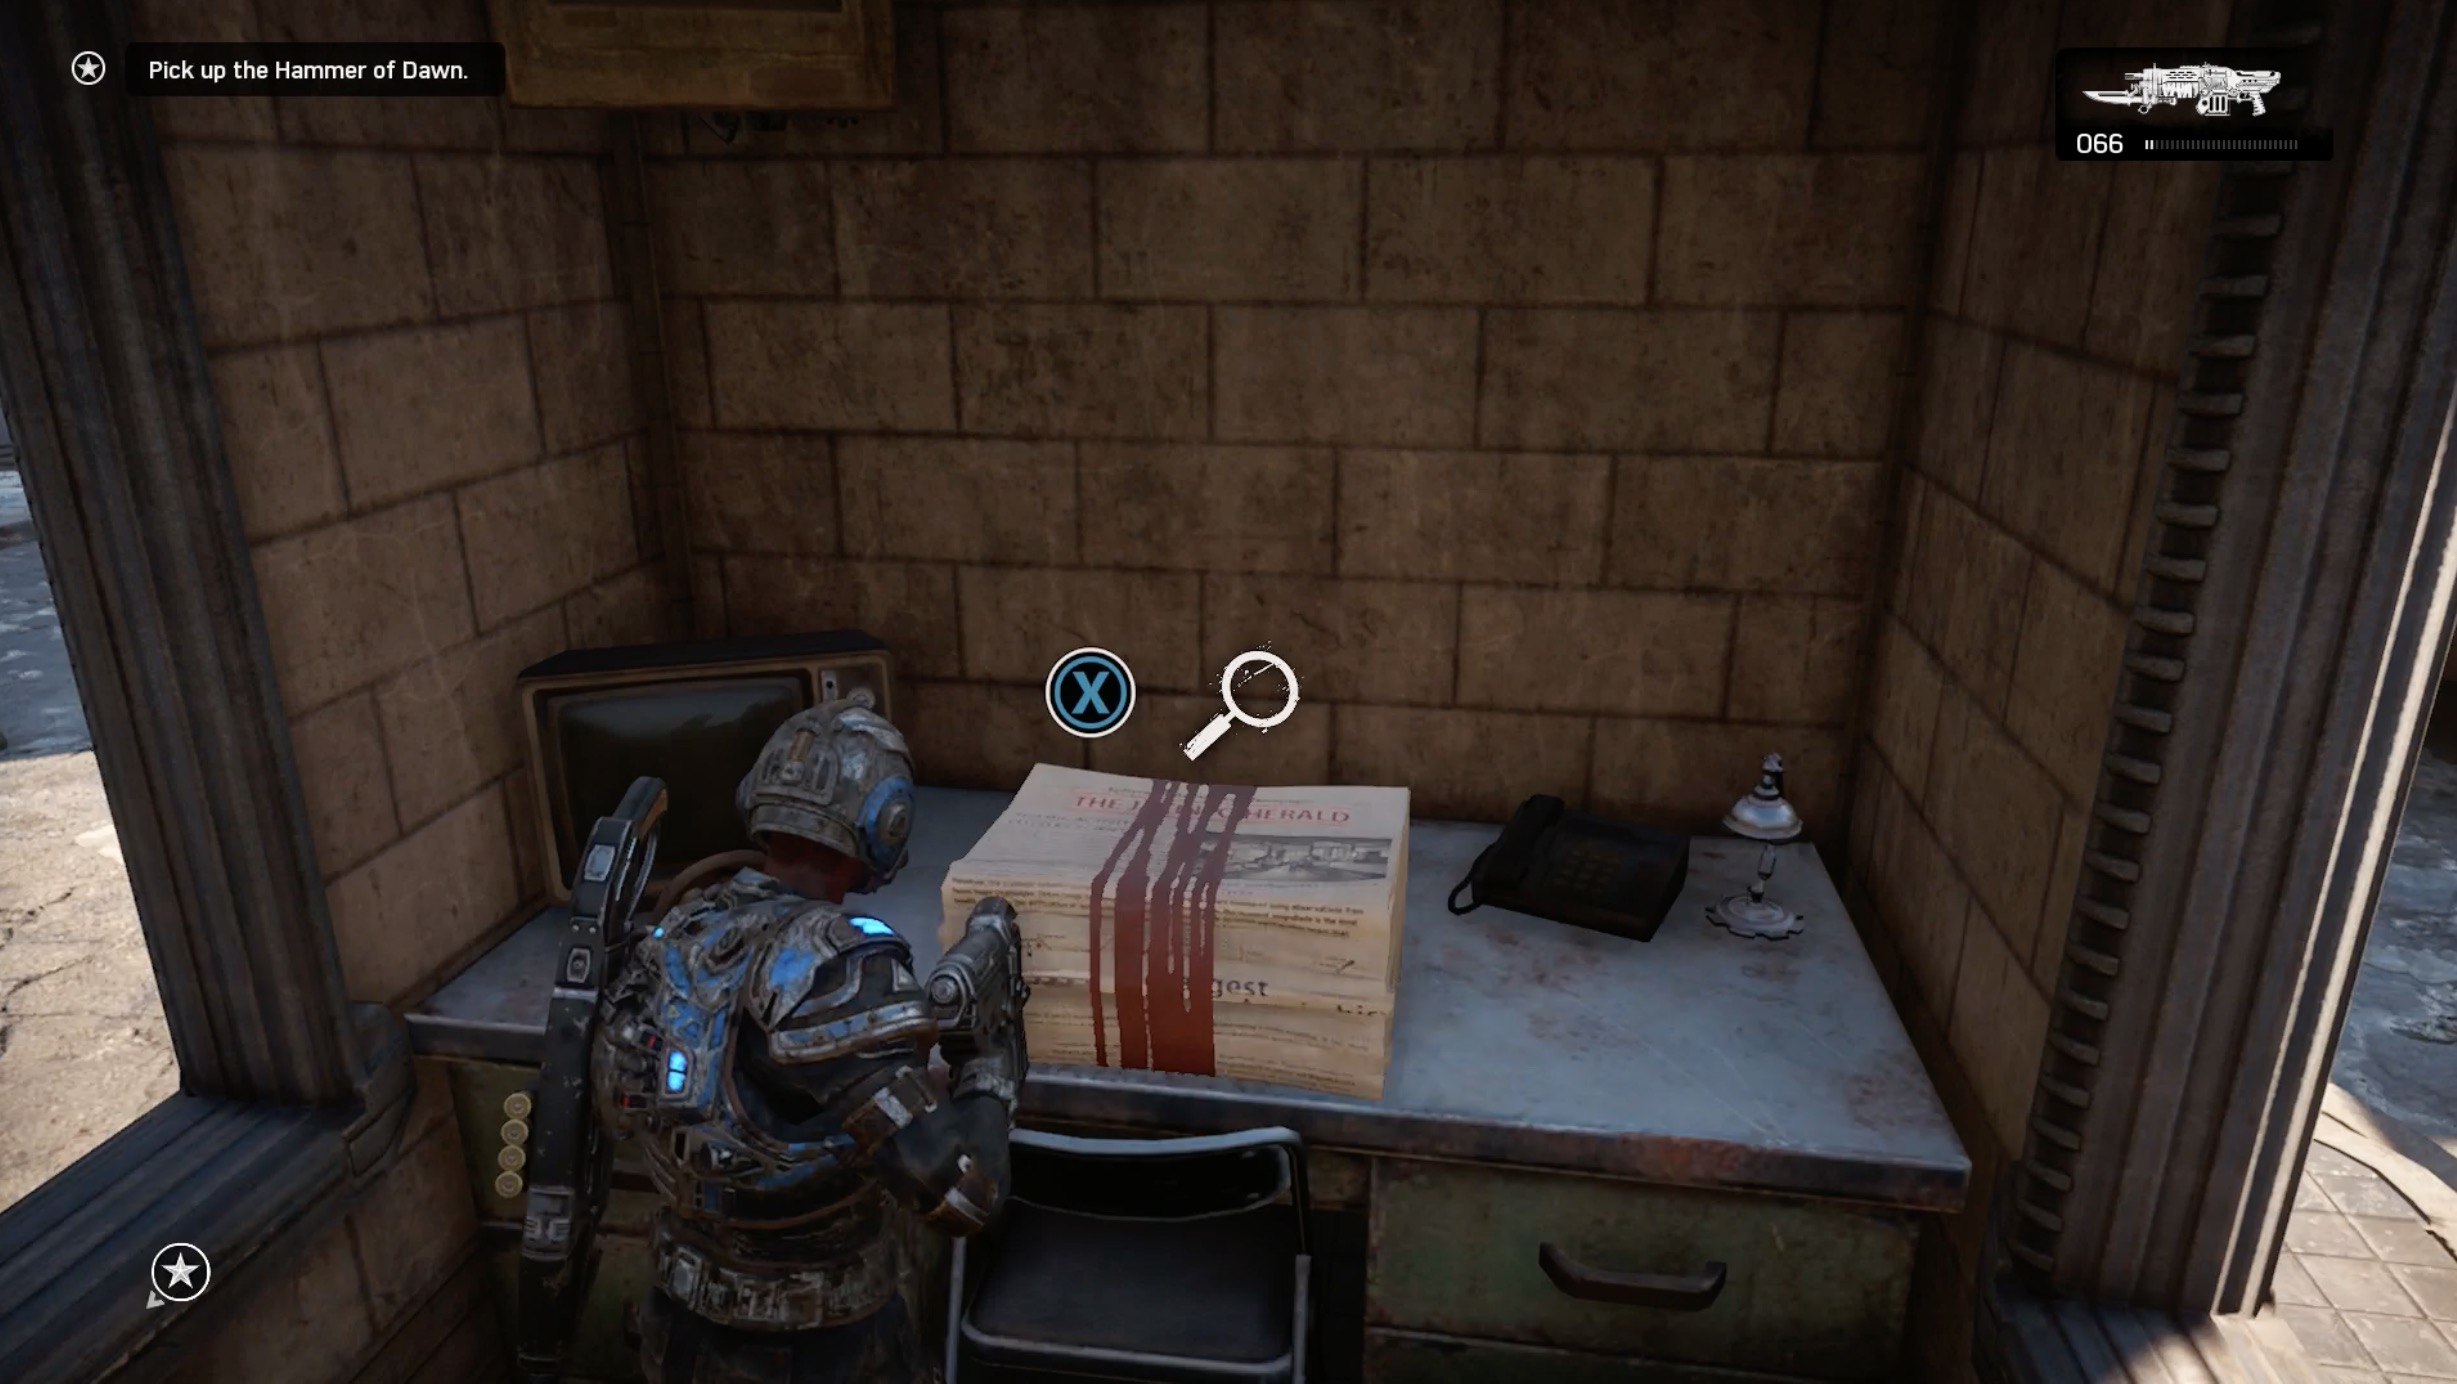
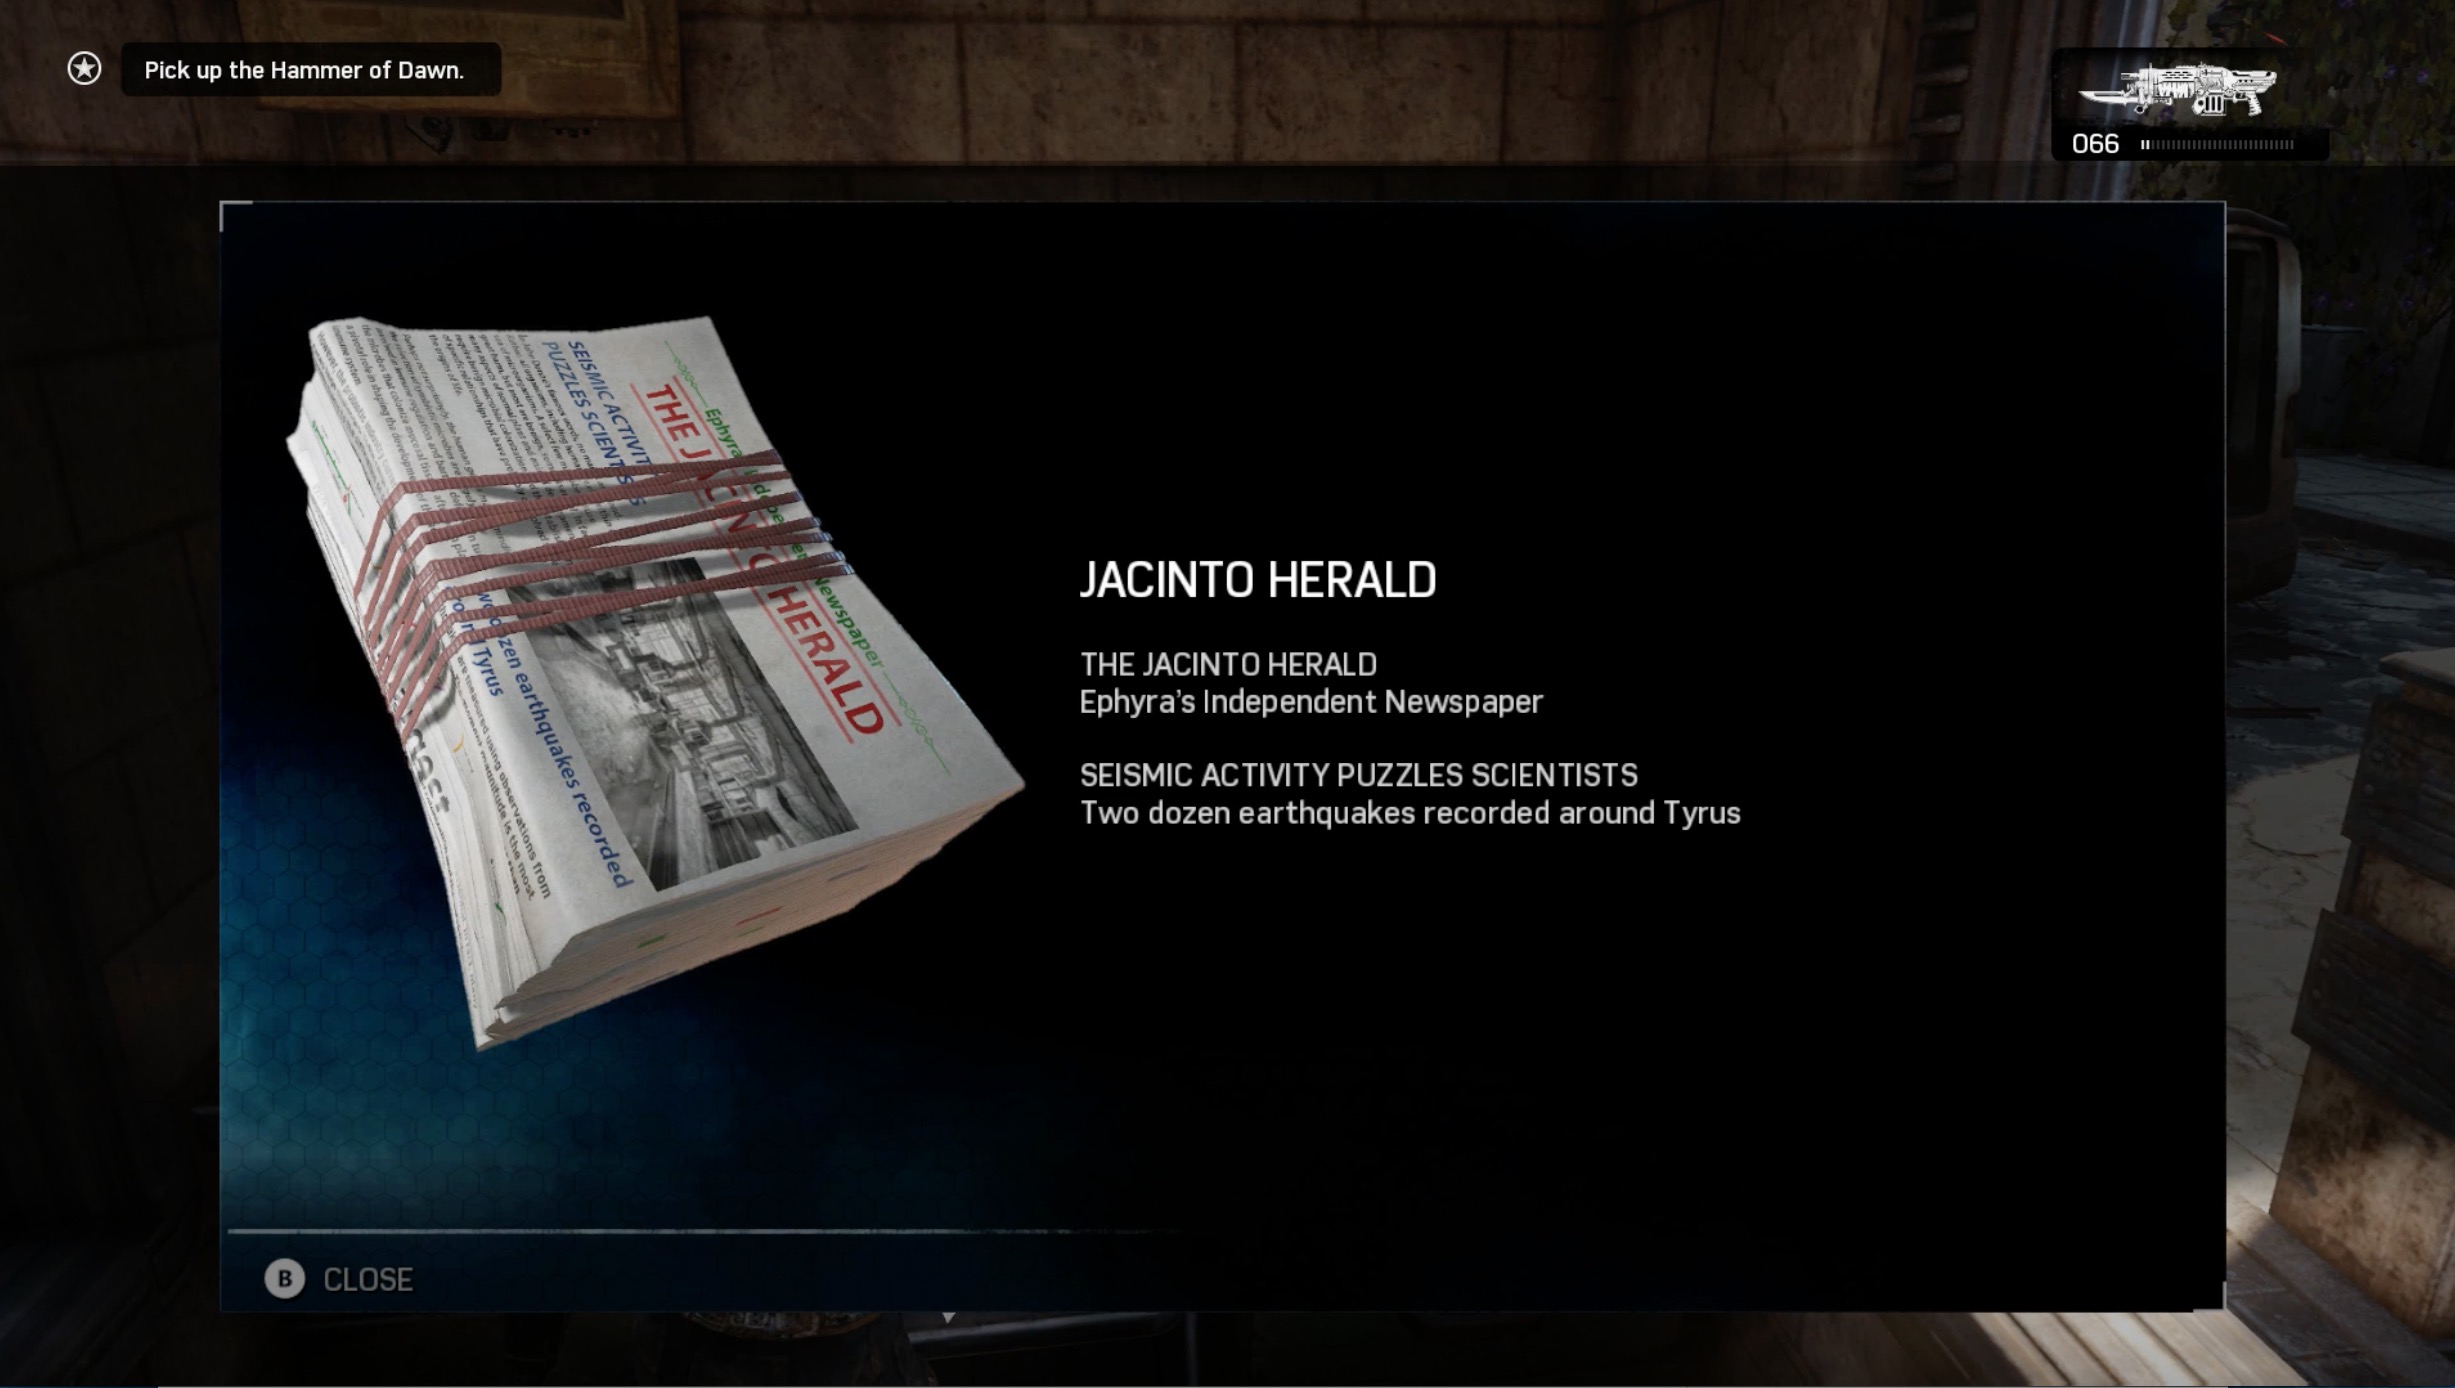
Jacinto Herald
Current Objective: Get to Hoffman’s convoy. / Pick up the Hammer of Dawn.
Progress until the giant Corpser appears. Look for a small outpost room to the left of the Corpser to find the Herald.
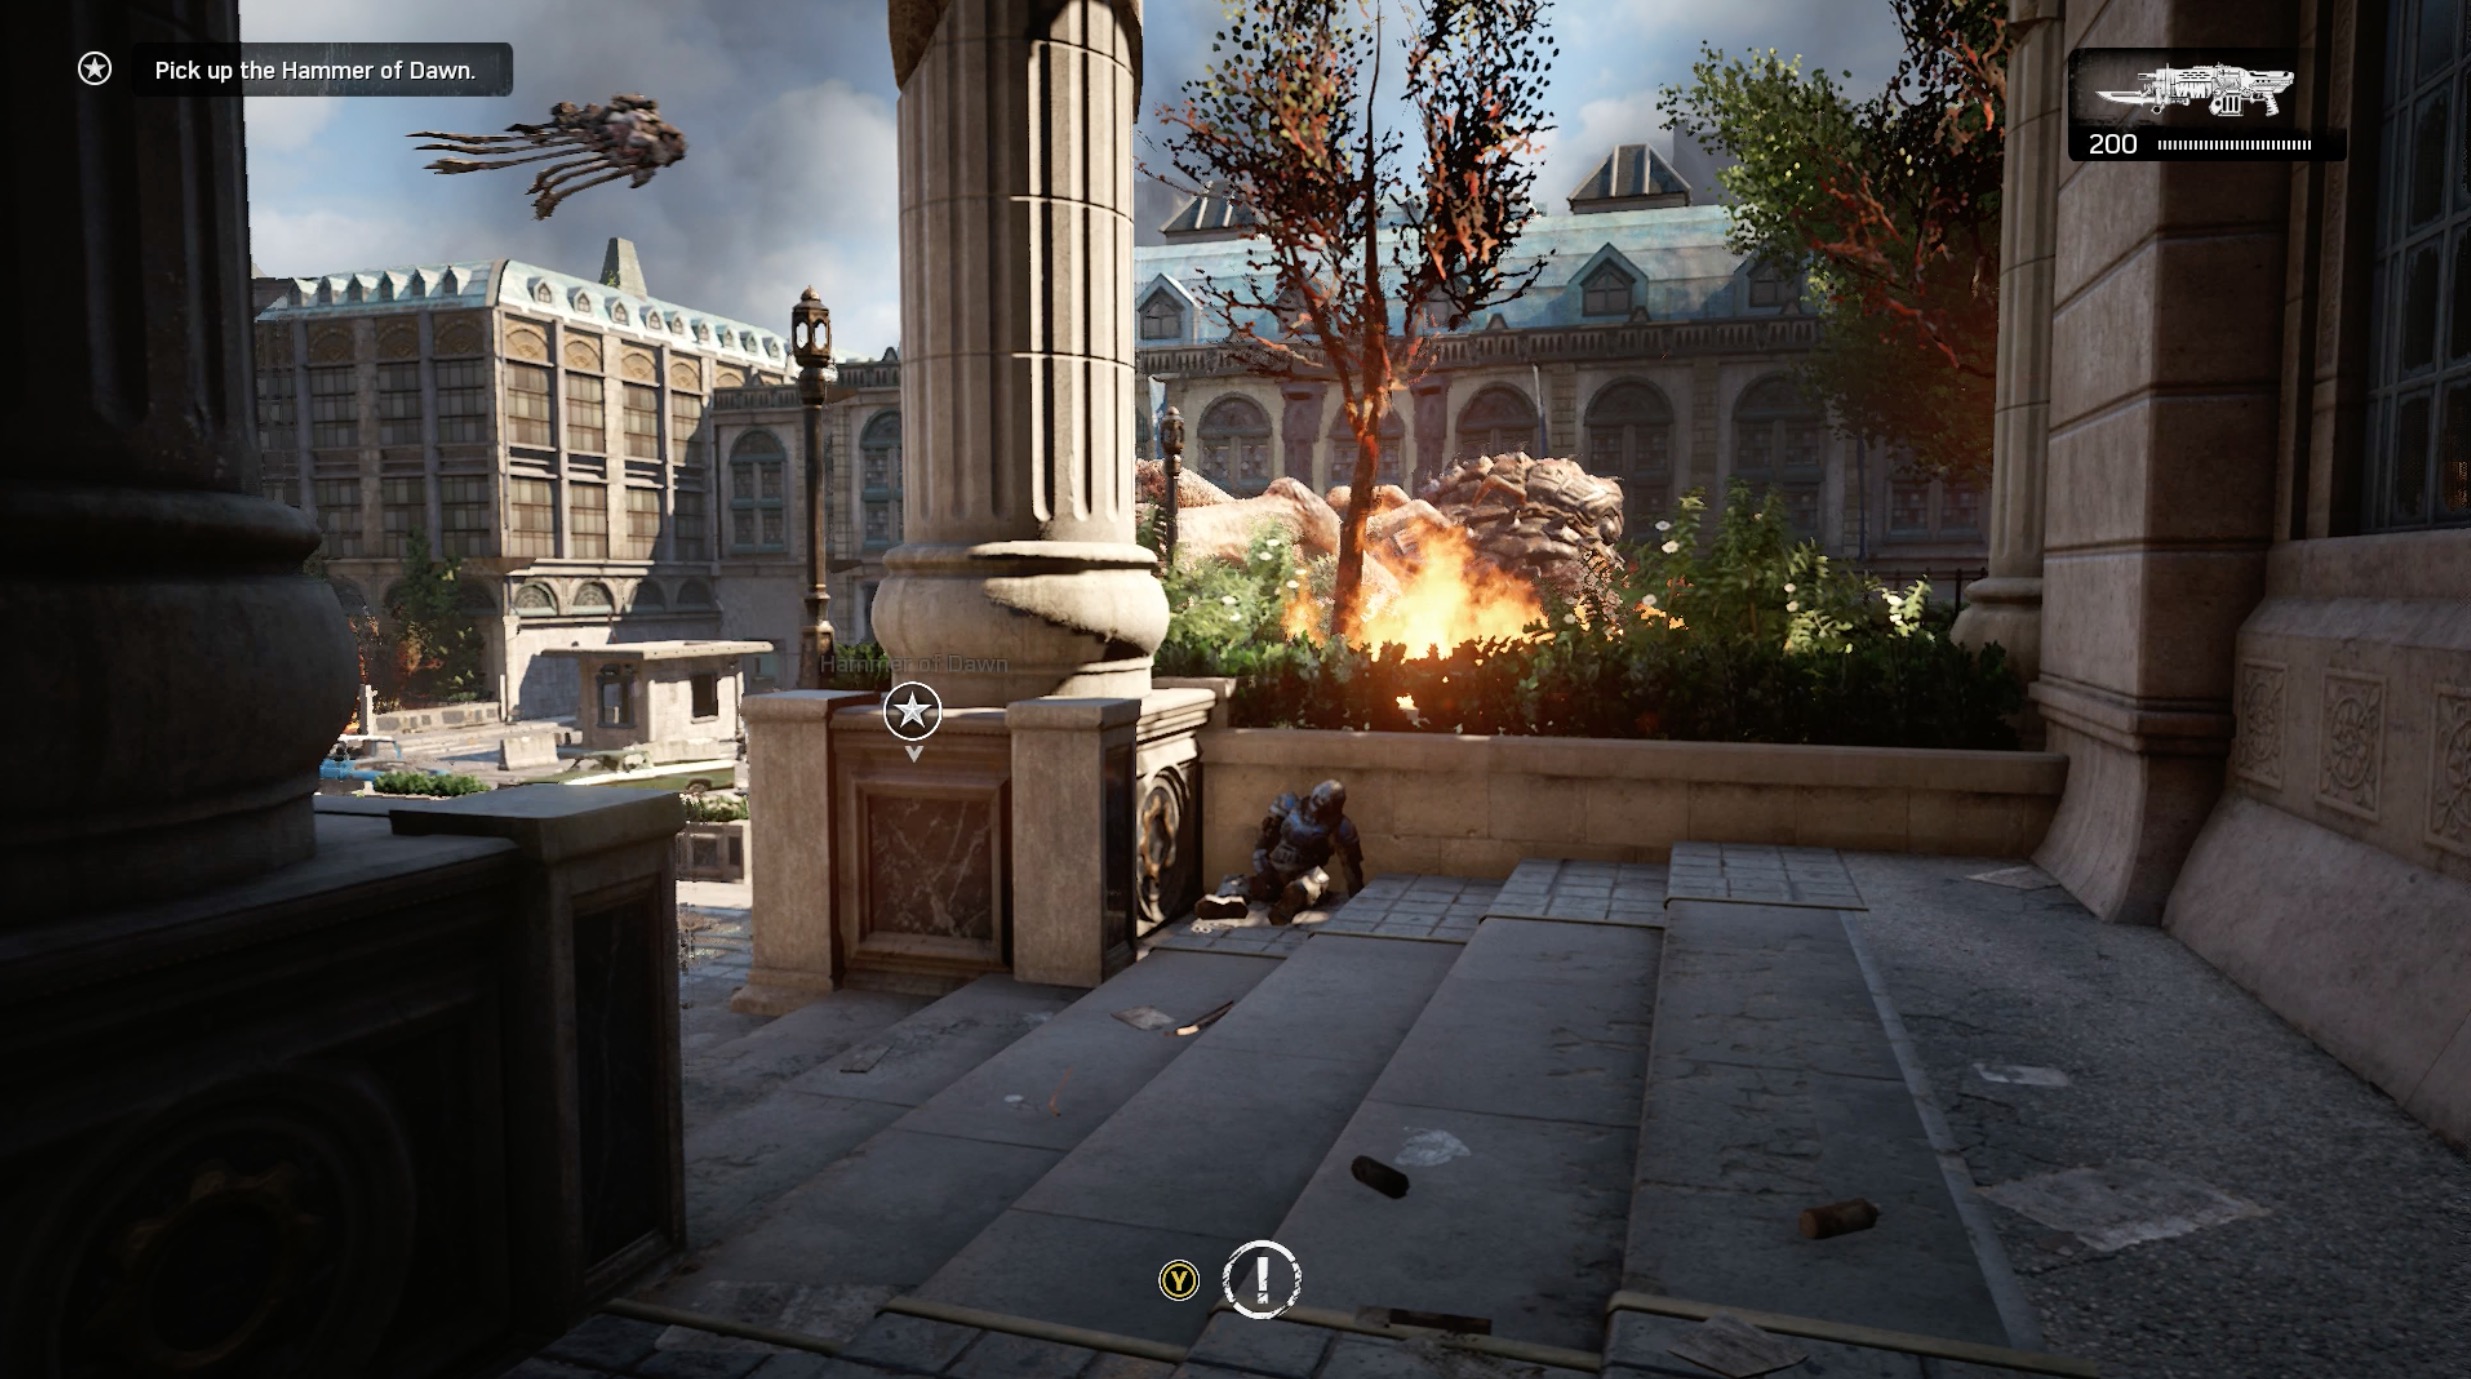
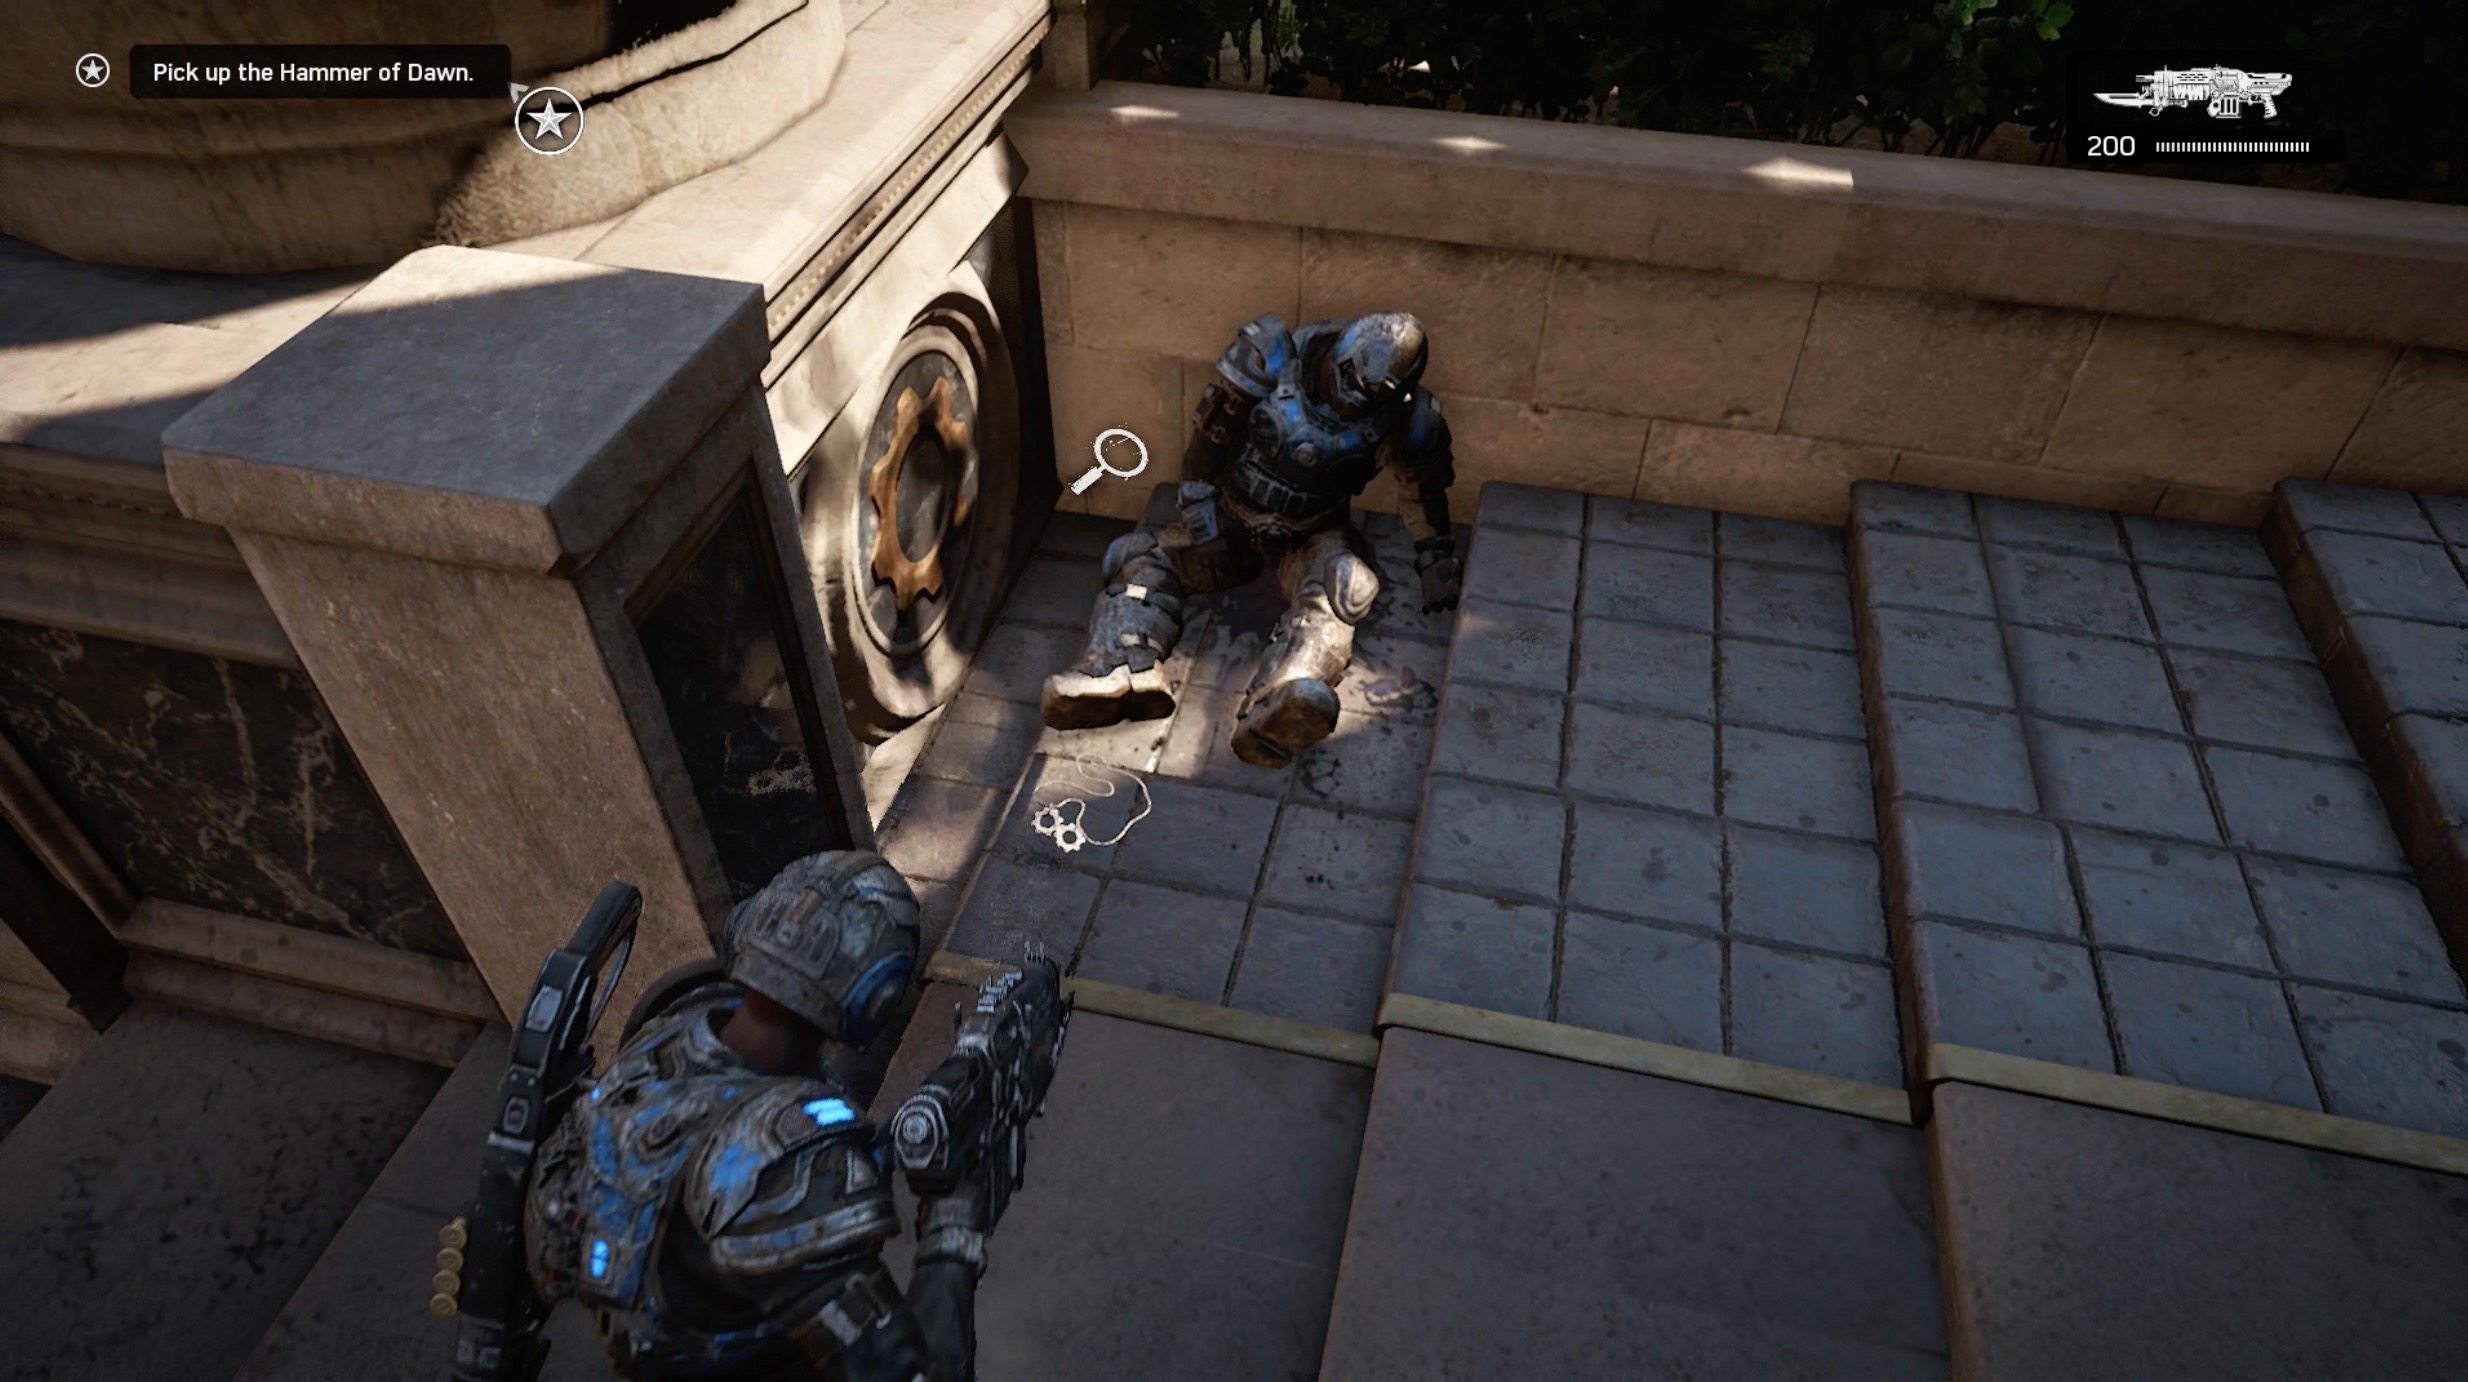
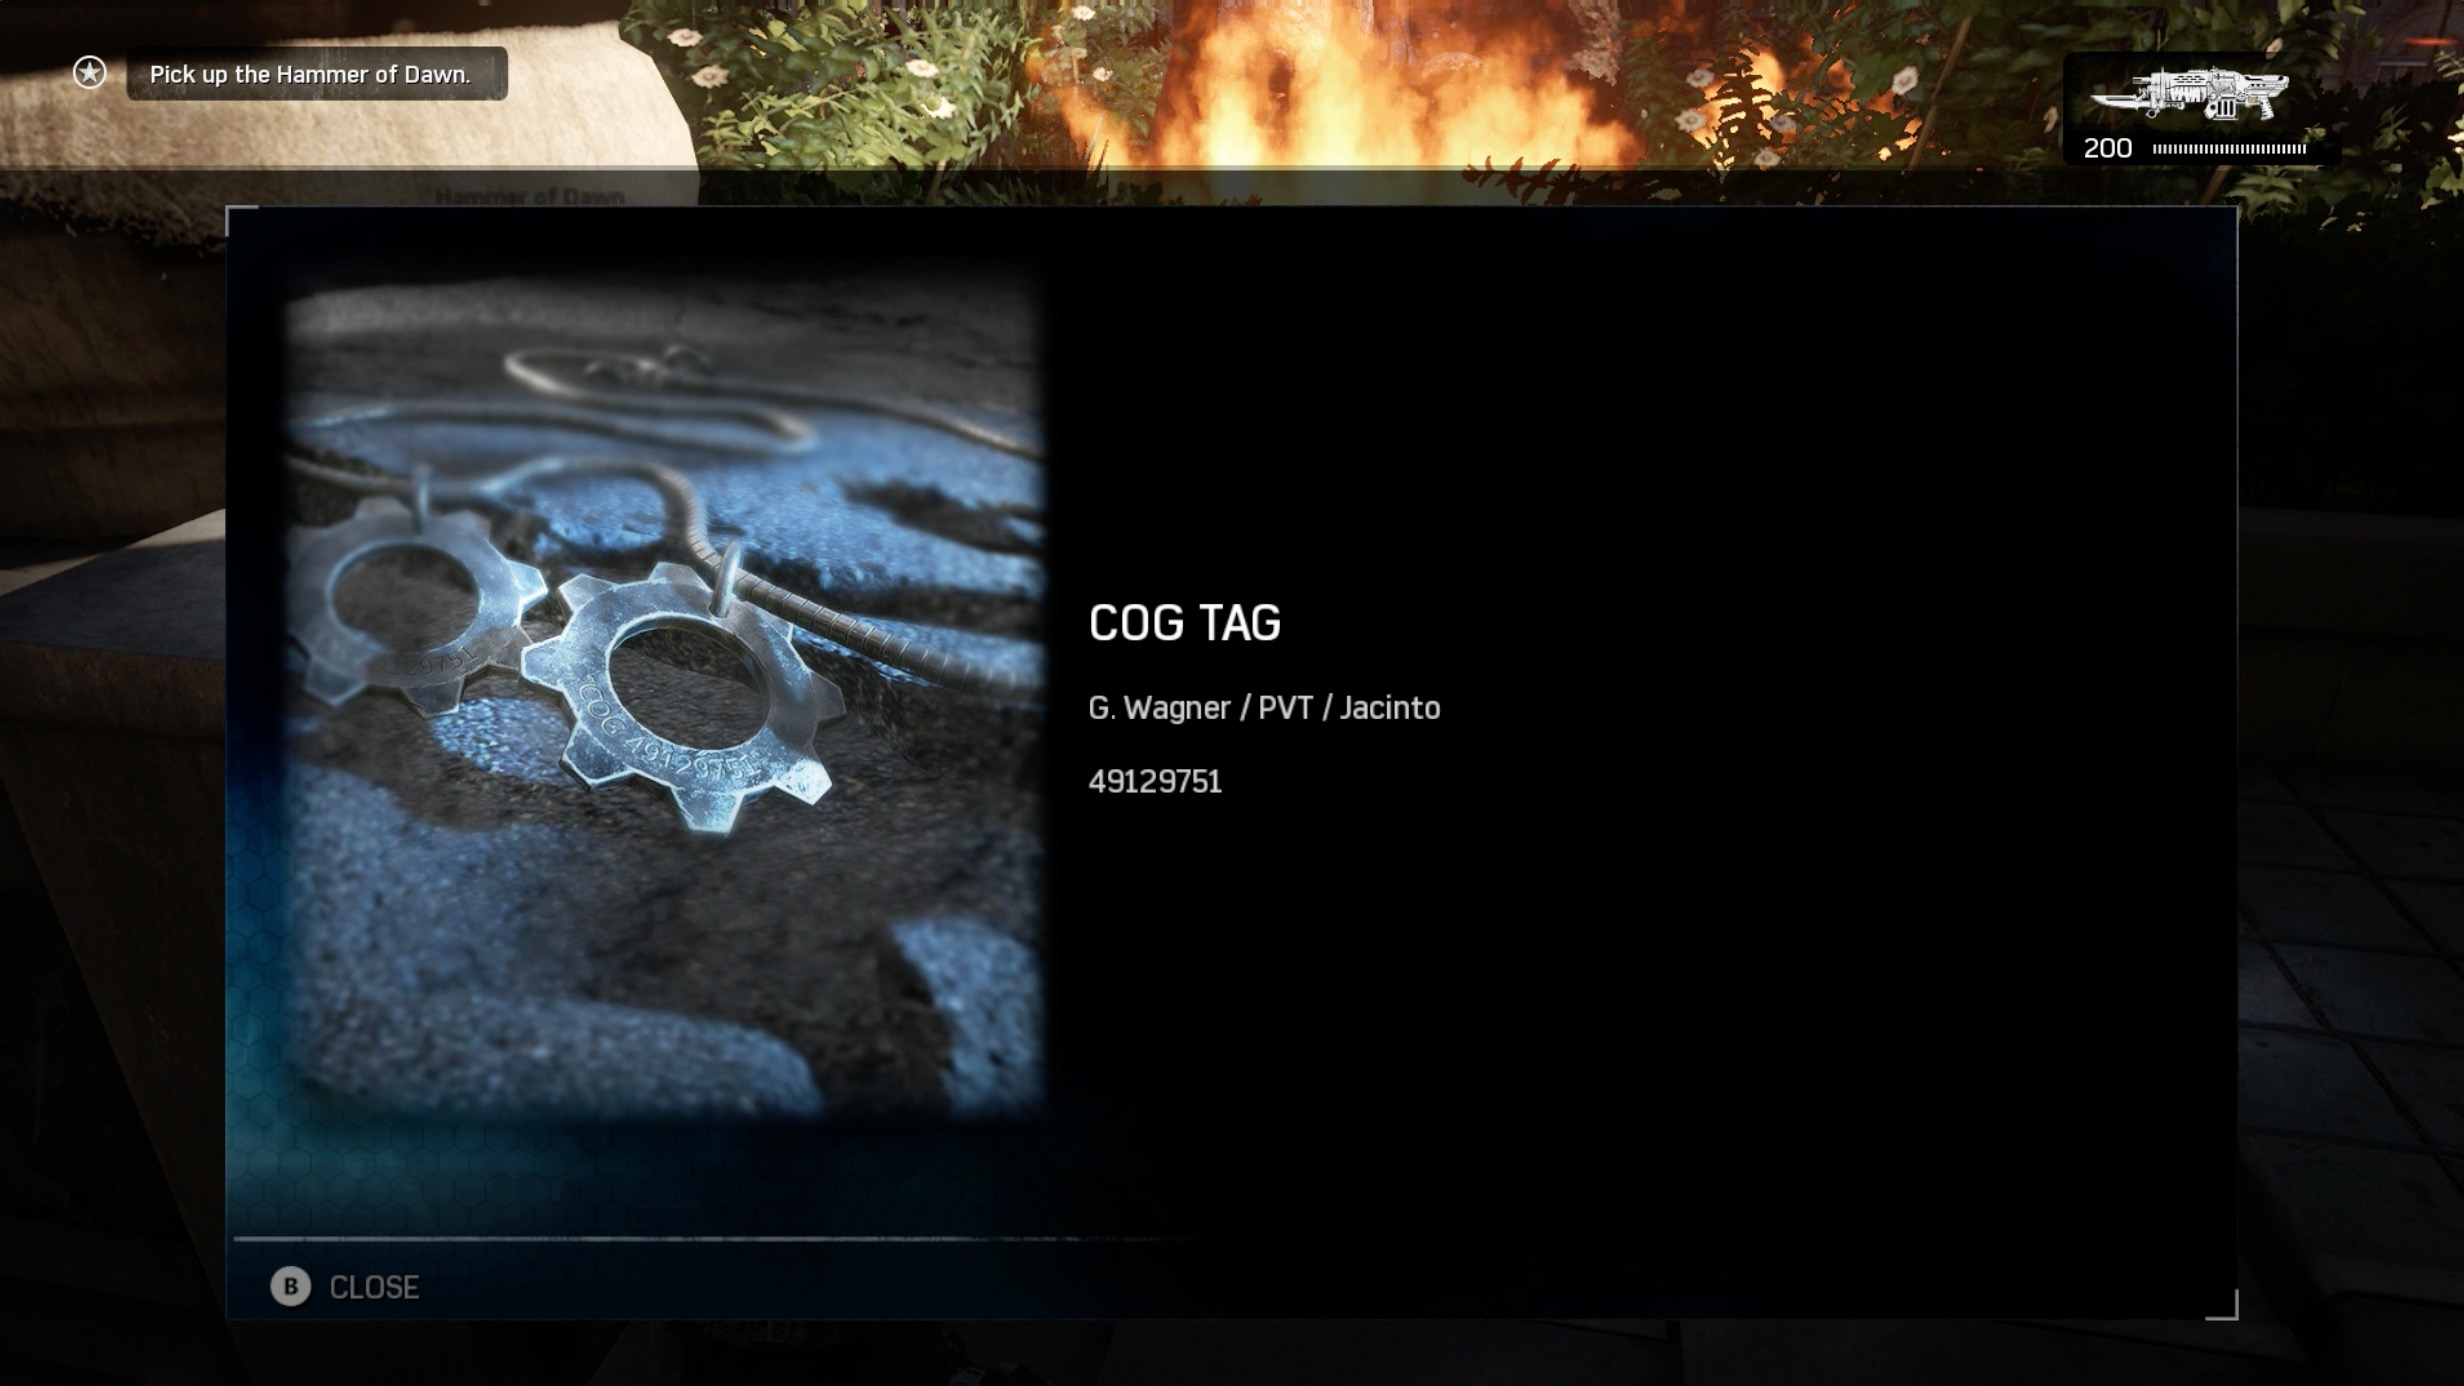
COG Tag: G. Wagner
Current Objective: Pick up the Hammer of Dawn. / Use the Hammer of Dawn to kill to Corpser.
Progress until the giant Corpser appears. Go up the stairs on your right. Assuming you’re facing the Corpser while standing on the steps, head to the right side of the steps. Grab the COG tag near the dead trooper.
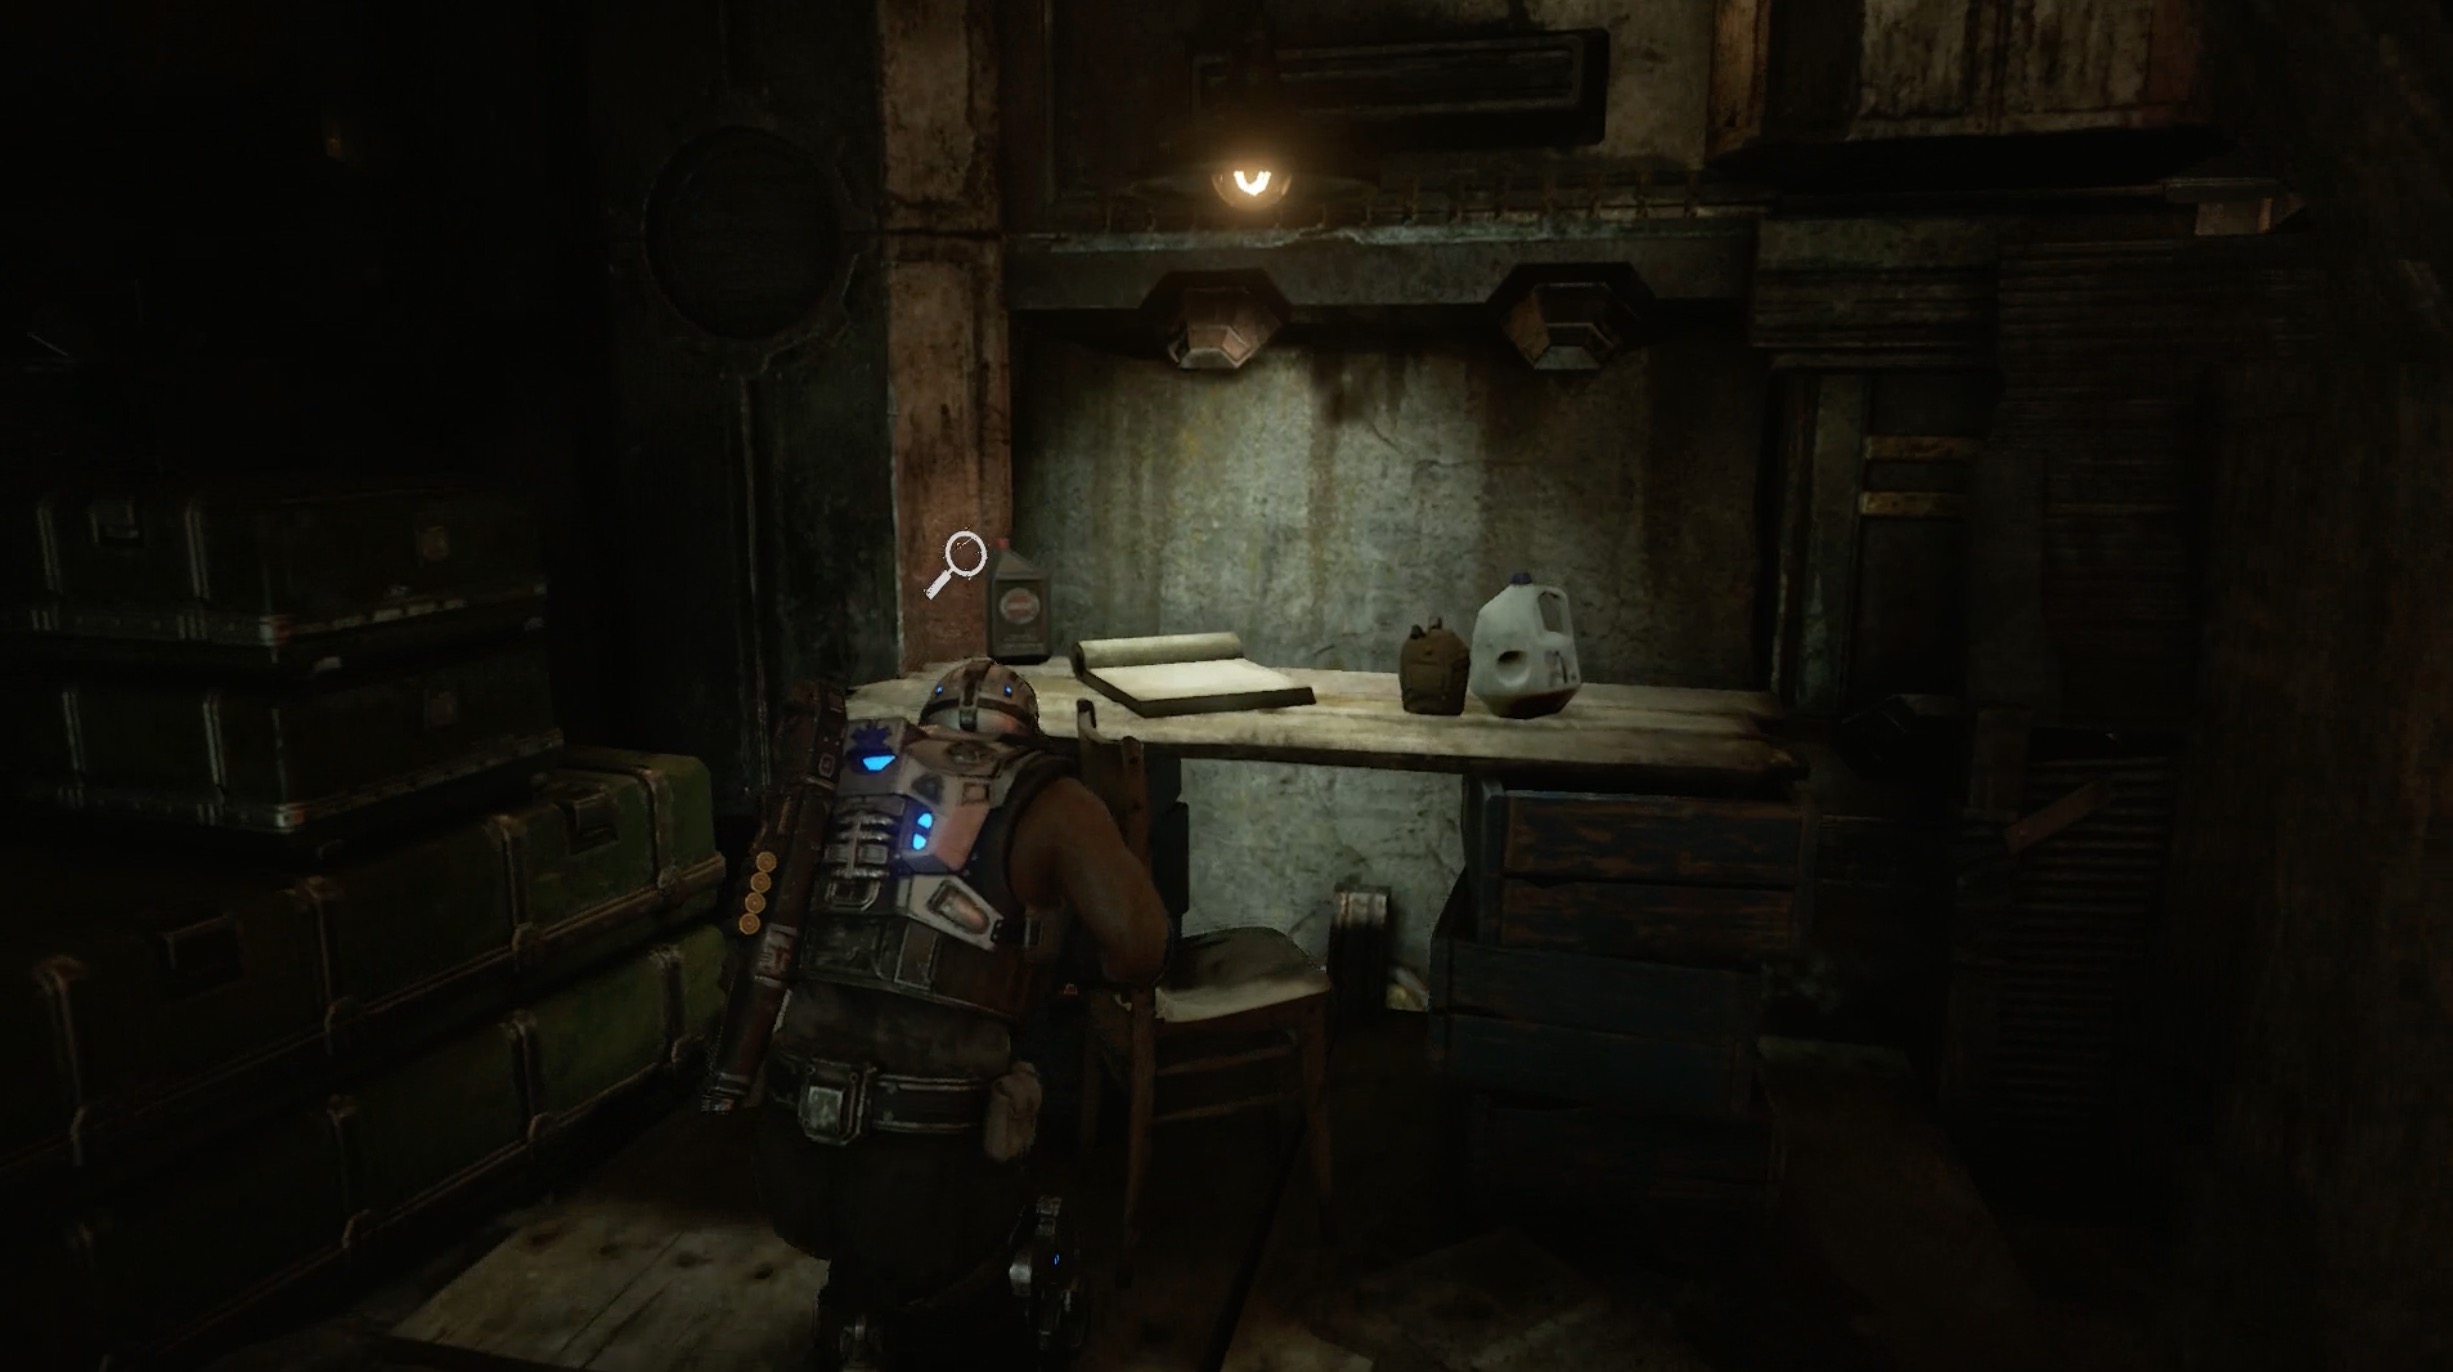
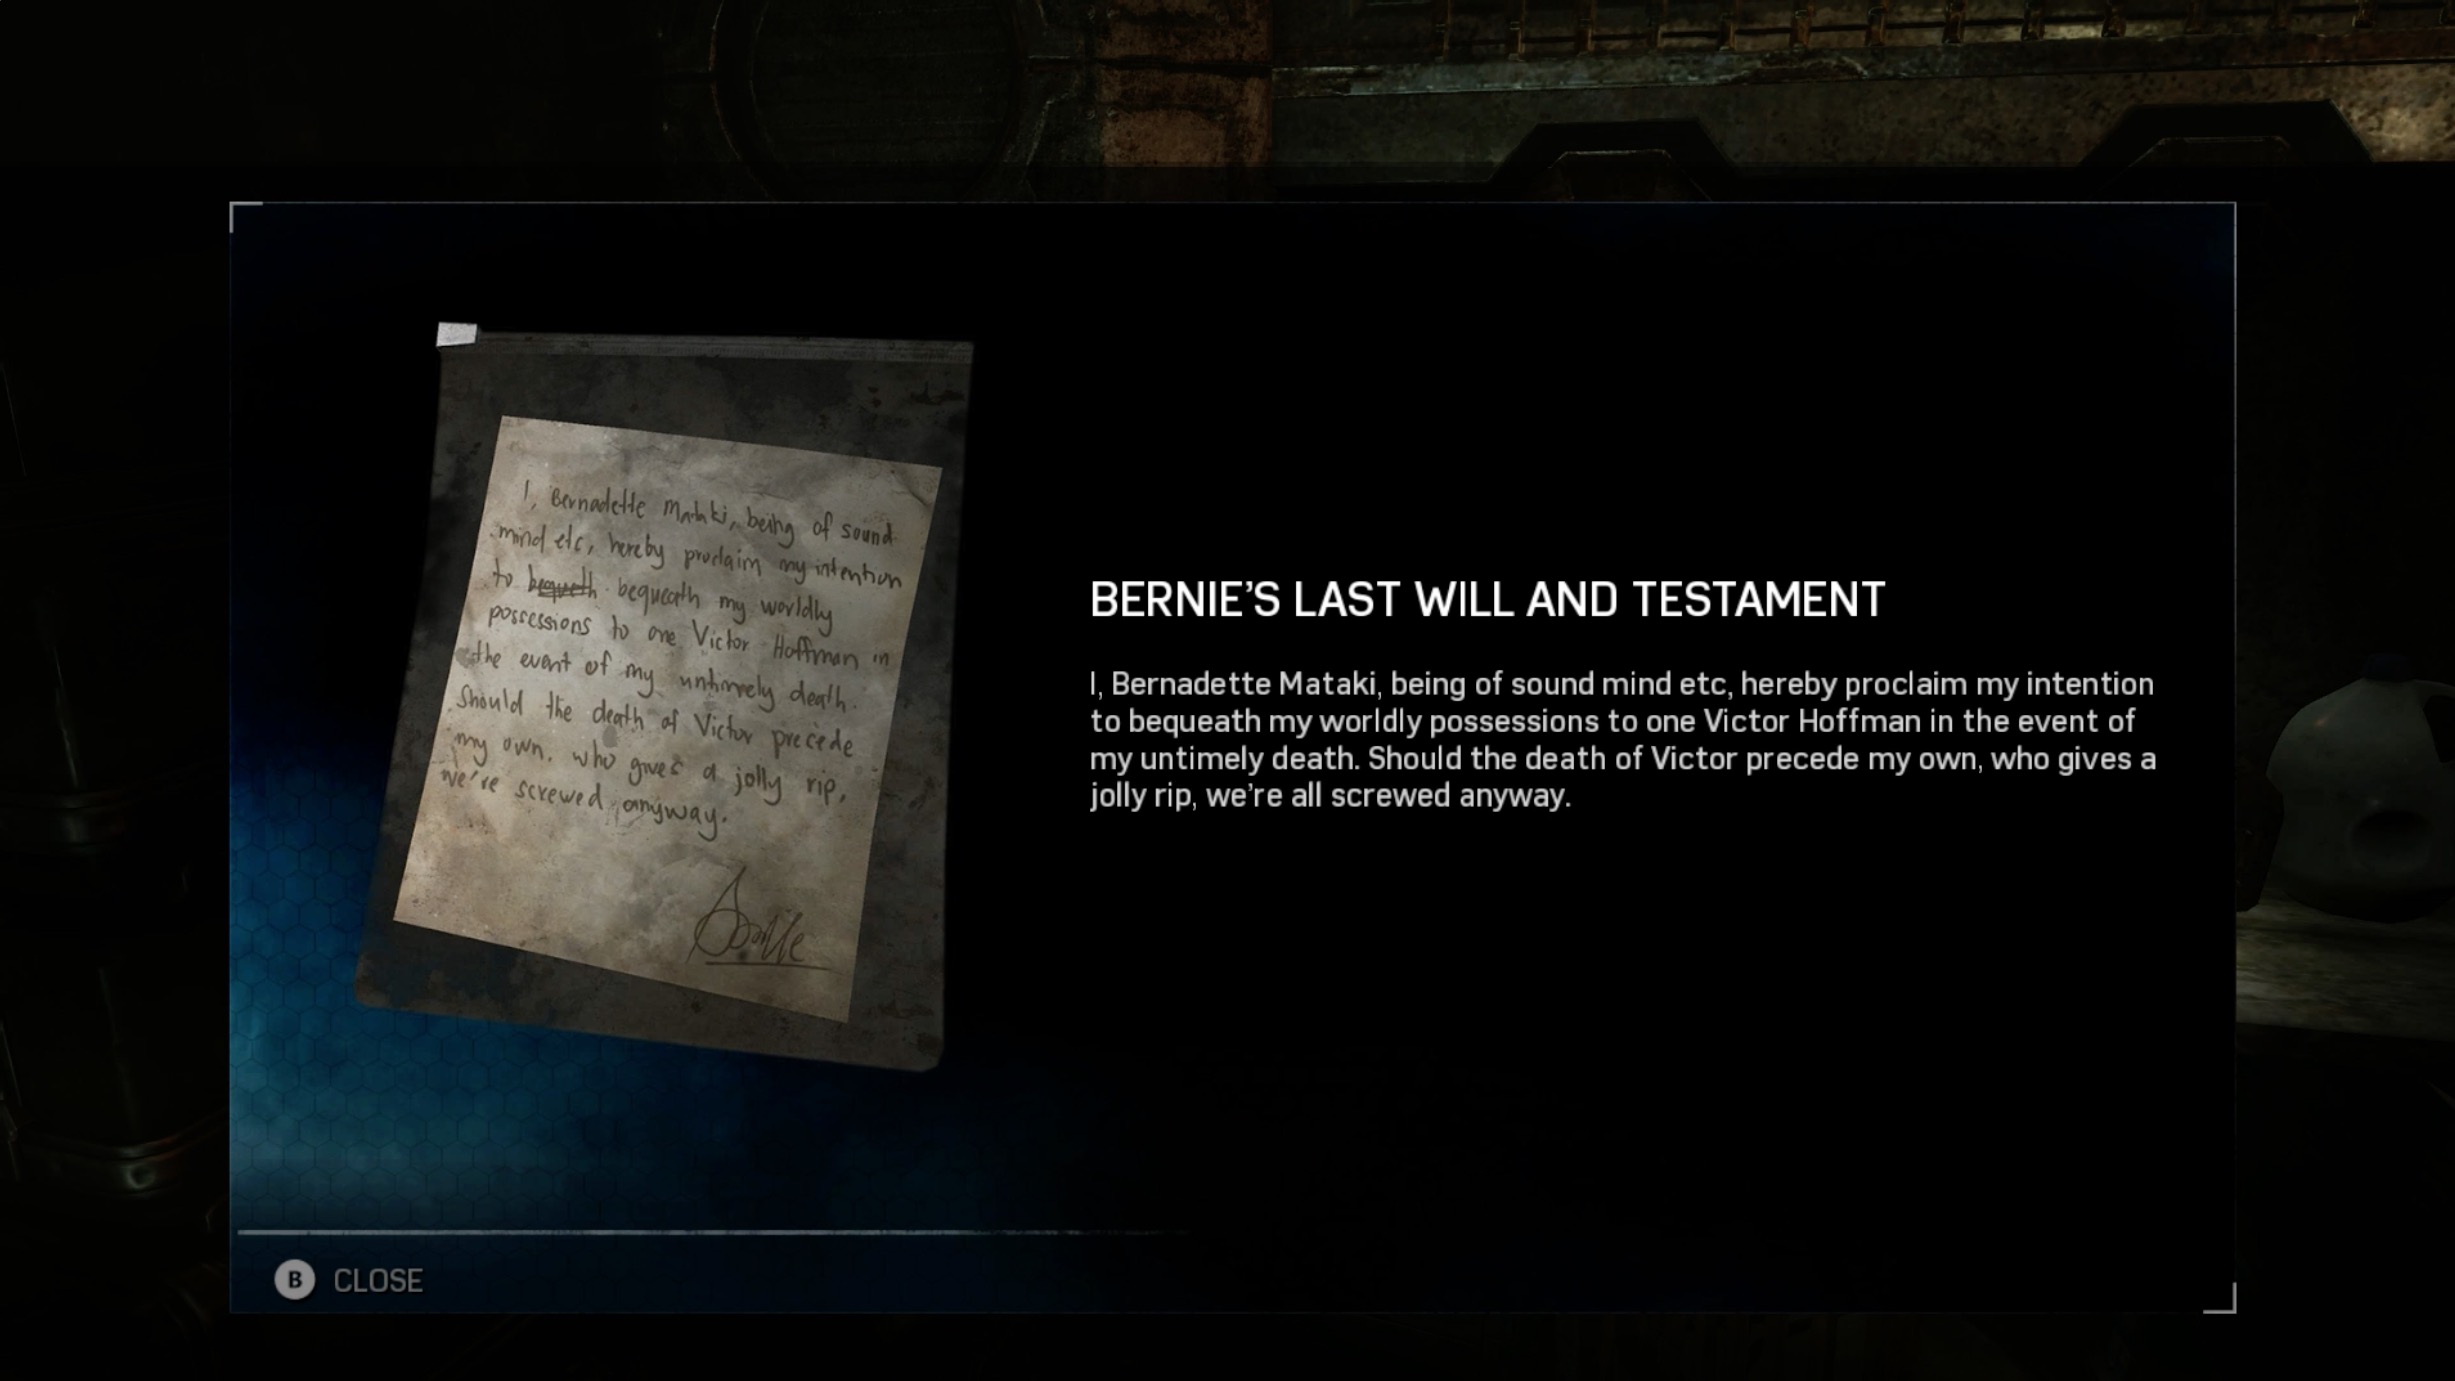
Bernie’s Last Will And Testament
Current Objective: Climb to the top of the wall.
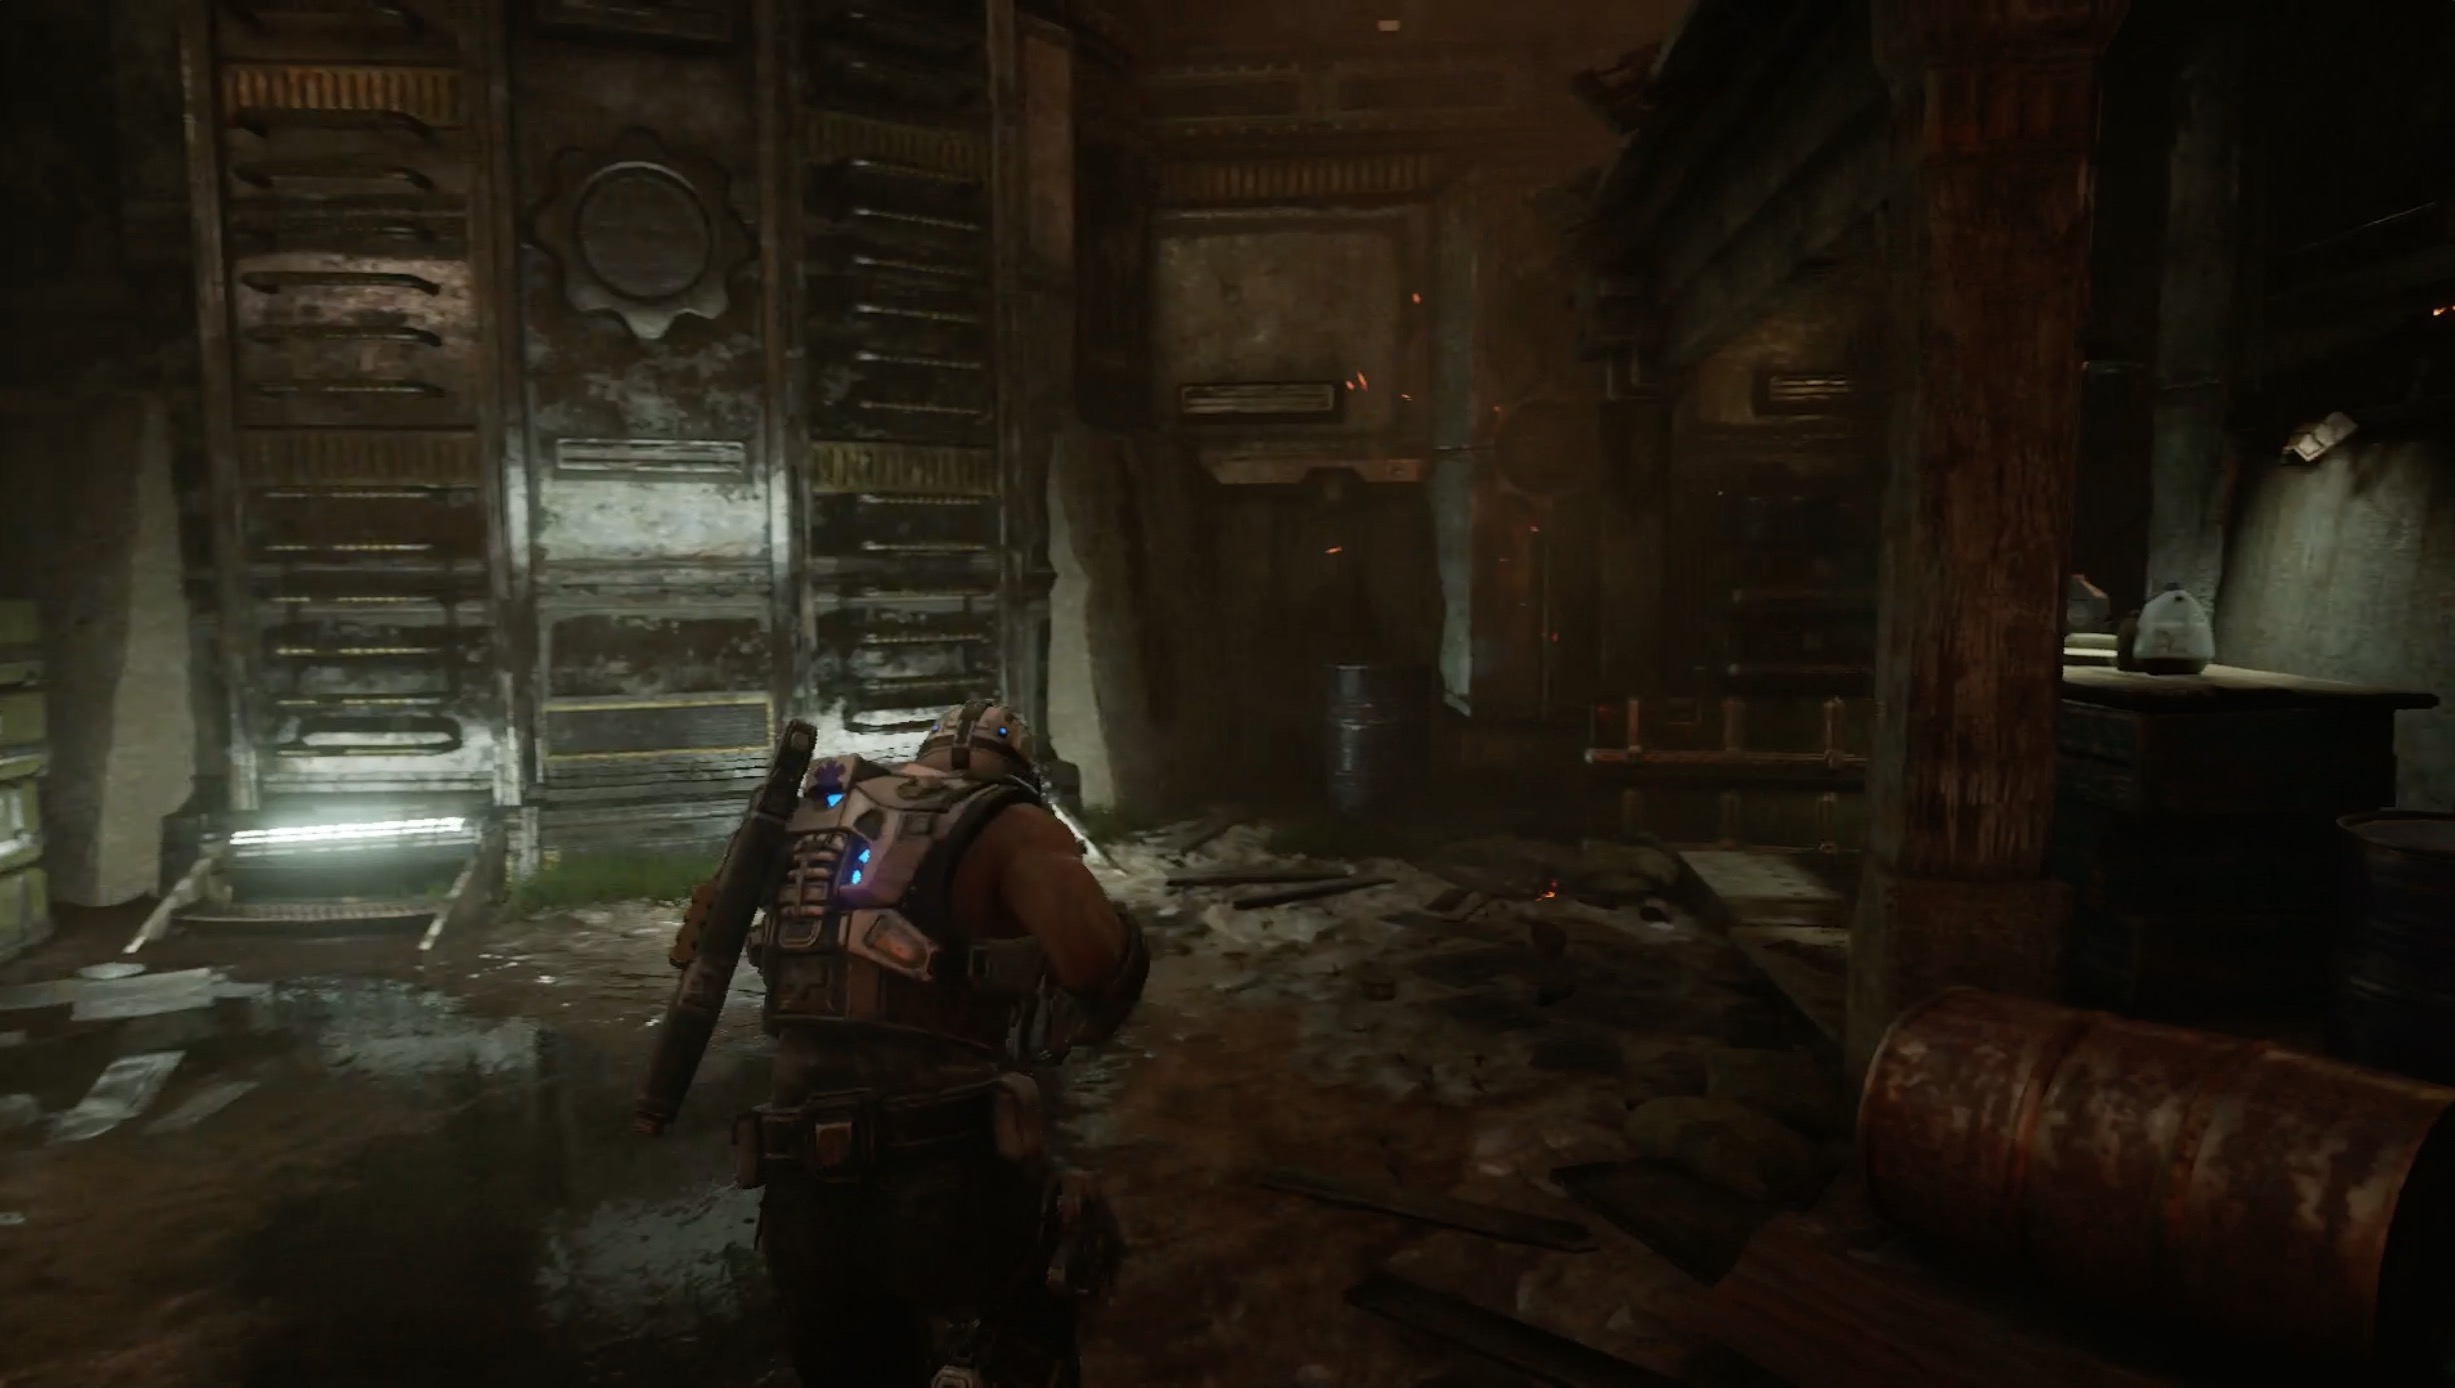
Before climbing the ladder built into the wall, look to your immediate right. The will can be found on a desk.
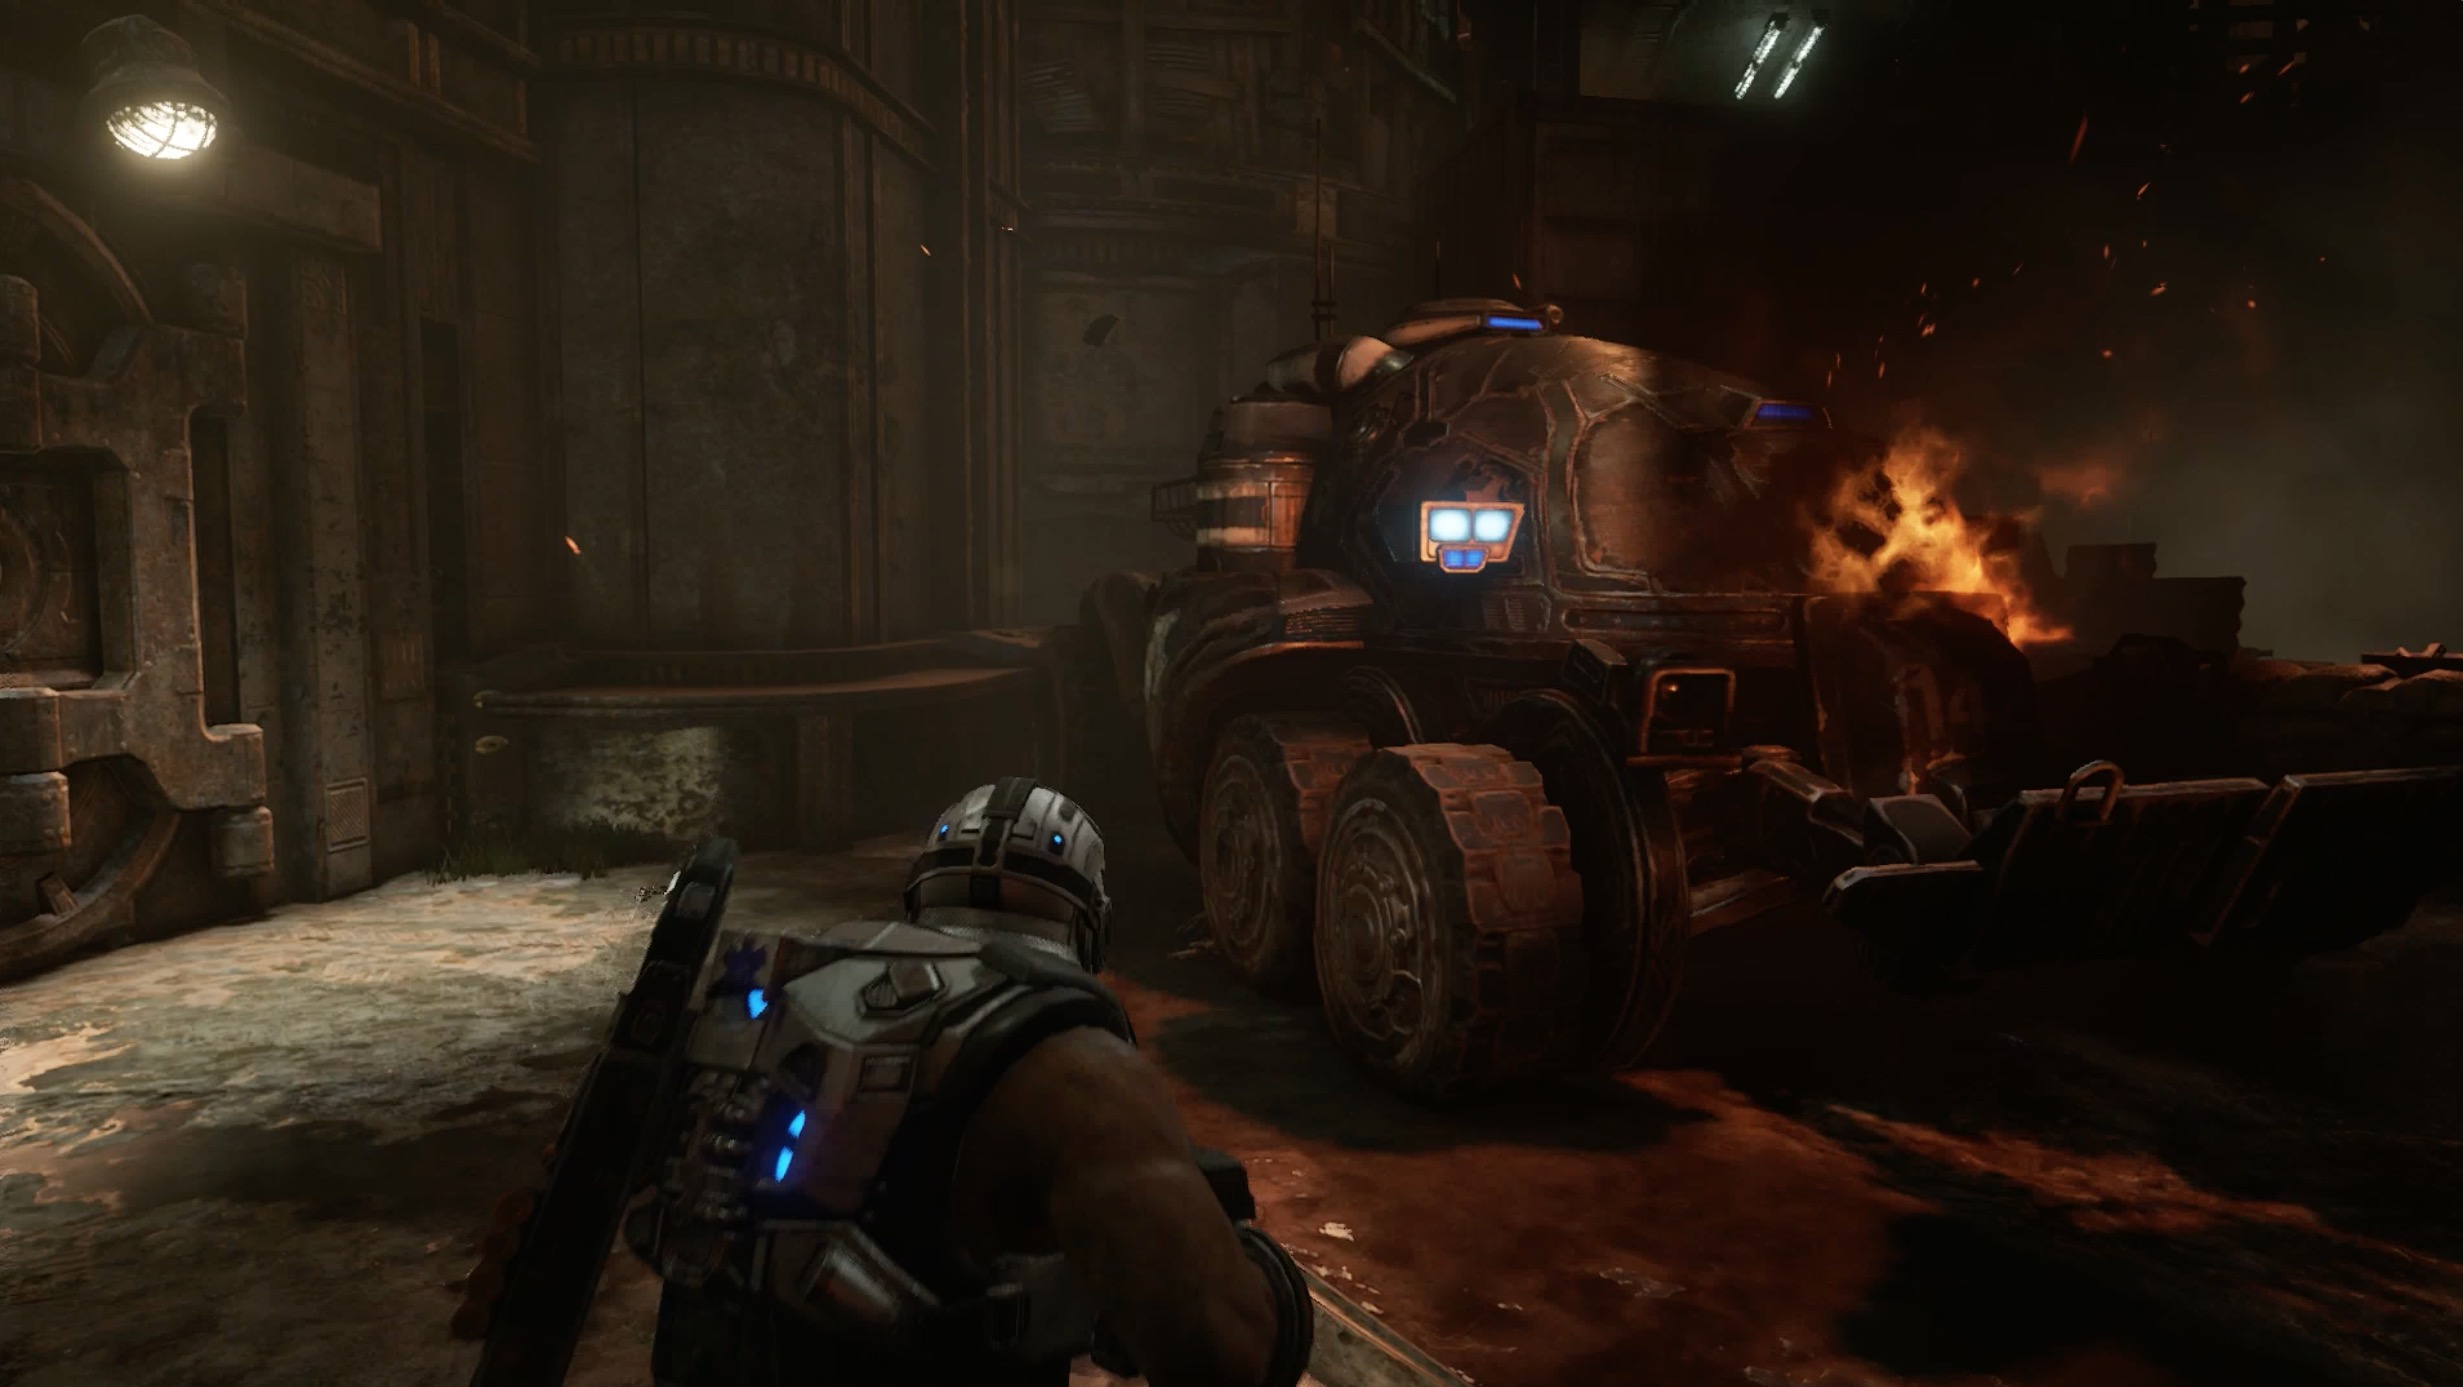
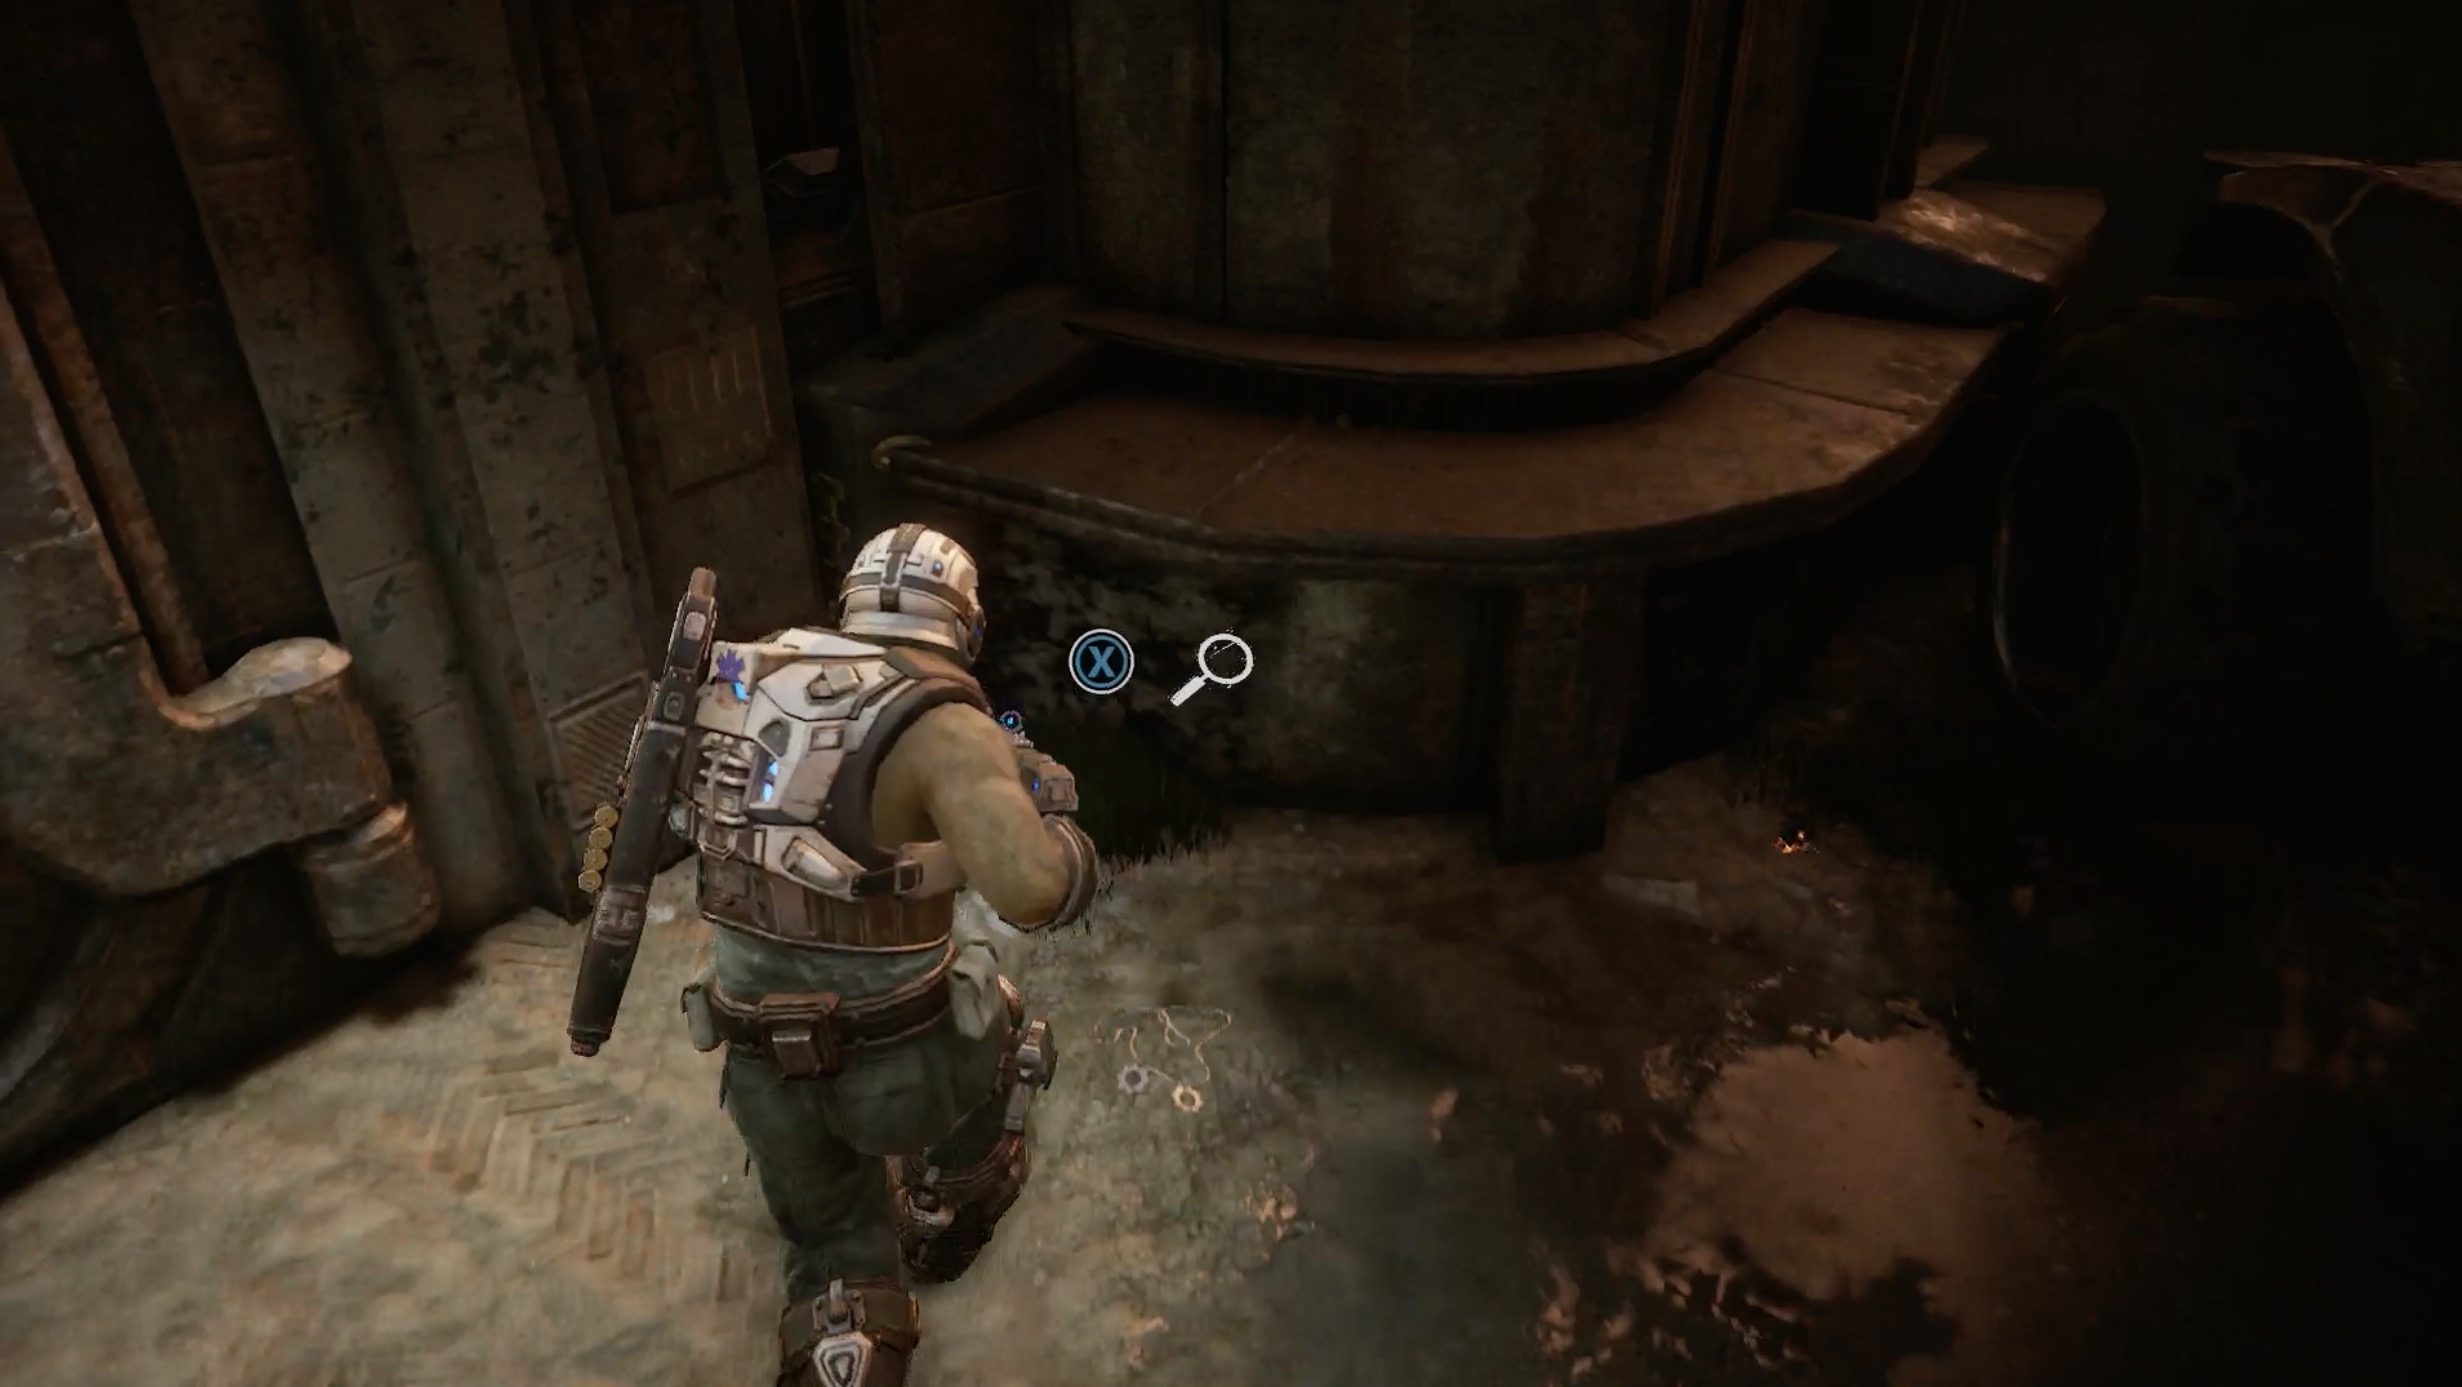
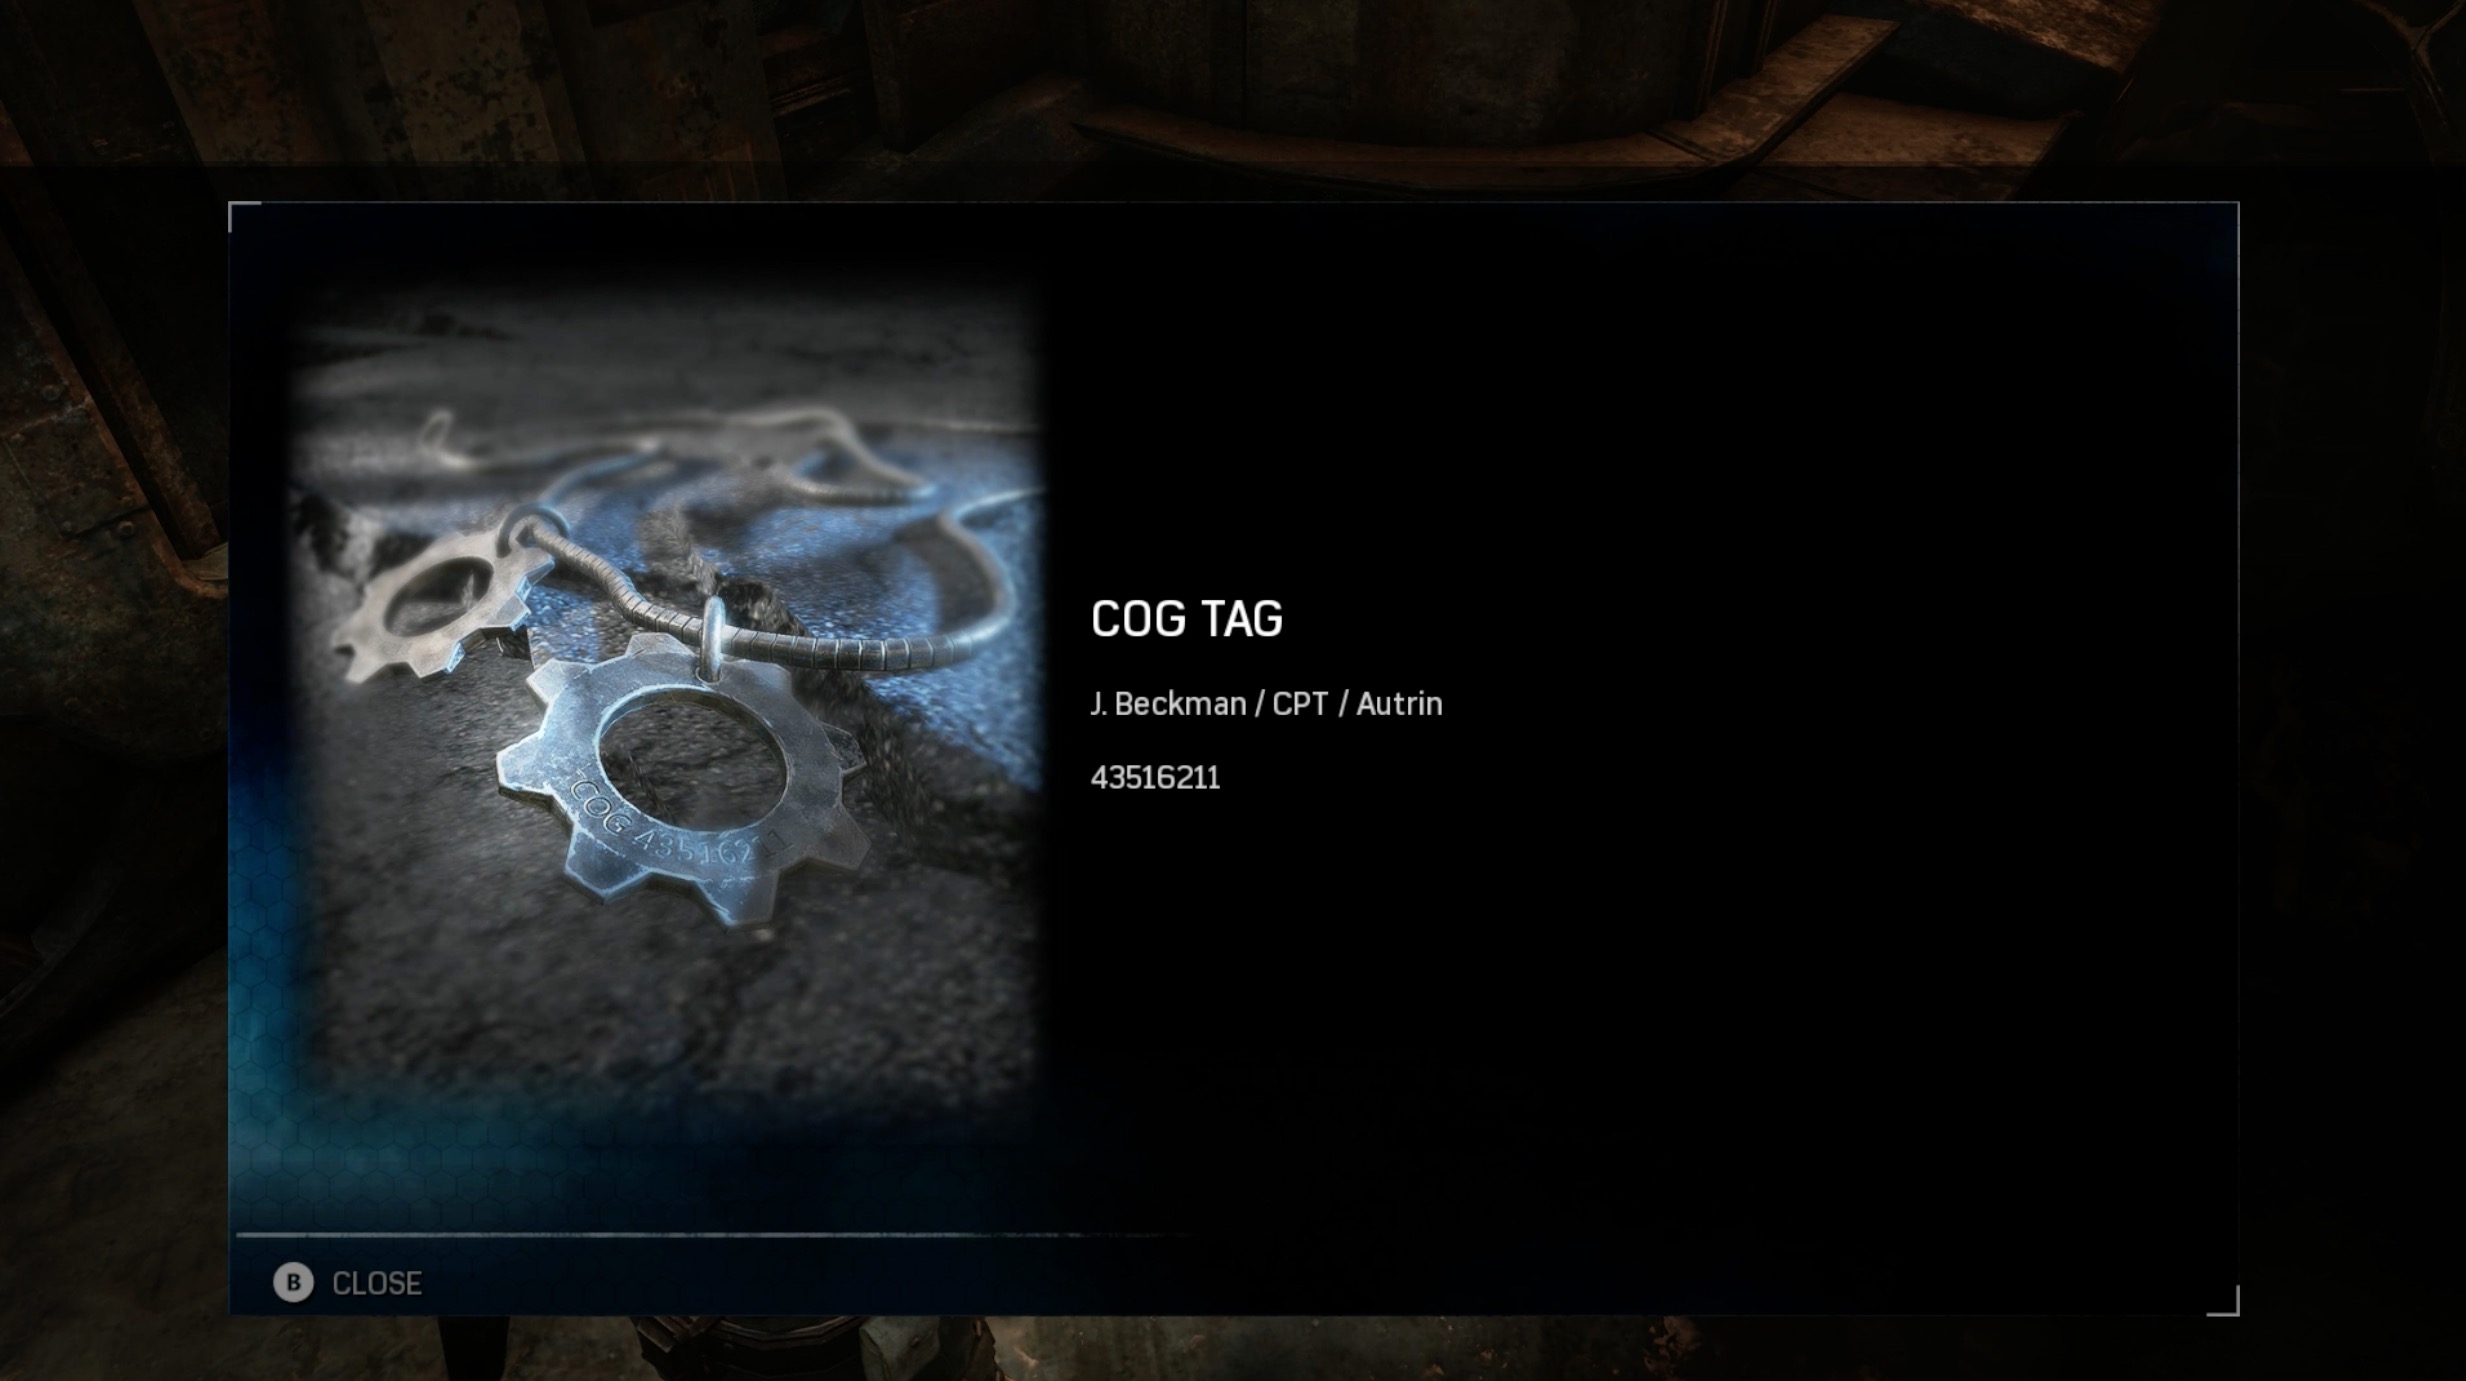
COG Tag: J. Beckman
Current Objective: Climb to the top of the wall.
Before climbing the ladder built into the wall, head for the small armored transport to the left of the ladder. Between the left side of the transport and a large pair of locked double doors is the COG tag. Note that is it not next to any dead soldier.
Act I: 1. The Raid
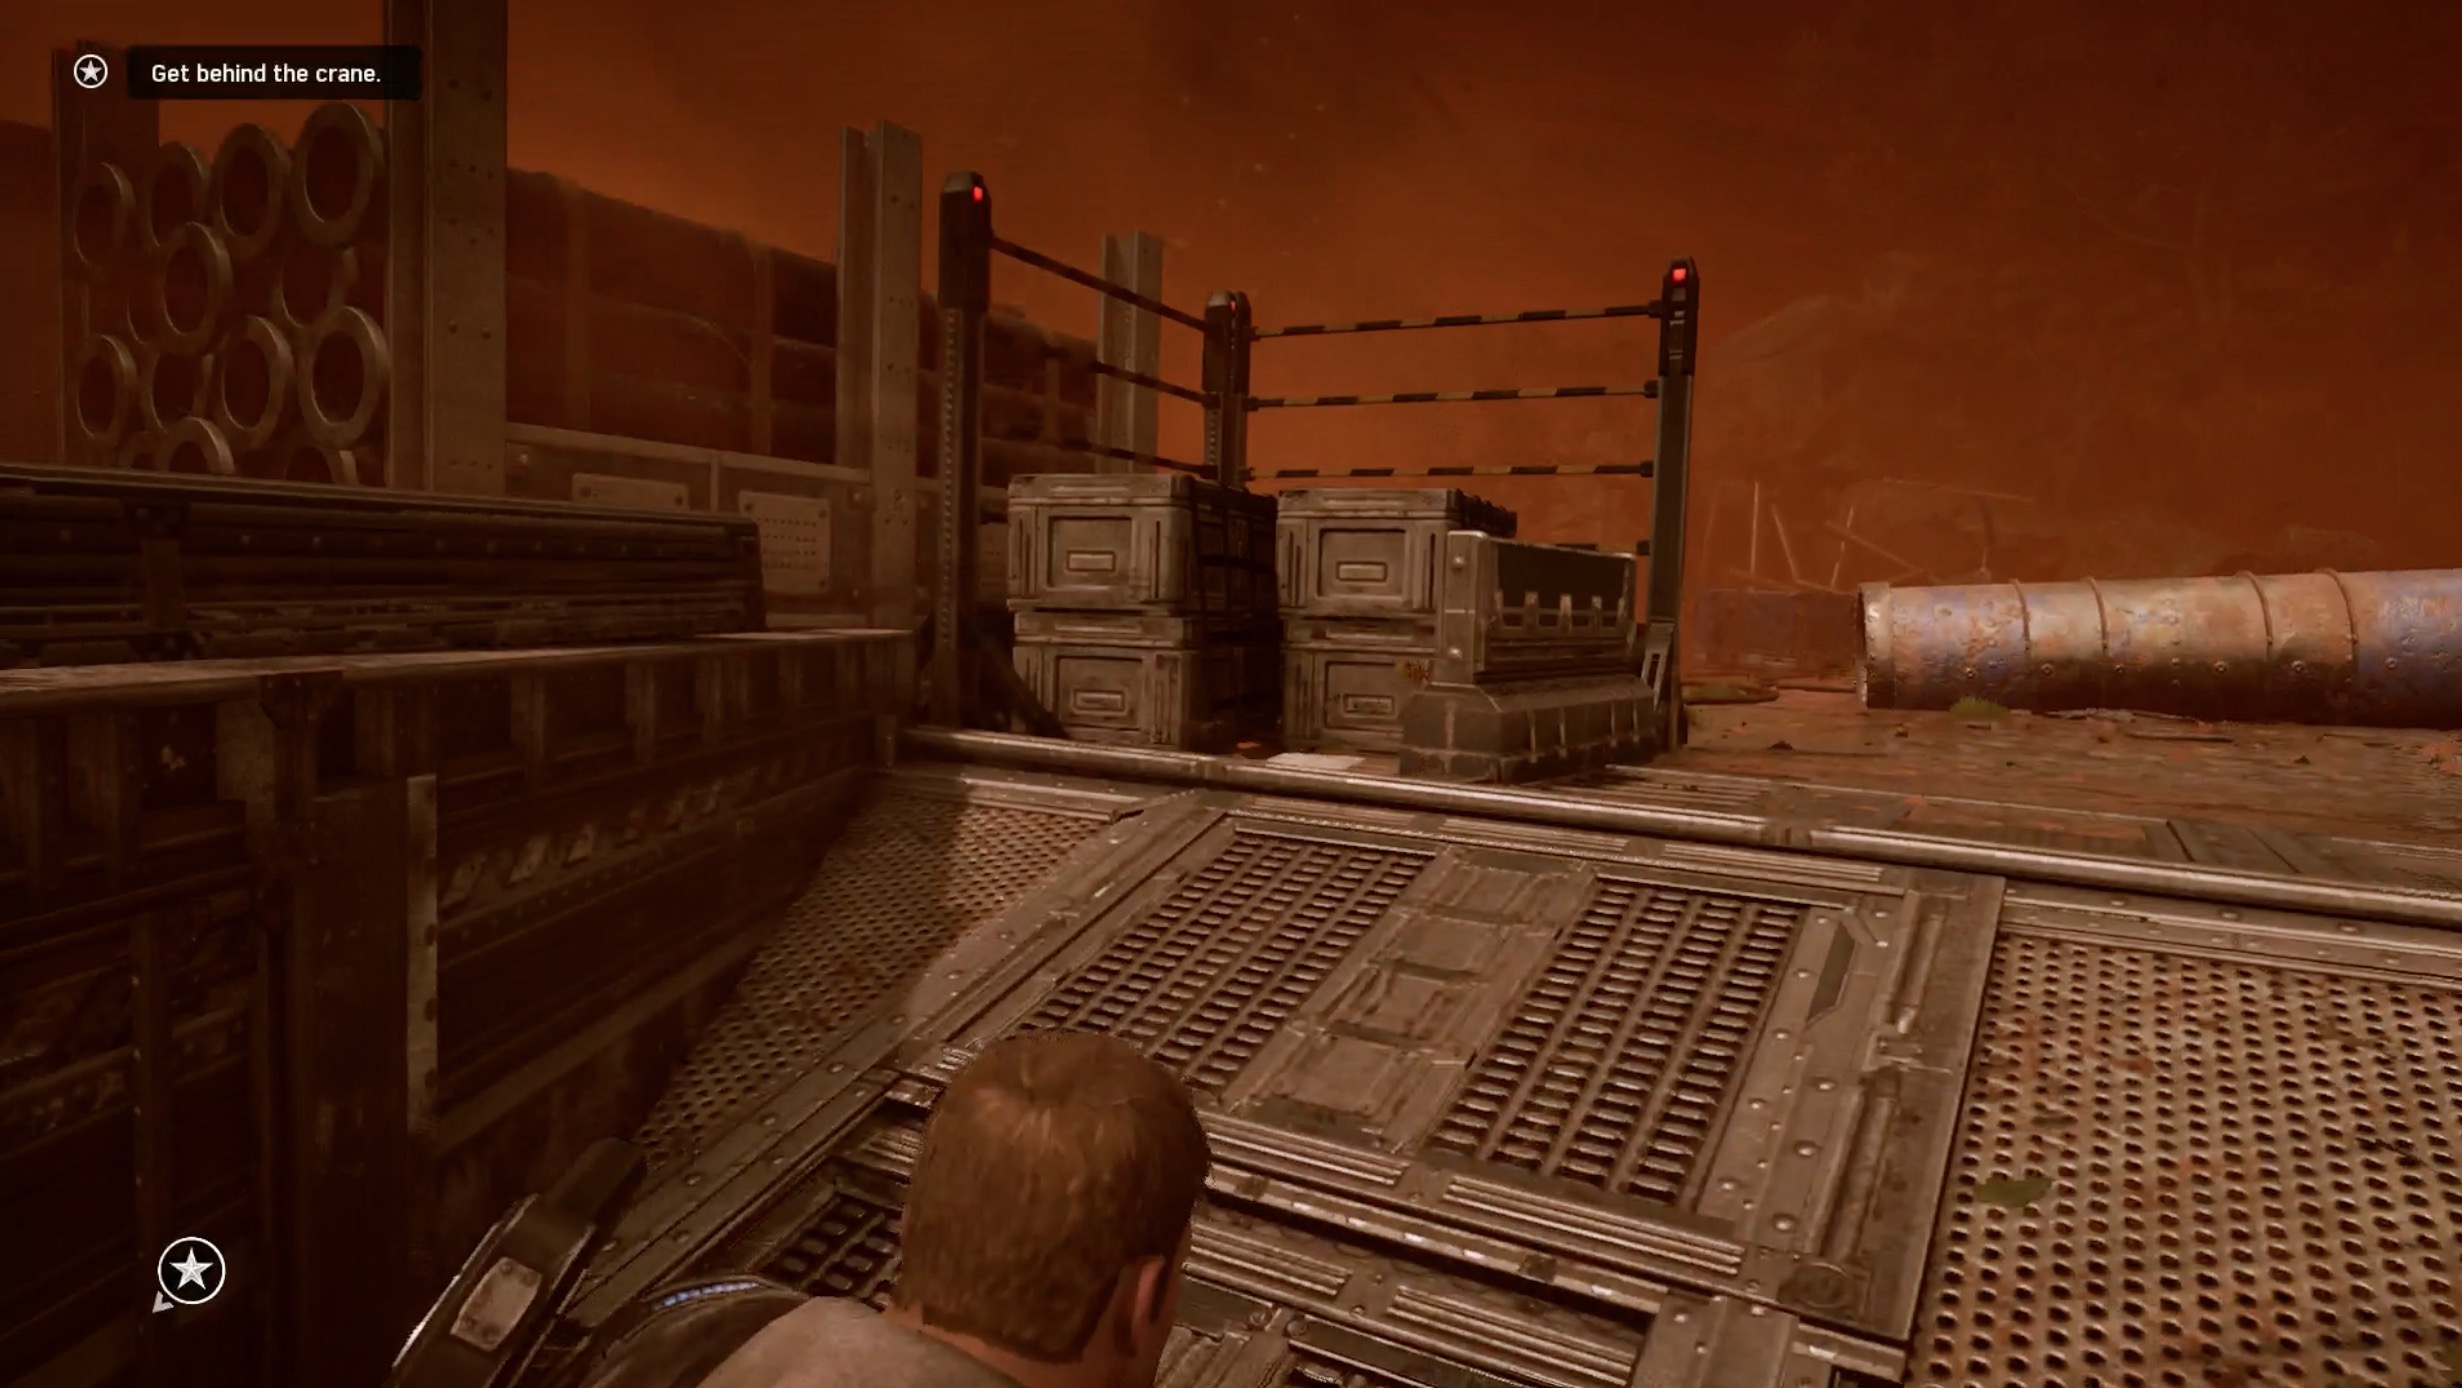
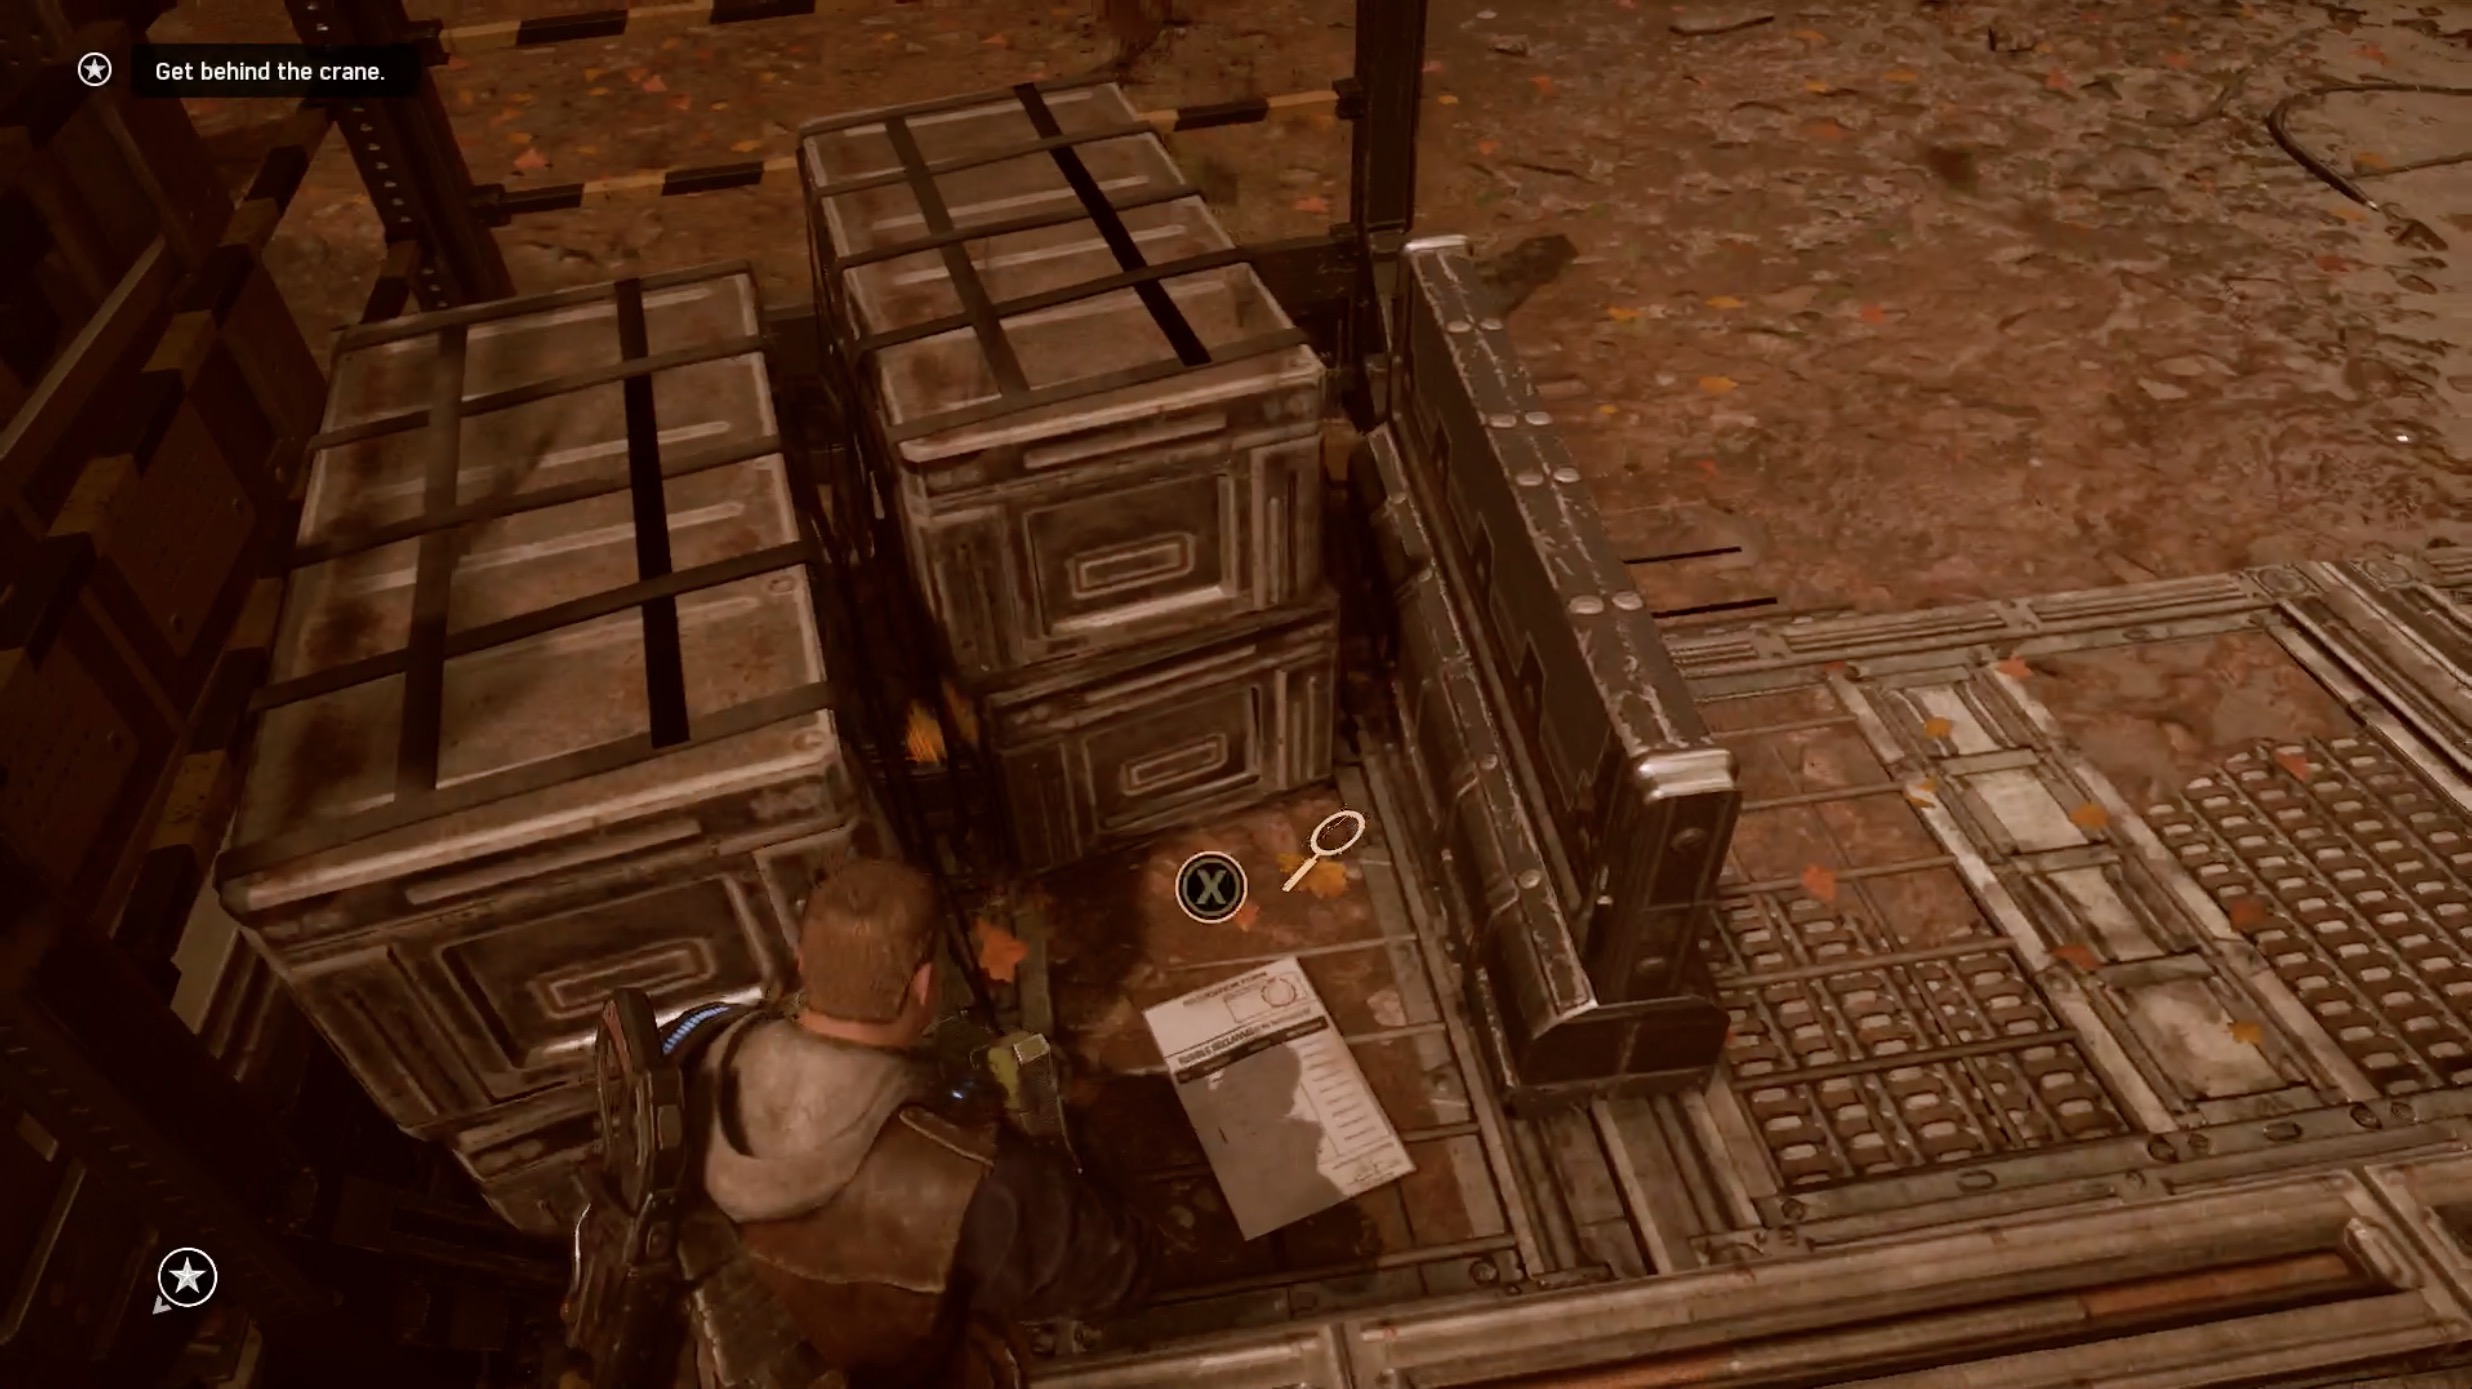
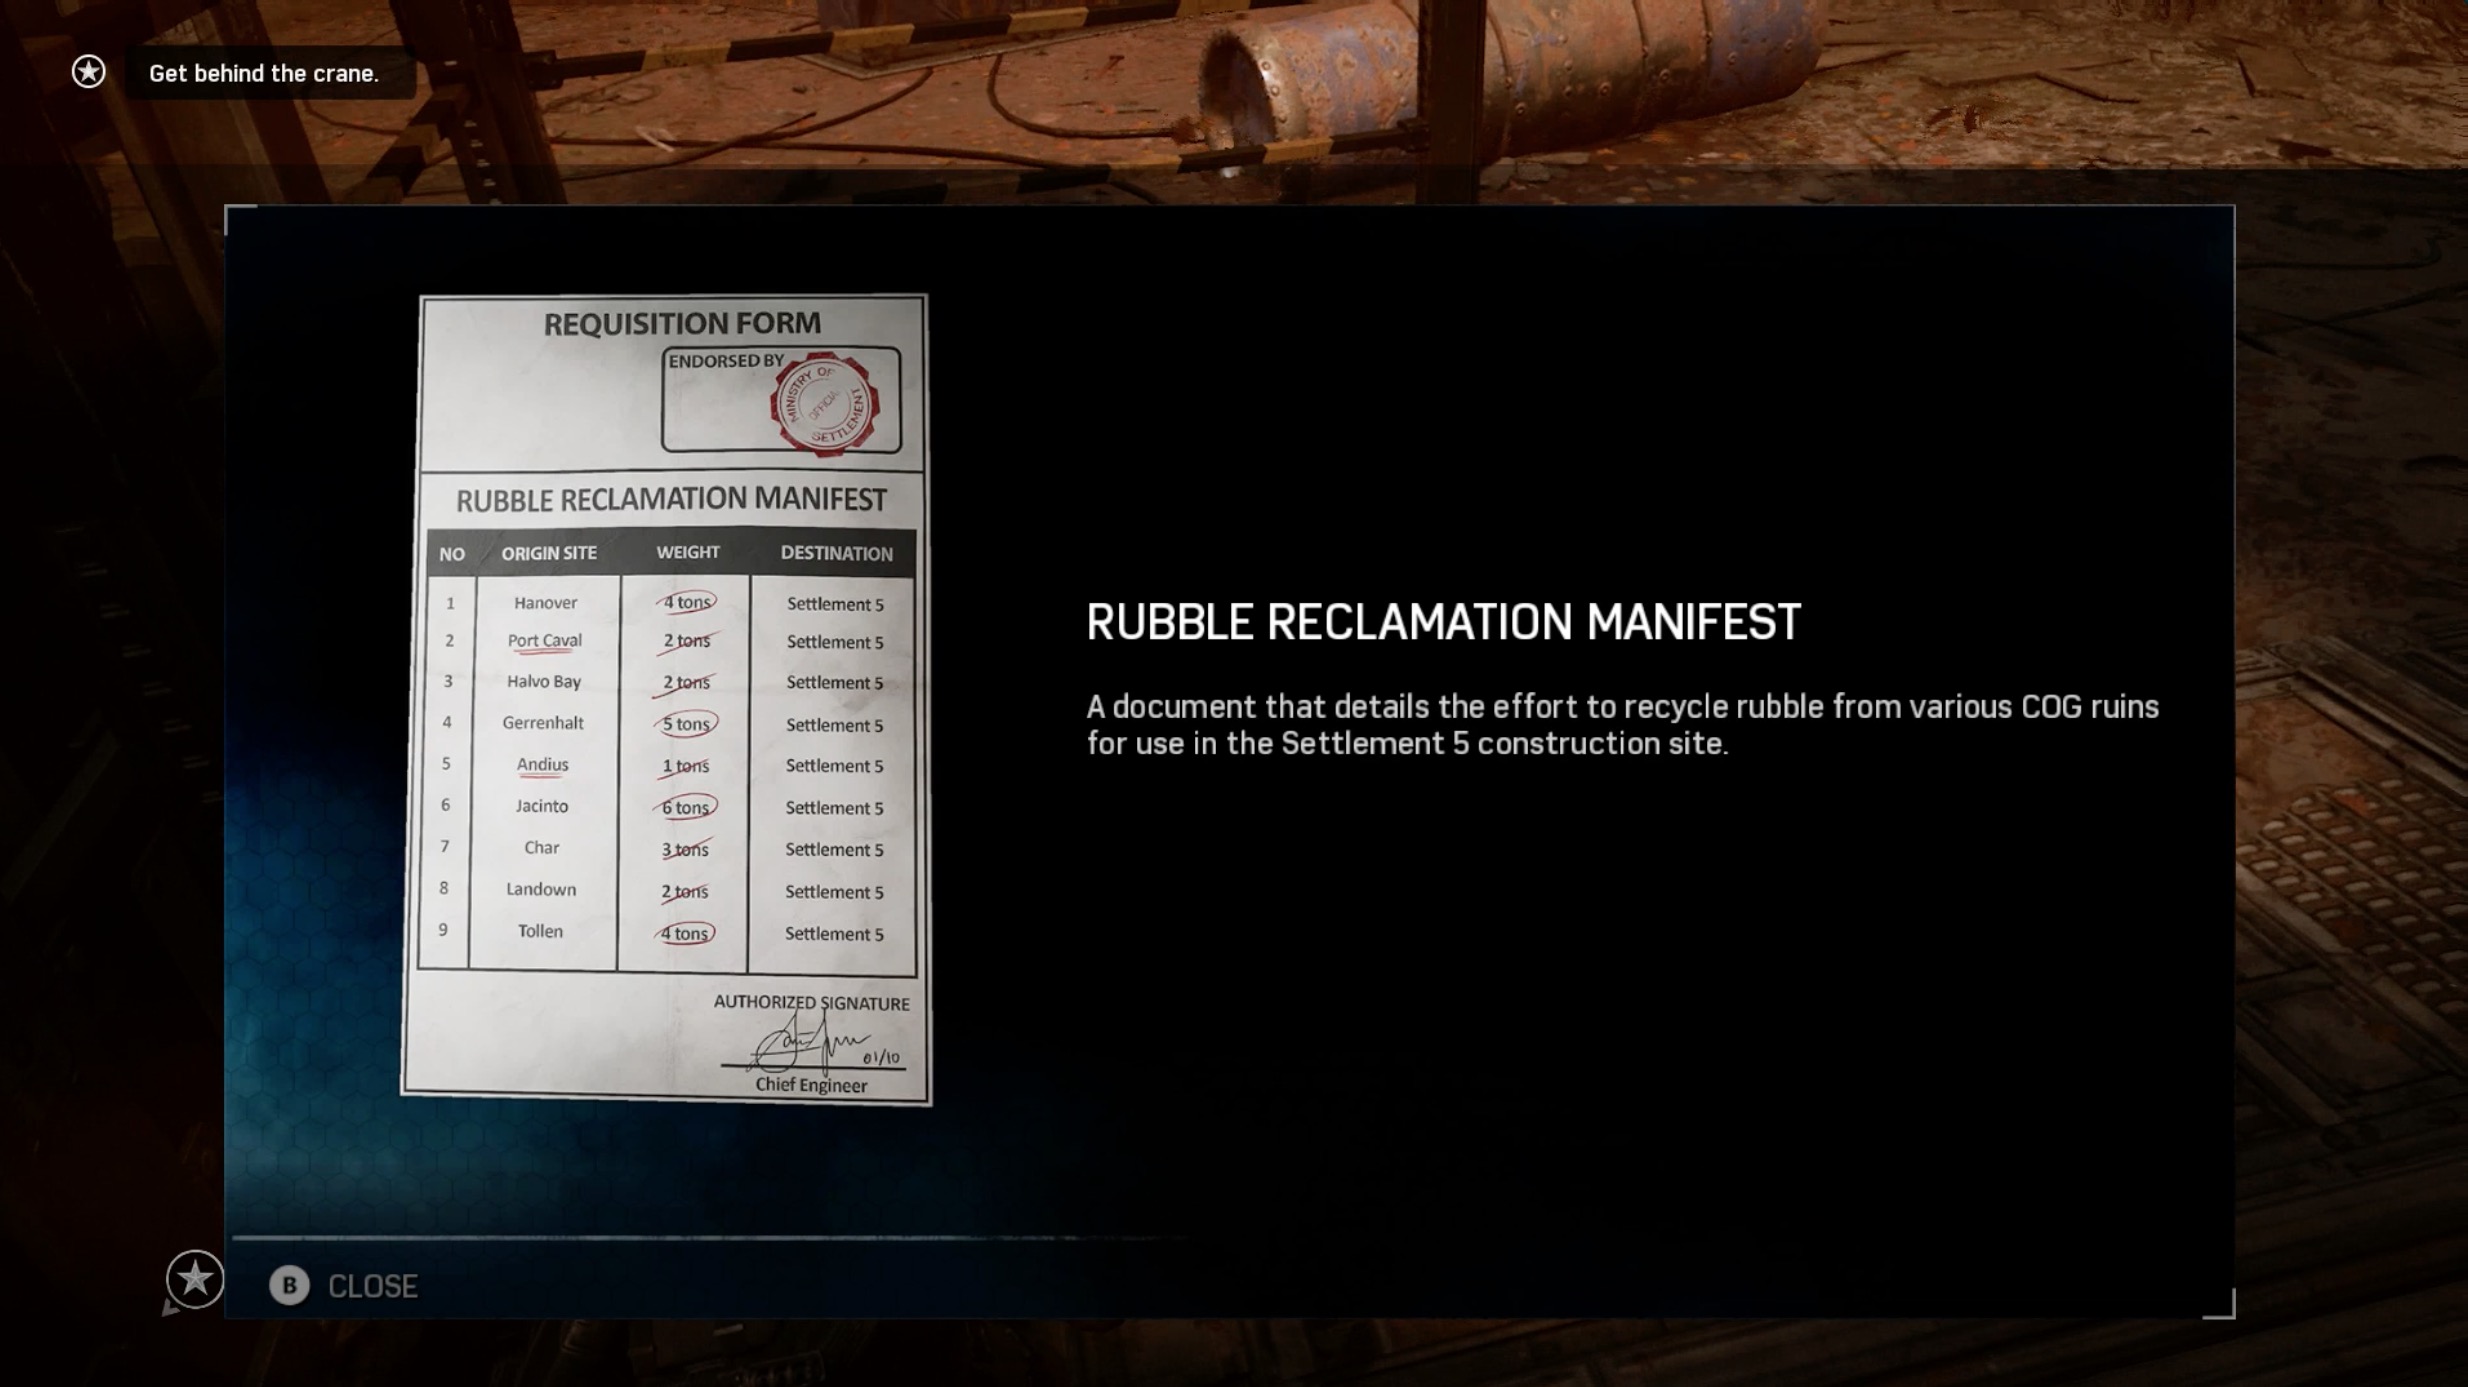
Rubble Reclamation Manifest
Current Objective: Get behind the crane.
During the game’s first Windflare, clear yourself a path by shooting the barrier holding up the pile of pipes. After the pipes have flown away, head down the ramp. Turn right while making a 180 degree turn. This will reveal a tiny hidden space at the top of the ramp. There you’ll find the manifest.
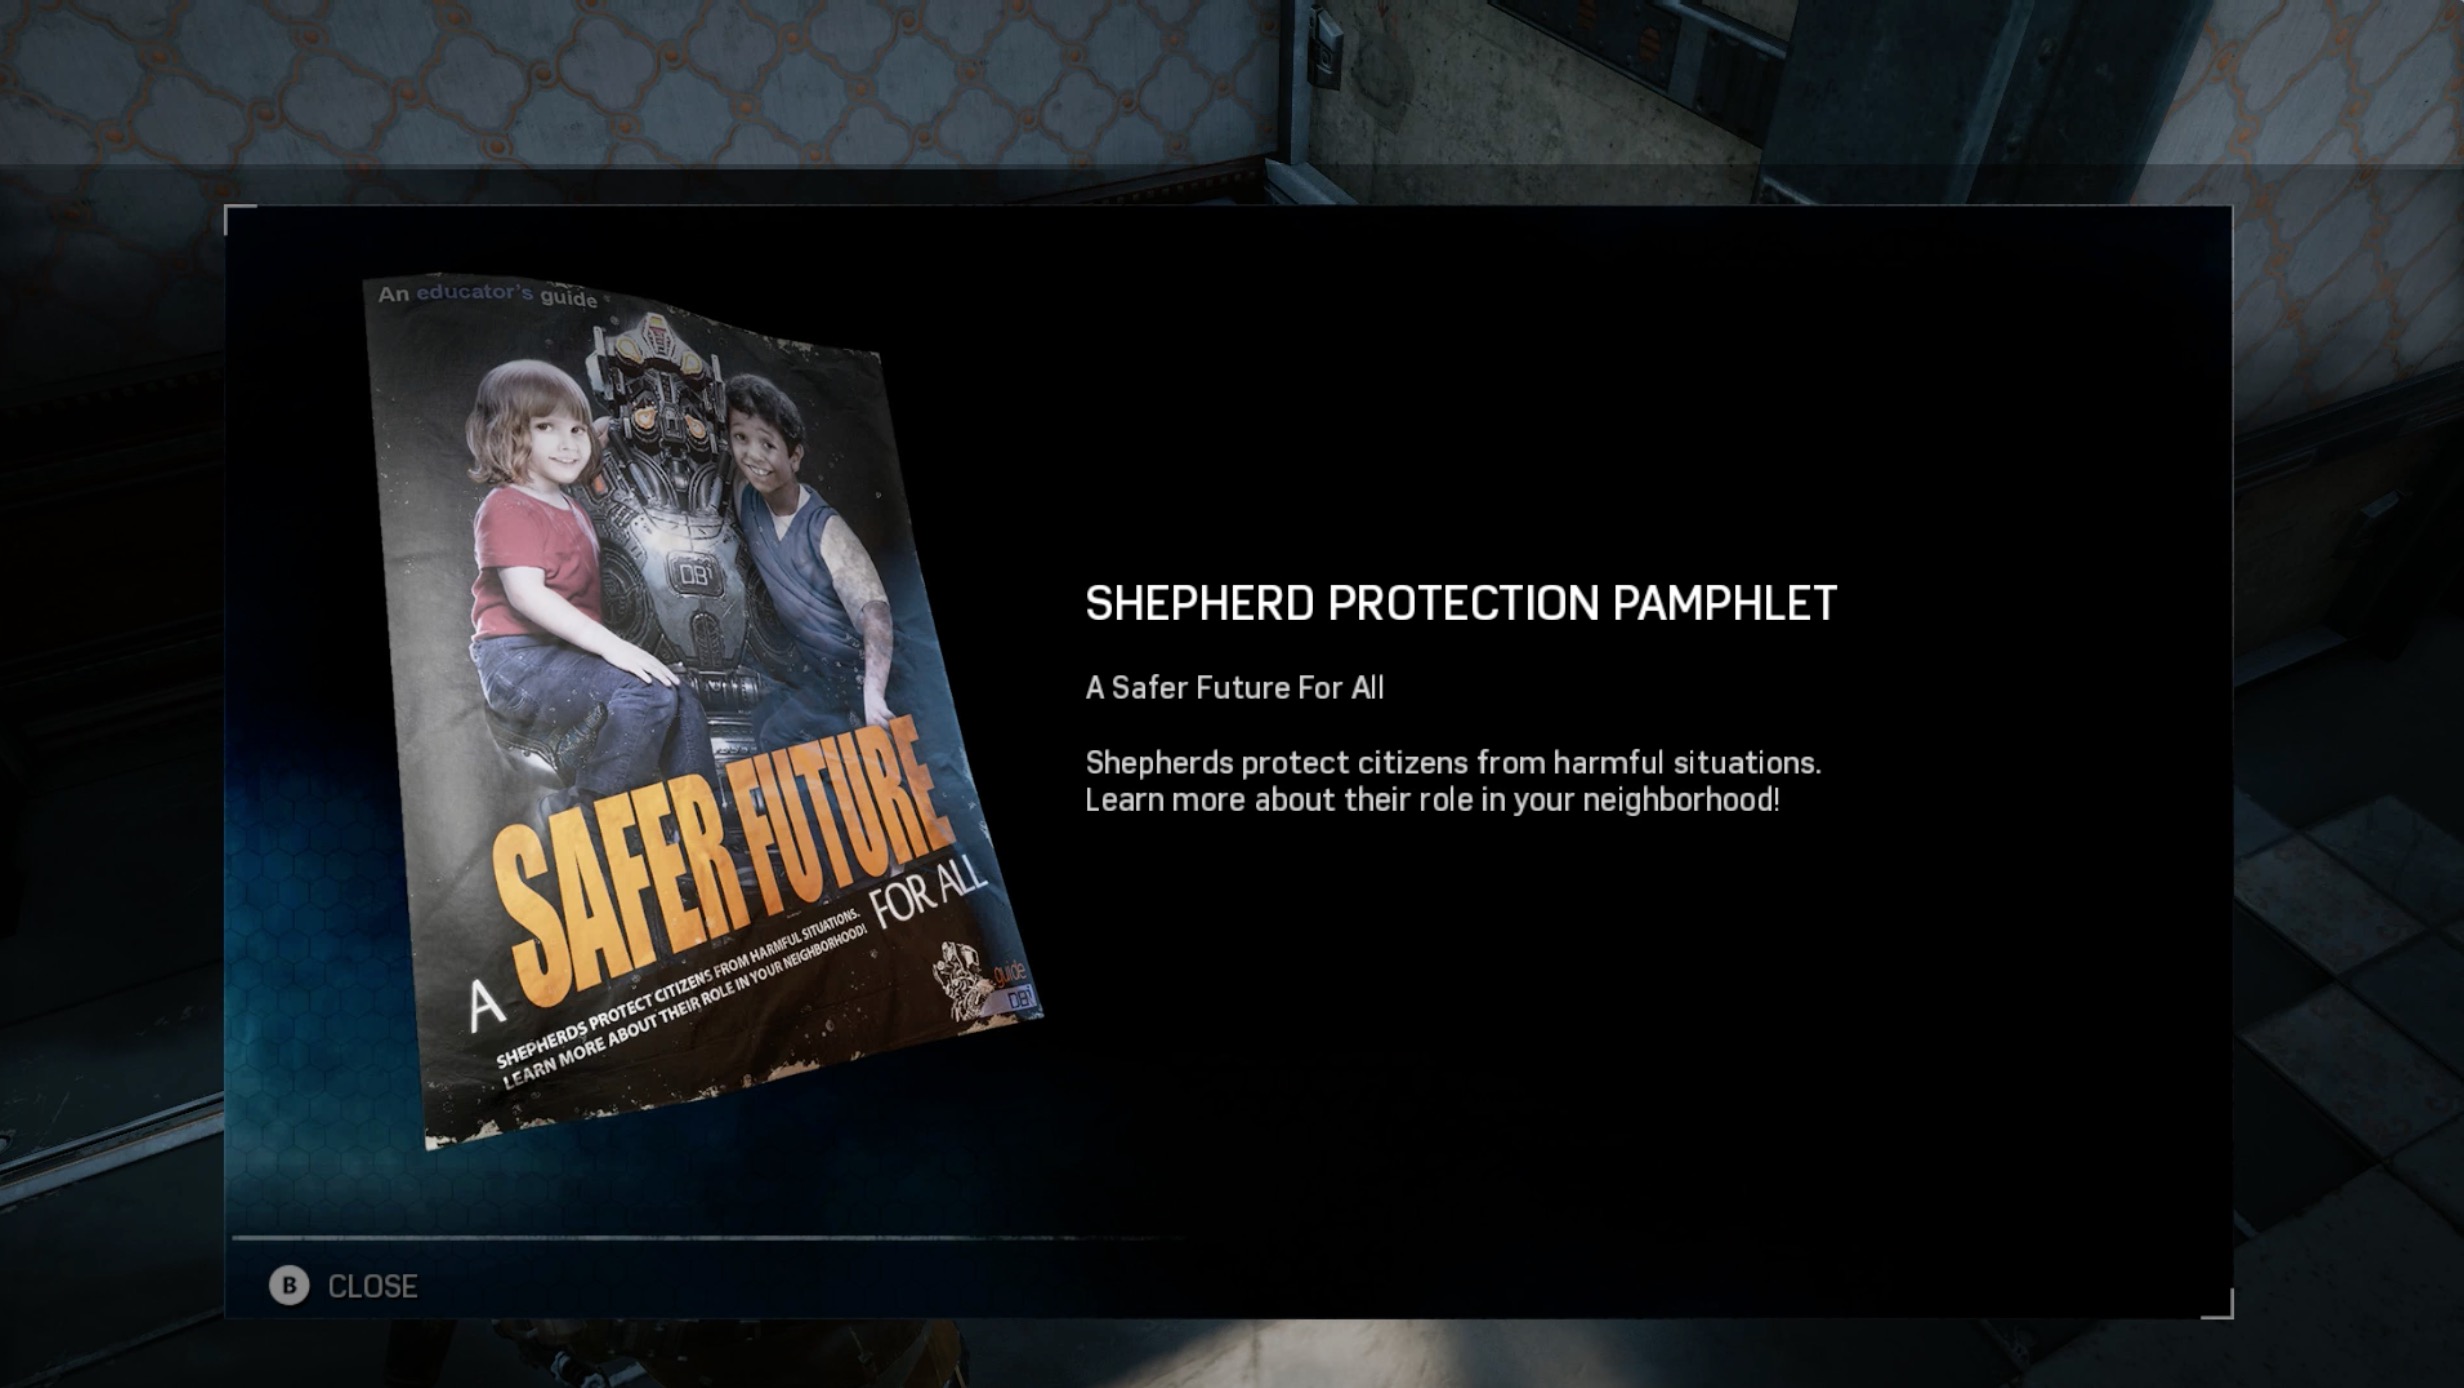
Shepherd Protection Pamphlet
Current Objective: Find a way into the construction hub.
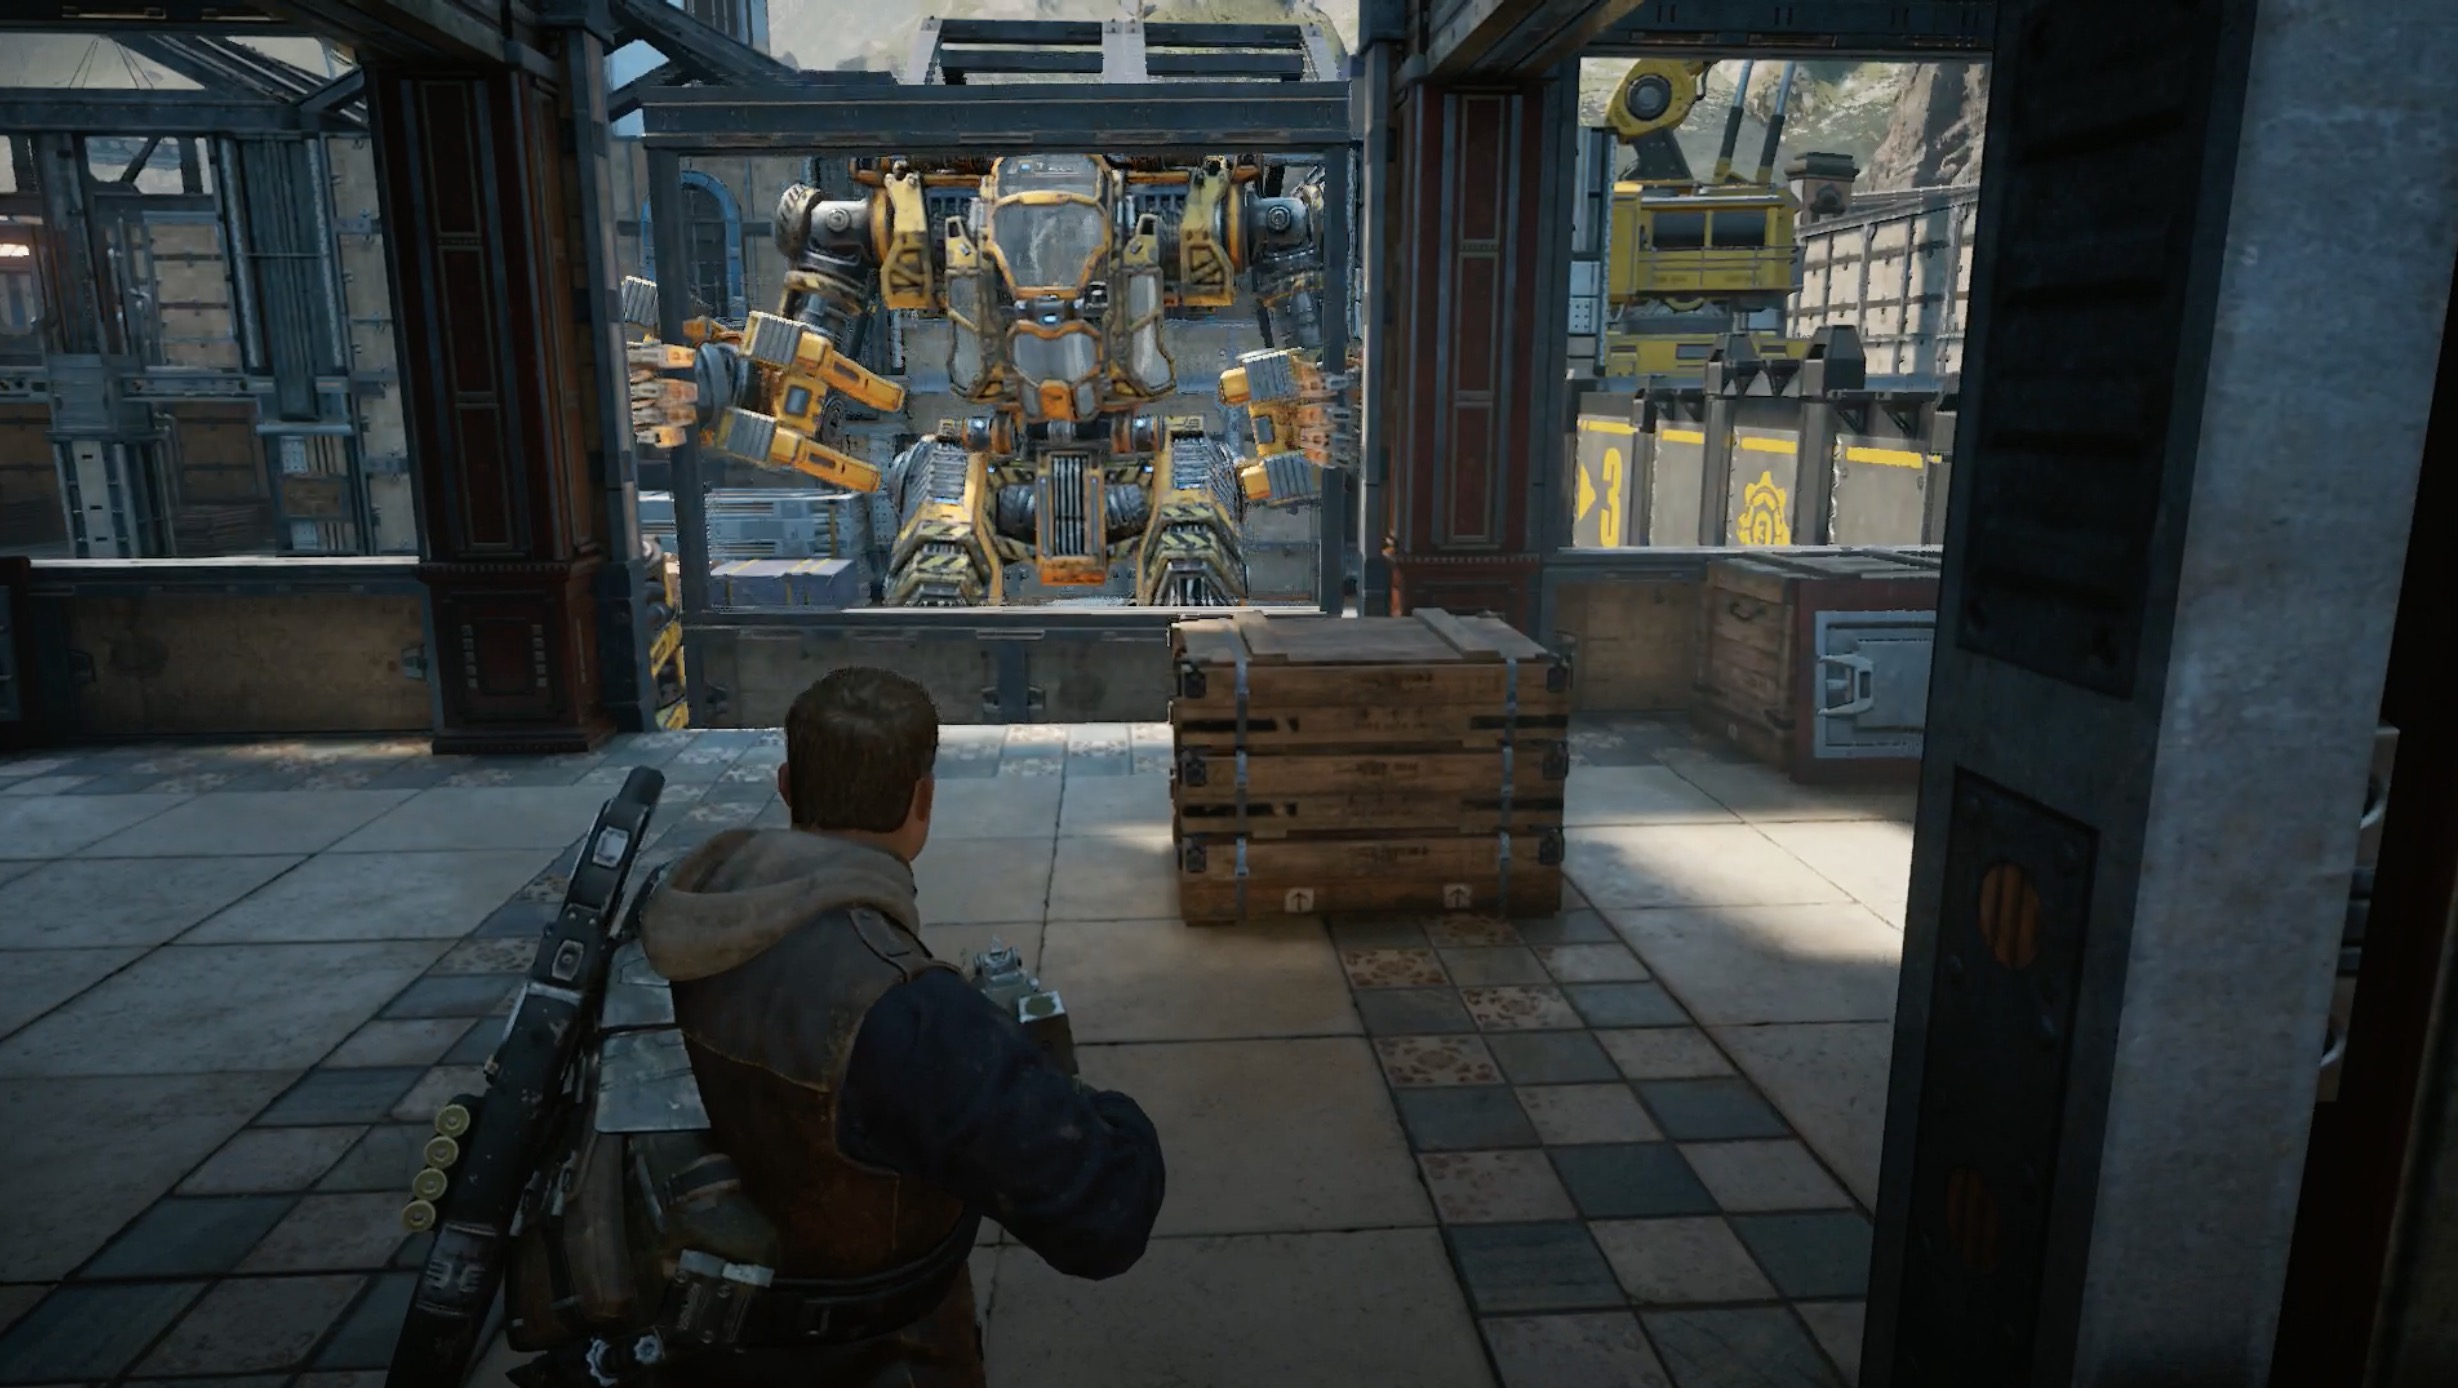
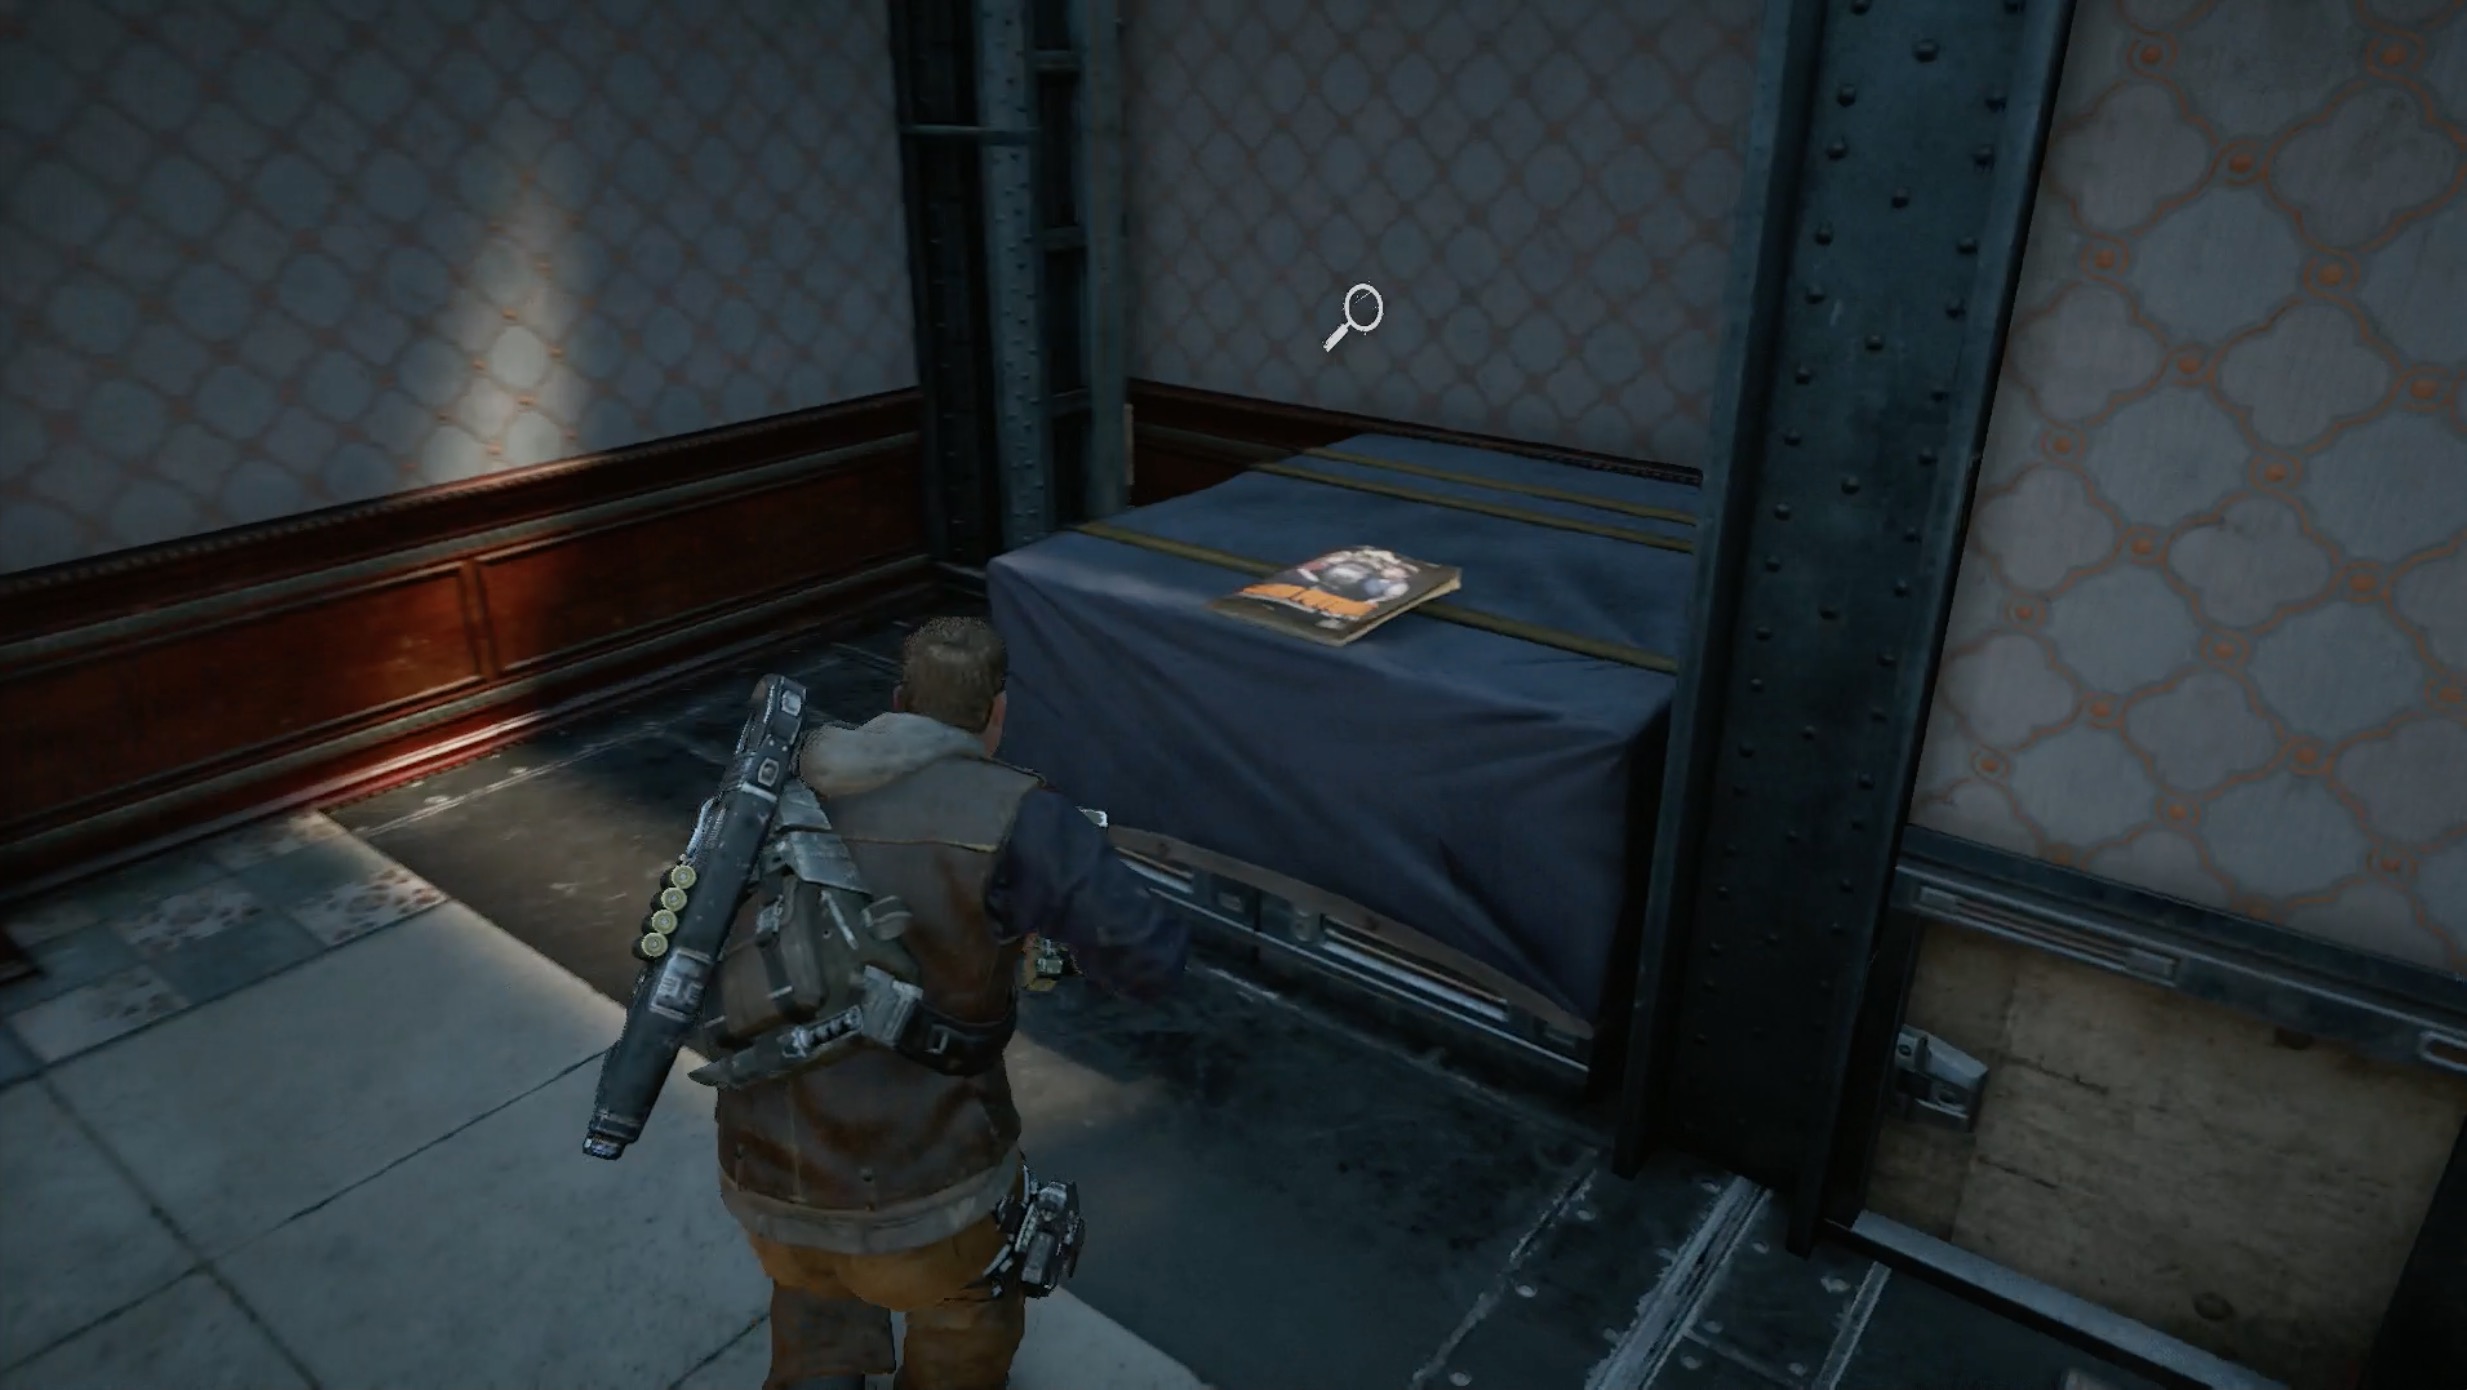
After you see the first giant builder bot, make a left into the next room. You’ll see a red robotic power tool. Hang a left without leaving the room to find the pamphlet.
Settlement 5 Resident Assignment List
Current Objective: Defeat the DB sentry bots.
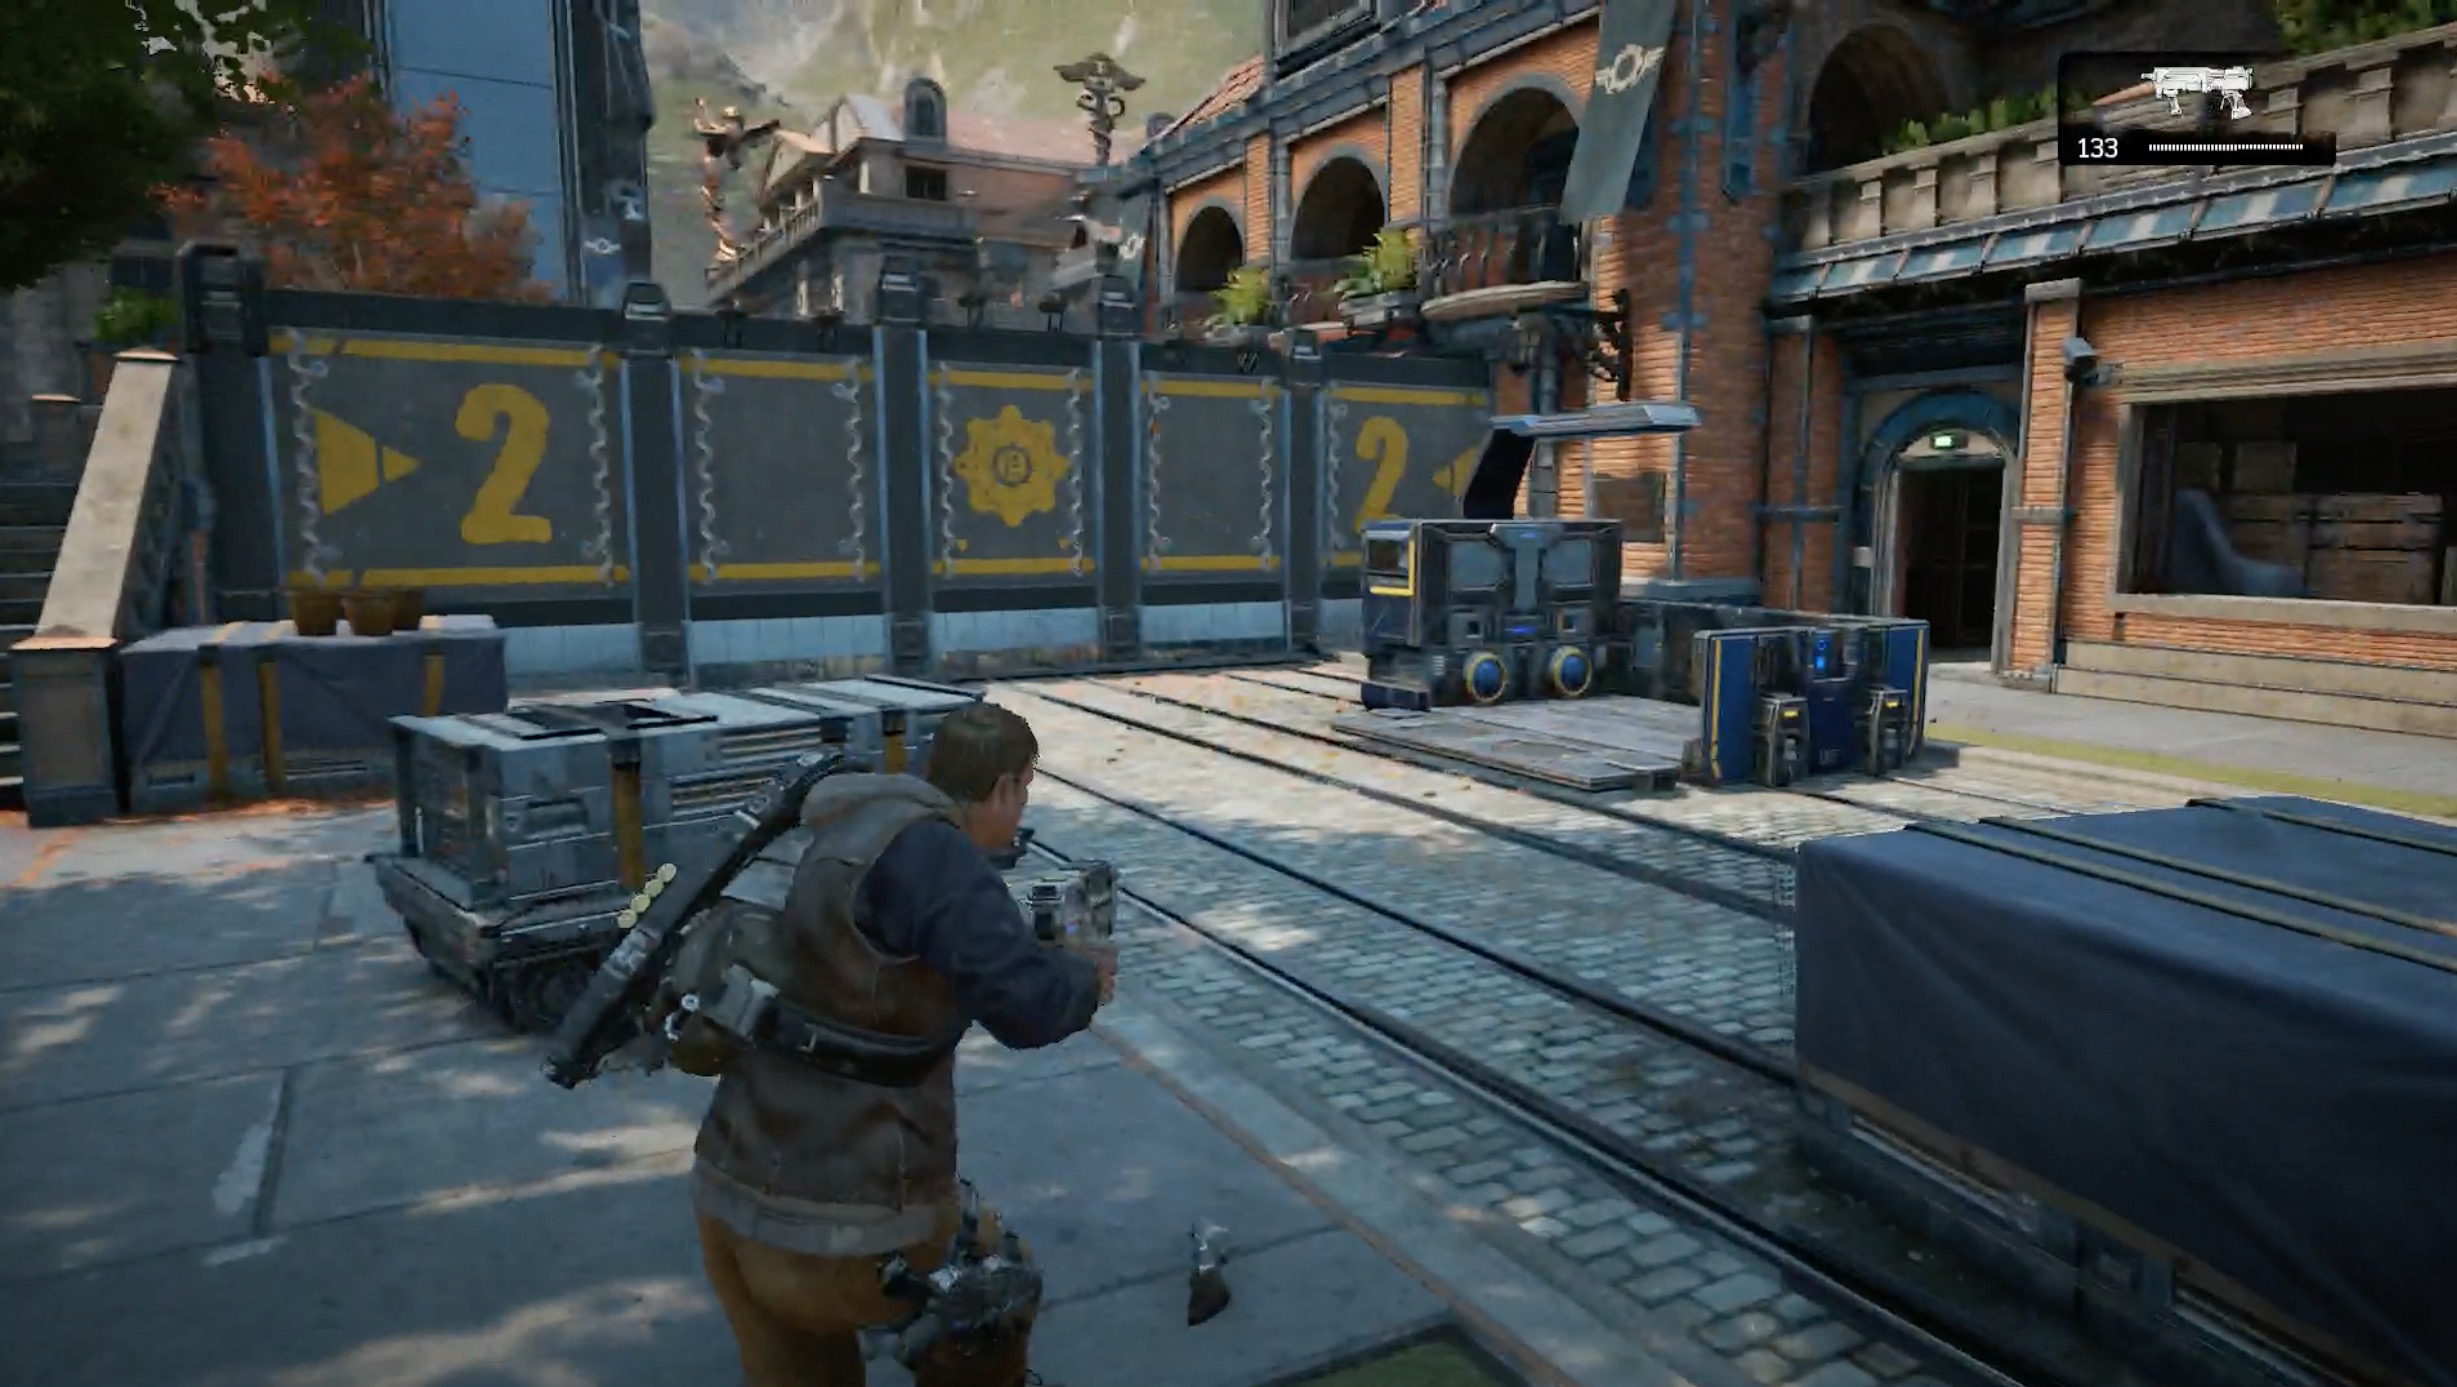
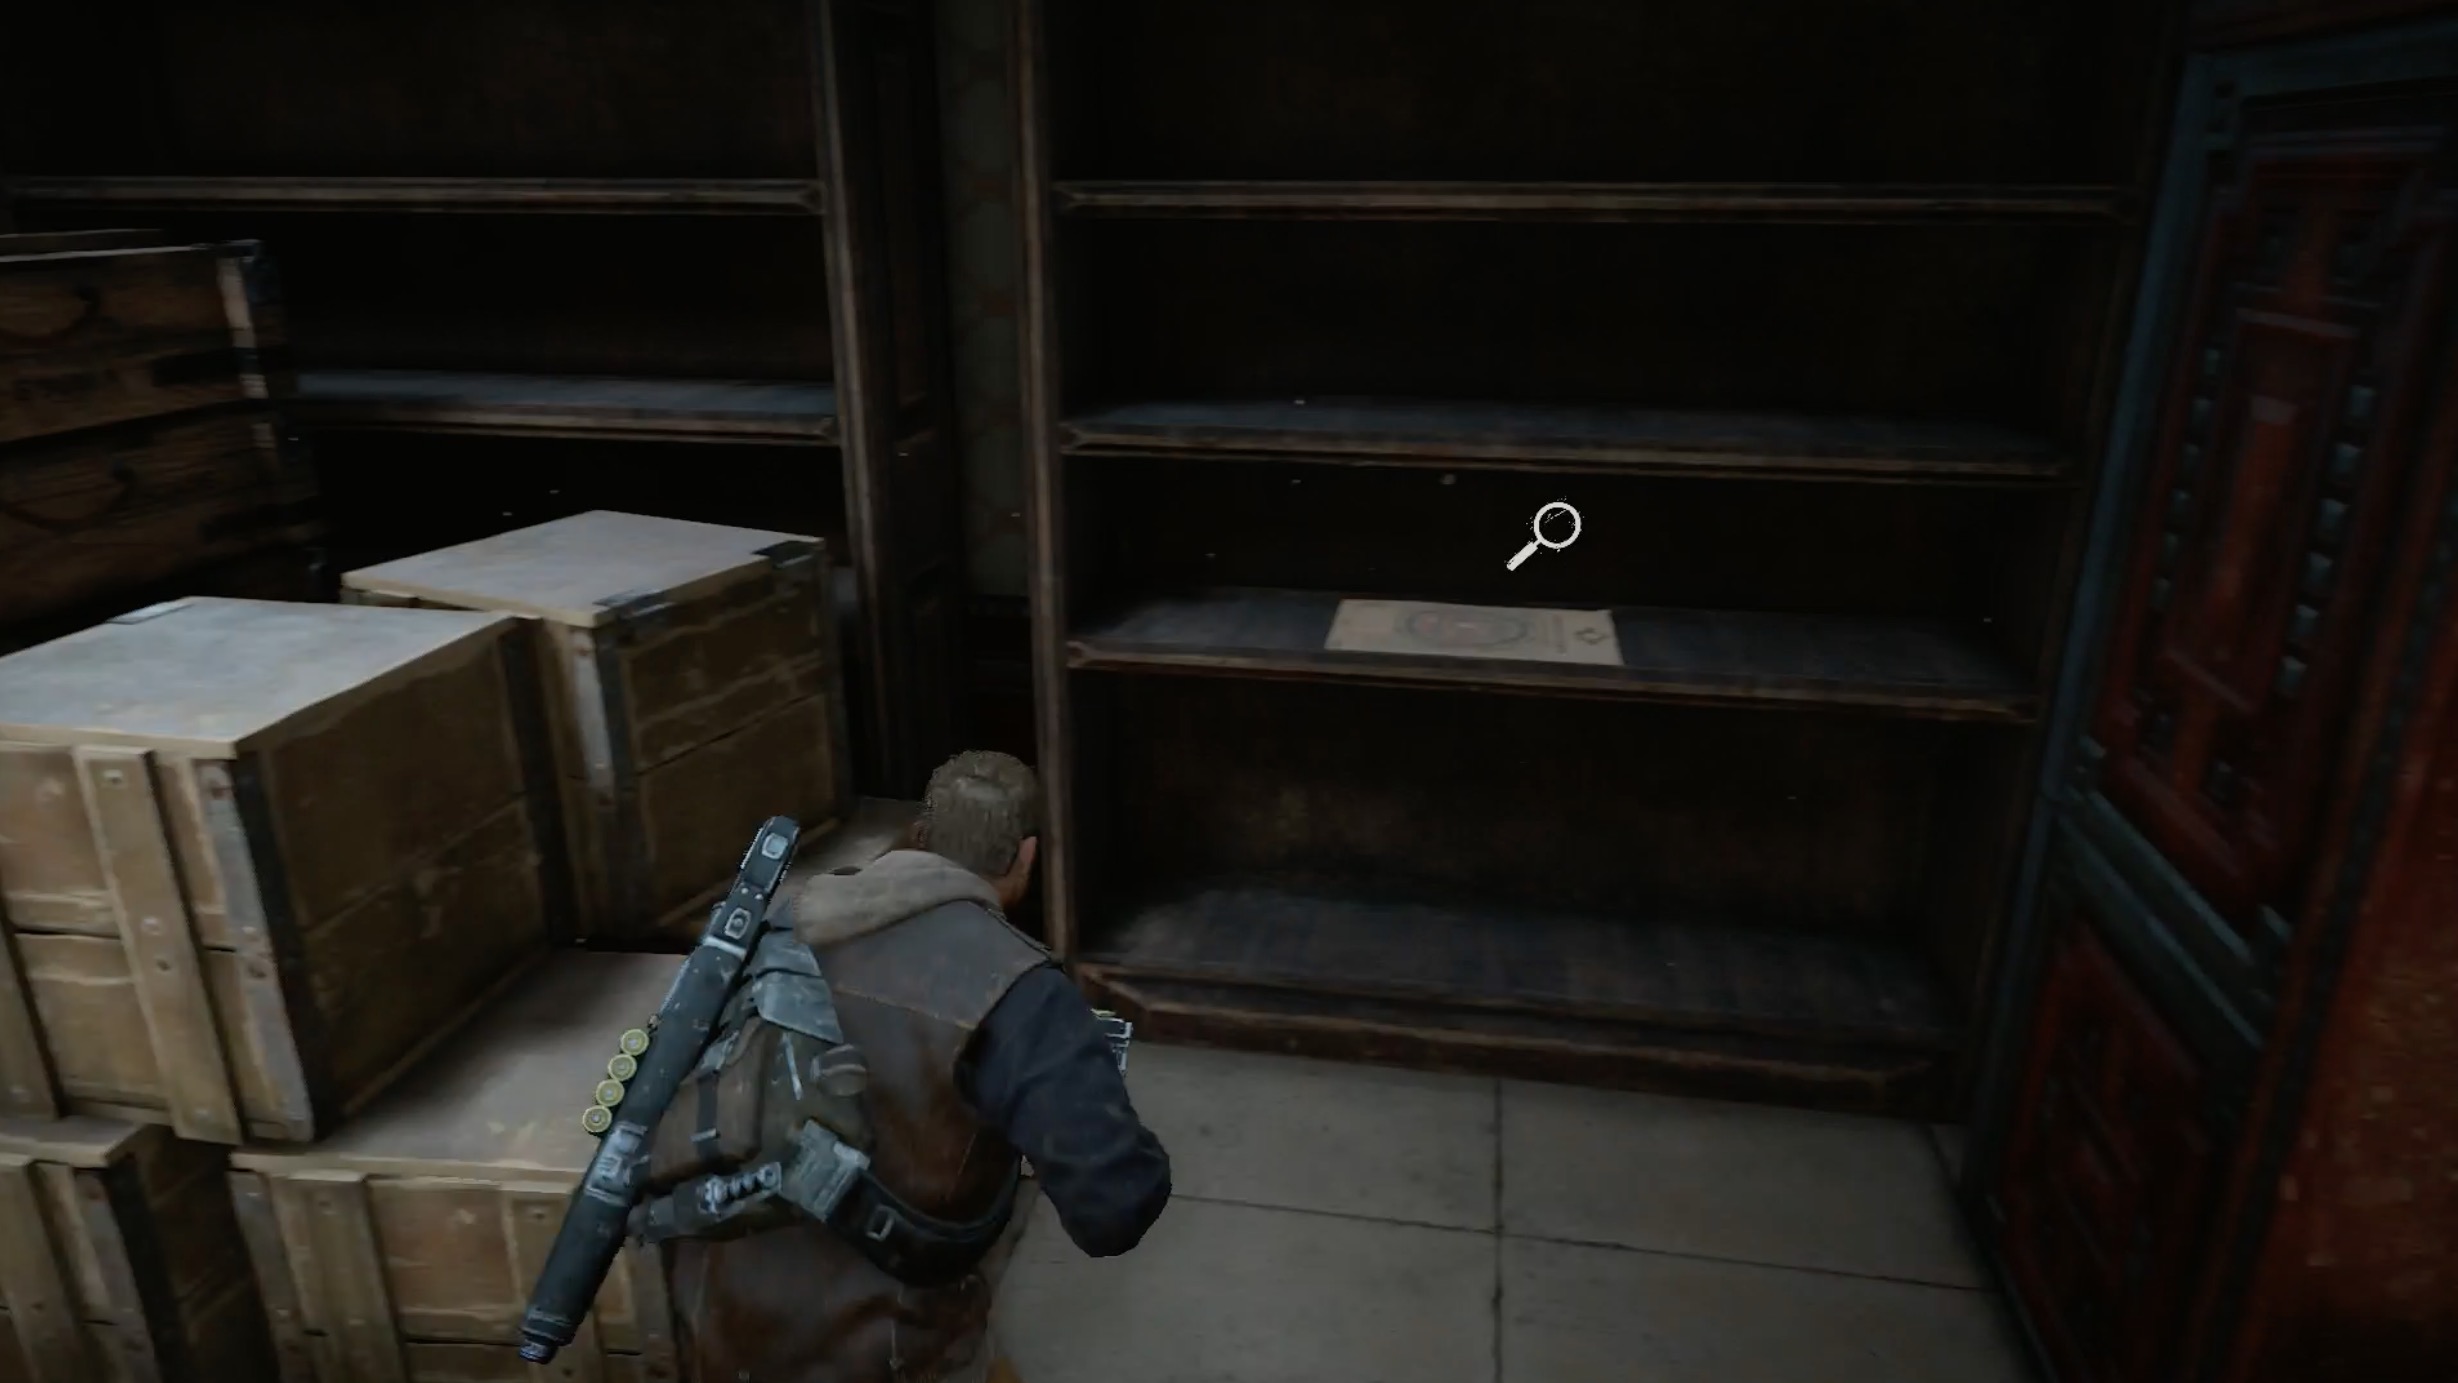
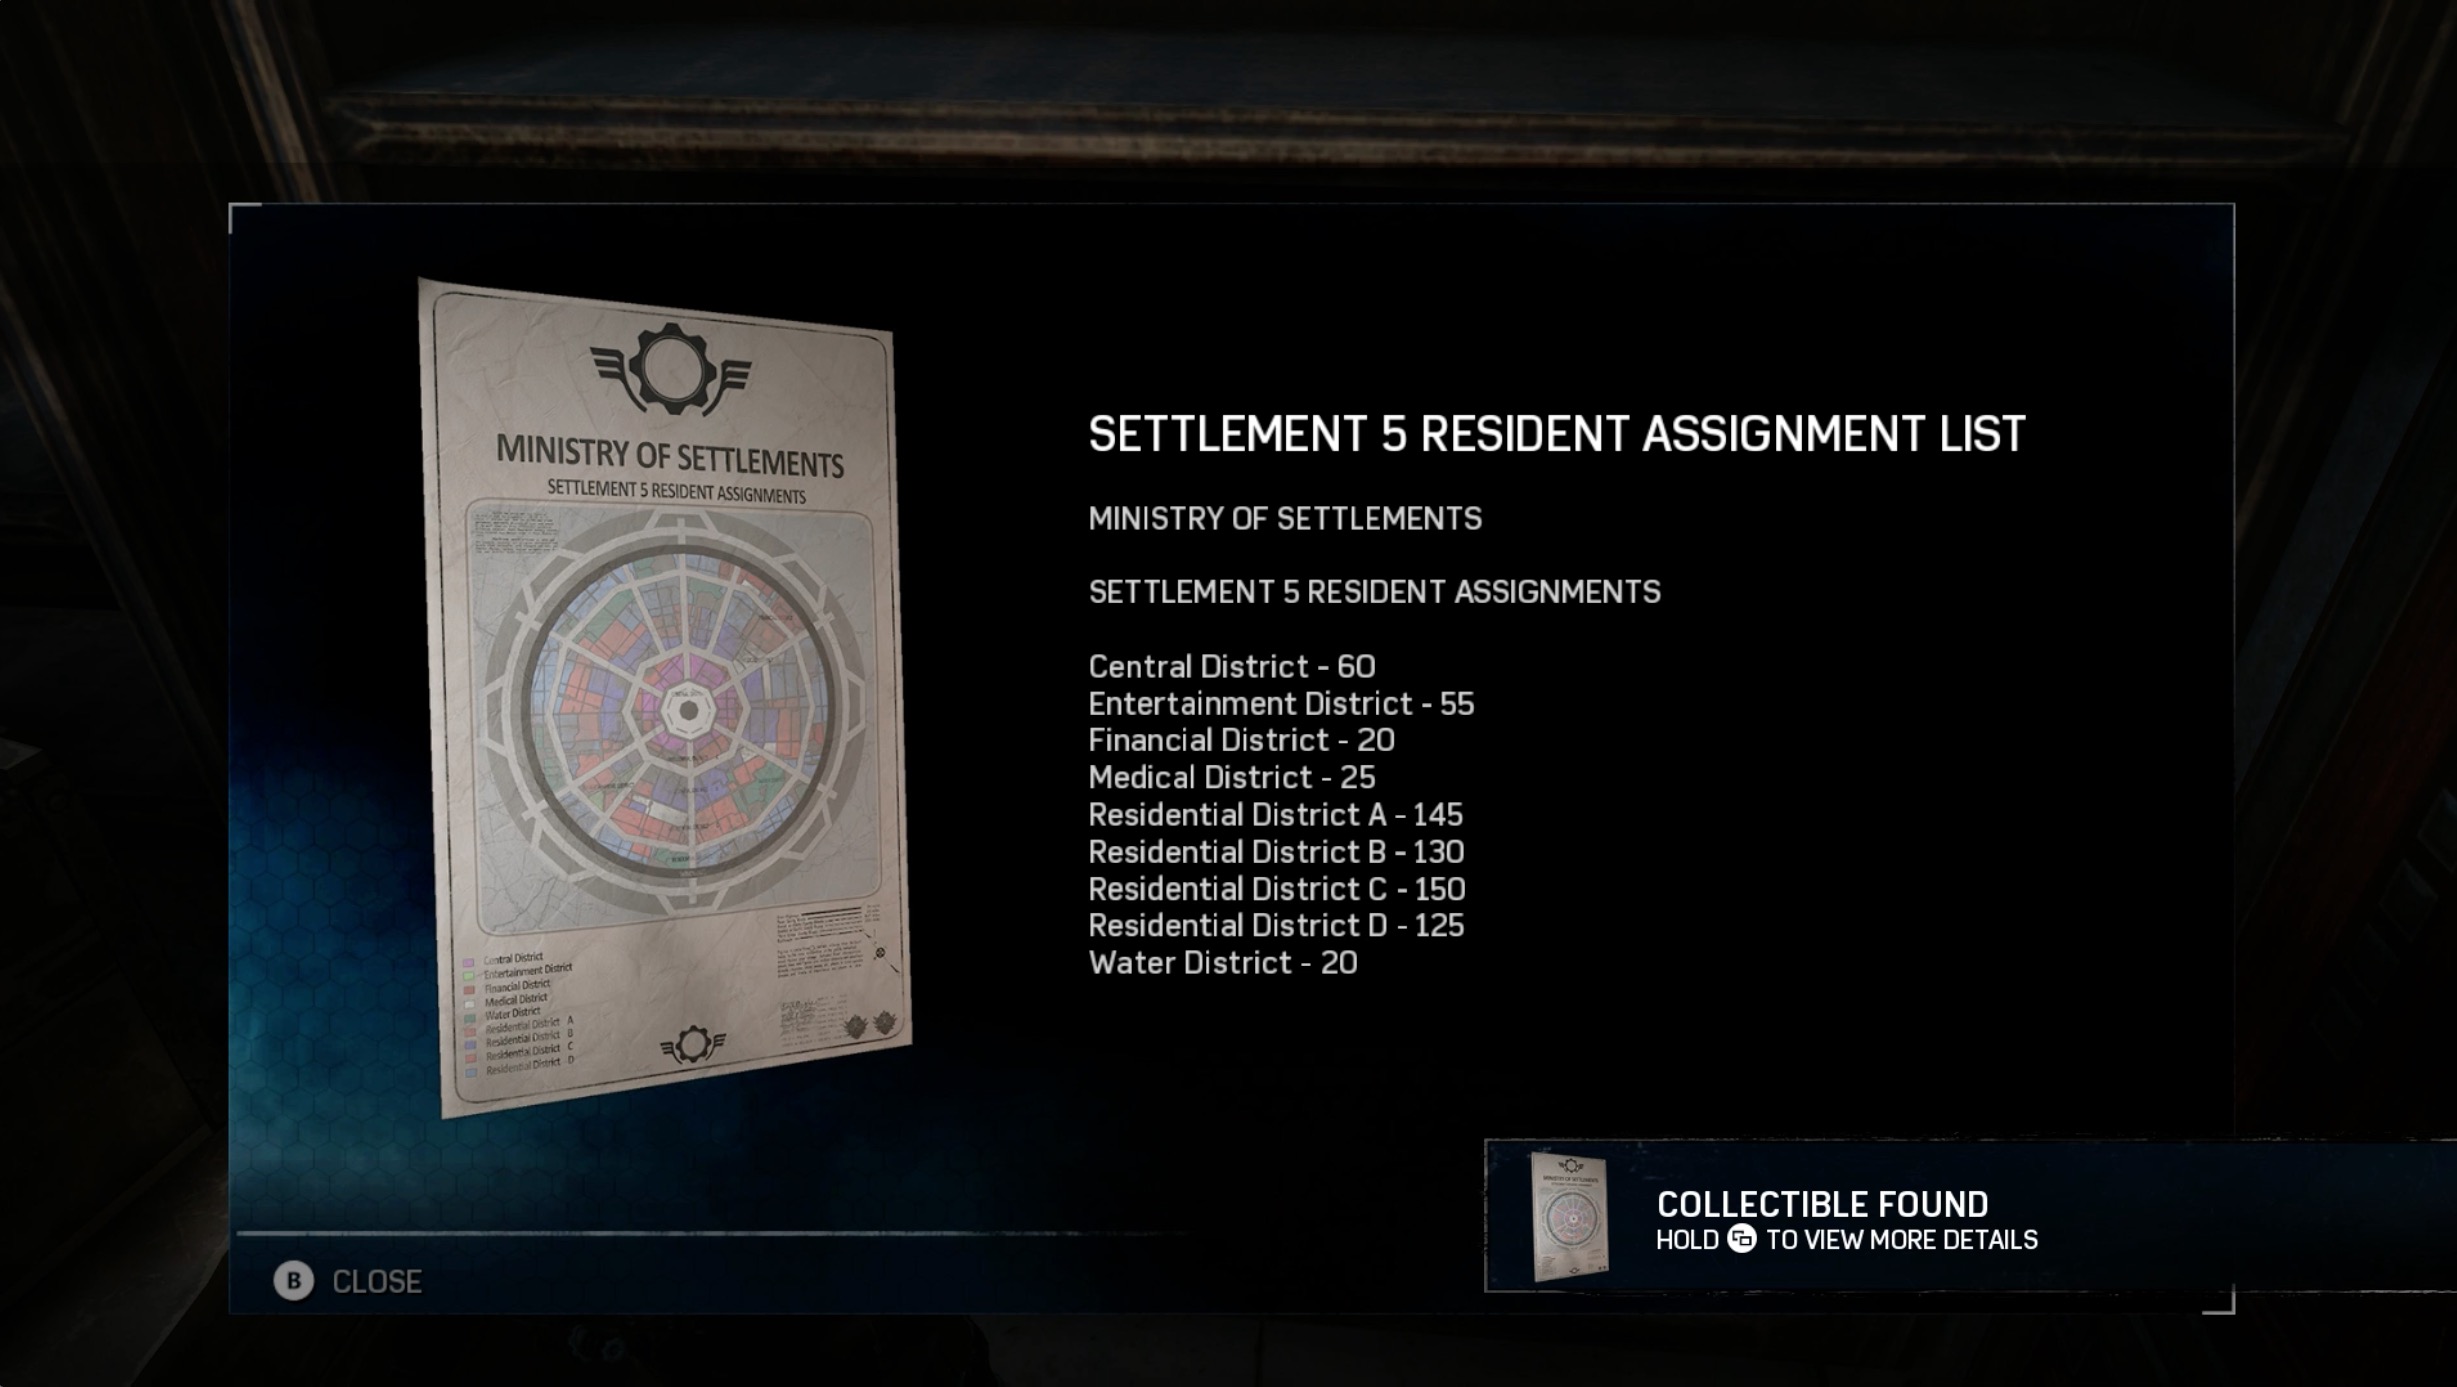
After the shootout in front of the wall gate numbered “2”, face the wall. Turn right and head into the room. You’ll find the assignment list to the right of some wooden crates in the room.
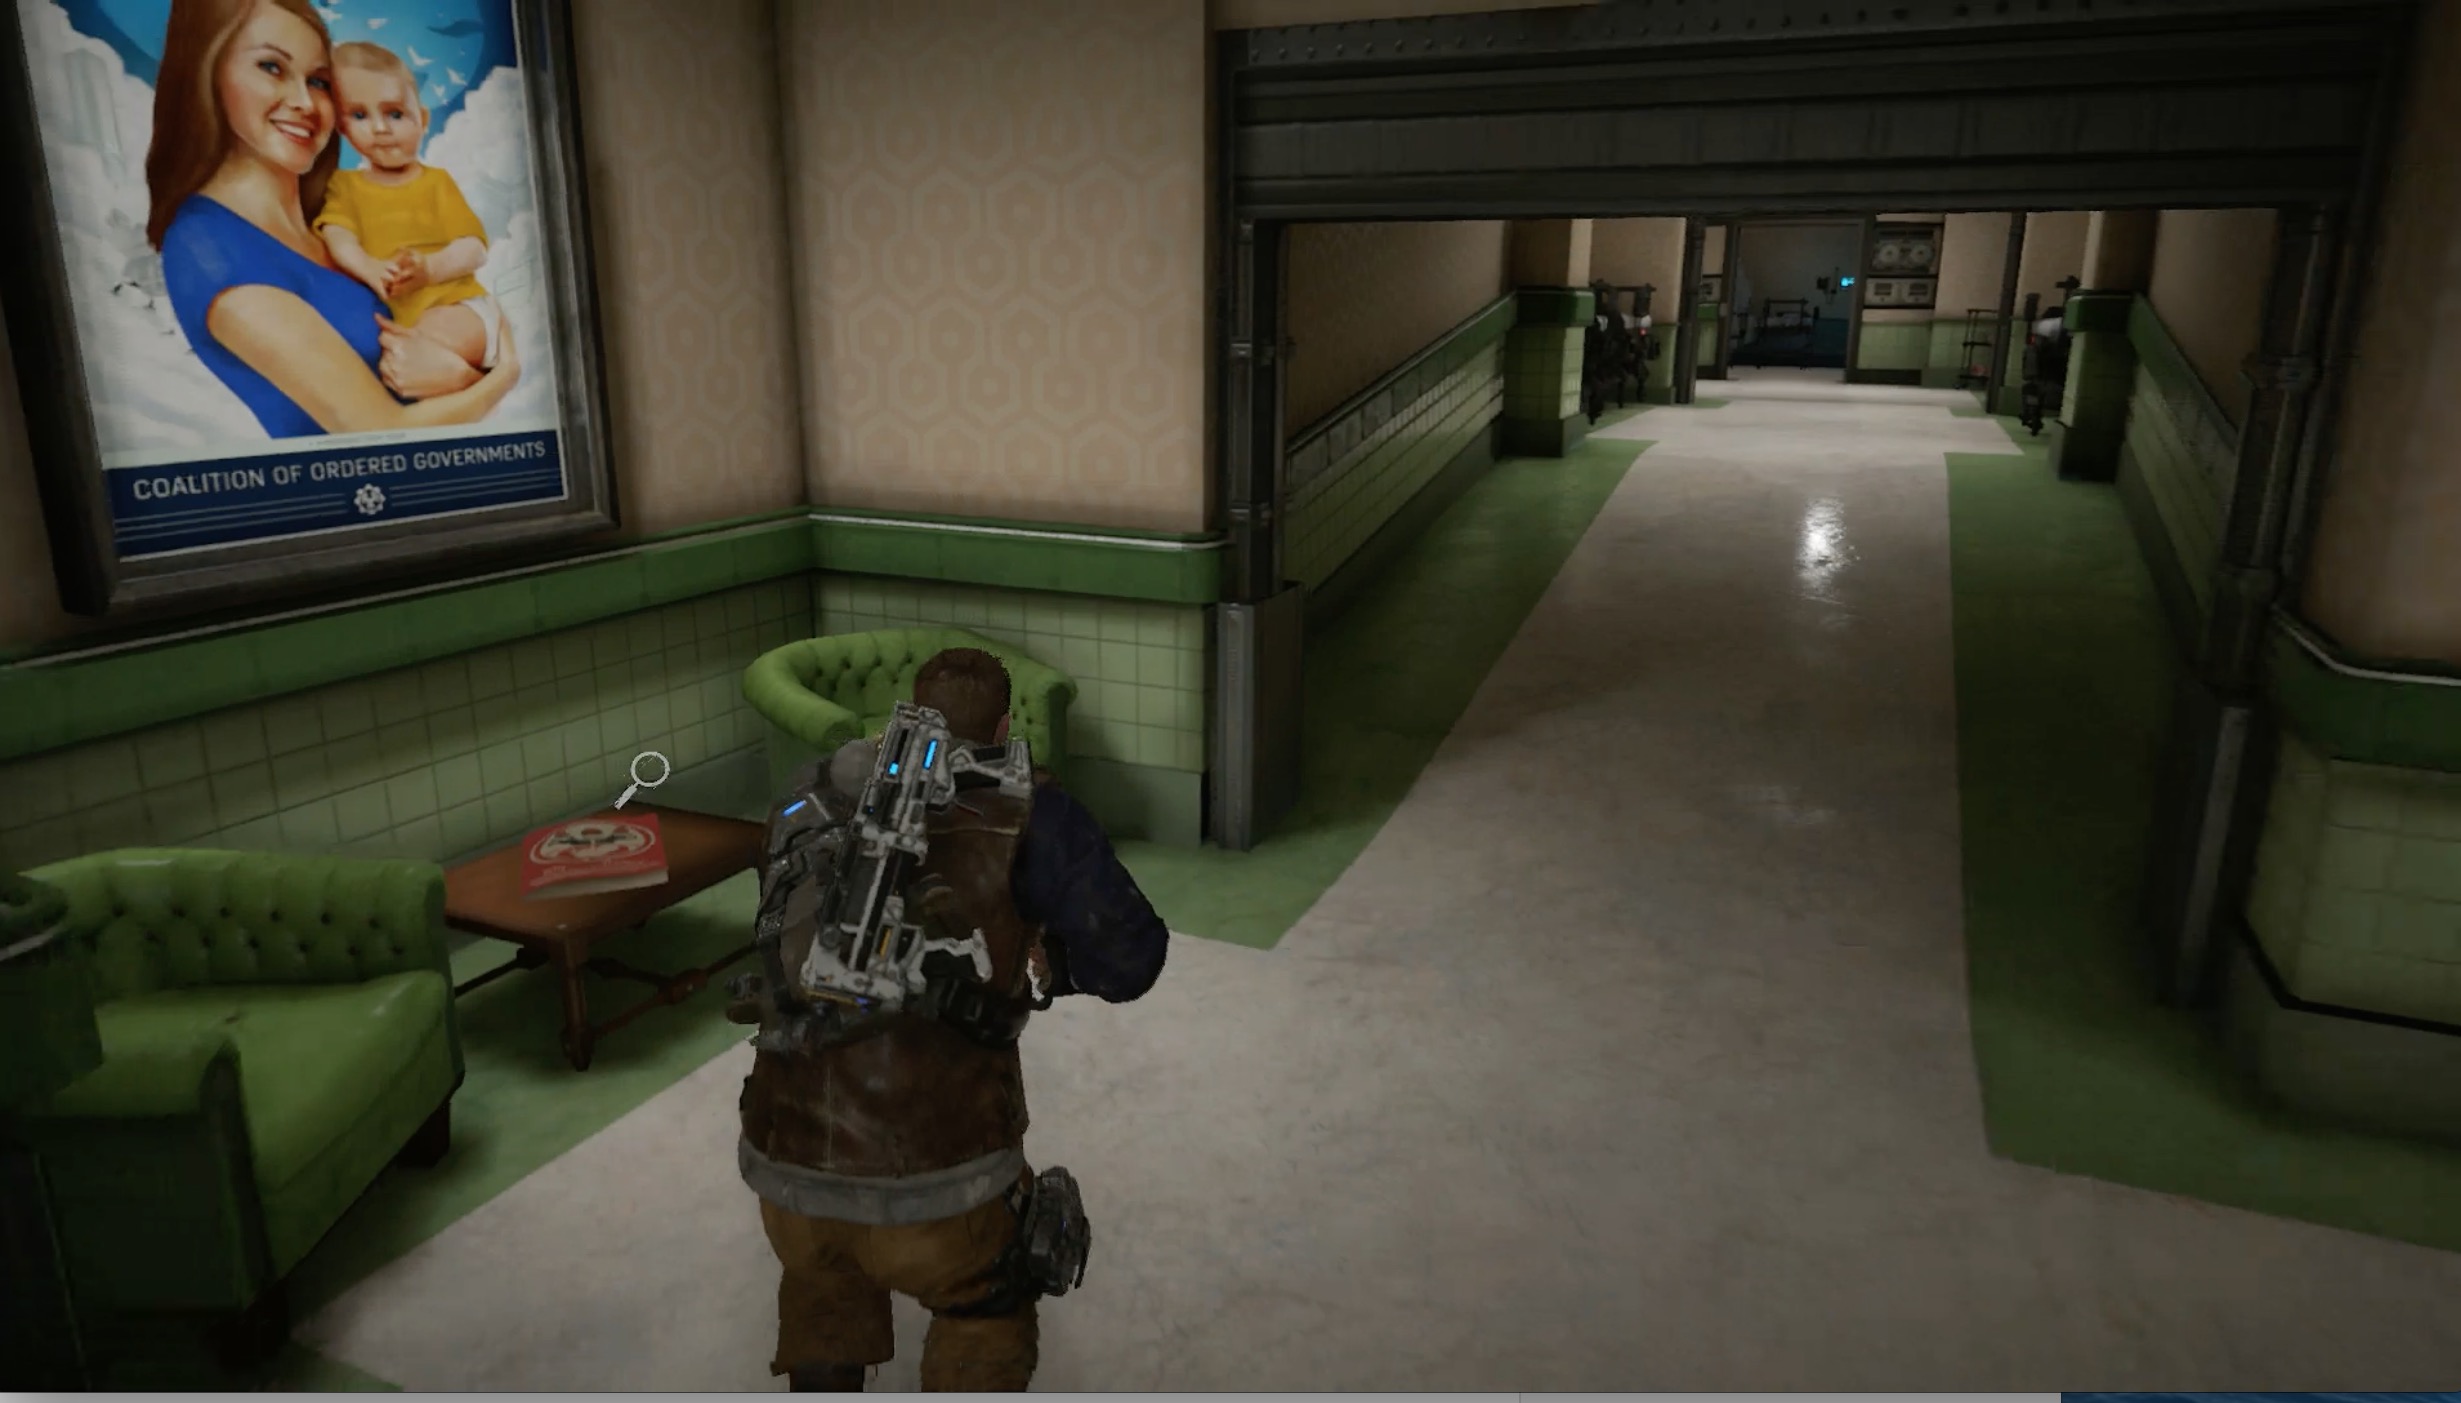
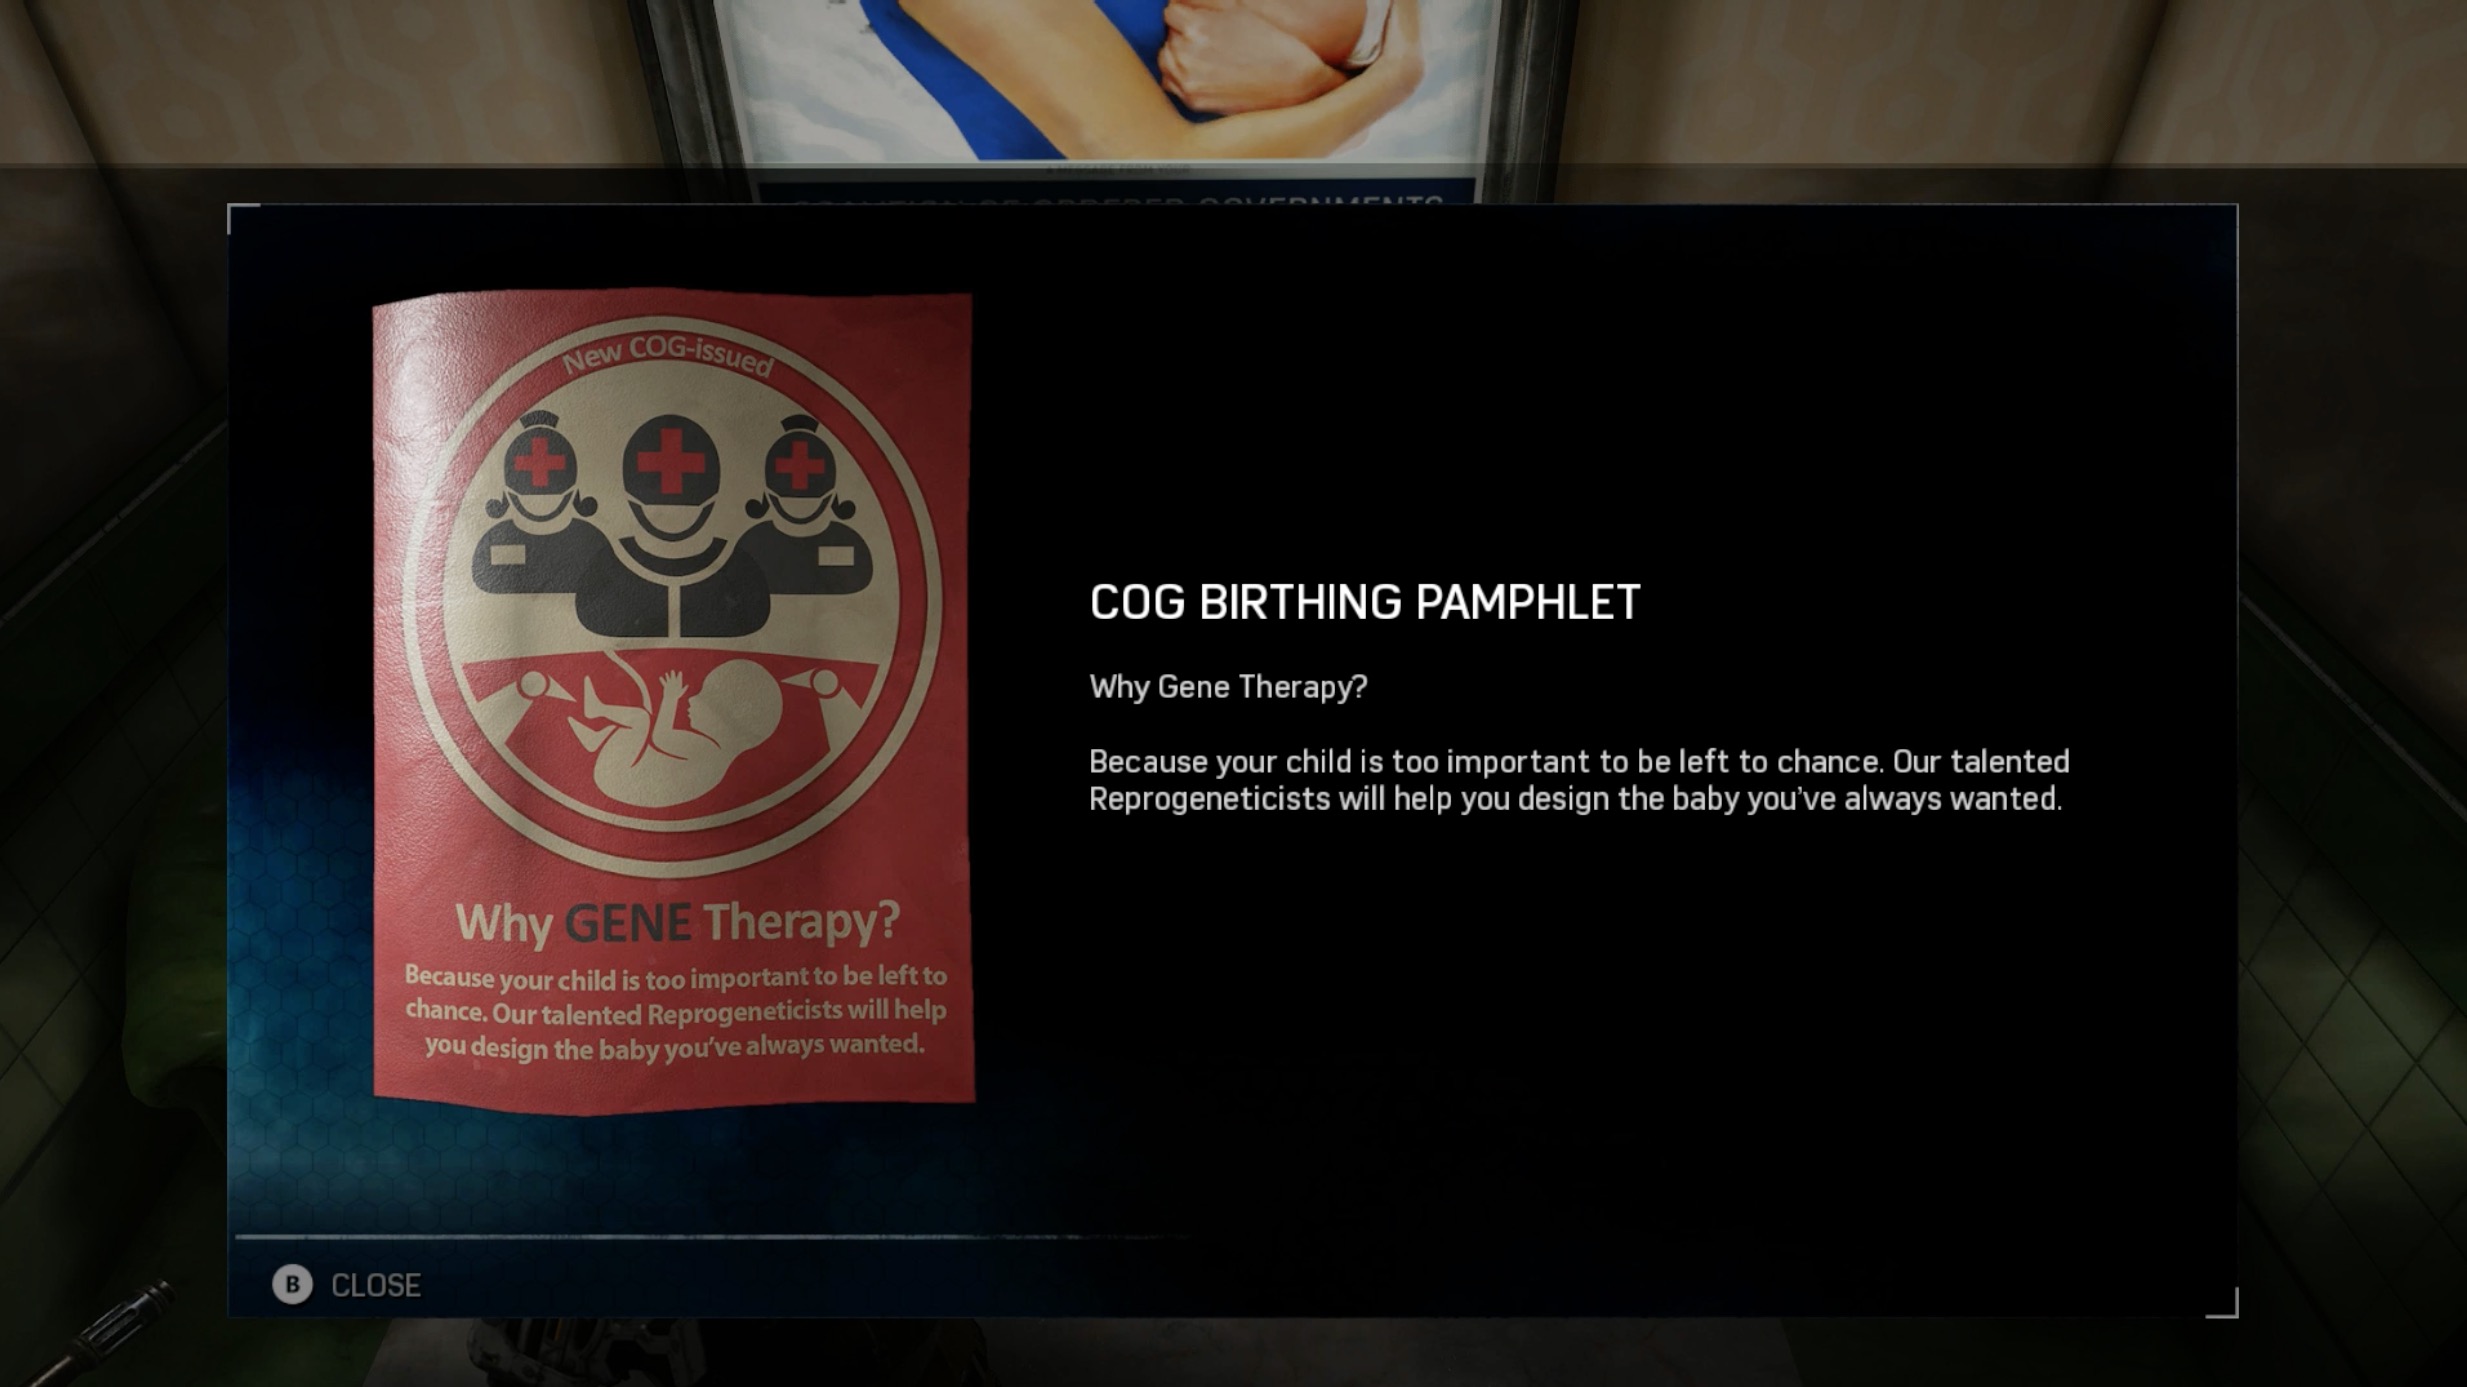
COG Birthing Pamphlet
Current Objective: Enter the maintenance access door.
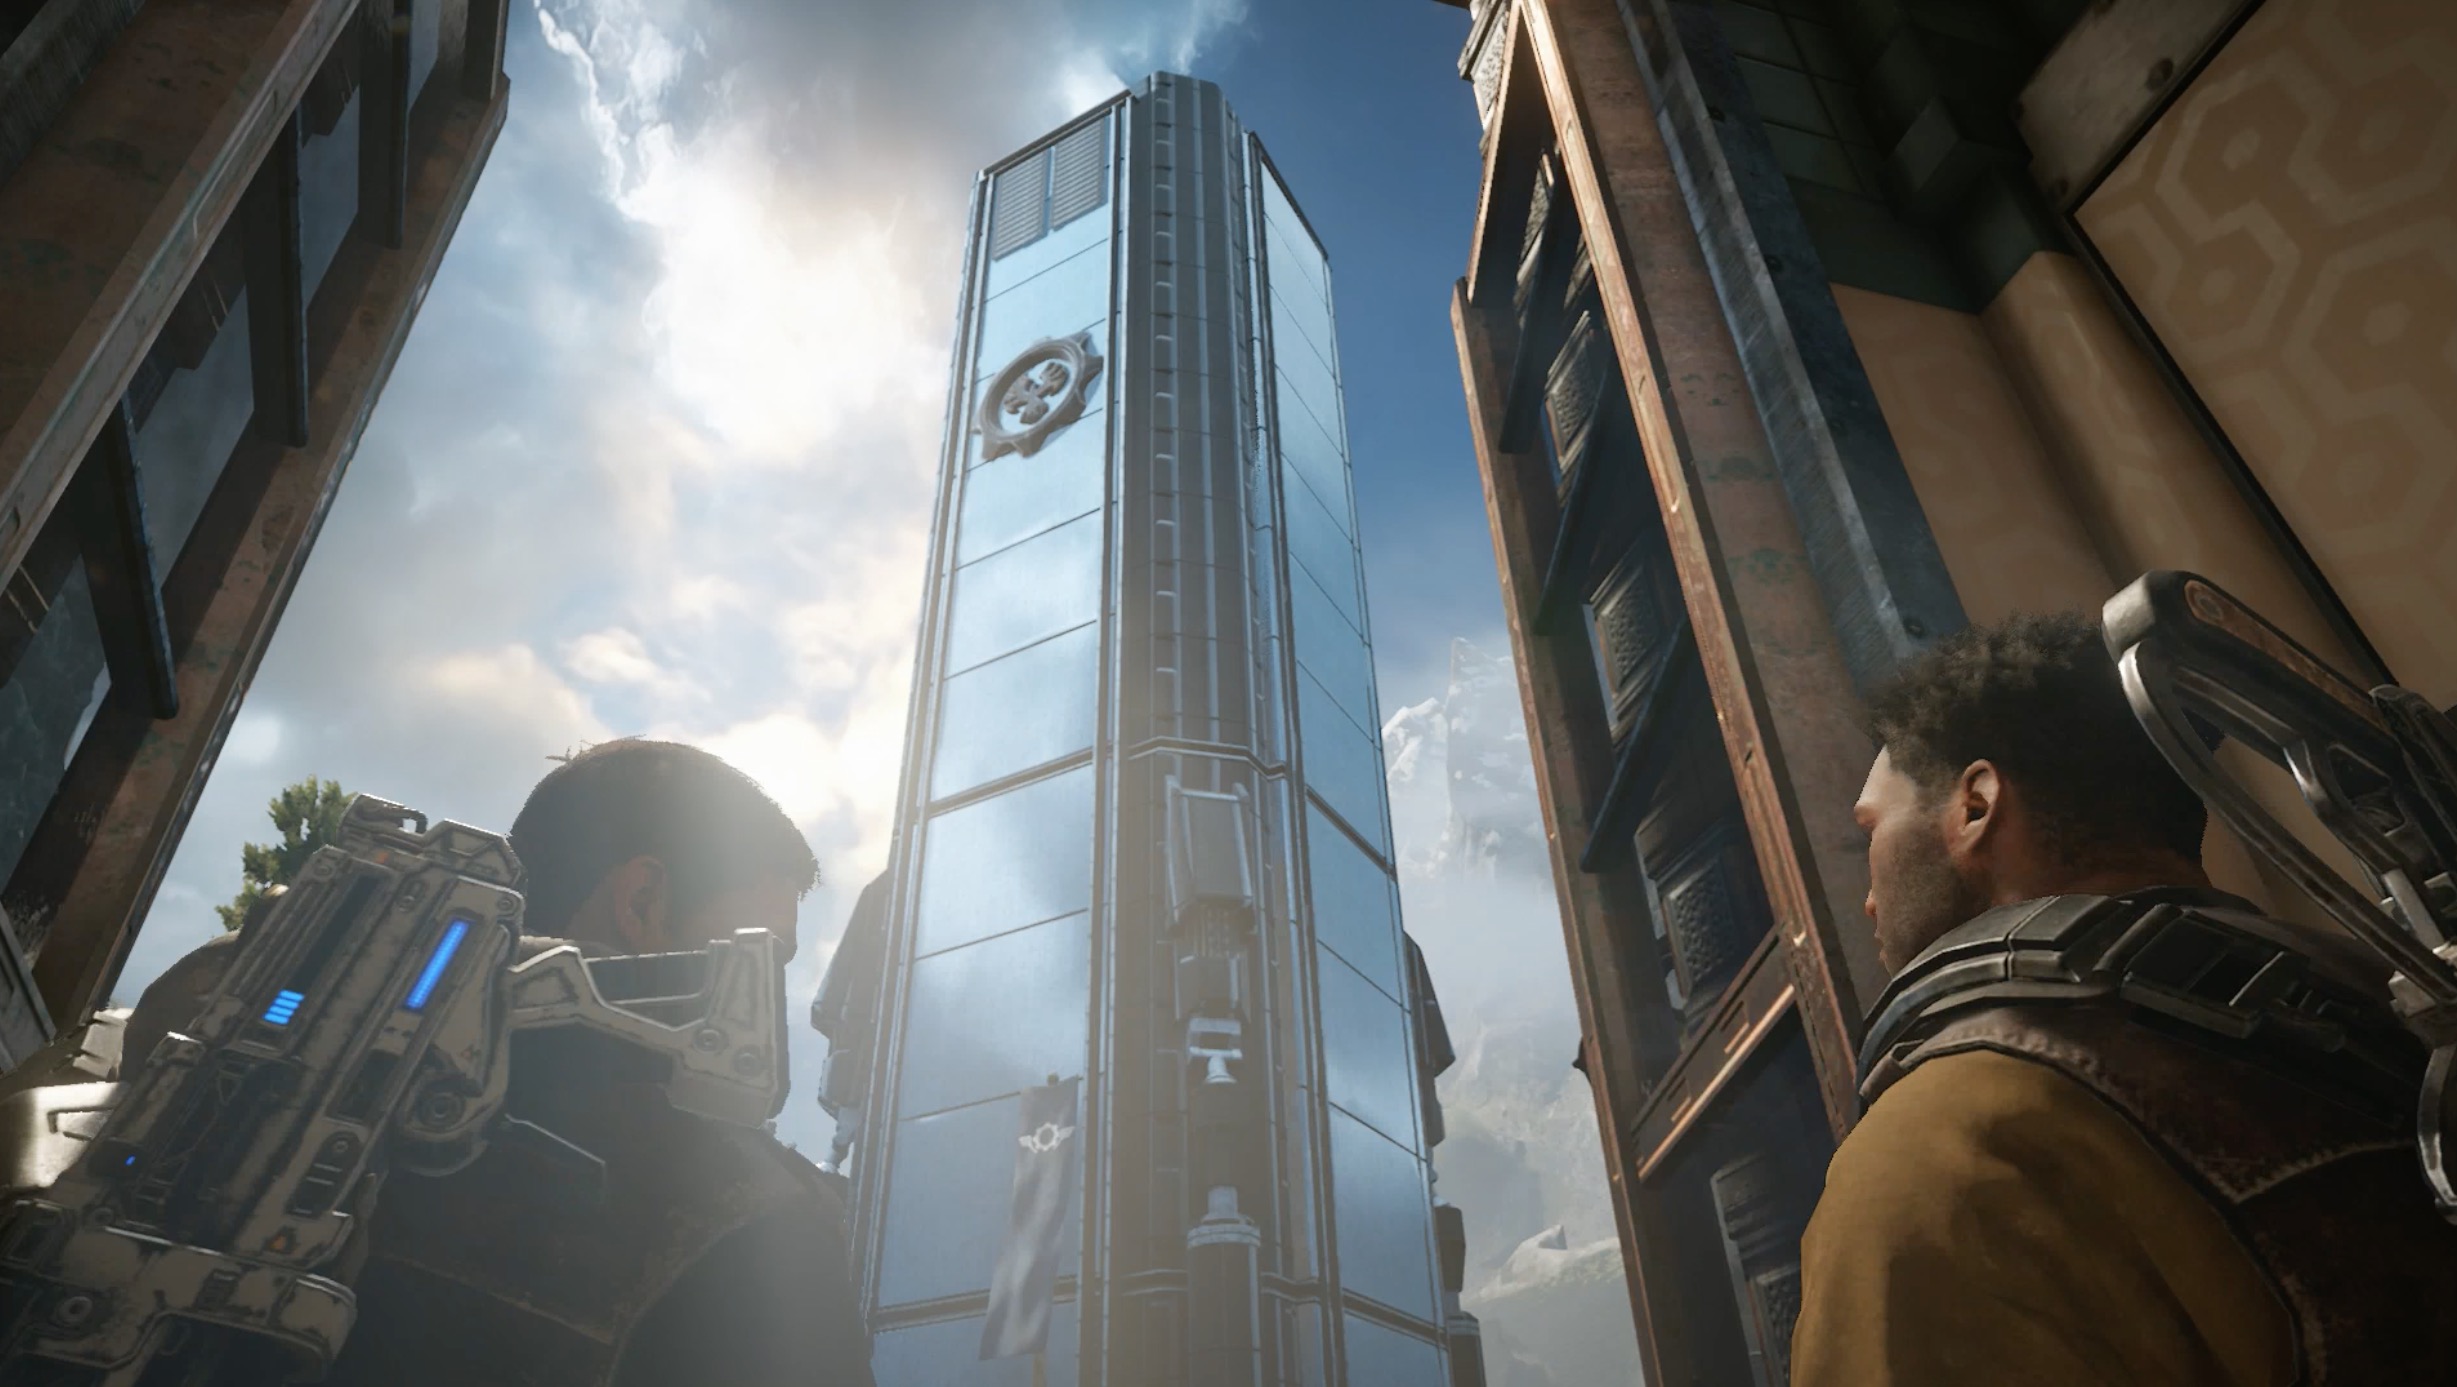
Enter the maternity hospital and advance until you trigger the cutscene where the squad is looking at a blue tower. Go through the next maternity ward and look for a pair of green chairs in a hallway. The pamphlet is on the table in between the chairs.
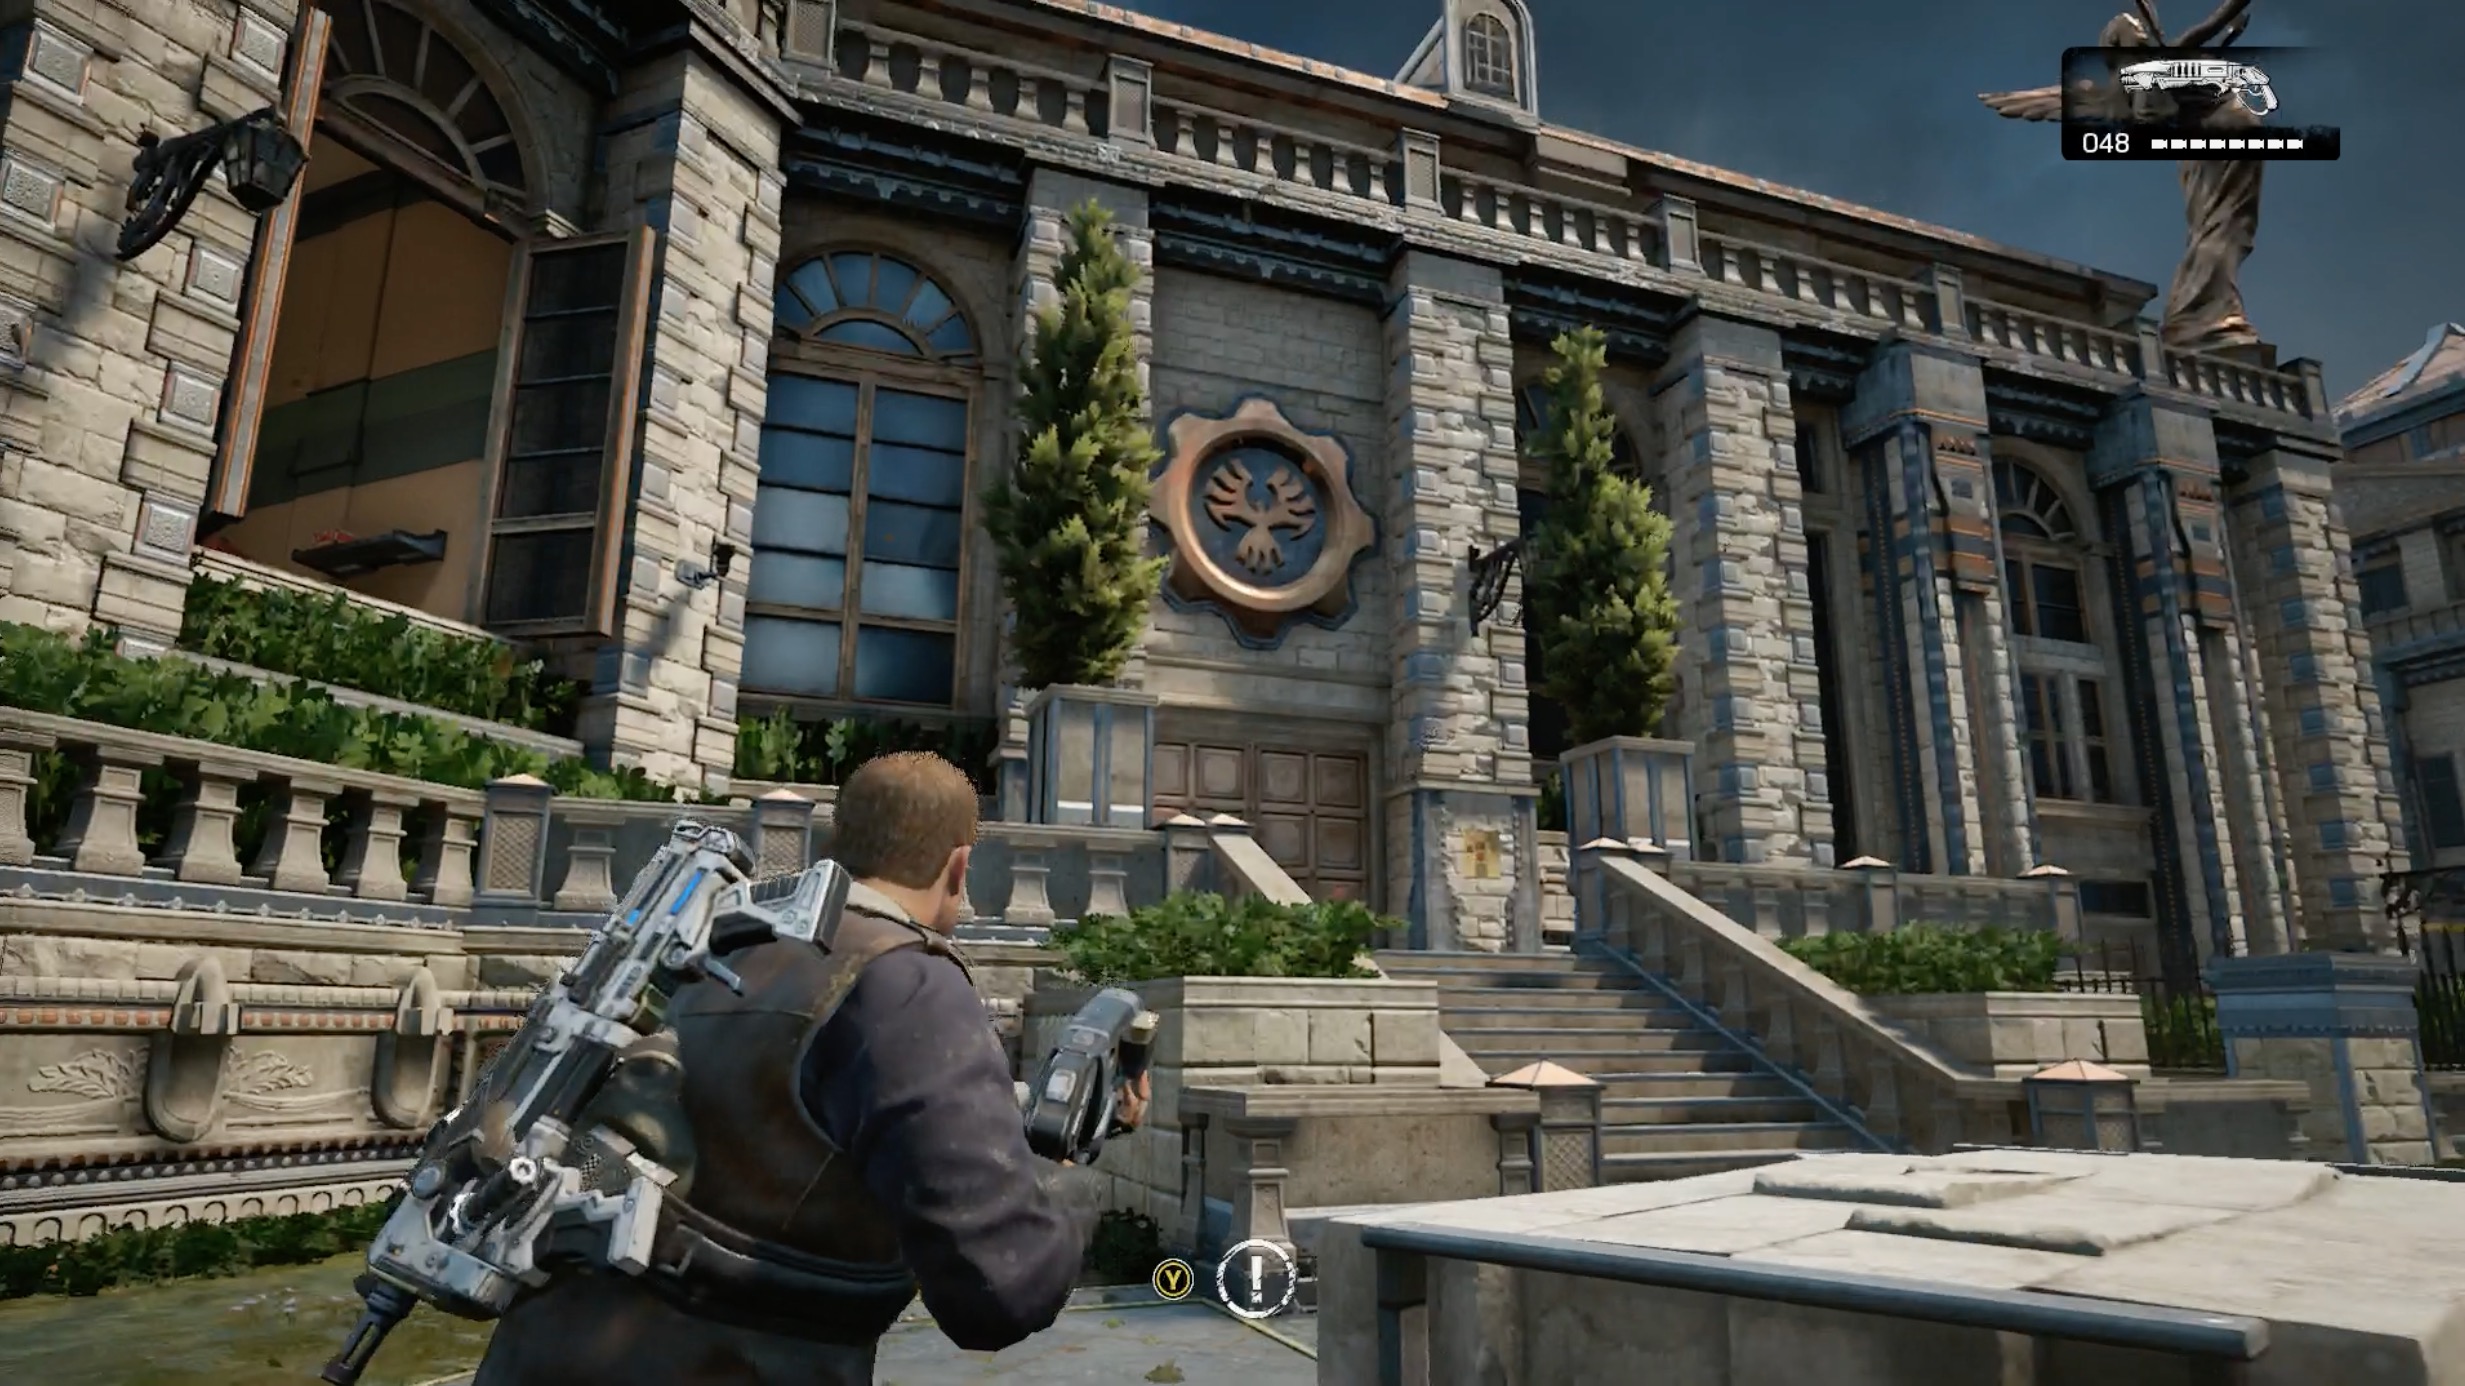

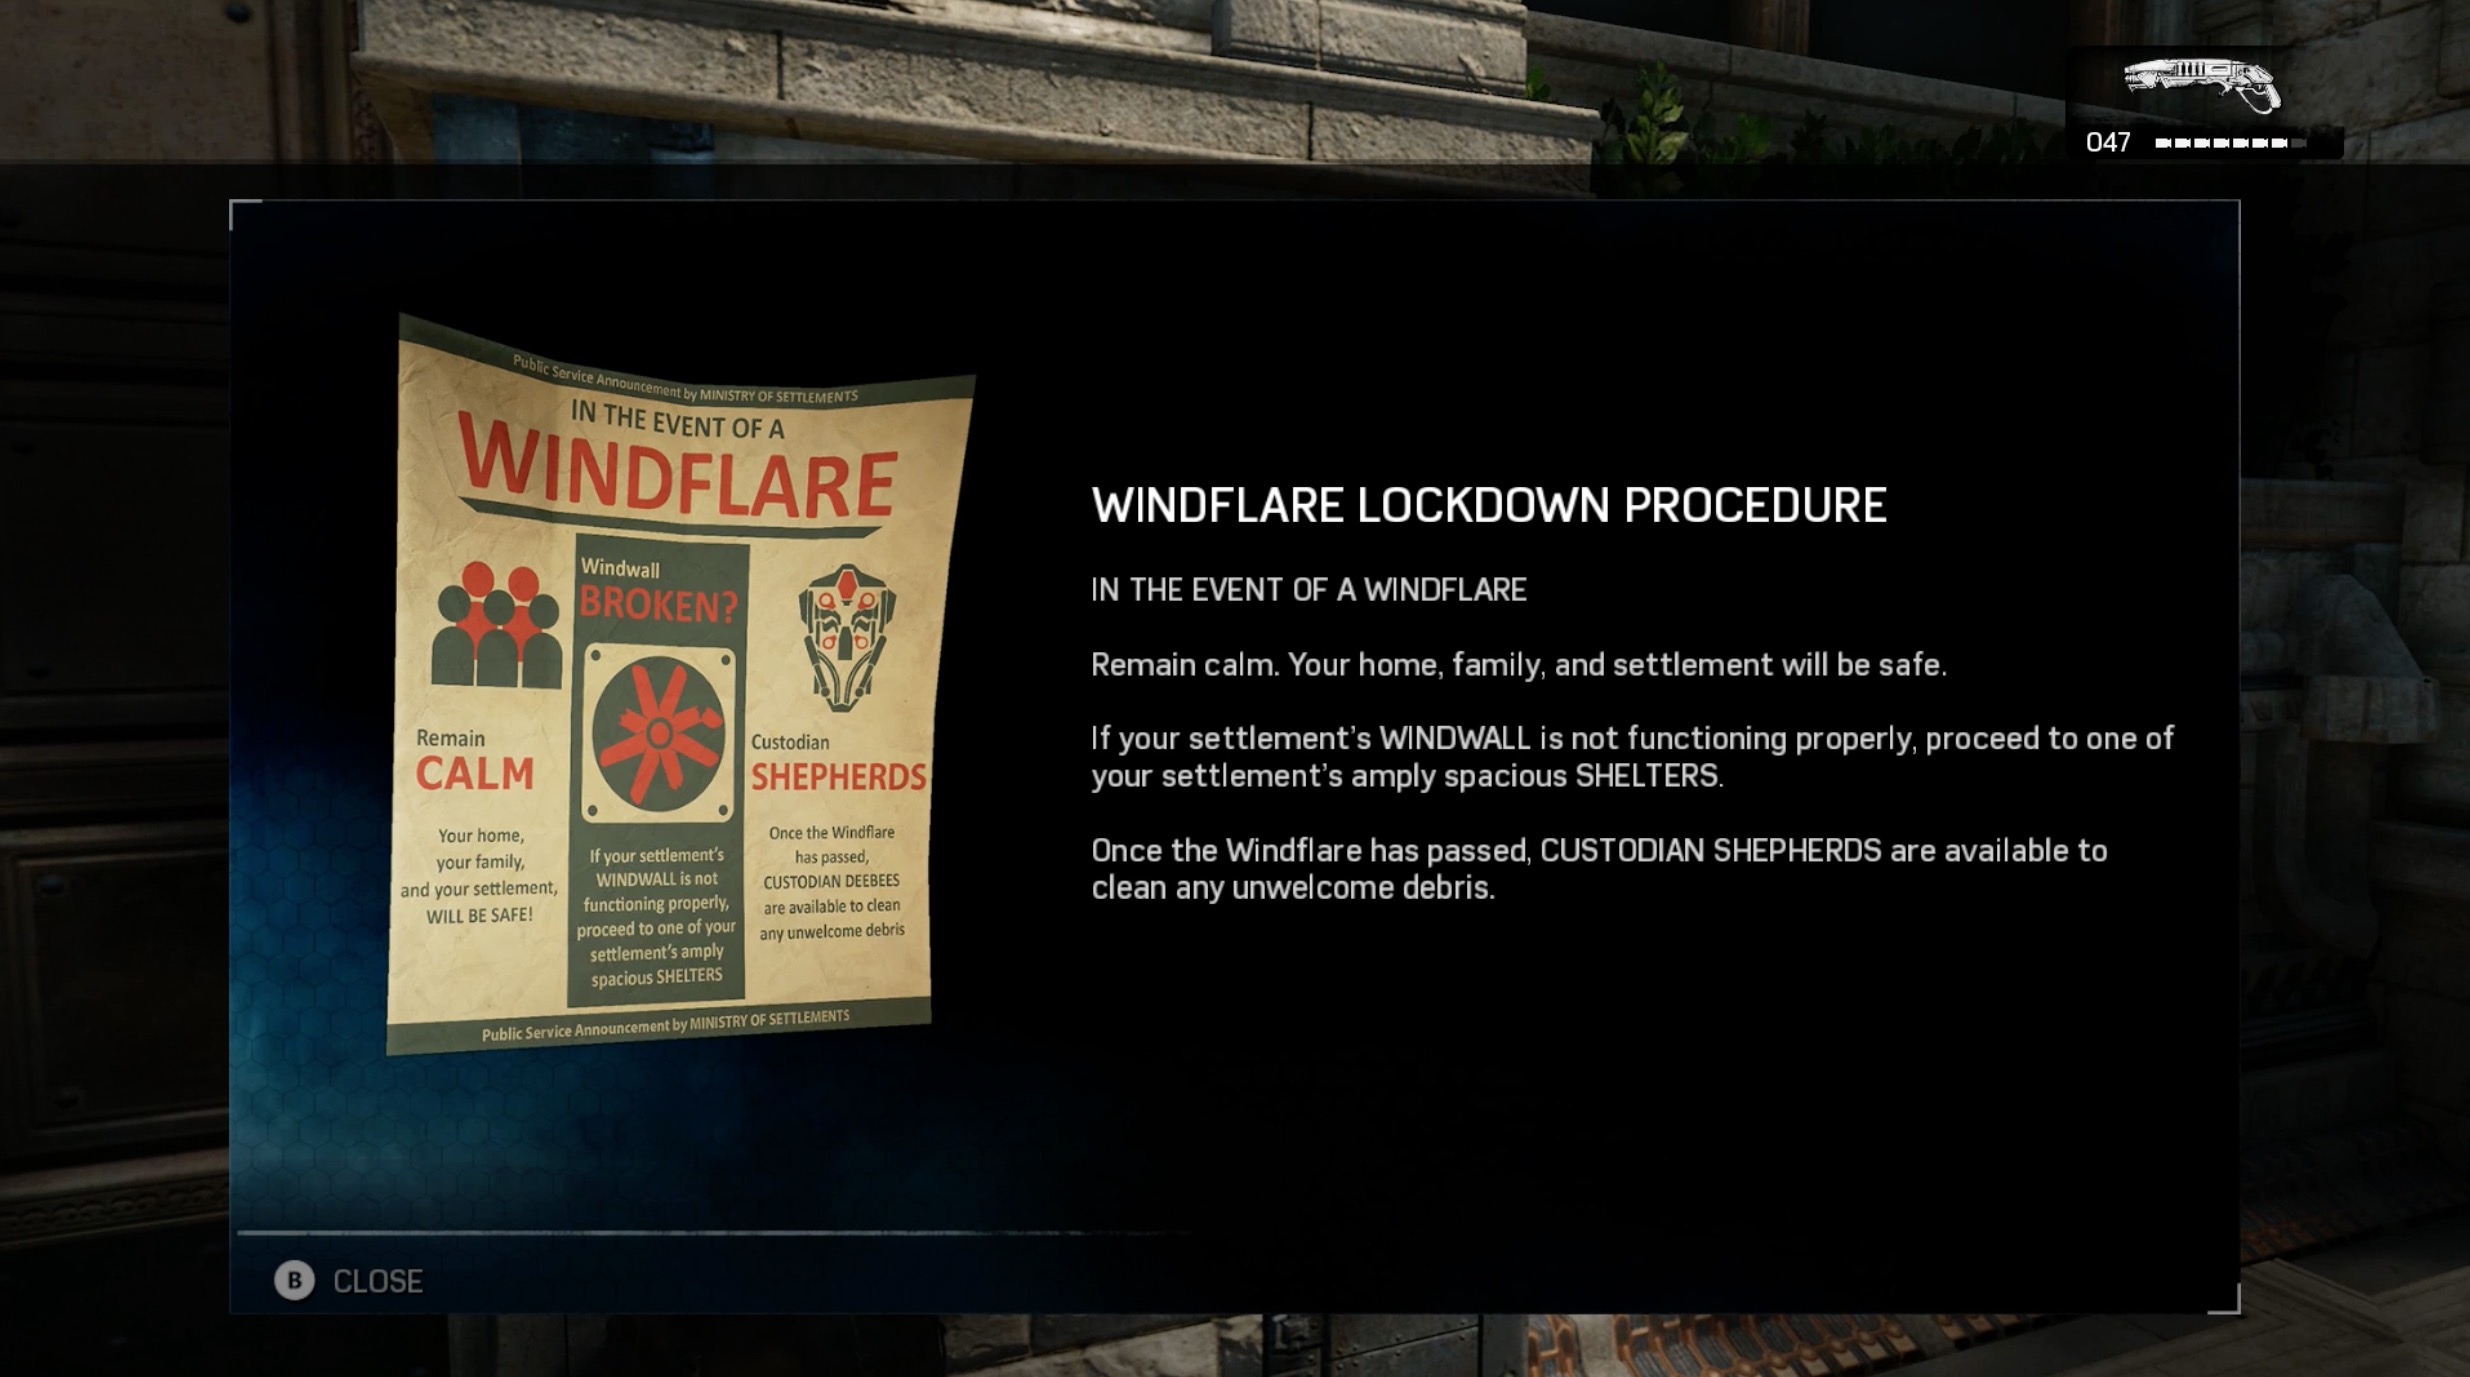
Windflare Lockdown Procedure
Current Objective: Clear the street of DeeBees.
After exiting the maternity hospital, the next shootout will begin outside. Head down the steps and turn left. Look for a similar set of steps on your left. At the top you will find the public service announcement posted next to a locked door.
Act I: 2. In and Out
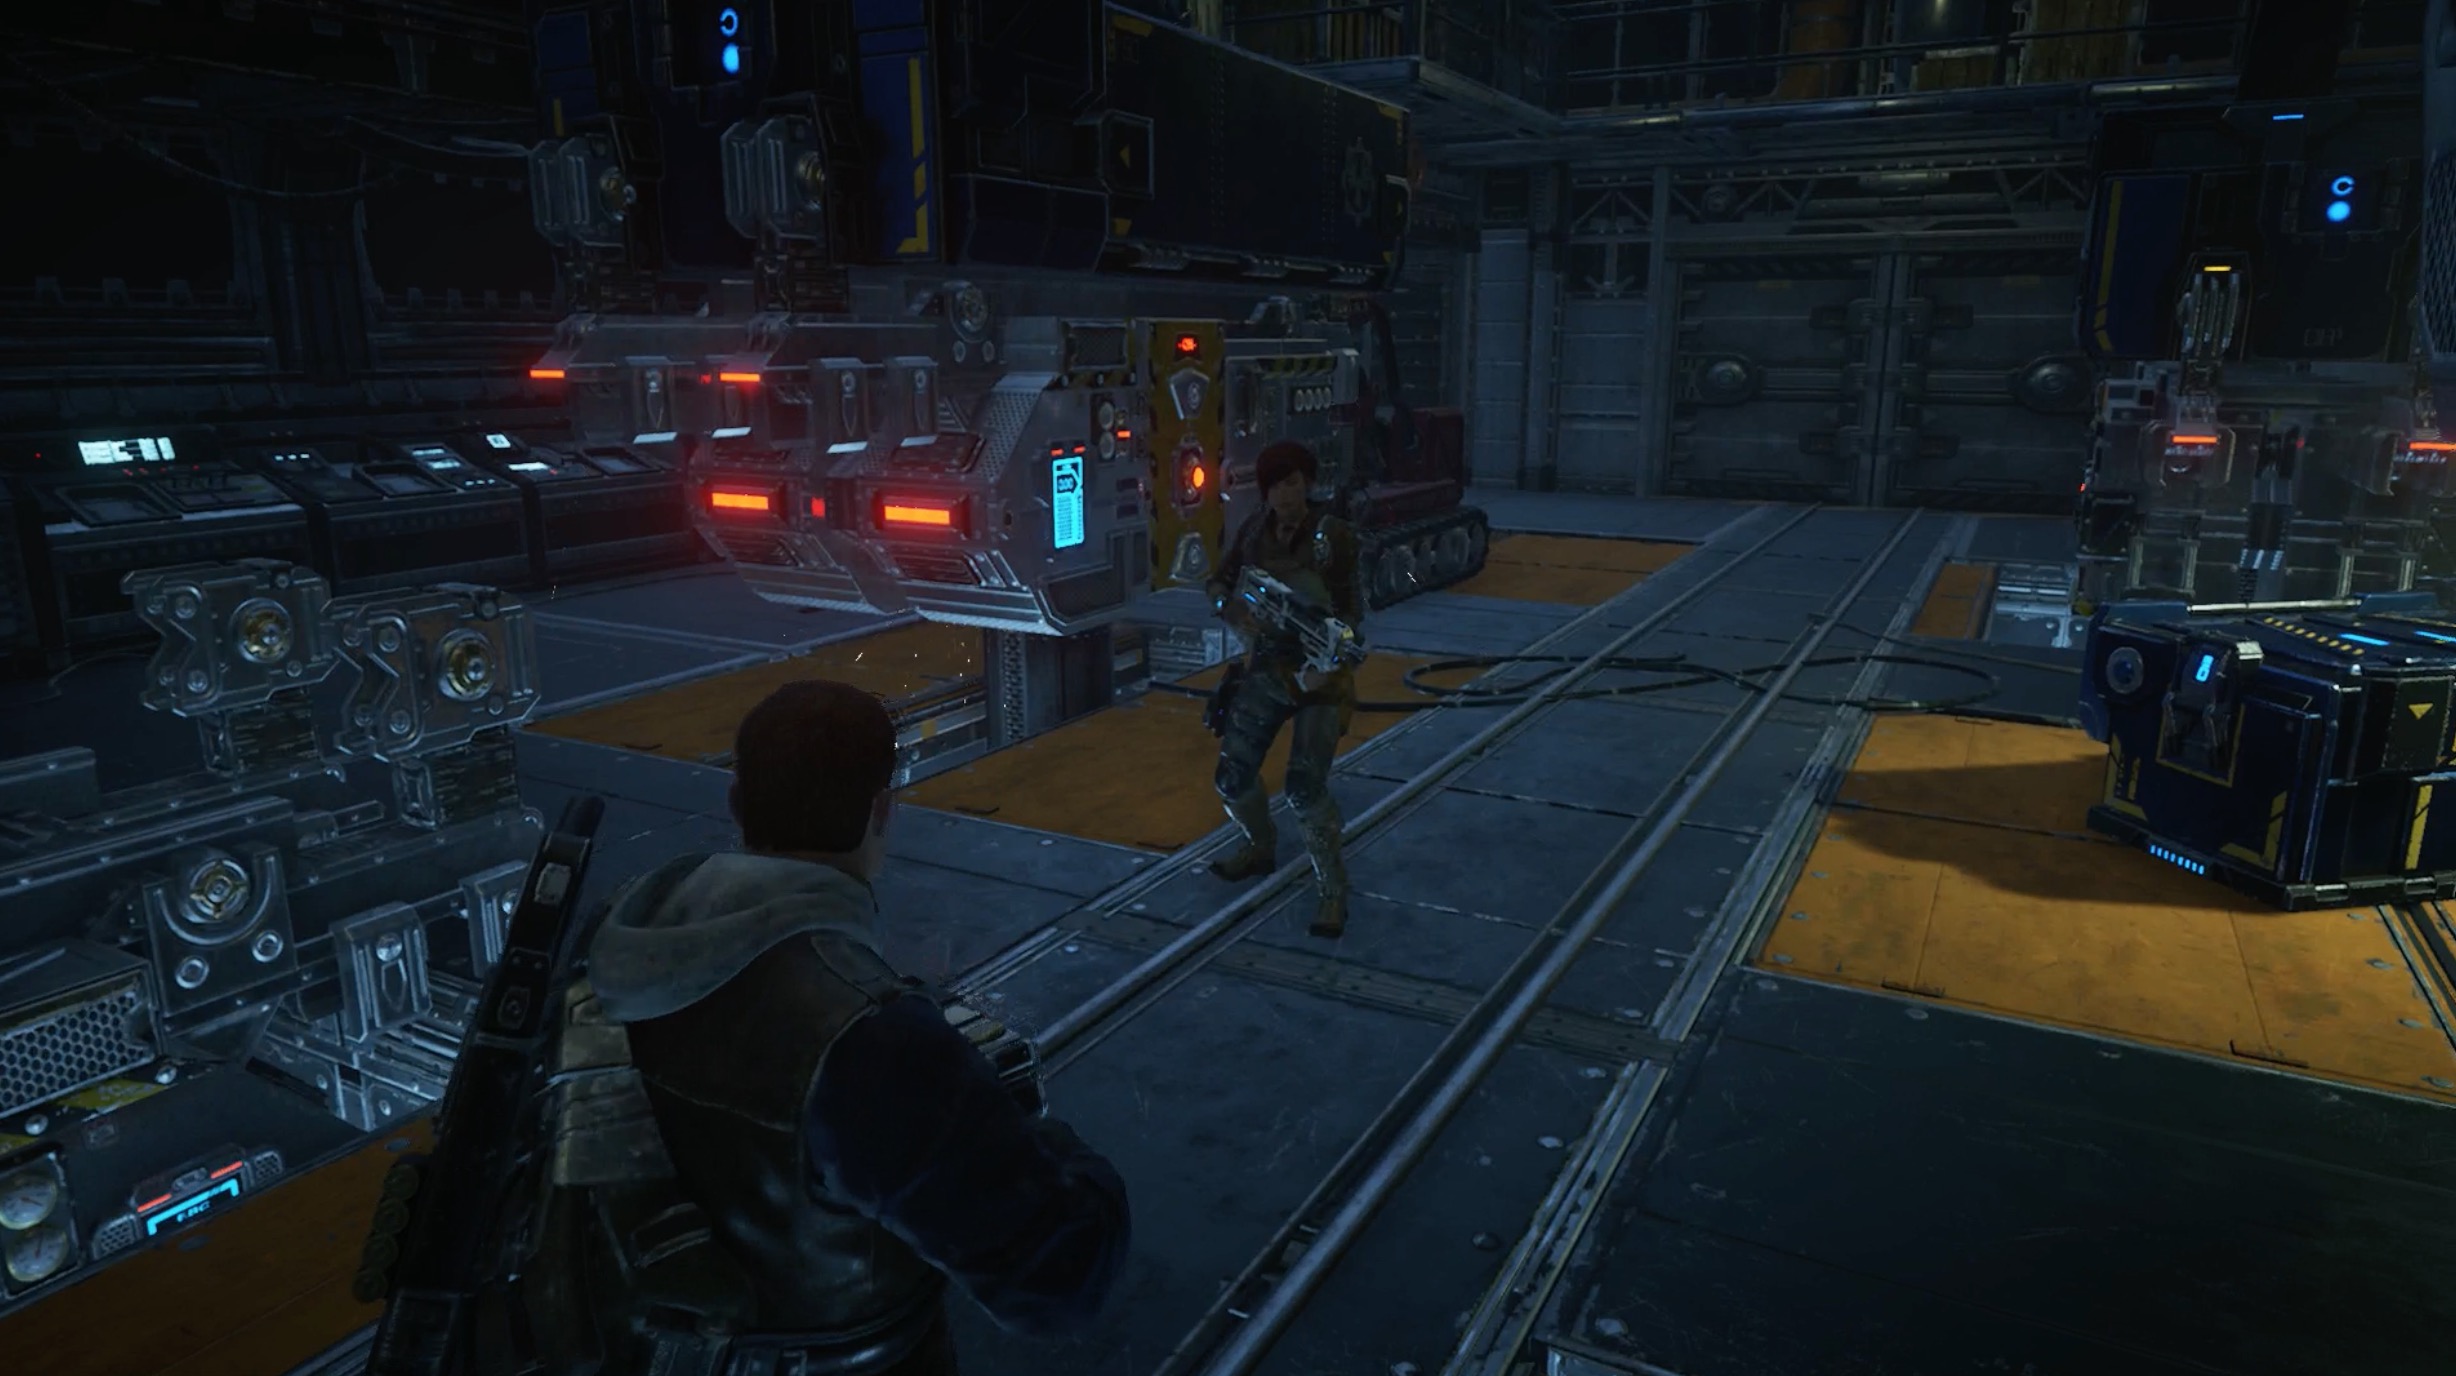
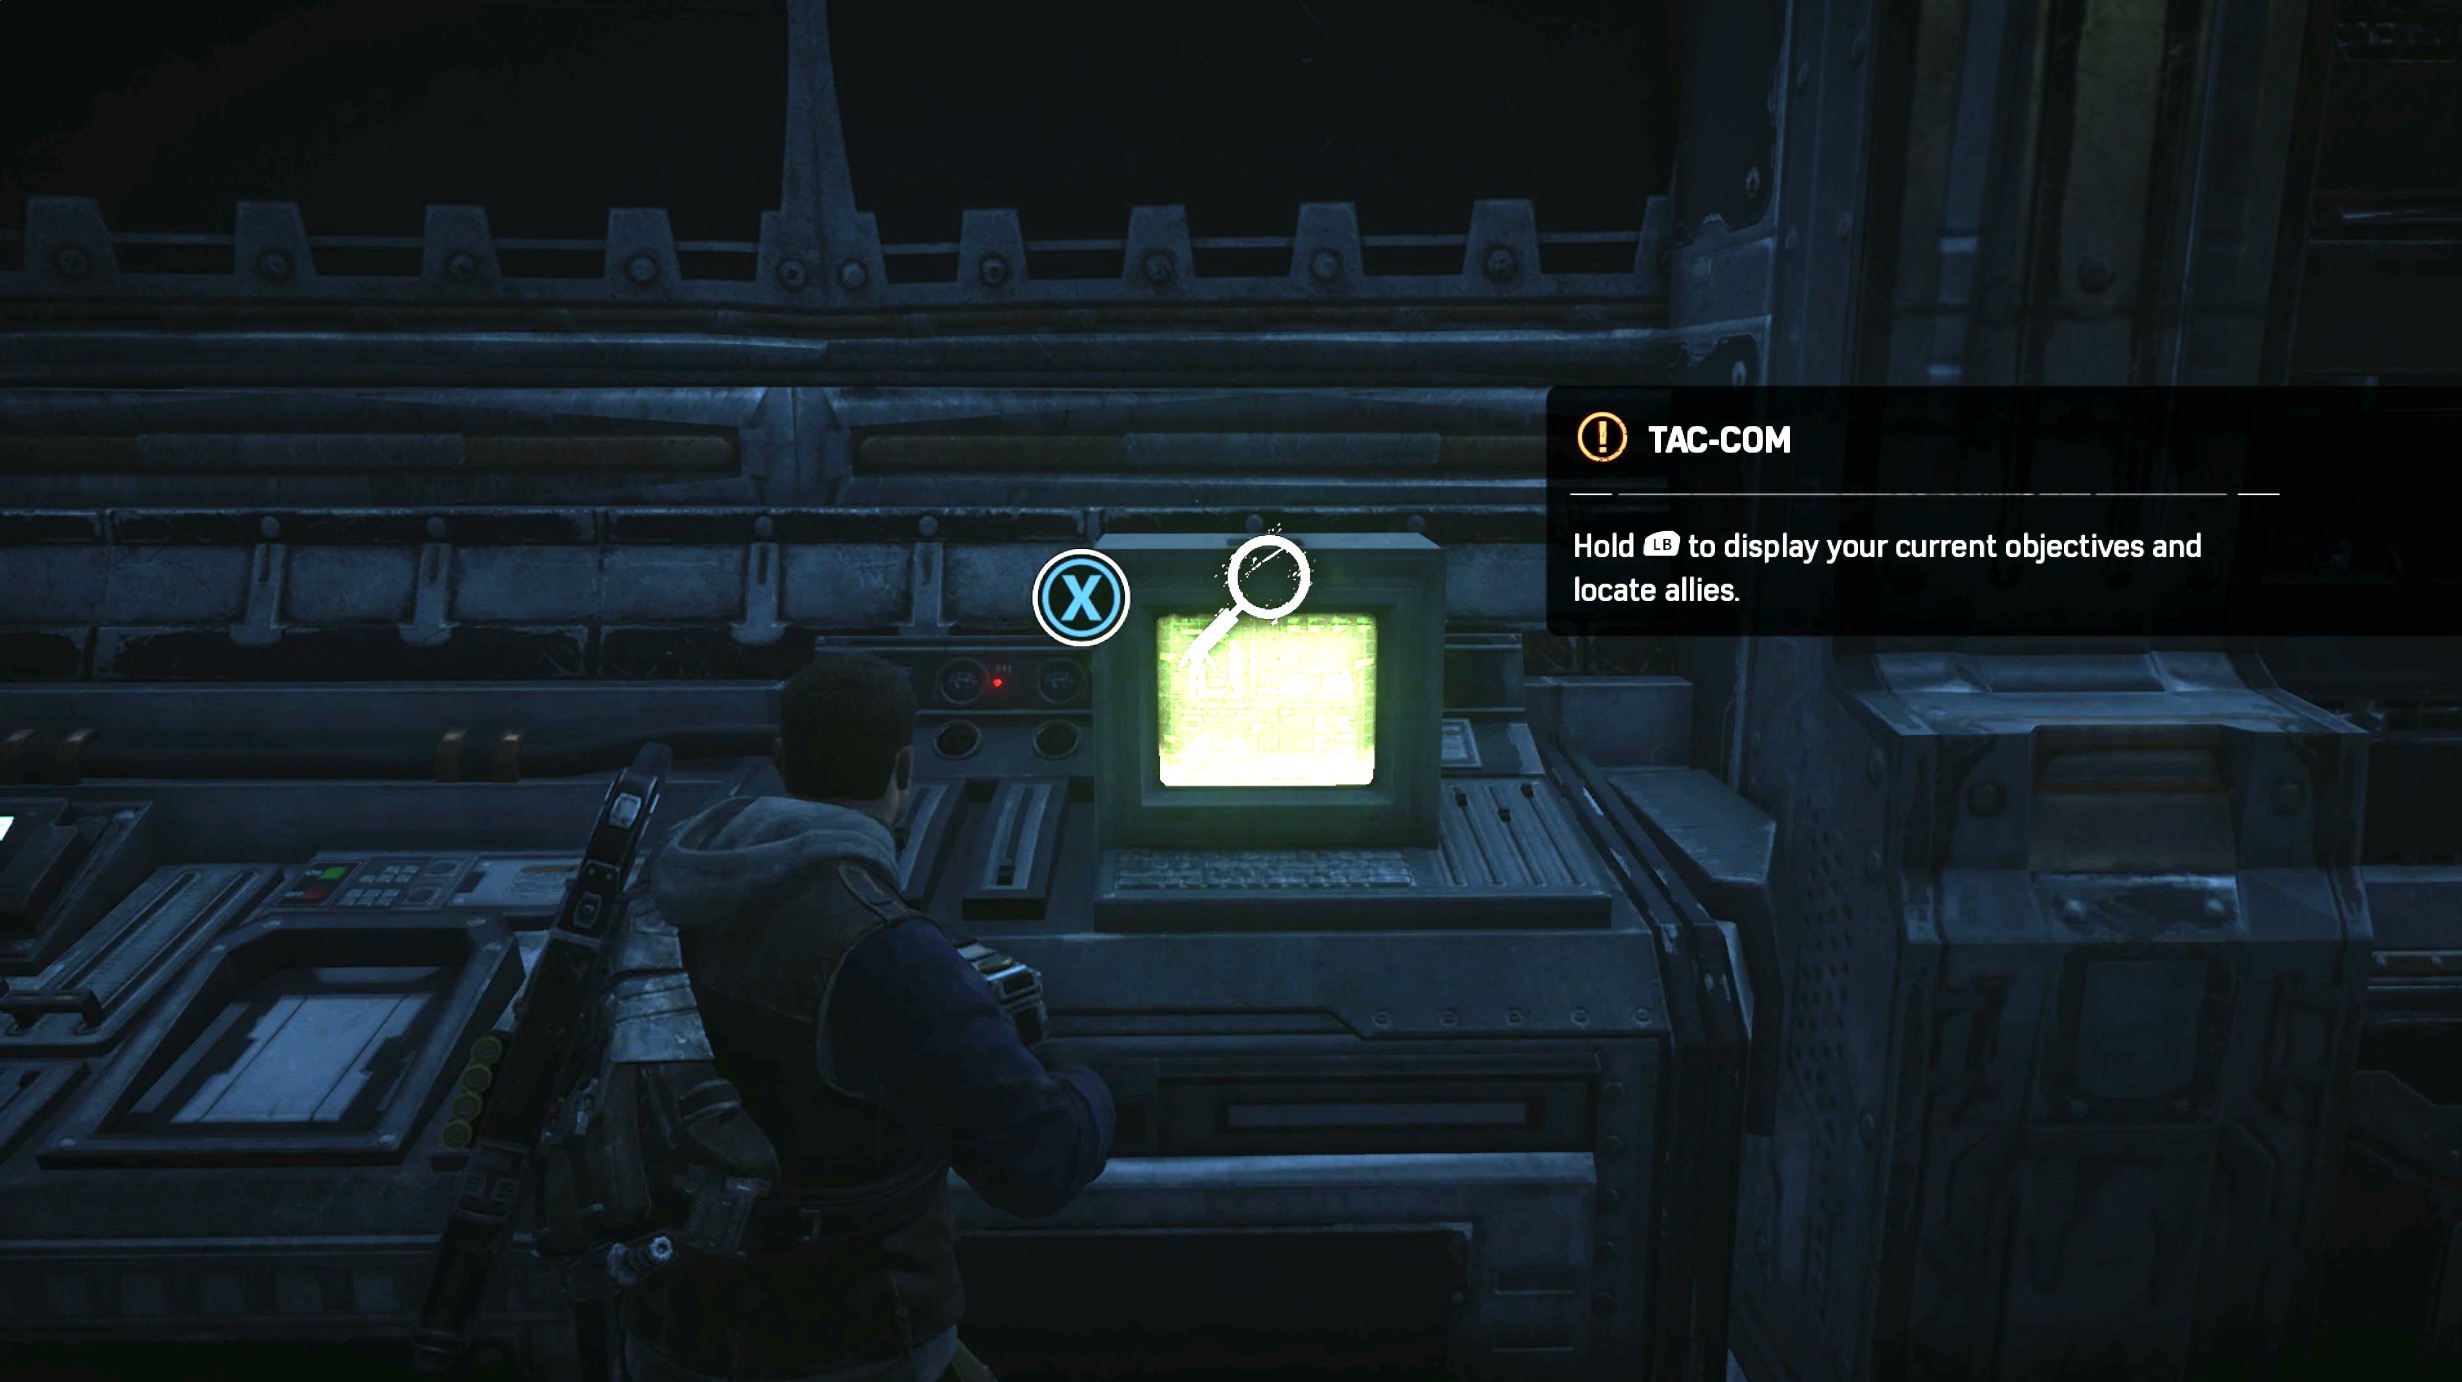
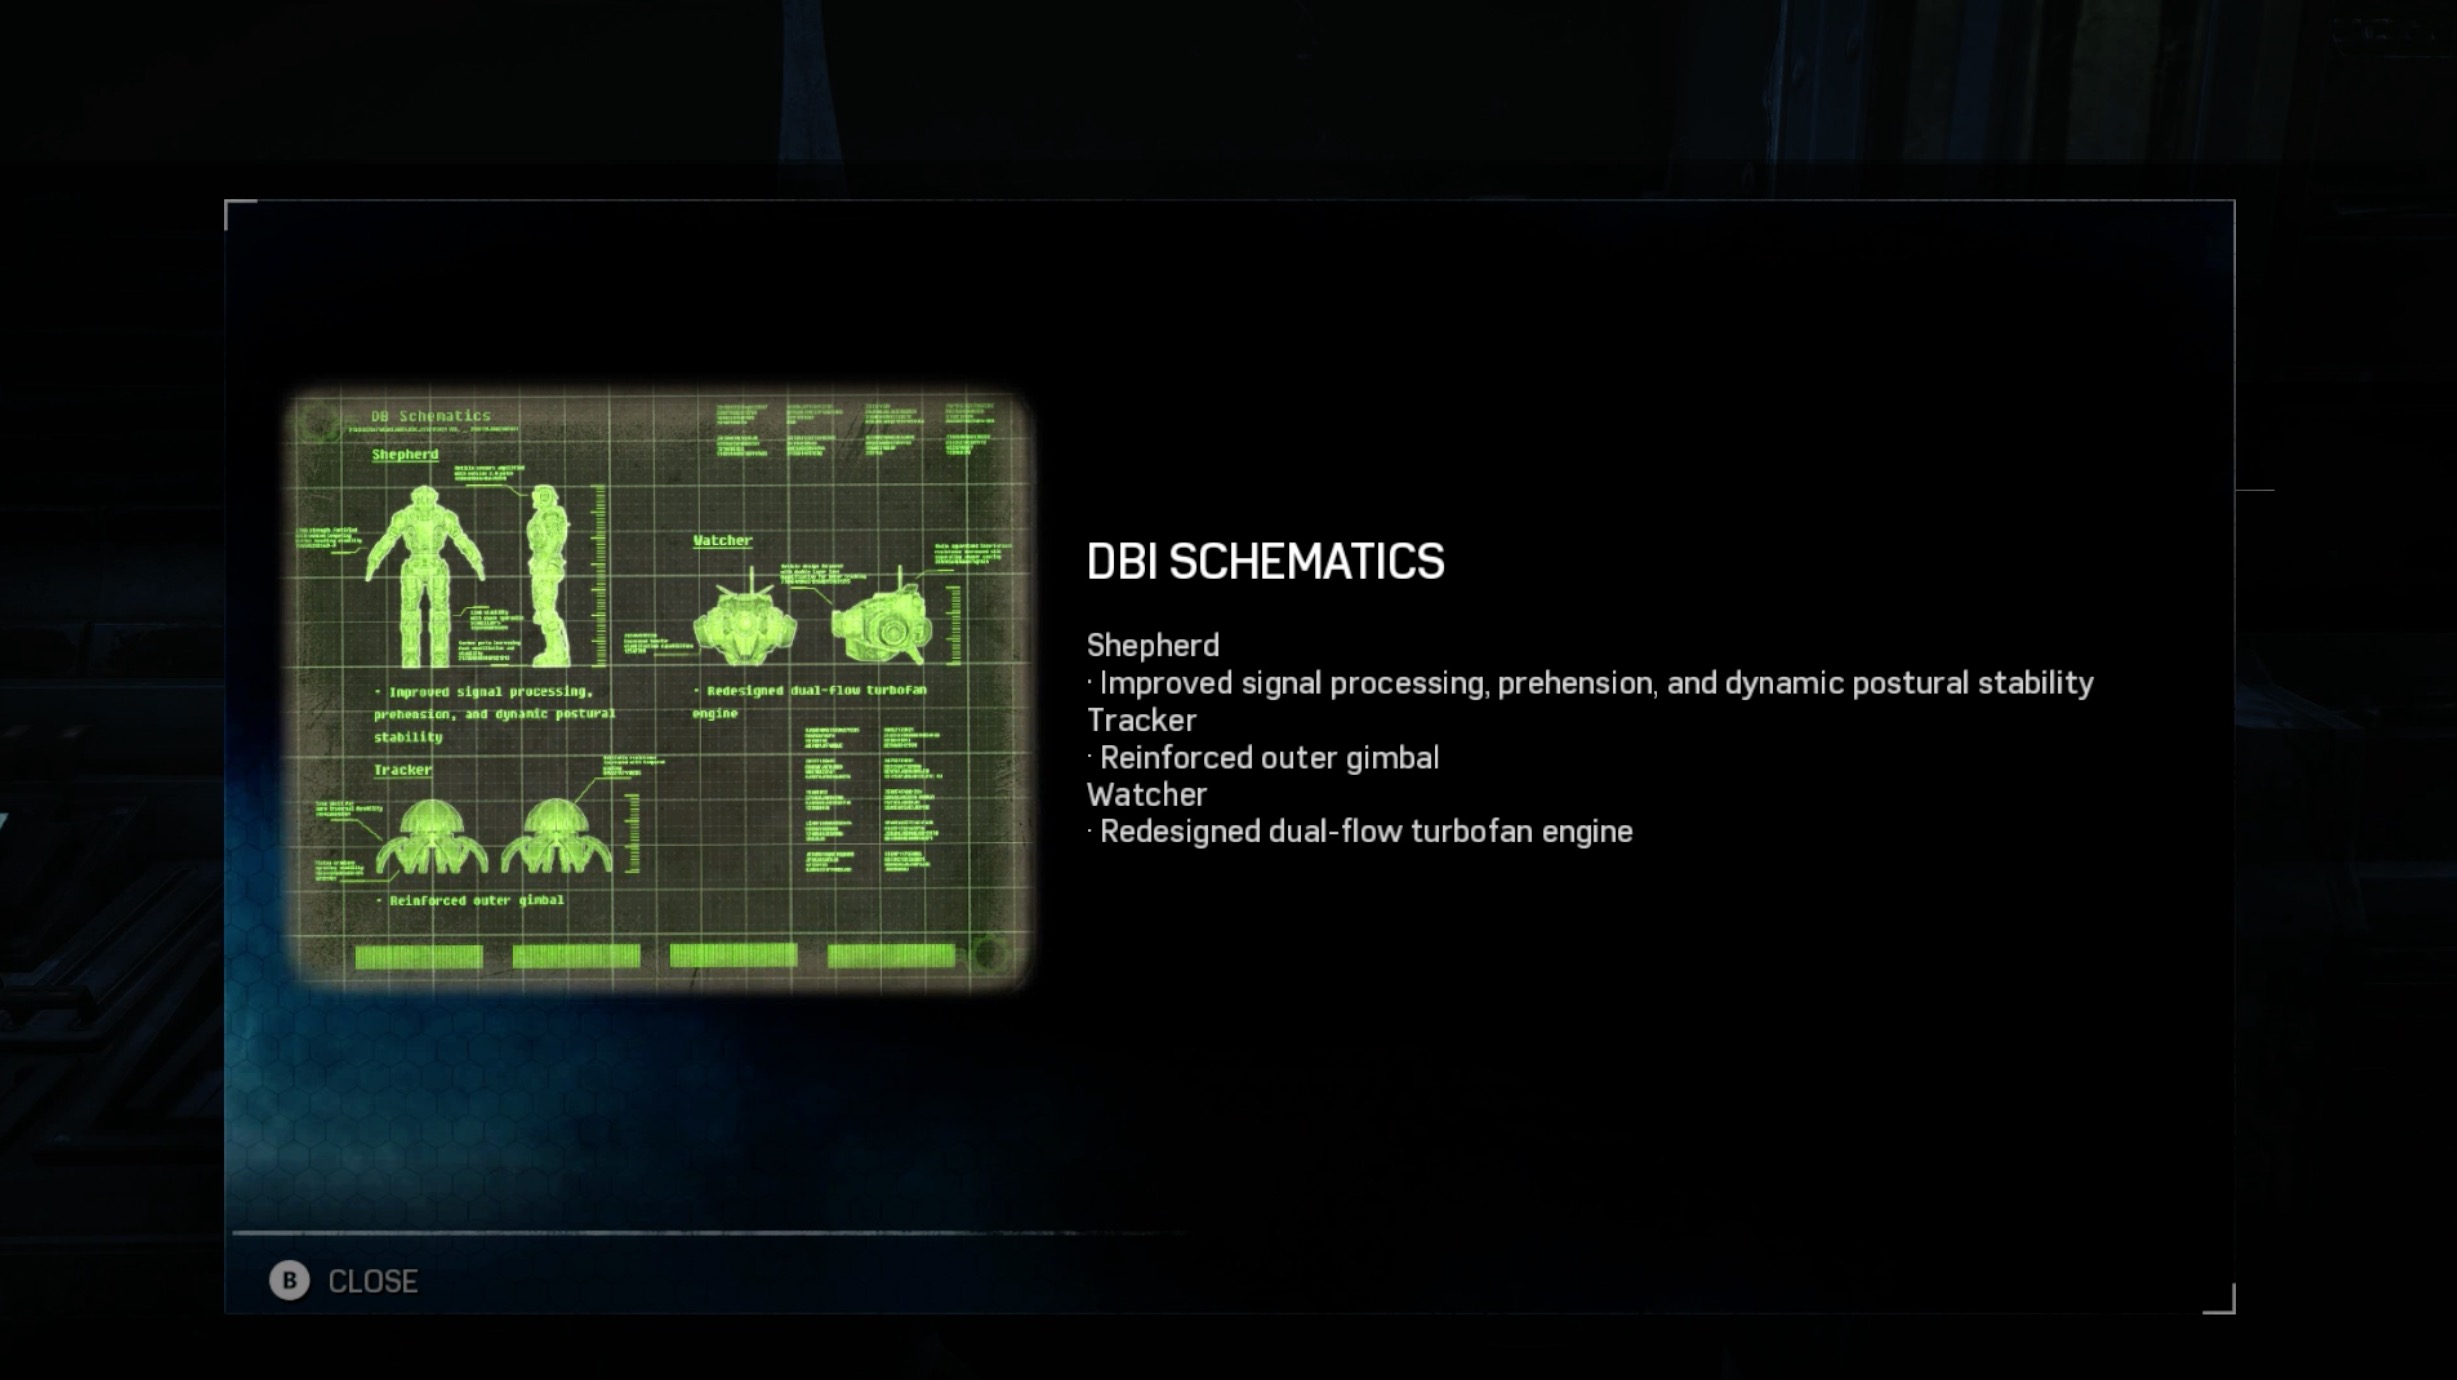
DBI Schematics
Current Objective: Find / Grab the Fabricator.
Enter the room with the Fabricator. Facing the Fabricator, look left. The schematics are on a computer console against the wall.
Act I: 3. New Friends

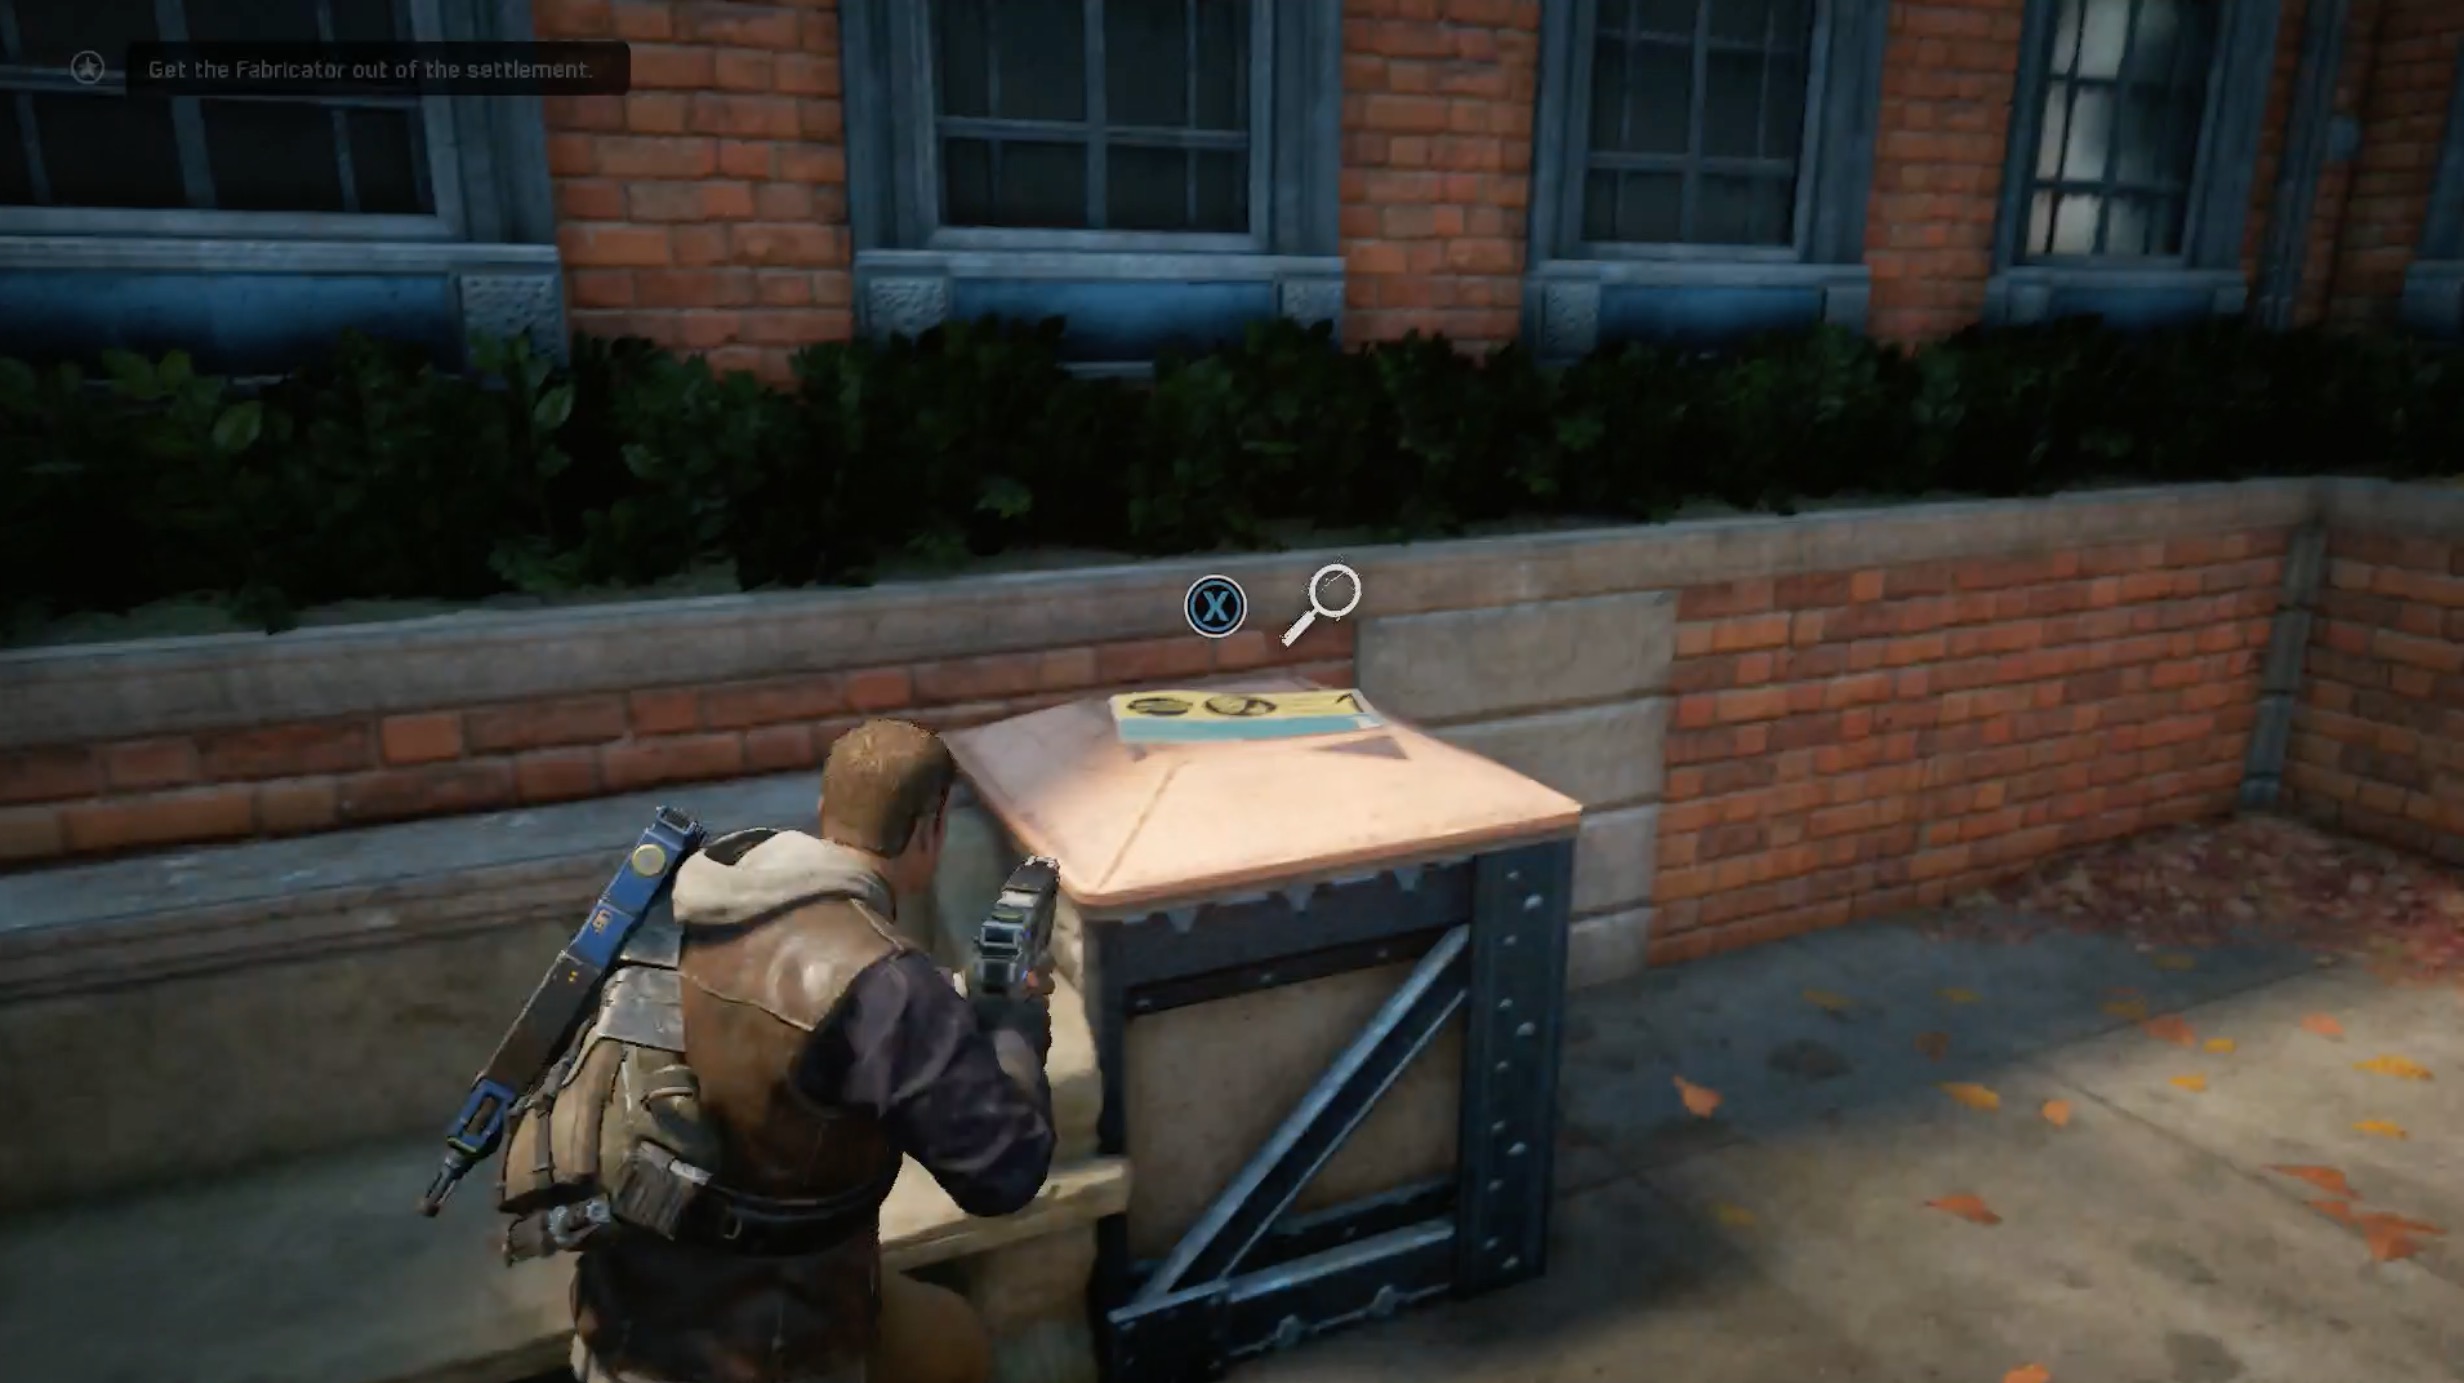
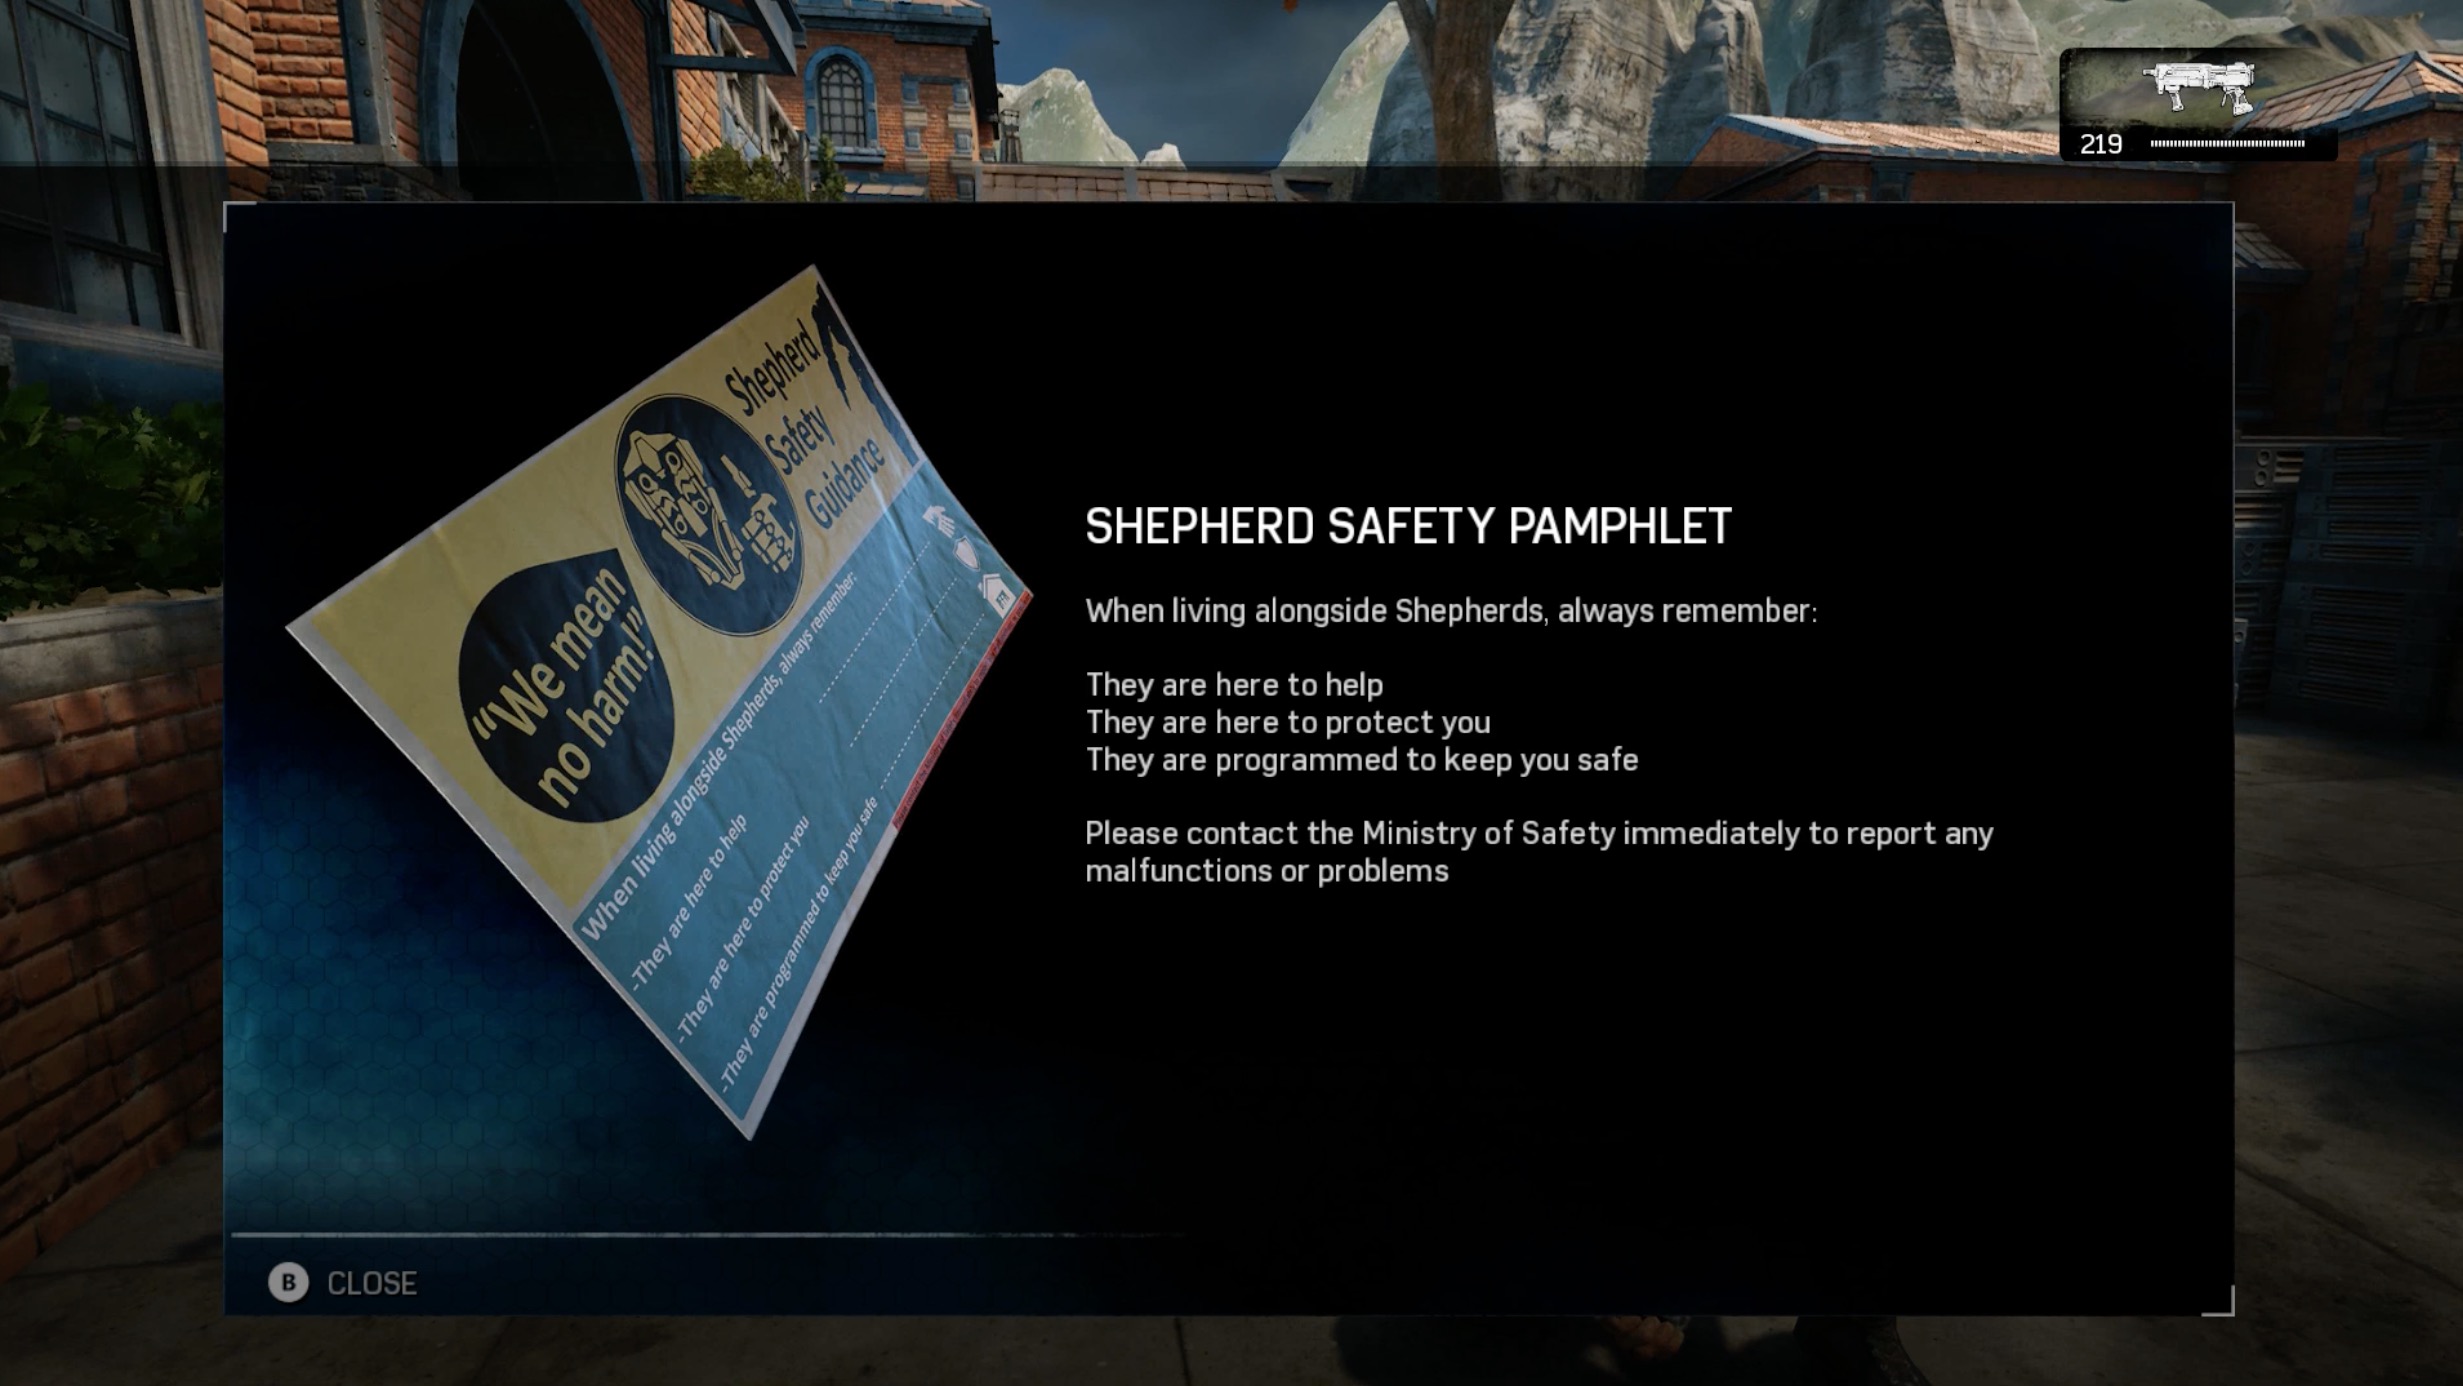
Shepherd Safety Pamphlet
Current Objective: Get the Fabricator out of the settlement.
Advance through the chapter until you reach the shootout set in the courtyard with the statue in the center. Head down two very short sets of steps then cut across the width of the courtyard. Look left to find another set of short steps. You’ll find the pamphlet next to a stone bench.
Act I: 4. A Few Snags
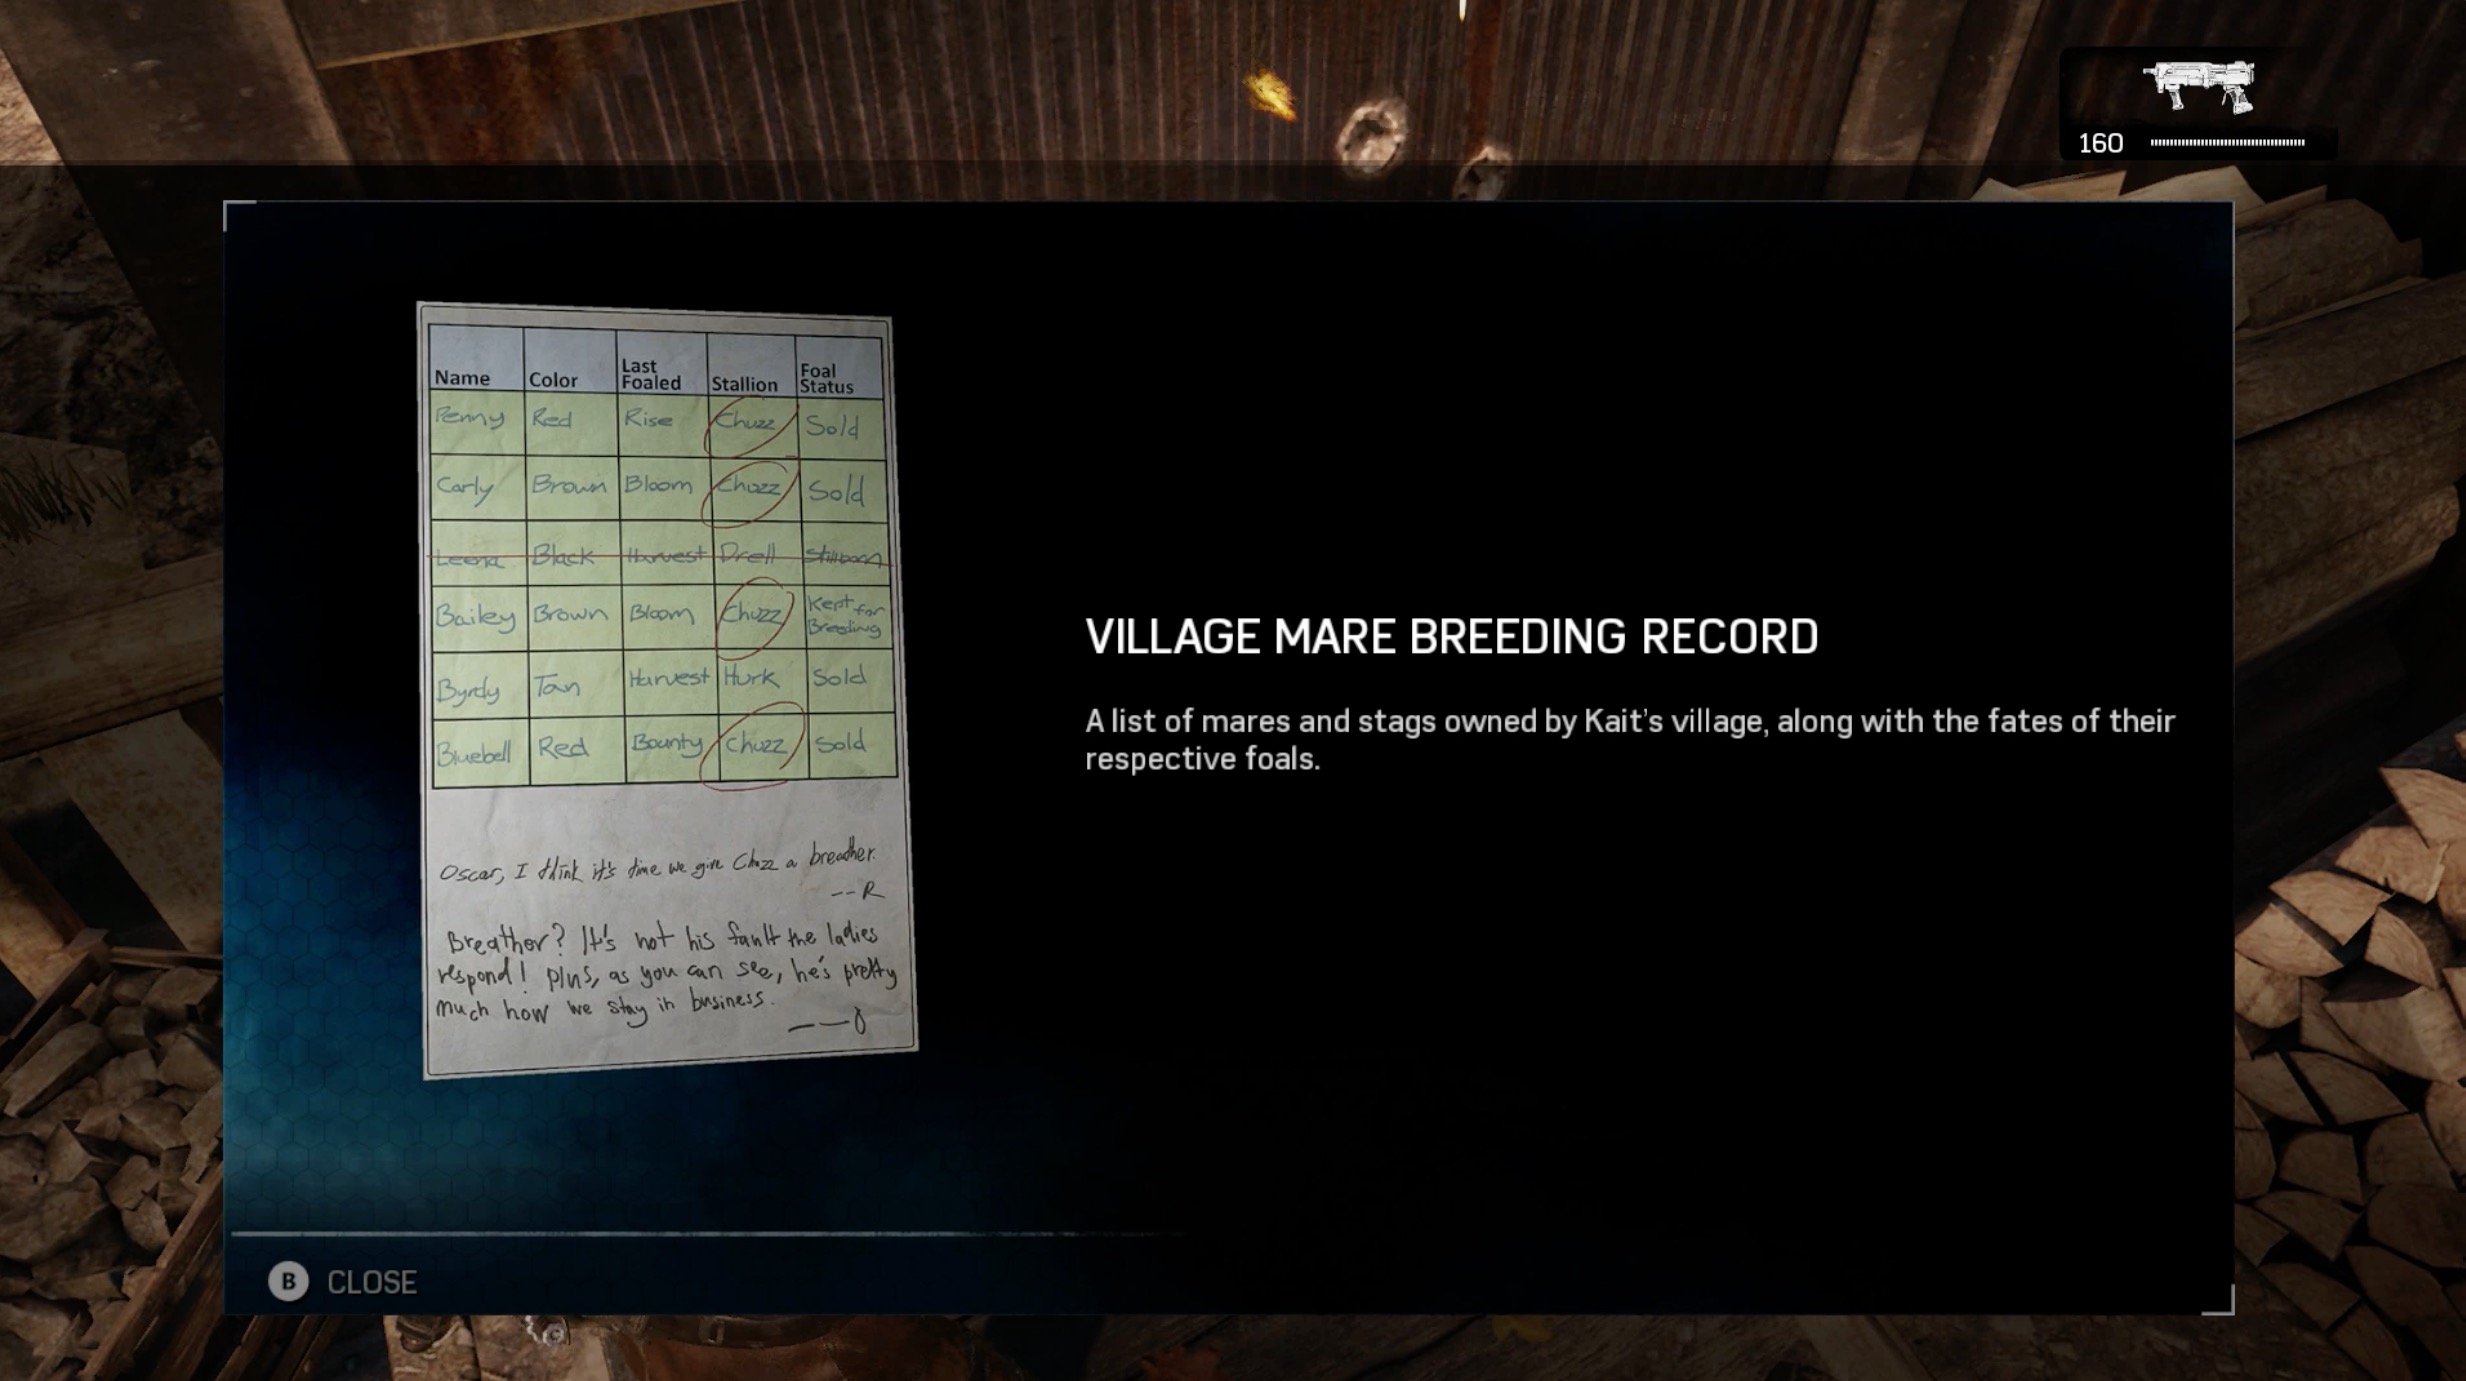
Village Mare Breeding Record
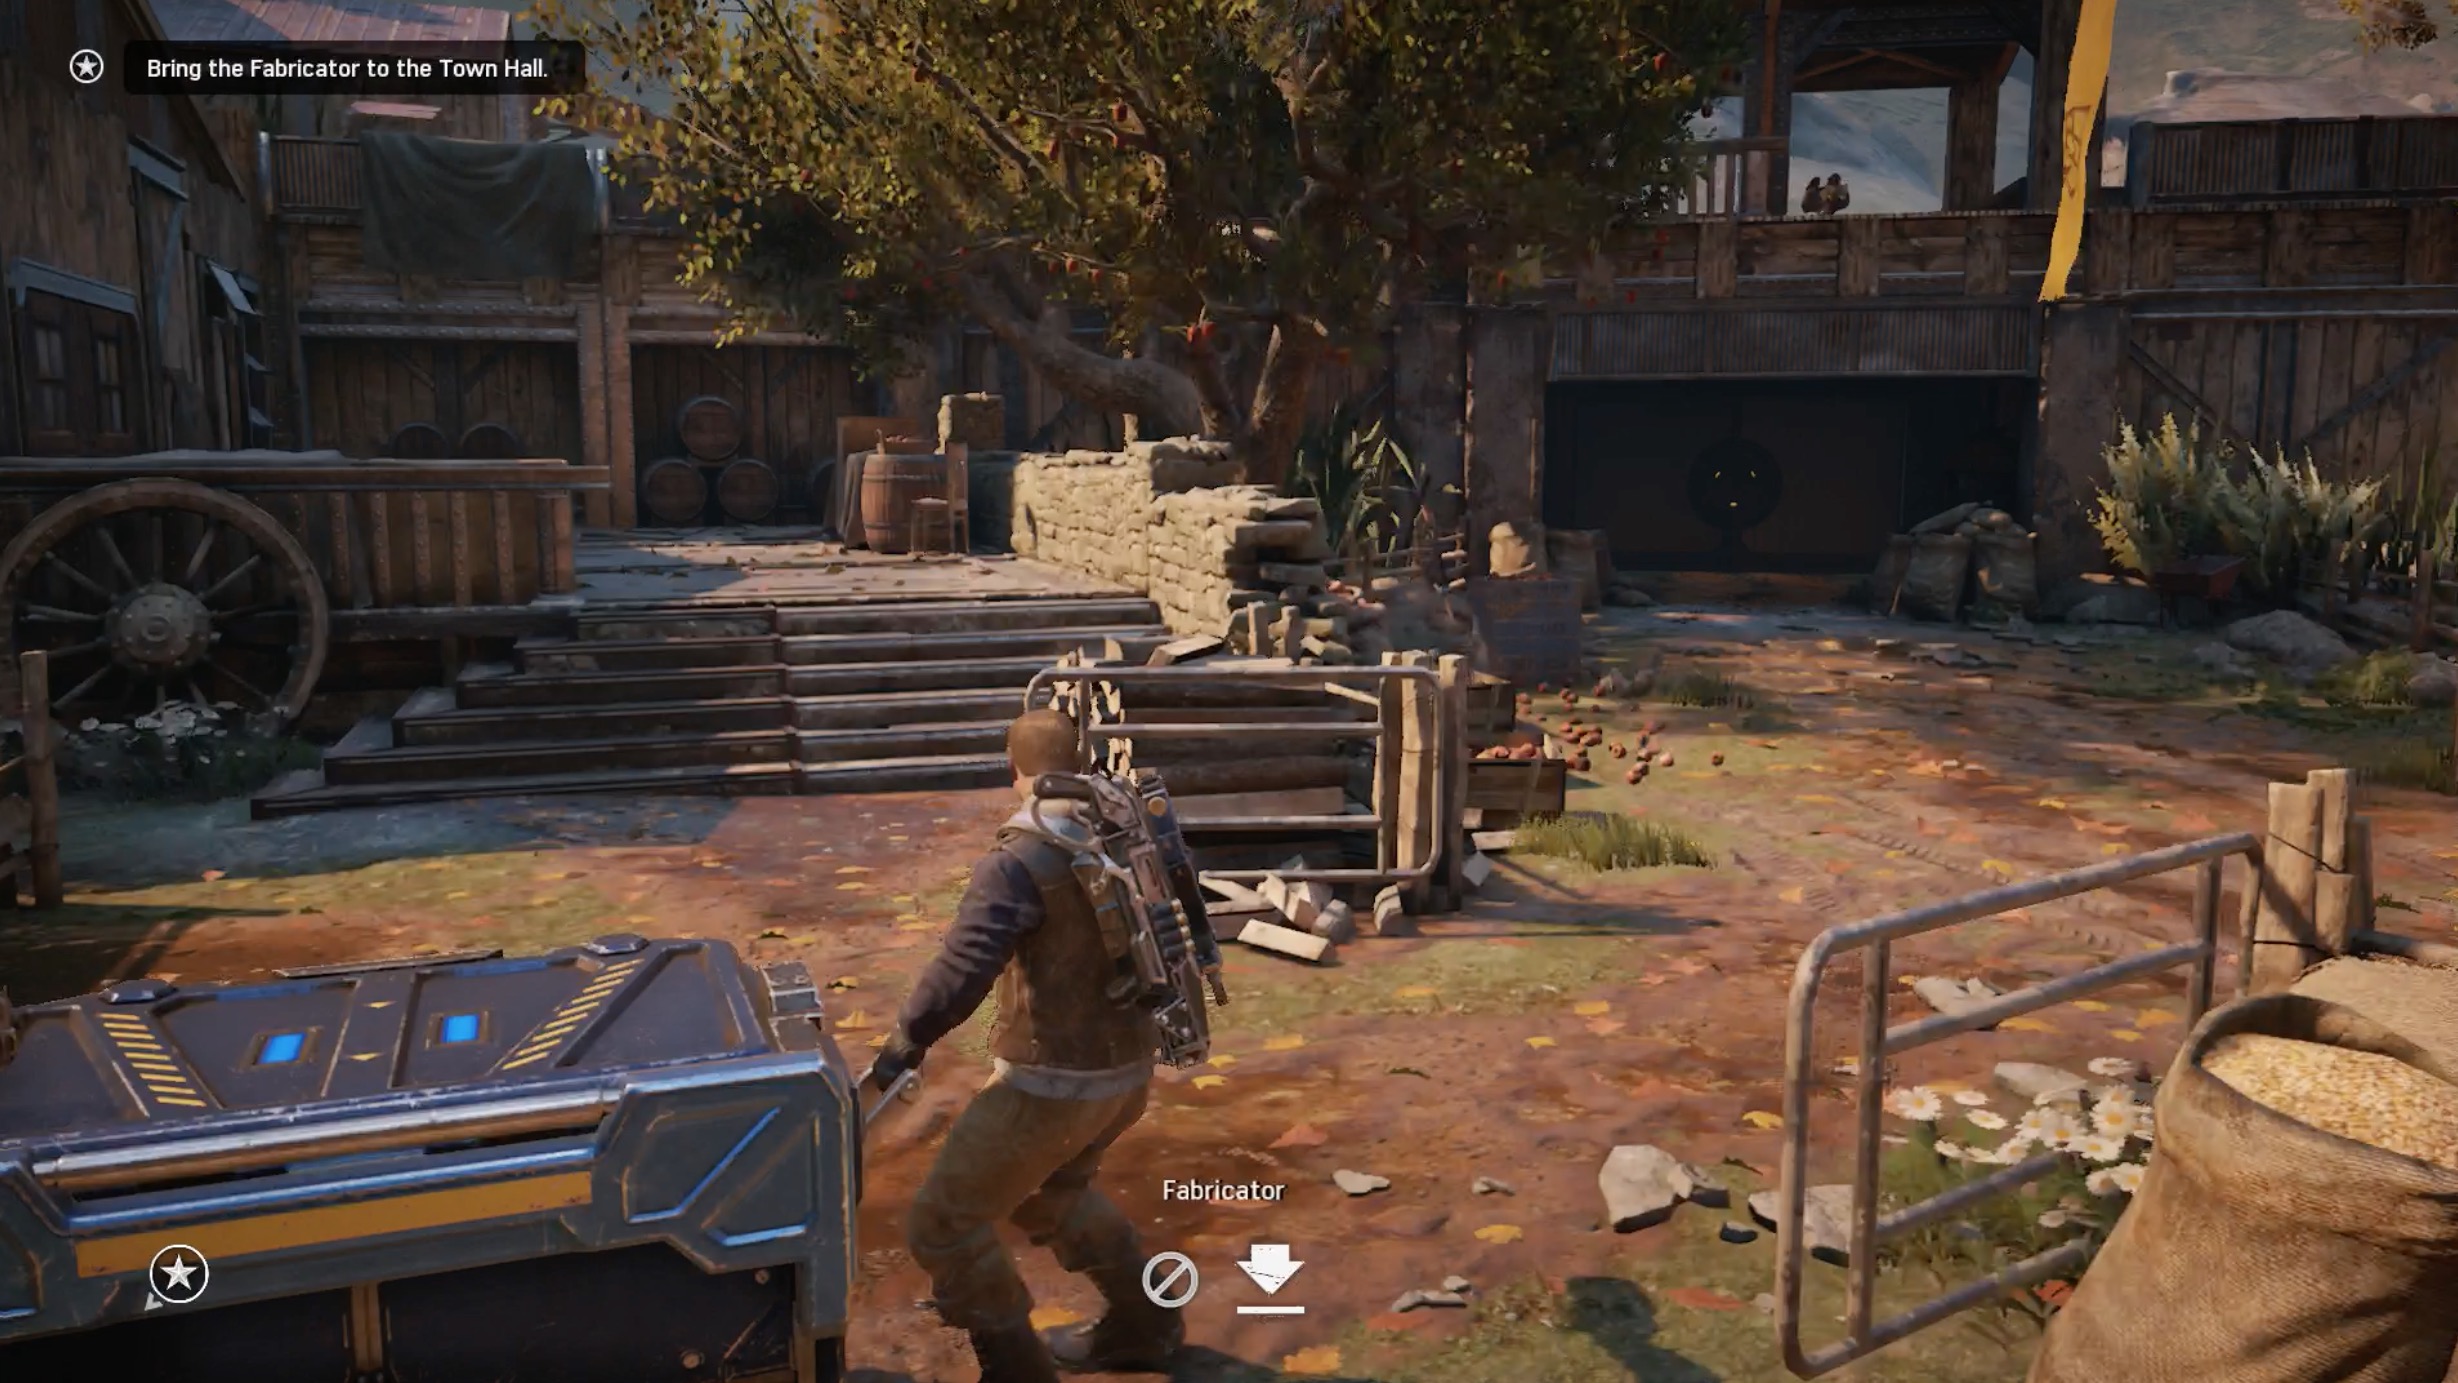
Current Objective: Bring the Fabricator to the Town Hall.
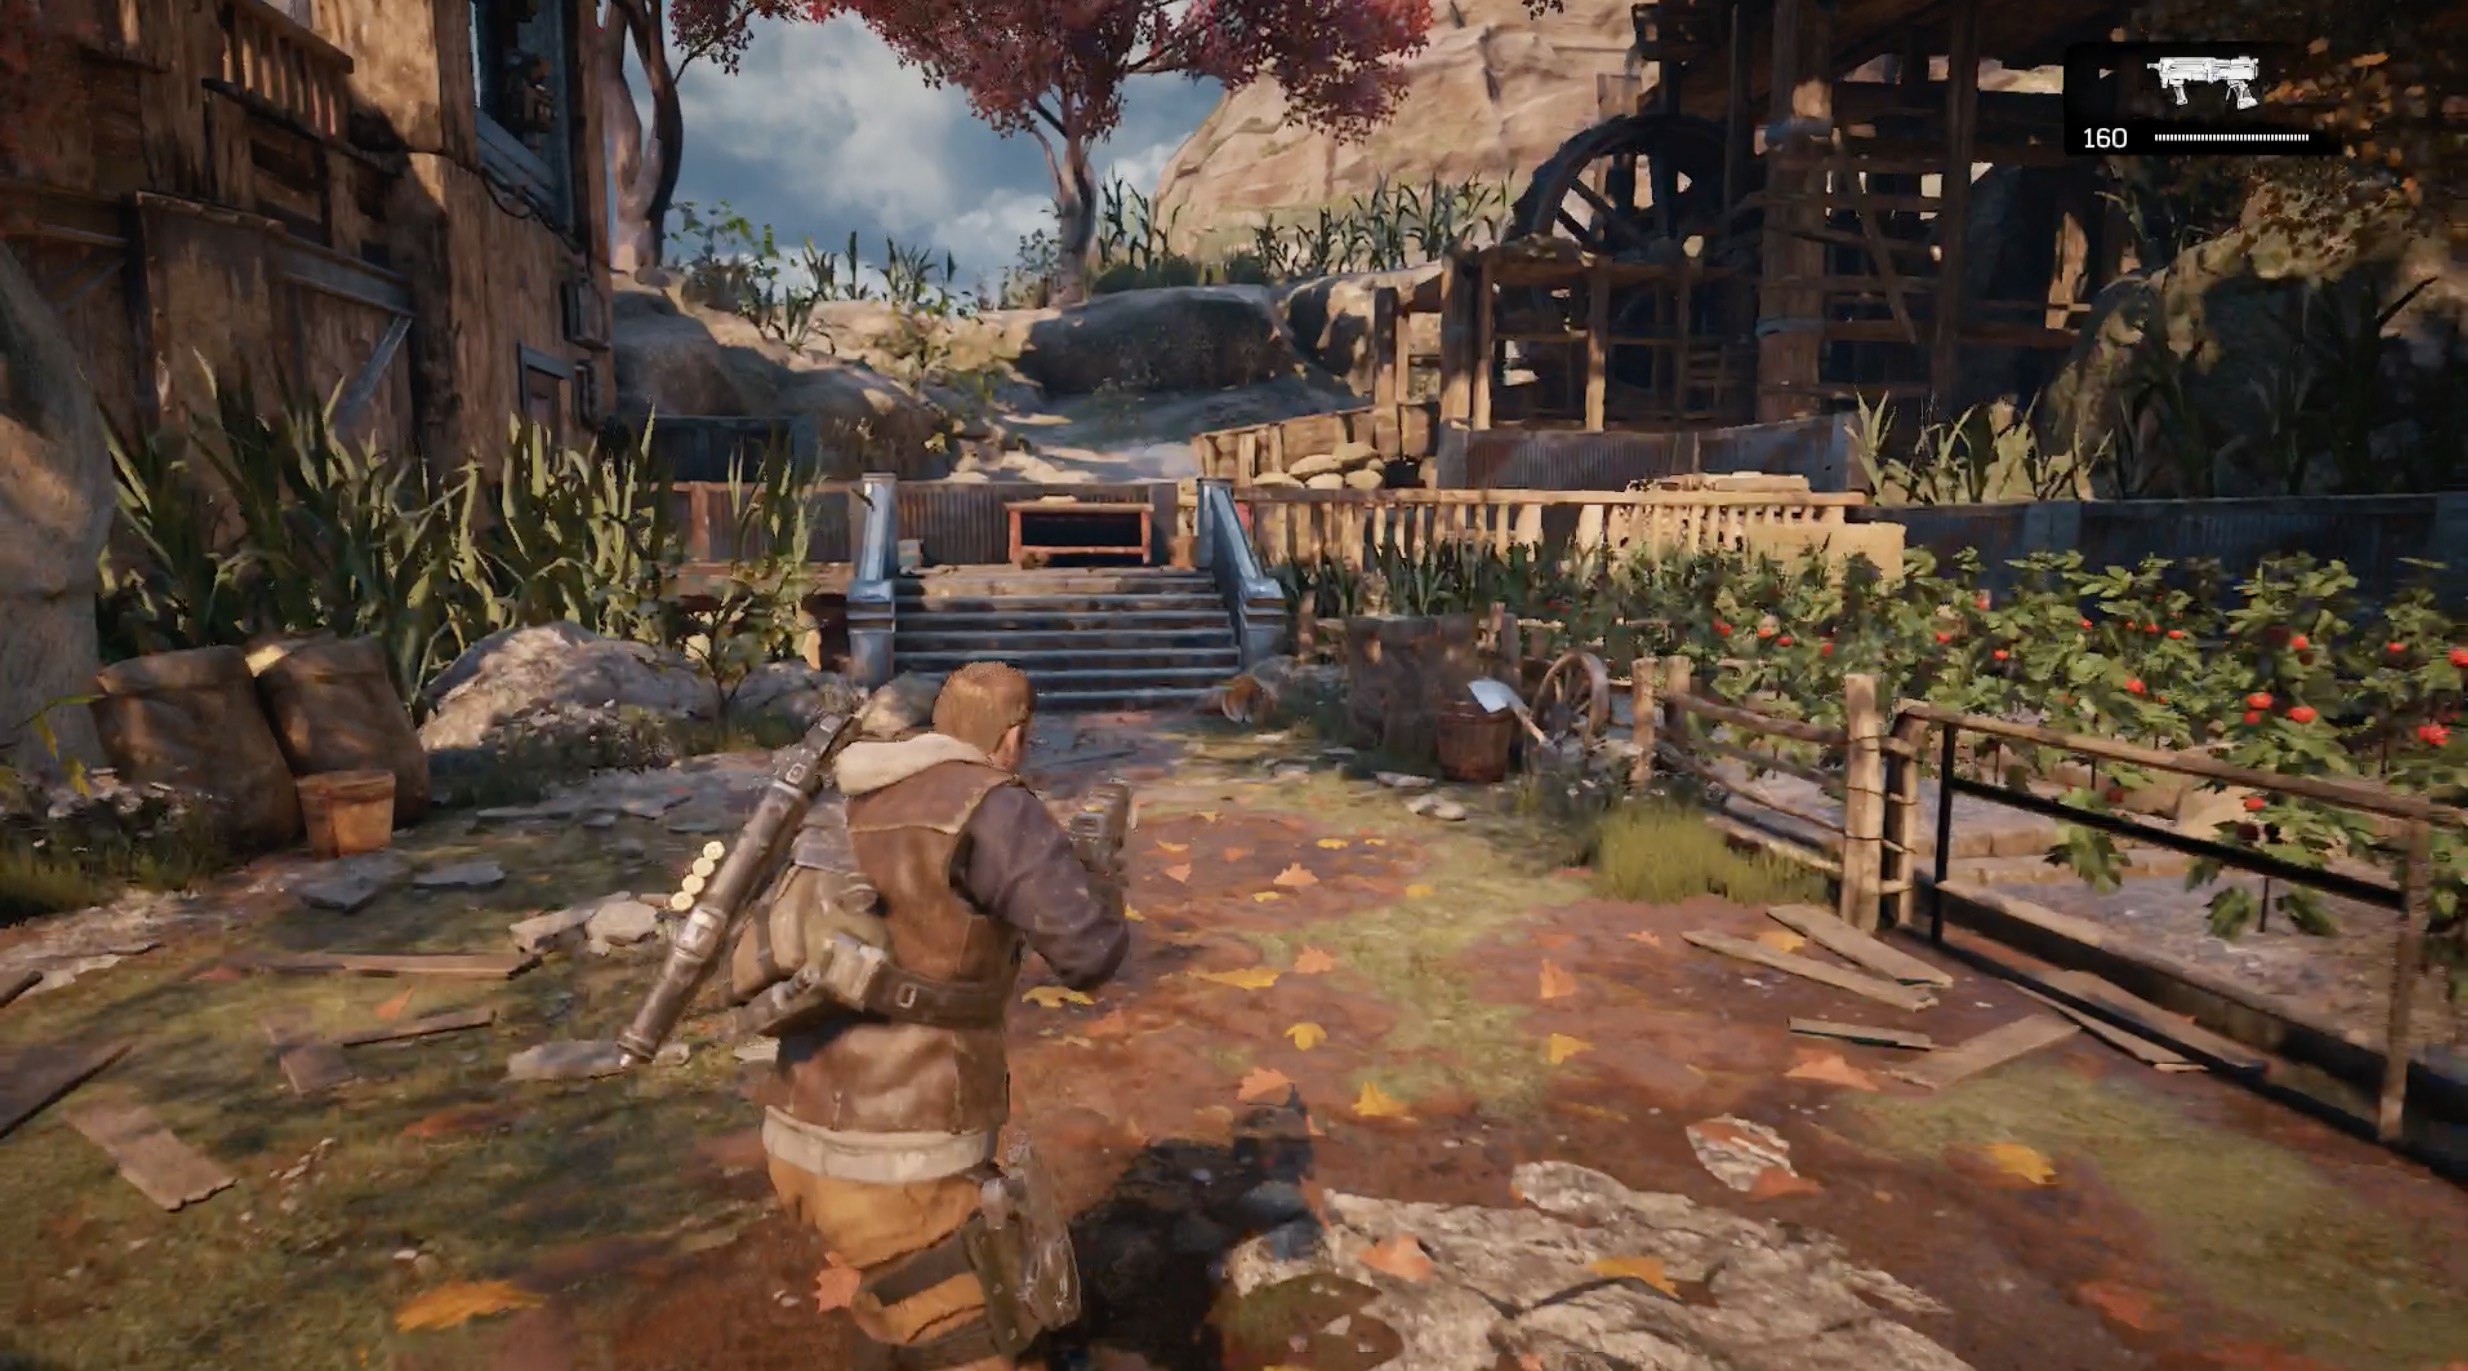
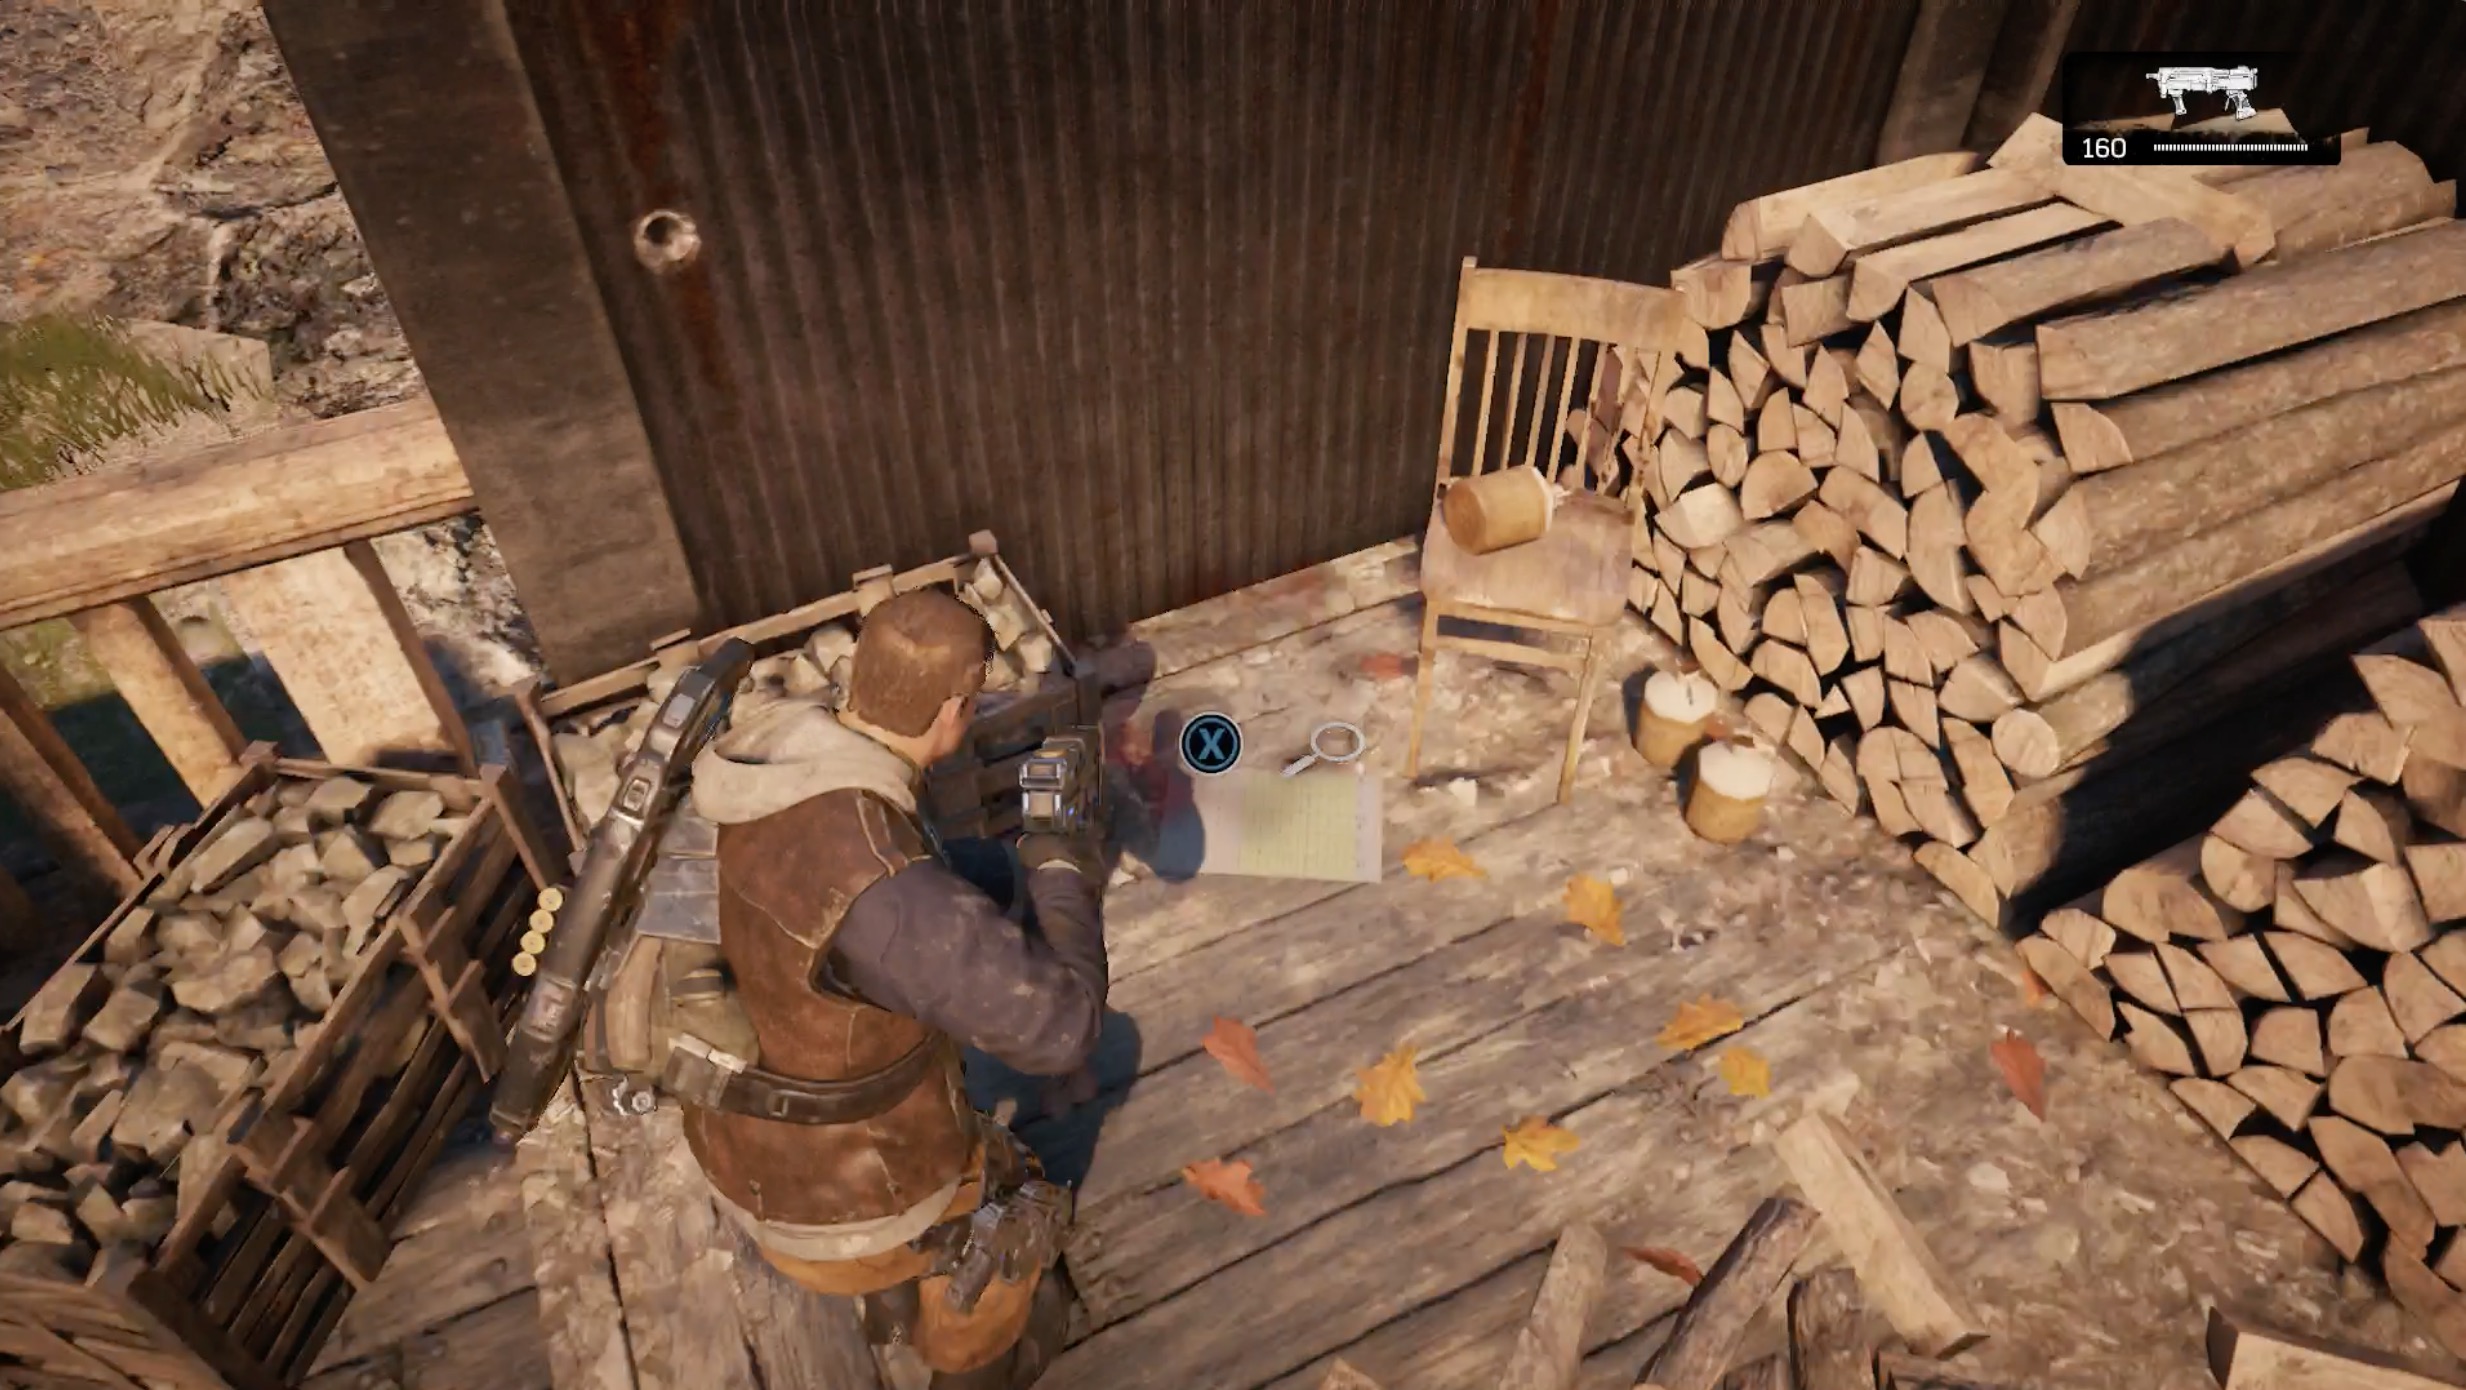
When you enter the area for the first time, hang a left. Head straight until you reach a garden at a dead end path. Reach the raised platform and turn right to find the record.
Book Inscribed To Kait
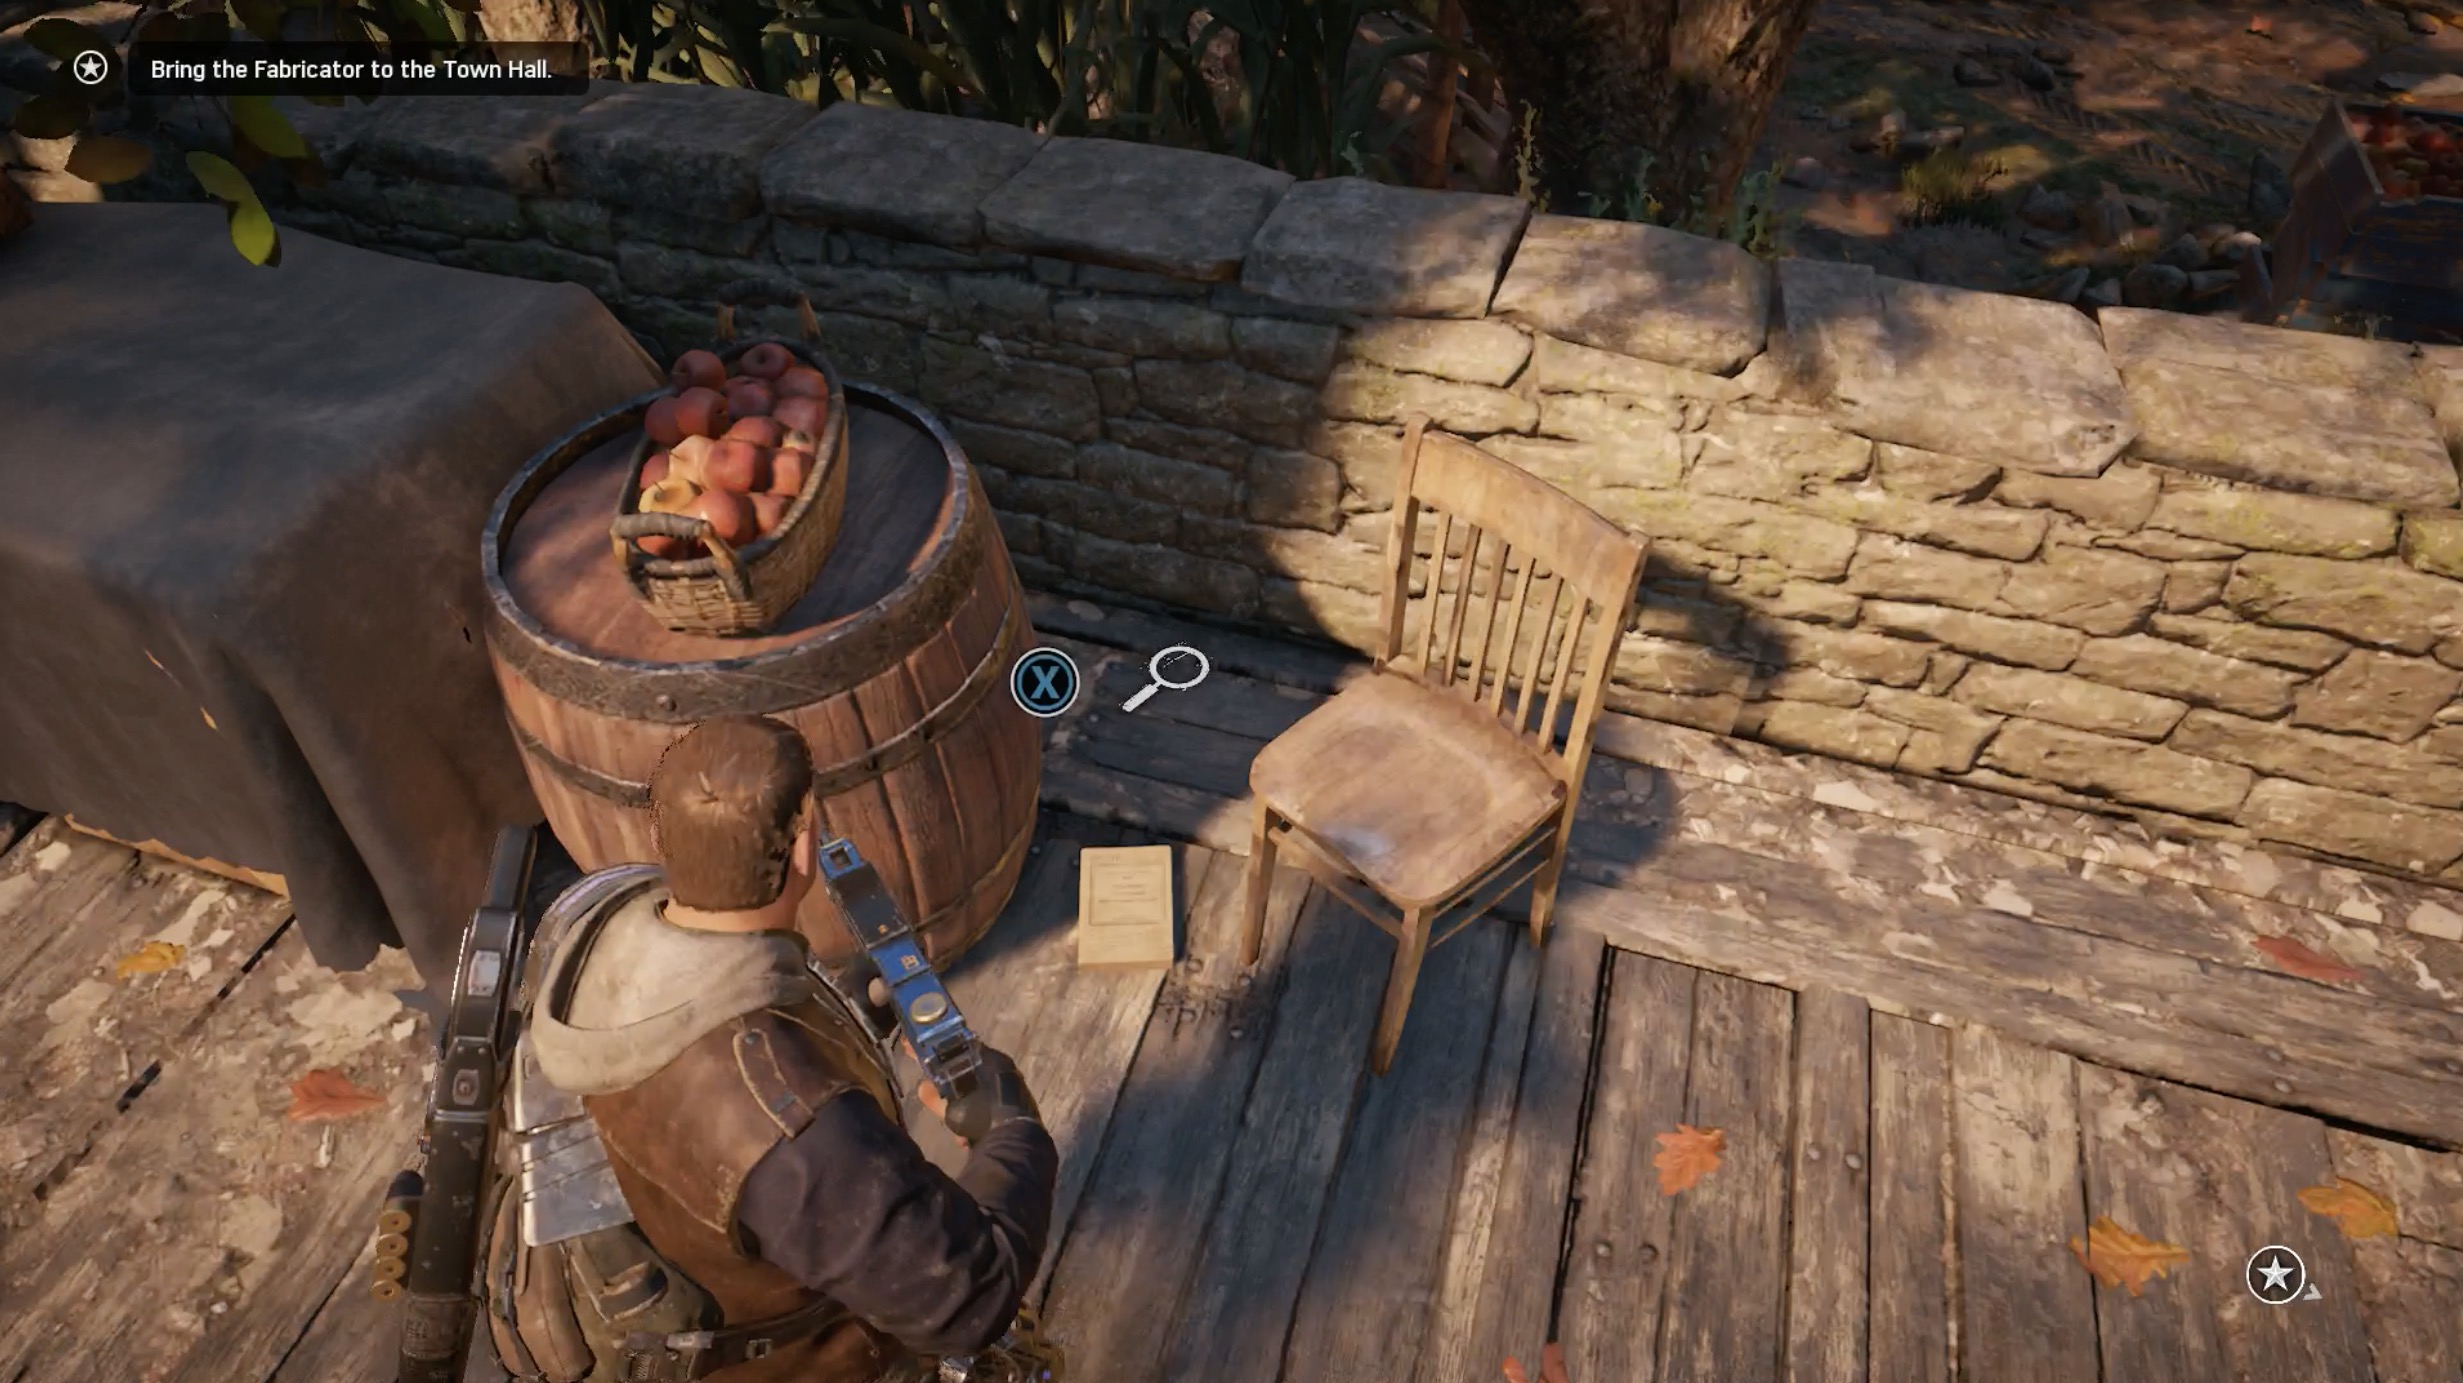
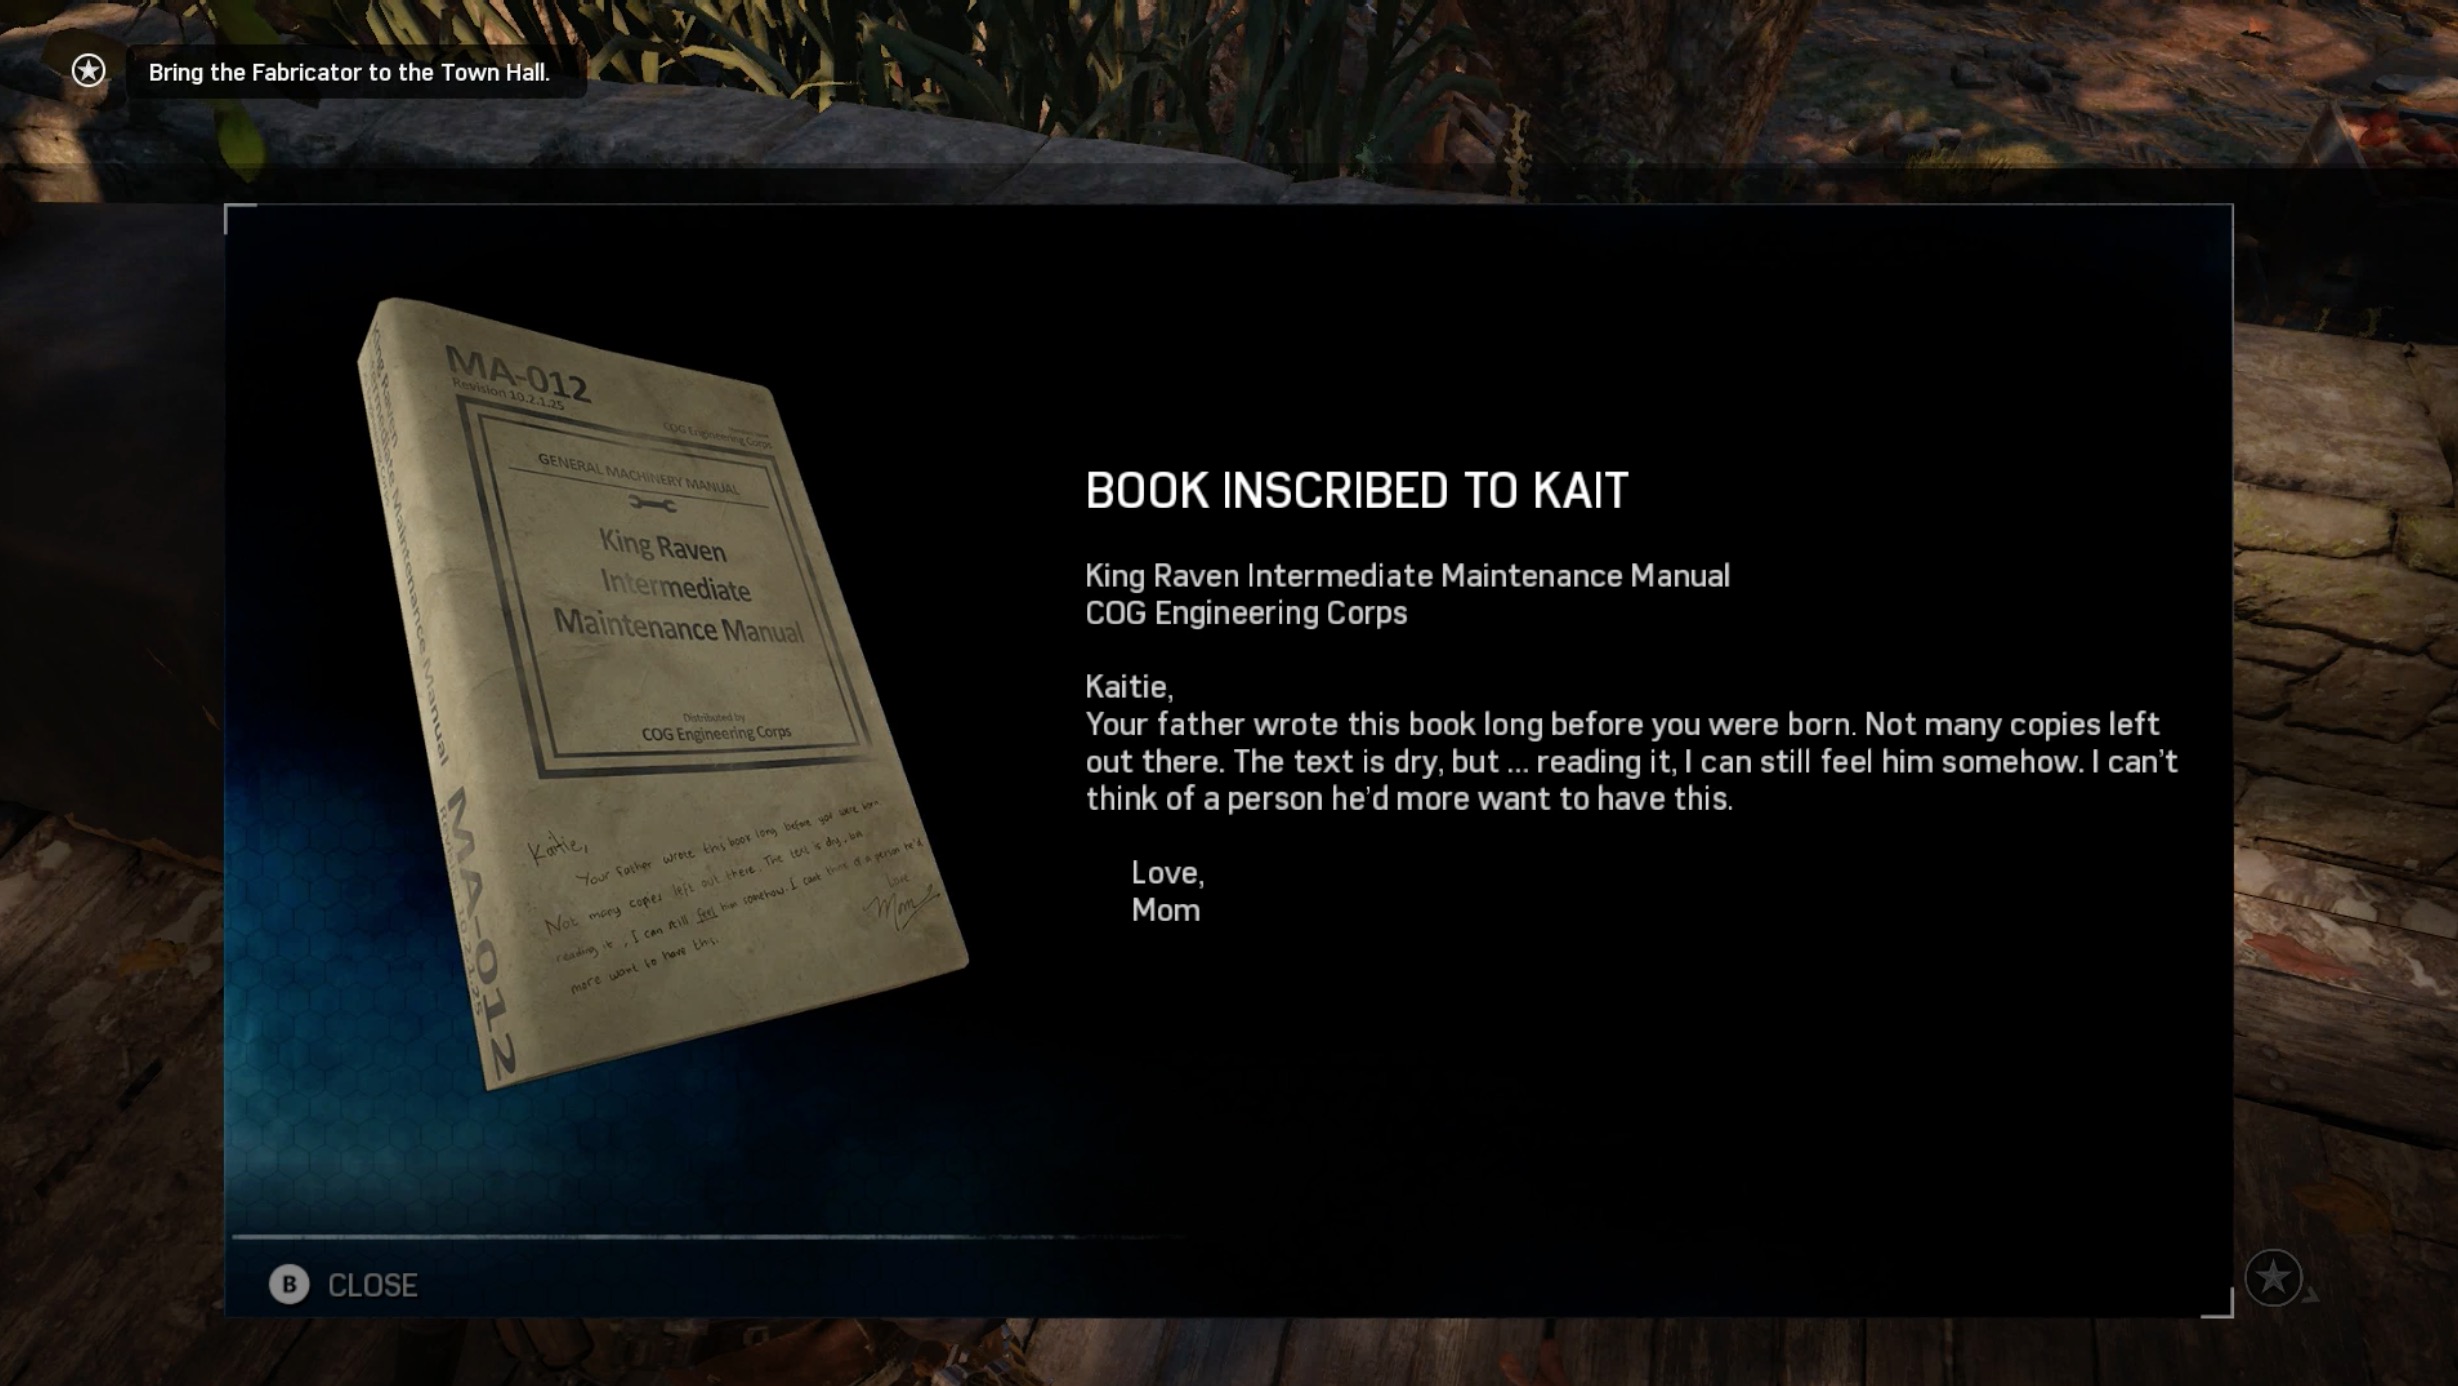
Current Objective: Bring the Fabricator to the Town Hall.
Using the entrance at the start of the game as a reference point, head right, and open the gate. Make an immediate right and go up the steps. You’ll find this book in between a chair and a barrel.
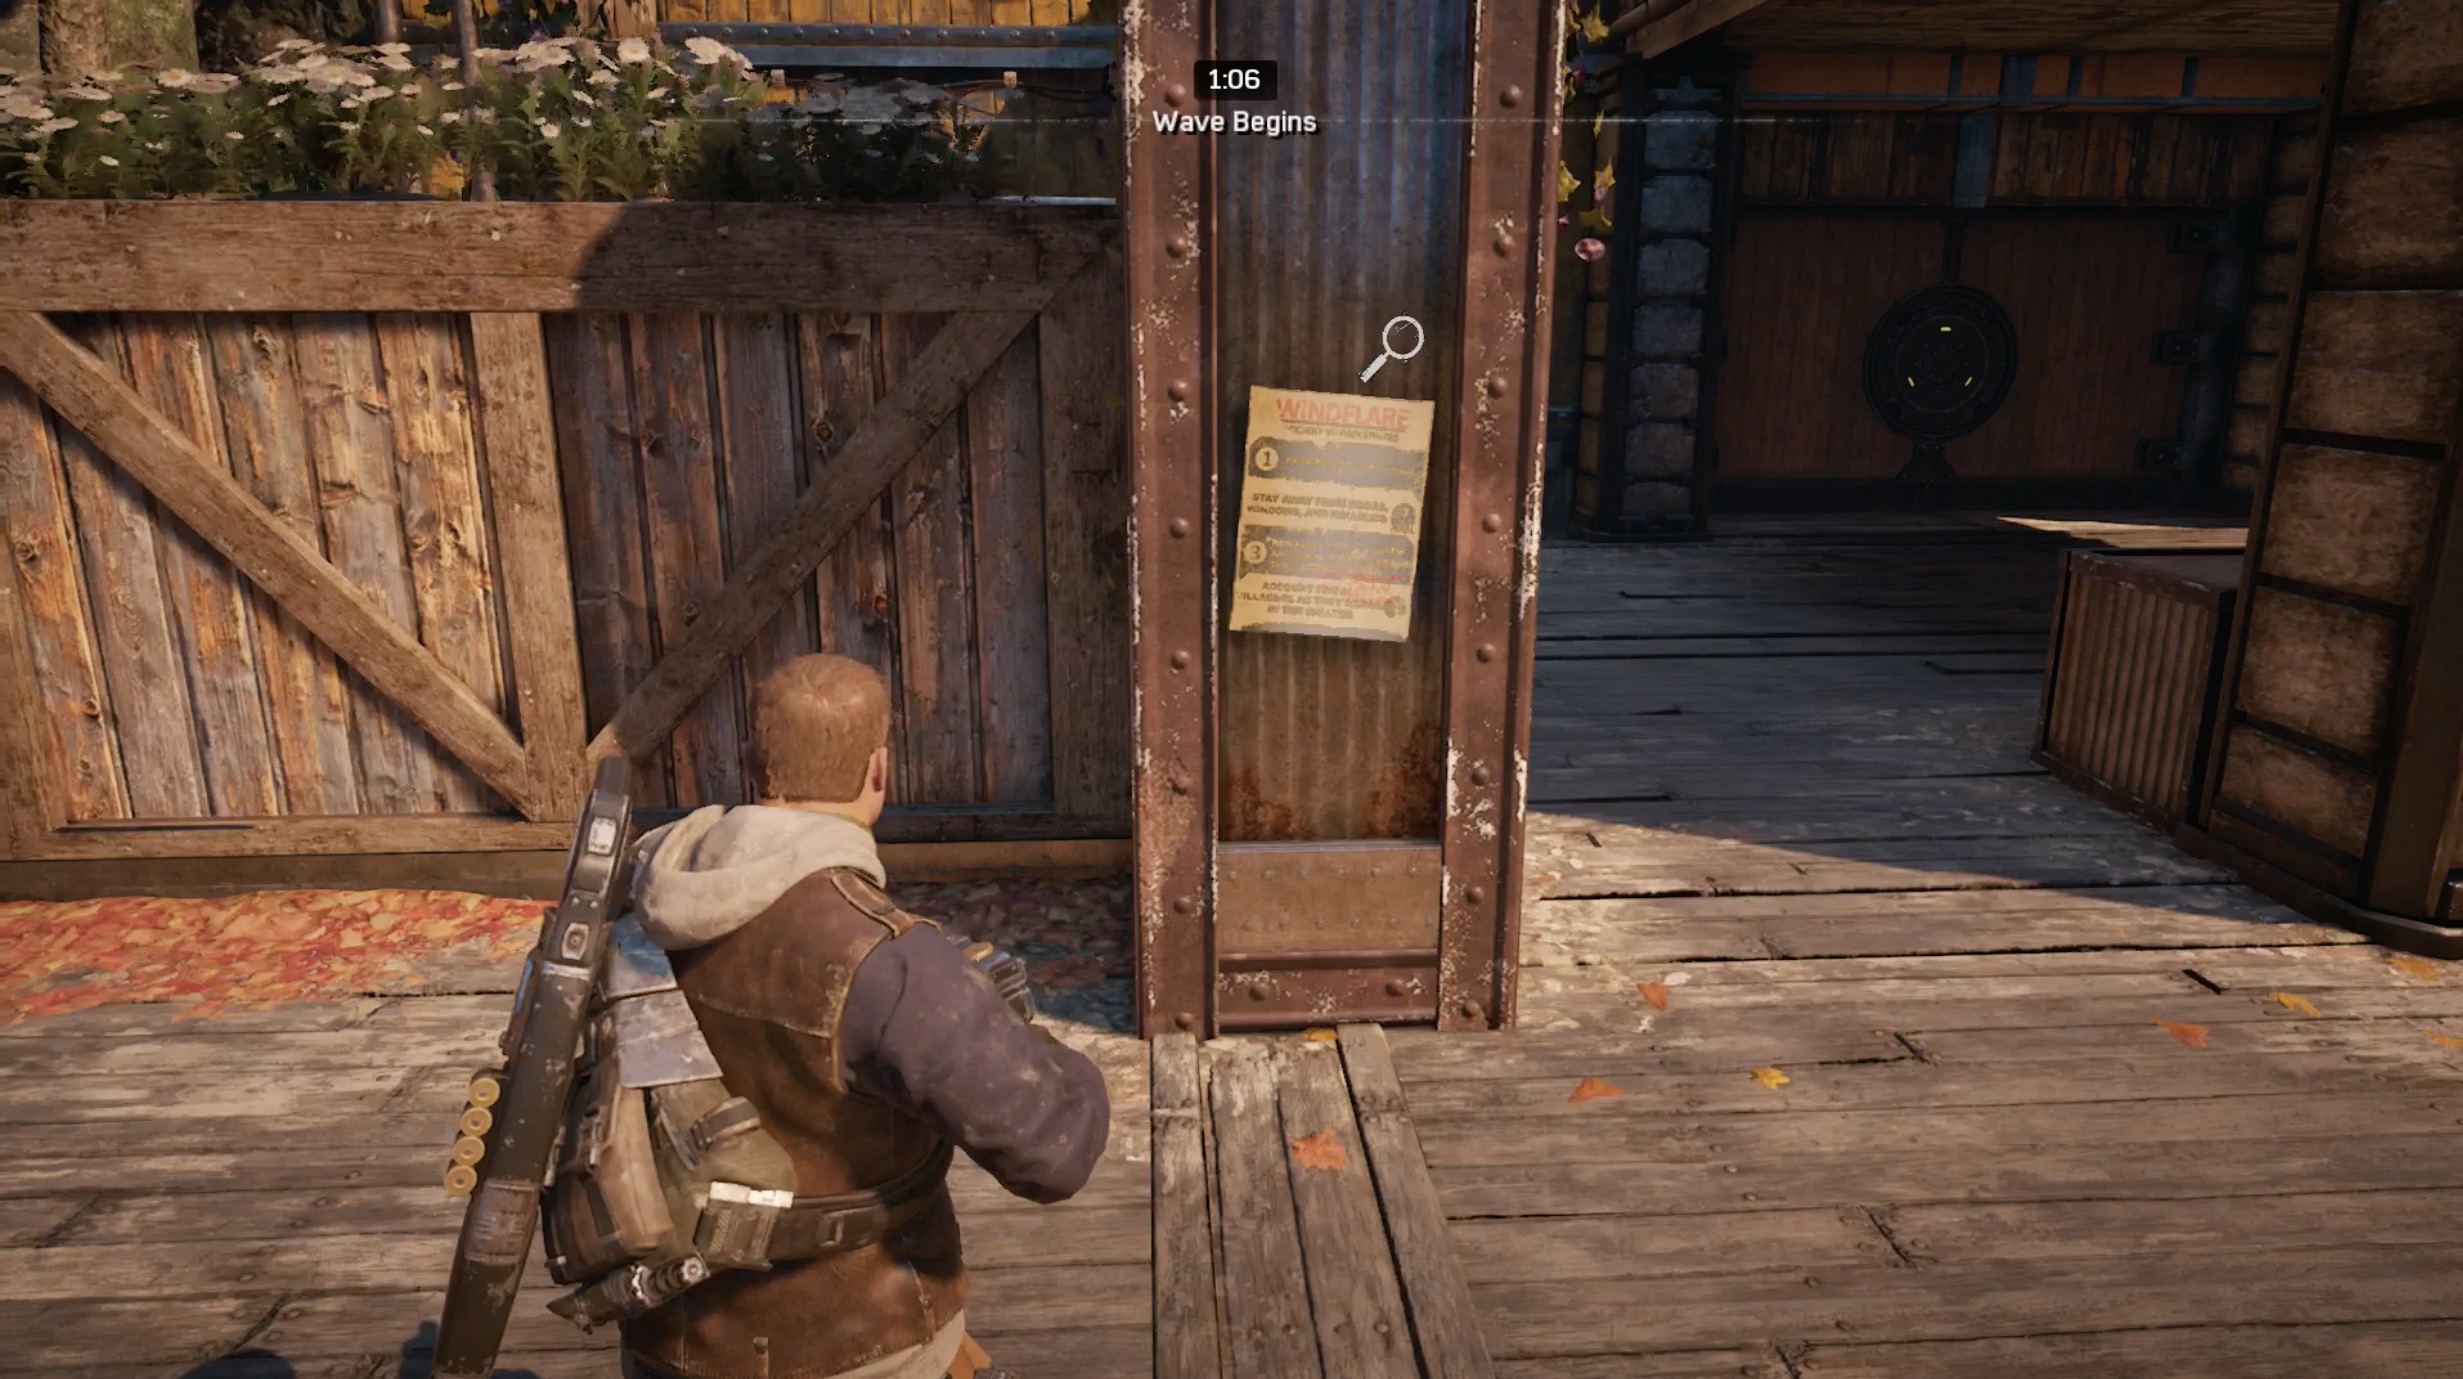
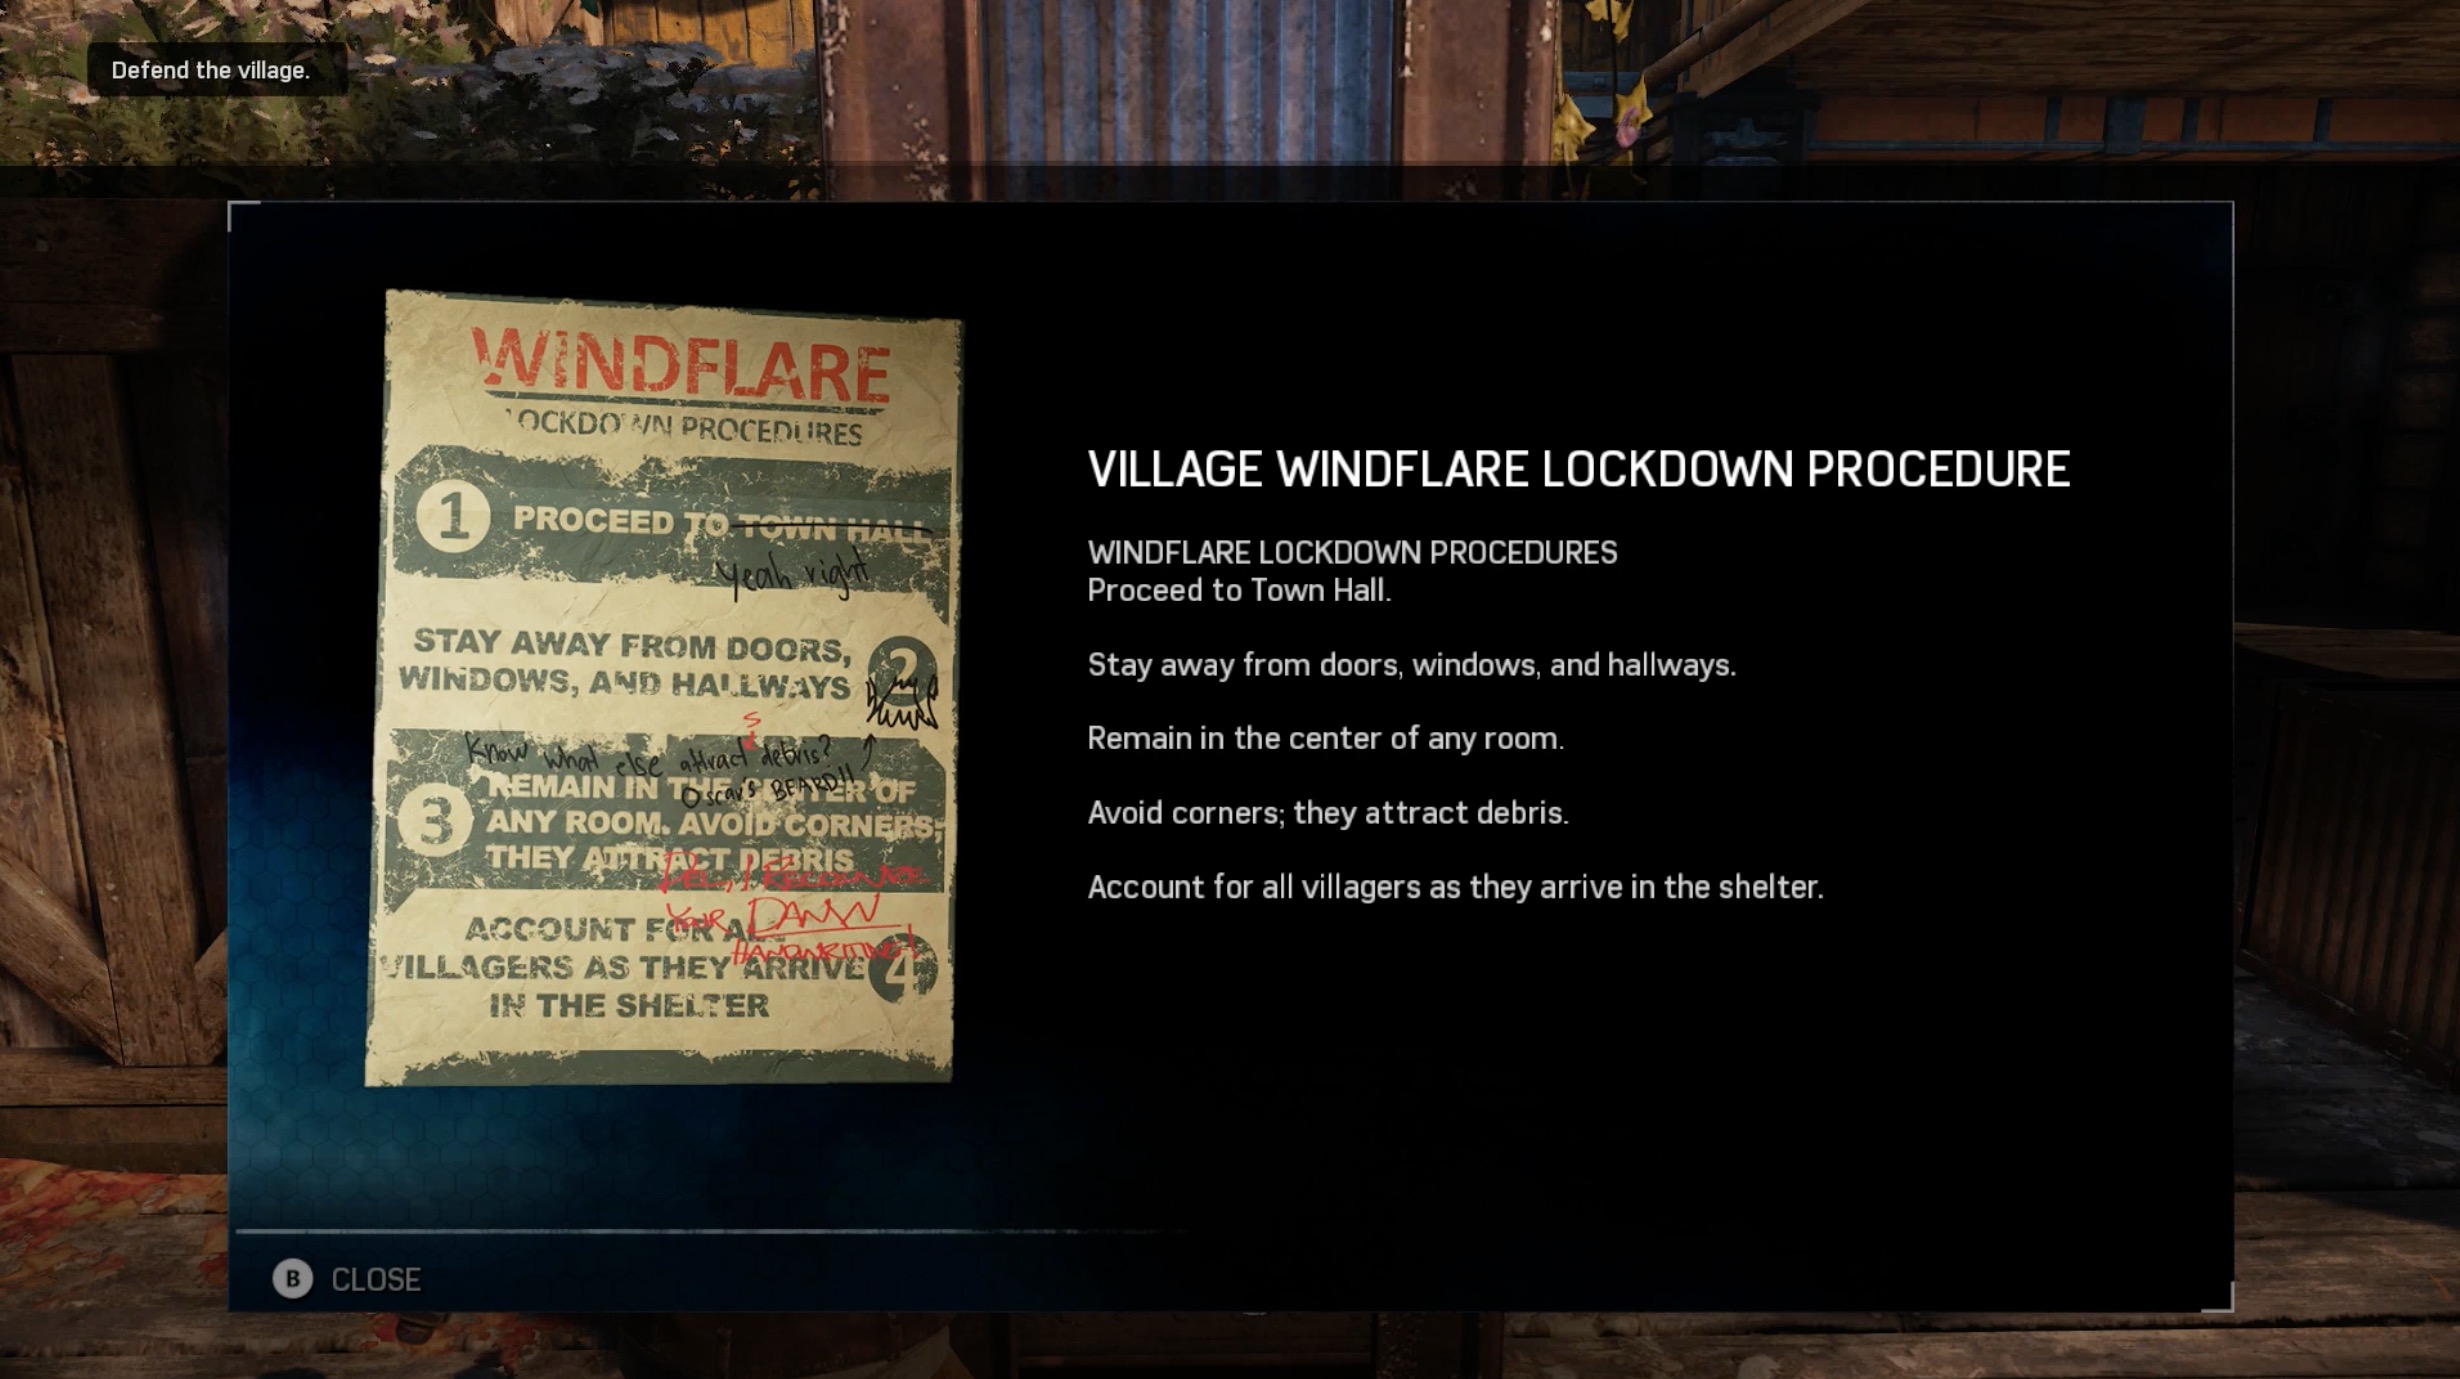
Village Windflare Lockdown Procedure
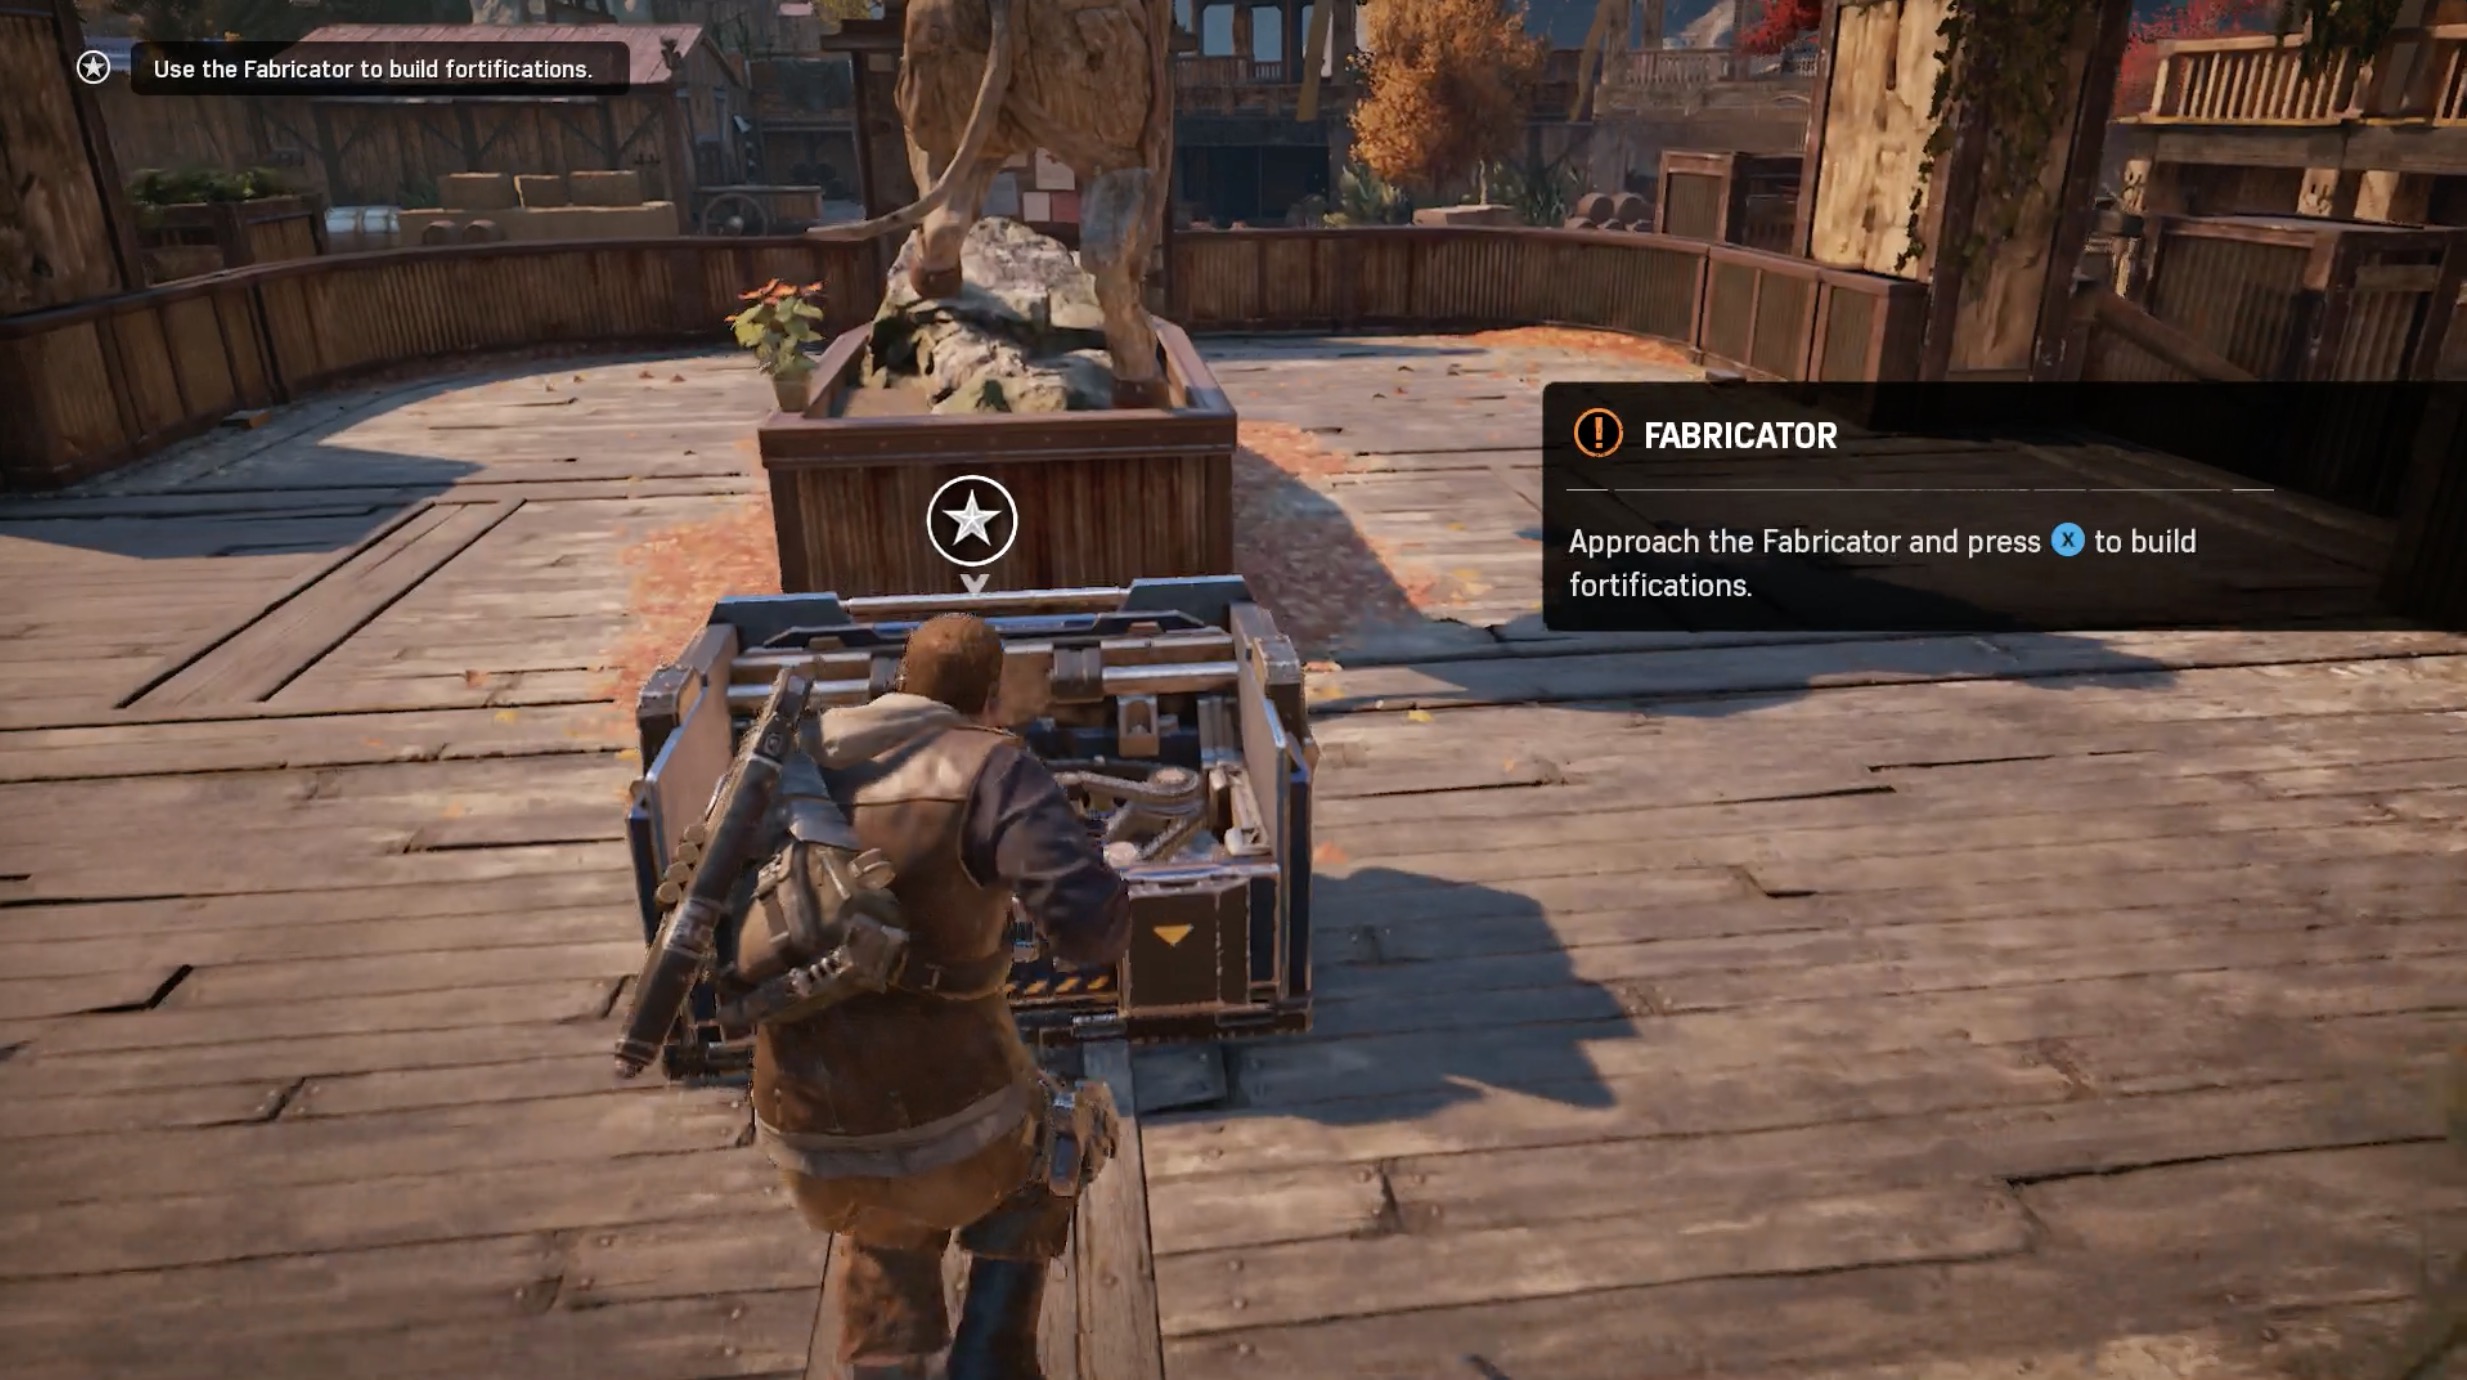
Current Objective: Use the Fabricator to build fortifications.
Arrive at the section of the chapter where you’re using the Fabricator to protect yourself from the incoming waves of enemies. Assuming you’re standing behind the Fabricator with the waves of bots in the background, turn right. Look for a column nearby. That’s where you’ll get the procedure sheet.
Sign up to the GamesRadar+ Newsletter
Weekly digests, tales from the communities you love, and more
