11 Gotham Knights tips to help the Bat Family reclaim the city
Follow these Gotham Knights tips for faster levelling up, success in combat, and more
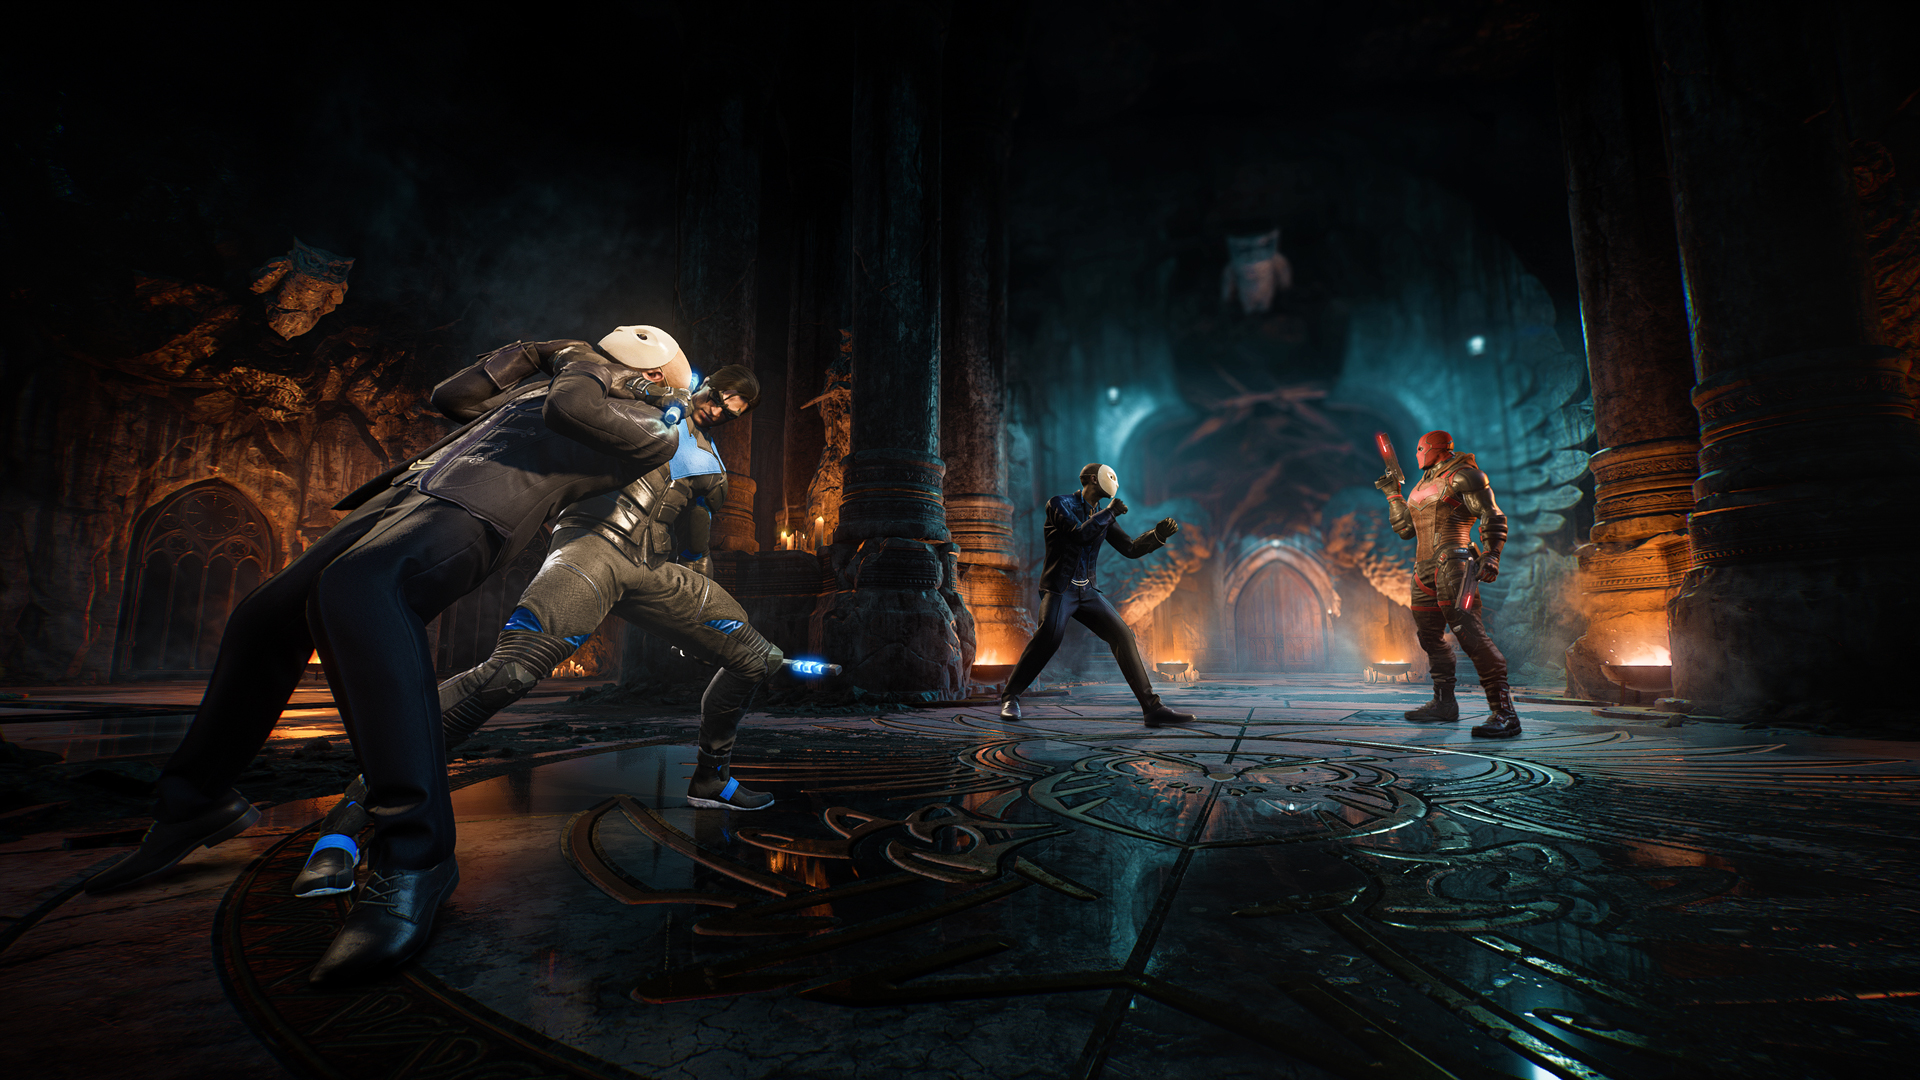
It pays to take on board some Gotham Knights tips before you join the Batman Family, and try to deal with the situation in the wake of the Caped Crusader's death. Naturally, Gotham City is in trouble without the watchful eye of Bats looking down on it, and well-known criminals including Mr Freeze and Harley Quinn are planning to capitalise on the chaos. You'll be able to progress significantly quicker if you know how best to take out enemies in combat and level up fast in Gotham Knights, so I've got all of the information you need to steer you in the right direction. If you're ready to rise through the ranks to superhero status, then follow my Gotham Knights tips and make the criminal underworld cower in fear.
1. Try out the different characters to find your match

Right at the start of the game you have to choose between Batgirl, Nightwing, Robin, or Red Hood as your initial superhero, though you aren't tied into this decision for long as you can change characters in Gotham Knights after the first couple of missions. Your overall player level will continue increasing as you progress, no matter which character you're using, which means you won't be underpowered when you change to a different hero. Remember that each character has their own pot of Ability Points to spend on unlocking their individual abilities and moves, so if you do a switch then make sure you unlock their basic skills otherwise you'll find yourself wondering why you can't Perfect Dodge any more! Some characters are better suited to certain playstyles than others, so try them out to find which one is the best Gotham Knights character for you.
2. Scan and tag enemies to prioritize them in combat
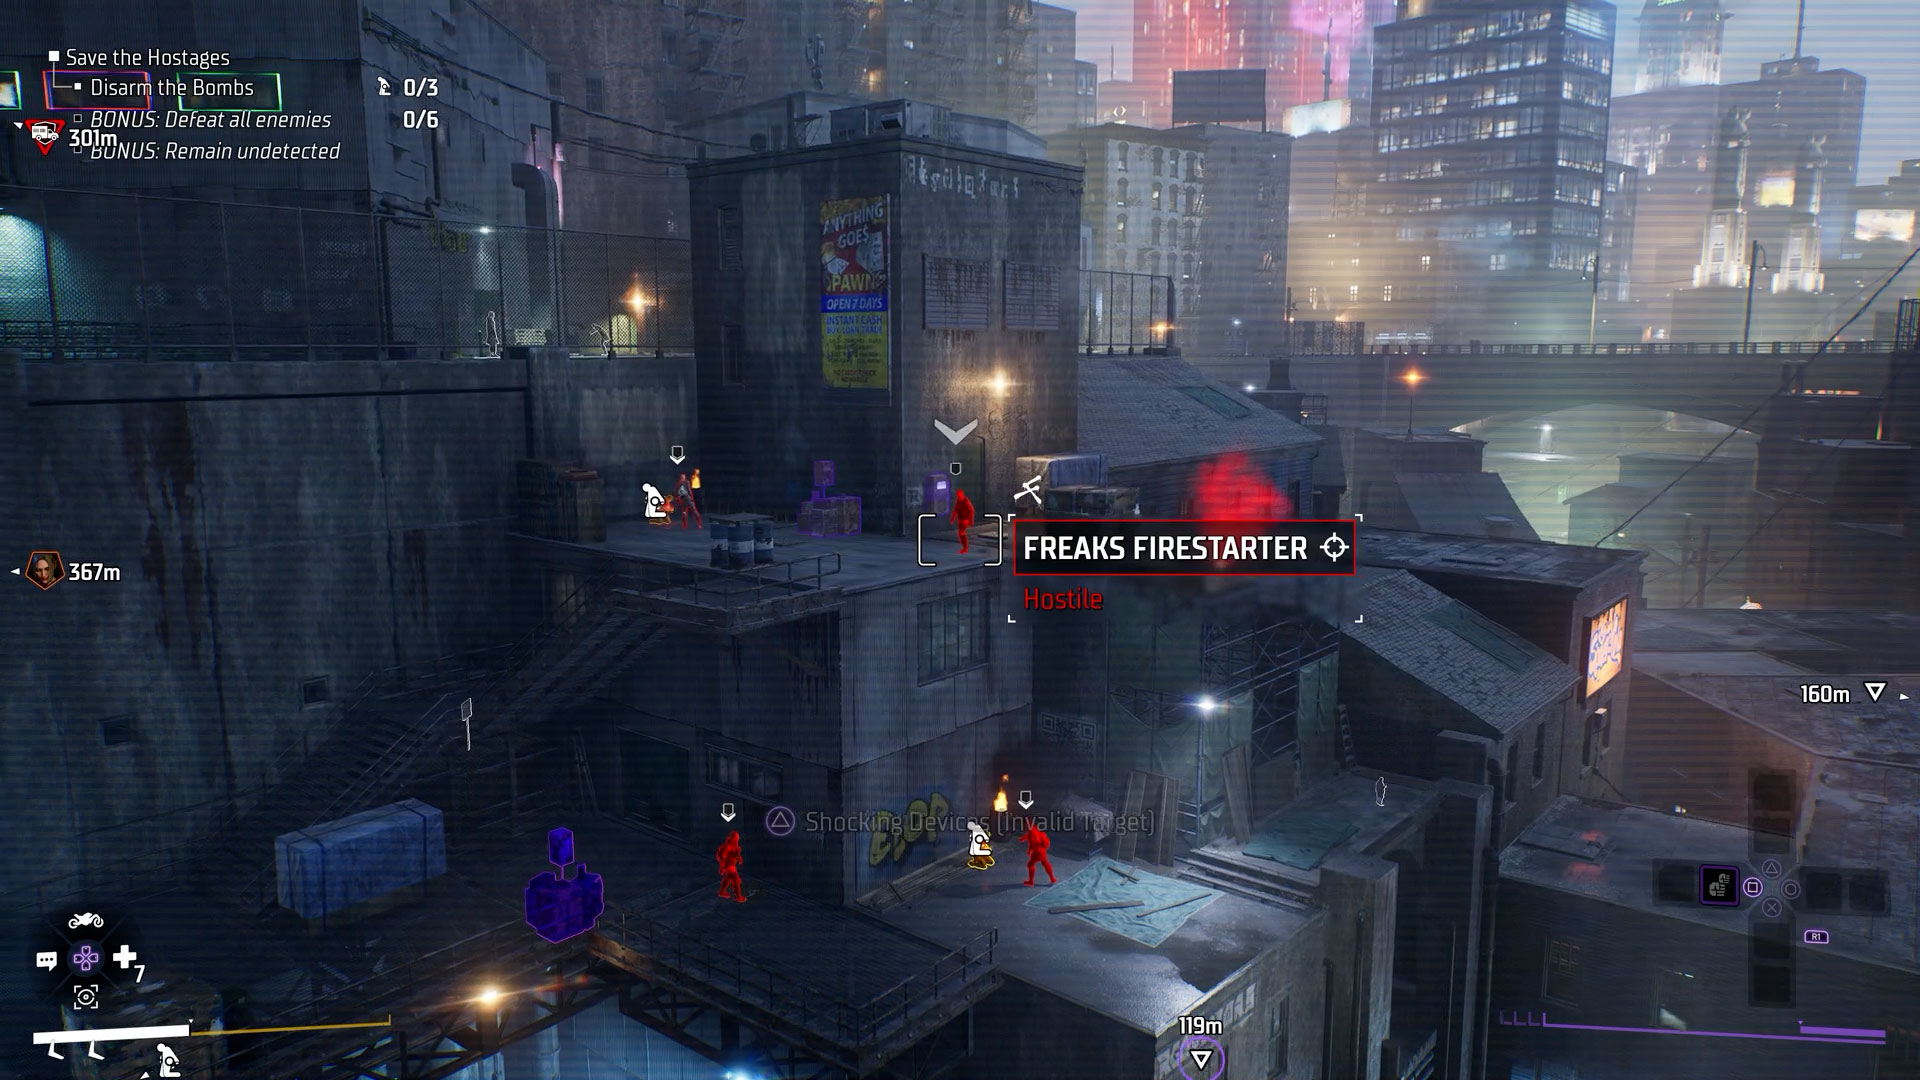
When you reach a group of enemies to fight, take your time to scan them all first by holding down the AR button then hovering over each one until they're tagged. Not only does this allow you to keep track of their locations, but it can also help you prioritize who to take out first when the fighting starts. I recommend eliminating any enemies with guns first, followed by those with other projectile weapons, then the remaining melee goons to leave you with any brutes to focus on individually and wrap things up.
3. Use ranged attacks to block guns and projectiles
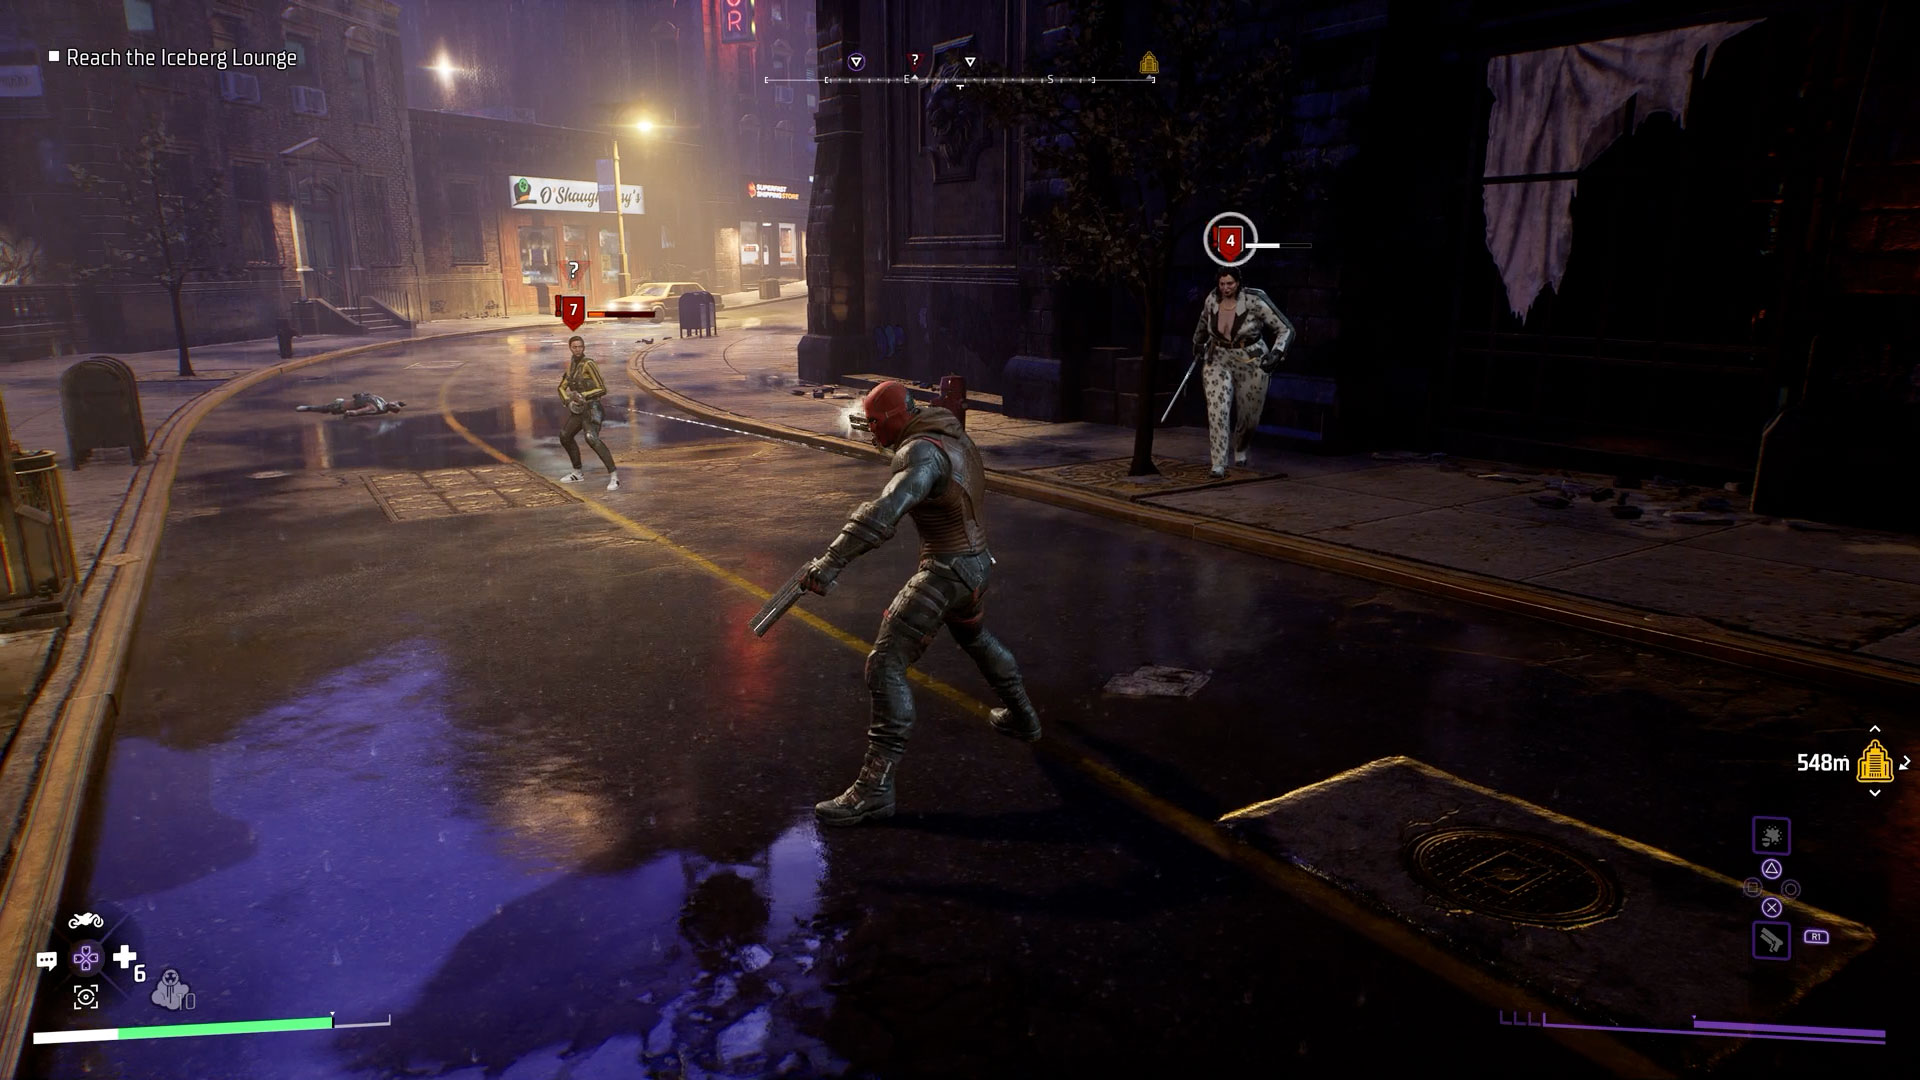
When in combat, watch for a circle icon appearing over an enemy's hand and a target on the floor beneath you, as this indicates they're about to throw a ranged weapon at you. If you can, push the left stick in their direction and tap your ranged attack button to destroy the item before they can launch it, or be ready to dodge out of the way before it hits you. The same applies to armed enemies that are targeting to shoot you – a white beam means you can hit them with a ranged attack to interrupt them, but a red beam means they can't be interrupted so get ready to dodge.
4. Keep up the interrogations

If you've scanned all the enemies in a group, you'll see that one has a red ? icon over their head, which means they can be interrogated once their health drops to a low level. It's always worth doing these interrogations wherever possible, as they'll award you with more intel which, in turn, will reveal new Premeditated Crimes that you need to complete to unlock the Knighthood abilities section. Once that enemy's health is low enough to be grabbed you can interrogate them, but bear in mind that this action can be interrupted by other enemies so either save them until last or do it in enough space to avoid being attacked.
5. Gather any Health Packs and Salvage after a fight
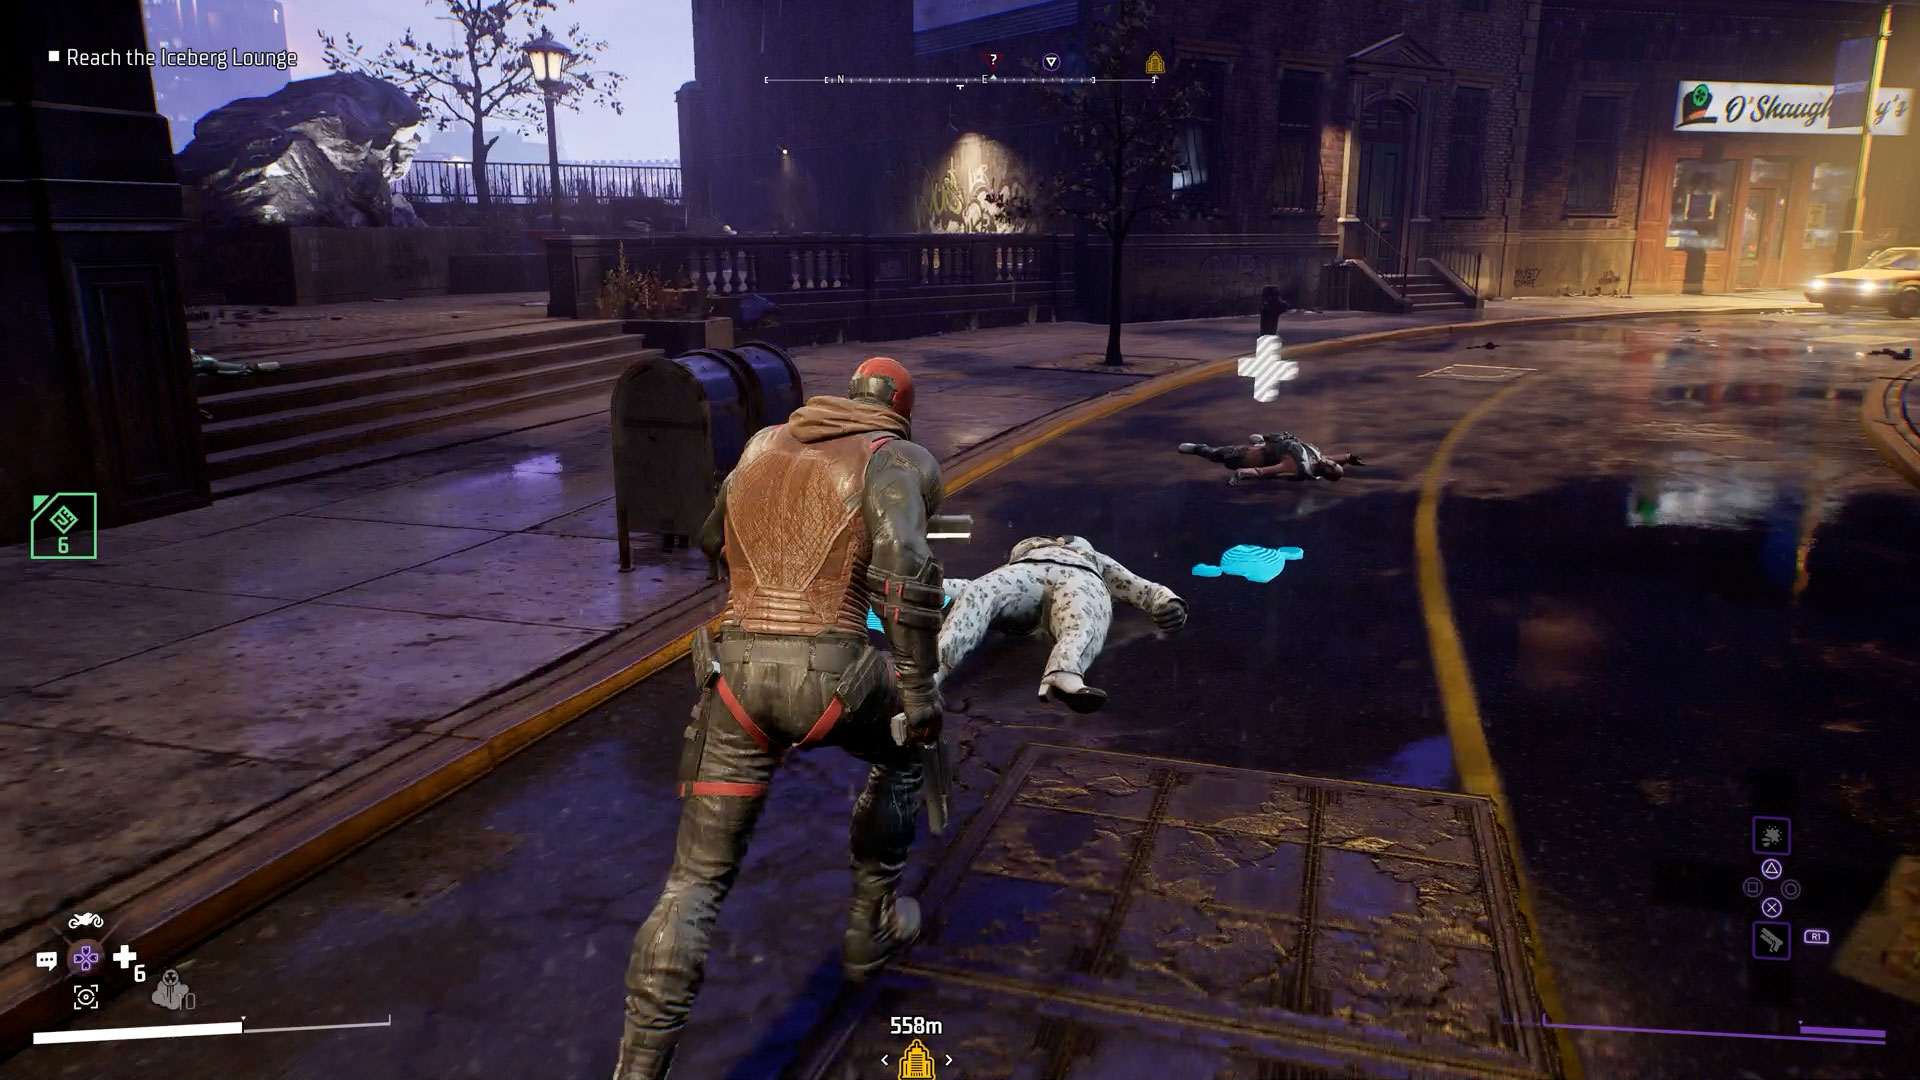
If you've just taken on a large group of enemies, it's likely you'll be nursing your wounds and may have got through a few Health Packs. Before you leave the area, look around to make sure you haven't missed any item drops – the larger brute enemies tend to drop a Health Pack when defeated, shown by a floating white + icon, but if you weren't right next to them when they fell you won't have automatically collected it. Additional health is always useful during long Night Patrols, and you'll often find Salvage as well for crafting and customization.
6. Pay attention to all of the main objectives
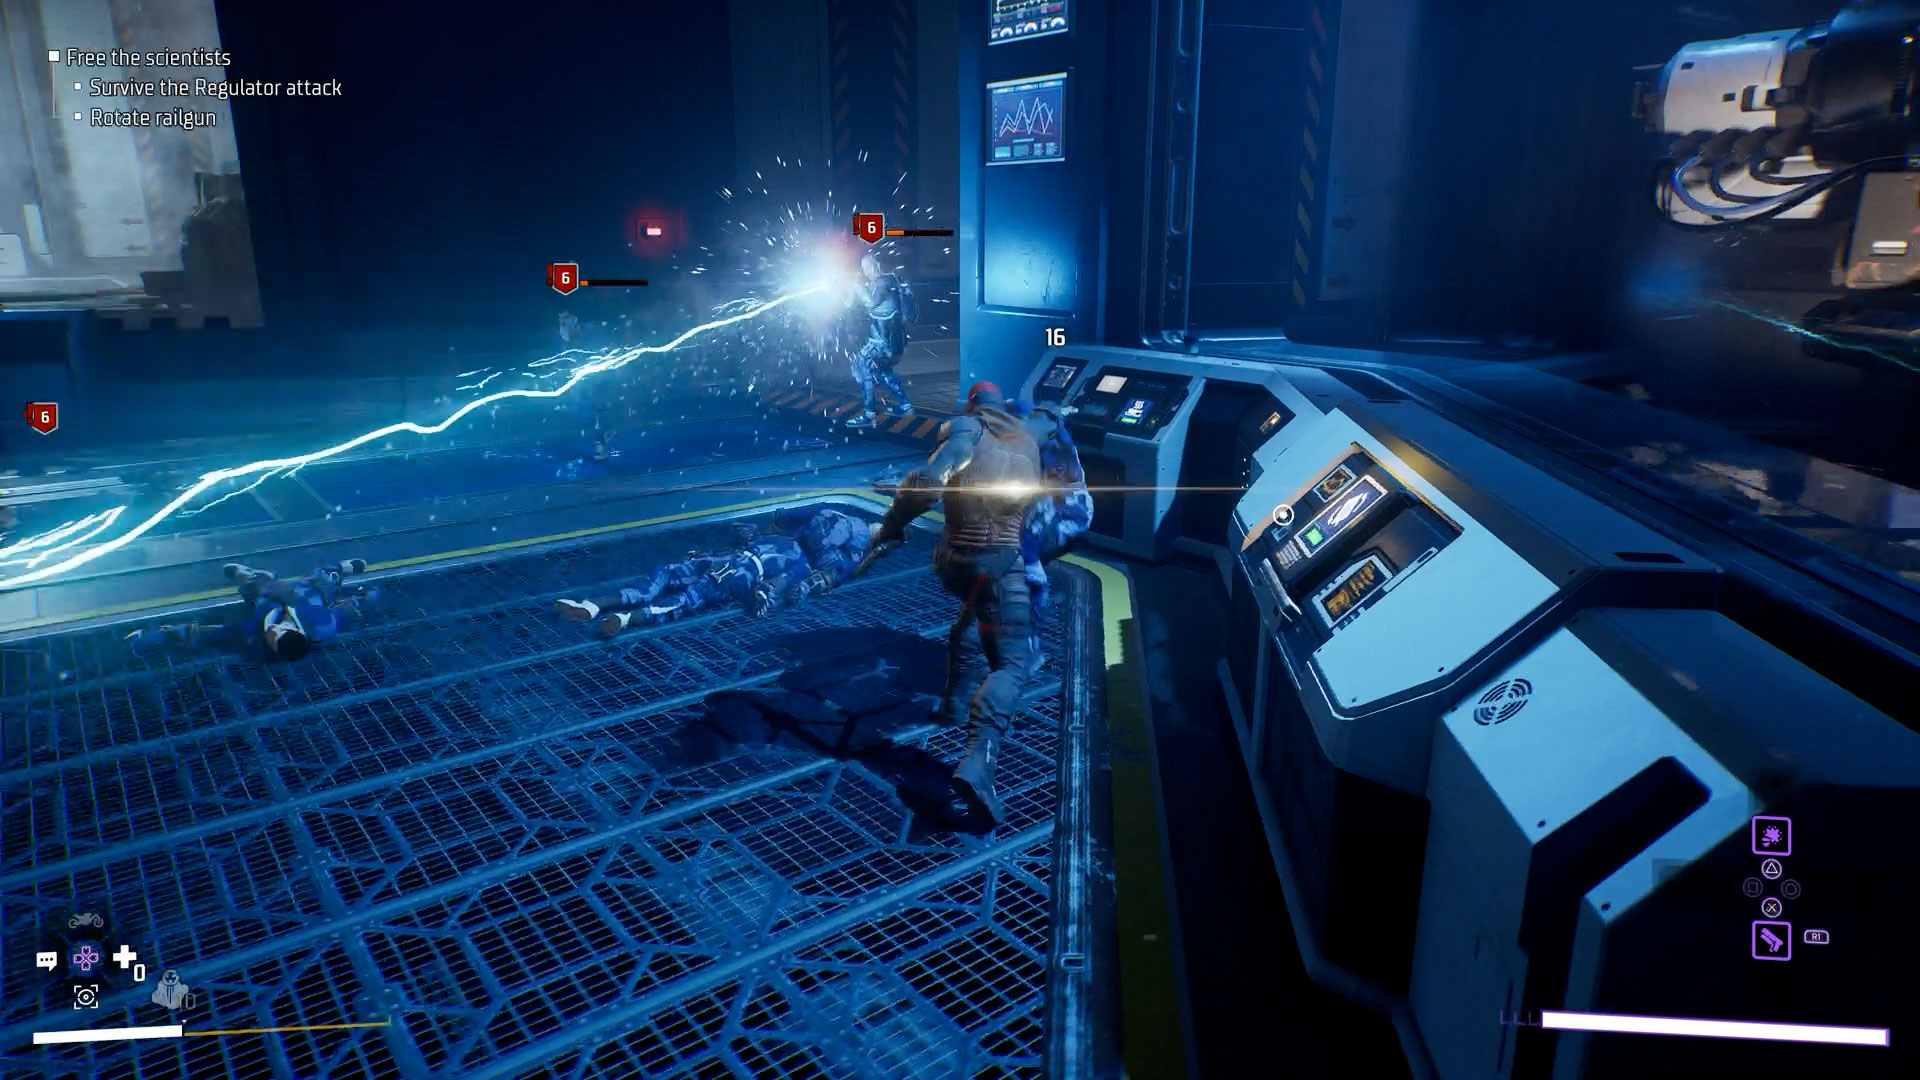
Now, this may sound obvious, but make sure you don't overlook all of the main objectives listed for an area in the top left corner of the screen. There was a point in one mission to free the scientists from STAR Labs in Gotham Knights where I spent a good five minutes eliminating wave after wave of enemies, with bodies piling up everywhere, before realizing the two main objectives needed to be completed concurrently and the enemies would never stop rolling in until the second objective was ticked off, which would have saved us a lot of time and effort if we'd known it from the beginning.
7. Complete the bonus objectives to level up faster
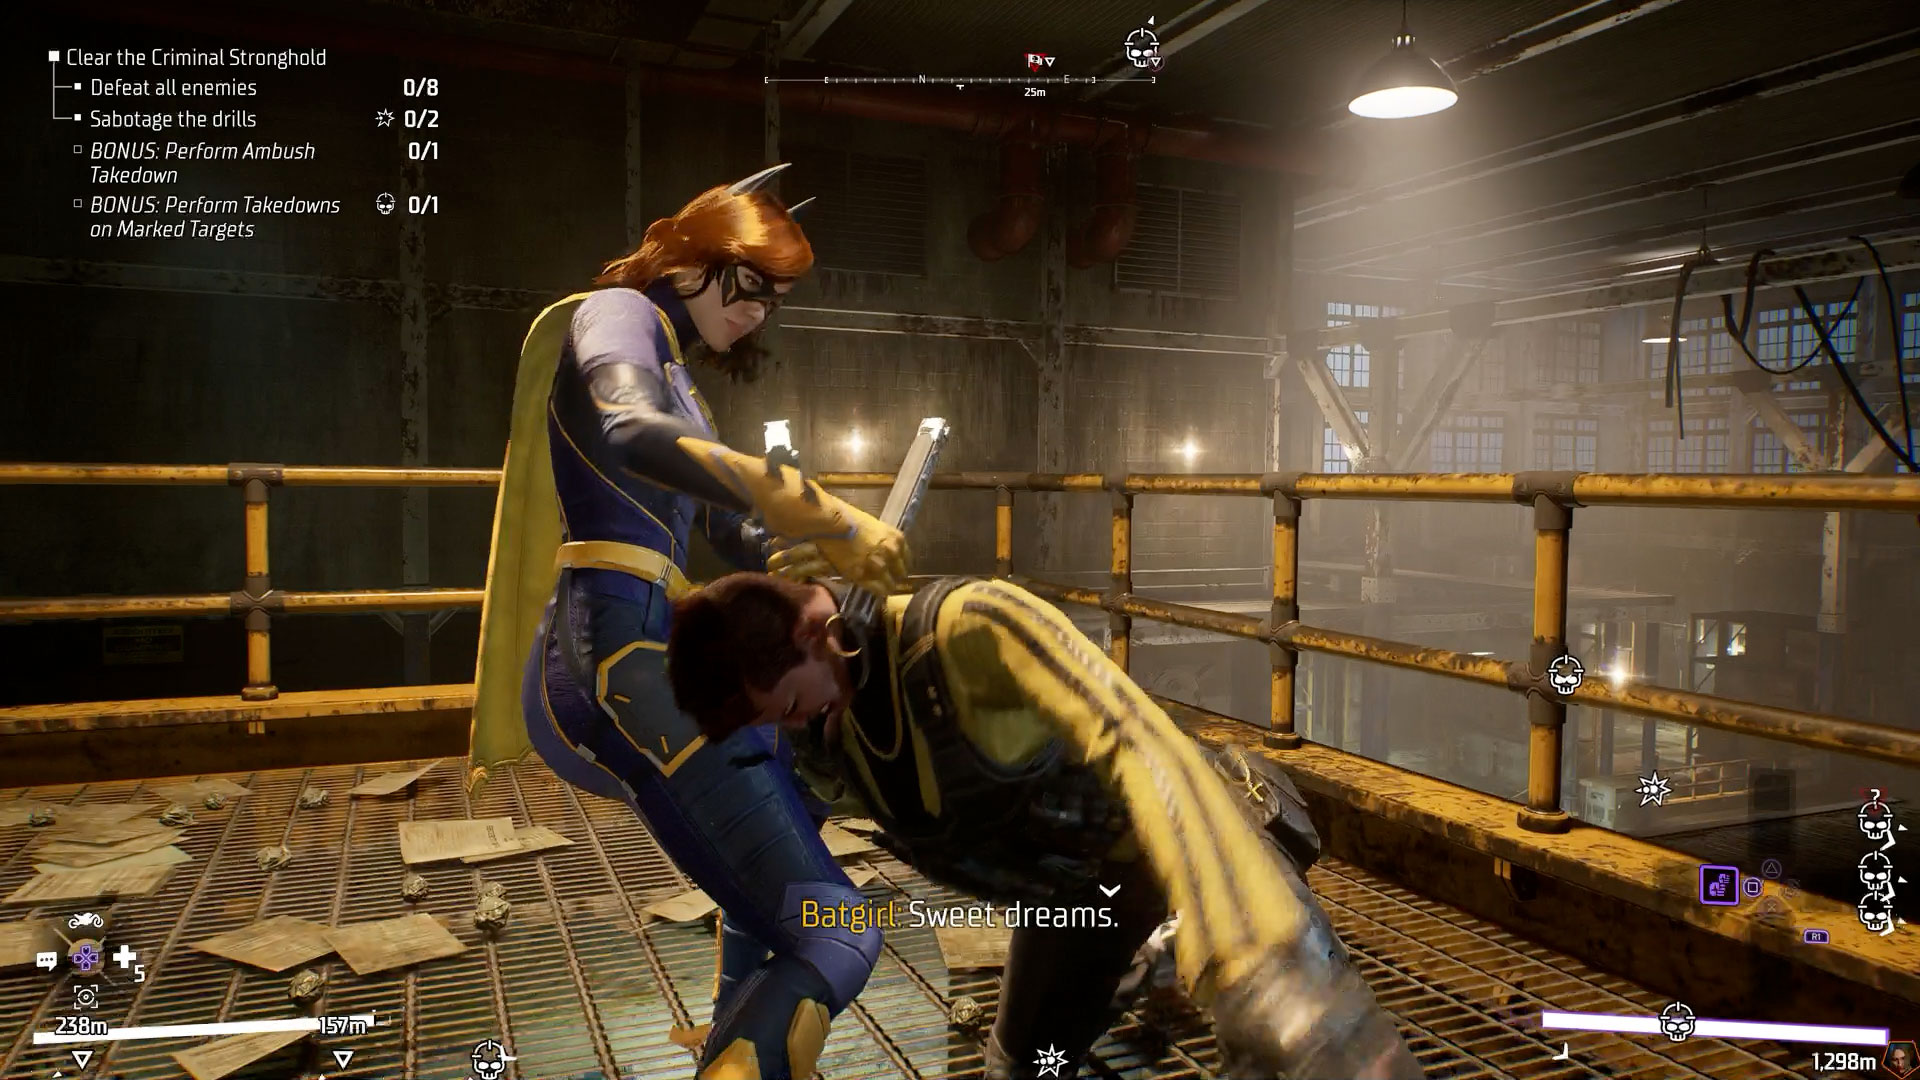
For most mission sections and Premeditated Crimes, when you enter the area you'll receive a list of objectives to complete in the top left corner of the screen, and this will often have one or more bonus objectives at the end. Pay attention to these, as they're often fairly simple such as performing specific takedowns or interacting with certain items, and each one you complete will add some bonus XP to your overall total. By regularly completing these bonus objectives you'll level up faster, getting you earlier access to new skills and abilities.
8. Don't waste time fighting with the GCPD
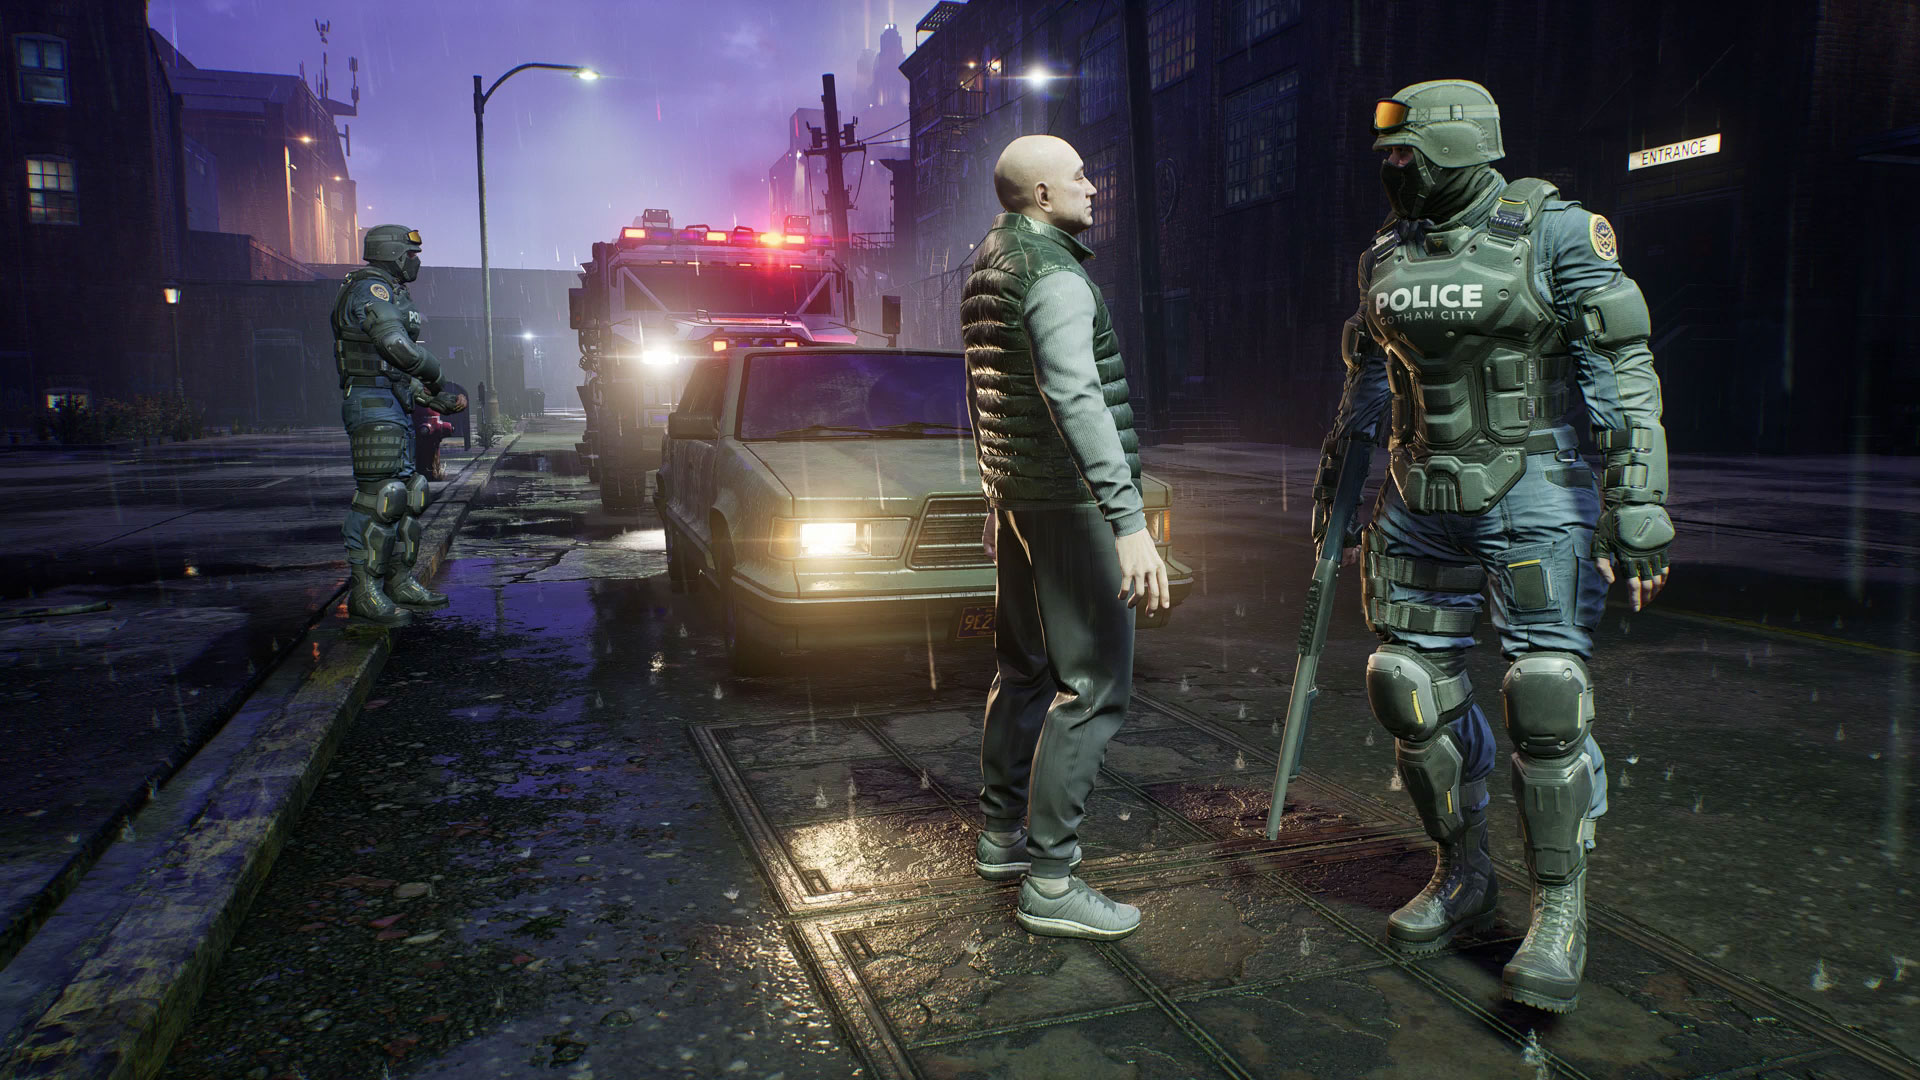
You'll see GCPD Officers all over Gotham City, and if you're not rescuing them from peril then it's safe to say they're not the biggest fans of superheroes – they'll start attacking if you get too close, and even appear in red as threats if you scan them with AR. However, defeating members of the GCPD in combat doesn't earn you any XP or Salvage, so it's not worth your time to fight them and you should give the law a wide berth to avoid unnecessary confrontations.
9. Always check for Chests in mission areas and crime scenes
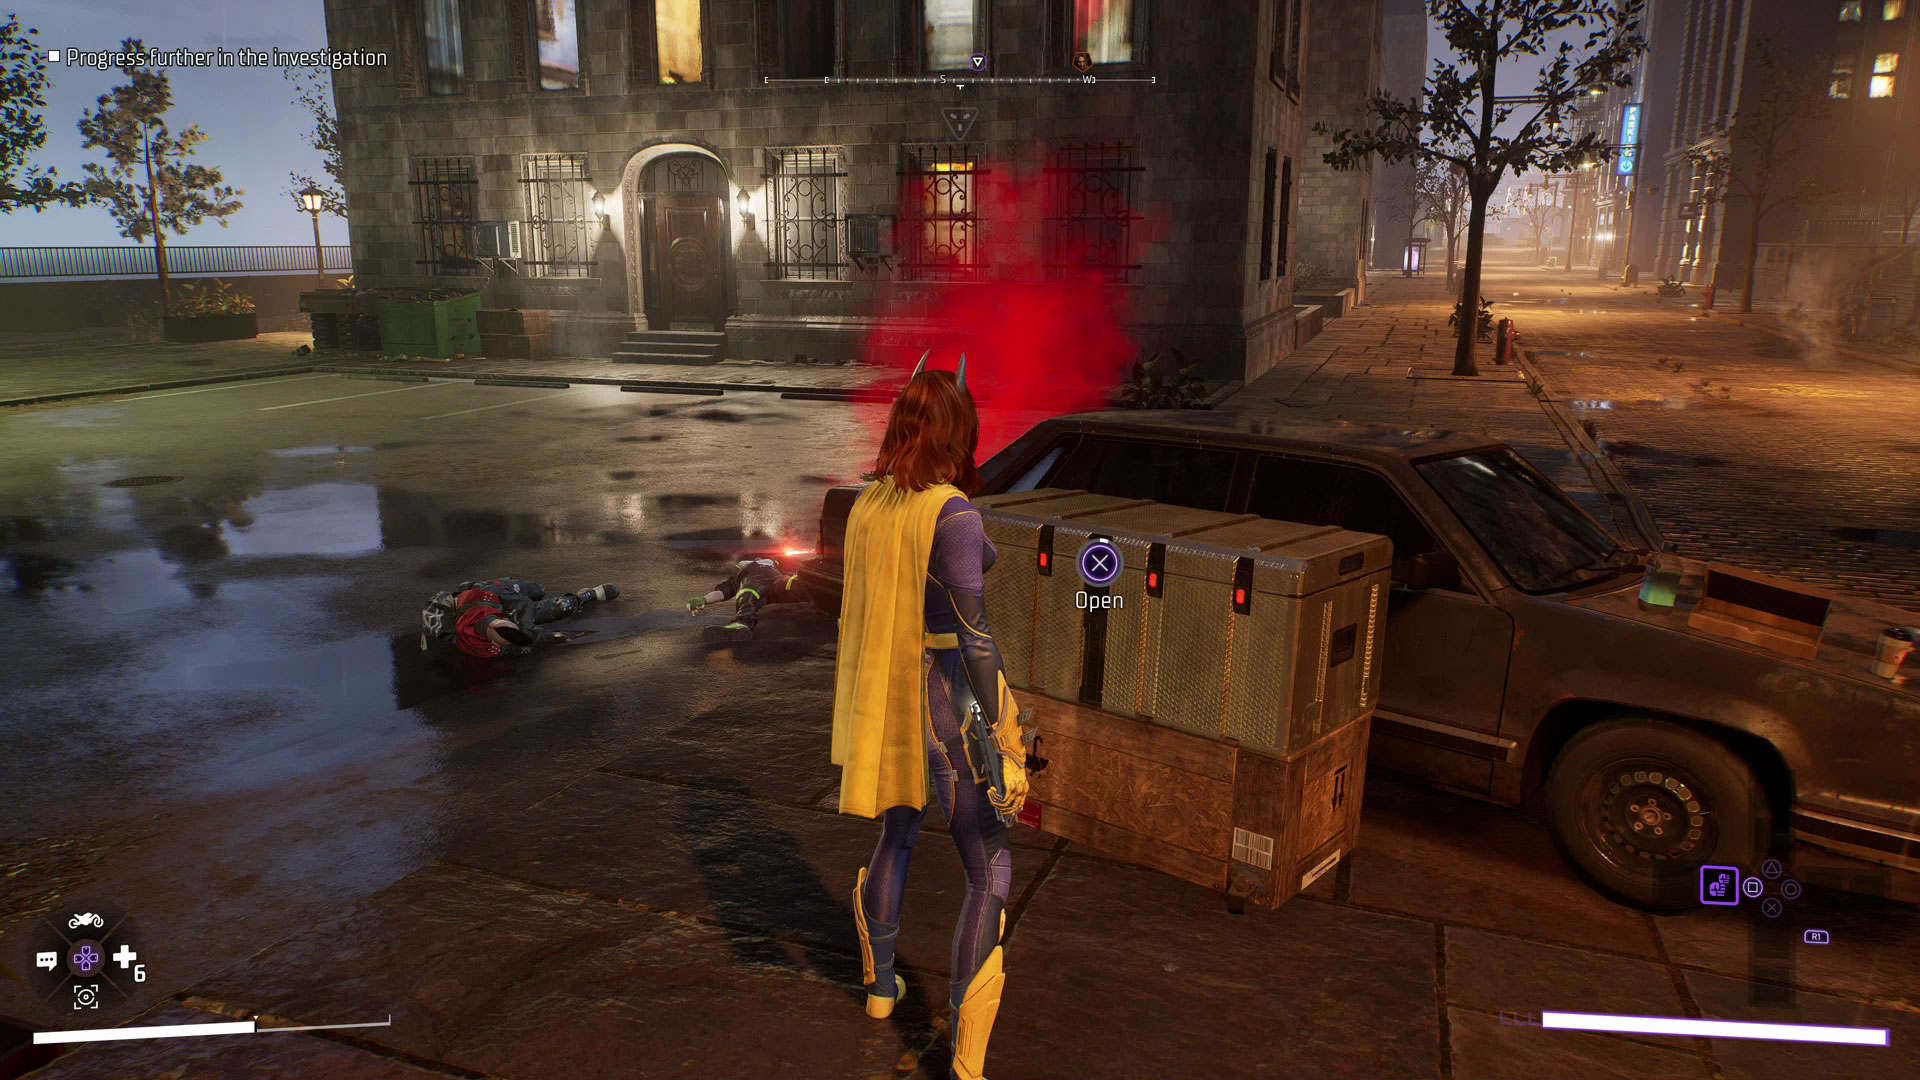
Whenever you clear out an area, whether it's part of a mission, a Premeditated Crime, or just a random encounter, have a quick look around to see if there's a Chest nearby. These caches are often stashed in or around those areas, but can easily be overlooked and lost once you leave the location. By tapping the AR button to scan the area, you'll see any Chests show up in purple, which you can then track down and open to receive a chunk of Salvage for future equipment crafting and customization of your gear.
10. Don't stress too much about AR Investigation solutions
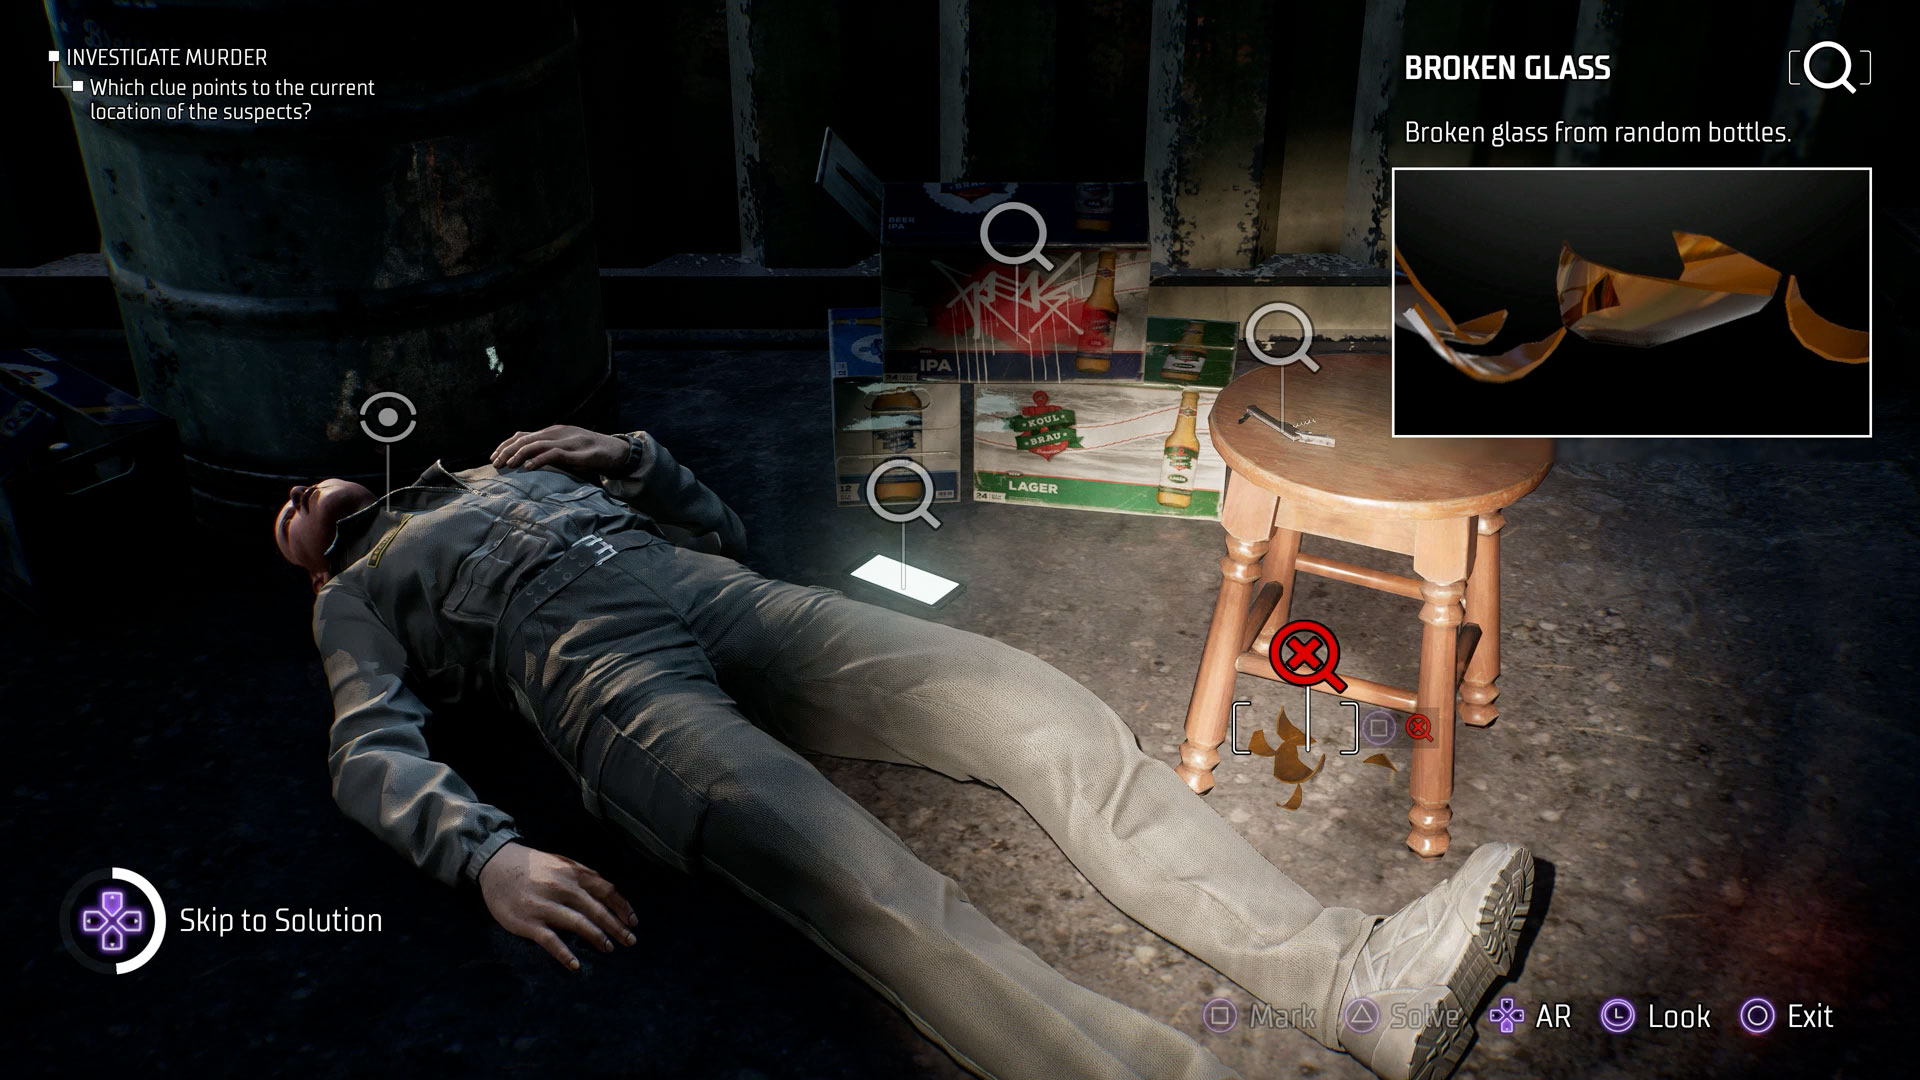
At various points you'll need to examine crime scenes using your AR Investigation tools, discovering various clues by scanning the area before selecting or pairing up the relevant item(s) to solve the scene. Usually these are reasonably straightforward to figure out based on the item descriptions, but if you're struggling to find right answer then don't panic – after making the wrong choice twice, a prompt will appear in the bottom left corner allowing you to Skip to Solution, and you'll still receive your XP plus other rewards if you use this route to complete the investigation.
11. Fast travel back to the Belfry to finish Night Patrols
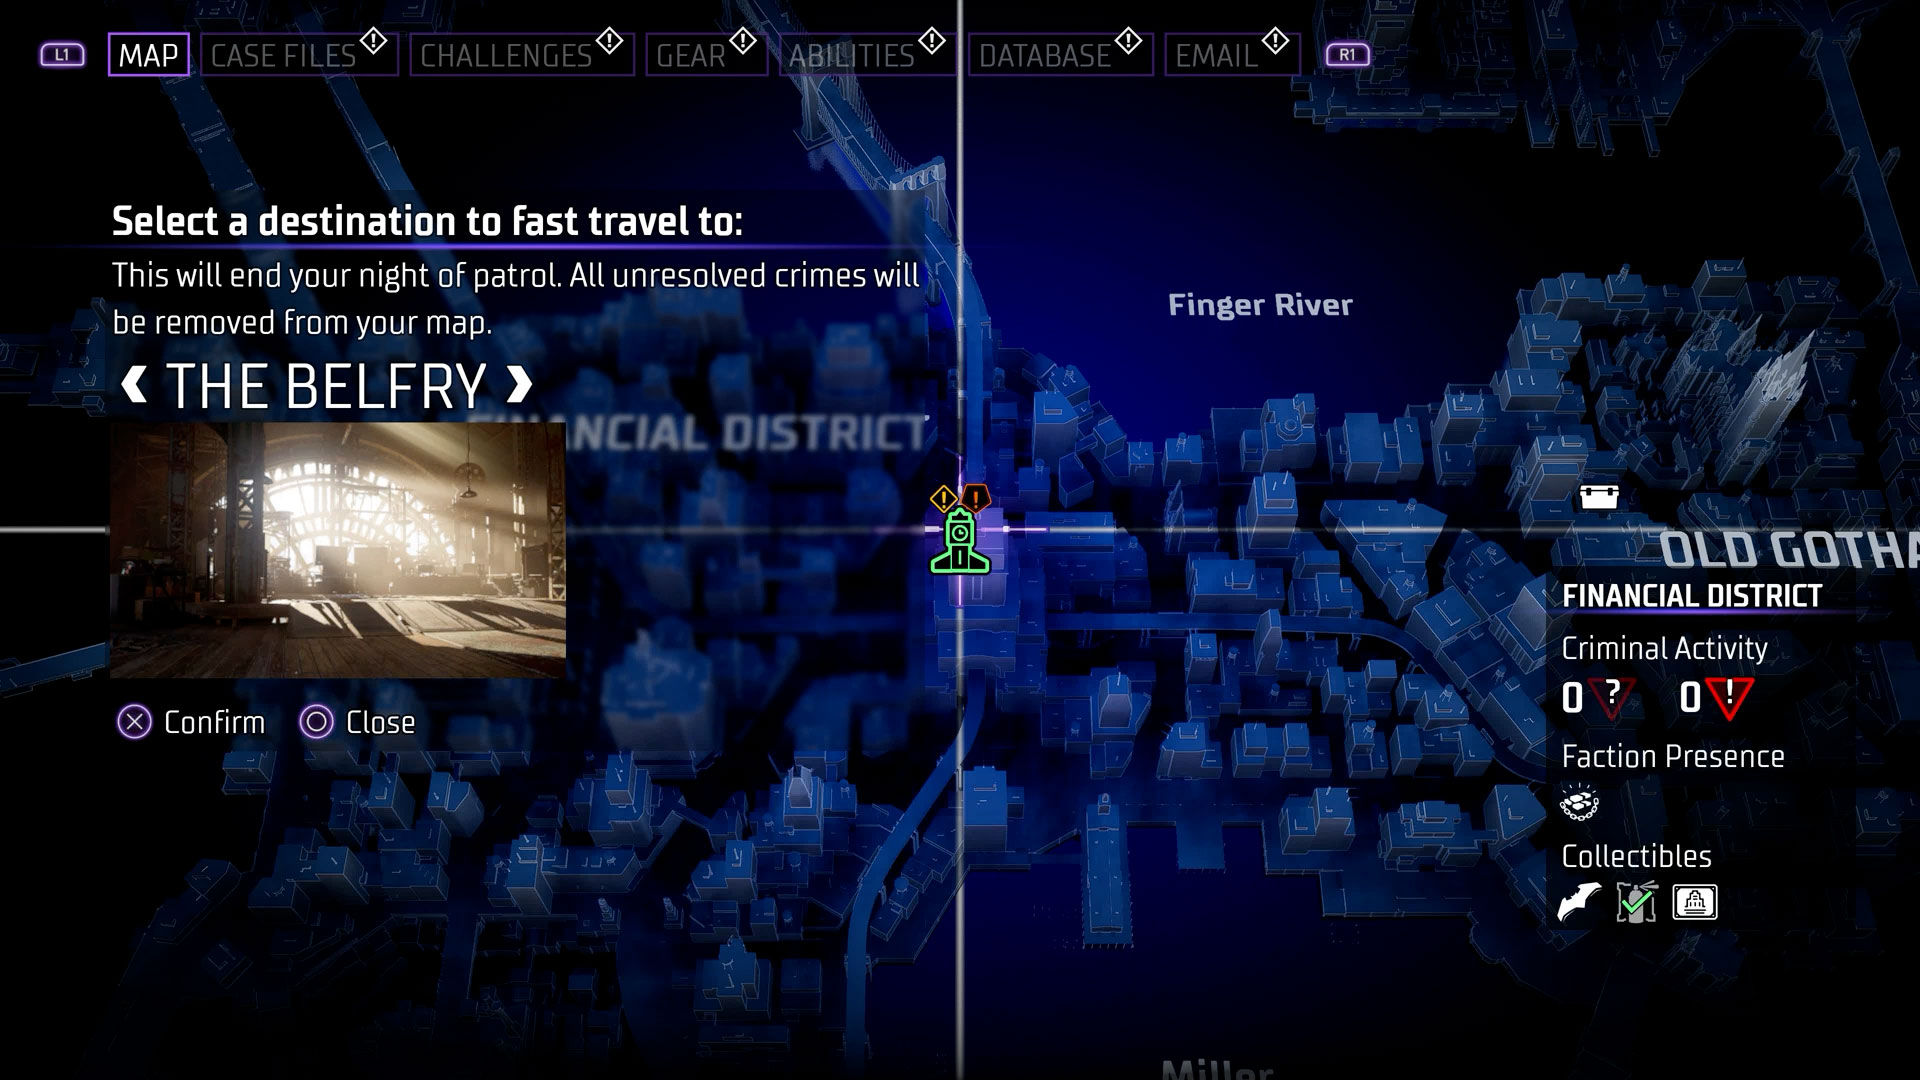
Finally, once you've completed your current investigations and crime fighting during a Night Patrol, you can fast travel back to the Belfry to quickly move things along without having to trek across Gotham City. Simply highlight the Belfry on the Batcomputer map, then follow the Fast Travel prompt to head there immediately – this will refill your Health Packs and Gotham Knights Smoke Bombs on your return, but also removes any unresolved crimes from the map, so make sure you've done everything you want to before using this option.
© GamesRadar+. Not to be reproduced without permission.
Sign up to the GamesRadar+ Newsletter
Weekly digests, tales from the communities you love, and more

Iain originally joined Future in 2012 to write guides for CVG, PSM3, and Xbox World, before moving on to join GamesRadar in 2013 as Guides Editor. His words have also appeared in OPM, OXM, PC Gamer, GamesMaster, and SFX. He is better known to many as ‘Mr Trophy’, due to his slightly unhealthy obsession with amassing intangible PlayStation silverware, and he now has over 750 Platinum pots weighing down the shelves of his virtual award cabinet. He does not care for Xbox Achievements.
