Guardians of the Galaxy best choices guide
The best decisions to make in Guardians of the Galaxy
Weekly digests, tales from the communities you love, and more
You are now subscribed
Your newsletter sign-up was successful
Want to add more newsletters?
There are loads of Guardians of the Galaxy choices to make on your space adventures, with some having far-reaching and unclear consequences. They can affect the Guardians themselves or even the places they visit and organizations they come up against such as Knowhere and the Nova Corps.
Importantly, most of the decisions you make during Marvel's Guardians of the Galaxy don't actually have much of an impact on proceedings. So that you don't end up sweating over choice you make in Marvel's Guardians of the Galaxy, we've broken things down and picked out the decisions that really matter so you know when you need to think a bit more about what to do next. Here are all the major choices you'll need to make in Guardians of the Galaxy.
All Guardians of the Galaxy best choices and consequences
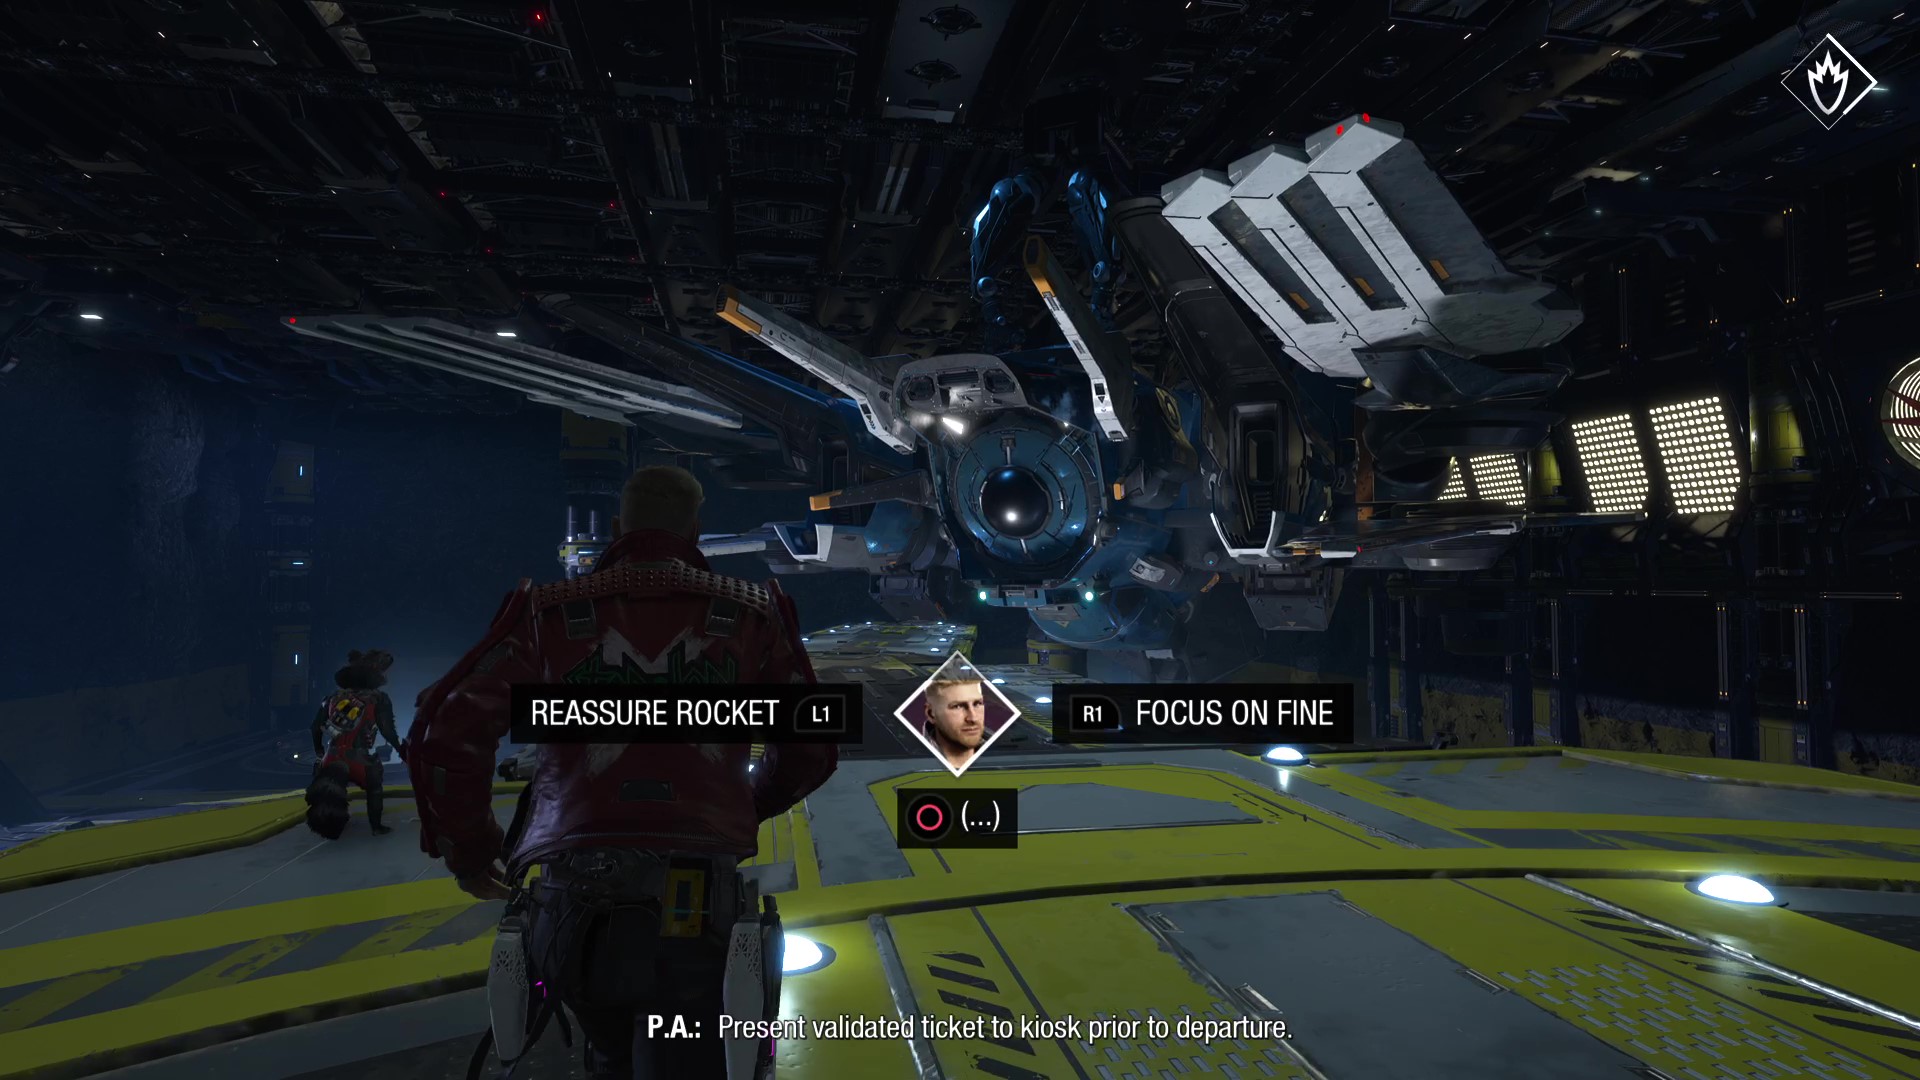
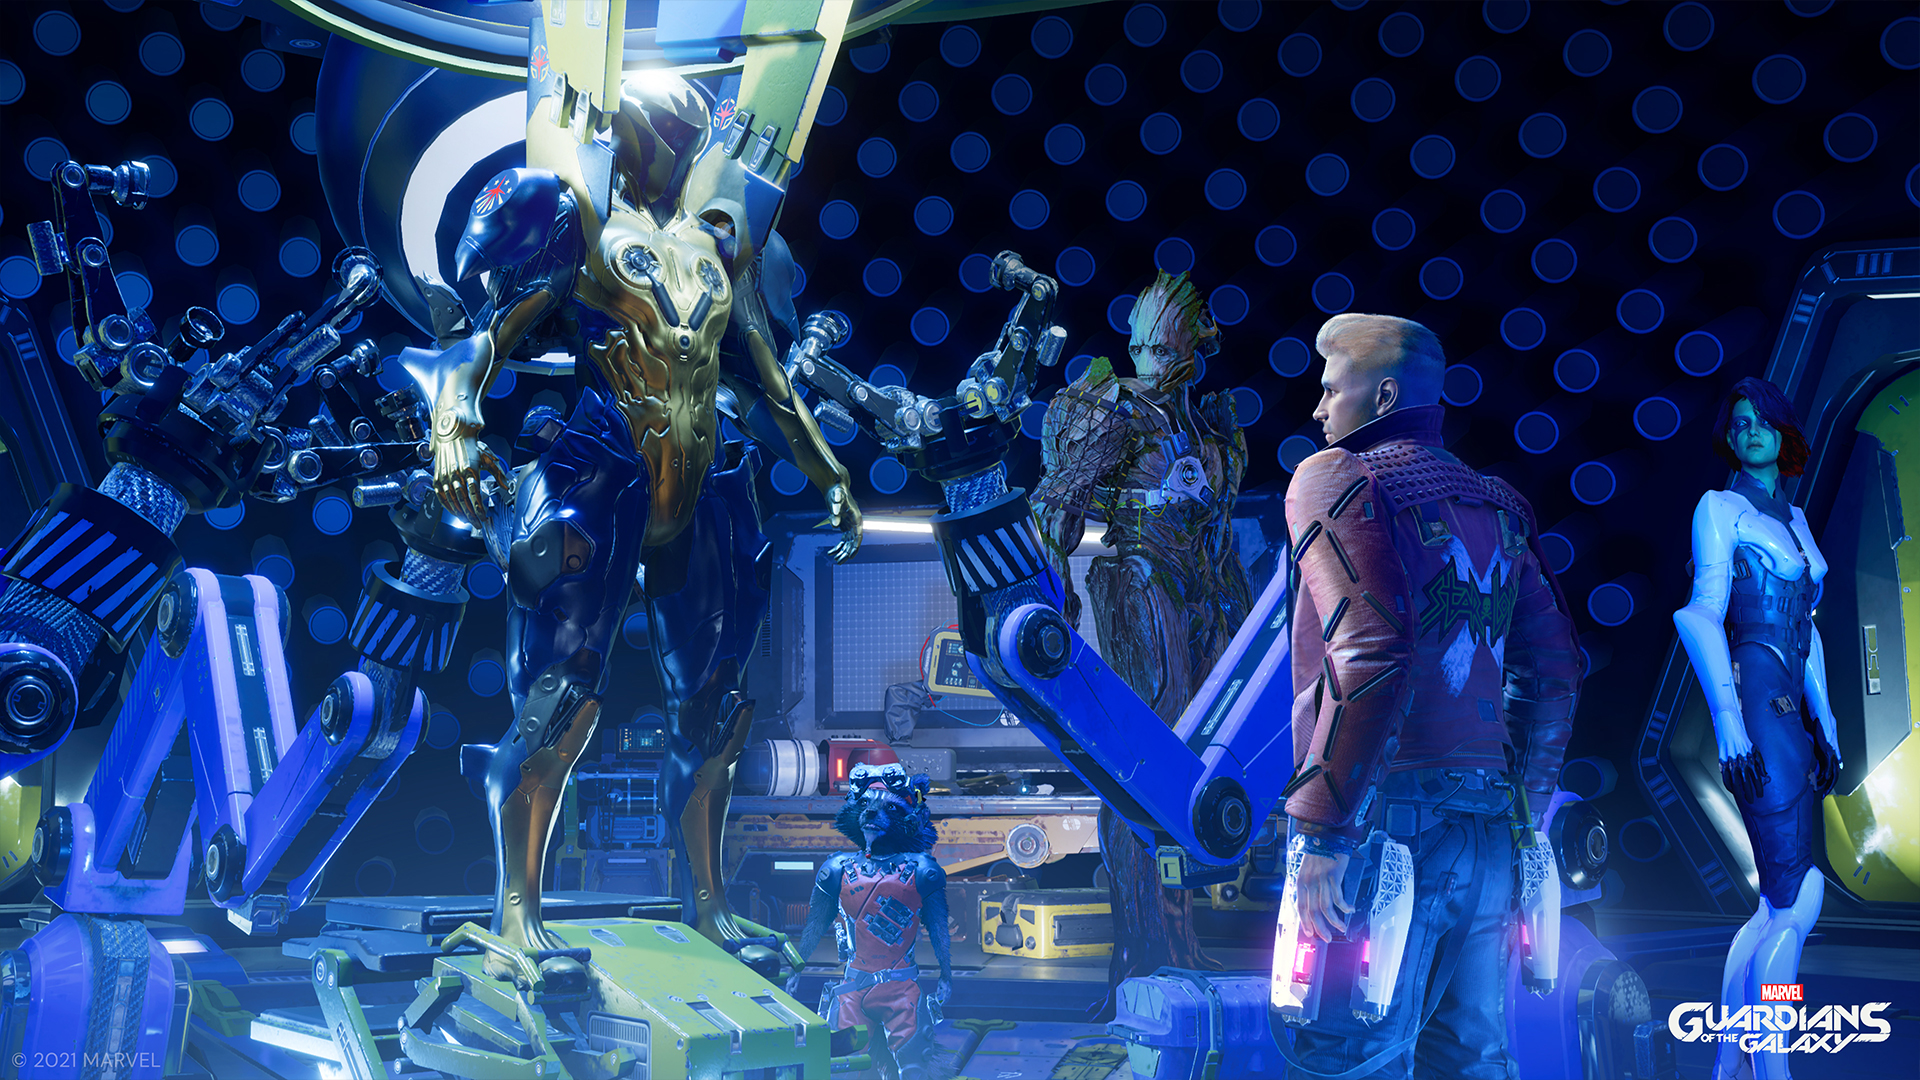
There are dozens of choices throughout the vast majority of Guardians of the Galaxy, but here's the secret: most of decisions you make don't have any real consequences. Our playthroughs revealed that the only choices that seem to have long-term impact are those that are followed by a little pink text box in the corner of the screen, hinting at some serious impact or line being drawn.
When this is the case, there'll usually be some sort of consequence later down the line, either changing elements or adding to them. The problem is, it's not always clear when a choice like this is going to have bigger consequences, and it doesn't help that Guardians has some choices that are more right/wrong than "matter of opinion". Nonetheless, we've outlined all the choices below, so you know what you're in for one way or another. They're also listed in the order you'll experience them in the game, so you shouldn't hit any later spoilers, and if we haven't listed a choice here, that's because it doesn't actually matter.
Hide the creature or tech
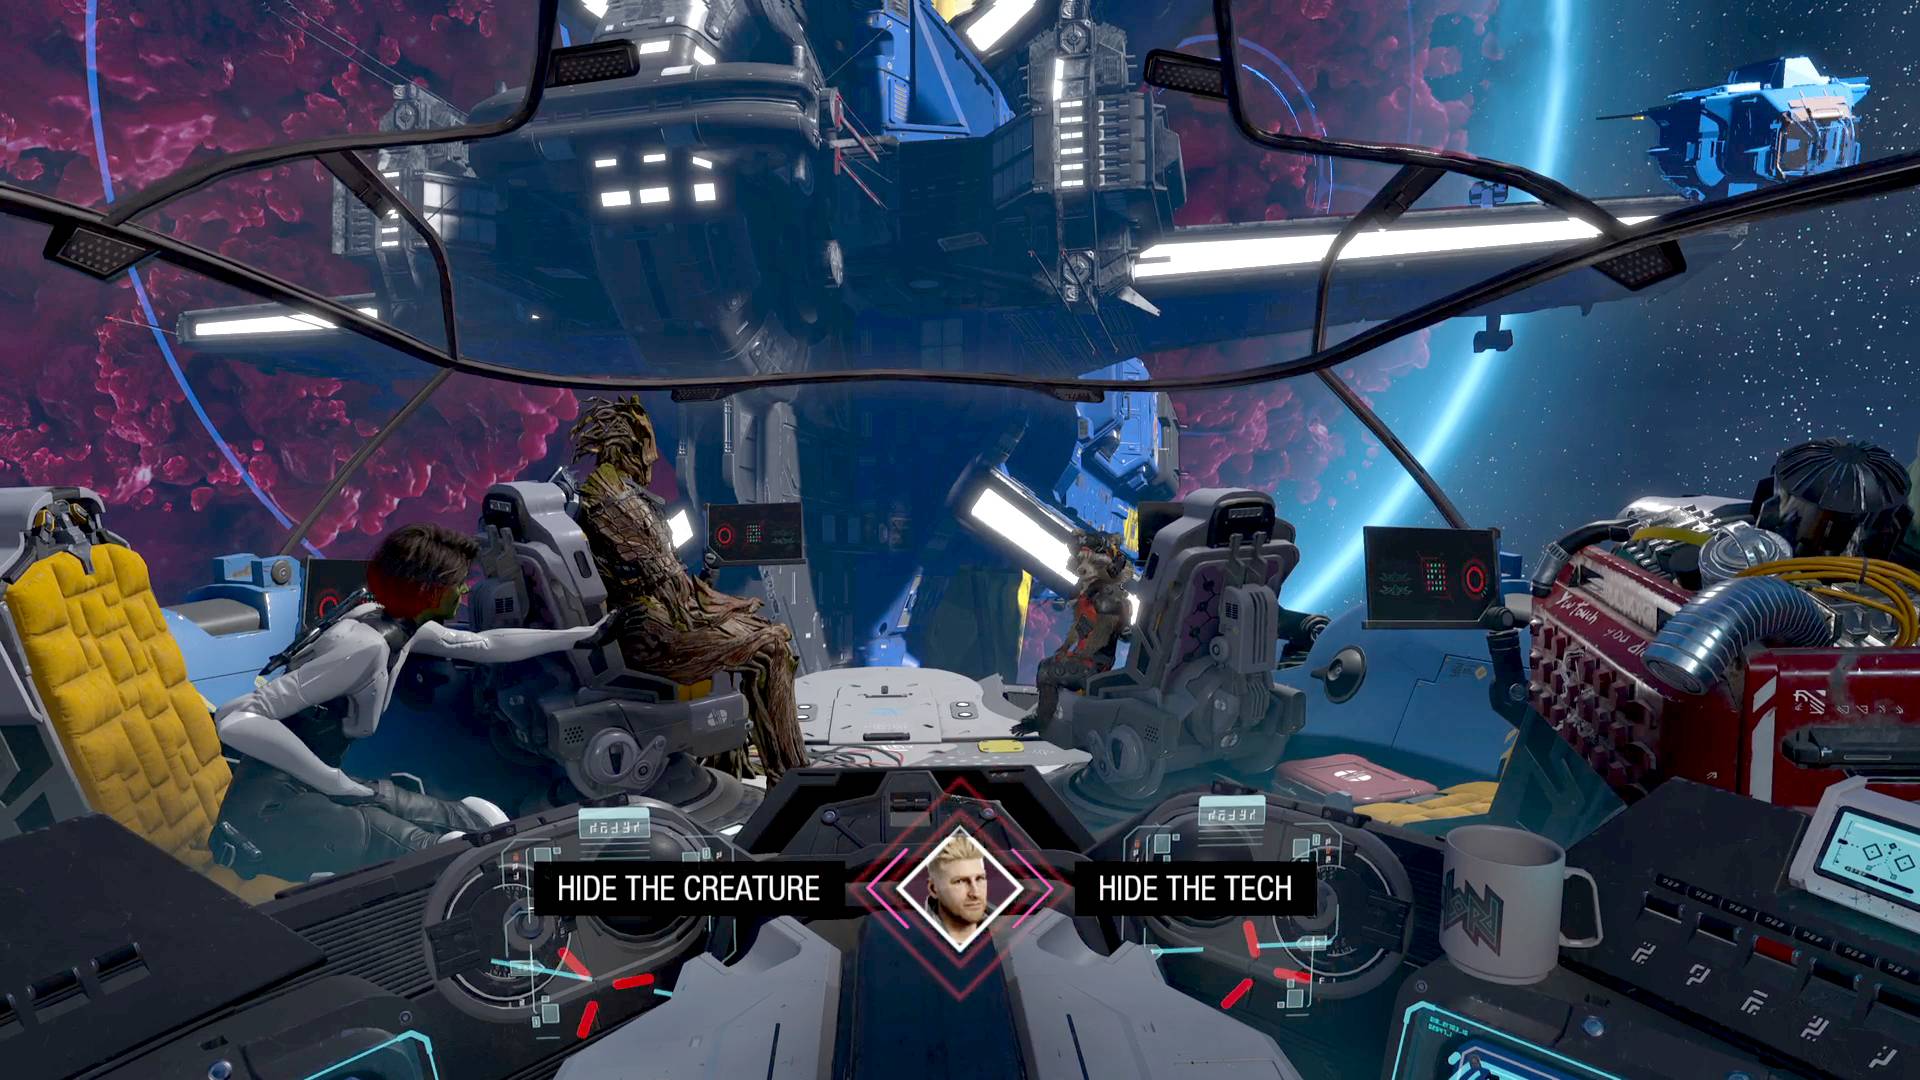
- Hide the creature: Nova Corps fines you 7000 credits. Later on, there'll be a scene where you're trapped and will be freed automatically.
- Hide the tech: Nova Corps fines you 8000 credits. In later ship-flying missions, the Milano will have a weapons system upgrade that's otherwise unavailable. In the sequence where you're trapped as mentioned above, you'll have to play a mini-game to escape.
Best choice: It's hard to say without going into further detail - this choice is actually one of the bigger, more complicated ones in the game, so we've put together a proper Guardians of the Galaxy Hide the Creature or Hide the tech guide to take you through it.
Take the blame or tell Ko-Rel the truth
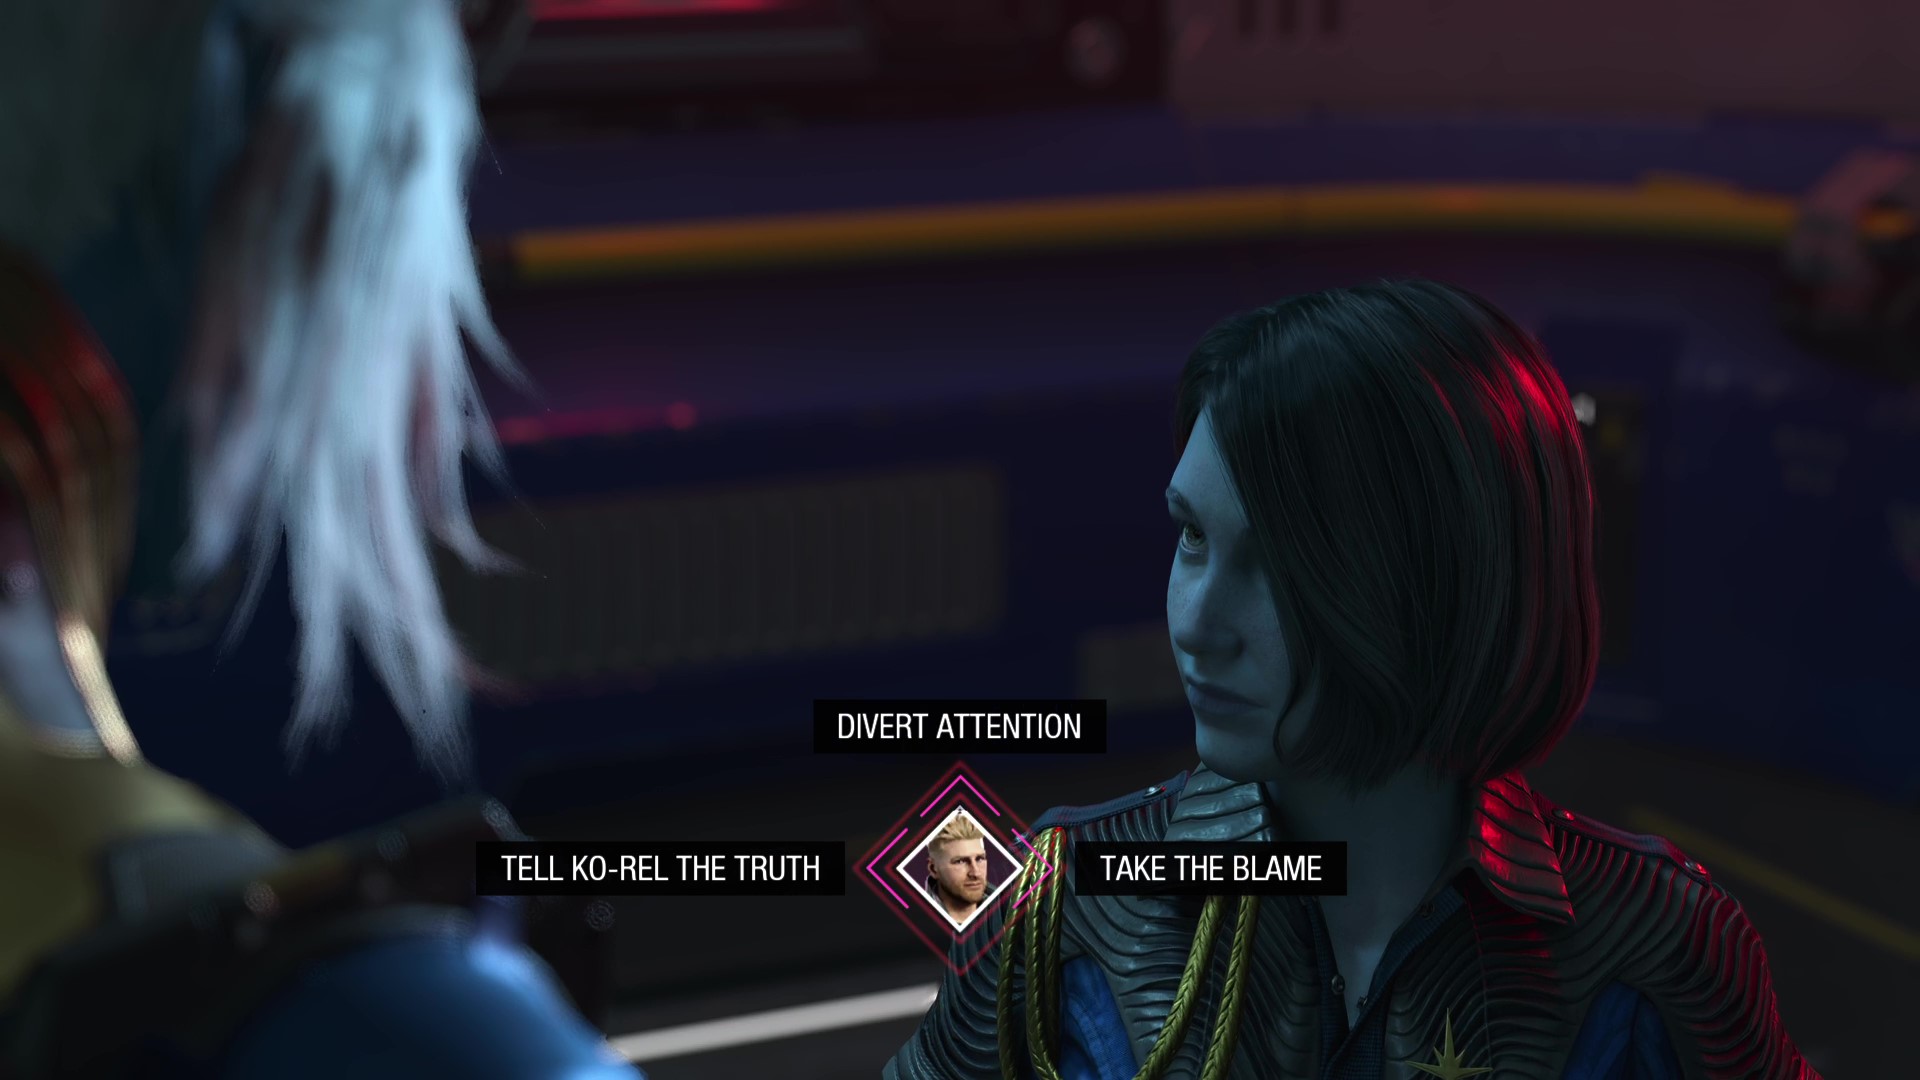
Part of a longer dialogue tree where you cover for - or give up - Nikki in front of Ko-Rel, the question here is whether you can effectively earn enough of the character's trust to let her give you something at the end.
- Take the Blame: Nikki trusts you enough to give you her special Passkey. Later on in the game this will help you get past several puzzles and locked doors.
- Tell Ko-Rel the Truth: Ko-Rel admonishes Nikki, who is outraged at your failure to stand up for her. No Passkey for you.
Best choice: This is one of those choices that's more right/wrong than up to individual taste. There's no real benefit to siding with Ko-Rel, as she won't give you anything for it. The Passkey you get for helping Nikki allows you to skip a couple of easy puzzles later (though you can argue that's not much of a reward), and it'll open one door with some components behind it, and sometimes a costume if you're lucky.
Weekly digests, tales from the communities you love, and more
Sell Groot or Rocket
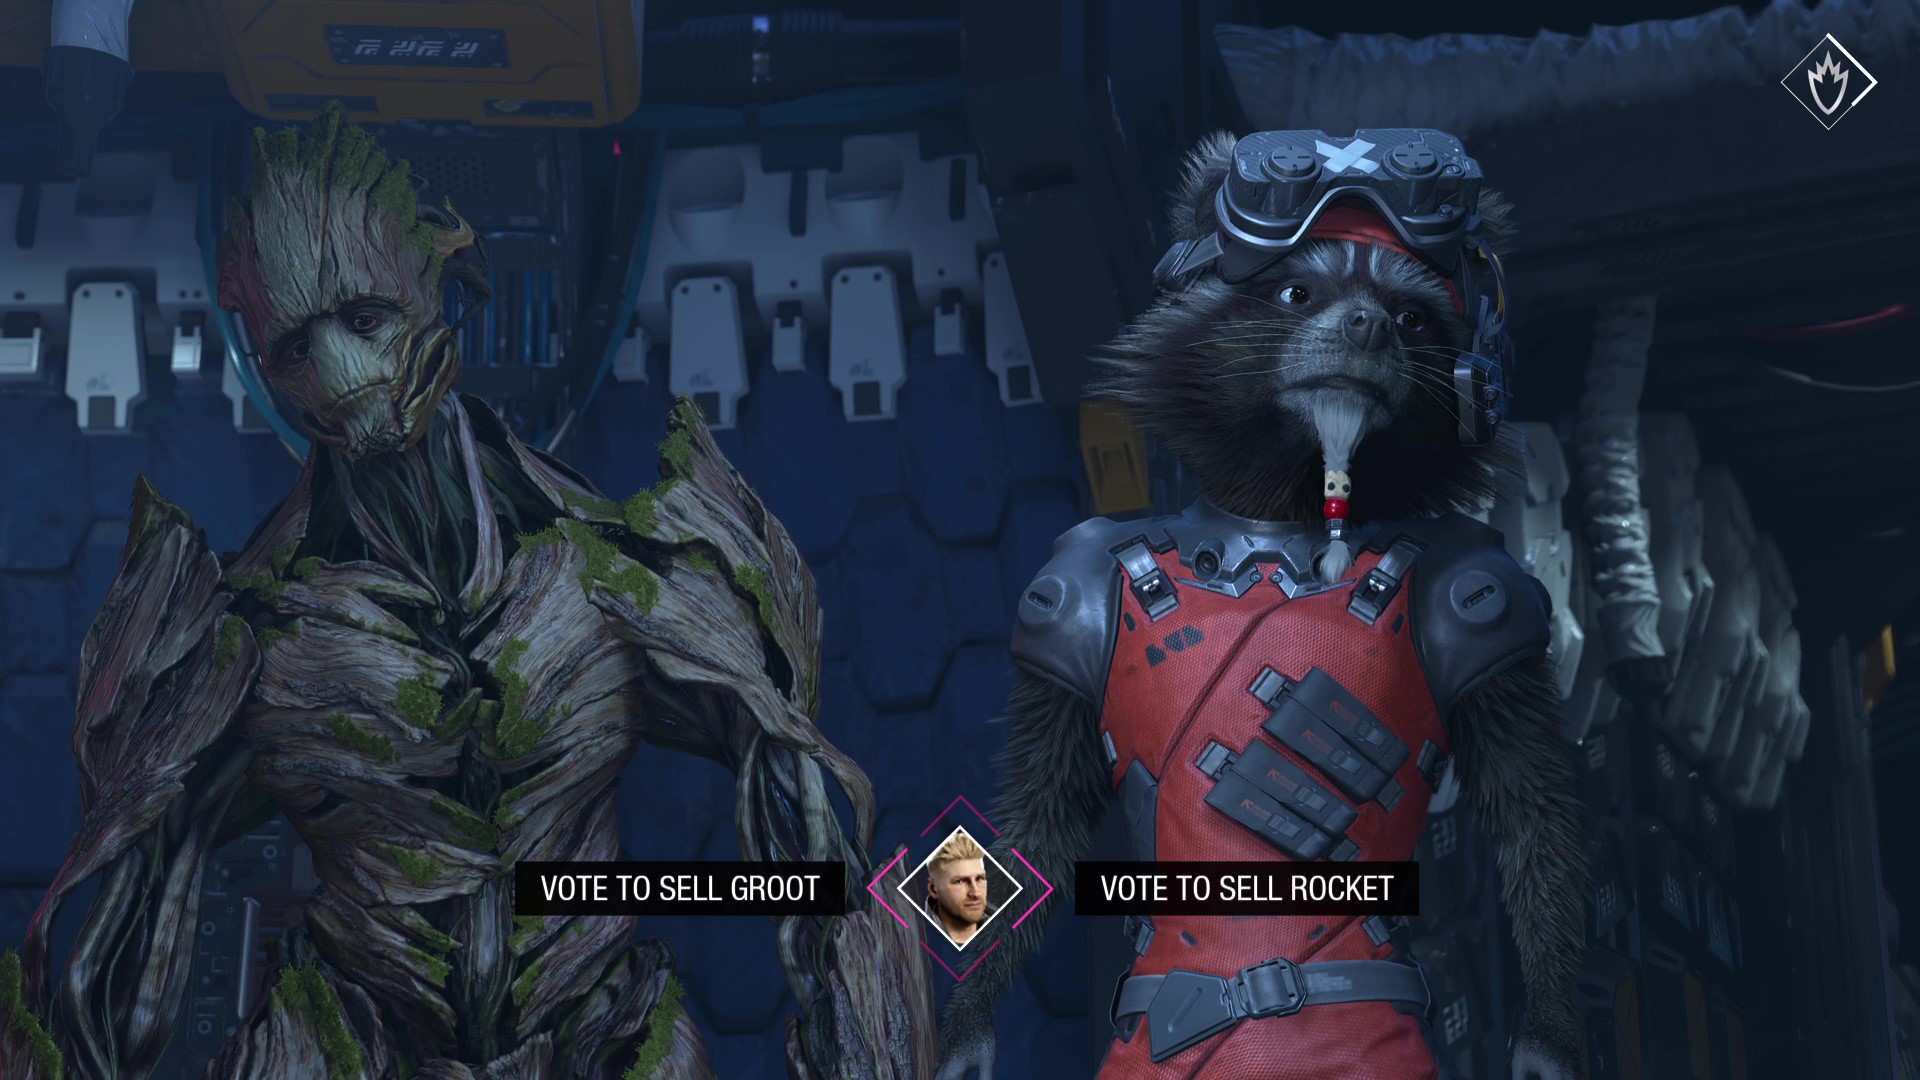
- Sell Groot: Lady Hellbender appreciates Groot as a very rare monster and pays 10,000 units for him, increased to 12,000 if you let Drax handle negotiations. Later on there is a stealth section to retrieve him from the aftermath of a party without waking anybody up.
- Sell Rocket: Rocket antagonises Lady Hellbender and she attacks the Guardians. They flee and change plans, breaking into the vault they saw on the way up and looting it for up to 12,000 units.
Best choice: Again, it's a bigger choice than you'd think, as it causes a genuinely divergent path that changes what you spend most of Seknarf 9 doing. We put together a proper Guardians of the Galaxy Sell Groot or Sell Rocket guide to take you through the nuances.
Encourage Drax to throw Rocket or stop Drax from throwing Rocket
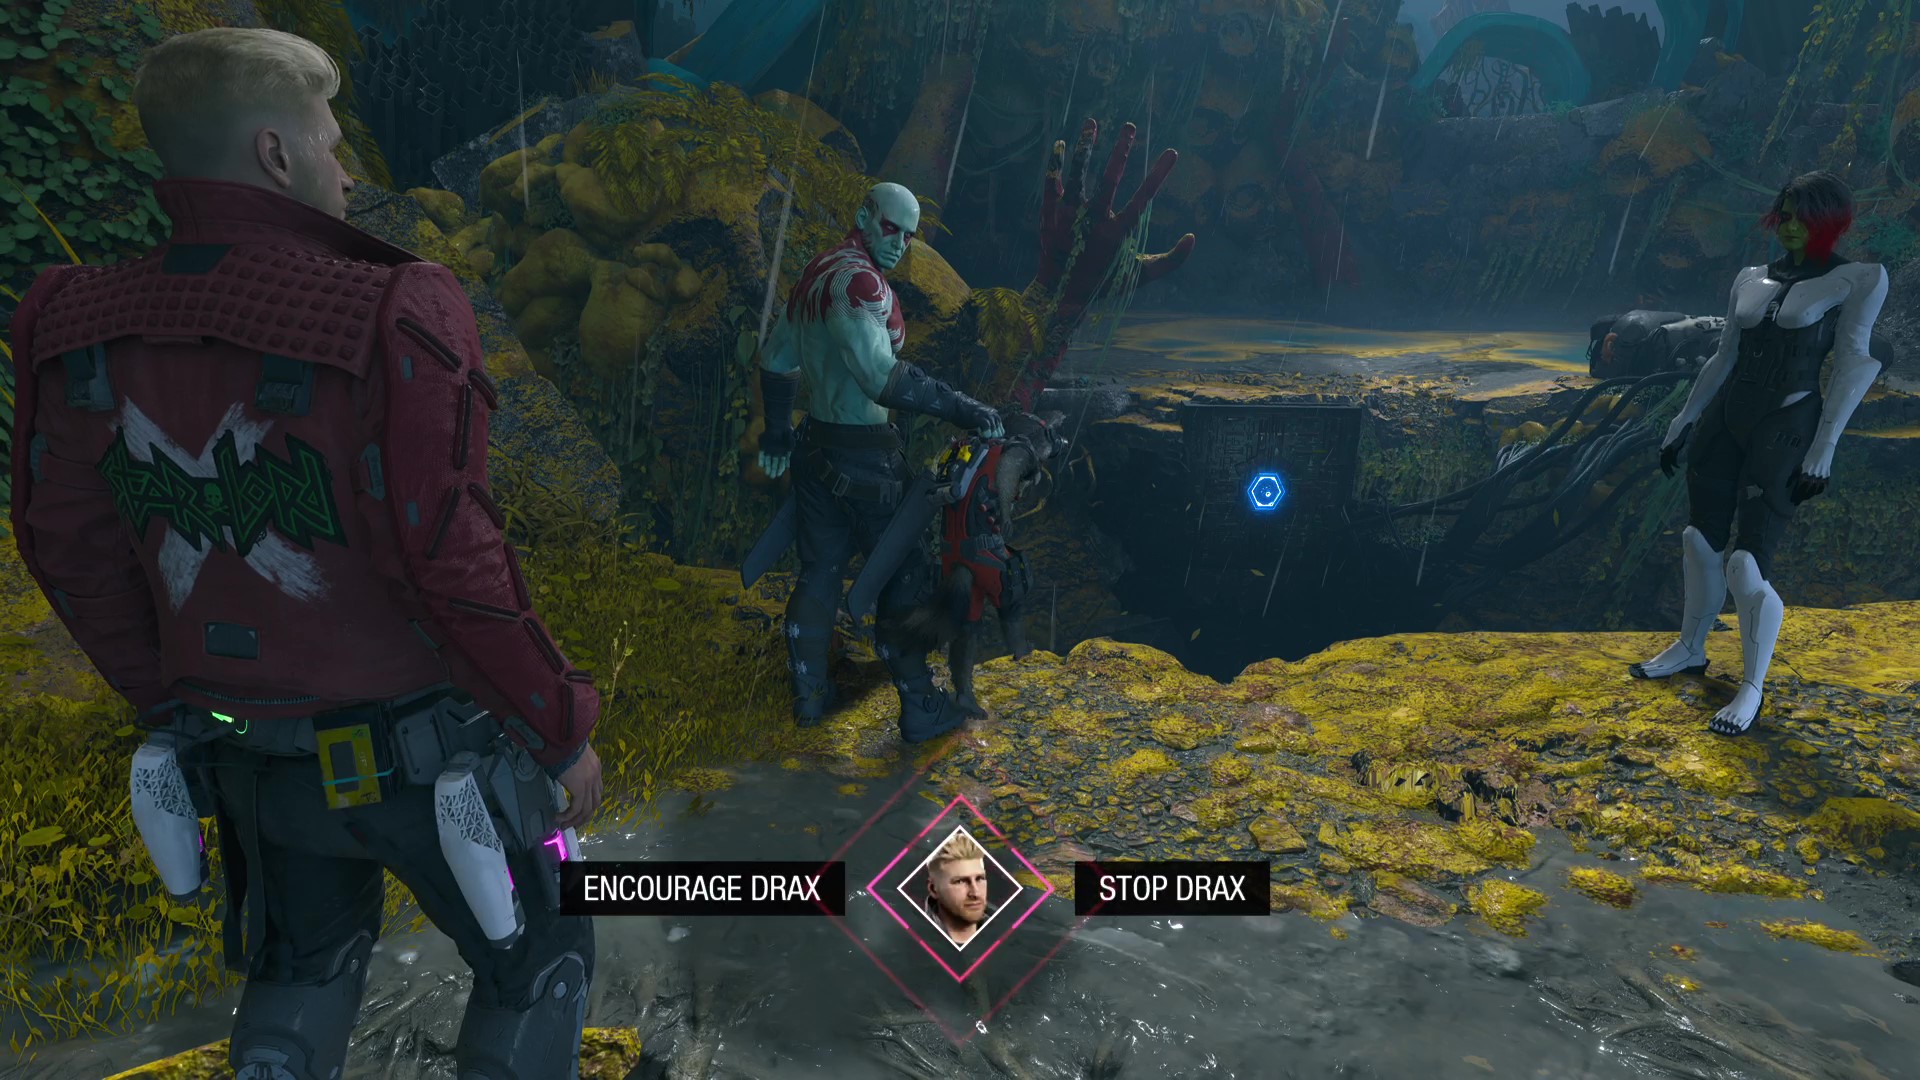
There are actually two moments on Seknarf 9 where Drax offers to hurl Rocket over a gap so he can set up a bridge, despite Rocket very much not liking the idea.
- Encourage Drax: If you let him throw Rocket, Rocket sets up the bridge, but is very angry and refuses to be thrown the second time, not giving you the choice.
- Stop Drax: If you stop Drax, Rocket appreciates it and you have to find an alternative route around. When you come to the second gap, you can have Drax throw him this time instead, or find yet another alternative route.
Best choice: Don't throw Rocket - what did he do to deserve that? In reality, while it gets you to the same place, you're effectively skipping gameplay and the chance to explore Seknarf 9. If you're not on a timetable, just let the little trash panda be and go see what you can find, you'll get across either way.
Release the prisoner or don't release
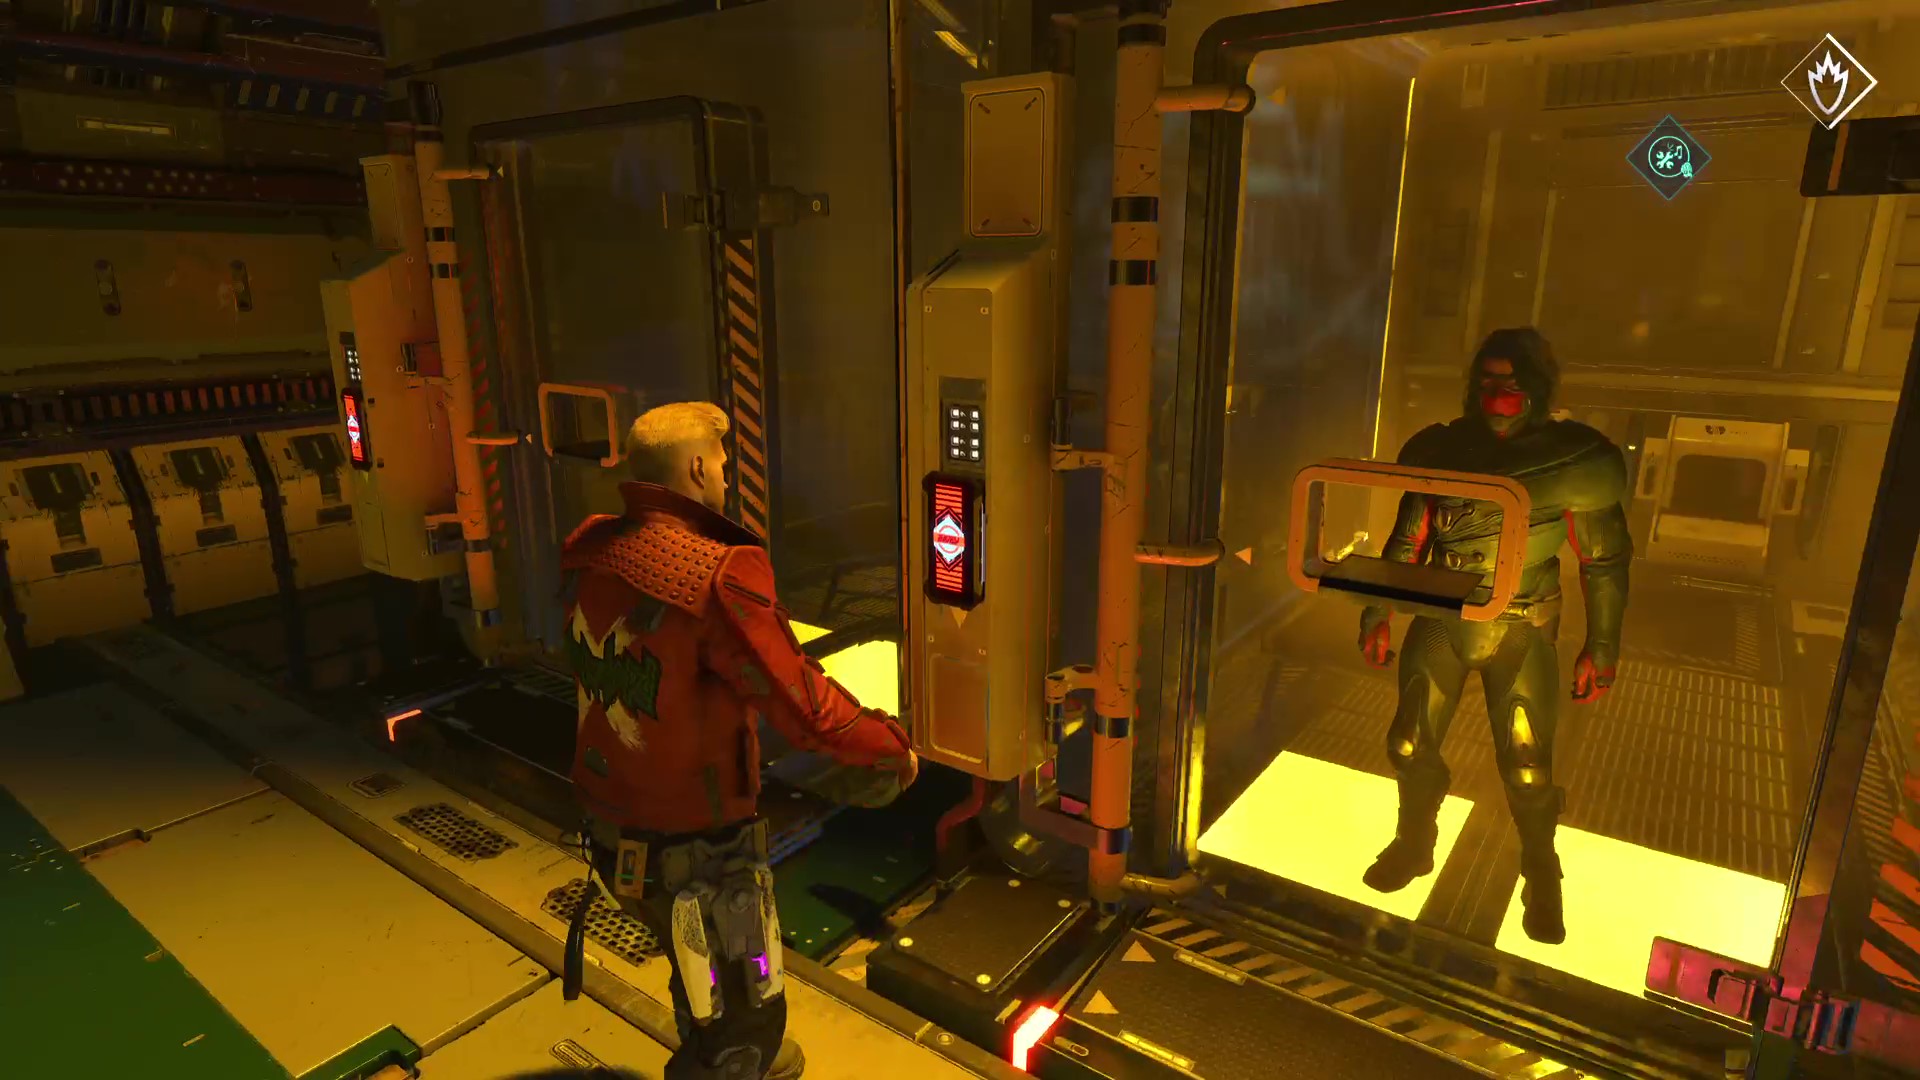
It's an optional choice that you might miss altogether, but early on the Nova ship you'll find a prisoner in a cell who begs you to let him out with a release button. The prisoner is actually a minor Marvel Comics character (and no, he's not the Winter Soldier), but you have the choice to walk away altogether.
- Release the prisoner: Rather than open the door, instead the button moves the cell into an adjacent room where the prisoner is put in a line-up. Later you see him through a window and there's some dialogue to go with it.
- Don't release the prisoner: Nothing comes of this, and it's the last time you see the character in person.
Best choice: Honestly, just hit the release button. You get a joke and some flavour elements you wouldn't have got otherwise, and it's not really a choice that matters even in the short term.
Talk or say nothing into the helmet
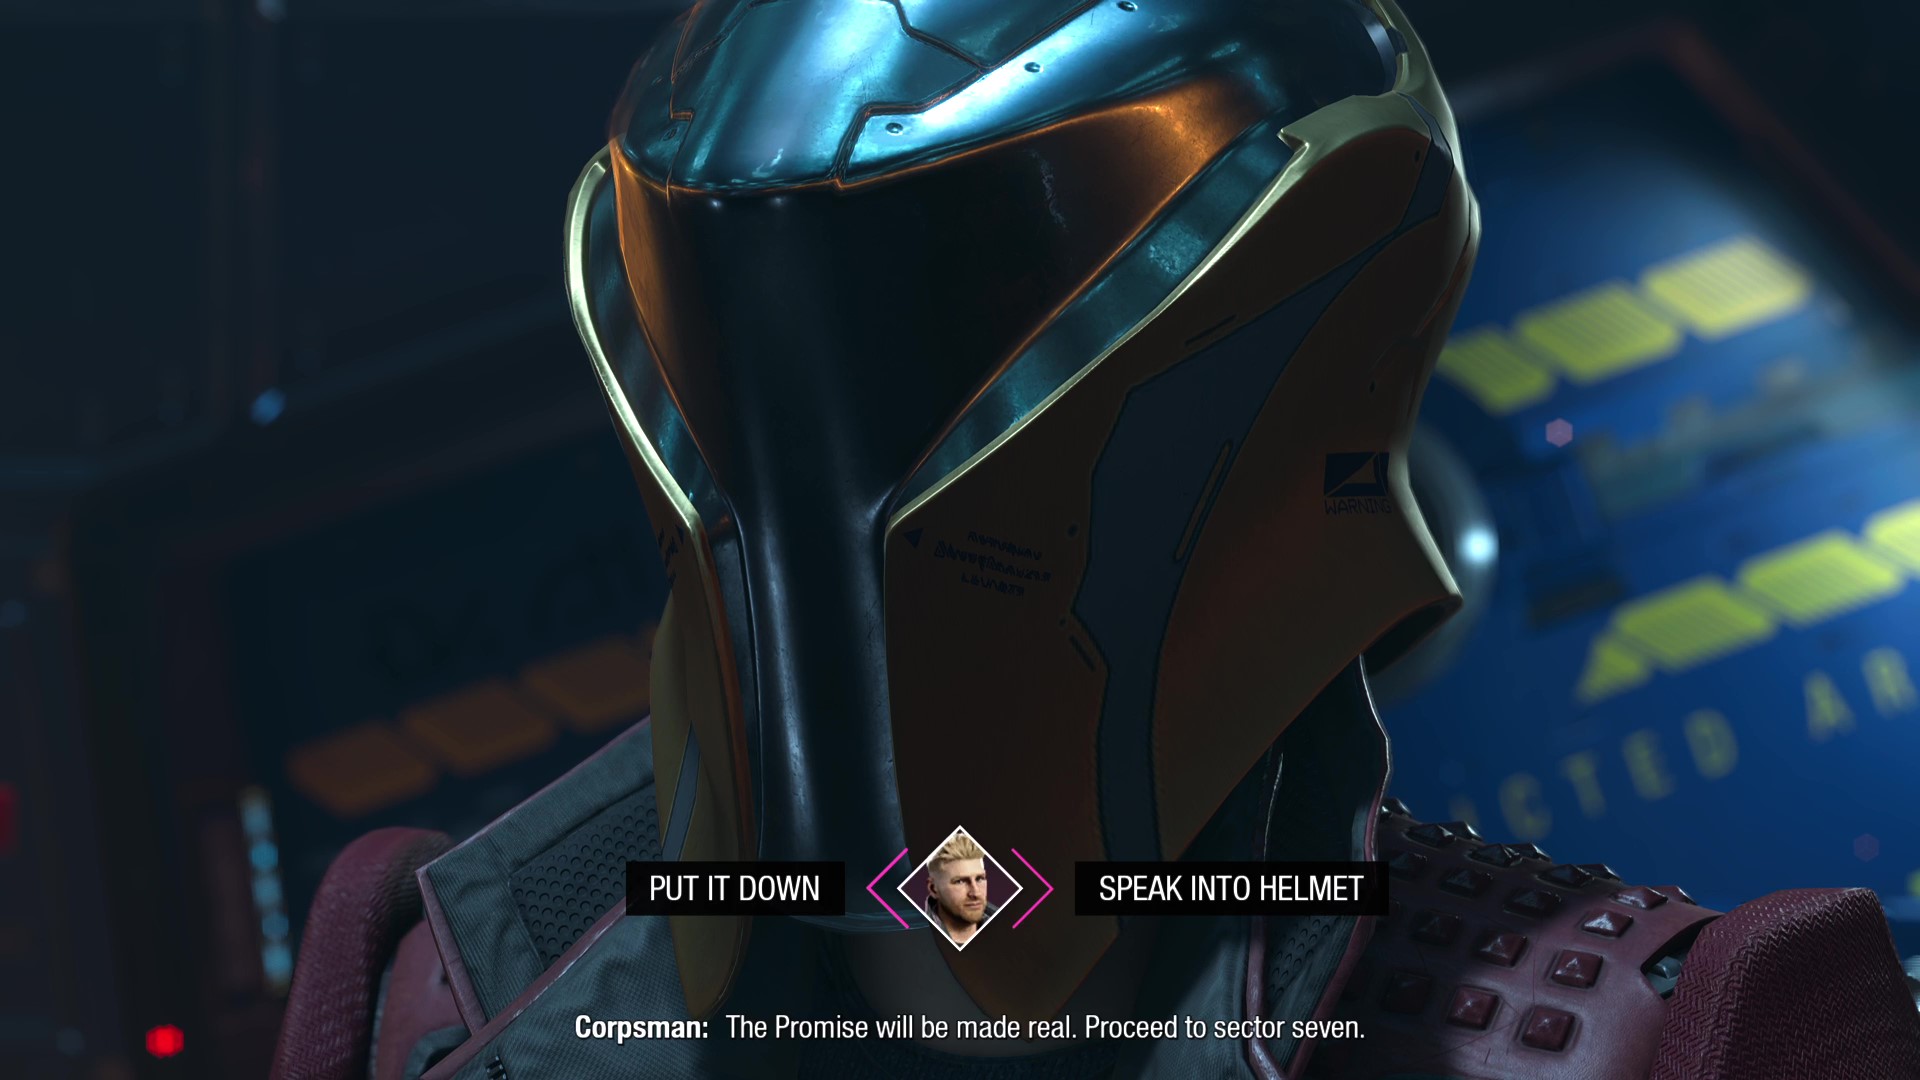
- Speak into helmet: Peter gives away their location to a mysterious enemy and it prompts combat.
- Put it down: The enemy remains unalerted and combat is delayed in favour of rising tension and story elements.
Best choice: Depends on whether you're ready for some combat. Either way it's not far off, but talking brings it about quicker, despite some of the Guardians grumbling about it.
Refuse Disabler or buy Disabler
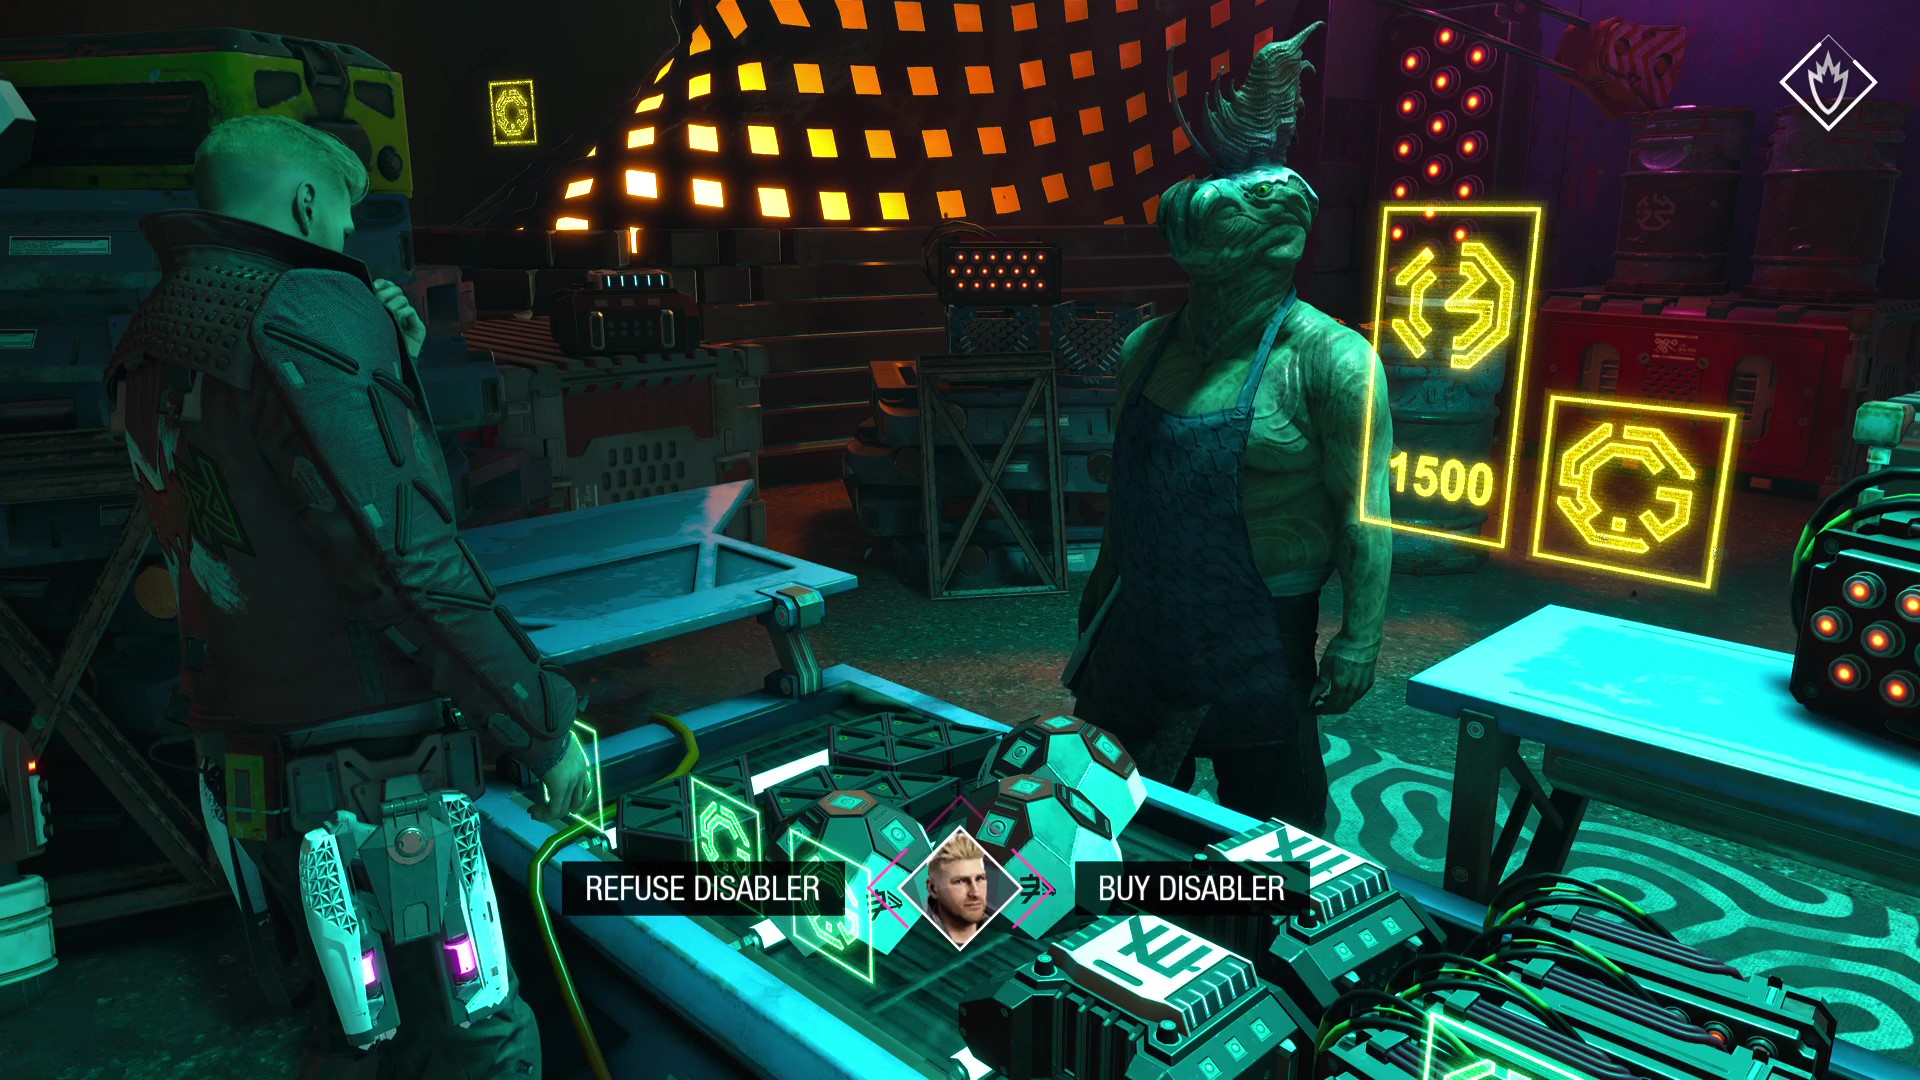
- Buy the Disabler: You lose 1500 credits and gain the Nova Tracker Disabler in your inventory. However, as far as we can tell, there is no opportunity to use it in the story, effectively making it useless and just costing you money.
- Refuse the Disabler: You keep your money and don't get the Disabler.
Best choice: Don't buy it. The fact that you never get around to using it for story reasons effectively makes it a pointless purchase that just depletes your hard-earned money.
Buy Collector's Ticket or refuse Collector's Ticket
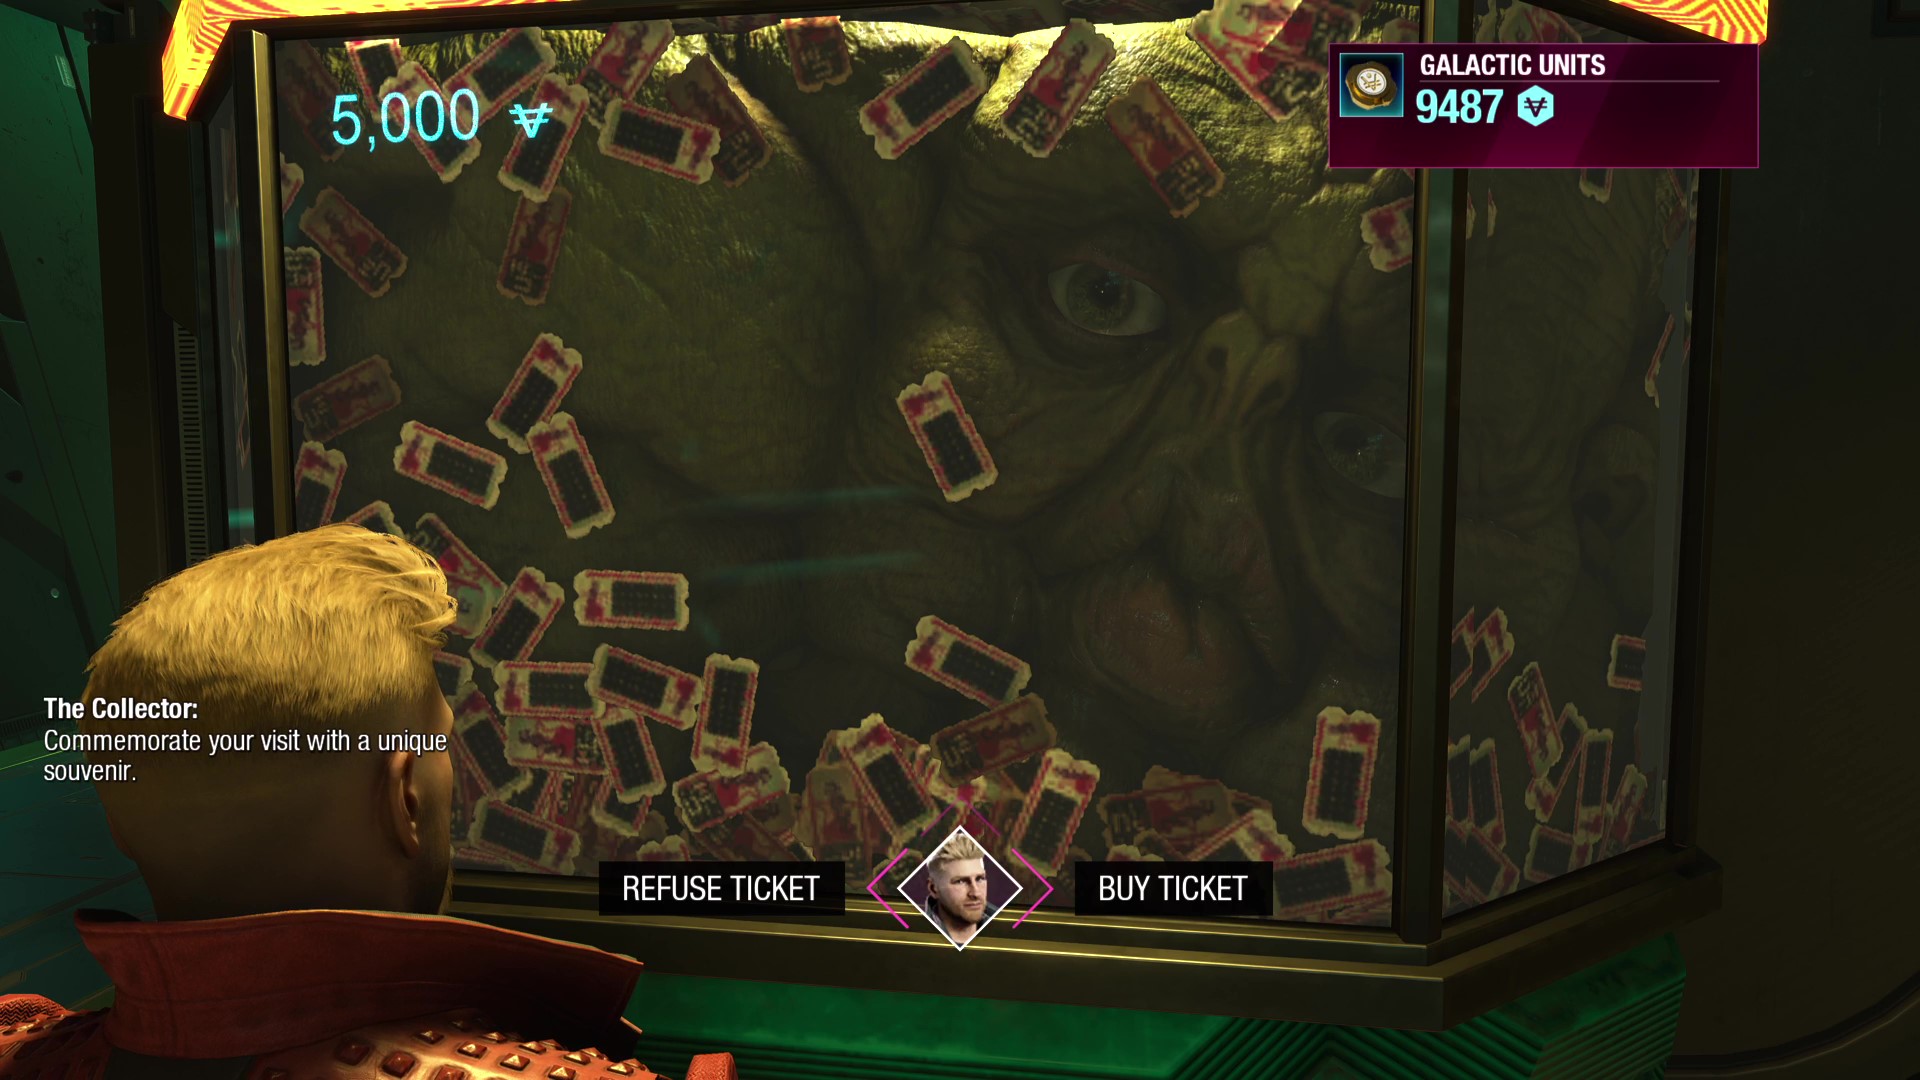
- Buy: You spend 5000 units to get into the Collector's Emporium.
- Don't buy: Nothing happens.
Best choice: The best choice here is a tangent: find the bar where Rocket and Groot are planning a job and you'll run into a character called Lipless. If you can bluff your way through being friends with him he'll give you a free ticket. If you need a hint for the song lyrics he wants you to sing, stick with all the weather-themed options.
Buy Doll from Collector's Emporium or don't buy
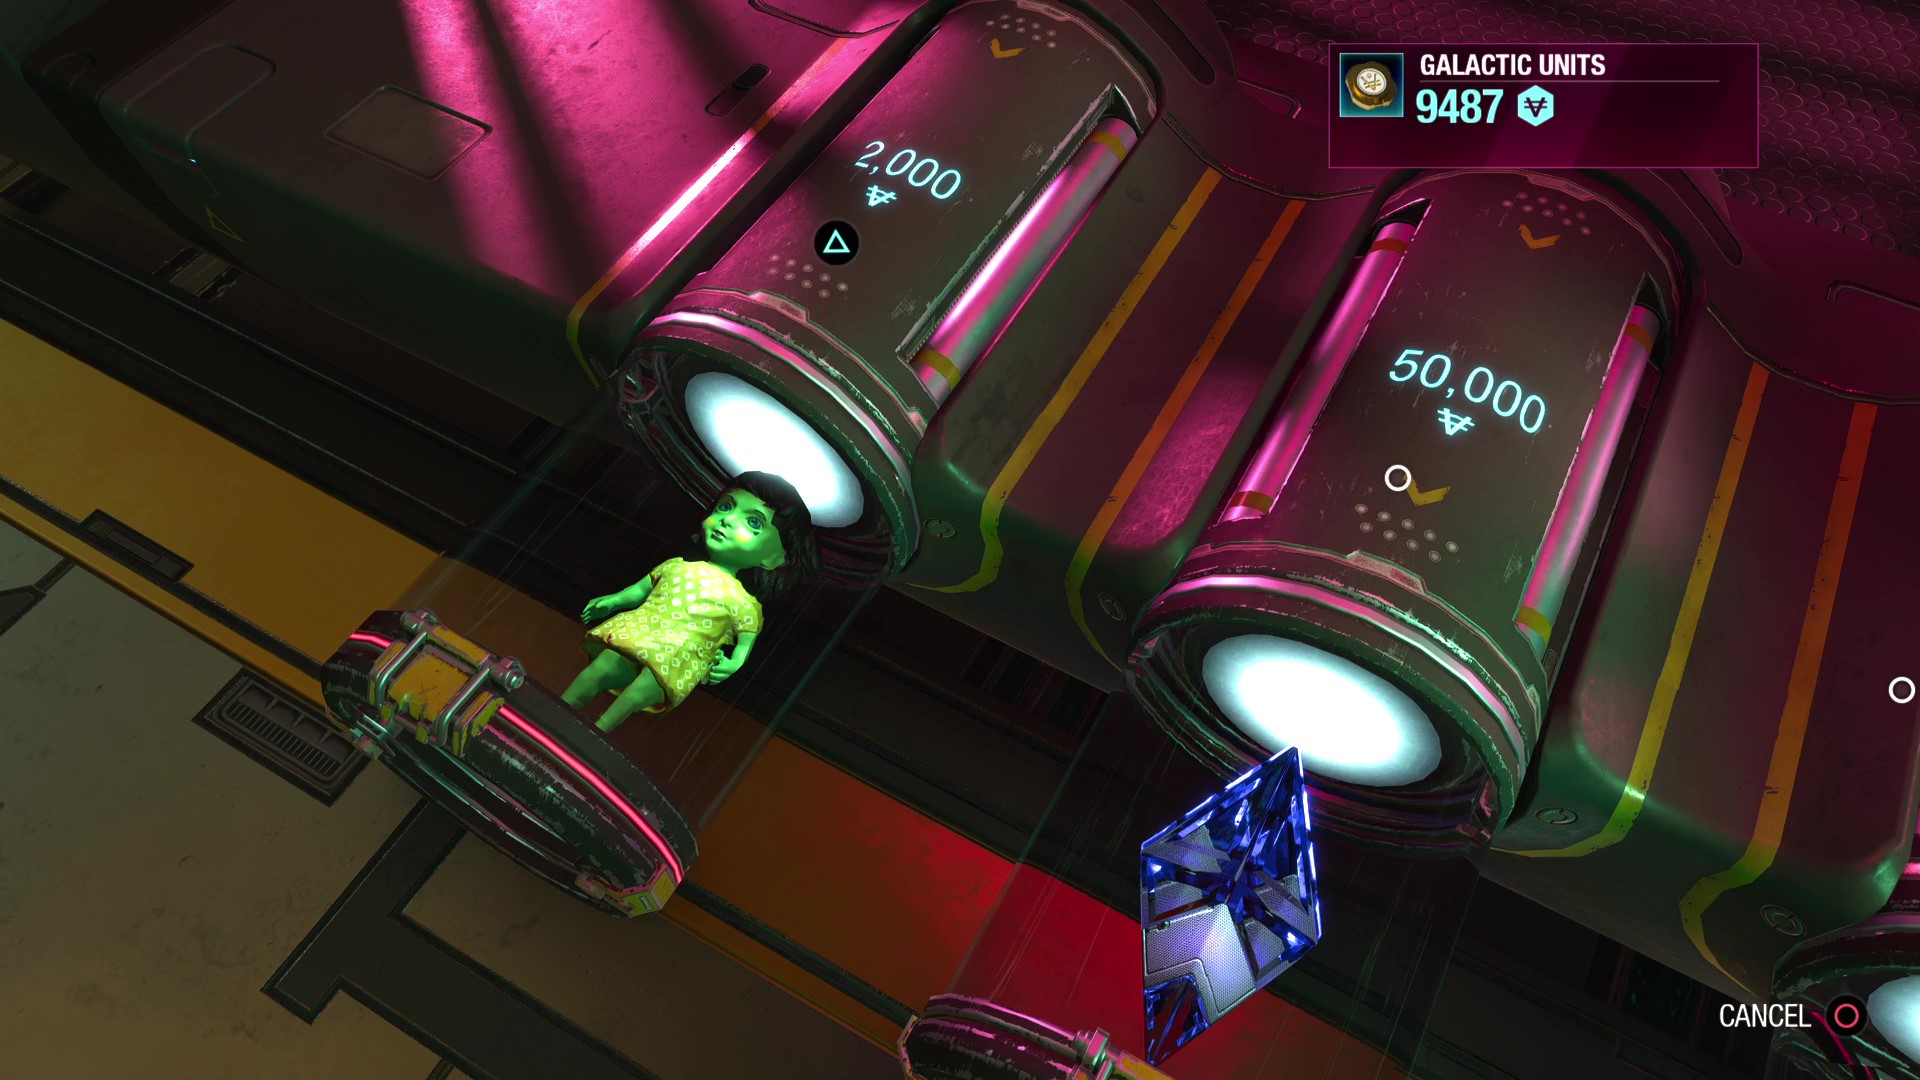
- Buy the doll: You lose 2000 credits and obtain the Green Doll, which serves as a Guardian Collectible for Gamora.
- Don't buy the doll: Nothing happens.
Best choice: If you have spare money, there's no reason not to get the Doll really. It prompts some dialogue with Gamora back on the Milano and goes towards the related achievements and trophies. Of course, there's no penalty to not getting it, so don't do it if you'd rather put those units towards other things.
Distract Raker or don't distract Raker
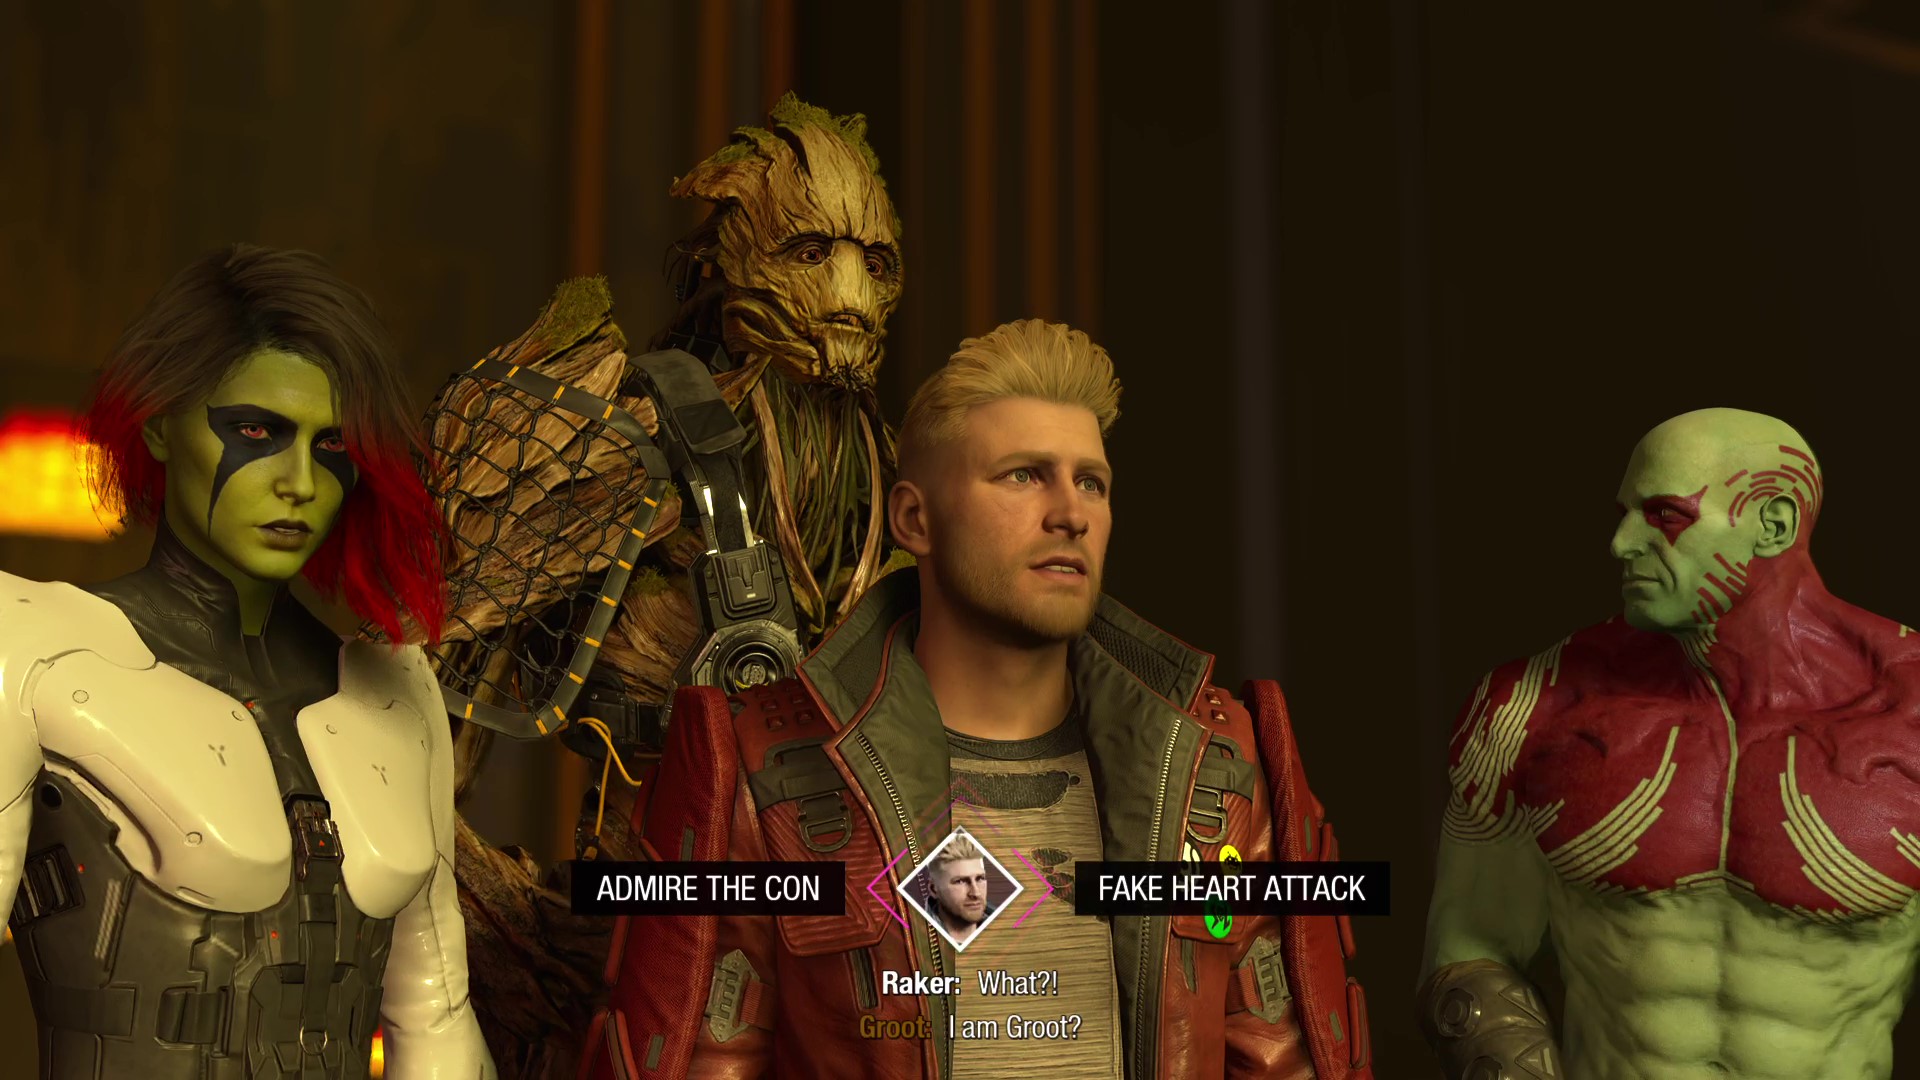
- Distract Raker: To do this successfully, pick the following dialogue options: Feign Interest/Something about her?/Fake heart attack. There are other ways to do it successfully, but this is one of them. If you do it right, Rocket successfully reprograms the drone and later it helps you navigate through the facility while under attack.
- Don't distract Raker: Raker catches Rocket and forces him to stop tinkering with it. No bonus or advantage to this choice.
Best choice: Another good idea/bad idea scenario, there's no conceivable benefit to not hacking the drone, making this more of a puzzle than a choice. Later on there'll be a room with numerous paths splitting off from it while infinite enemies spawn to kill you. If you have the drone, it shows you the right way out immediately, otherwise you have to find the specific door yourself through trial and error while under fire.
Let Gamora go after Raker or stop her
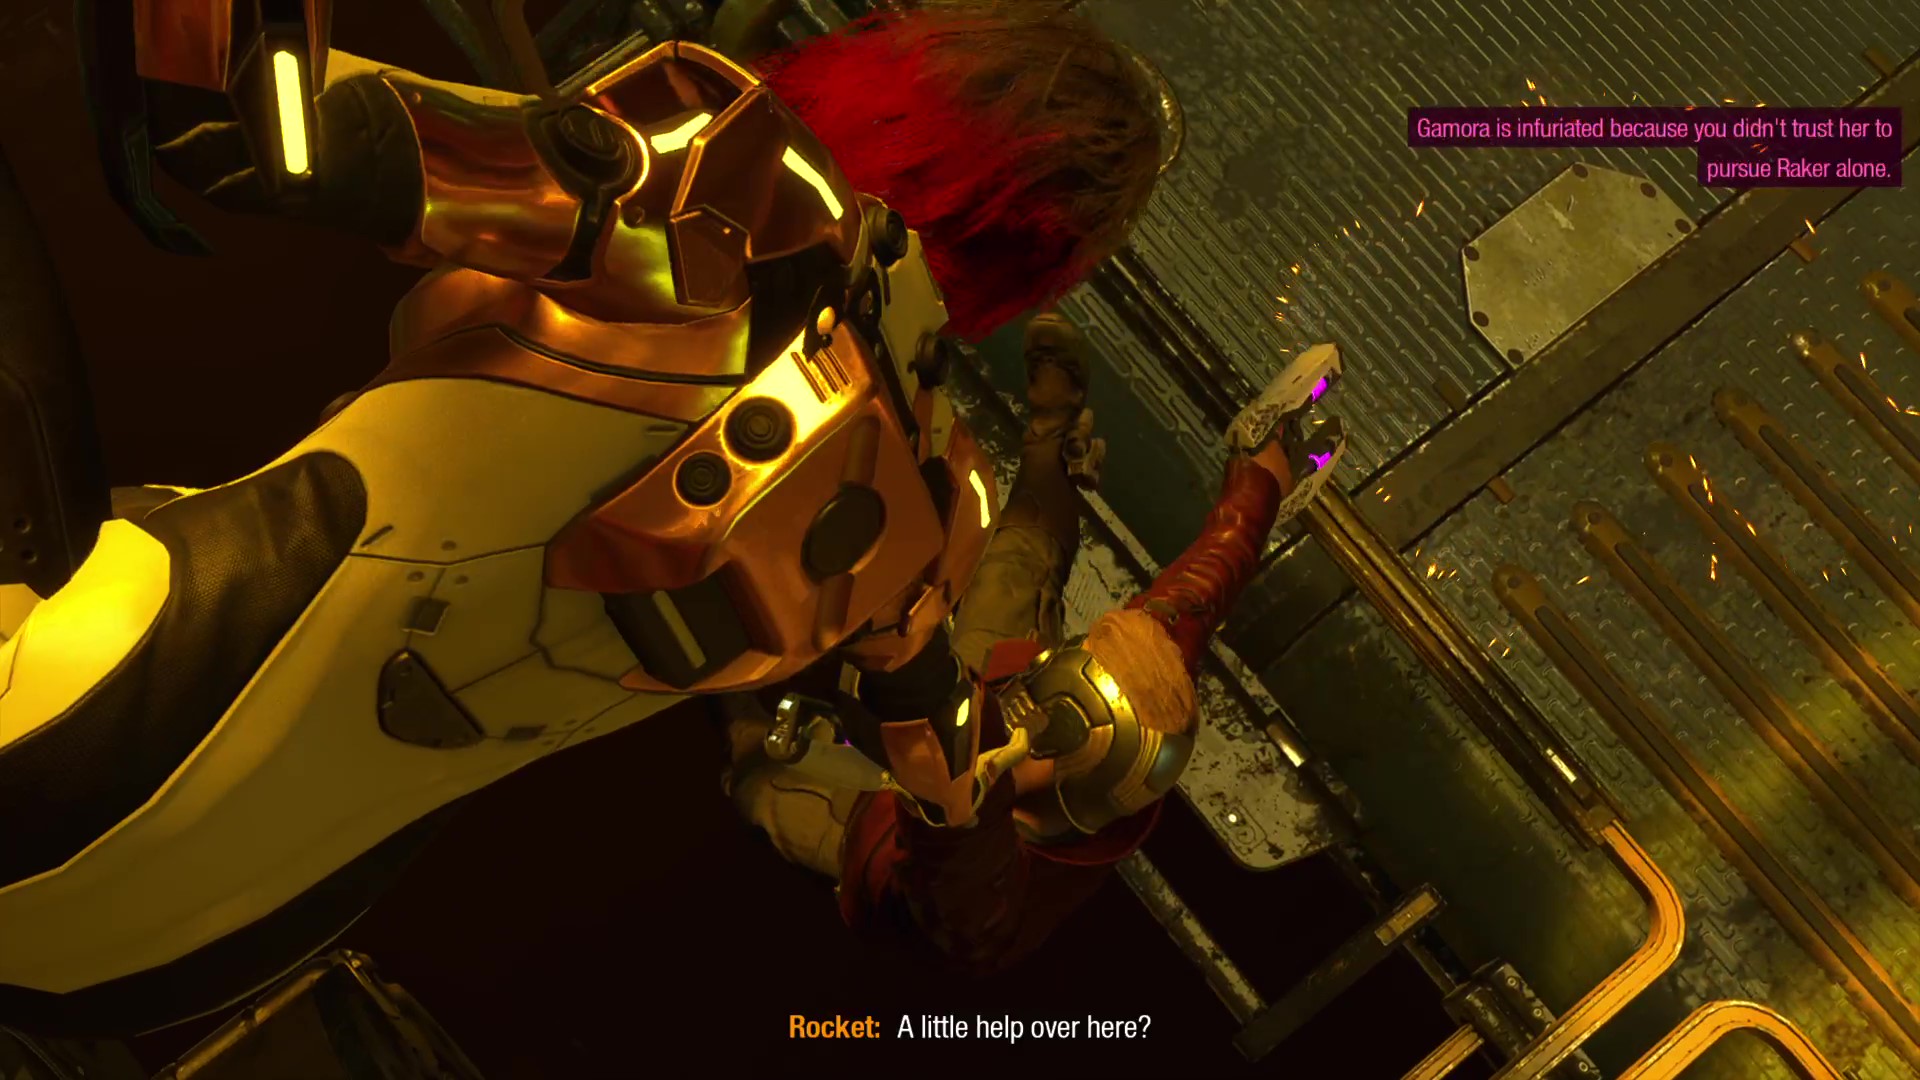
It's not an obvious choice by any means, but while you're fighting your way out of the Sacrosanct Gamora will suddenly break off from the group to pursue Raker in full assassin mode. She runs up an elevated path, and if you physically follow her, you can actually stop this from happening. But should you?
- Trust Gamora: Gamora won't be a part of your team for the rest of the Sacrosanct breakout, essentially forcing you to play with one less ally. It's harder to do, but by no means impossible. Later on, Gamora will return having wounded Raker, which will make a later boss fight against him easier.
- Stop Gamora: Gamora is forced to avert her assassination plan when Peter immediately falls off a walkway and she has to catch him, giving Raker a chance to escape. She's outraged, but will be there for the rest of the battle out of Sacrosanct.
Best choice: Let Gamora do what she does best. The battle out of Sacrosanct is tricky and having one less teammate will make it more of a struggle, but damaging Raker is a good idea and she appreciates you trusting her later on.
Pay fine or don't pay fine
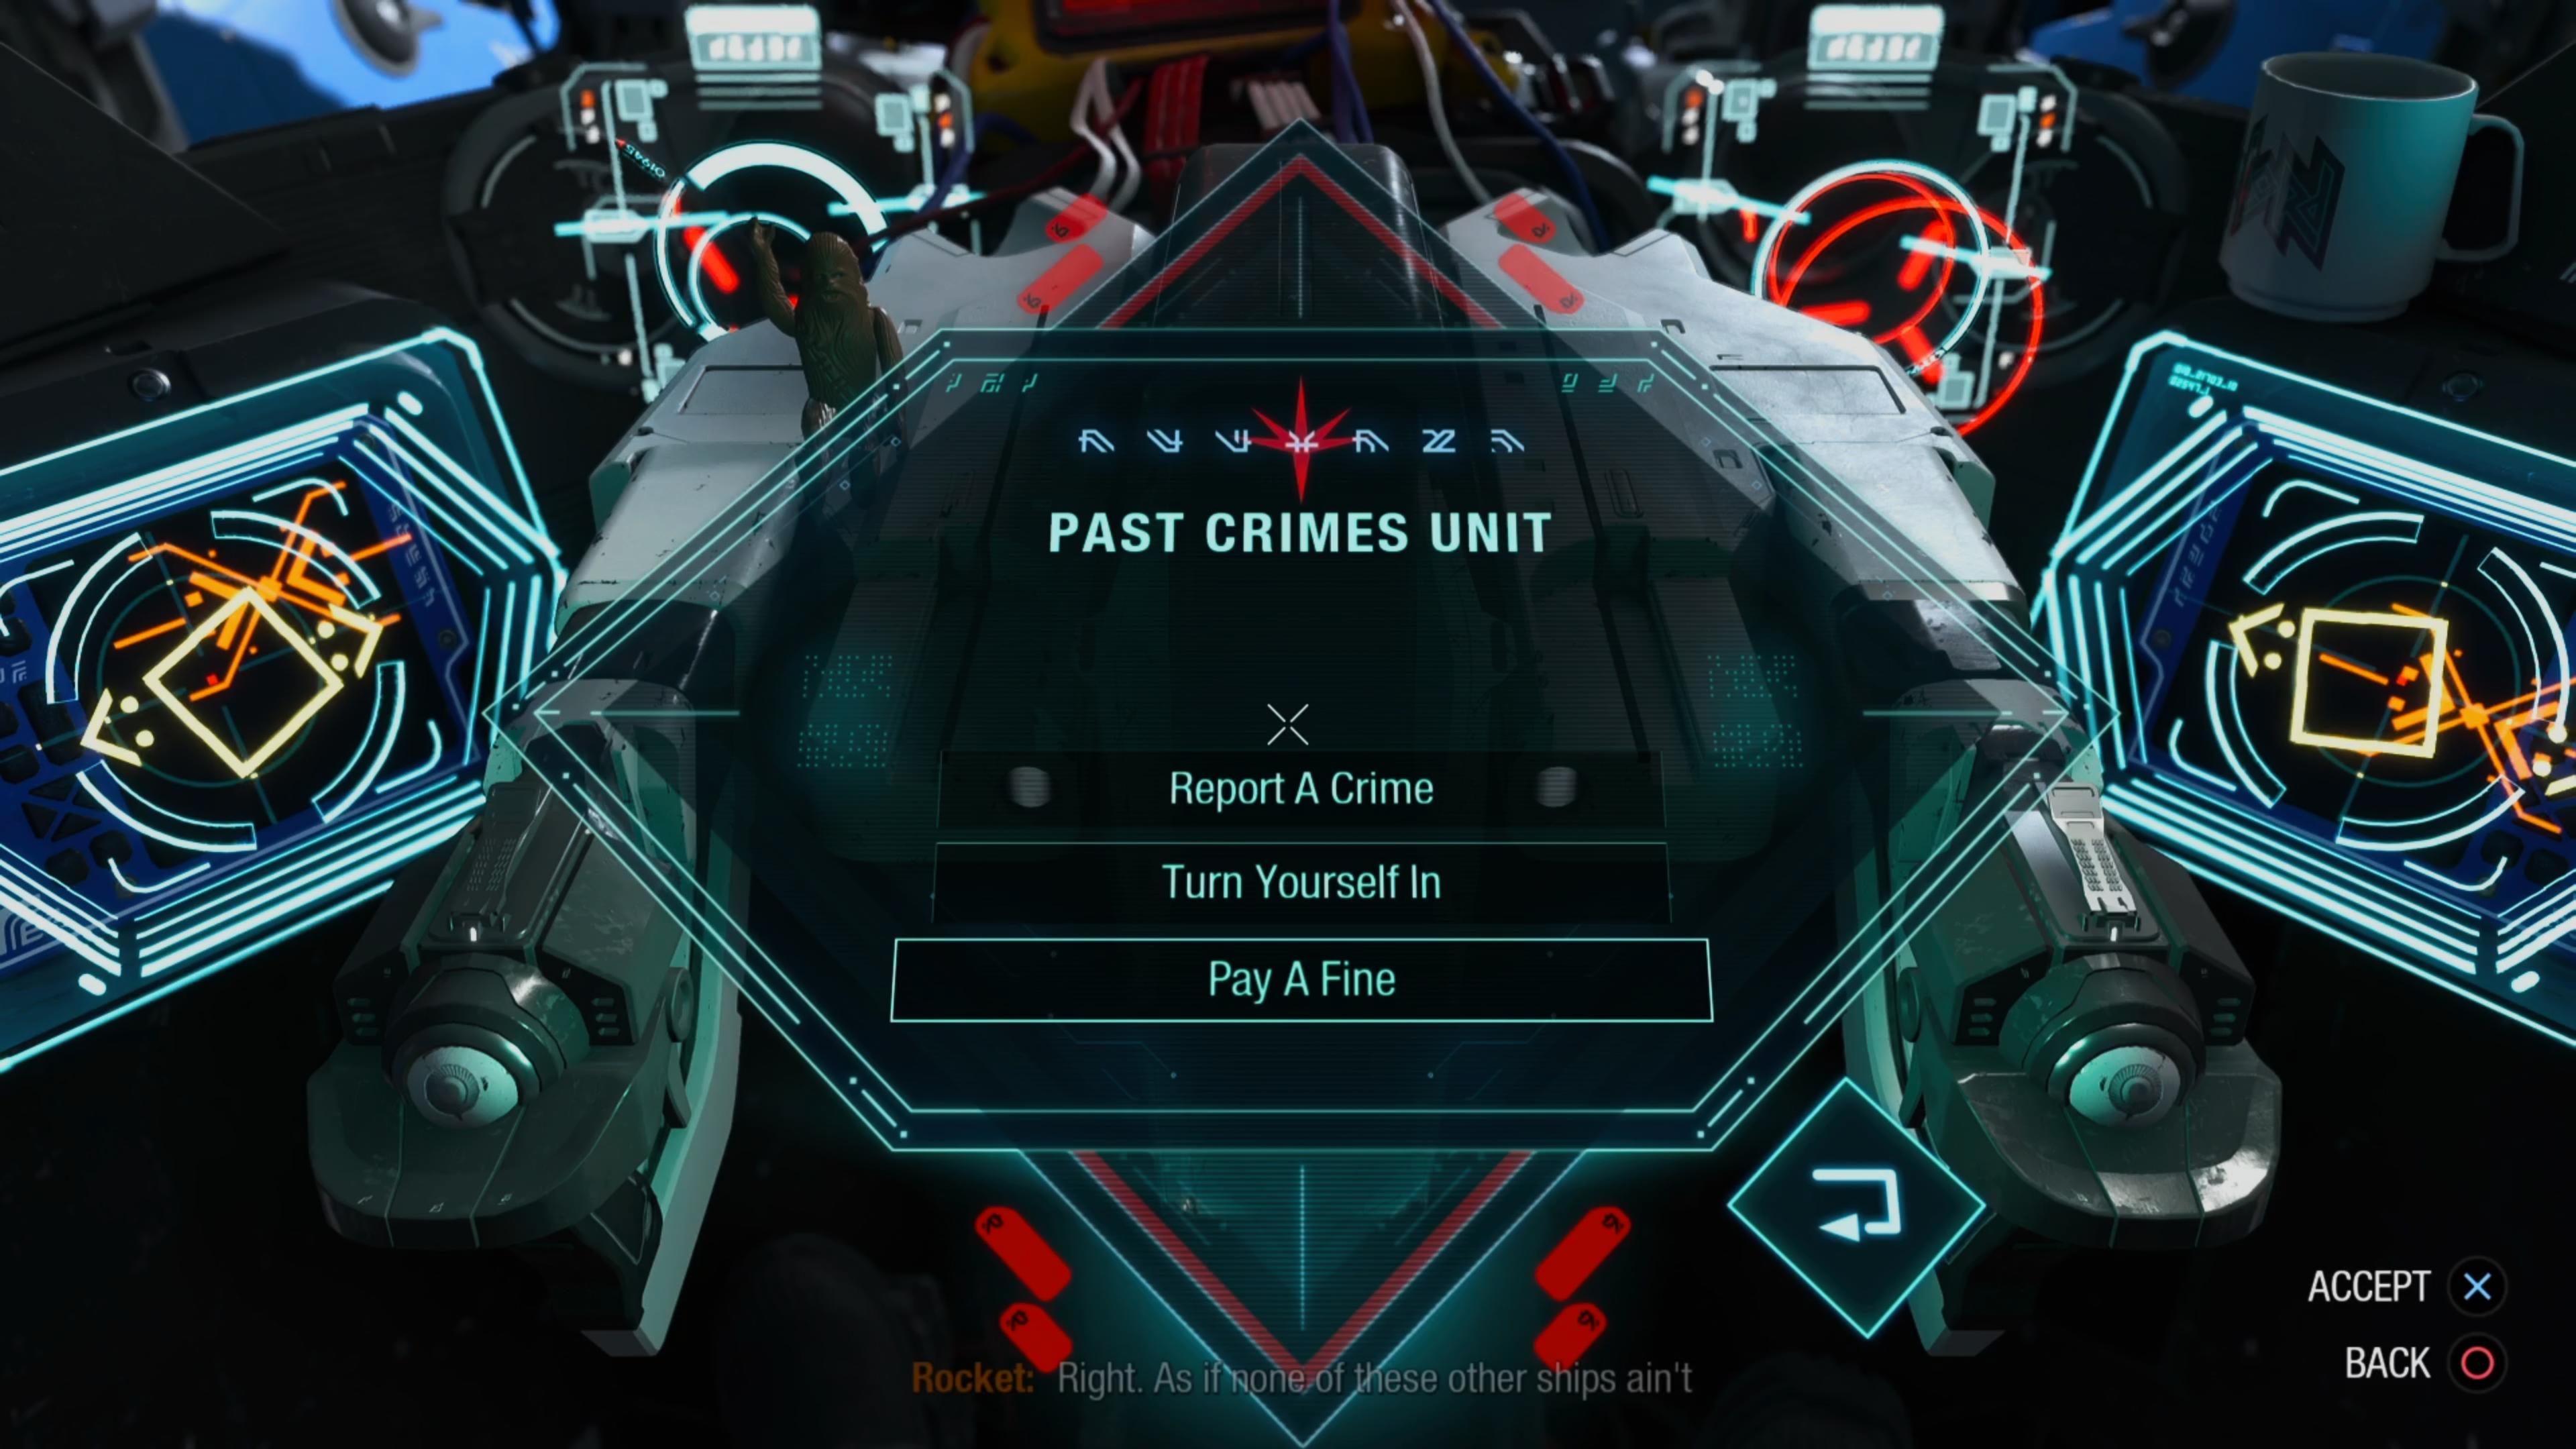
- Pay fine: You get an Achievement/Trophy.
- Don't pay the fine: Nothing happens. Even further down the plot, not paying the fine will not be a real issue.
Best choice: It honestly makes no difference, so you might as well get the achievement. There won't be any further points to spend units in the game, so you don't need to save them, but you also don't need to worry about the Tracker for plot-related reasons.
Worldmind dialogue choices
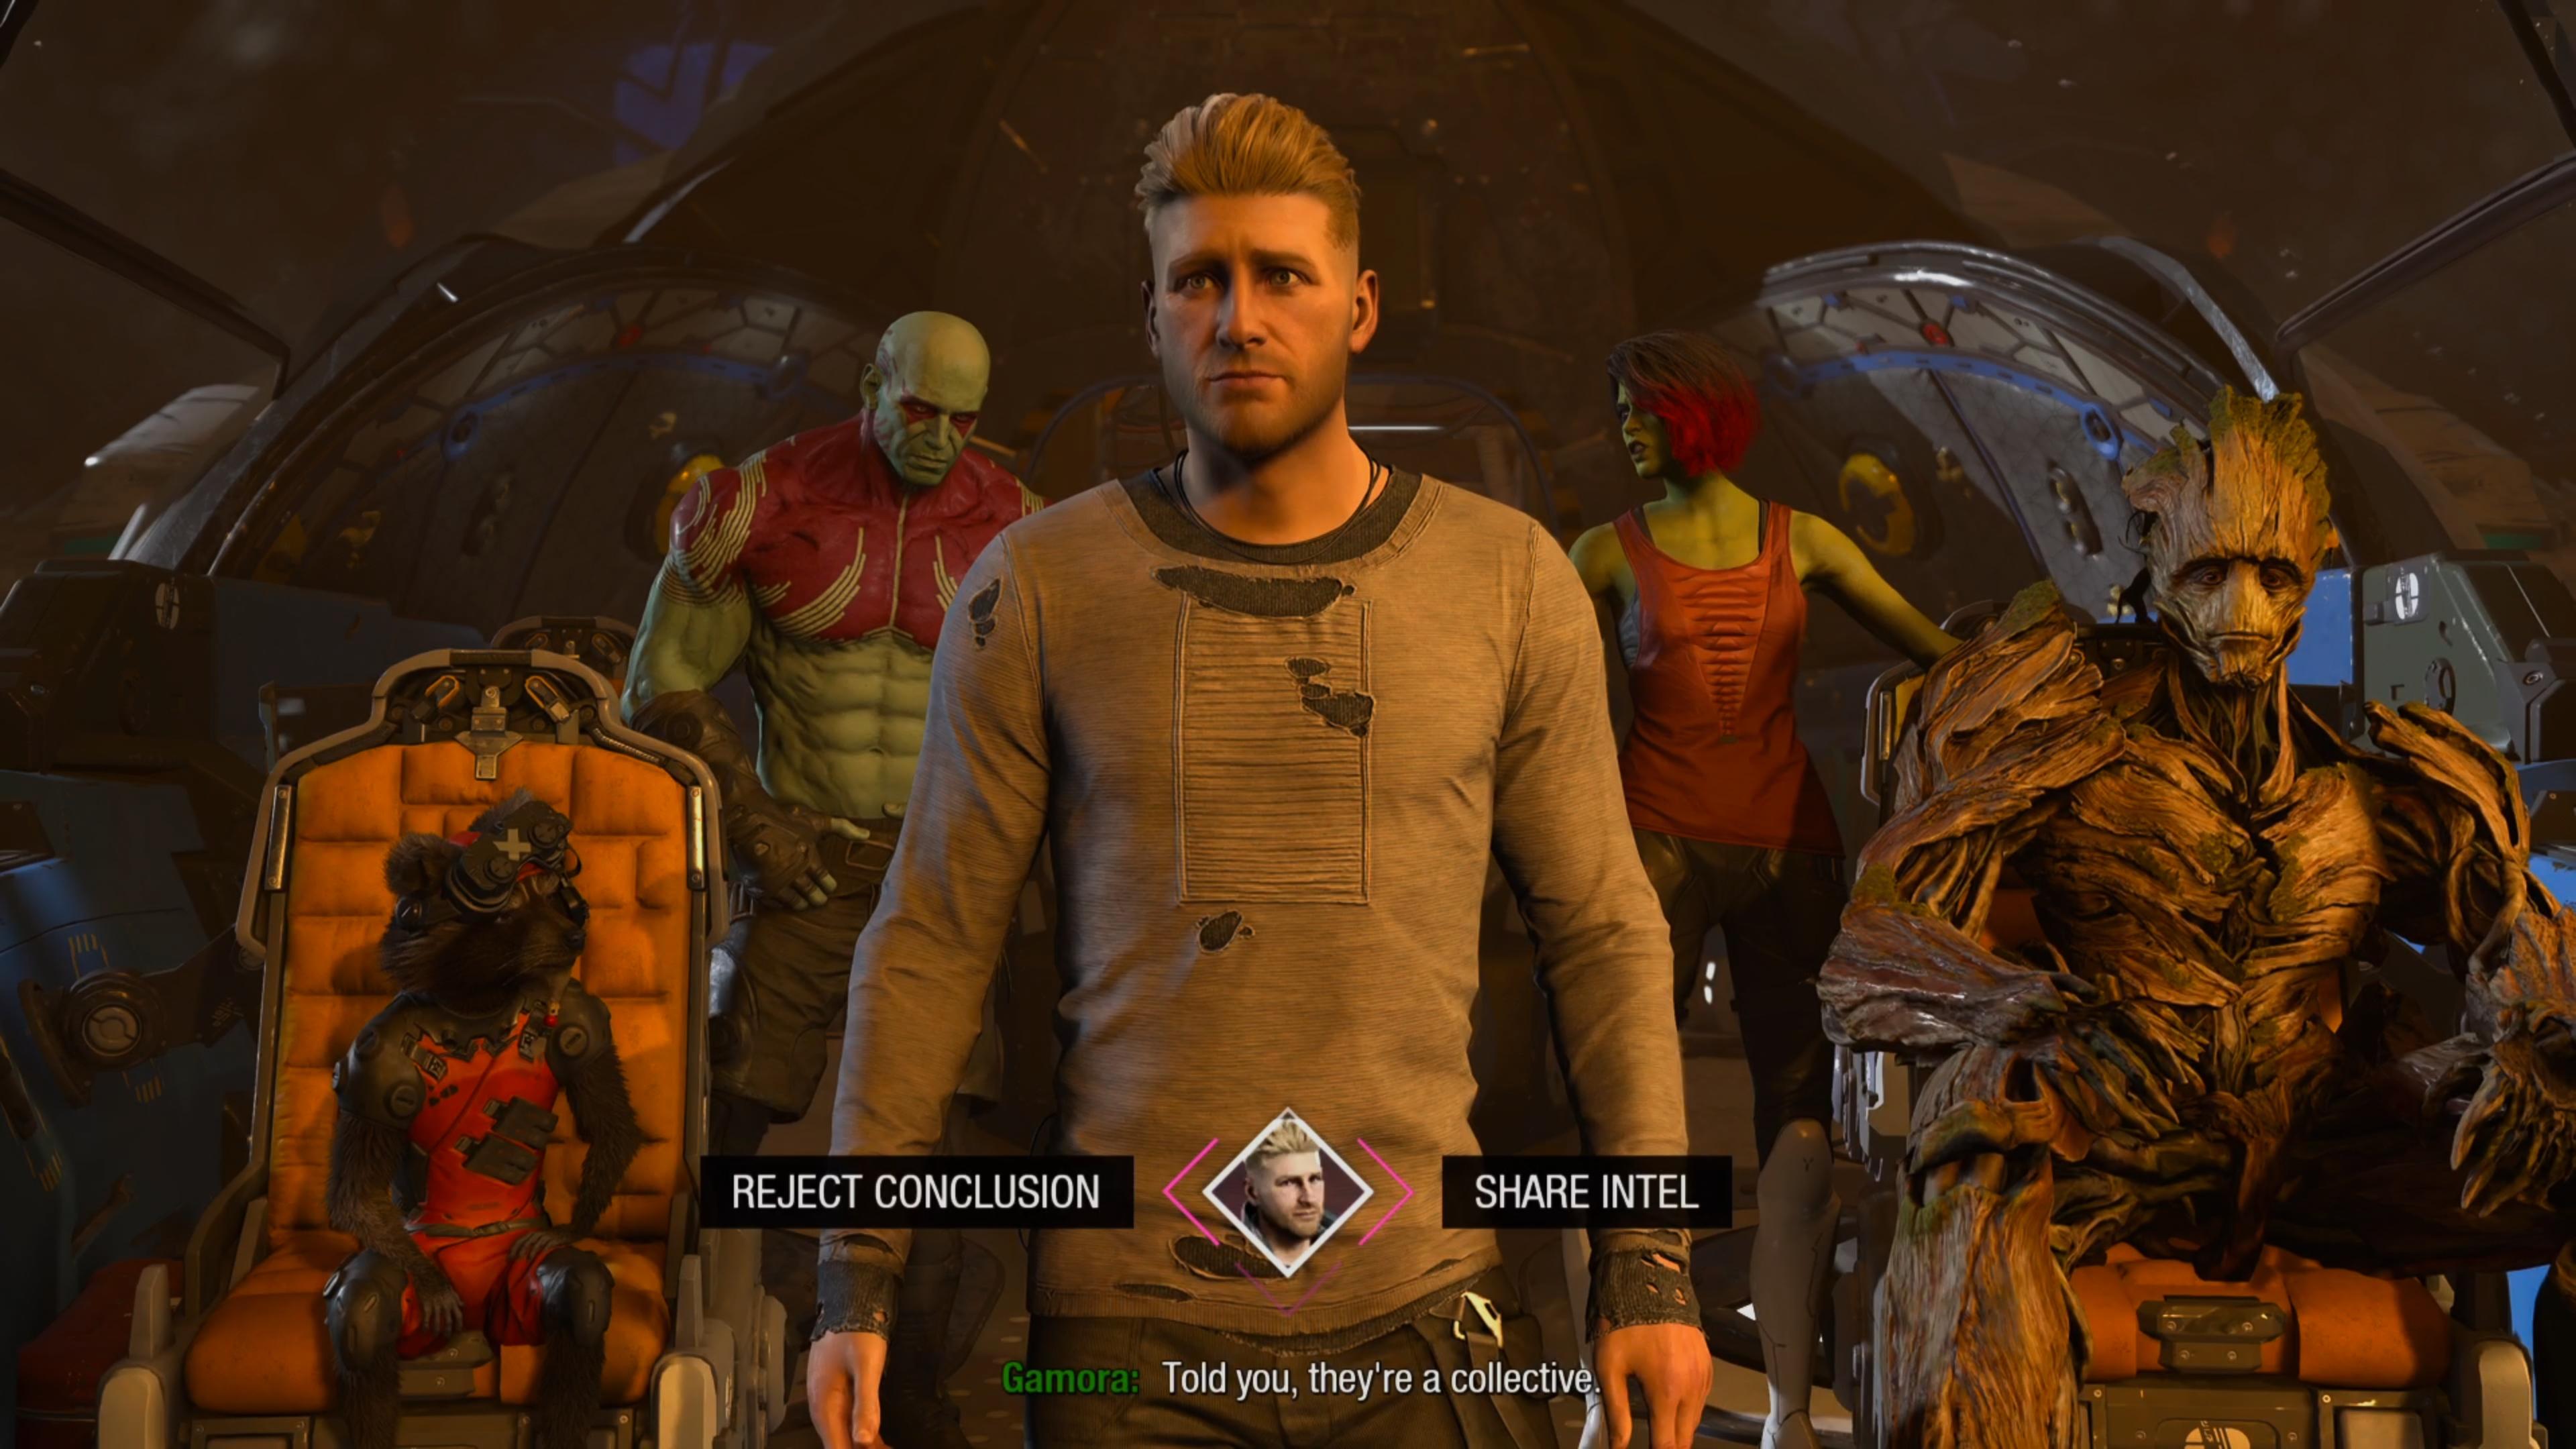
The Worldmind dialogue has numerous options that serve as more of a puzzle than a straight moral or tactical choice. If you can convince the big face, it might help you against Raker and the Church. You need to pick the following:
- Share Intel
- Appeal to Duty
- Put in Perspective
If you do, you'll get a consequence text box that reads "You planted a seed of doubt in the Worldmind's logic." While this doesn't have any immediate effect, in a far later scene the Worldmind will return and do massive damage to a room full of tough enemies, giving you a lot of help. If it's not there, it's a harder fight, though not impossible.
Cosmo dialogue choices
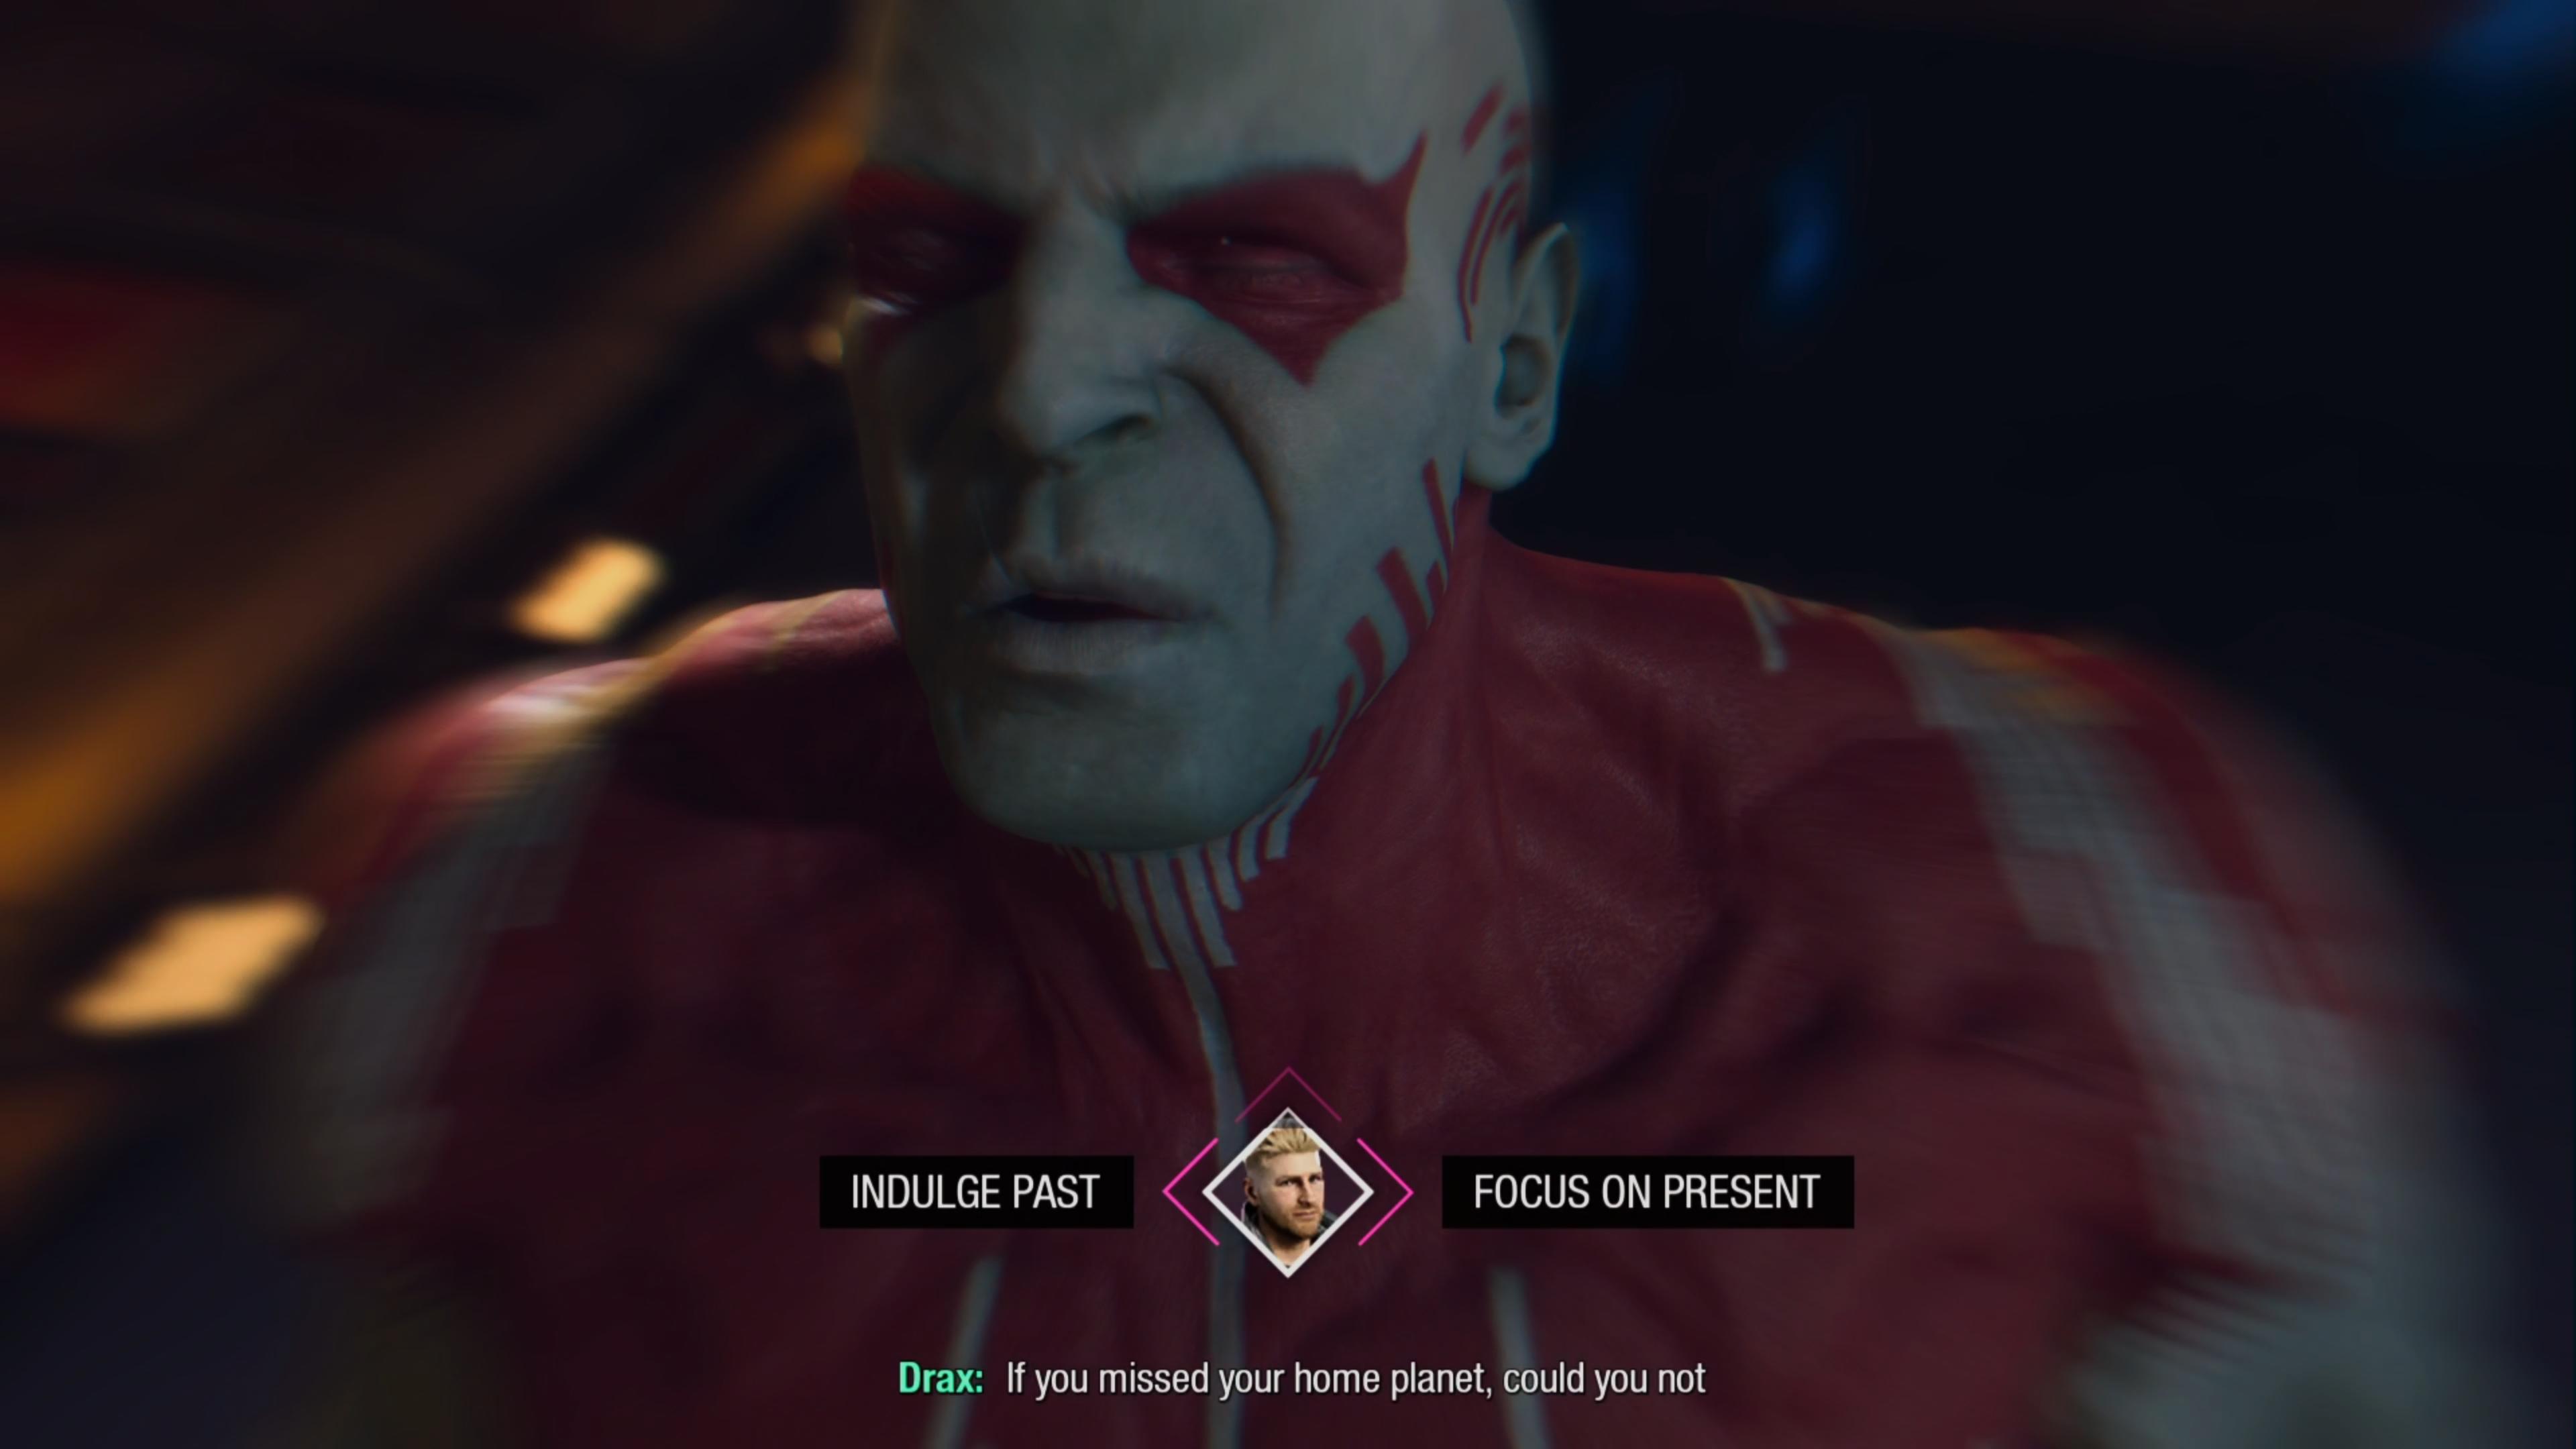
Similar to the Worldmind, later on you'll return to Knowhere and have a meeting with Cosmo, who… isn't doing well, to say the least. Like above, the dialogue is more about convincing him than taking a stance one way or the other. There seem to be multiple solutions, but here's a combination of sentences we guarantee works.
- Offer hand to Cosmo
- Focus on present
- Remind about puppies
Doing this correctly will generate a text box that reads "Cosmo appreciates your help in freeing him from his Promise". Later on, he'll return to help you in a major brawl against many enemies, using a unique weapon you haven't seen before.
Nikki Promise dialogue choices
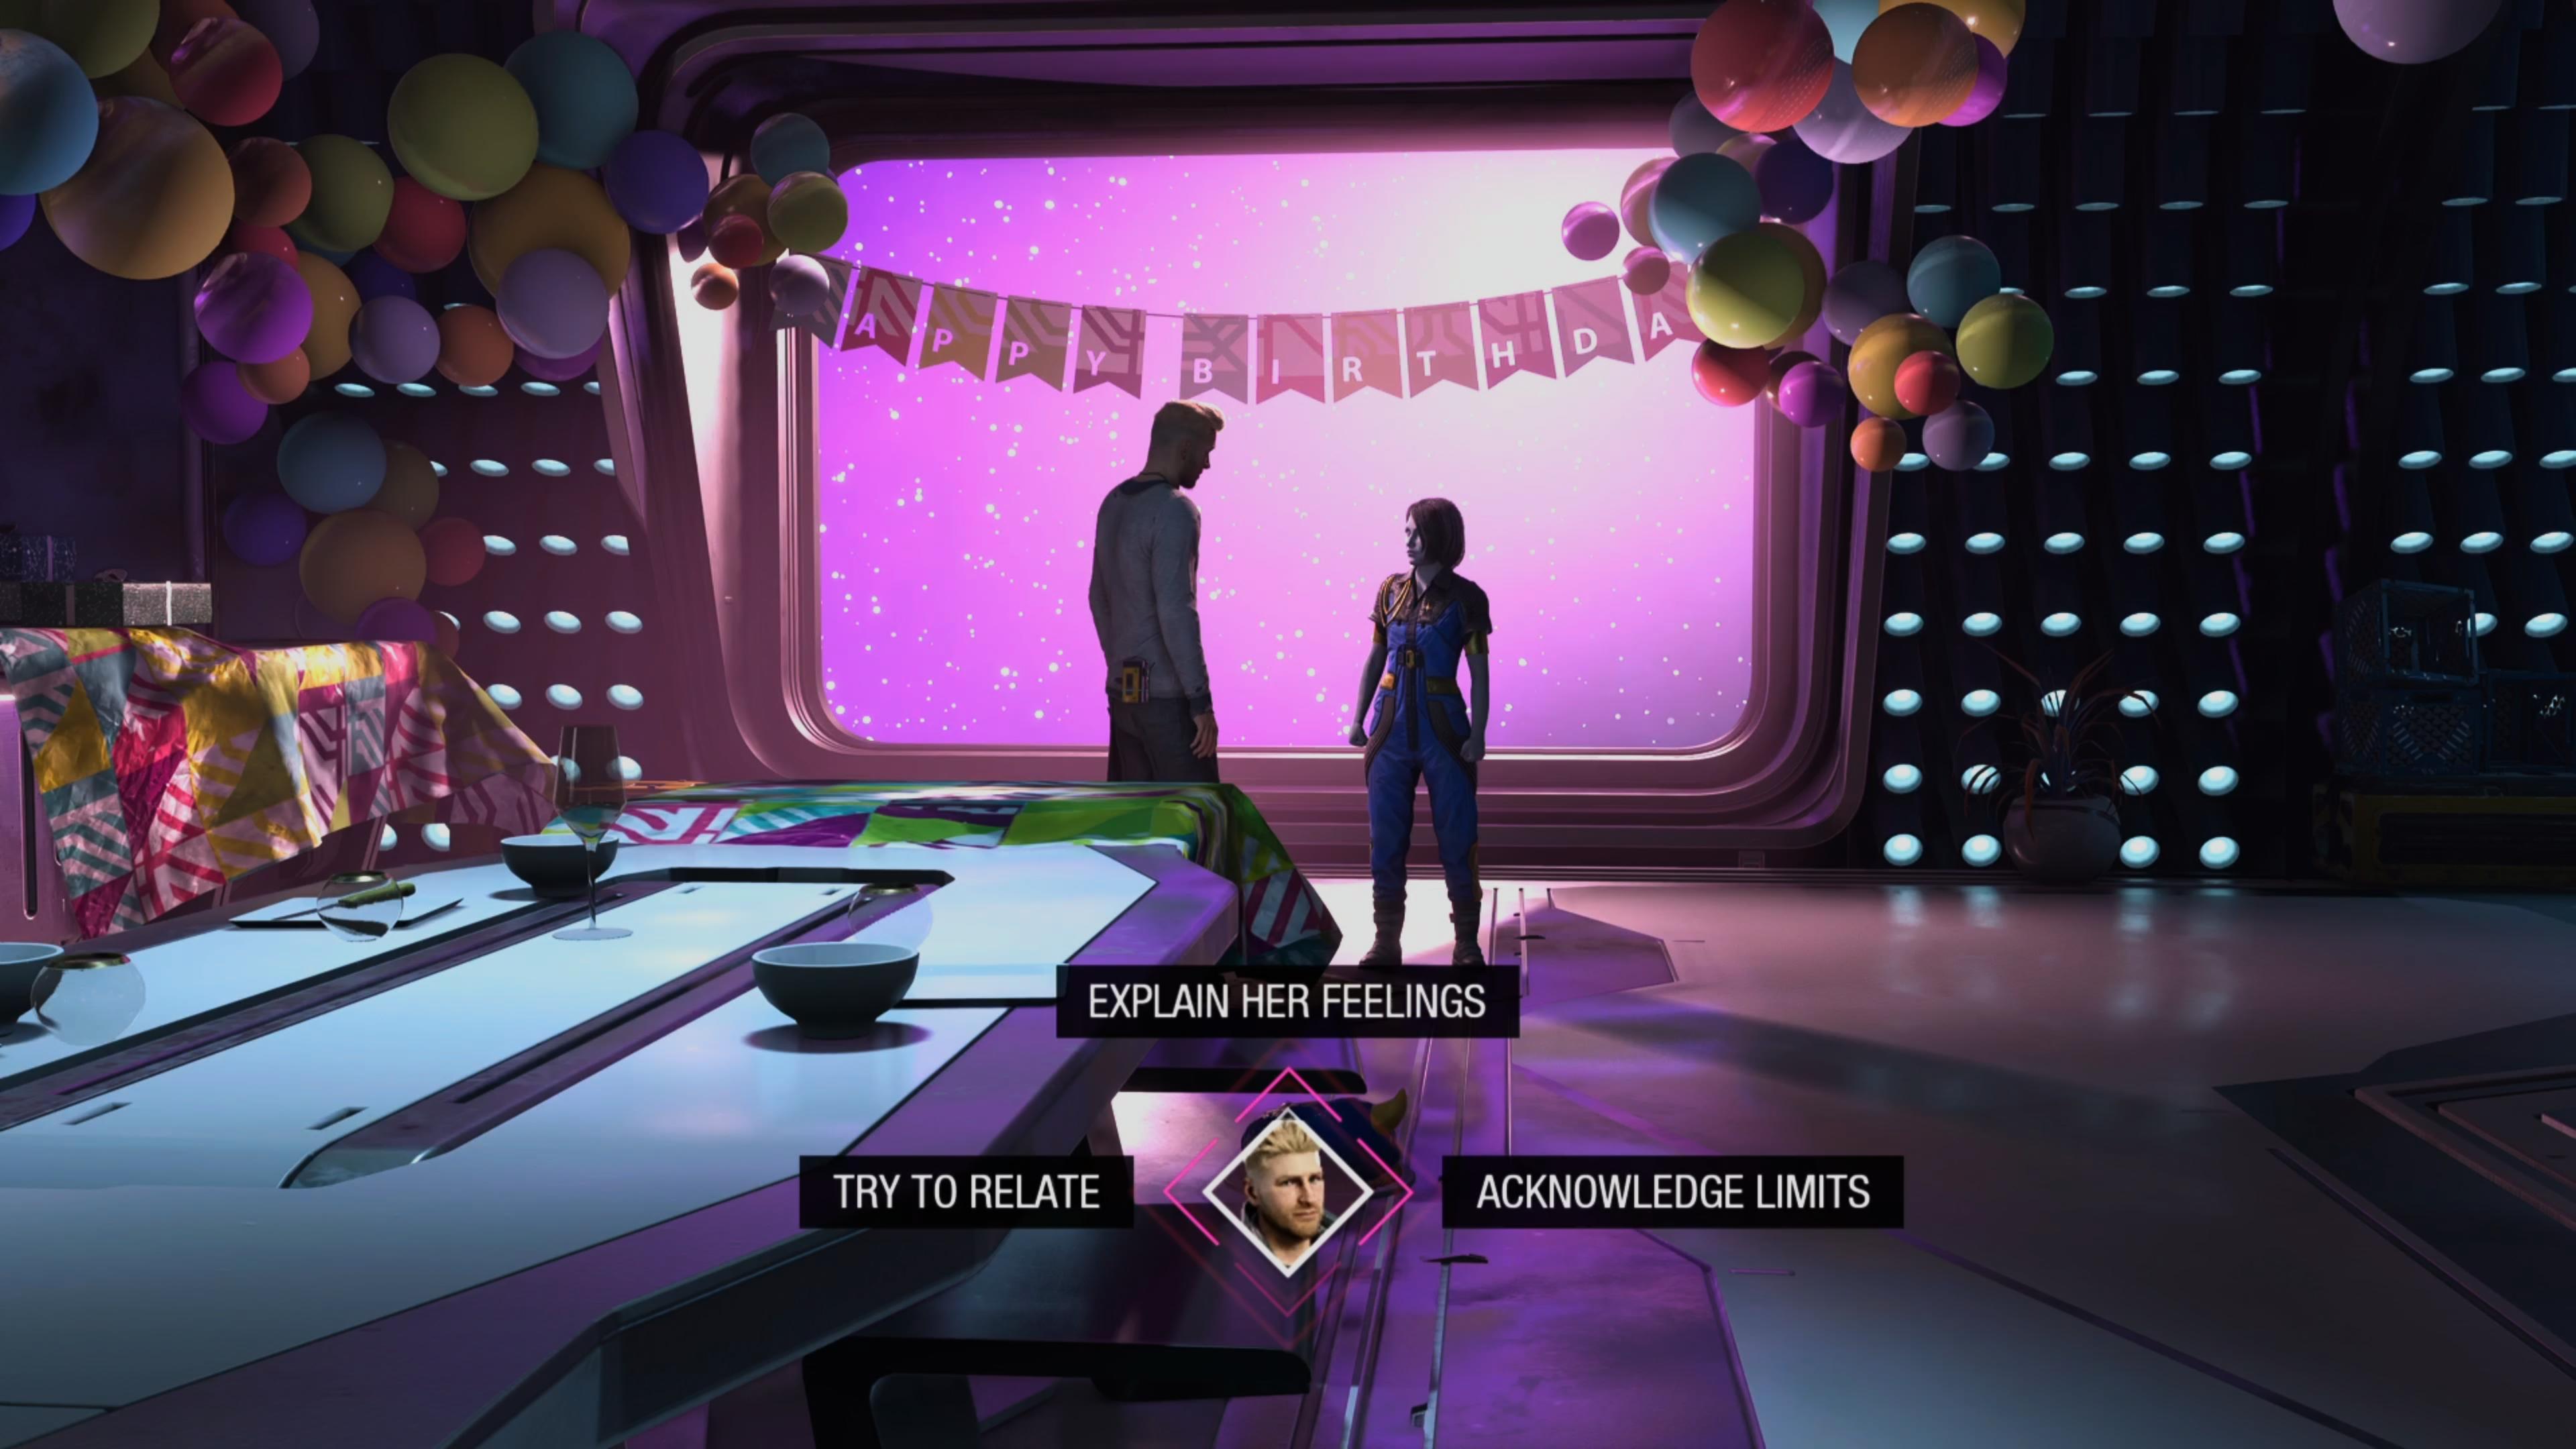
Near the end of the game you'll return to Nikki's Promise with a new approach and a new idea for the best way to handle things. Once more, this is a dialogue puzzle - you have to convince Nikki to see things in a new light, and you'll need the right phrasing and speech choices to do so. Rather than triggering long-term consequences, you'll actually be forced to start over if you get it wrong, so it's important to know the best approach. Take the following choices to start your career in child therapy.
- Acknowledge limits
- Ease her guilt
- Trust Nikki
Do this and things will resolve, for better and for worse. This leads to some kind of resolution and another big fight with a familiar foe.
Magus boss fight dialogue choices
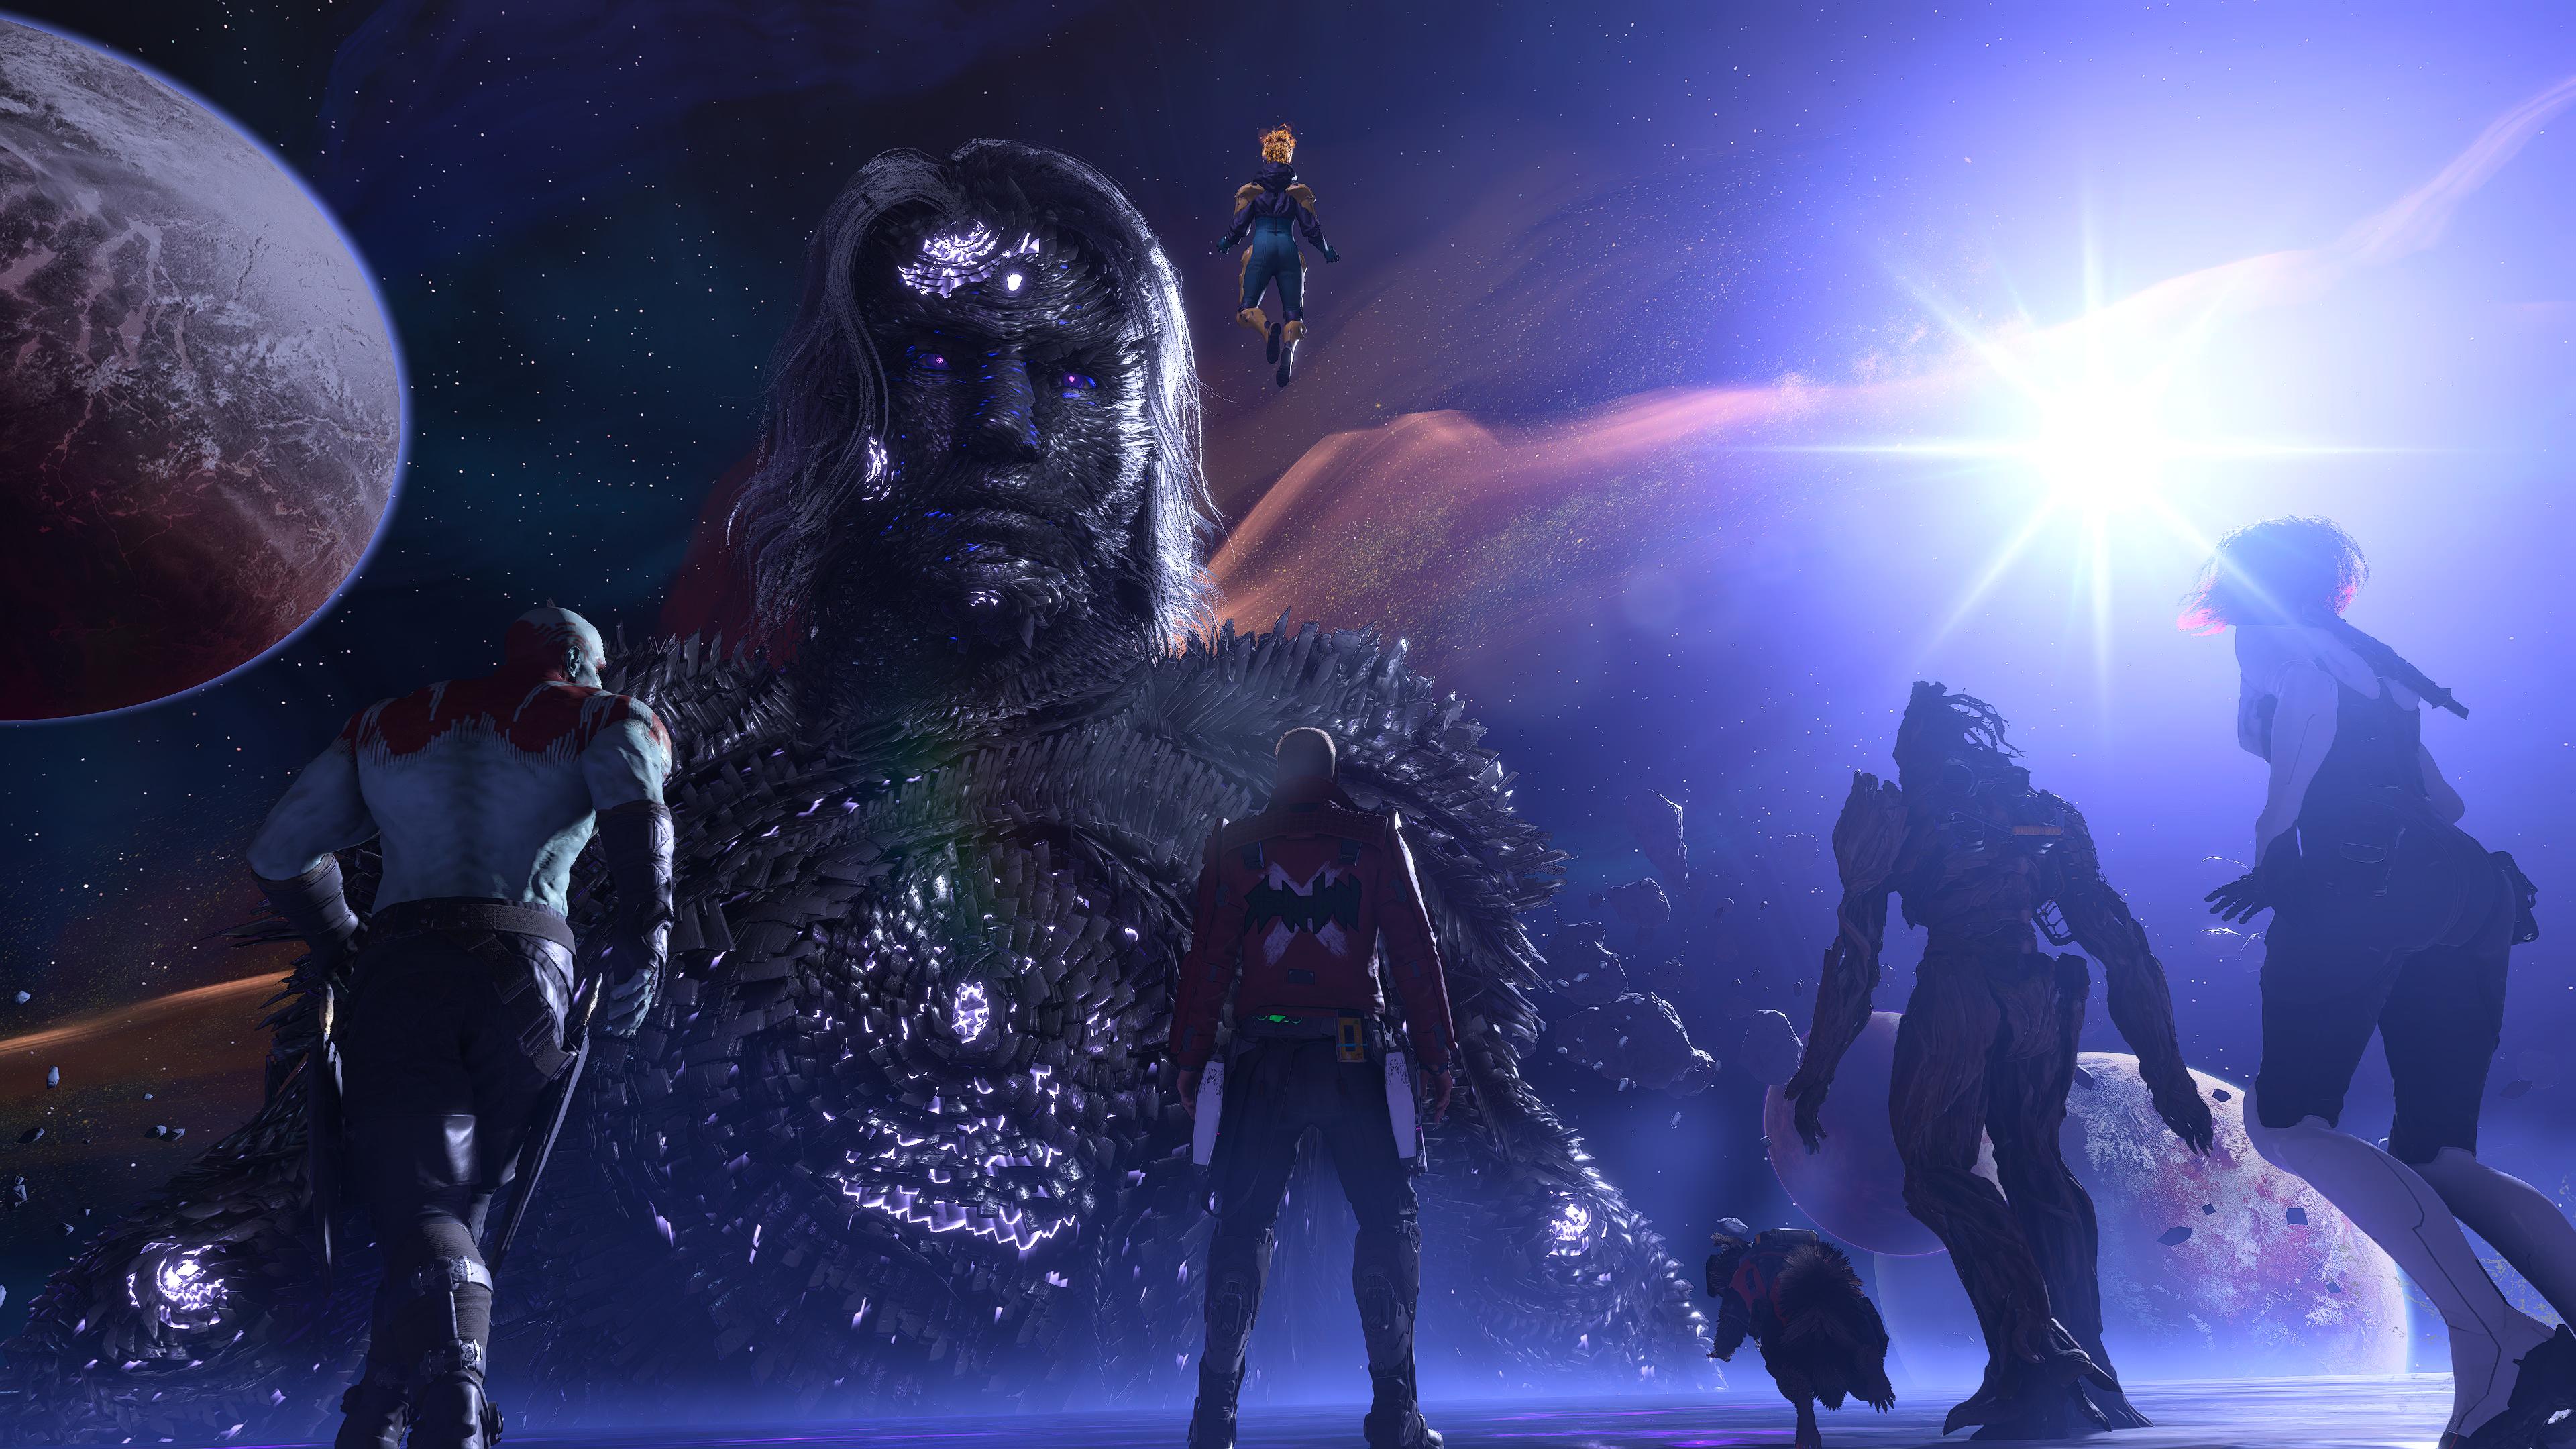
In the final surprise boss fight against the Magus, part of your strategy is based around taunting him to get in close enough that you can hit him with a surprise attack. This isn't hard, as the Guardians effectively tell you what to do - annoy and antagonise him as much as possible. For that, just choose the following:
- Slow clap
- Badger him
- Provoke the Magus
Do this, and the big purple idiot will get in close to retaliate, leading to the final sequence of the game. Congratulations, Guardians! Cue rock music, etc, etc.
Guardians of the Galaxy tips | Guardians of the Galaxy upgrades available | Guardians of the Galaxy box under the stairs | Guardians of the Galaxy Huddle answers | How long is the Guardians of the Galaxy game? | Is Guardians of the Galaxy co op?
© GamesRadar+. Not to be reproduced without permission.

Sam Loveridge is the Brand Director and former Global Editor-in-Chief of GamesRadar. She joined the team in August 2017. Sam came to GamesRadar after working at TrustedReviews, Digital Spy, and Fandom, following the completion of an MA in Journalism. In her time, she's also had appearances on The Guardian, BBC, and more. Her experience has seen her cover console and PC games, along with gaming hardware, for a decade, and for GamesRadar, she's in charge of the site's overall direction, managing the team, and making sure it's the best it can be. Her gaming passions lie with weird simulation games, big open-world RPGs, and beautifully crafted indies. She plays across all platforms, and specializes in titles like Pokemon, Assassin's Creed, The Sims, and more. Basically, she loves all games that aren't sports or fighting titles! In her spare time, Sam likes to live like Stardew Valley by cooking and baking, growing vegetables, and enjoying life in the countryside.
- Joel FraneyGuides Editor, GamesRadar+
- Leon HurleyManaging editor for guides
