Halo: Reach Campaign Walkthrough Guide
Band together and conquer the final chapter in the Halo saga with our helpful guide
The Devil His Due
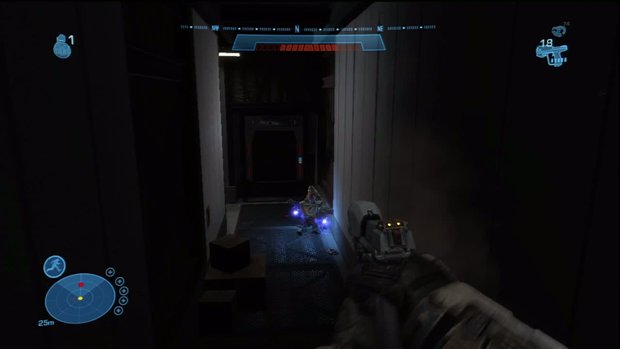
Now that you are back on Reach and miraculously alive, you need to hook up with the soldiers in the area. As you only have a pistol, you are going to want to move quick and not stick around looking at the scenery. Head straight forward from the start and go through the doors at the far end. Head up the stairs after dealing with the Jackals and enter the next door on the left. Pop the suicide grunts that come running at you and head down the stairs. Continue through the corridor to meet more grunts with grenades in hand and eventually you’ll come to a large room. Take the ramp up and you will come out side to a large courtyard filled with Brutes.
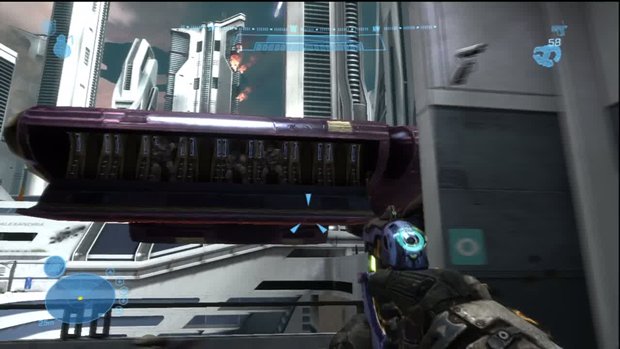
Follow the walkway and now you will be tasked with having to evacuate the civilians from the tower. A Spartans work is never done, I tells ya! Take out the Brutes and grab the Spiker gun and their plentiful ammo. Oh…and don’t kill any of the civilians or else the game with immediately stop. Just a warning. Once the Brutes are down, enter the Atrium and you will need to make your way to the elevator. There will be a load more Brutes here, so give them a taste of their own …spikes and continue to the far North end. Hit the elevator switch when you get there and then wait for the elevator to arrive. Continue to defend against the Brutes as the drop ship enter, until the elevator shows up, and again, make sure to not kill any civilians. Grab the Gravity Hammer from the Brute Captain when you can and then hop the elevator.
Too Close to the Sun
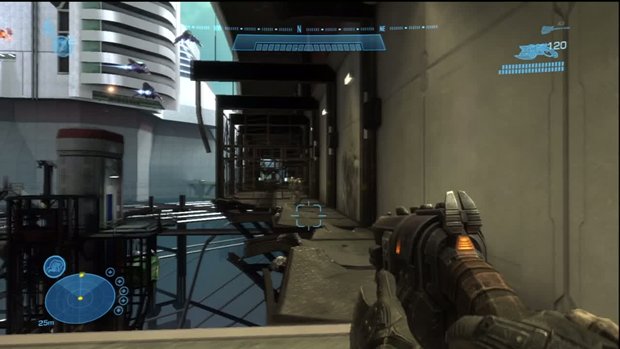
Once the elevator reach your floor, head forward and to the left and you will come outside to a few Banshee’s flying around. Grab a Jetpack from the other side of the rickety walkway on the right and then start hopping your way across the platforms to the other side. Ignore the Banshees and follow the “bullfrogs” to the other side. Head along the catwalks and you will encounter some Brutes and Brute Captains. Take them all out and then head up the stairs at the far west side. You will need to jet up to the balcony above you and enter the door there to come out to an area with more Jackals and Brutes.
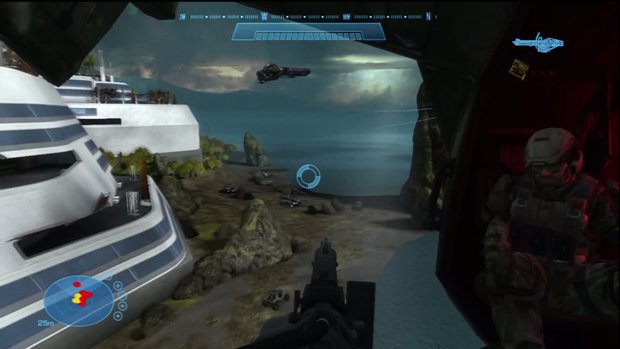
Make short work of them with your hammer and continue up the stairs until you enter the tower again. There will be a staircase on either side as you enter and you will be told to clear the landing pad. Clearing this room is tough and takes some time, so be careful and don’t rush out just to die. Once the room is empty, a Brute Captain will enter and there will be two turrets outside to take out. Either destroy them or take out the operators and head out to the landing platform where a Falcon will be waiting for you.
I Should Have Become a Watchmaker
Now that you are airborne, take hold of the gatling gun and clear out as many of the rooftop enemies that you can. Once you leave the area of the buildings, start talking out the Wraith tanks and watch the destruction that takes place. Hop out of the Falcon when the time comes and follow the path north. Use the Warthog or the Ghost there to clear out the Covenant enemies quickly and continue to the missile battery. Take out the Brute Captains guarding it and activate the switch on it. Head south across the bridge to the next battery and activate that one as well. Now head northeast to activate the missiles. Make your way to the right side of the area and use the jet pack to boost to the roof of the building the activation switch is housed in. Head down the stairs and clear out the enemies in side and pound the button. Once you do, sit back and watch the fireworks.
Mission 8: New Alexandria
Fly by Night
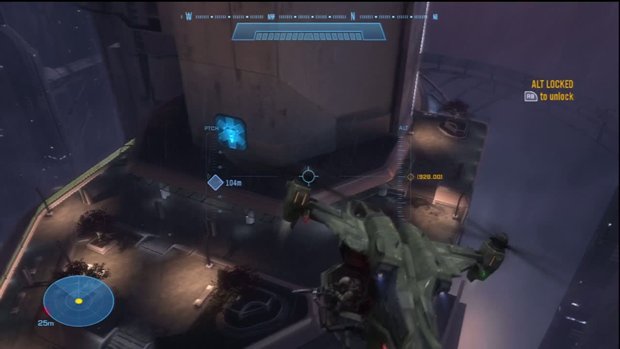
Time for one kick ass mission! Hop in to the Falcon and take off into the city sky. Use the Left trigger to gain altitude and the left bumper to lose altitude. Once you are at a height you like, press the right bumper to lock it in. Now that your flying lesson is over, lets go! Head north east and you will need to take out some Banshees and the first jammer. Make your way to the hospital and land GENTLY at the door. Take out the grunts and Jackals there and then head inside. You will need to go down a few floors clearing out the ton of grunts on the way, to reach the Brutes at the bottom. Once you do reach the bottom, head trough the double doors to the east and continue through the corridor. At the far end, you will finally reach the jammer and will need to activate the switch on it. Once you do, hightail it back to the Falcon, back the same way you came, through the same corridor and staircases that are full of enemies again.
Once you are back to the Falcon, hop in and get airborne again. Head to the next objective, to the southwest and take out the Jackals that are on the roof as well as any Banshees that show up. After the marines take off, make your way west to the telecom tower to disable another jammer. Along the way, you may find some AA guns firing at you. Take out three of them to get yourself the “I Didn’t Train to Be a Pilot” Achievement. Once you reach the tower, use the Falcon to clear out any enemies outside, then land and head for the door. Once you are inside, you will be greeted by four Hunters. Yep, Four of them. Do your best to get up behind them and hit their gooey caramel insides to take them down. Or…if you are like me, you can just run for the jammer and activate it and then get the hell out of there.
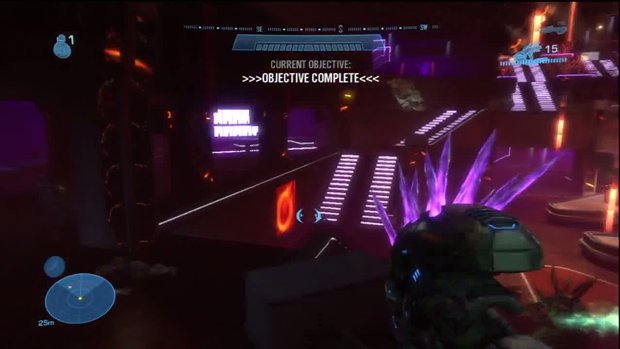
Head back to the Falcon and hop in to get to the last jammer. On the way you will have to take out some Banshee and witness one hell of a catastrophe in the city skyline. Head east to Sinoviet tower and again, land at the landing pad after clearing the outside area with the Falcon’s guns. Hop out and head into the tower. Make your way to the far end, up the elevator and then up the stairs on either the left or right side. Continue along and the hallway and you will come to a marine who has a gun to his own head. Ignore him – or kill him like I did – and jump over the wall behind him. When you hit the ground, turn right and you will come to the jammer. Activate the switch so that it goes kablooey and then start heading back. Some drones will start to attack, but make your way into the elevator and escape to the Falcon.
Last One Out…Turn Out the Lights
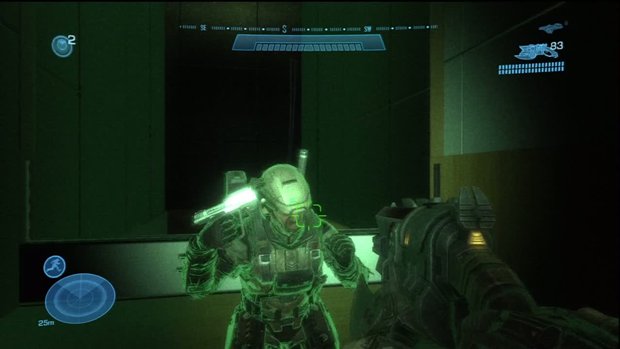
The Covenant are hitting the HQ pretty hard and it’s all Kats fault. Quickly make your way to the Oni building and take out the Shade turrets on the surrounding buildings so the Pelicans can evac survivors. Take out the turrets and the Banshees and Phantoms that show up. Once all is quiet, land at the landing pad that is now operational at the Oni building to trigger a scene and end the mission.
Mission 9: The Package
Torch and Burn
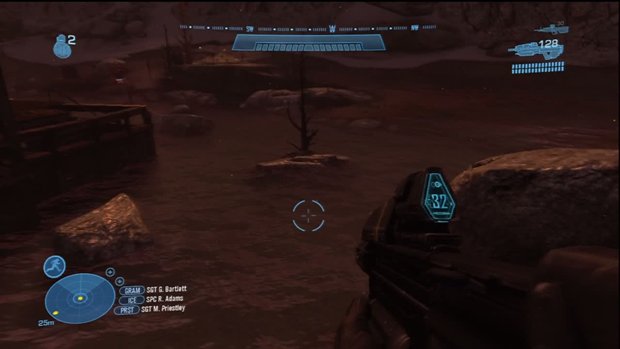
Things aren’t looking too pretty on Reach. First order of business for the morning is to take out the Covenant AA guns so that the rest of the Noble folk can join in. Head west across the water and then south into enemy territory. Take out the turrets quickly and use them to clear the rest of the area. Once all is quiet again, head south through the passage and you will come to a Scorpion tank. Hop on in and get rolling eastwards along the road. Take out the platforms and the turrets along the way until you reach the first AA gun. To destroy them, you will need to do what you did previously, and enter them at the bottom and blow up the core inside. Take out the one and then move to the next and pride yourself on a job well done.
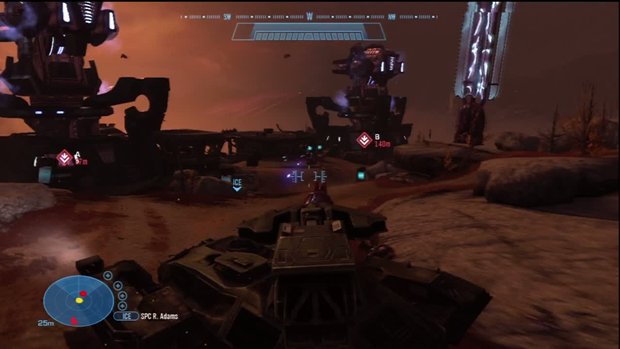
Roll North to the sword base gate and light up all the Covenant that are stupid enough to try and take on your Scorpion. Actually there is a ton of resistance with turrets, Wraiths and just about every other thing the Covenant has, so be careful on your approach and make sure to target the biggest threats first.
Latchkey
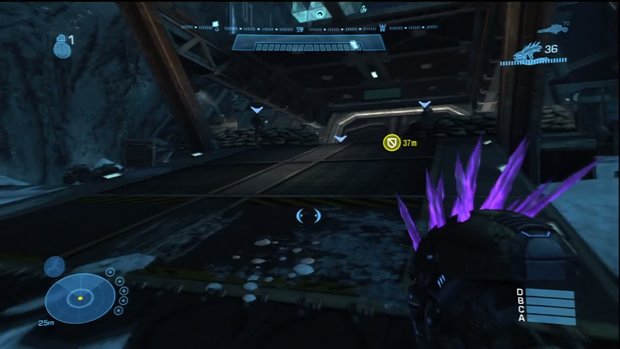
Once you reach the gate, enter the doorway and head back up the ramp again – for the third time this game - and finally into the base once again. Head through the security office on the left side and continue through the doors, north up the large ramp, and around the catwalk to the ramp on the far side. Keep following the catwalk, through the doors and you will eventually come to a hallway where the A.I. will tell you to proceed to the coordinates. Here you will be able to stock up of ammo, health and switch out your Armor Abilities, but again, if you have Sprint, - I’d stick with it. After a few straggling cloaked Elites, head up the ramp and to the right, as Carter just said. Hit the control for the door on the left and when you head through a scene will play.
This Cave is Not a Natural Formation
Once you are out of the lift, you will need to set up a perimeter outside of the lab. Head to each of the 4 turrets and activate each one. When all four are online, head back to the lab door and set up shop there. There is plenty of health, ammo and Armor Abilities there to make a stand. When the turrets take too much damage, they will shut down and you will need to make your way to them to activate them again. There are a ton of enemies that come pouring in during this stand-off and keeping the turrets active is your best bet. The enemies will continue to get tougher and tougher, but there will also be vehicles you can hijack to help even the odds some. Once the lab doors open, get your butts inside and watch the interesting cut scene.
Sign up to the GamesRadar+ Newsletter
Weekly digests, tales from the communities you love, and more
Jeff McAllister is a freelance journalist who has contributed to GamesRadar+ over the years. You'll typically find his byline associated with deep-dive guides that are designed to help you scoop up collectibles and find hidden treasures in some of the biggest action and RPG games out there. Be sure to give Jeff a thanks in the comments while you're completing all of those tricky Achievements and Trophies.


