Halo: Reach Multiplayer Map Guide
We break down Halo: Reach's multiplayer with strategies for every map
Suggested Ability: Jet Pack
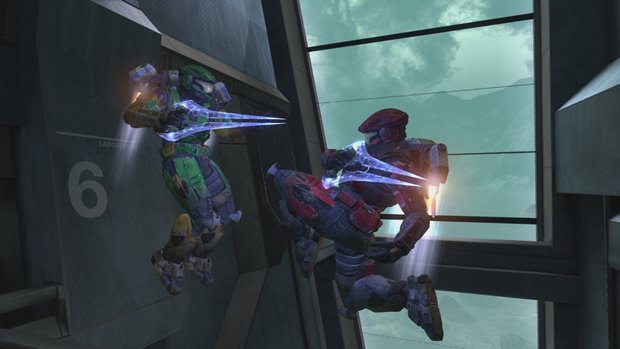
Above: Epic
This map should be easily recognized by anyone who’s played the beta. The jet pack is definitely the way to go if you prefer easy access to all areas. True you can only make good use of it when you are out in the wide open middle section of the map, but it allows you to transfer quickly from any of the floors on one side of the map to any of the floors on the other side.
Major Weapon Locations
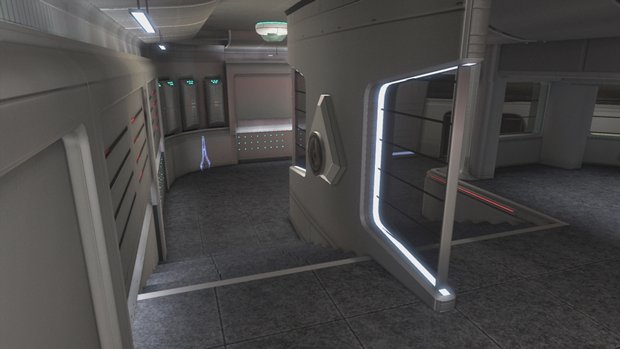
The sword is against the wall in the lobby on 2a
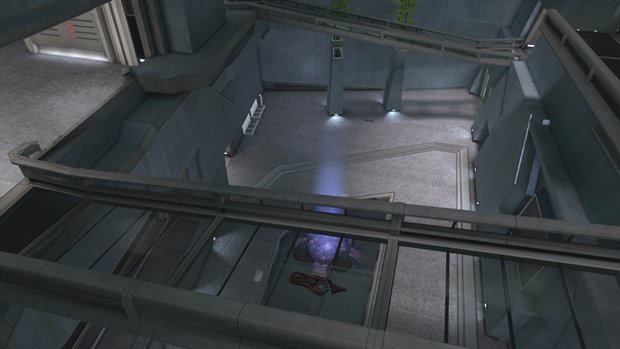
The concussion rifle lies on the medium bridge between 3b and 4a
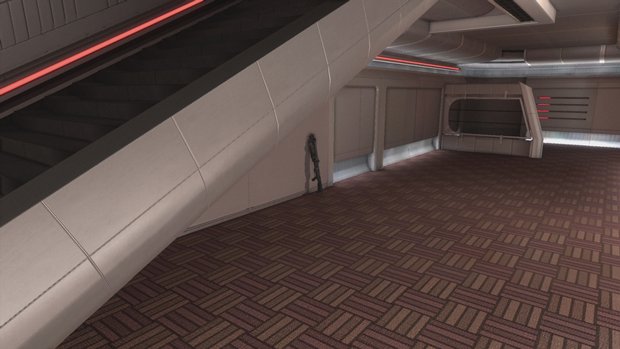
The shotgun is resting against the wall under the ramp in research on 4a
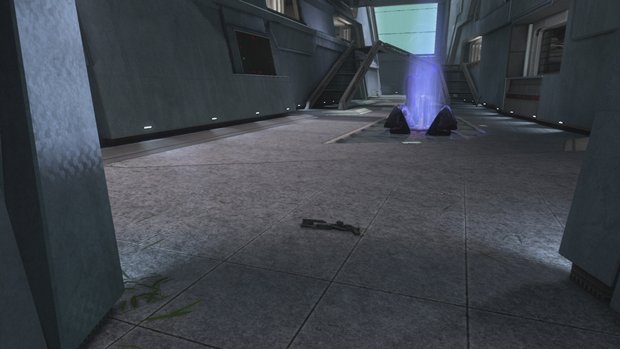
The grenade launcher is on the ground floor
Health Locations
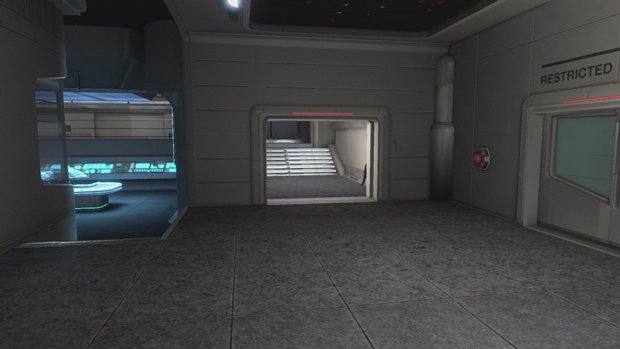
Operations, 1b
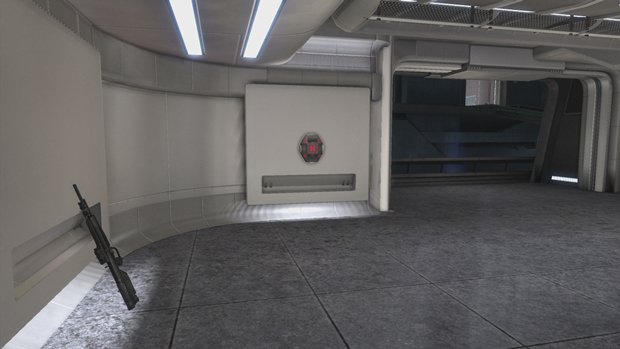
Lobby, 2a
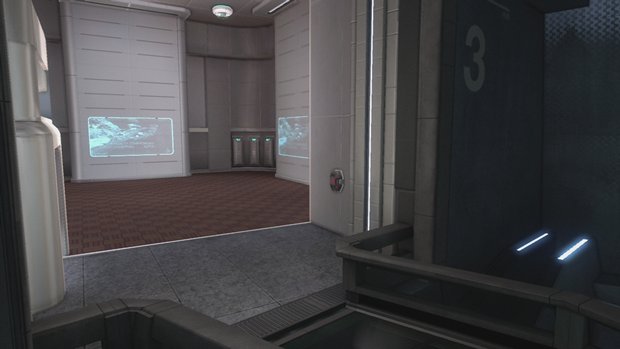
Security, 3b
Map Tips
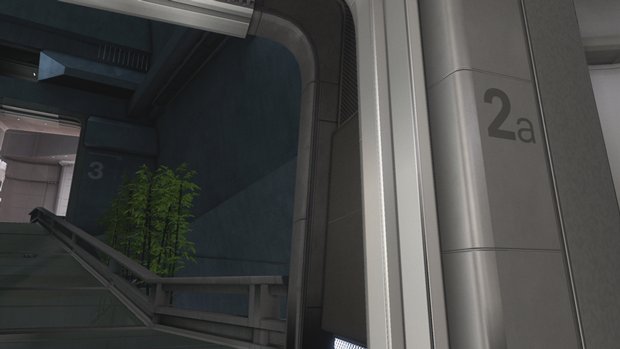
•The floors are labeled from 1a to 6b. All of the floors on one side are labeled “a” and all of the floors on the other side are labeled “b”. Make note of what is what so that you get a good picture in your head of the map’s layout. It also comes in handy to know what each floor is called for coordination strategies in games such as CTF or Team Slayer.
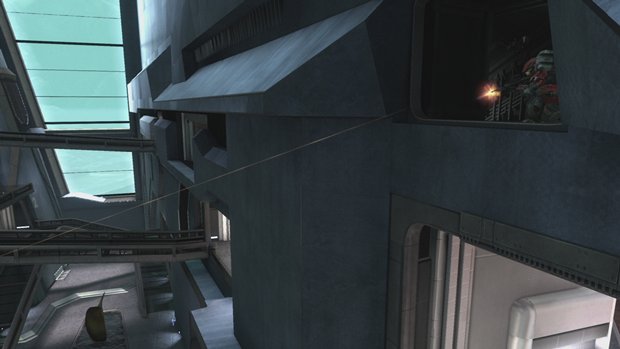
•The high duct, accessible by jetpack or by foot from 5b, is designed for campers. You get a good view of all three of the floors on the “a” side of the map, and can defend yourself relatively easily since the vent’s entrance is on a down slope.
•If you’re about to go up a vent and you see your motion tracker suggesting there is someone up top, lob a grenade through the vent, wait a second or two, then follow it up.
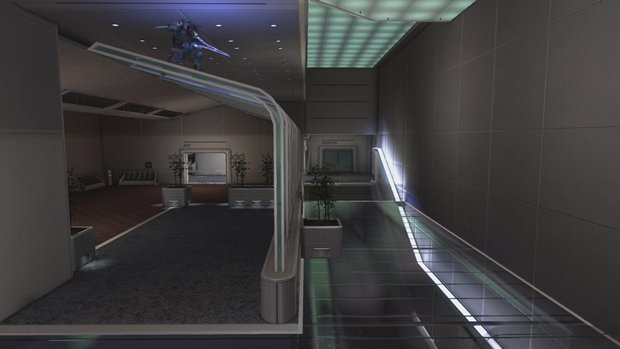
•The glass roof of the break room serves as a great location to ambush from.
•If you have an explosive weapon and want to rack up kills, find a corner and target players crossing the bridges.
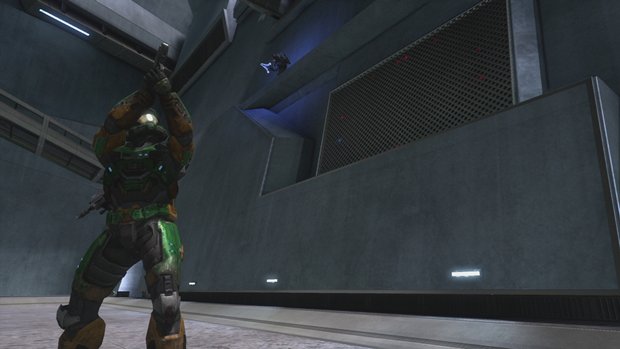
Above: Huh? Who’s there?
•Stay off the central ground floor. “Pretend it’s hot lava” as the kids say.
Sign up to the GamesRadar+ Newsletter
Weekly digests, tales from the communities you love, and more


