Top tips for building your hospital in Animal Crossing: New Horizons - Happy Home Paradise
How to build the perfect waiting and examination rooms to keep your villagers in tip top health
One of your final facilities to build in Animal Crossing: New Horizons - Happy Home Paradise is a hospital, which feels like a very different job to anything you’ve done before. But don’t worry, as Lottie and Niko would say, you’ve definitely got this. The hospital is initially split into two rooms, each with their own furniture requirements, a waiting room, and an examination room. Later on, you can unlock a patient ward by donating Poki. Here are 5 essential tips to remember when building your hospital in Animal Crossing New Horizons - Happy Home Paradise.
1. Make your waiting room peaceful
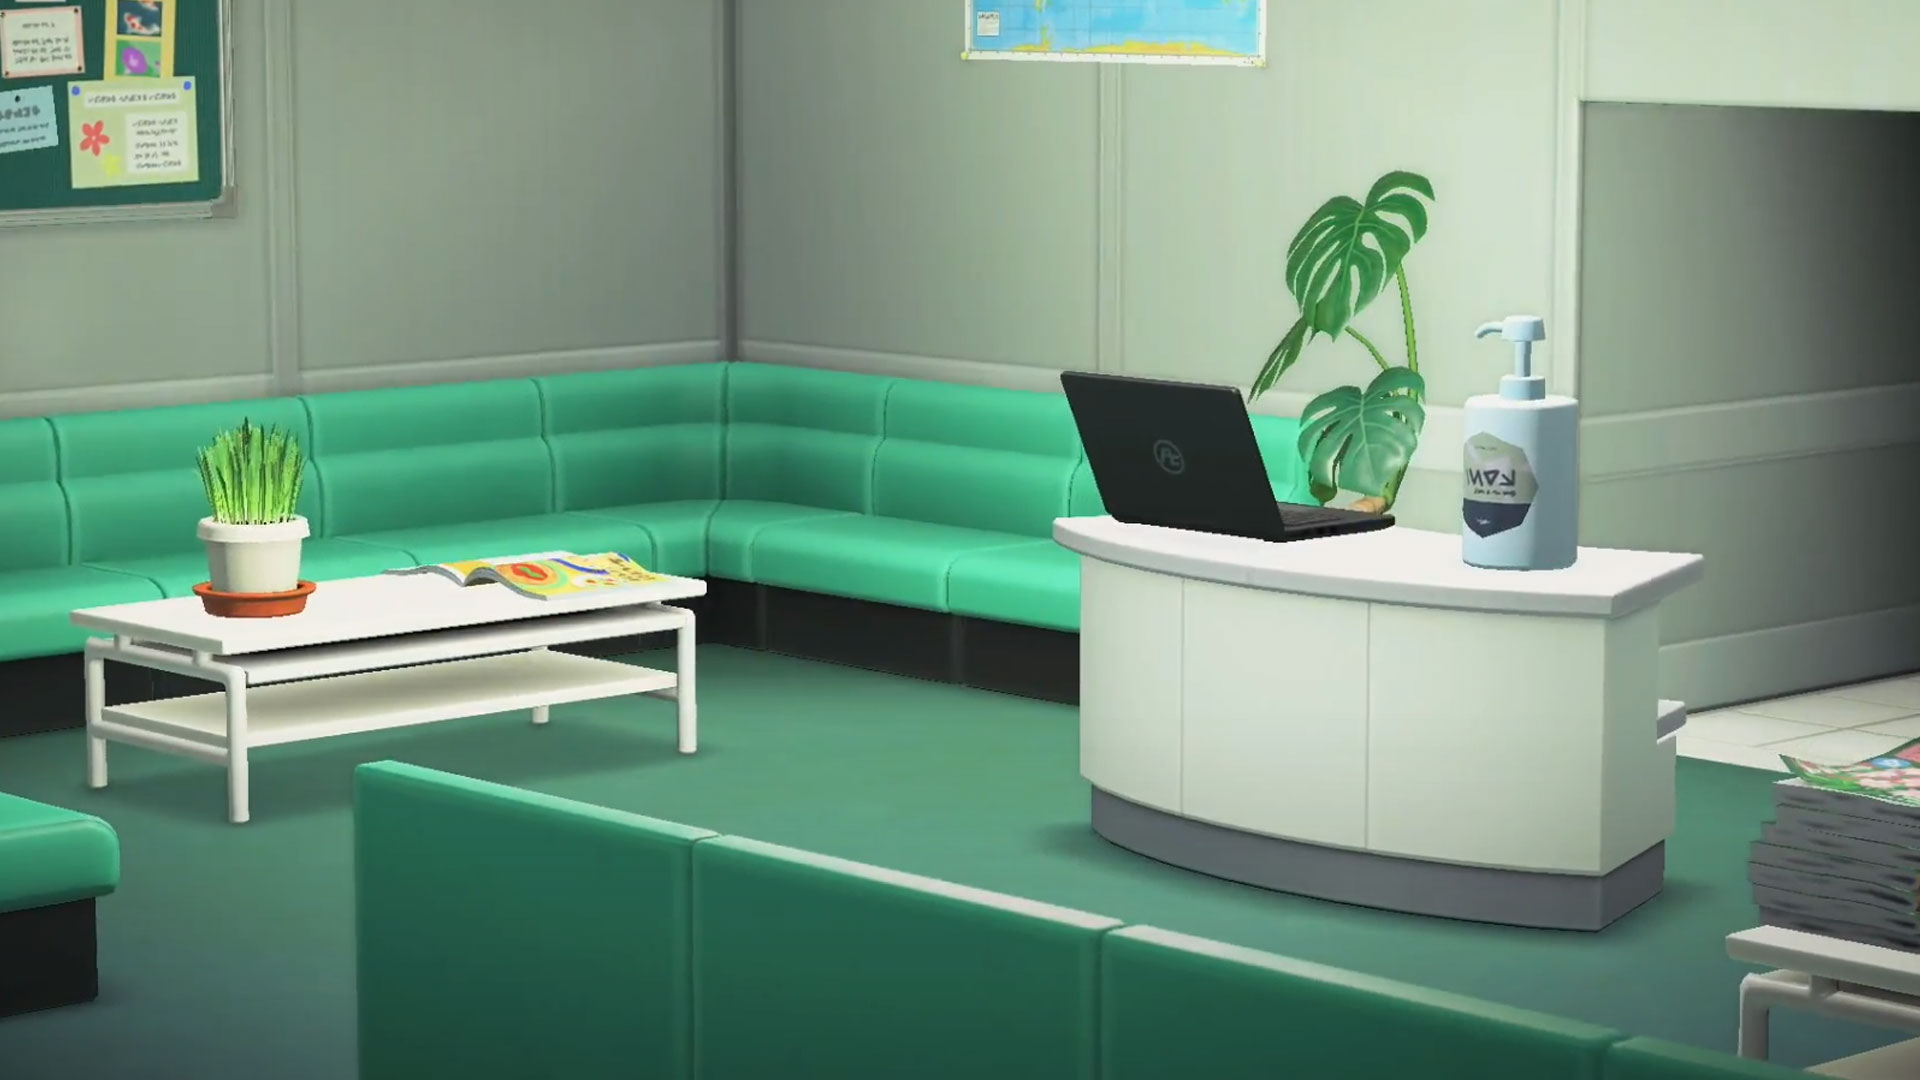
Let’s be honest, nobody ever actually likes spending time in a hospital waiting room. You’re only there because something is wrong and even Animal Crossing villagers - who look eternally cute and happy - won’t find it particularly fun. This means the best thing you can do is make it a peaceful and comforting place to be. The huge furniture selection in Happy Home Paradise means it’s really easy to create a peaceful and bright room to sit while your villagers wait. We can recommend the diner sofas for a particularly cosy colourful design and remember to use plants to keep things green. Make sure your villagers have plenty of things to keep them entertained and don’t forget to head into the wall decoration section to find interesting posters for everyone to read while they wait. You can always customise them too. And don’t forget the hand gel!
2. Don’t be afraid to theme
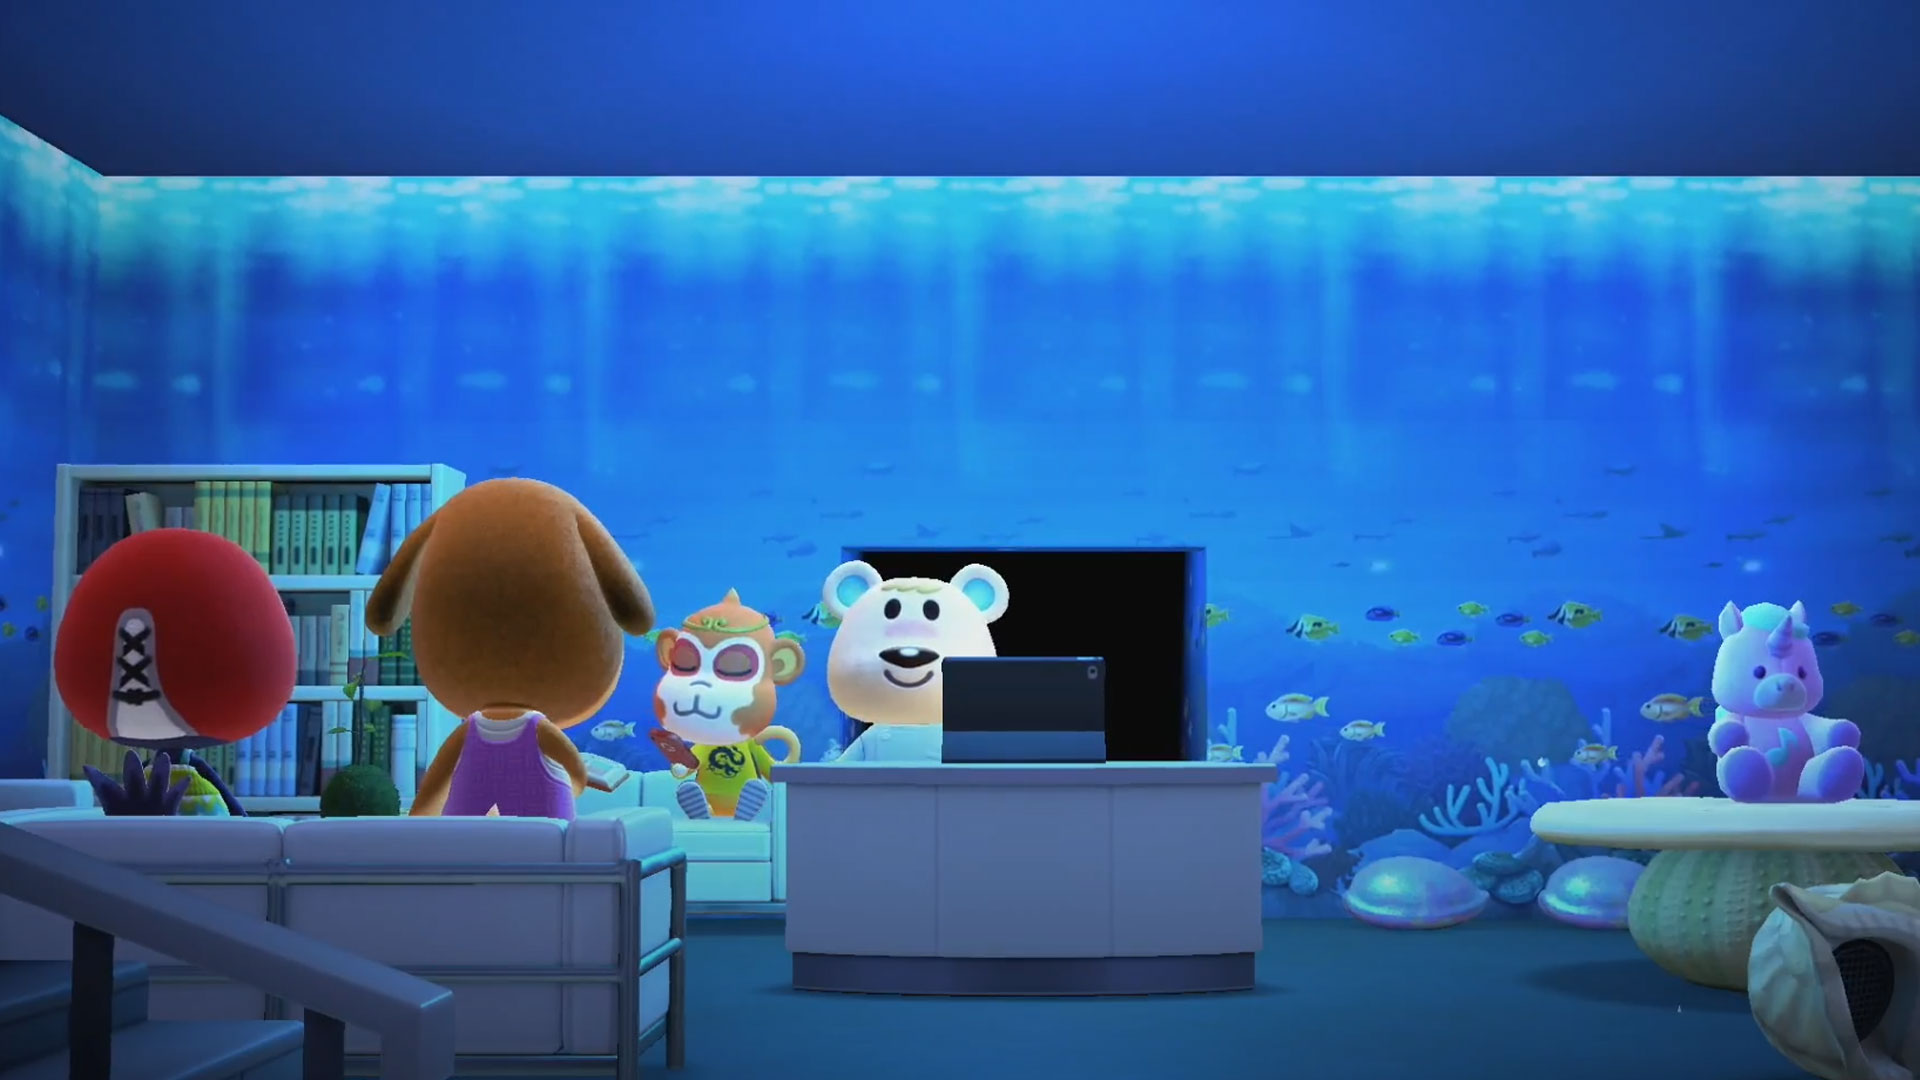
Once you have placed your key furniture of a reception desk and chairs, don’t be afraid to push the boat out a little bit when it comes to theming your waiting room. One of the best things about Happy Home Paradise is how customizable everything is. Why have fish tanks in your waiting room when you can make your villagers feel like they are INSIDE one? Bear with us… Find a suitable wall and floor type - yes, we’re going for moving fish - and then head into the customization section and go along to lighting. Not only can you change the lighting to blue and keep a high intensity but you can also deliver a soothing ocean noise at the same time in the sound effects menu. Aaah, peaceful. But that’s only the beginning. Add some shells for kids seating and a shell table for some toys and you’ll be able to keep the little ones entertained too. This is also a perfect chance to use a water sparkle effect when you do some dusting. Pop in some reading material for the grown ups and voila! A perfect interactive fish tank to keep everyone distracted while they wait.
3. Play with sizing and make the most of tools
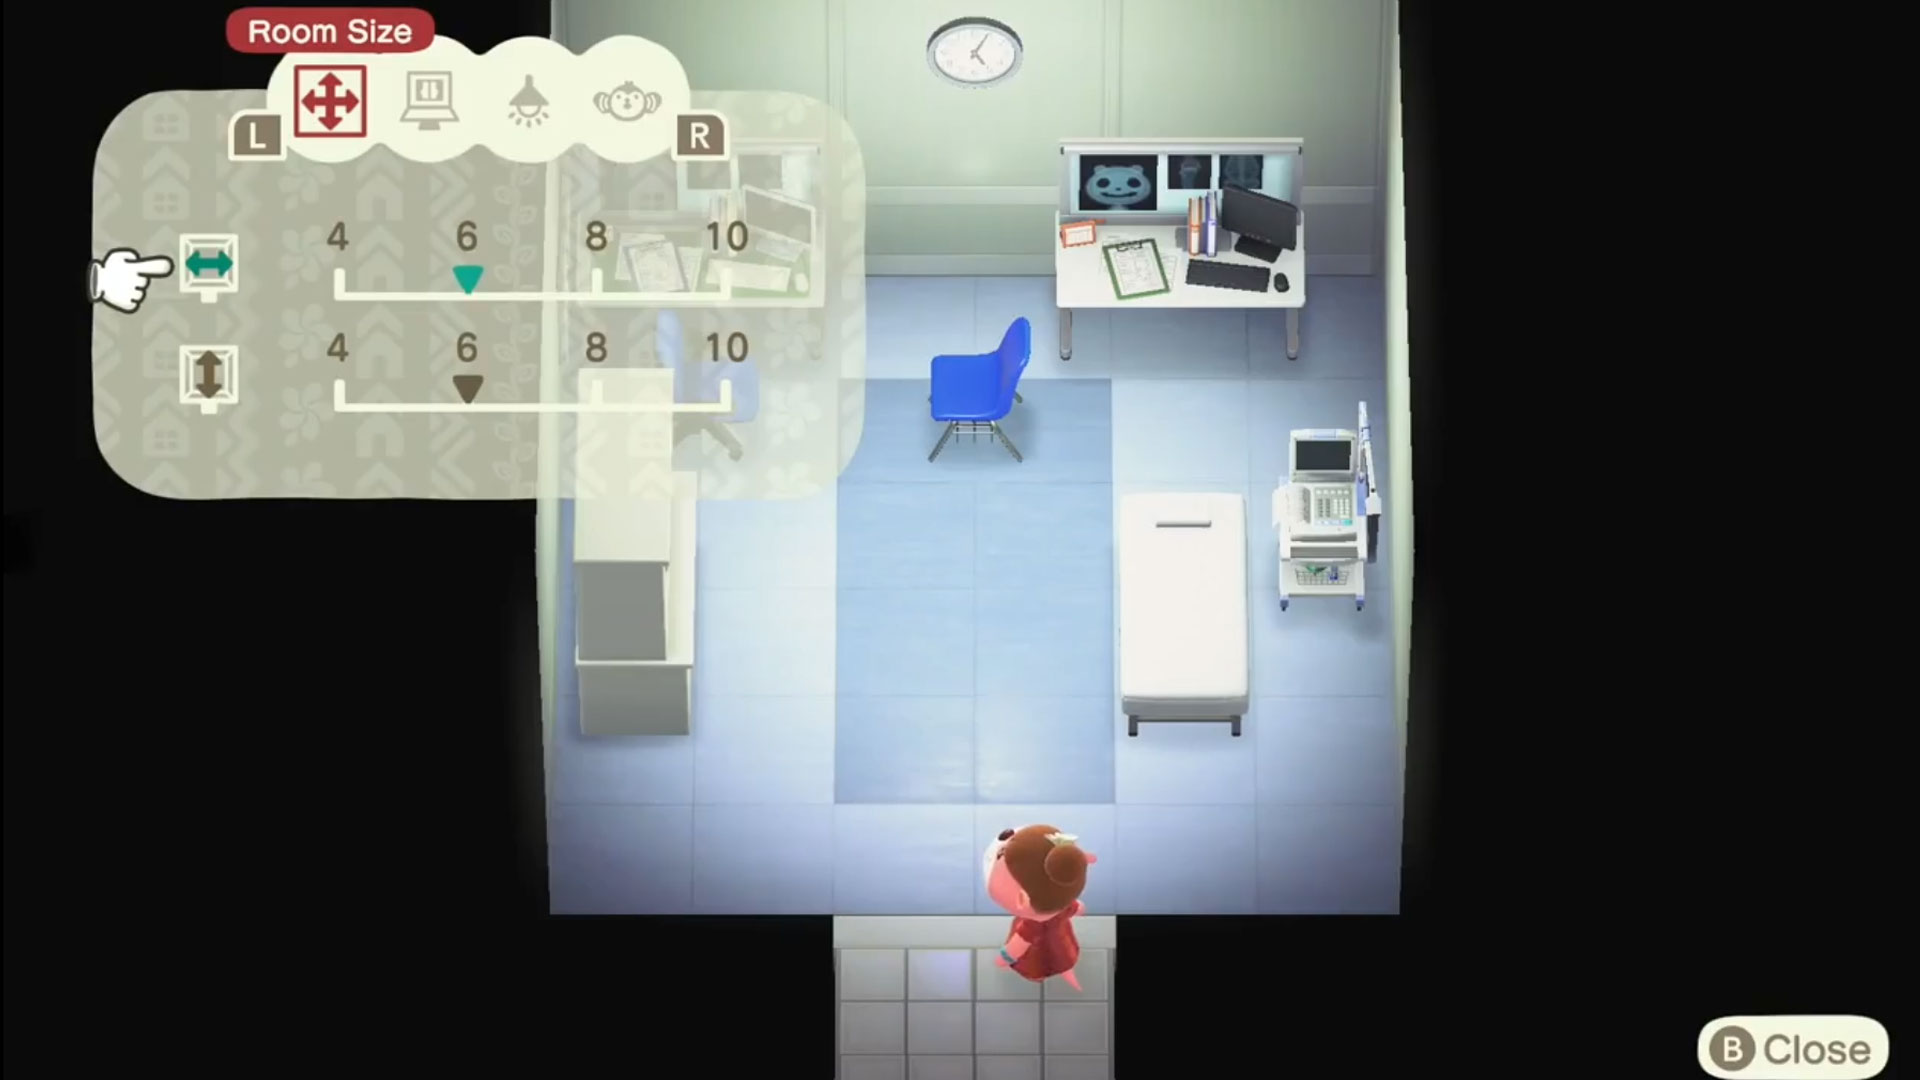
Whether it’s the waiting or examination room, don’t forget to head into your sizing menu. Here you can create a small intimate examination room or a full size busy area with plenty of beds and gurneys. It’s also important to remember that there’s a variety of handy tools on offer to make it easier to place lots of the same item. Highlighting an item and pressing ZR will copy it so there’s no need to head back into the furniture menu. It also retains your customizations too. If you’re deleting things and starting again - don’t forget to finish and earn the Poki from the refit before you do this - then you can select all of your furniture by pressing the right shoulder button and then selecting everything to erase it all at once. Boom.
4. Use partitions or curtains
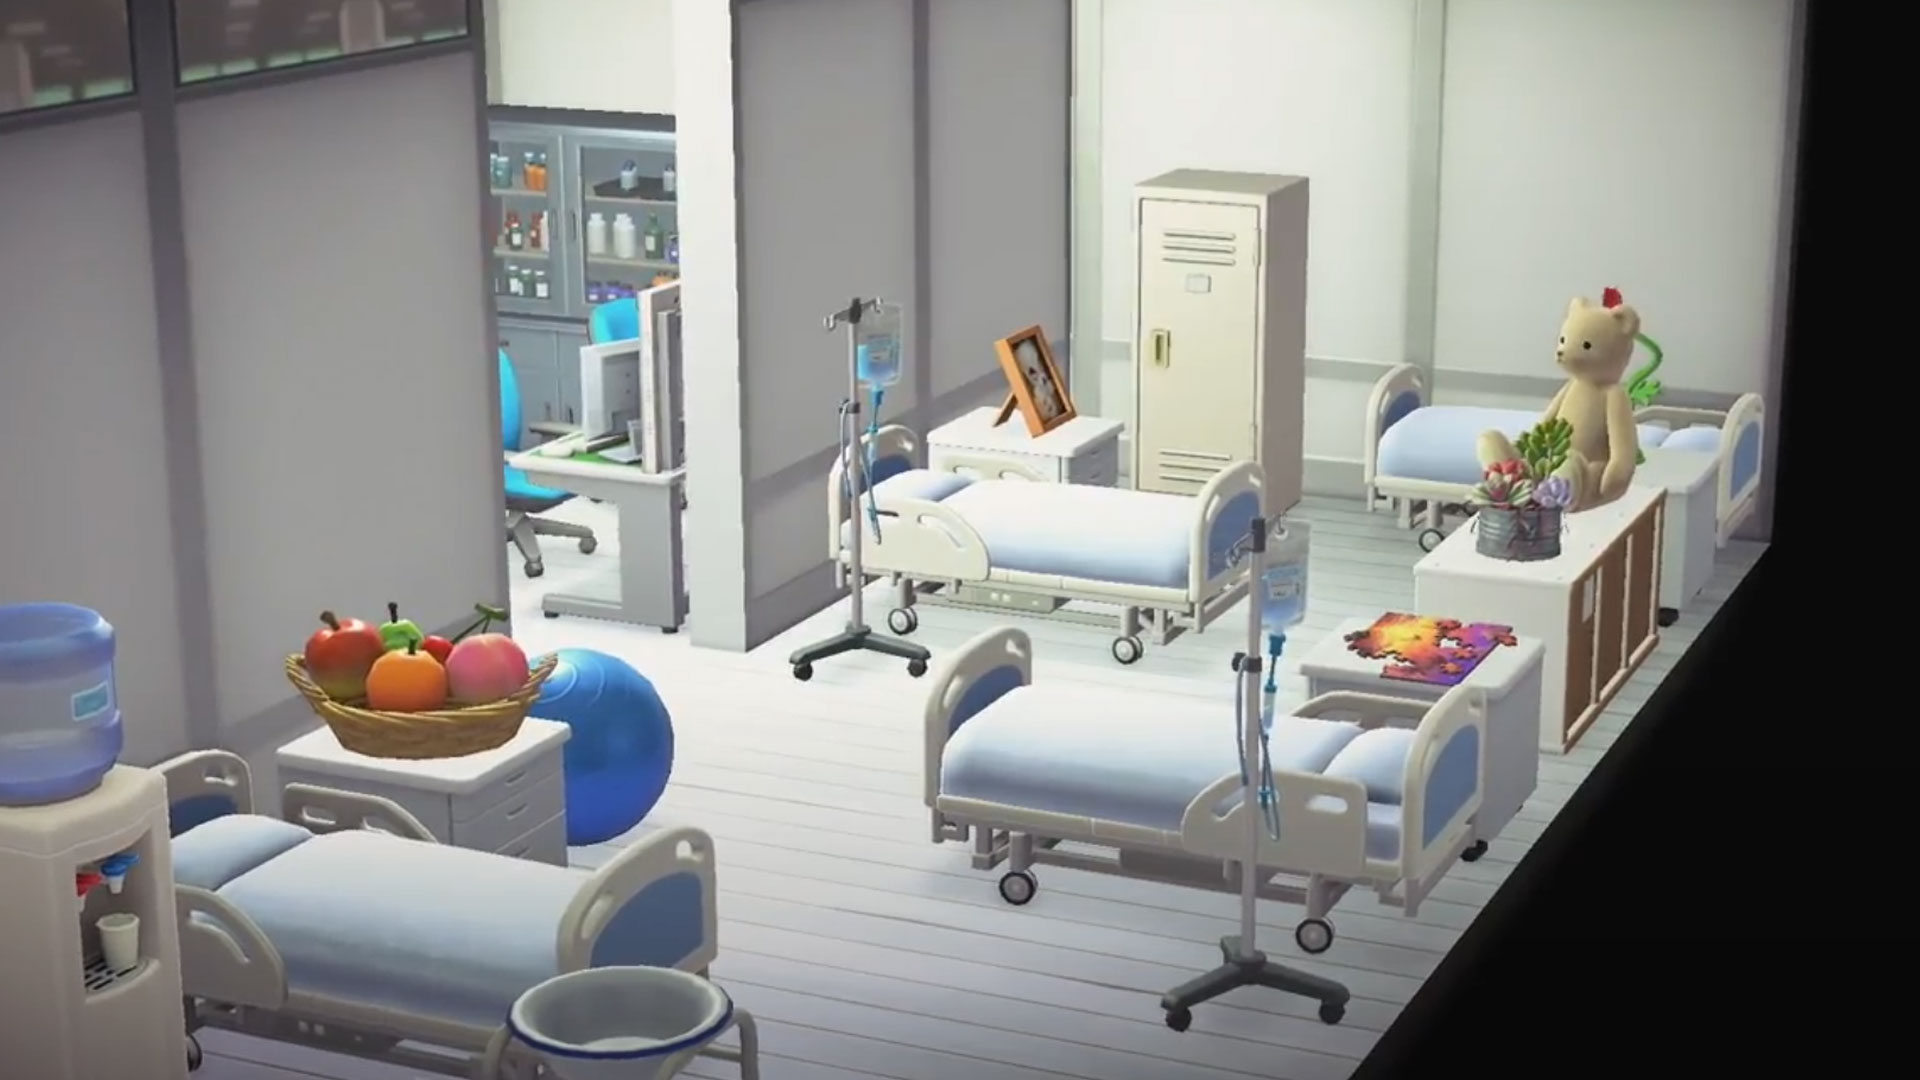
The Examination room is really where partitions and curtains come into their own. If you’ve opted for a sizeable room, you’ll want to be able to give your vacationers some privacy so you can opt to pop curtains next to their beds. Alternatively if you haven’t been able to afford the 120,000 Poki to unlock a ward, you can always create one by adding partitions to the largest room size. This will then let you split the room in two, leaving plenty of room for examinations to take place but then also a great space for hospital beds and other important equipment.
5. It's all about decor
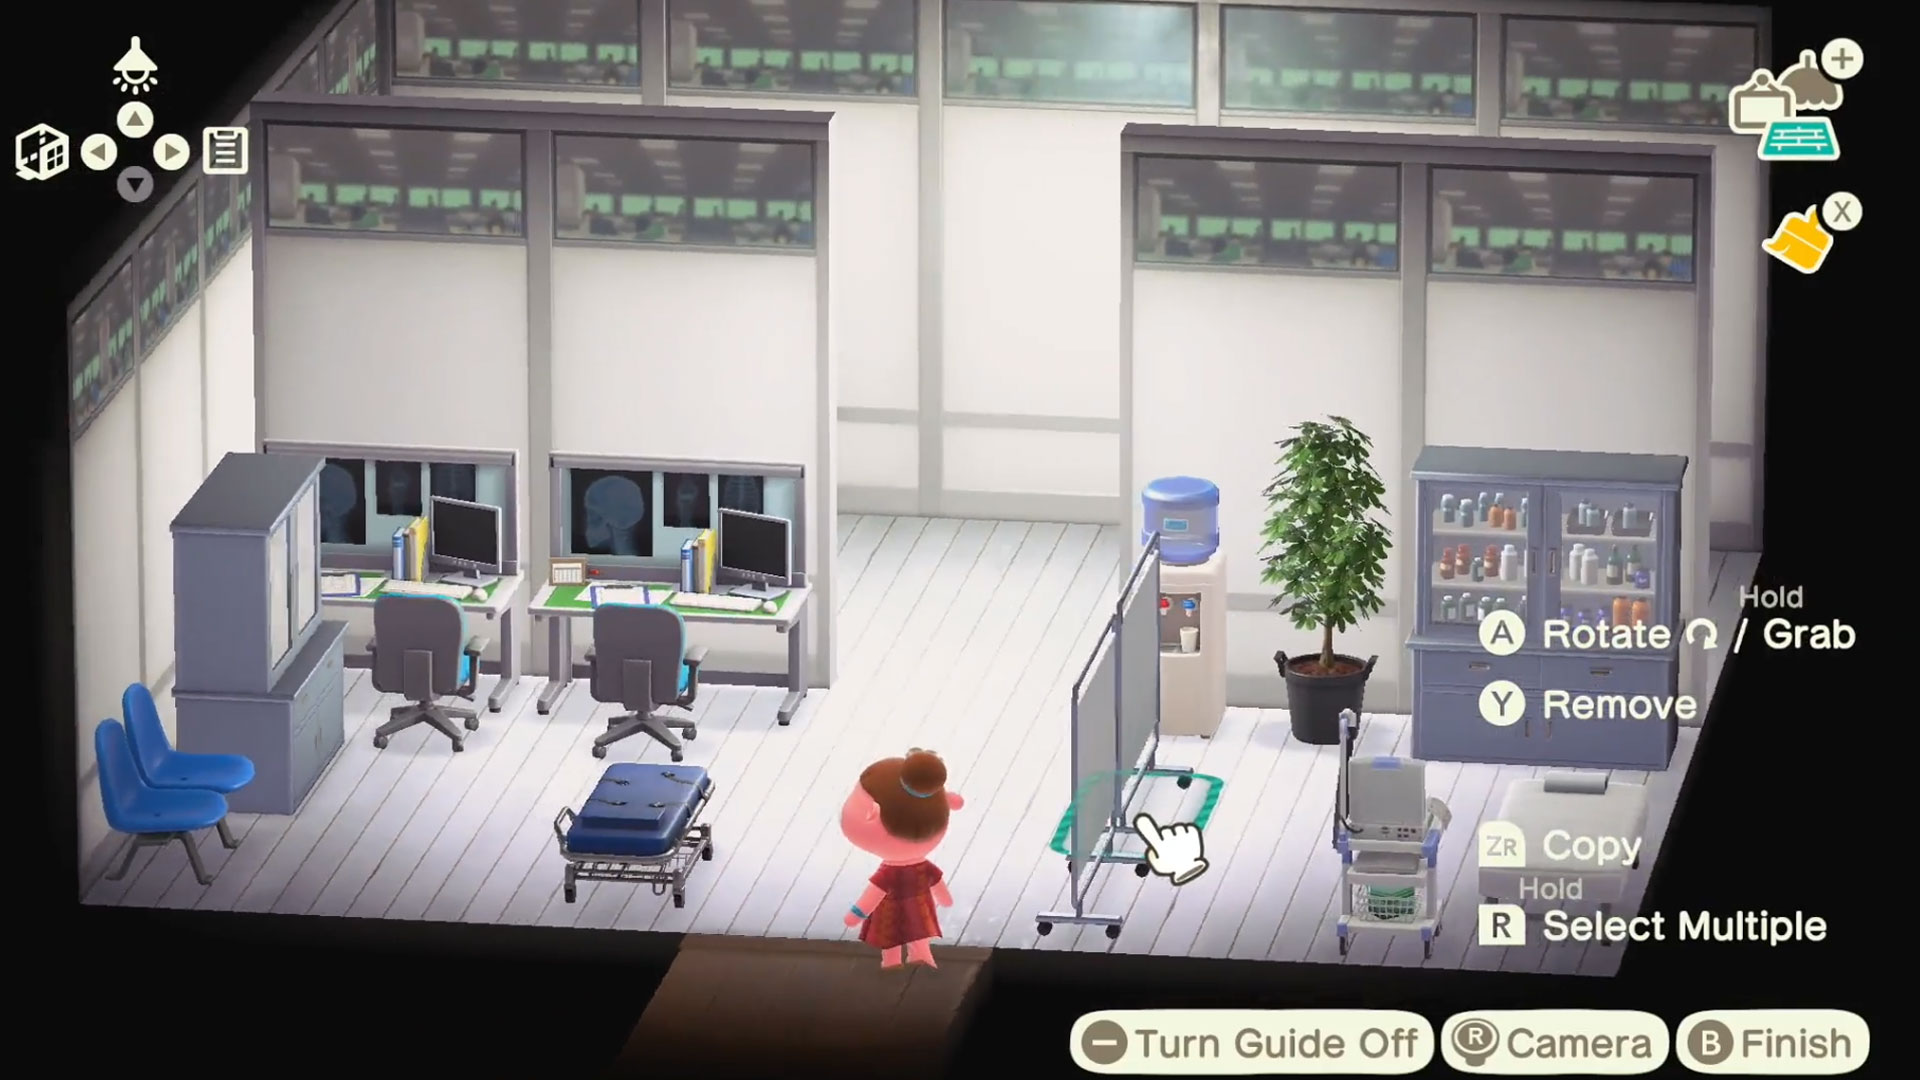
Once you’ve placed the required furniture, your examination room especially can look particularly bare. Head into your furniture selection screen and you’ll find all kinds of themed hospital add-ons. Here you can find gurneys, medical cabinets, and wash basins as well as EKG machines to make sure your villager’s hearts are in the right place. Spoiler; of course they are. Once you have added all of the right hospital equipment, it’s time to get inventive with items to make sure everyone can stay entertained. You can always add a fruit bowl or jigsaw puzzle as well as plenty of reading material.
6. Upgrade to add a ward
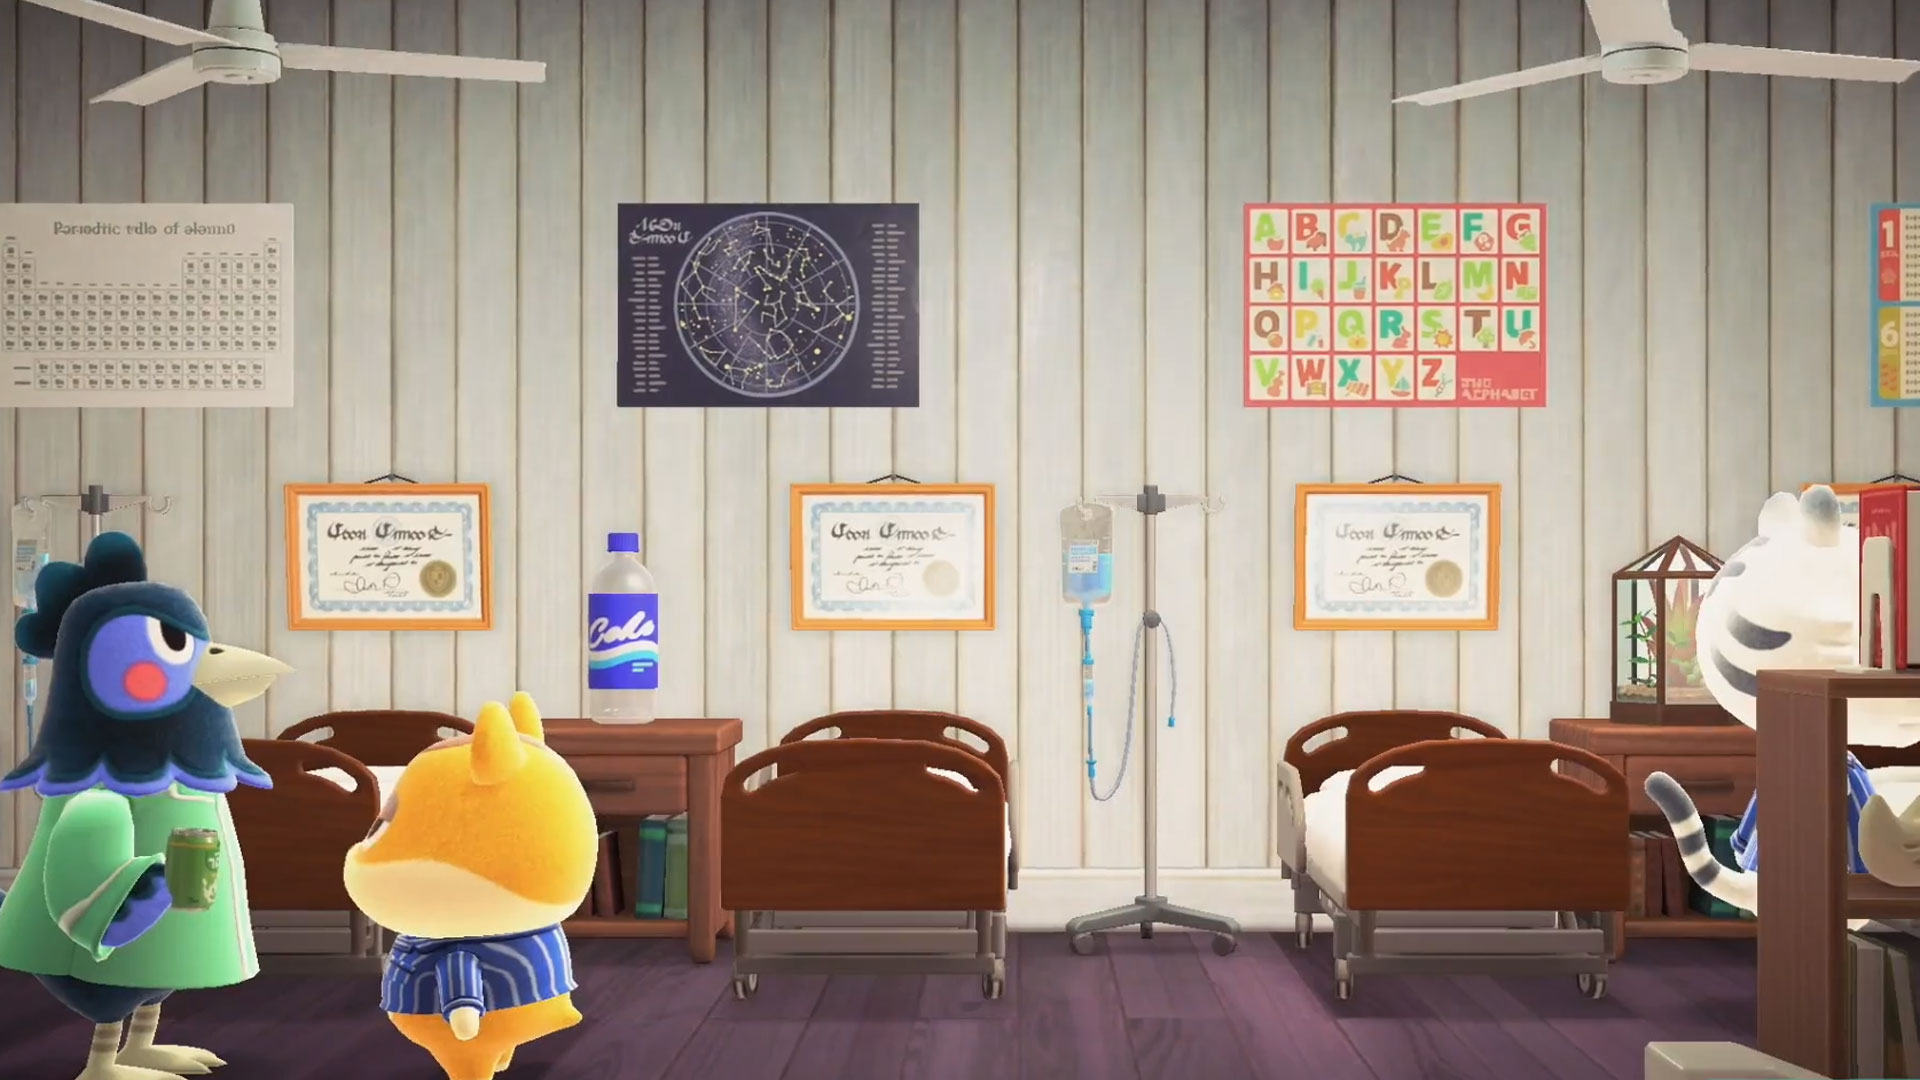
One quick bonus tip, once your two rooms are completed, you can head to your reception and donate an additional 120,000 Poki to add a ward. Once you’ve donated, Lottie will let you know it’s open the next day and expand the upstairs into a patient ward. Just make this a nice bright room for everyone to rest and you can always add a soothing sound effect too. You’ll even earn another 25,000 Poki for the expansion. And don’t forget that once you’ve built everything, you can always head in for a check up. Just head to the reception and explain your symptoms and the doctor will see you.
Sign up to the GamesRadar+ Newsletter
Weekly digests, tales from the communities you love, and more
Louise Blain is a journalist and broadcaster specialising in gaming, technology, and entertainment. She is the presenter of BBC Radio 3’s monthly Sound of Gaming show and has a weekly consumer tech slot on BBC Radio Scotland. She can also be found on BBC Radio 4, BBC Five Live, Netflix UK's YouTube Channel, and on The Evolution of Horror podcast. As well as her work on GamesRadar, Louise writes for NME, T3, and TechRadar. When she’s not working, you can probably find her watching horror movies or playing an Assassin’s Creed game and getting distracted by Photo Mode.


