Hitman: Absolution silent assassin rank guide - how to stealthily eliminate all of your targets
Silence is golden, so here's how to earn the silent assassin rating for every Hitman: Absolution target
Mission 12: Death Factory
This level is split into three sections. Getting Silent Assassin ranks in the first and third sections are not difficult and should give you enough points for an overall SA rank for the level.
Above video: How to eliminate Dr. Green
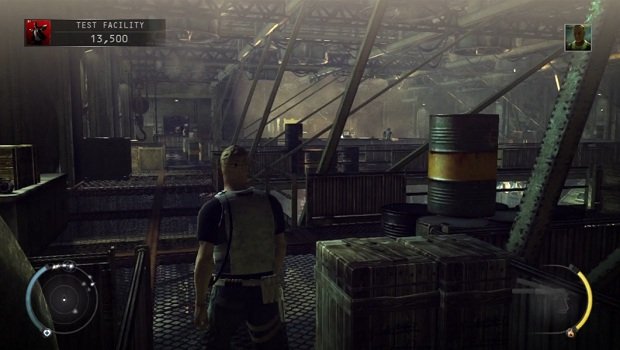
After you’ve made your way past the first area and down the elevator to the test facility, be sure to subdue a guard for a disguise. Left of the elevator is a ladder, leading up to a catwalk. While on the catwalk, go all the way to the upper right end of the map. Go down the staircase on your immediate left and look busy on the laptop while the sports conversation transpires. After the guards leave, pick up the proximity mine and interact with the other computer nearby.
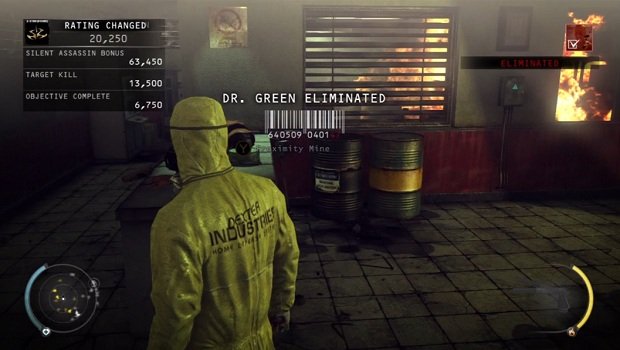
Go into the next room and make sure the guy in the contamination suit is alone. Subdue him, take his clothes, and stow him away. While this is going on, be mindful of Dr. Green on the radar. Green’s walking path will lead him to into this room and then to the other room where you used the computers. If you simply place the mine near the computers (without alerting others), it might get Green’s attention; he was going to walk in that direction anyway. Whatever the case, get ready for an explosion. From there, make your way back to the elevator area and the exit will be nearby.
Above video: “Surprise!”
This section isn’t a kill but it is one of the more amusing parts of Hitman Absolution. This path is optional but is one of the easier ways to get a very useful disguise.

Assuming you’re still wearing the guard outfit from the last area, make the first right and walk past everyone in the small room. Crouch, and move further down into a room with a bar, party decorations, and a cake. There’s a stripper in the room and you need to stay hidden from her by going behind the bar. She’ll soon have her back to you as she’ll be on the phone. Subdue and stow her in the nearby container (sorry, no stripper disguises for Agent 47).
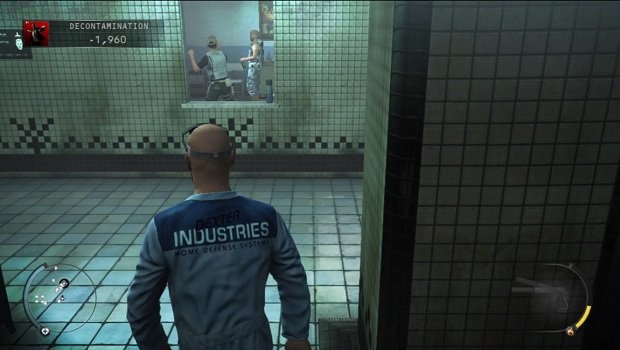
Hide in the cake and peek to see four guards surprise a researcher with this party. Wait for the researcher to walk left, away from the guards, then activate Point Shooting and take out the guards. You might get docked points for being spotted, but it won’t hurt your overall score much. Subdue the researcher, stow him away, and take his clothes.
After leaving the room, make a right and move through the double doors. Make another right and walk past the lockers. You should see a few guards watching a match on TV. Enter that room however you like. Take the evidence on the tiny coffee table and interact with the computer nearby. Walk into the adjacent bathroom and get into the vent. Exit the other end of vent and turn right to face the exit. There might be a researcher near the exit, so by ready to use Instinct to distract him.
Above video: How to eliminate Raymond Valentine
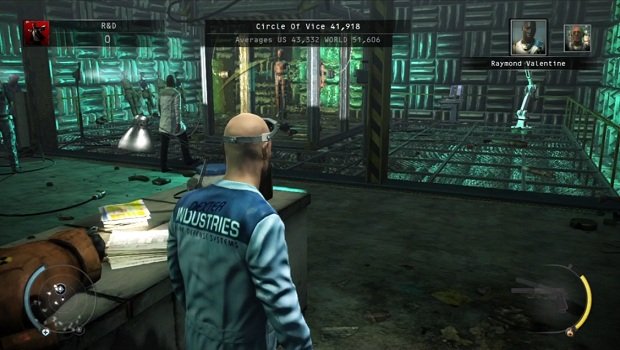
This one requires quick timing and efficient movements. Make your way down the catwalk until you see the room named “Test Chamber”. Raymond might or might not already be there. If he isn’t, wait behind the counter on the right. When he shows up he’ll make his way to the bomb chamber.
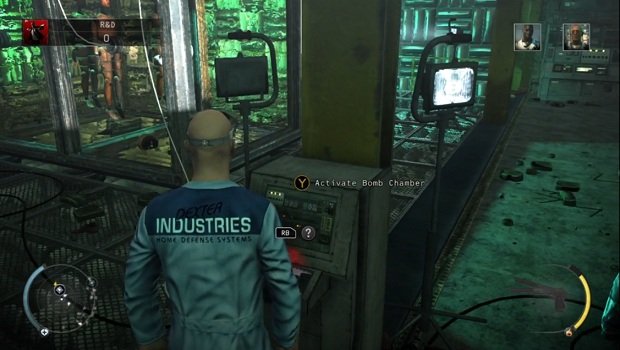
Walk to the robot arm on the other end of the room and activate it. It will distract a researcher who will leave his post. This is where you should be headed; just don’t draw any suspicions. Activate the bomb chamber, assuming that Raymond will still inside it.
Above video: How to eliminate Edward Ashford
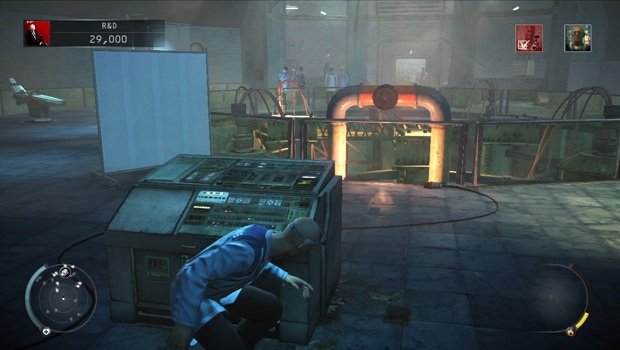
After leaving the test chamber, make you way to the bottom of catwalk. At the fork, take the stairs on the right. You’ll see a large silo area; stay on the left portion as you enter it. While using the partitions to stay concealed, activate the robot arm to distract the two nearby researchers.
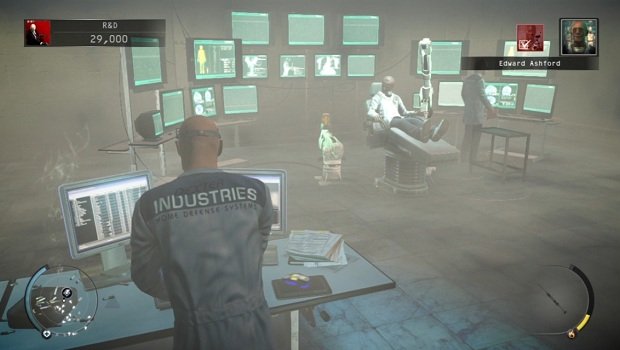
After they’ve moved, Walk further along the silo where you’ll see a valve. Hide behind the console facing the valve. You should be able to see Edward in the distance, wearing a white coat; you might have to use your radar to make sure you’re looking at the right person.
Like Raymond, this next part requires efficient movements. At the far opposite end of the silo is a small room. While still behind the consoles, wait until Edward enters that room. Get up immediately and turn on the value. As the silo fogs up, run into the that same room at Edward is in. Once inside, walk to the computer on your immediate left. Activate it to kill Edward. Go back to the other end of the silo to activate the bridge in order to finish the rest of the mission.
Table of Contents
Sign up to the GamesRadar+ Newsletter
Weekly digests, tales from the communities you love, and more

Iain originally joined Future in 2012 to write guides for CVG, PSM3, and Xbox World, before moving on to join GamesRadar in 2013 as Guides Editor. His words have also appeared in OPM, OXM, PC Gamer, GamesMaster, and SFX. He is better known to many as ‘Mr Trophy’, due to his slightly unhealthy obsession with amassing intangible PlayStation silverware, and he now has over 750 Platinum pots weighing down the shelves of his virtual award cabinet. He does not care for Xbox Achievements.


