Homemade videogame-inspired gifts for the craft-impaired
Can you use a pair of scissors? Congrats, you're halfway there
Presents! Everyone likes presents! But, what if you want to take a different route and give the favorite gamer in your life something different from the norm? Sure, we’ve got an awesome game-free gift guide, but nothing says “You’ll always be my Player 2” more than something handmade.
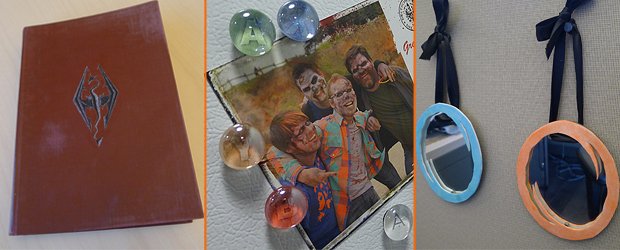
Here you'll learn how to make a Dragonborn secret compartment book, console button magnets and Portal mirror ornaments. Since none of us are Martha Stewart we’ve only picked out projects for the craft-impaired. Sewing, sculpting, crocheting, knitting, etc. aren’t necessary for any of these. If you can use a pair of scissors and don’t eat paste anymore then you’re more than qualified to venture forth.
Skyrim Dragonborn secret compartment book
As dohvakiin we have a tendency to hoard a lot of stuff, some of which is actually valuable. Here’s a perfect gift for the dragonborn in your life.
Materials:
- old book
(old encyclopedias would work great, but we found ours at a thrift store for $3)
- white glue or Mod Podge (found in the glue aisle in craft stores)
- paintbrush
- utility or exacto knife
- ruler
- plastic wrap
- Dragonborn print out
Optional materials:
- tea bag or coffee
- sandpaper
- paint to weather the book
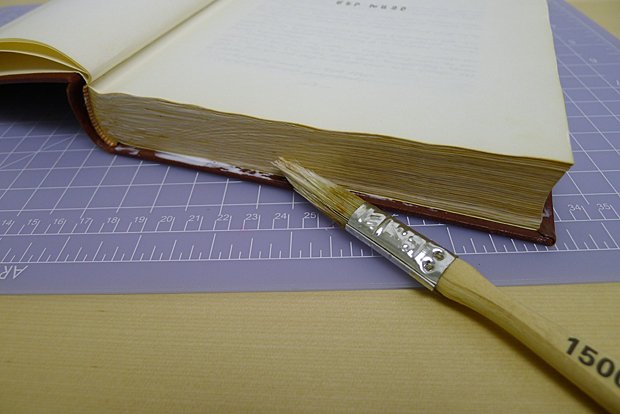
Above: Set aside a 3-4 pages at the front of the book then paint the sides of the rest with white glue. Don't worry about being neat or too thick, you'll add another layer later
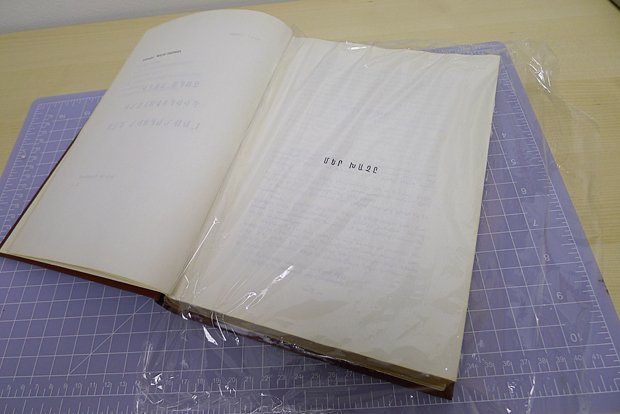
Above: Lay a piece of plastic wrap between the section of the book you just glued and the loose pages. This will prevent the loose pages from sticking
Sign up to the GamesRadar+ Newsletter
Weekly digests, tales from the communities you love, and more
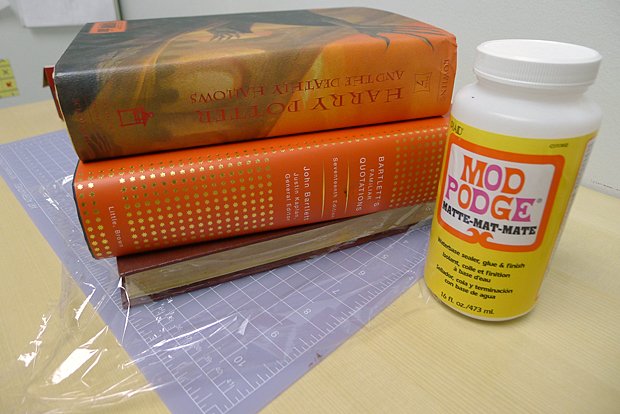
Above: Close the book and set aside to dry. Adding some weight on top will keep the pages together
The book we used was about 1 1/2" thick and took about 30 minutes or so to dry. Your time will vary depending on the thickness of your book and how much glue you used.You'll want to wait until it's completely dry before proceeding to the next step.
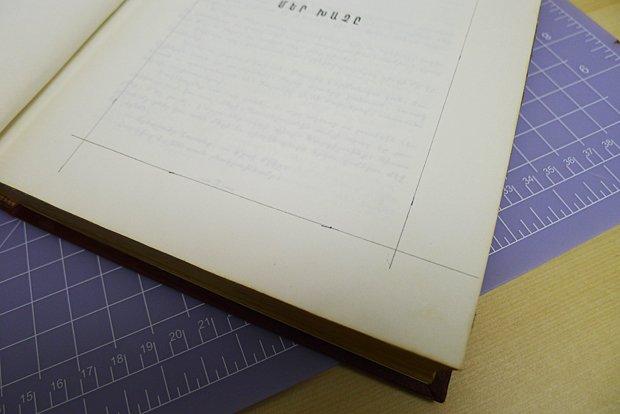
Above: Measure at least an inch in on all four sides of the first glued page and draw a box. This will be your guide for creating the compartment
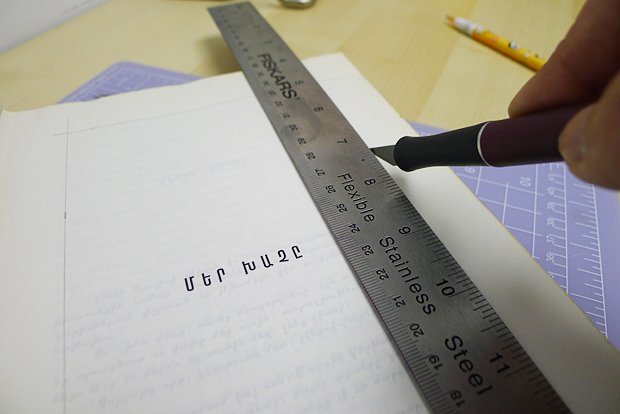
Above: Using your ruler and either exacto or utility knife cut along the lines you just drew
Pro Tip: Try to keep your knife perpendicular to the book to prevent a beveled edge as you remove more pages. Cutting out these pages will be the longest/most involved step in this process so keep that in mind when choosing your book. The more pages it has the more you'll be cutting!
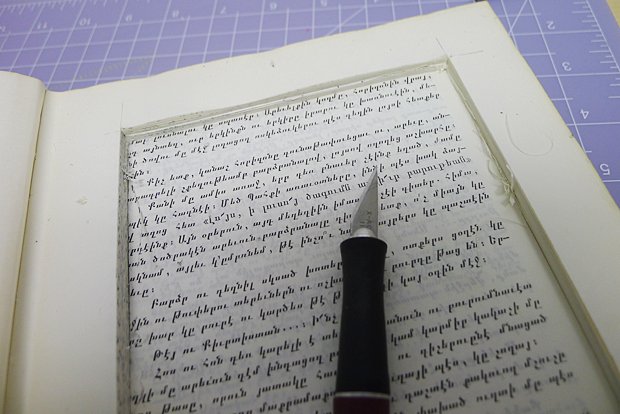
Above: You won't need your ruler after you start removing layers of pages
We couldn't determine the language of the book we found at a local thrift store, but we're seriously hoping we didn't deface some important Tibetan religious text. Don't use a rare or important book when creating this project, guys!
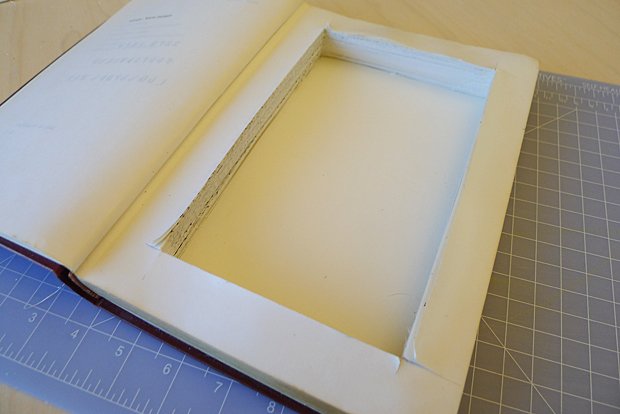
Above: Don't worry if you cut past the corners, we'll clean that up in the next step
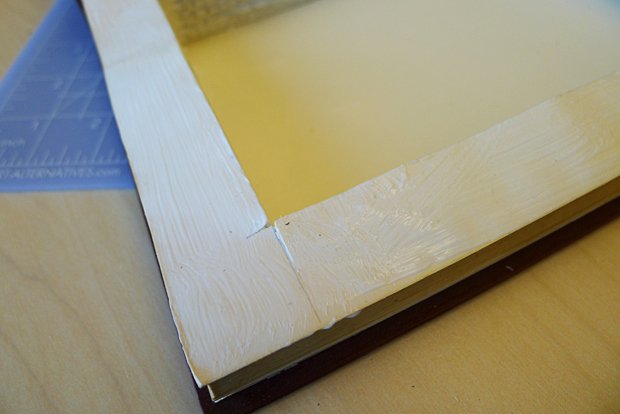
Above: Add another layer of glue to the top page of the compartment and the three sides of the book
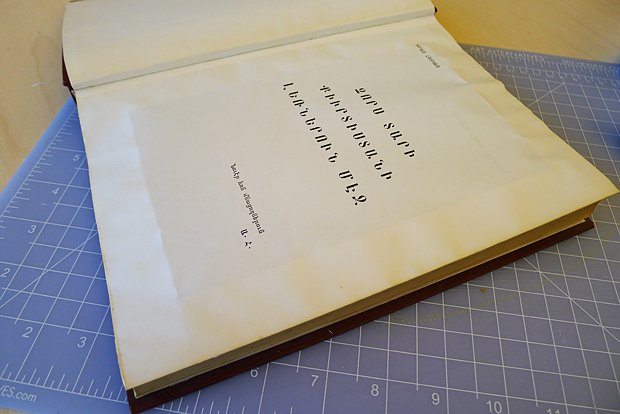
Above: Glue down the page above your compartment. This page will hide any imperfections from the previous steps
Close the book, put some weight on it and let it dry. When it's ready, it will be easy to slide your knife around the page you just glued down to reveal the compartment underneath.
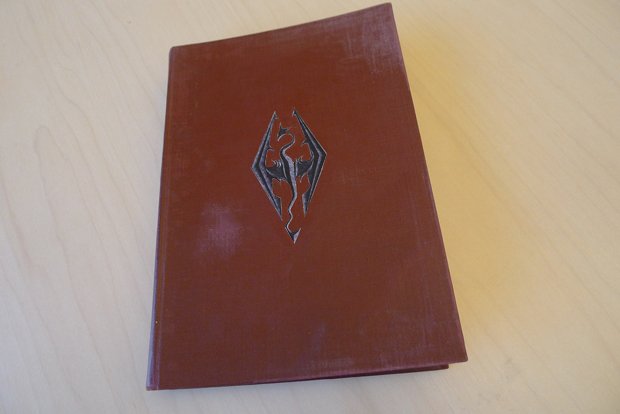
Above: Cut out the Dragonborn symbol and glue to your cover
At this point you can choose to weather your book to make it look older. Use a fine grit sandpaper to sand down the corners and cover, tea and coffee can be used to stain pages and brown and black paint can make the cover look dirty. Our example is pretty clean, with only a light sanding on the edges.
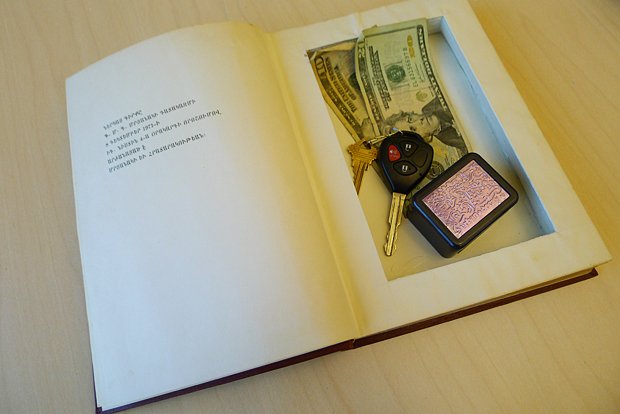
Above: Congratulations, your valuables are now safe from bandits
Maybe this project is too involved? Maybe you hate dragons? Read on to learn how to make console button magnets.

