Nintendo's NES Classic and SNES Classic are the talk of the town right now. Thanks to these devices, which compile a solid lineup of retro nostalgia into conveniently-sized boxes that can hook up to a modern television, it's almost like being whisked away to yesteryear. Almost - but not quite. So what if I told you there was a way to have even more games and an even more authentic experience, clutter-free and easy to use?
Oh, you read the headline and know I'm not just being rhetorical? Well, good! Because you're right, that's exactly what I'm about to break down for you. So, that being said…
What's our end goal?
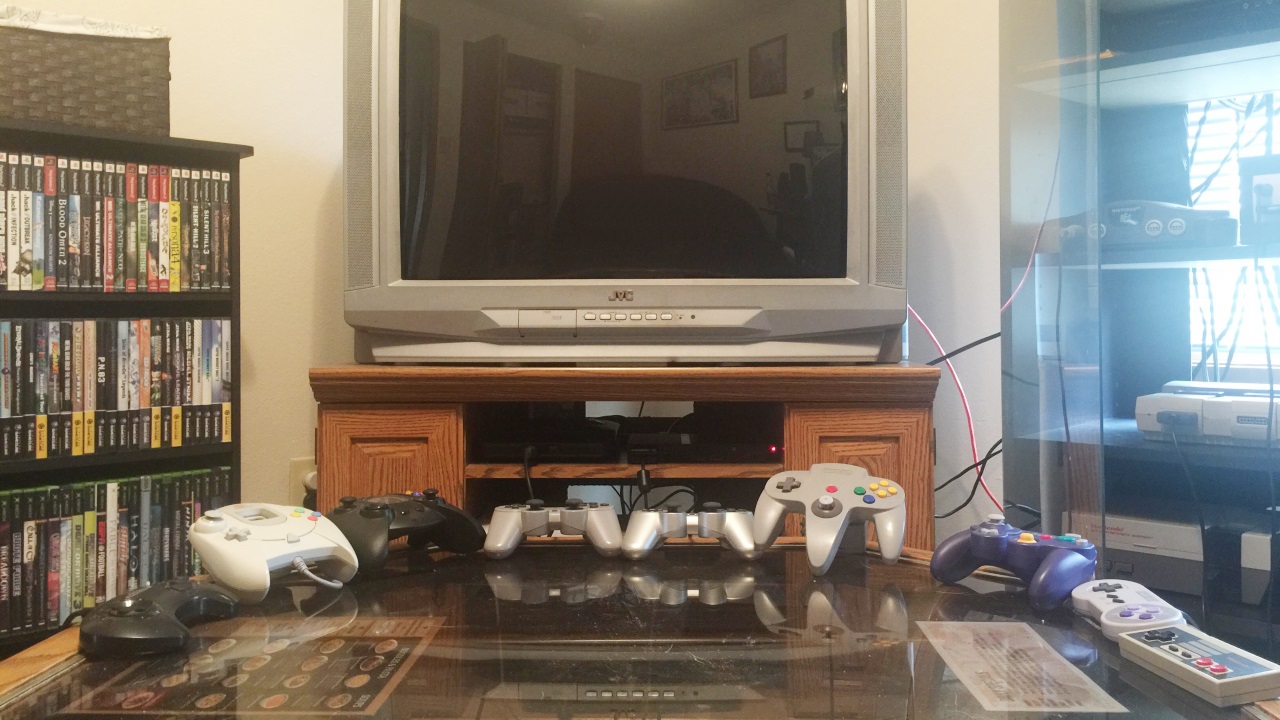
At the end of the day (and this guide), you should be able to hook multiple consoles up to one television, experience authentic gameplay, and switch between them with ease. You can do just a handful, the number that I've chosen (nine), or more. Regardless, you should also be able to do this without spending hundreds of dollars and without a complex control device such as a home theater receiver.
Let's talk "authentic"
Earlier, I said that the NES Classic and SNES Classic don't quite offer an authentic retro experience. Their controllers have shorter cables, you don't have to manually insert a game to load it, and the picture is clearer than before thanks to an HDMI connection. For many people, those are good and welcome changes - but being authentic means being true to original designs, warts and all. This guide tries to keep final performance as close to the mark as it was when these consoles were first released.
If you don't like the sound of that and would prefer that your retro gaming experience came with a few more modern niceties, I suggest checking out our list of the best retro consoles. The rest of you, read on.
Why bother keeping things old-school? Aren't new TVs and systems better?
Sort of. While modern-day LCDs (including LED screens) are now just as fast as old CRT sets at refreshing an image, the way in which the two technologies do this is completely different. You know how your TV is probably 720p, 1080p, or 4K (which is really just 2160p)? Well, that "p" stands for "progressive scan," and it makes every pixel in an image emit light simultaneously.
By contrast, a standard definition CRT television displays images in 480i, the "i" standing for "interlaced." This means that when viewing something on an Standard Definition CRT, you're really watching two different fields of pixels, with the TV rapidly alternating between them. So you'd think progressive scan would be better, right? After all, you're getting more image per refresh. But that's not the case.
Sign up to the GamesRadar+ Newsletter
Weekly digests, tales from the communities you love, and more
While the resolution of your TV is important, what's more important is the resolution being fed into it. Our oldest and most cherished systems like the NES and SNES didn't output images in 480i, they output in half that resolution. Therefore, an SD CRT would leave one of the image fields blank instead of alternating - that's what causes those characteristic scan lines we all remember from the good old days.
Most modern TVs can't recognize such a paltry little resolution, and have software included by default that de-interlaces pictures and upscales them. That's great for an age of TV watching where we as an audience want to see every pore and wrinkle on an actor's face, but it's not good for old-school games. Applying these modern rendering techniques to machines that weren't designed for them results in stretched images and inaccurate color reproduction, as well as that most hated of enemies: input lag.
There are devices out there that can produce genuine scan lines or emulate them on modern TVs, but those can cost hundreds of dollars and require tricky setups; remember, we're going for cheap and simple here.
So what do I need?
The two most important components of this setup are, of course, the consoles you want to hook up and a CRT television. First, let's break down the consoles.
As you probably know, there are often multiple models of any given system. The PS2 vs PS2 Slim, for example. Less well-known are the model changes that aren't also a drastic redesign, but these can be just as important. Below you'll find my suggested models, as well as some reasons why I've picked them:
Nintendo:
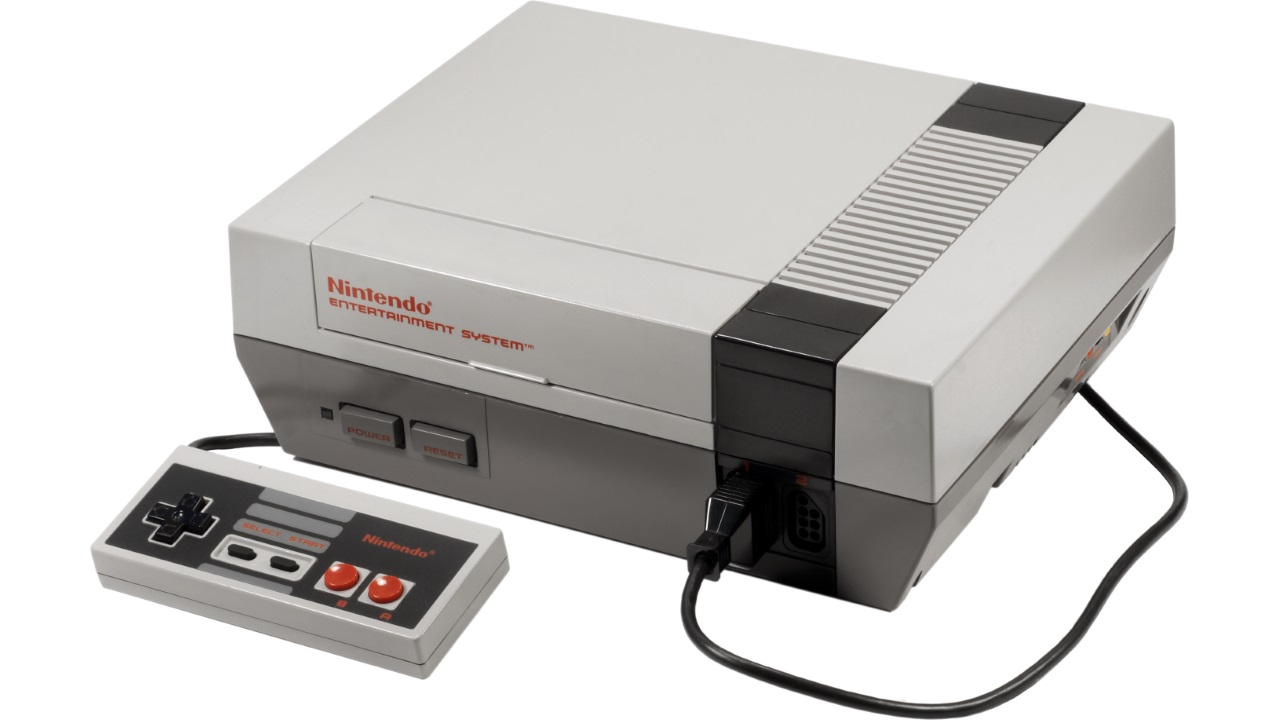
NES: The original if you're concerned about aesthetics, the NES-101 (aka "top-loader") for reliability. There are few consoles as iconic in appearance as the Nintendo Entertainment System, but we all remember the hassle of getting a game to work on the blasted thing, courtesy of copper contacts that bend when inserting a game cartridge. The top-loader NES-101 helps alleviate this problem, but it's not nearly recognizable to the masses. If you want your setup to be as much about showing off as enjoying games in your home, go for the original. If you plan on playing NES games well into the future, get the 101. Note: Another thing to keep in mind is that the 101 is also RF-only without modding, which will complicate the setup later (thanks to Olive Tag in the comments for pointing this out).
SNES: The SNS-001 model is the original, has the most options for video output, and is just as reliable as later models.
N64: There were a wide range of chips used throughout the N64's run. However, they don't make a noticeable difference in either performance or reliability, so I suggest you just get whichever one is your favorite color.
GameCube: Go for the DOL-101 model, which can be easily distinguished by its lack of a digital output on the back. The laser used for reading discs is more reliable than the original DOL-001 model, and we're not aiming for something compatible with progressive scan anyway.
Sega:
Genesis/Mega Drive: The Genesis run had some of the most revisions and models of any console. But the best balance between video and audio performance is a very first-generation Genesis. You can tell these apart from other models because it'll have the words "High Definition Graphics" at the top.
Saturn: The Model 1 Saturn is regarded as having slightly crisper image output and colors, though both are about as reliable and look very similar.
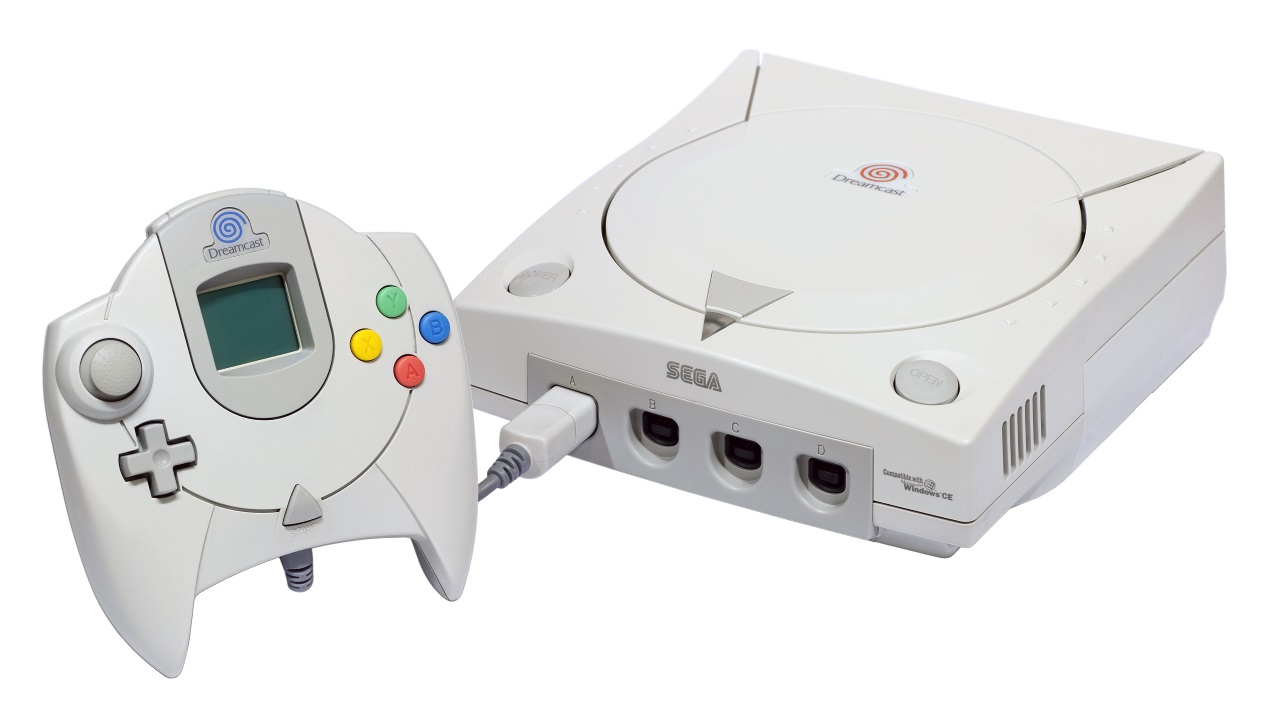
Dreamcast: Look on the bottom of a Dreamcast for a small number written inside a circle. The number will be either 0, 1, or 2. Get a Dreamcast with 0 or 1, as the 2 models can be stingy about playing CD-Rs.
Sony:
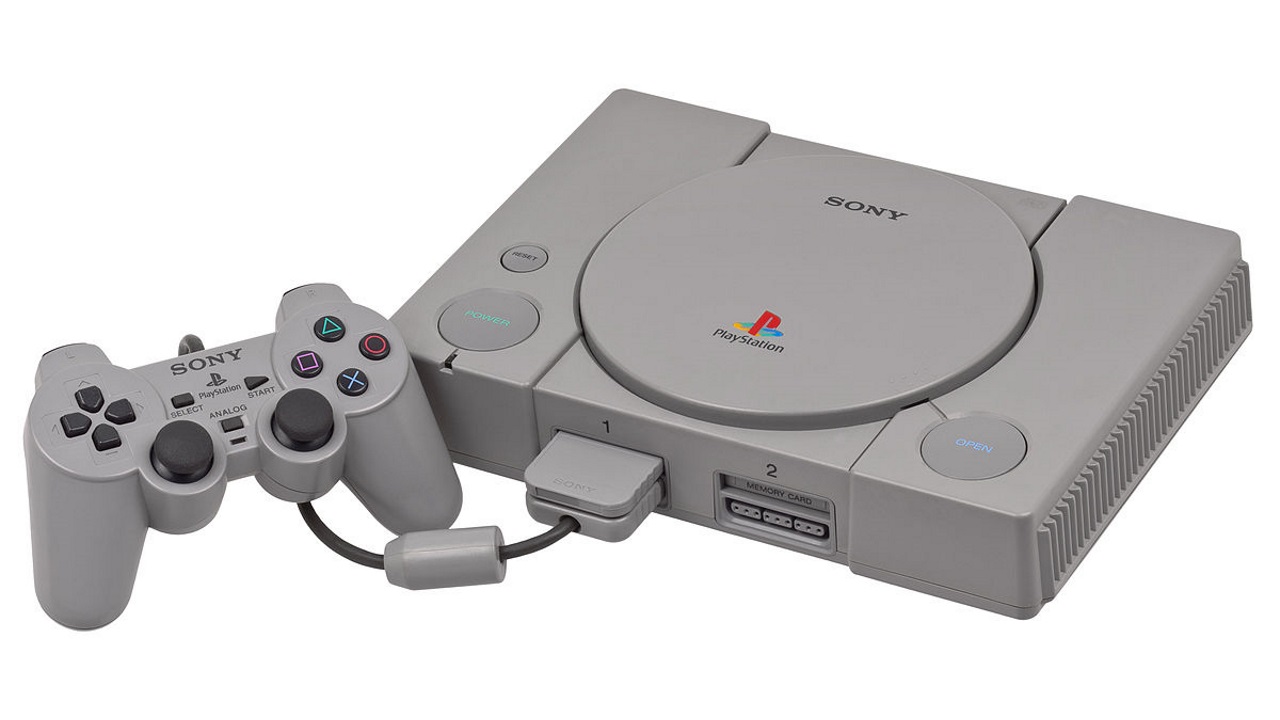
PlayStation: If you like the bulky look of the original PlayStation, get an SCPH-7001 model or SCPH-9001 model. The 9001 is slightly more reliable, but loses the parallel port used for cheating devices. If you like your old-fashioned GameShark, you want the 7001. Stay away from the SCPH-1001 models, which are more prone to faulty lasers.
PlayStation 2: Unless you're dead-set on nostalgia and getting a 'fat' PS2, go for the Slim. There's very little difference between slim models, though you should avoid the SCPH-75001 model due to compatibility issues with some discs. If you decide to go for the bulky original, get the SCPH-30001 or SCPH-50001. The former has a more reliable laser, while the latter has better air flow and a built-in infrared sensor for the PS2 DVD remote.
Microsoft:
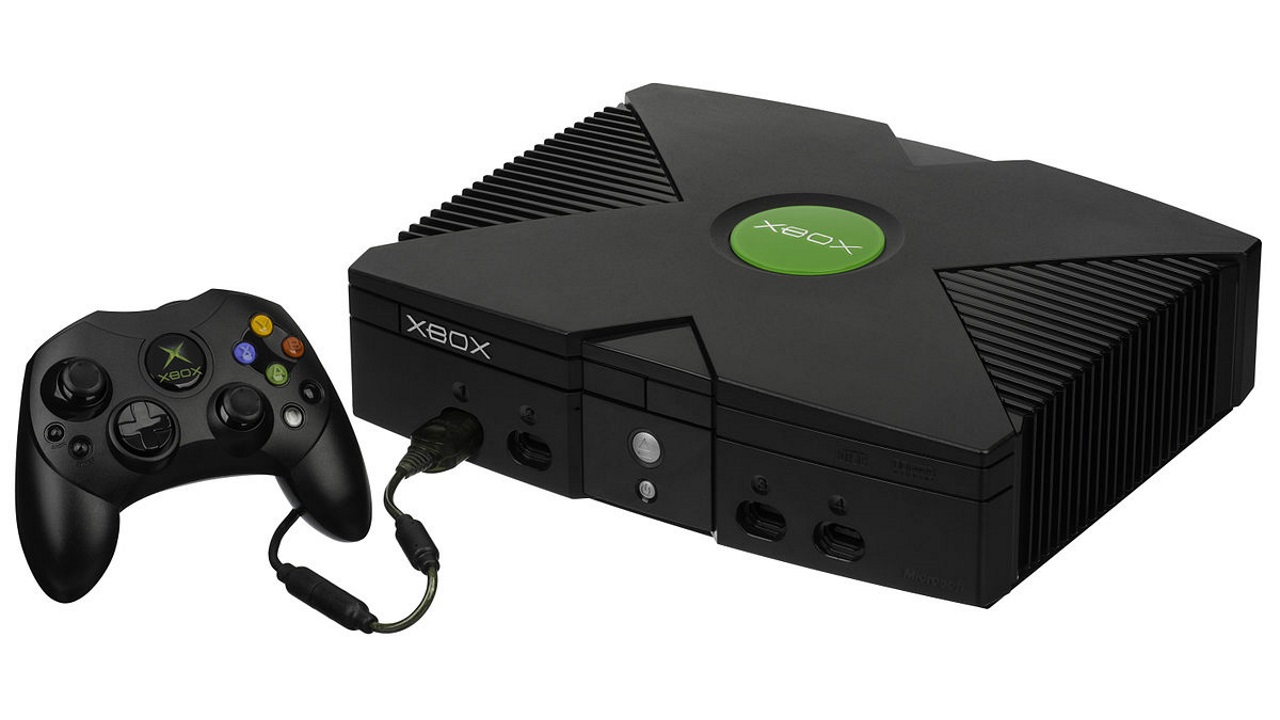
Xbox: You'll need to do some fiddling with an original Xbox to make sure you have a good model. First, pop open the tray. You want one where the disc tray has two small holes on the sides, indicating it's a Samsung model. If the tray's cutout is shaped like a keyhole, with a large circle in the center and straight lines leading back to the system, that's a Philips model - not as good, but not bad. Avoid systems with a tray where the cutout portion comes straight forward and makes a curve at the end.
The bigger issue is the system's clock capacitor, which should be removed. You won't have an accurate clock anymore, but these components are known to leak and damage the motherboard. You can read more about removing an original Xbox clock capacitor here.
All the rest:
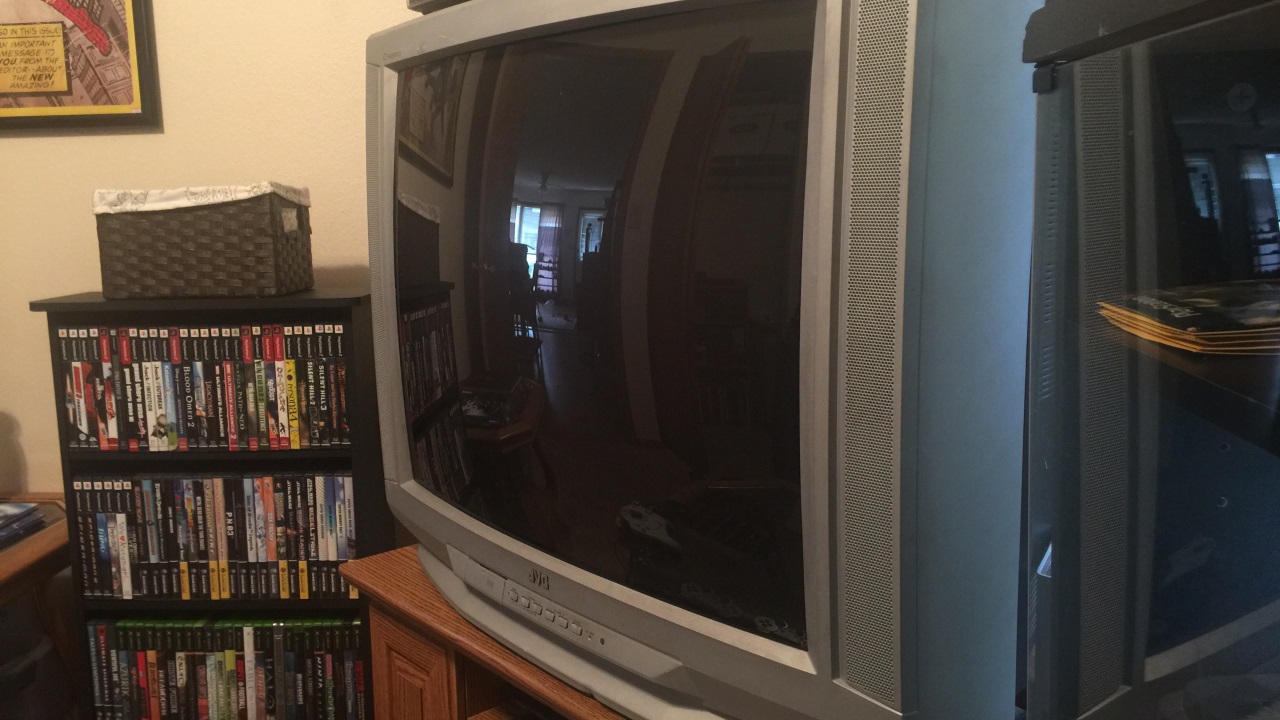
TV:
As for what kind of television to get, you could probably guess from my breakdown earlier that you want a CRT model. Unfortunately, these types of displays aren't sold in stores or even manufactured anymore, so you'll need to go on a bit of a scavenger hunt. More on that in just a minute.
TV stand and/or media cabinet:
You'll need a place to put all these devices, and furniture will help keep your setup looking neat while hiding cords. Get cabinetry that has more space than you think you need - better to have too much than not enough.
Surge protectors:
You're about to plug in a lot of electronics. You're gonna need at least one, if not two or more.
A/V switch(es):
These are the secret sauce required to make the whole setup work - the 'one weird trick,' if you will. They're incredibly simple devices: all they do is route signal from multiple incoming devices (in this case, retro consoles) and pump them out through a single output.
A composite cable:
Get one long enough to reach from wherever you're going to place your switch to the back of the TV, with a bit of slack to spare.
A label maker:
You want to know which system you're turning on when you flip the switch, don't you? A label maker will help keep you organized.
Where do I get these things?
Here's where you'll feel the biggest impact on your wallet. If you want a tested system you know is going to work, you'll need to go through a major retailer which guarantees system performance. GameStop offers retro consoles through its website and some stores, while the websites eStarland, DKOldies, JJGames, and Lukie Games specialize in these devices.
If you're more concerned about cost, scope out your local thrift stores, Goodwill, and Salvation Army. Consoles purchased from such locations aren't always guaranteed to work (some have not even been tested), but you'll save tons of money - assuming, of course, you don't just keep buying duds.
When it comes to TVs, many families are still occasionally throwing out or trying to get rid of their old tube sets now that HDTVs have become the norm. You can probably find one fairly easily by visiting a thrift store, flea market, Facebook marketplace, or Craigslist. Very few people want them or want to deal with the hassle of carrying one, so you should be able to get a decent price too.
A/V switches can be found in many places, but I suggest the Panlong 8-way switch sold on Amazon. It's just over $20, has plenty of ports, and is a simple rectangle shape with rubber feet so it won't slide from the weight of all those cords. The really nice thing is, should you ever exceed eight systems, you can just buy another and plug that into the first switch in a daisy-chain.
Surge protectors are also freely available. Any brand should be fine, but the 10-outlet Tripp Lite is just shy of $30, has a good number of outlets, and will cut off power entirely when it can't protect against surges.
Okay, I've got everything - now what?
Start by setting up your TV. Leave yourself a fair amount of room behind it, because you're going to be fiddling with a lot of cords in just a minute.
Decide where you're going to place your consoles. I pretty much just went with "wherever it fits," but I also put all my Nintendo systems in their own cabinet because... well, why not? Go ahead and get them all plugged into the surge protector, but don't bust out the A/V cables yet.
Instead, take out your switch and start labeling inputs. Abbreviate to save space, but otherwise do whatever you need to make sure you understand which button belongs to which system. Every time you label a new input, plug in the corresponding system's cables to the switch. Do not plug in the cable to the system itself yet. Use rubber bands to help keep cords from getting tangled if you need.
Once you've got all your inputs labeled and all your systems' cables plugged into the switch, set it down wherever you want it to rest. Use a composite cable to connect it to your TV first, then move down the line, plugging each cable into the back of its respective console. This will help prevent tangles and tugging.
And just like that, you're done! Turn on your television, console of choice (or all of them if you really want to feel a rush of power), and simply press the corresponding button on your switch depending on the system you want to play.
But what if I...
Have a better idea? Disagree about which models to get? Want clearer picture or sound? Want to hook up a surround sound system? There are all sorts of tweaks you can make to this guide to get things where you want. Feel free to experiment and change things until you get the setup that's right for you. But most importantly: enjoy.
Sam is a former News Editor here at GamesRadar. His expert words have appeared on many of the web's well-known gaming sites, including Joystiq, Penny Arcade, Destructoid, and G4 Media, among others. Sam has a serious soft spot for MOBAs, MMOs, and emo music. Forever a farm boy, forever a '90s kid.
