Fallout 76 CAMP tips: 14 tips to help you build the best base
Here's exactly what you need to know to build a C.A.M.P. to wow the wasteland
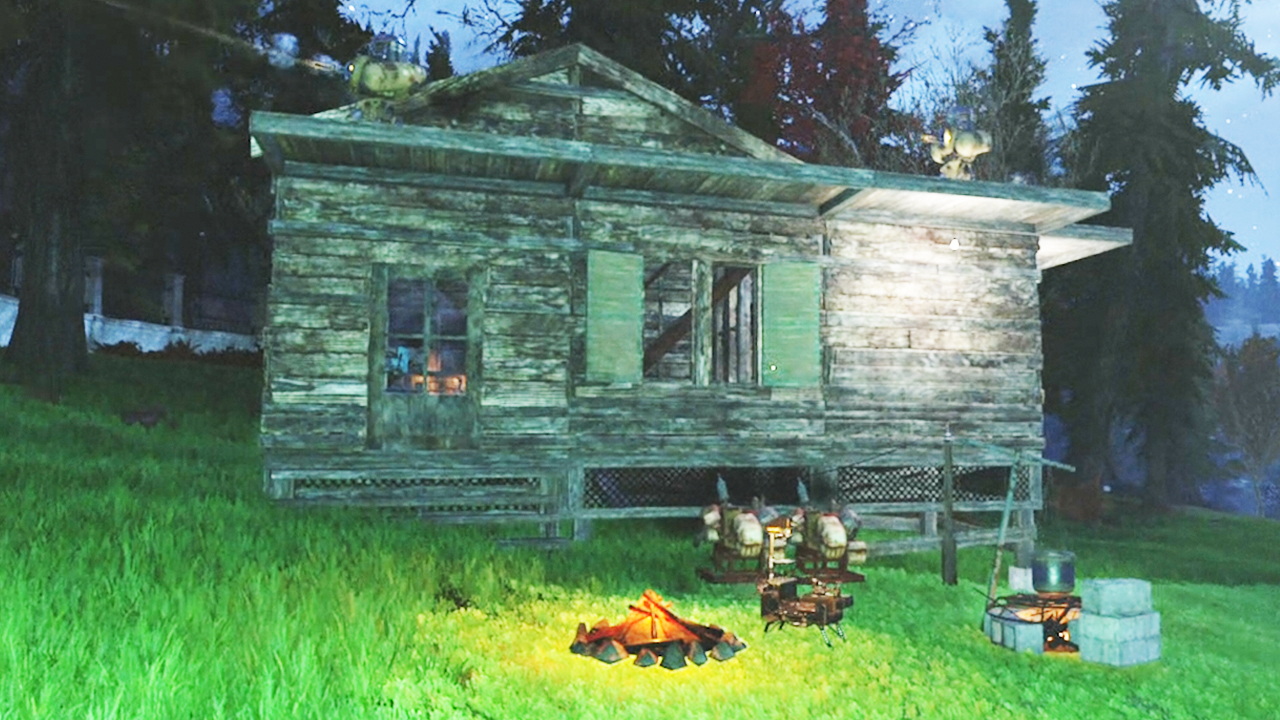
Building the best Fallout 76 CAMP can be a task. Whether's it's collecting all the resources and blueprints, finding a place to put it or battling with the occasionally glitchy buildings. There's some work to do.
Even worse is trying to work it out all by yourself, which is why a few tips will always help out. As well as simply finding a location and building a basic shack there are defenses, farming, power and plenty of other things to think about. Coming up we're going to cover all the essentials on how to build the best Fallout 76 CAMP. This really covers the more advanced aspects of CAMP building, so if you're just looking to get started then our basic Fallout 76 CAMP tips may help you more.
The most important thing about building a CAMP in Fallout 76 is deciding what you really want it to be before you start. Are you showing off to other players, building a home, or do you want to produce gear and resources? What you want from it - are you building a statement to show other players how important you are? With that in mind you'll have a much better foundation - conceptually and physically - to build the best Fallout 76 CAMP you can.
1. Collect everything when you're building
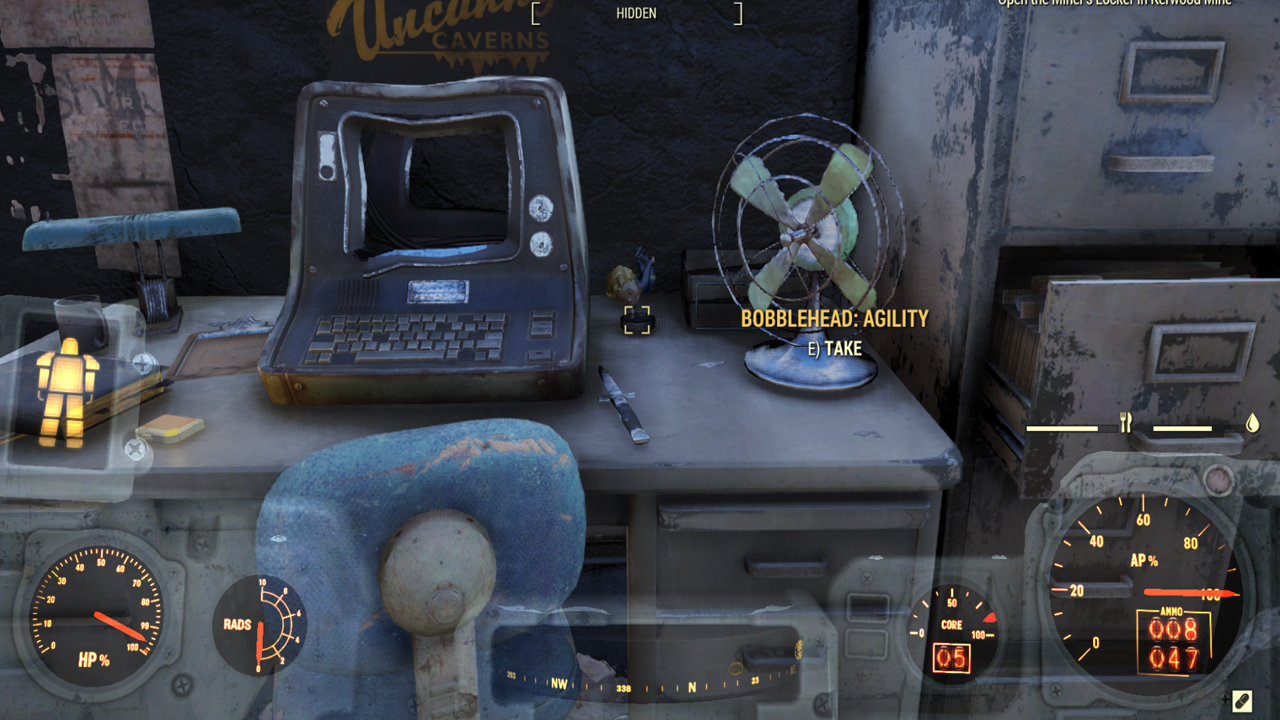
Here’s one aspect we cannot stress enough though: pick up all junk you find, especially if it contains something you need. Junk is far more valuable in Fallout 76 than ever before and you’ll be kicking yourself later on if you don’t loot junk frequently. In the later stages of the game you'll likely have more than enough wood and metal to build all the things but to start with, or when you're expanding, hoover up everything for materials.
2. Budget, budget, budget!
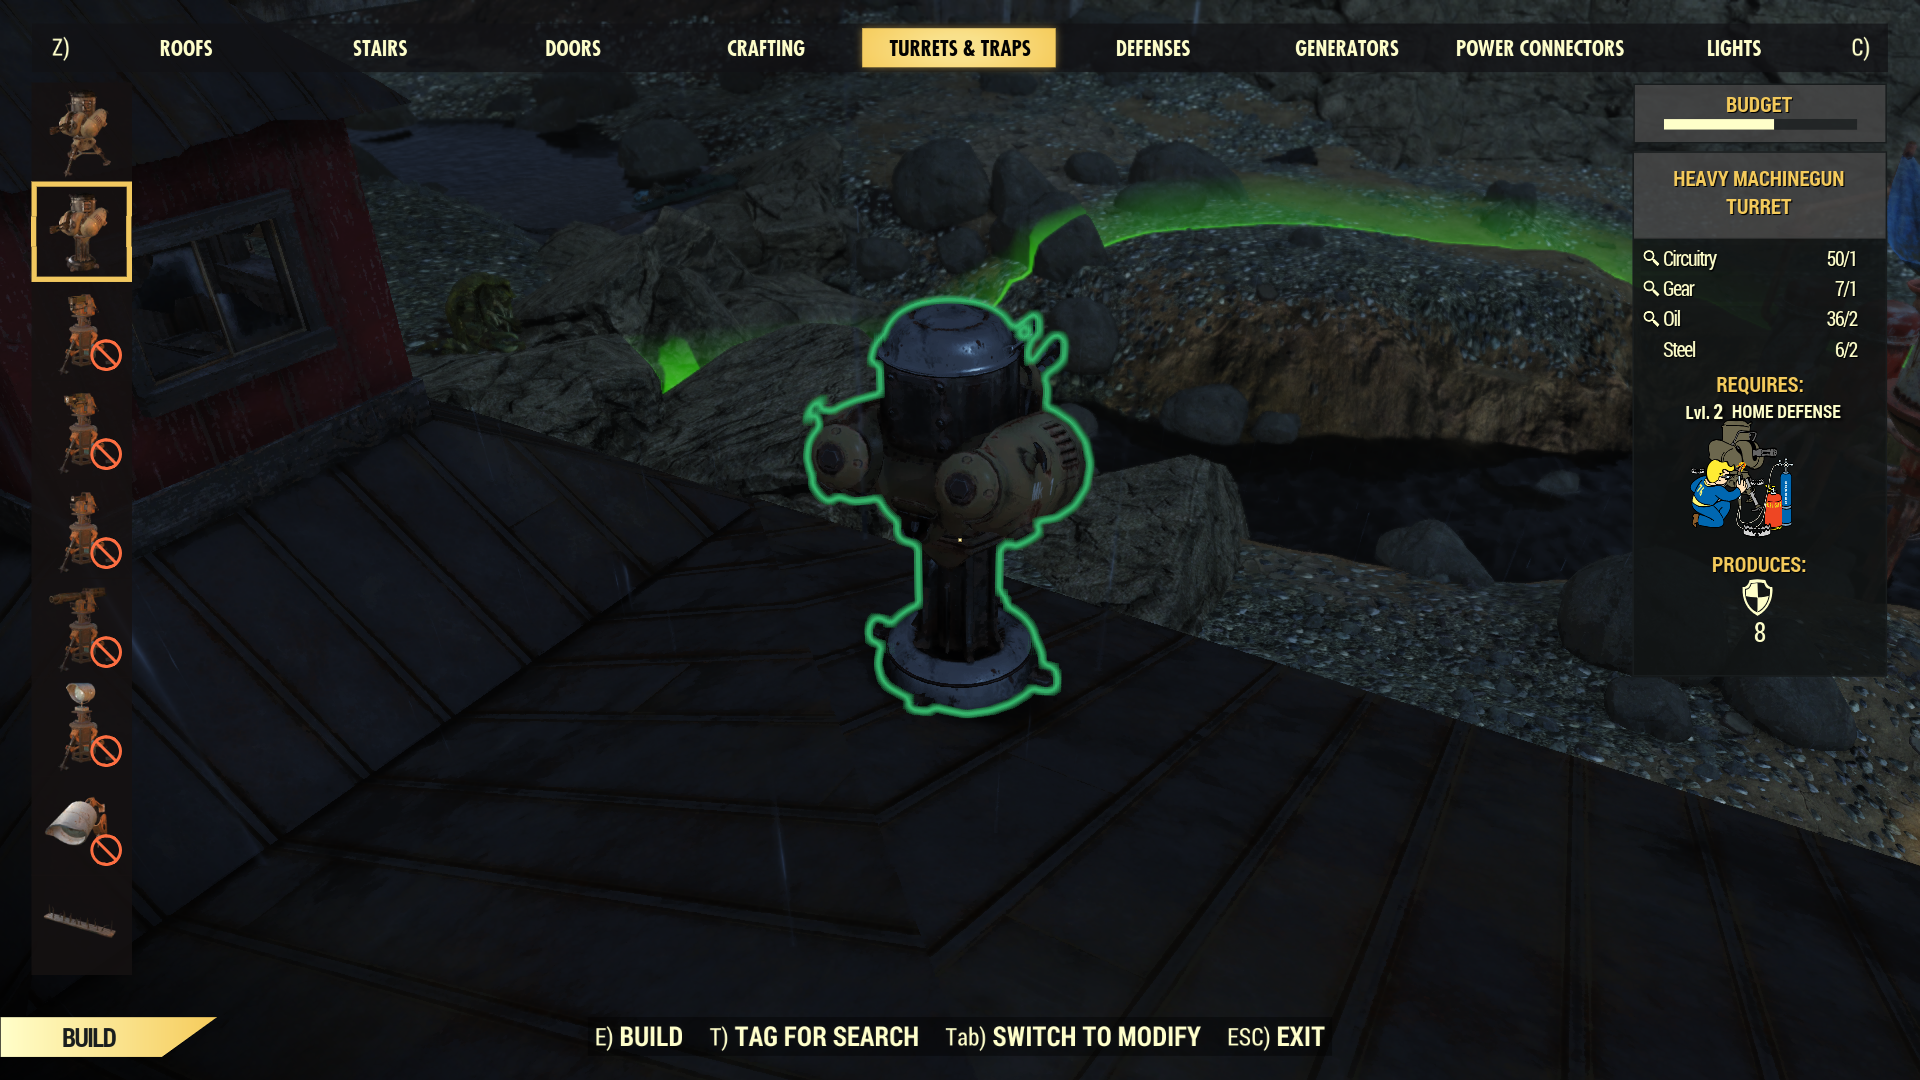
Since Fallout 76 is multiplayer, Bethesda have implemented a couple of ways to keep the number of objects and items on each server down. One of these is the CAMP budget. There’s no quantifiable version of the budget, it is simply a bar visible in your HUD when you’re in building mode. The more objects you place, the further your budget will fill until you’re no longer able to place anything else down. The game doesn’t tell you which objects and building pieces cost more to your budget or how many more you can place till it fills up, you just have to keep an eye on it and work out when you’re going to hit the limit. Turrets seem to take up the most from what we can tell though.
3. Build smarter, not harder
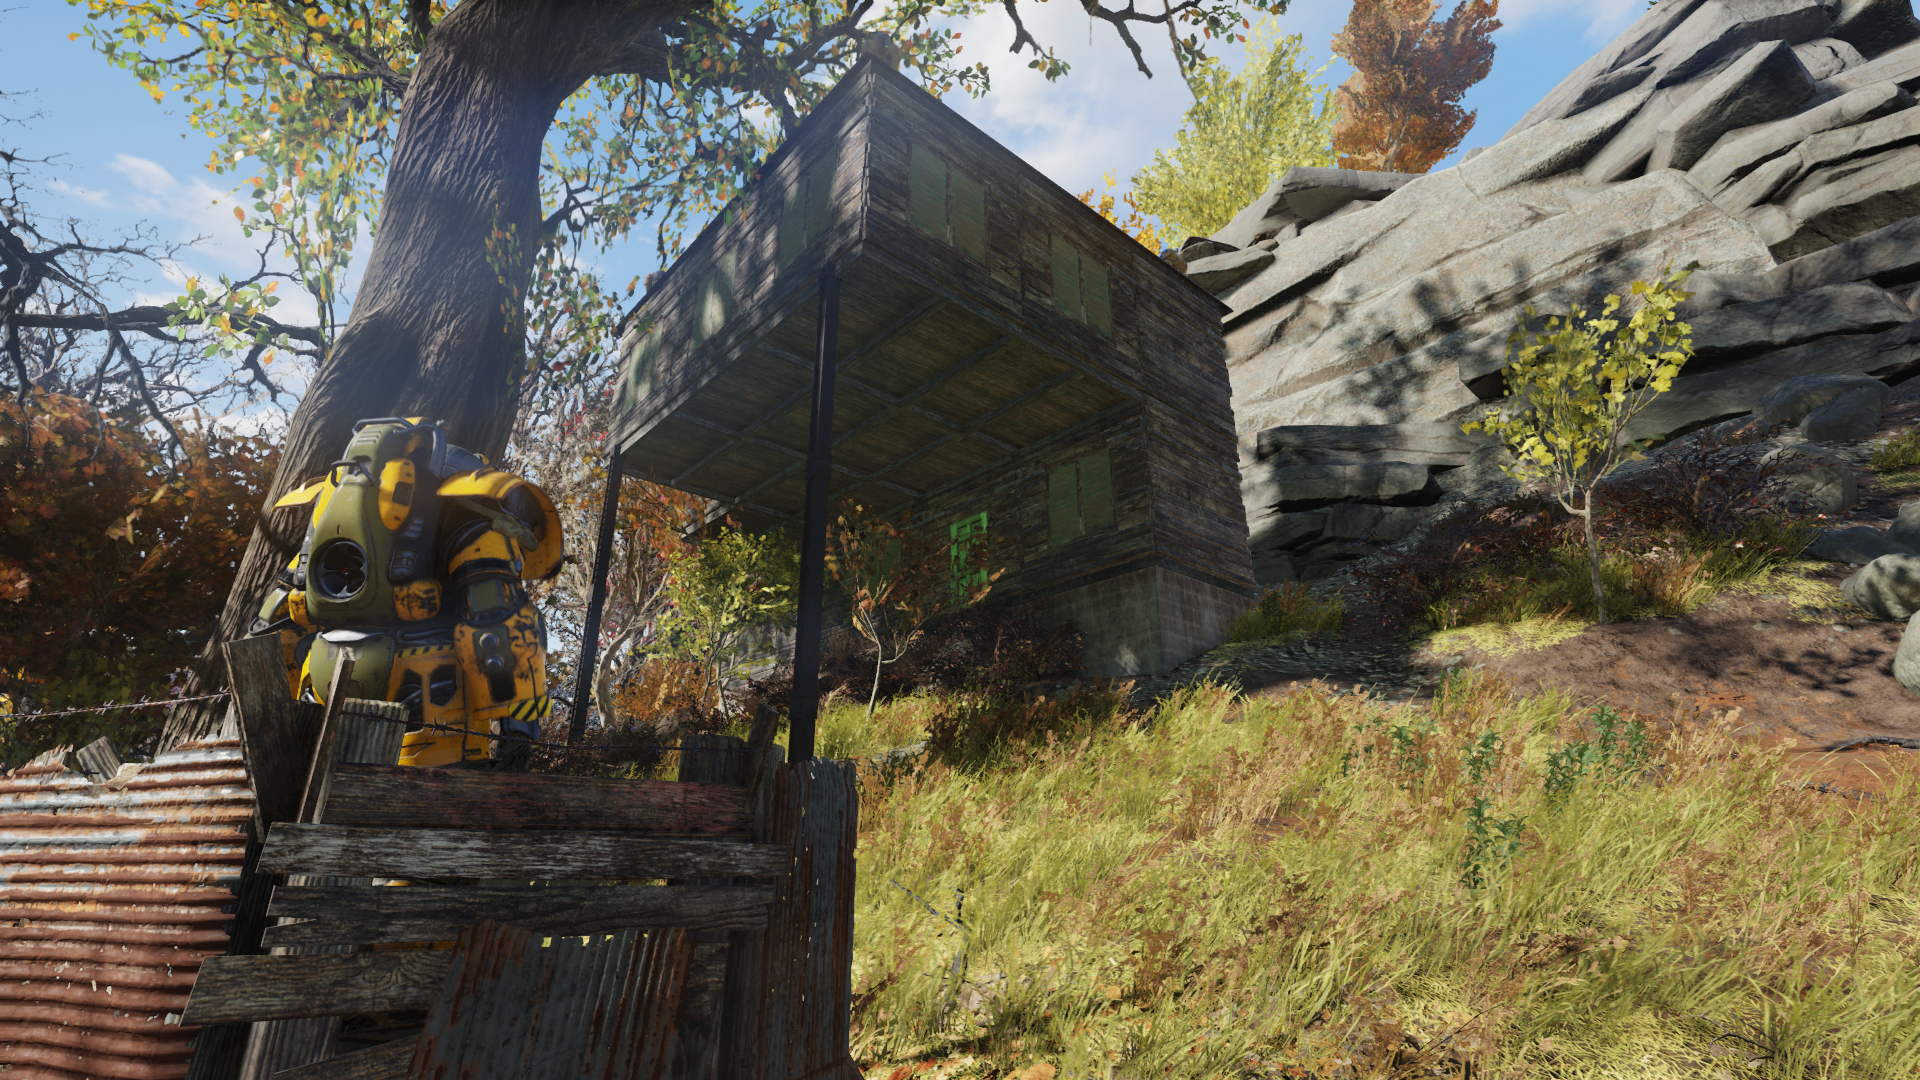
Due to the often infuriatingly small budget, building a moderately sized house with all of your workbenches, generators and defences isn’t really possible. This is why rather than building bigger and wider, you need to build smarter. Condense everything you build and place things as close together as possible so there’s no unused space inside your humble abode. After all, what’s the point of having to cross a huge open room to get from your Stash to your workbenches, just because it may look a little better?
4. Bungalows are the way forward
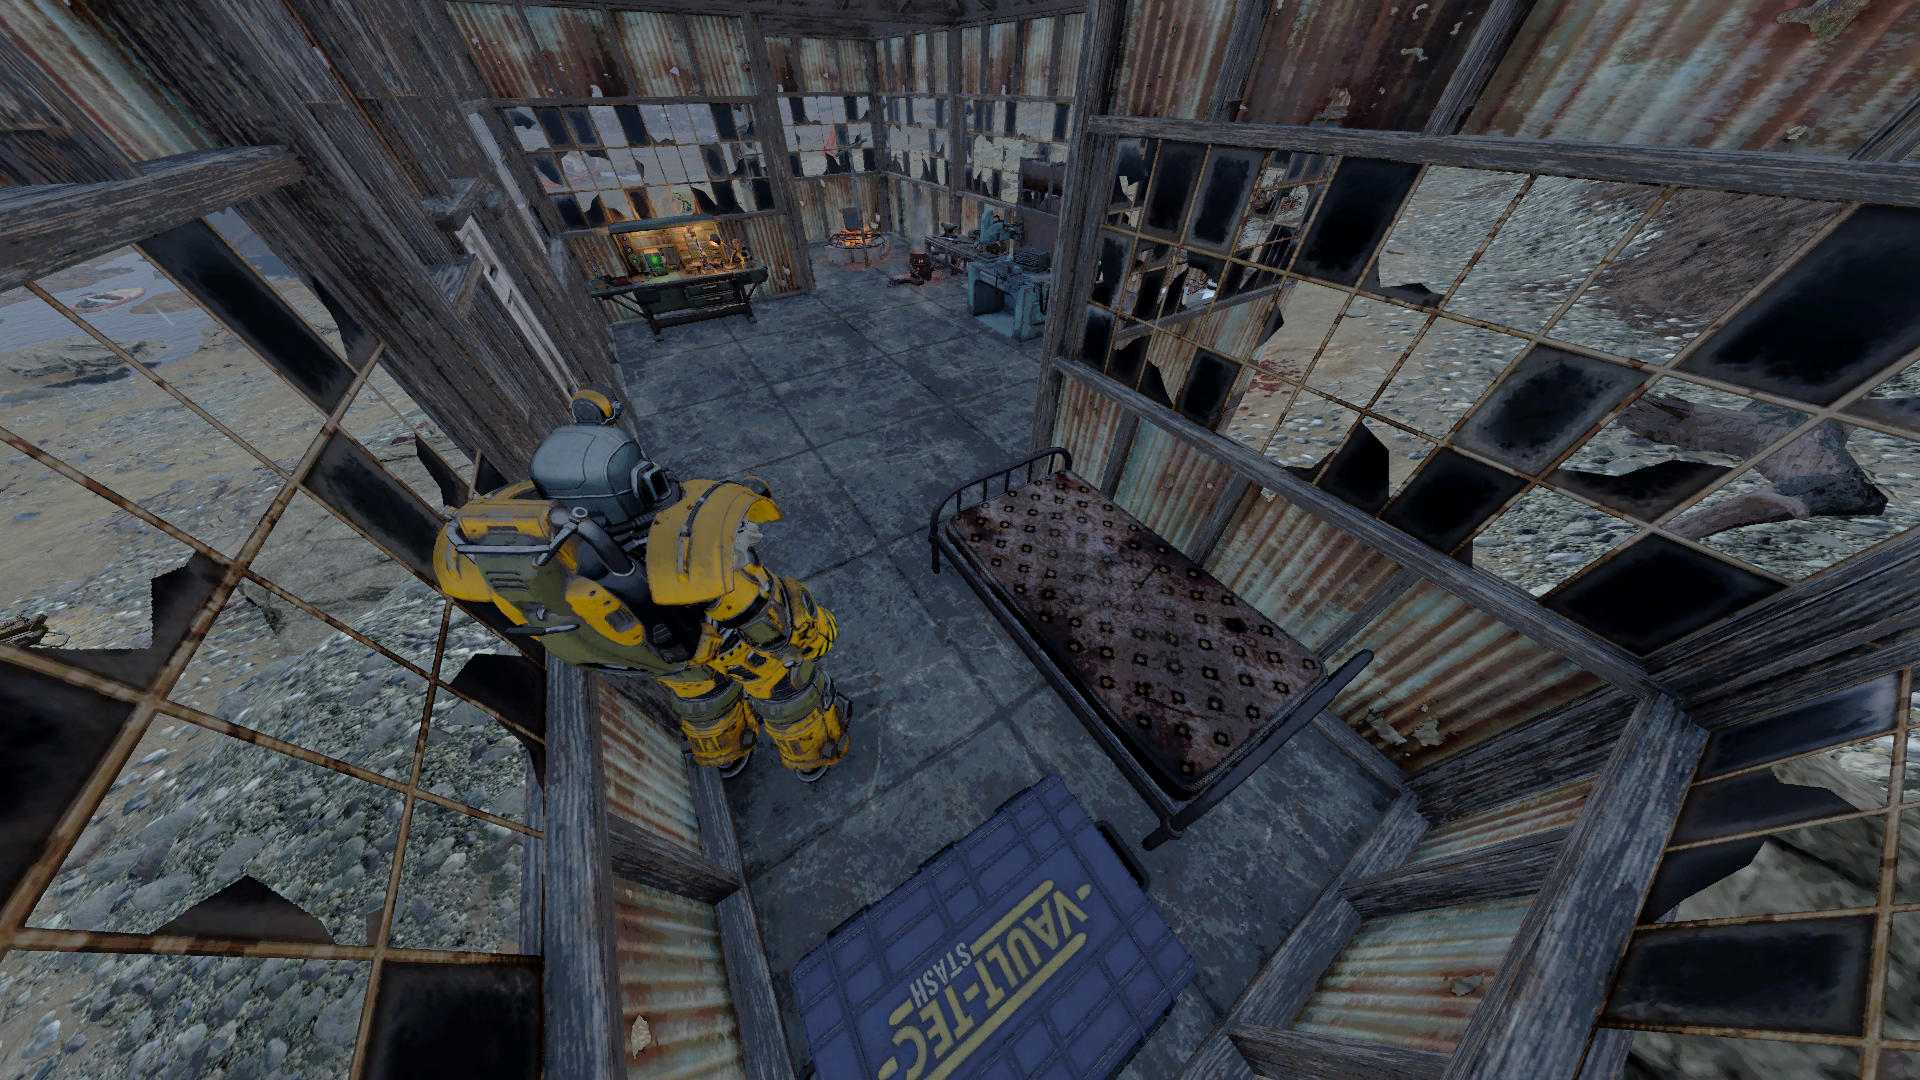
On a similar note, strongly consider not bothering with any staircases. Or if you do, keep everything you’ll be frequently using on one floor and anything unimportant either upstairs or downstairs. You can only traipse up your stairs and down again to go from your Weapon Workbench to your Stash to your Armor Workbench so many times. Keep everything important near each other so you can just swivel round or take a couple of steps to the side to keep your thought process going. Those few seconds saved each time means more time exploring Appalachia, right?
5. Give your turrets the high ground
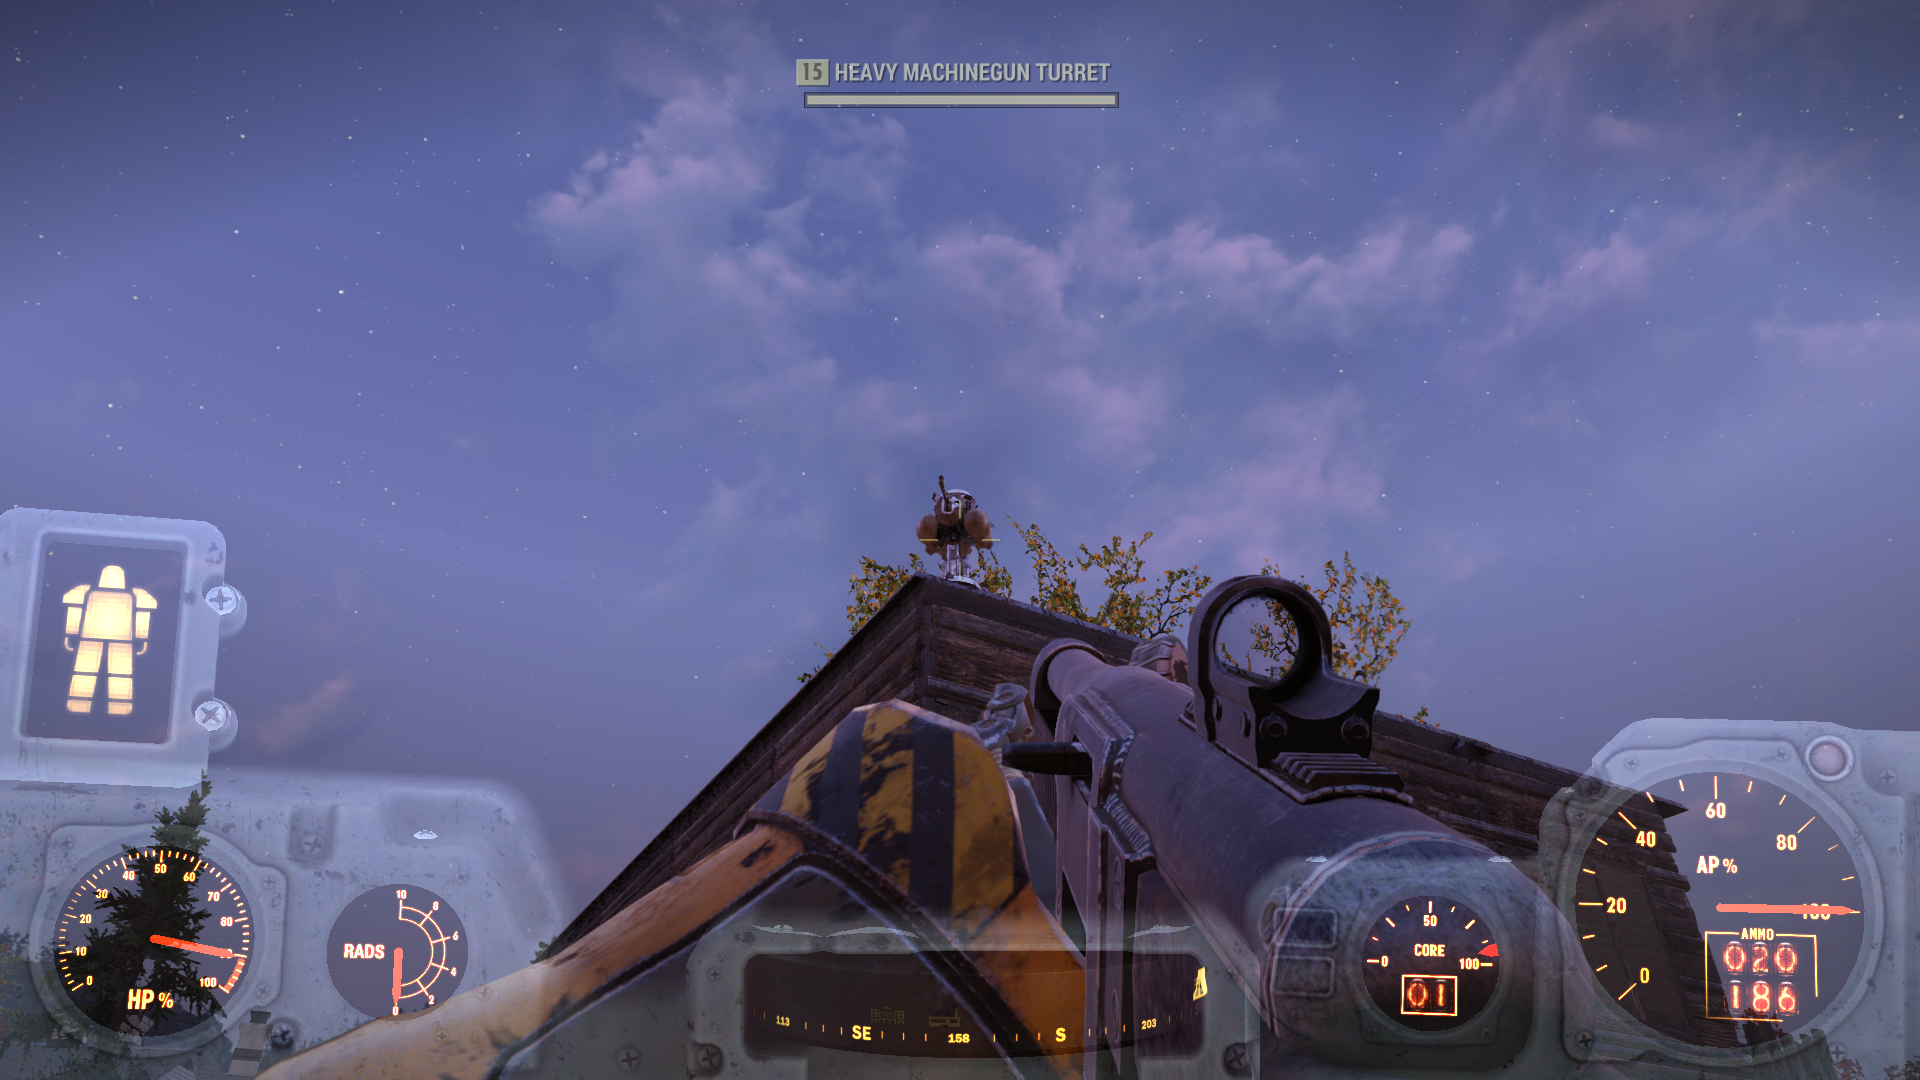
“It’s over, Feral Ghouls! We have the high ground!” is what your turrets would be shouting if they had the capability to express their thoughts and form words. Just like in Star Wars, high ground is key for your automated defences in Fallout 76 because otherwise, they’ll swiftly get swarmed and you’ll spend countless resources repairing your turrets after every attack. Instead, place your turrets on the roof of your home and let them go to town on all hostiles from a distance. Trust us, we learned this the hard way.
6. Build against a wall where possible
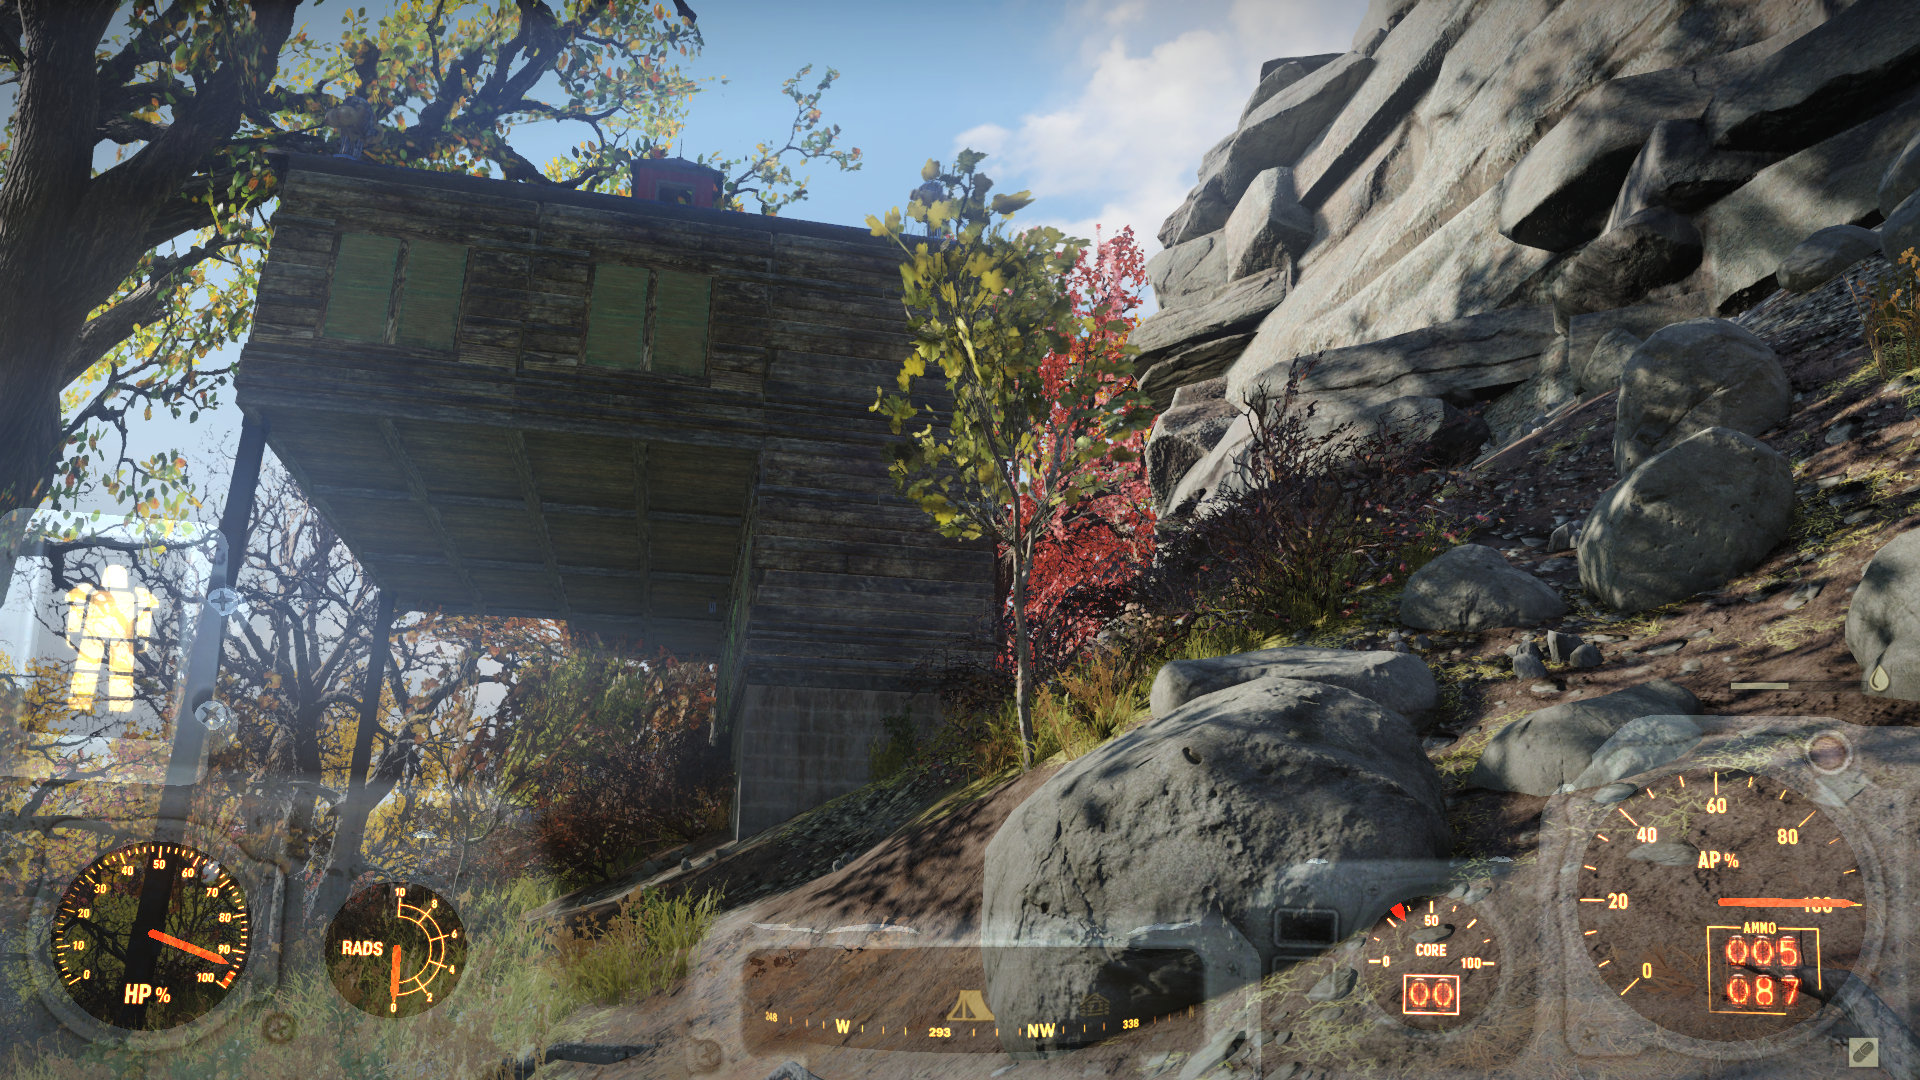
If you’re building on mountainous terrain or there’s just some high ground near you that enemies wouldn’t be able to get on top of like a fence, build against it. This way, you don’t need to spend resources on making the rear of your base look pretty because nobody is going to see it anyway. It also means that you have one less direction to be wary of if there are enemies nearby, and you can focus all of your turrets on the more open areas. Just make sure enemies can’t get on the high ground, otherwise they’ll jump onto your roof and the previous point about never having to repair your turrets becomes moot.
7. Pick the necessary perk cards to enrich your CAMP
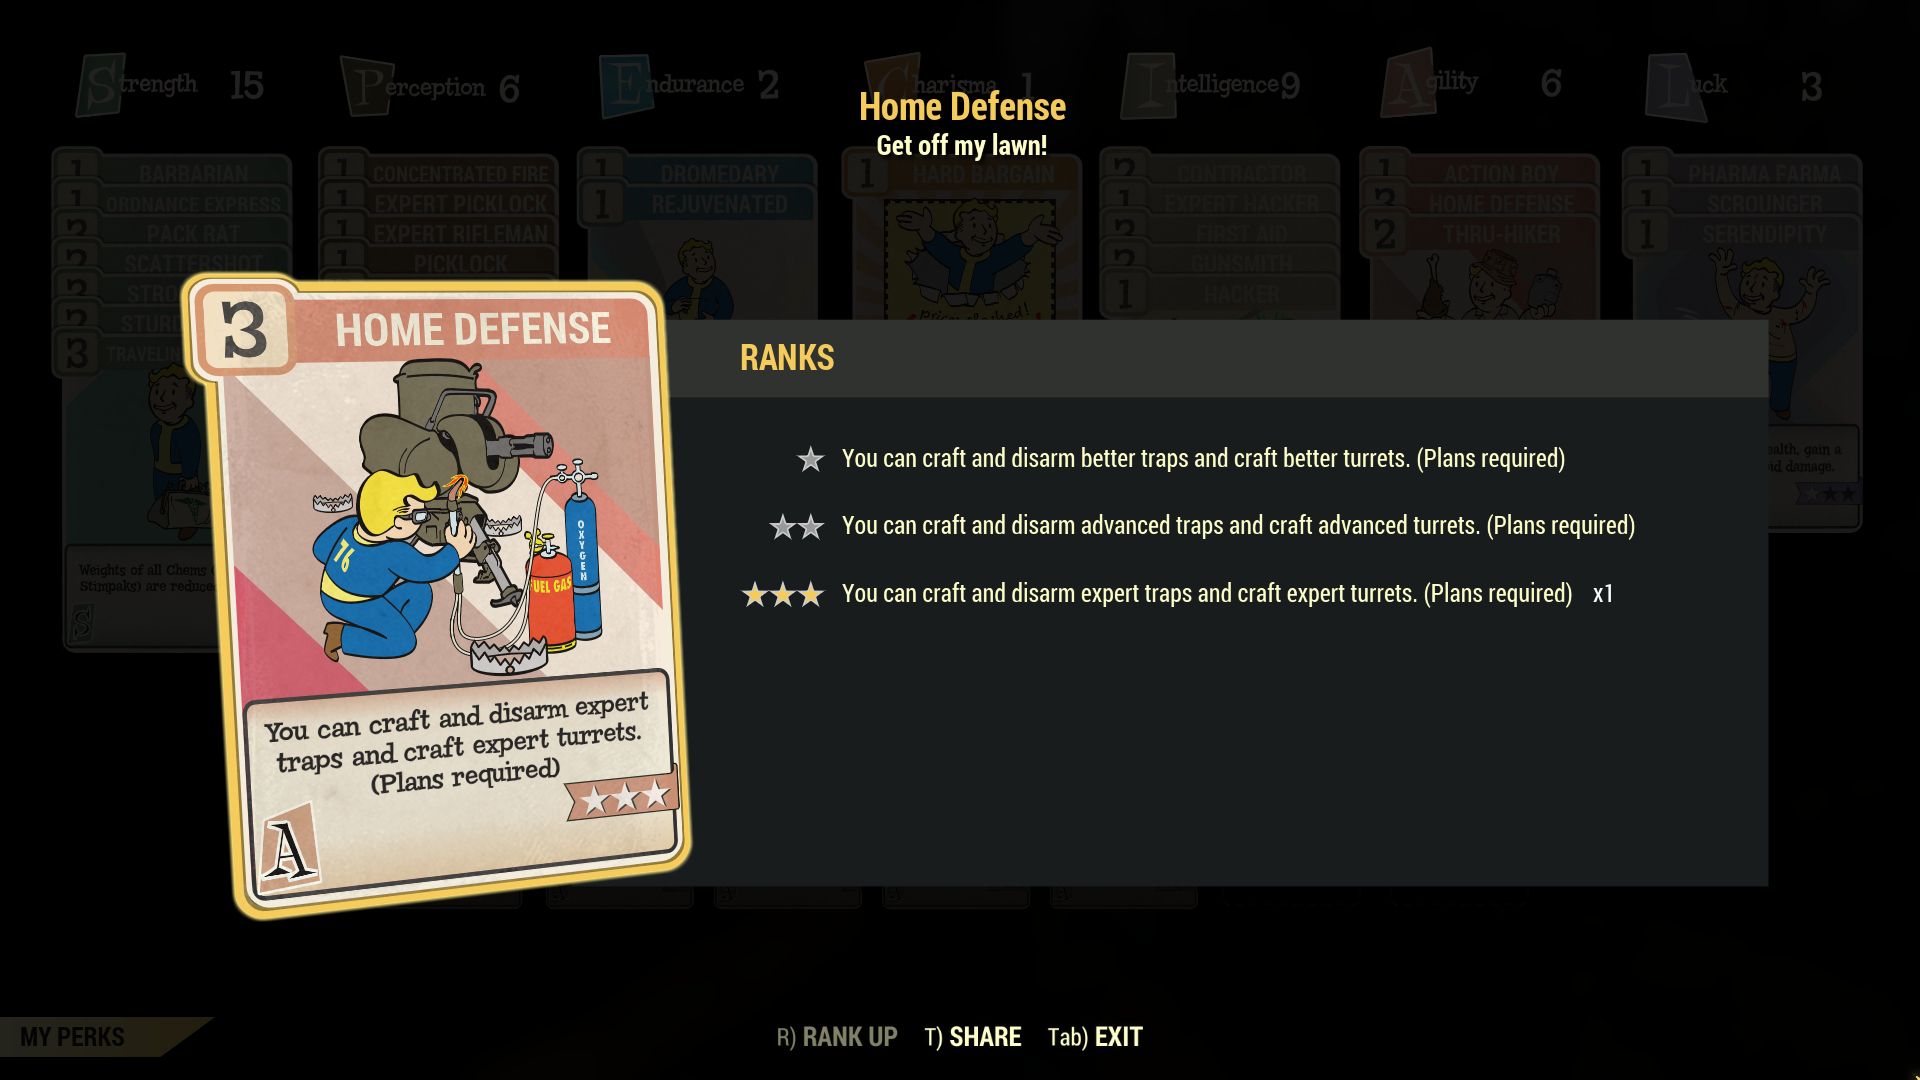
If you are putting effort into making your CAMP an attractive place to live, you’re going to want the right perk cards. Home Defence is a must; it enables the ability to build Heavy Machinegun Turrets which are considerably more powerful than the basic ones, then upgrading it further will unlock Missile and Shotgun Turrets. Contractor makes things you build in your CAMP cost 25% less with each increment, while Happy Camper and Homebody are both passive bonuses. The former makes hunger and thirst increase more slowly while you’re in your CAMP, while Homebody does the same but it heals your health.
8. Workshops provide consistent resources
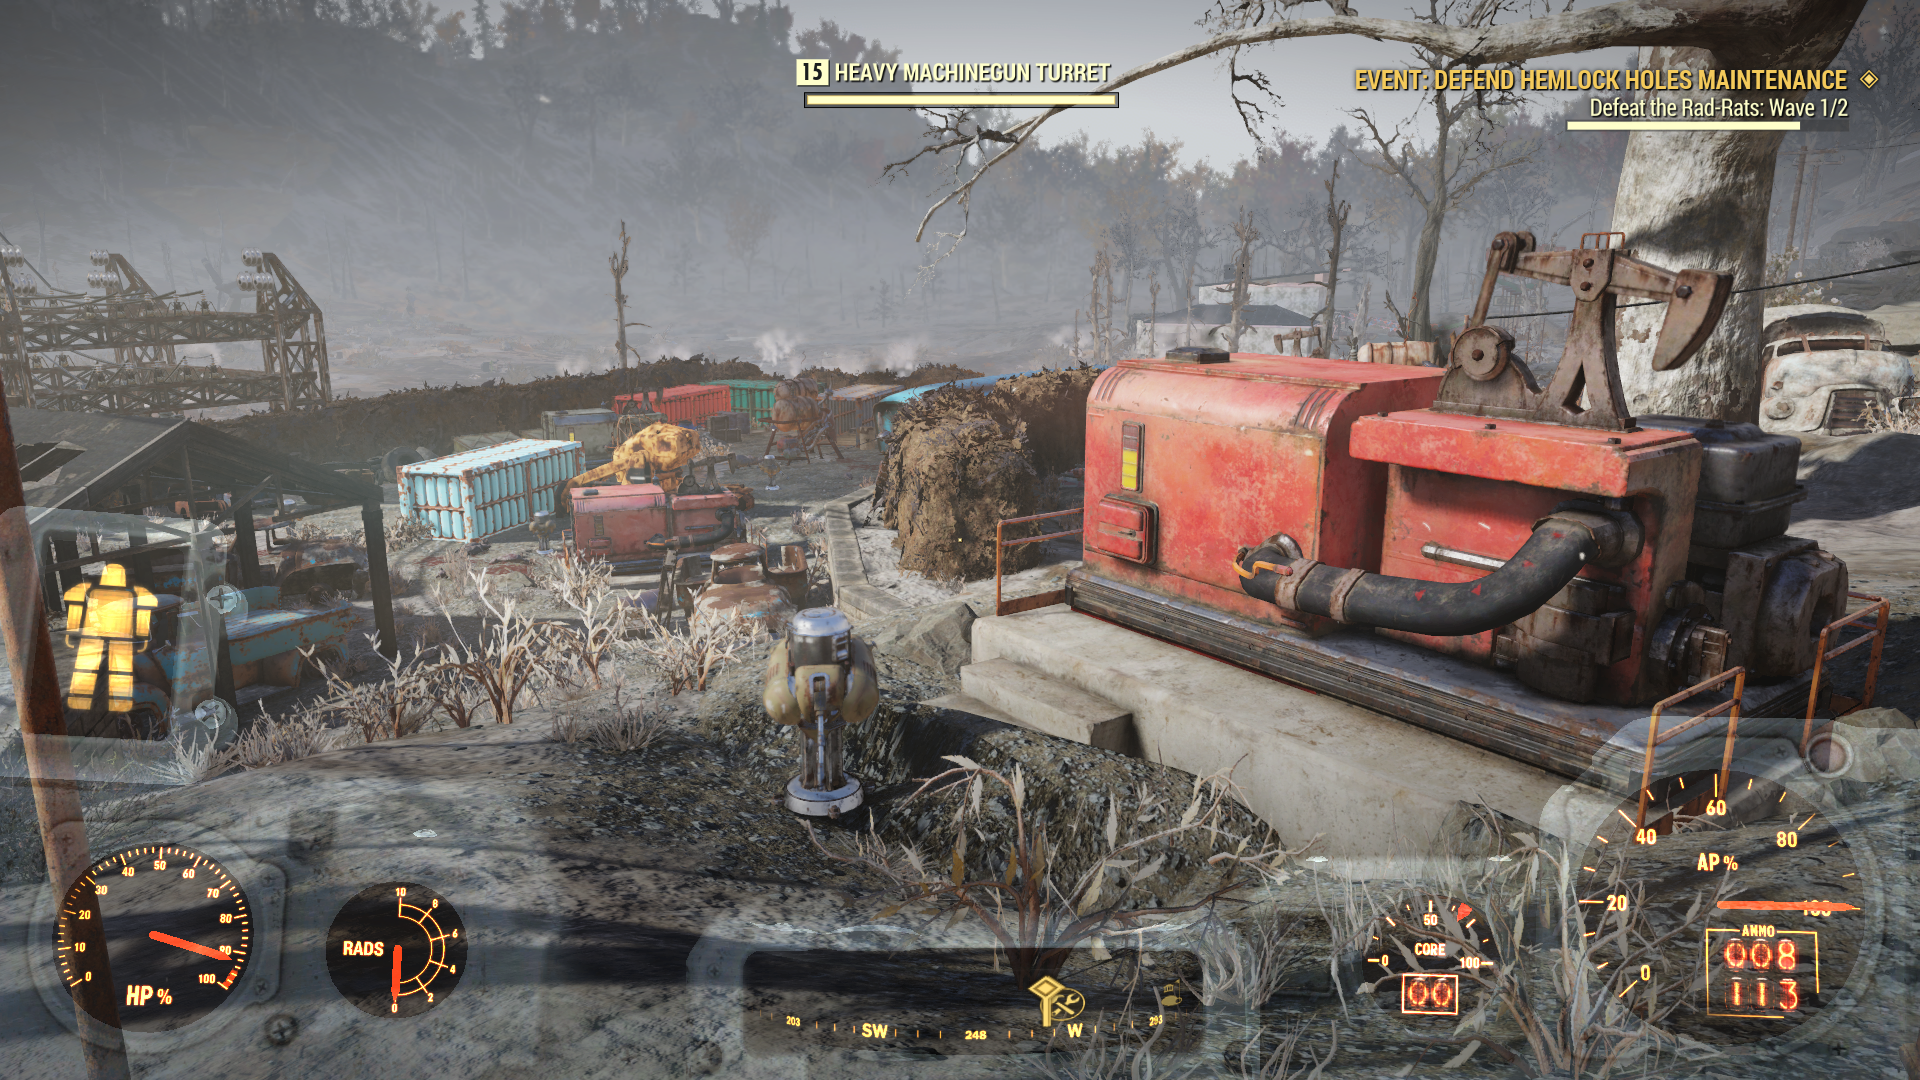
You may wonder what the point is with the public workshops dotted around the map because they can be claimed by other players and owning one is only temporary, until you log off. They’re not worth building anything extreme on but if you find yourself struggling for resources, workshops all offer various places to harvest specific crafting components. All you need to do is kill all the enemies around then pay 25 caps to claim it. You can then build various machines to harvest and mine the specific pockets of stuff. Make sure you fast travel back whenever your workshop is under attack though and clear out the hostiles.
9. The Whitespring offers free protection
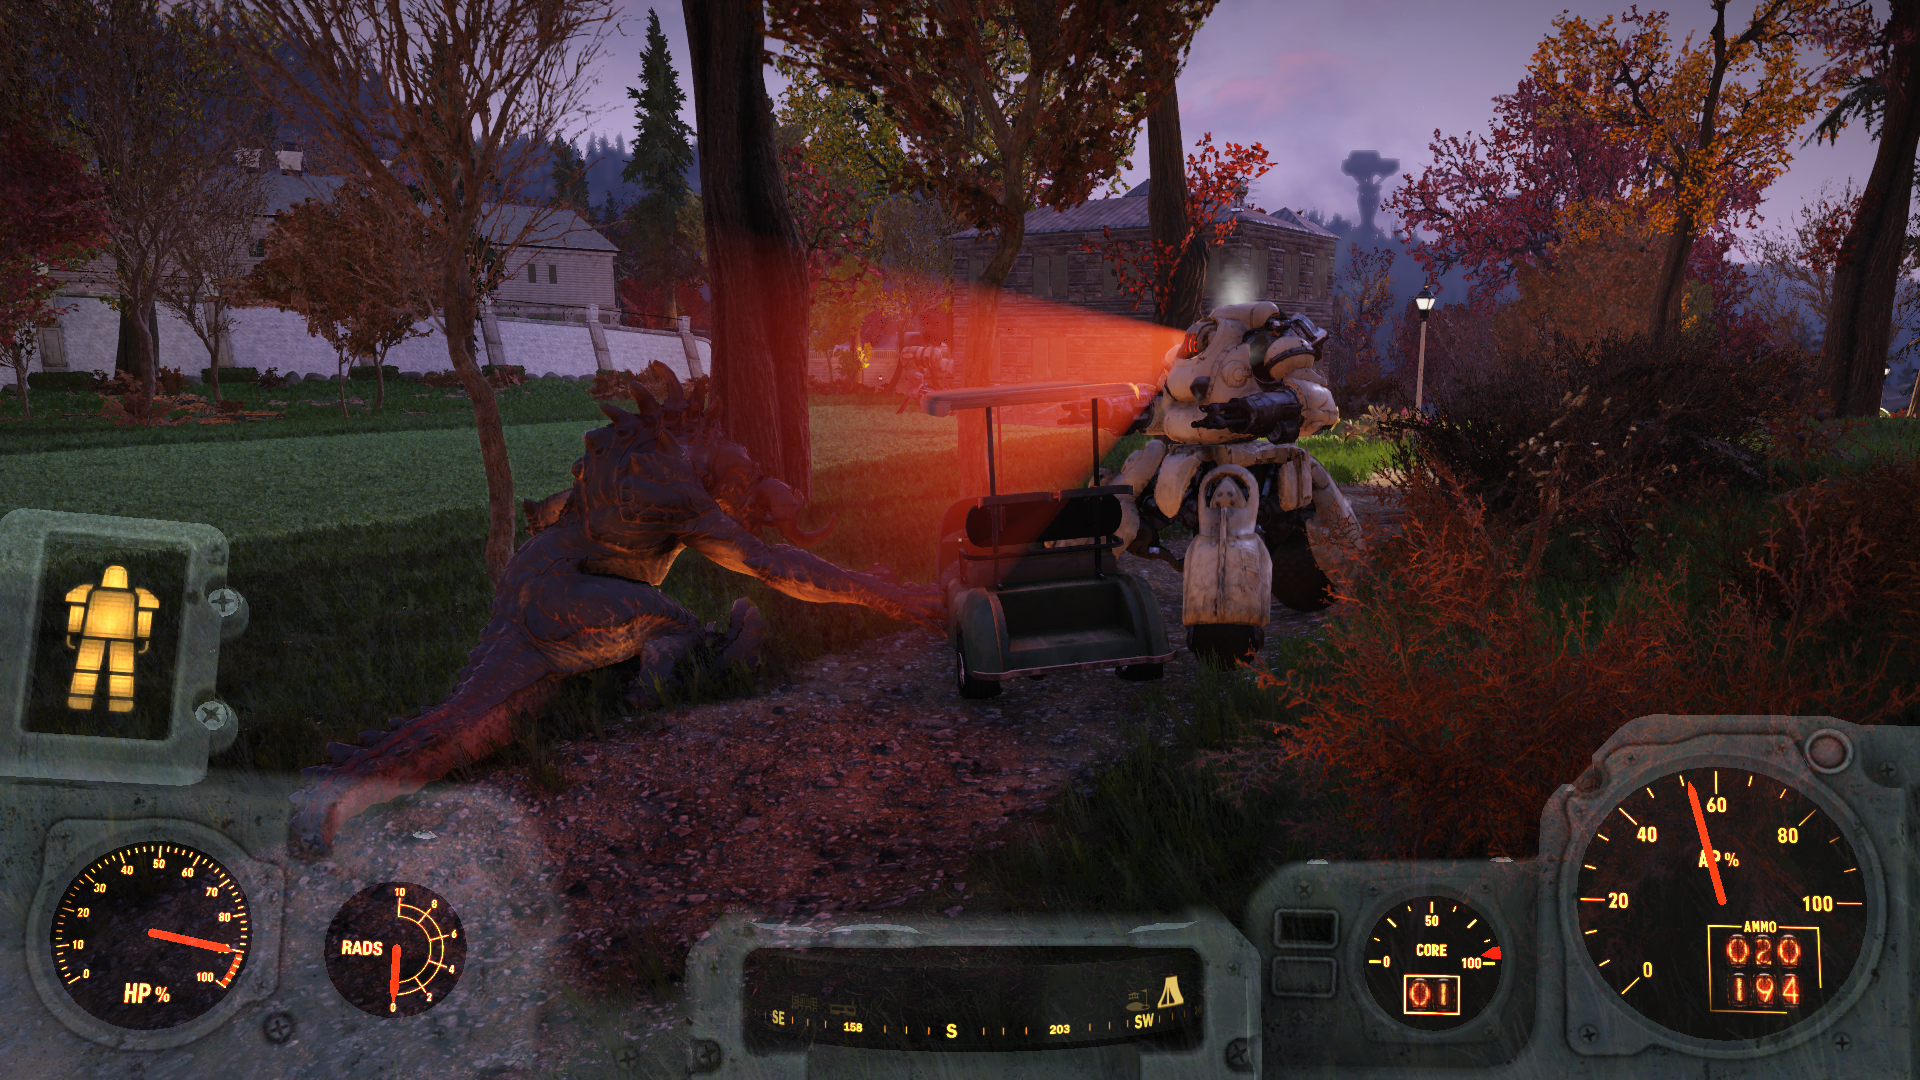
We mention this in our Fallout 76 CAMP beginner tips but it cannot be understated: if you want an almost completely safe place to live on the Fallout 76 map, head to the Whitespring. You’re able to build on the golf course that surrounds the enormous resort and it has a number of benefits. The land is very flat so you don’t have to worry about unforgiving terrain when you’re building, and it’s open so you can see any enemies that may have infiltrated the grounds. Most importantly, at certain spots around the perimeter, the Whitespring robots patrol for enemies. Our favourite place is on the western side, north of a small stone bridge. There’s almost always a Sentry Bot, Assaultron and a couple of Protectrons guarding a hole in the wall here and they will help fight off any enemies that get too close. Your turrets will hardly even be needed.
10. I don’t like golf, where else should I build?
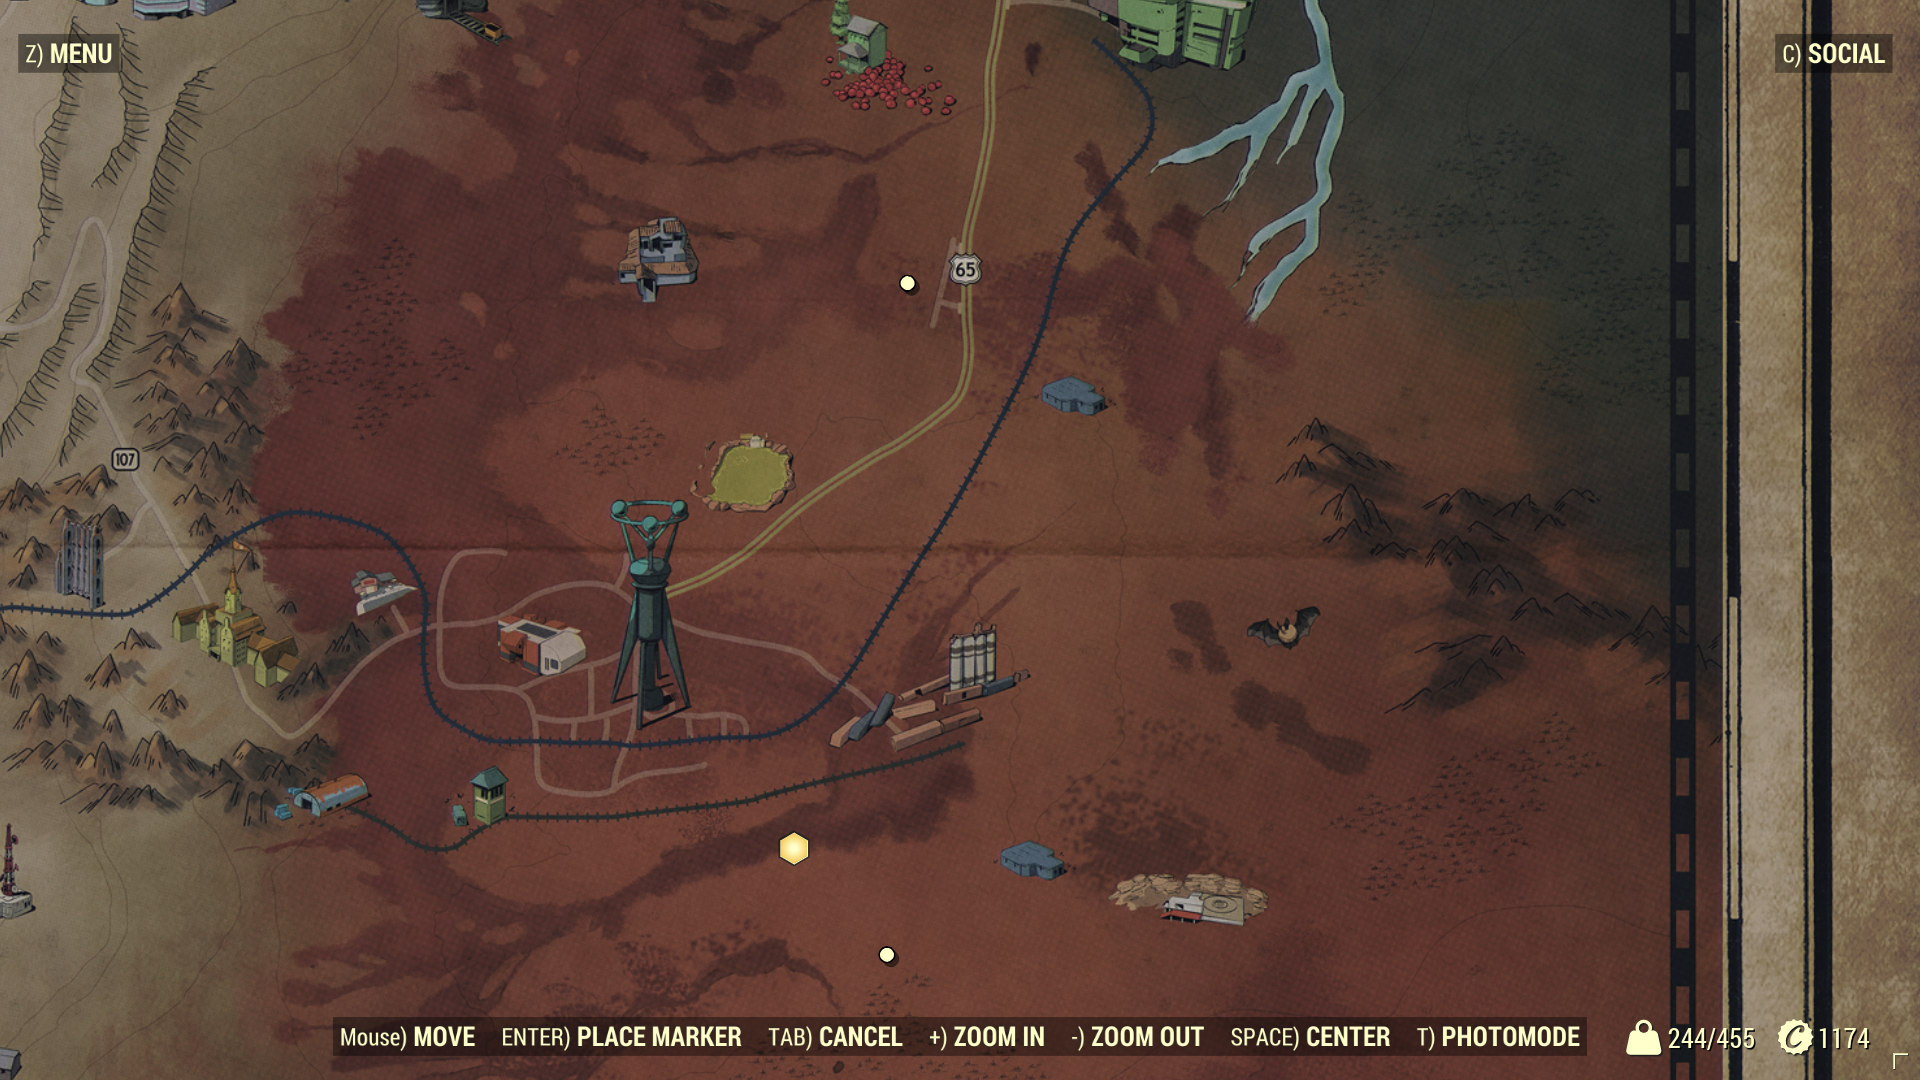
If you’re not keen on setting up shop by the Whitespring, you may be wondering where else are the best places to reside. There’s not really a definitive answer, because it all depends on what you’re looking for. Just started out and haven’t obtained many plans yet? Find somewhere in The Forest region to build a small starter shelter, ideally near a river so you can obtain Dirty Water and boil it. Are you fast travelling across the map frequently to and from different quest objectives? Pick somewhere around the centre because fast travelling to your CAMP is completely free, so you’ll save on caps if you go via your CAMP each time. Reaching the higher levels and able to take on strong enemies consistently? The Mire or Cranberry Bog regions are where you’ll find the toughest enemies so you’ll be able to farm them frequently.
11. Focus on the absolute necessities when you start building
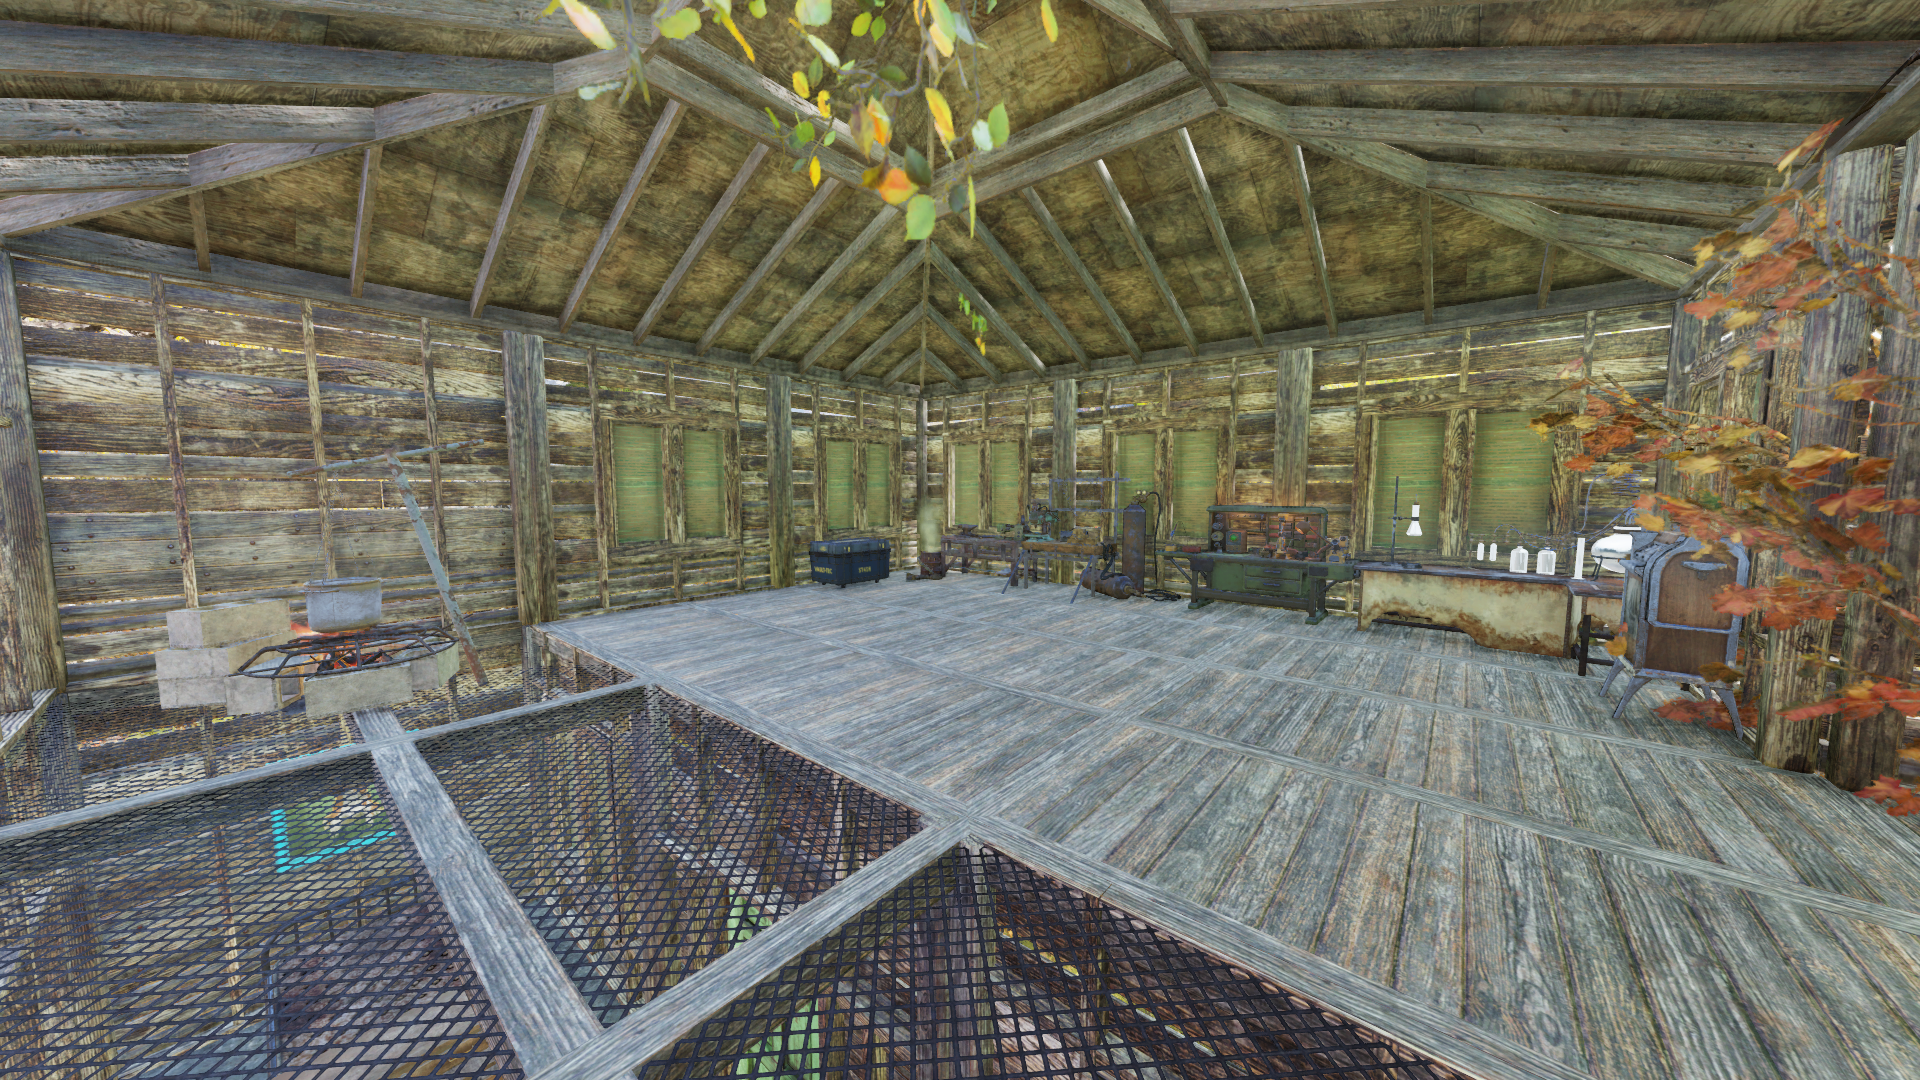
If you’re someone who really likes to make a house a home, hold off from the wall and floor decor for a while. Get the foundations of your base built, then make sure you build one of every single workbench: Weapon, Armor, Chemistry, Cooking, and Tinkers. Find room for them all along with a bed and your Stash box, then worry about making it look nice inside. There’s no point in having a nice bearskin rug by the entrance and a Vault Boy statue outside to greet other travellers if you don’t have the bare necessities.
12. Go to Garrahan Mining HQ and complete Miner Miracles to unlock the Power Armor Station
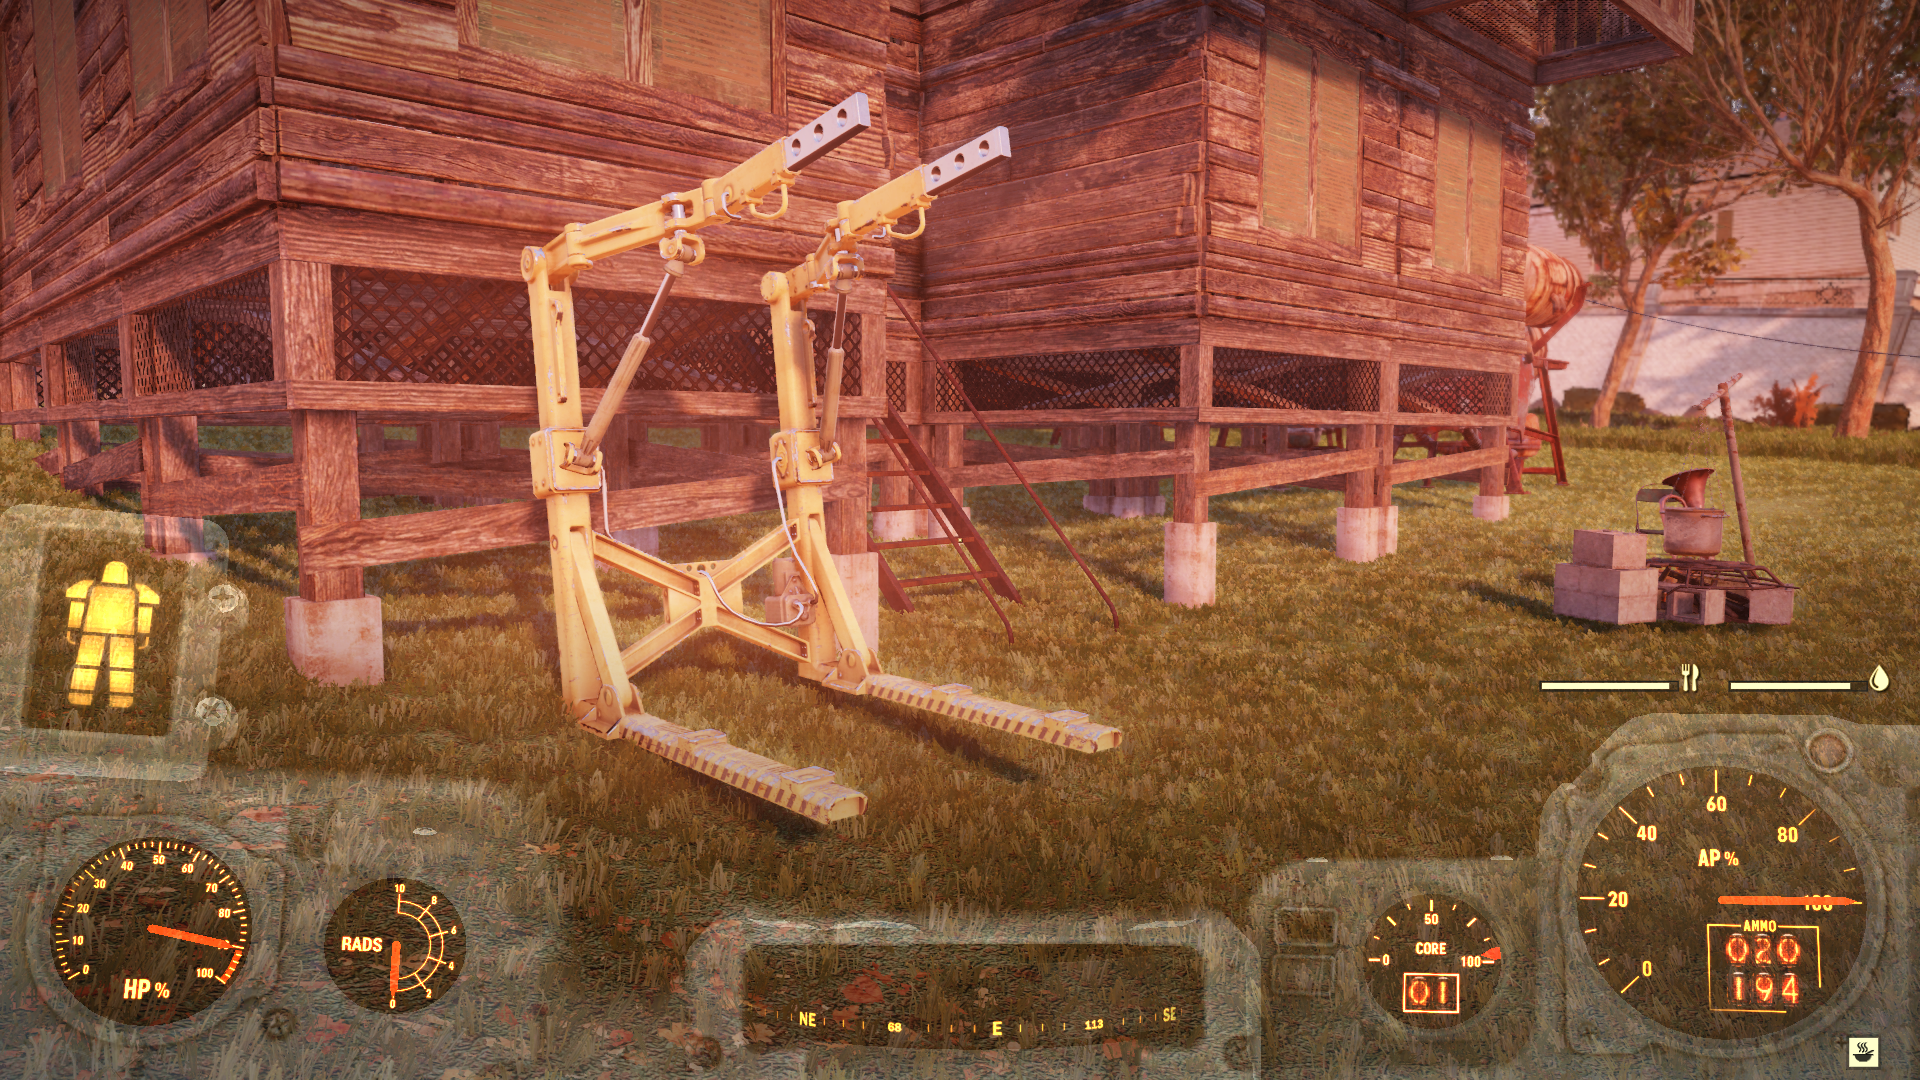
While you’ll likely find plans to all of the other workbenches and crafting stations while exploring Appalachia, the one that you may struggle with is the Power Armor Station. This is a key piece of kit so you’re able to craft more power armor without having to travel to another one of the persistent Fallout 76 power armor locations somewhere else in the world. To get it, you need to go to Garrahan Mining HQ in the south-east corner of Ash Heap. Explore the place and you’ll eventually be required to craft the Excavator Power Armor, which requires a lot of Black Titanium. When you create the full set and scan the power armor in the building, you’ll be rewarded with the Power Armor Station plan. This is the only guaranteed way to get it, and it will complete your CAMP.
13. Tag the resources you’re lacking for search
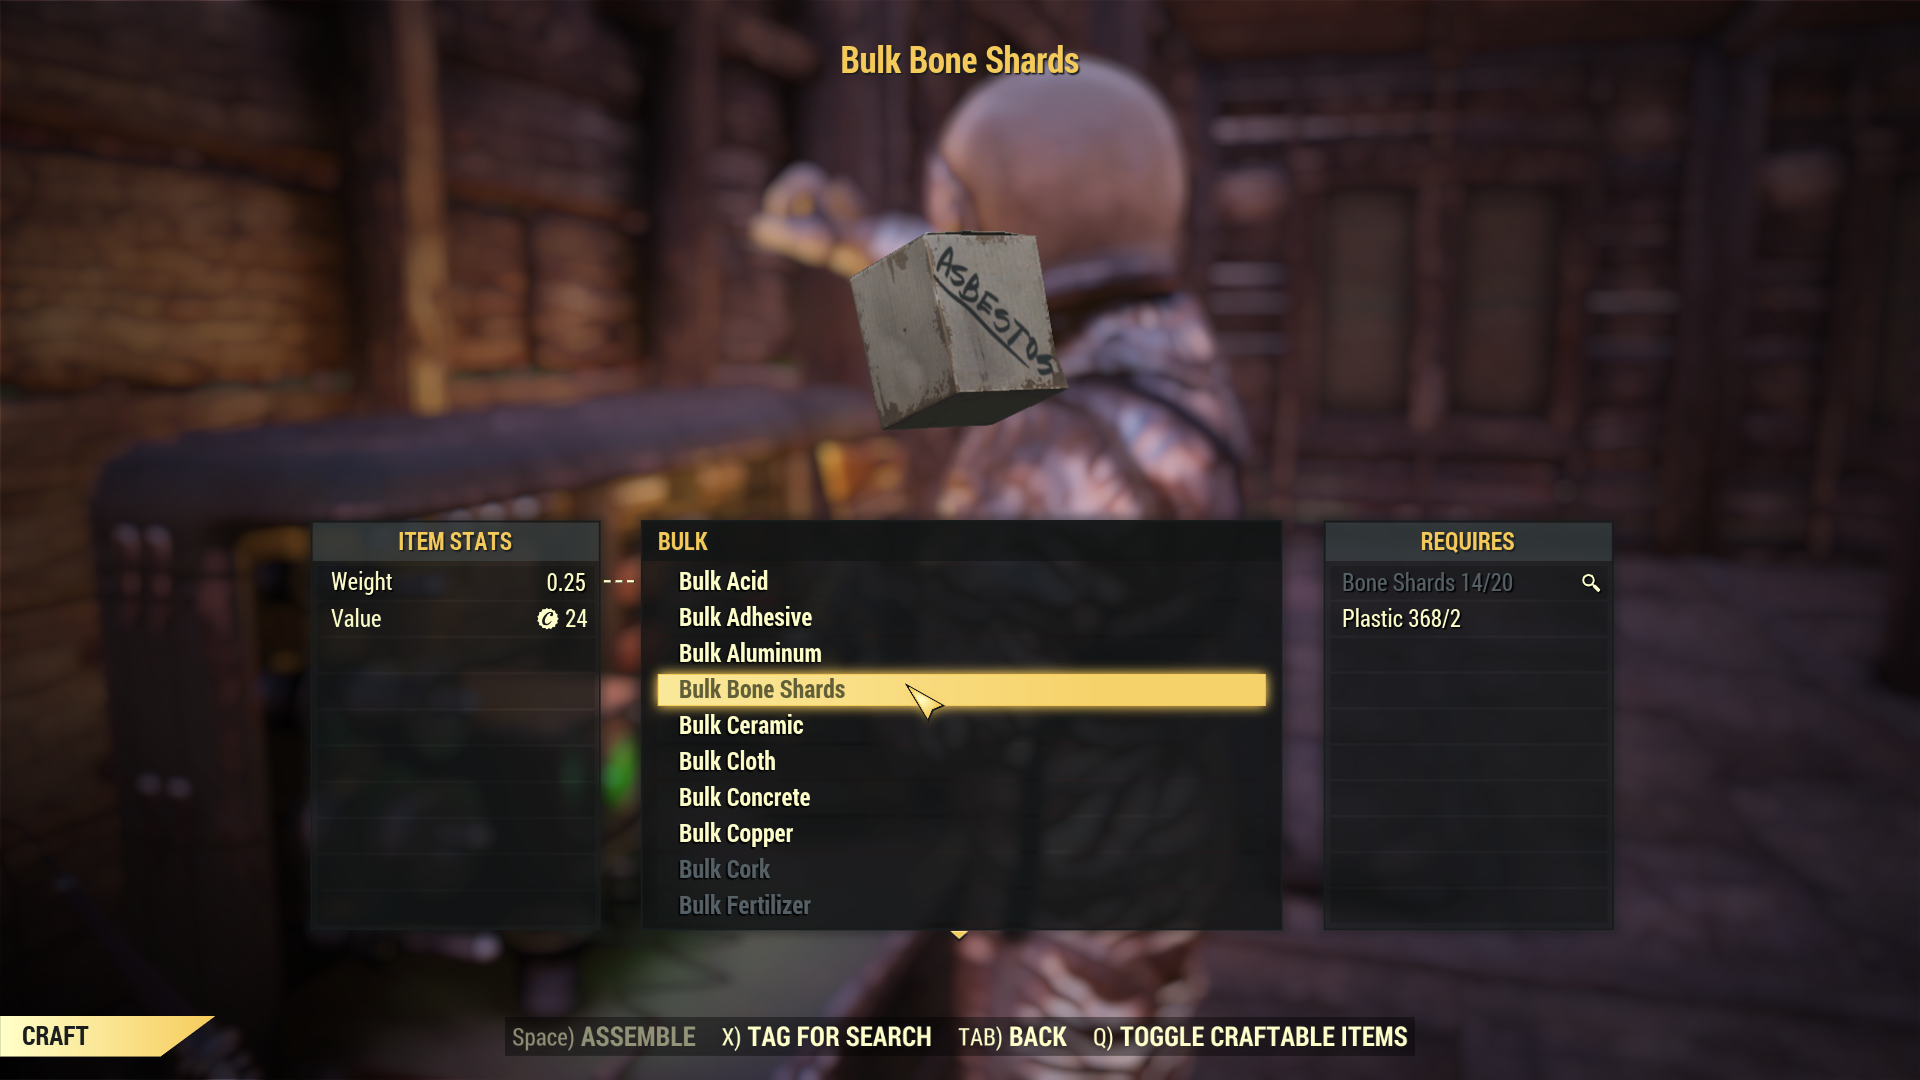
When you go to build or craft something, if you’re missing the required components, you’ll have the option to “tag it for search”. This basically means that when you’re searching containers or picking up junk, if it contains the component you’ve tagged, it will have a magnifying glass icon next to it. This way you can easily filter through the junk you need and the actual junk you’re not in need of. From the very start, you want to keep an eye out for things containing Ultracite and Black Titanium because they’re two of the rarest materials, along with Adhesive, Ballistic Fiber, Fiber Optics and Crystal because you may well frequently struggle for them.
14. Water Purifiers are a constant source of Purified Water
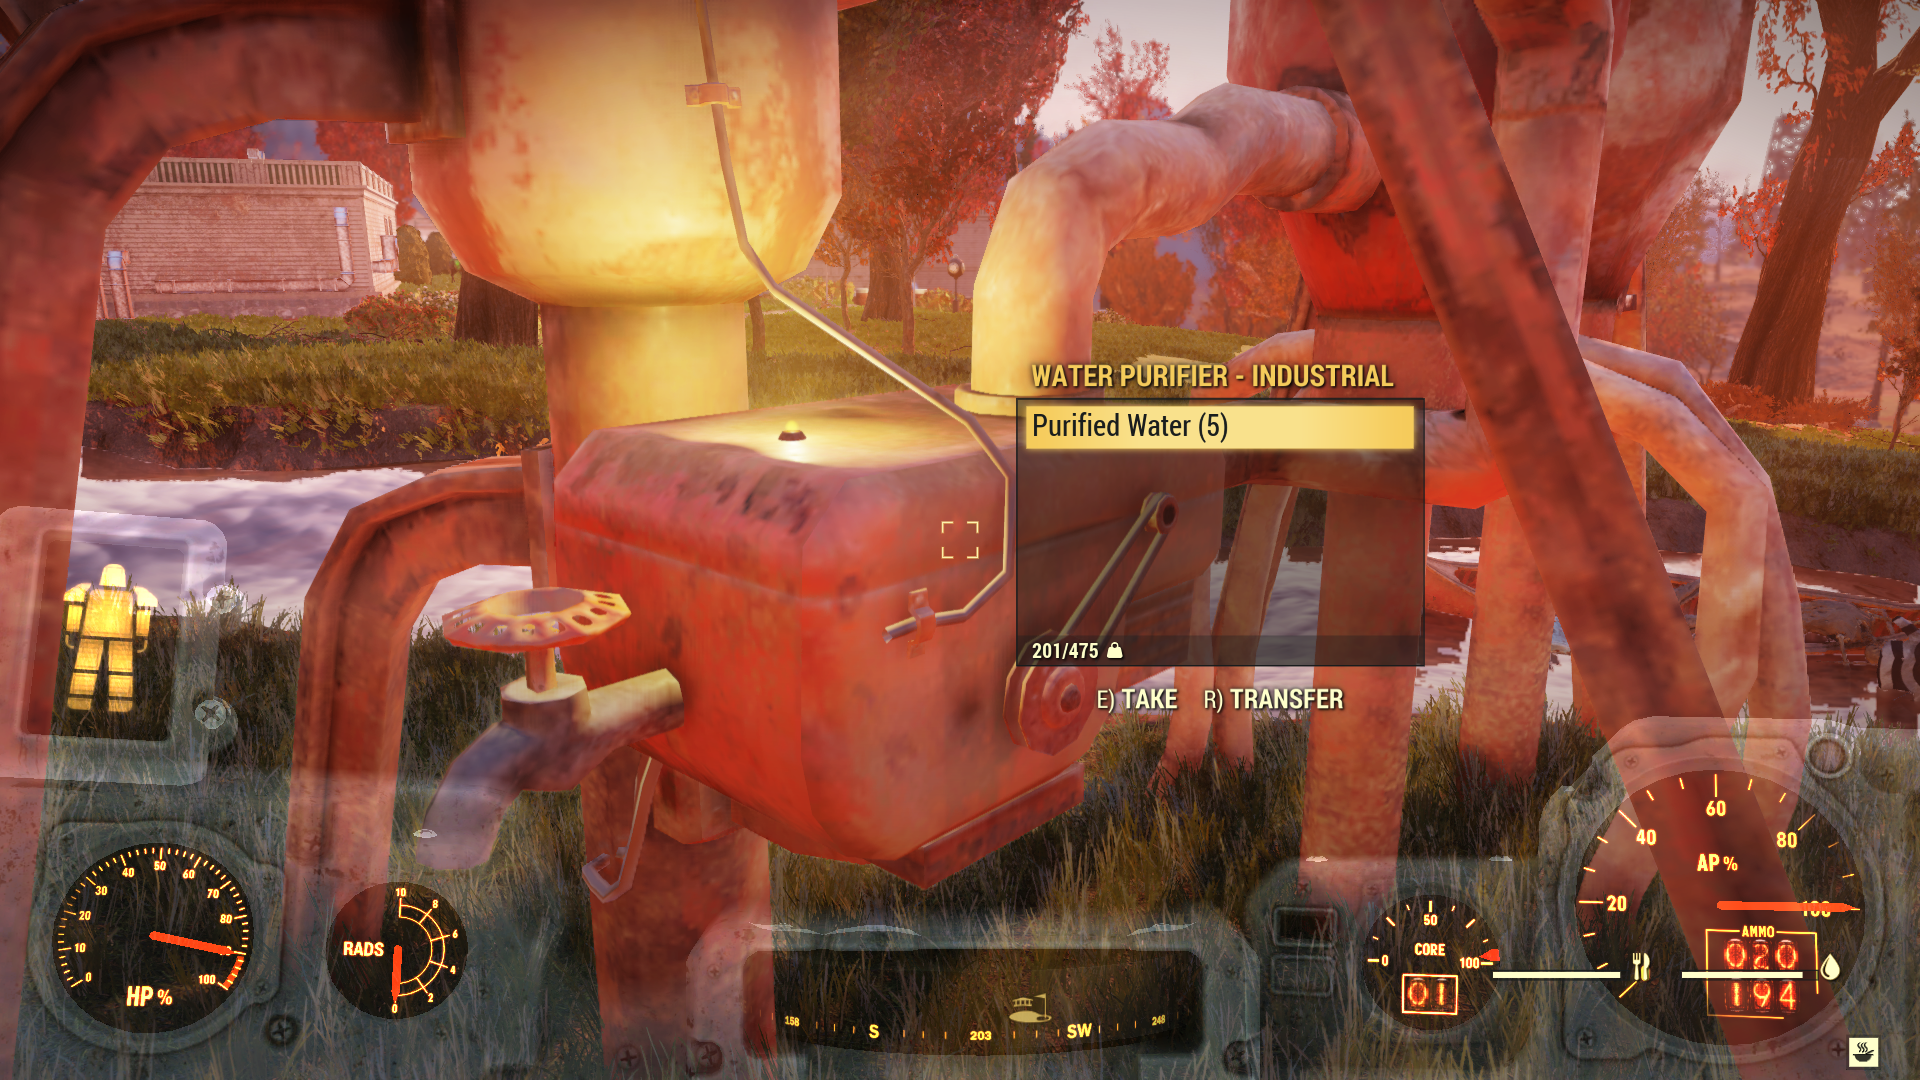
This might seem obvious but there’s been plenty of CAMPs we’ve seen near water without any Water Purifiers set up. Fallout 76 is a survival game, so you need to eat and drink to satiate your character. While you’ll find Purified Water from looting, you burn through it quickly. Build your CAMP near water and set up a Water Purifier - ideally an industrial one - for a consistent source of Purified Water. This way, you don’t need to use Boiled or Dirty Water and risk the radiation.
15 Blueprint your CAMP to relocate
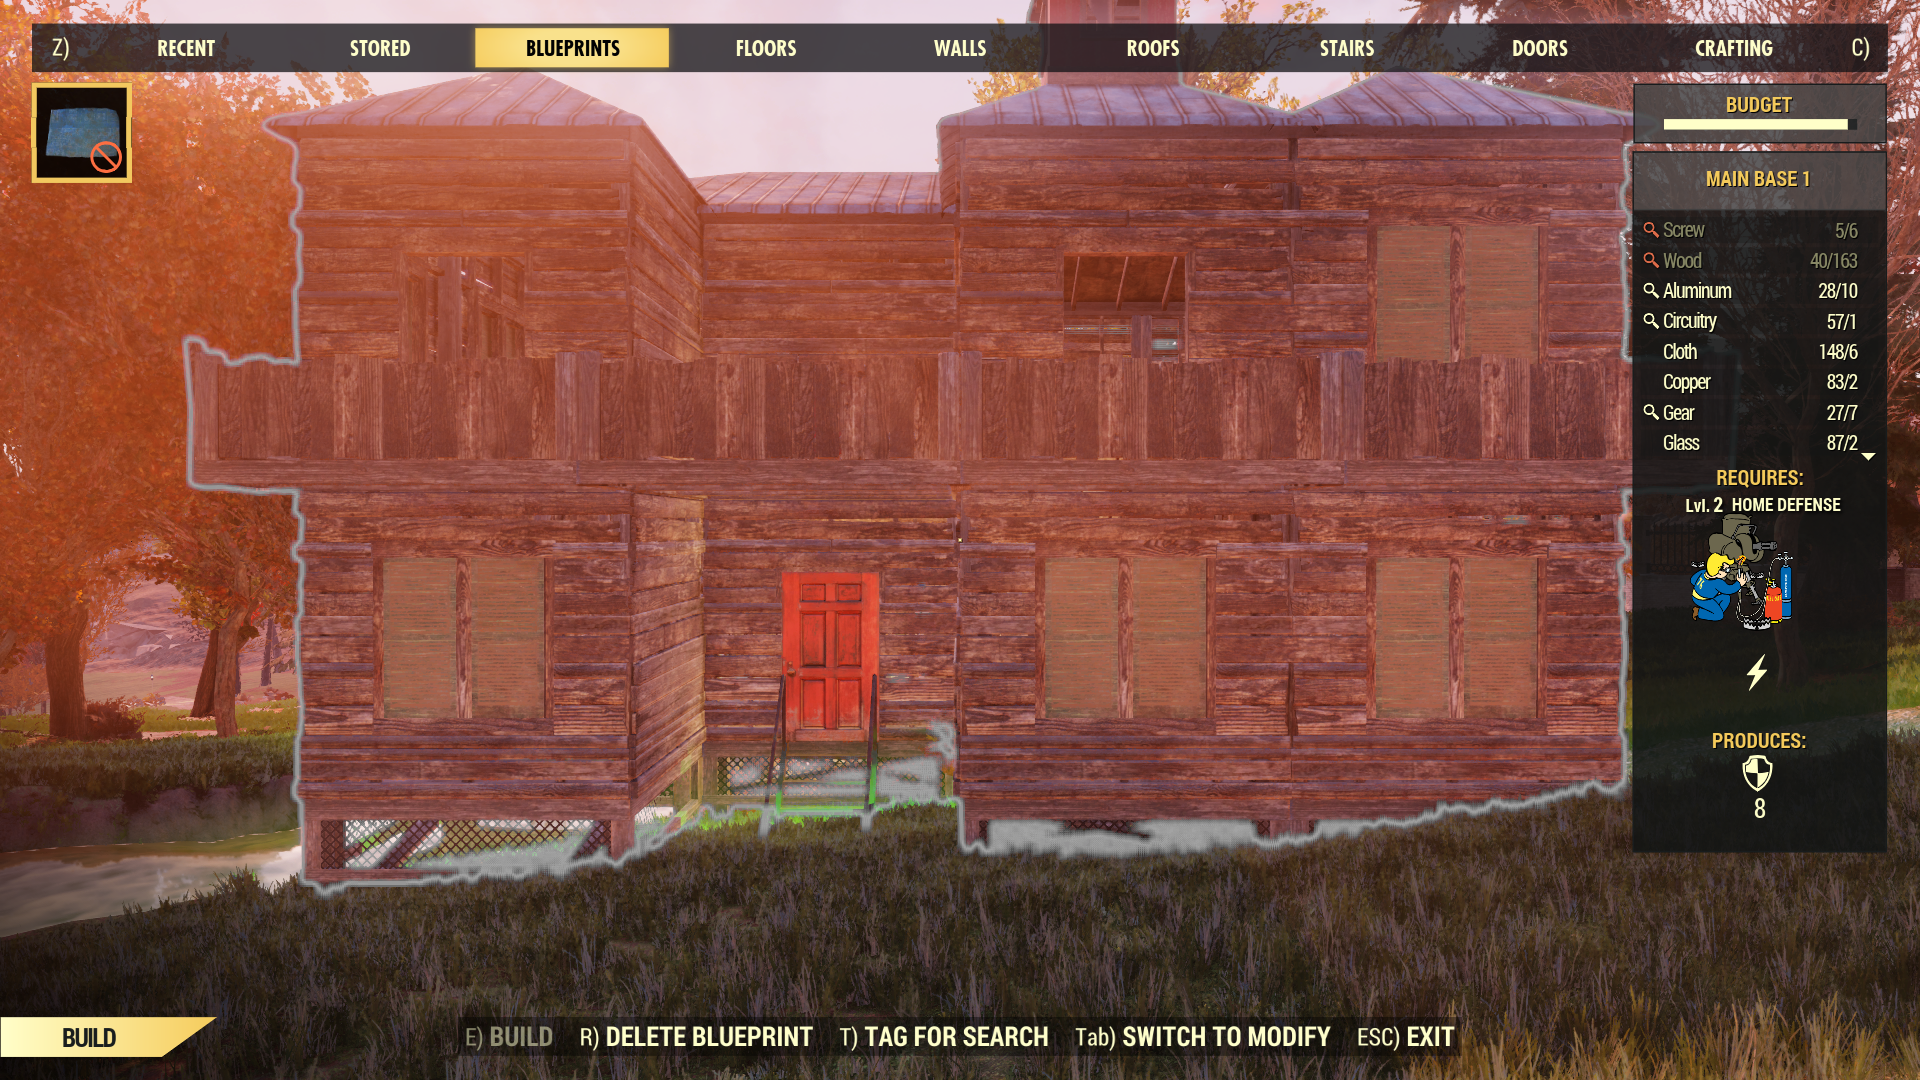
The blueprint function essentially saves your entire CAMP as one object so if you fancy a change of scenery you can just move the whole thing in one go - just make sure it fits and doesn’t intersect with any terrain. You can also blueprint the structure piece by piece as well if you want to keep some bits but not others. Like if you've built around the environment, for example.
Fallout 76 patch notes | Fallout 76 vending machines | Fallout 76 mutations | Fallout 76 mothman | Fallout 76 tips| Can you play Fallout 76 single player | Fallout 76 perk cards | How to build the best Fallout 76 CAMP | Fallout 76 map | How to get Two Shot Explosive guns in Fallout 76
Sign up to the GamesRadar+ Newsletter
Weekly digests, tales from the communities you love, and more
Give me a game and I will write every "how to" I possibly can or die trying. When I'm not knee-deep in a game to write guides on, you'll find me hurtling round the track in F1, flinging balls on my phone in Pokemon Go, pretending to know what I'm doing in Football Manager, or clicking on heads in Valorant.

