How to replace and upgrade your PS4 Pro hard drive
The PlayStation 4 Pro comes with a 1TB hard drive installed as standard, but if that isn't enough storage for your growing games collection then you can replace it, as with previous PS4 systems. You'll need a 2.5 inch Serial ATA internal drive which is 9.5mm or thinner for this, and the largest capacity widely available is 2TB. Check out our PS4 external hard drives guide for some recommendations on both internal and external models.
Note: if you're switching from a previously upgraded PS4 then you can transfer your existing hard drive to the PS4 Pro, but the system will format the drive before you can use it so you'll need to back up your data to the PS+ cloud and/or an external drive to not lose it.
Once you have your replacement hard drive ready, grab a small crosshead screwdriver and follow these steps:
Remove the plastic cover panel
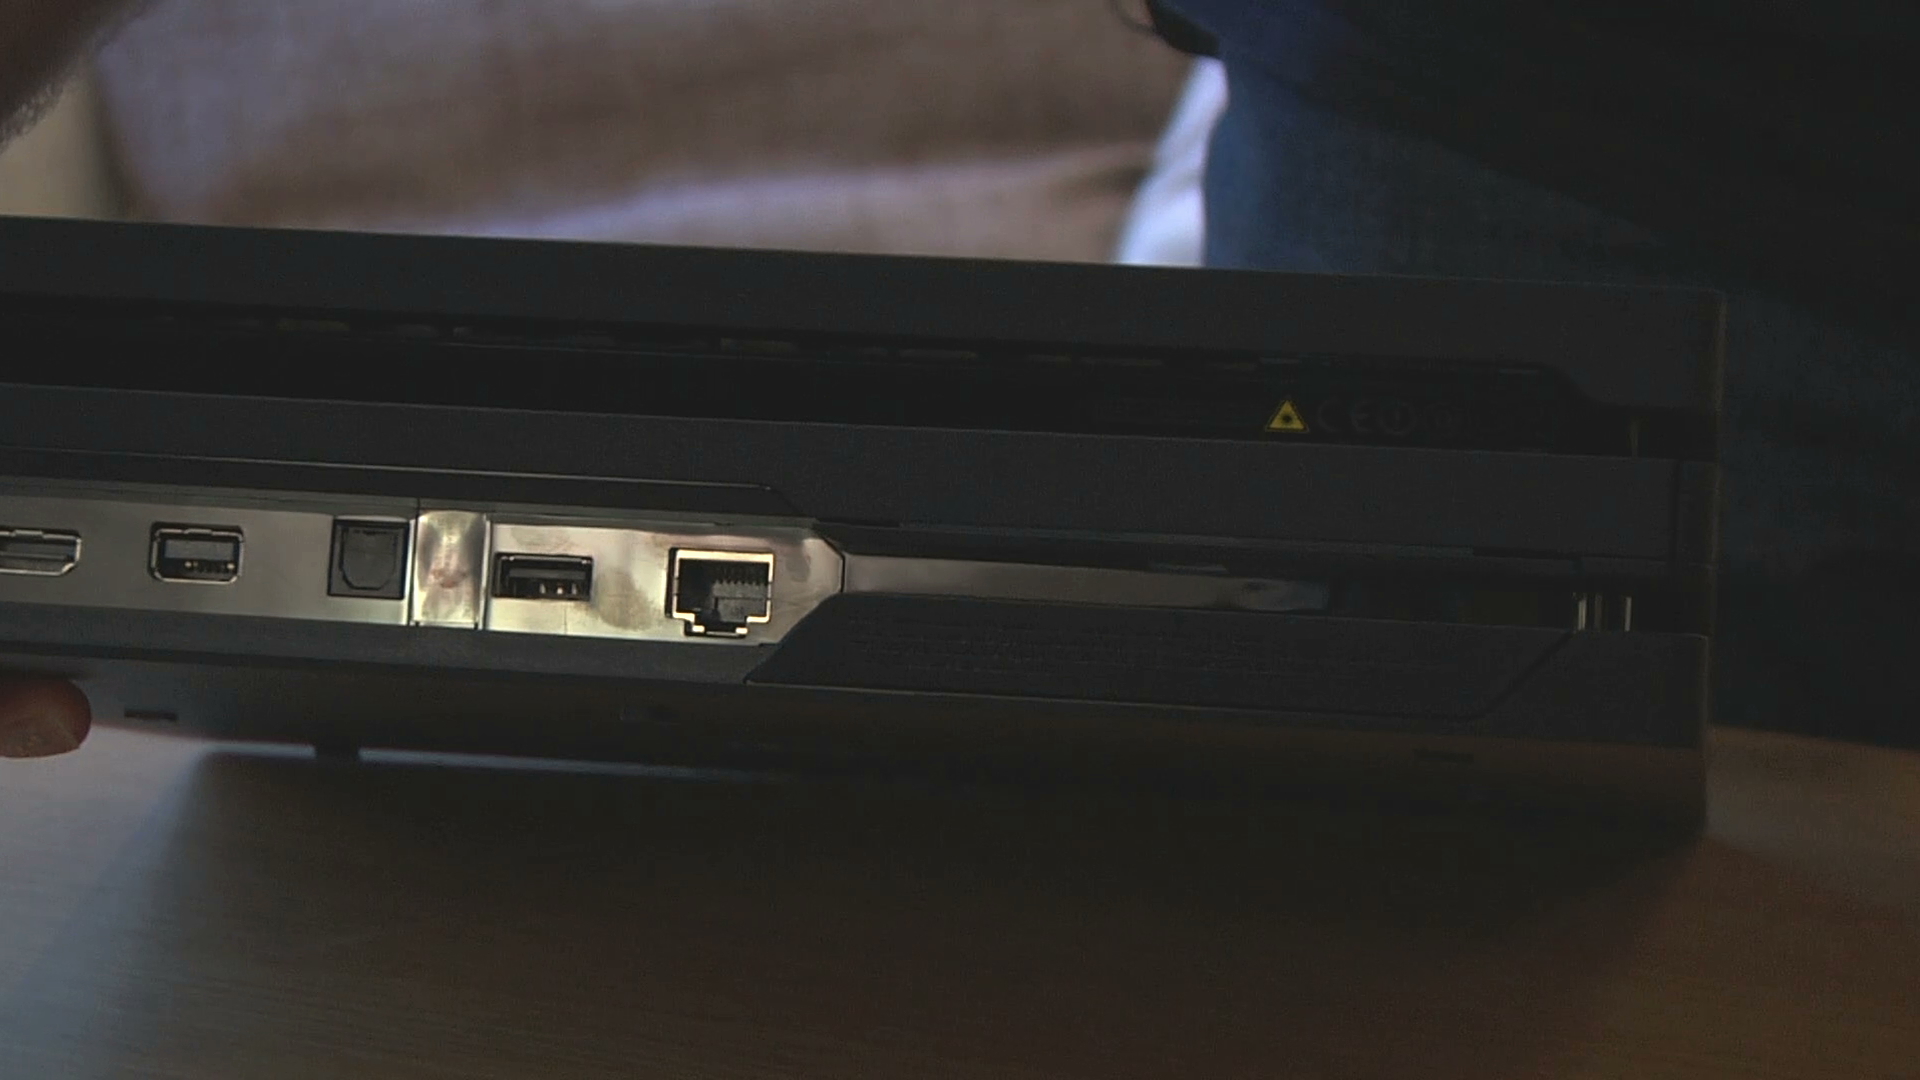
On the rear of the PS4 Pro you'll find a plastic panel covering the hard drive bay - use the small tab on the end next to the ethernet port to pop the panel off.
Remove the large screw
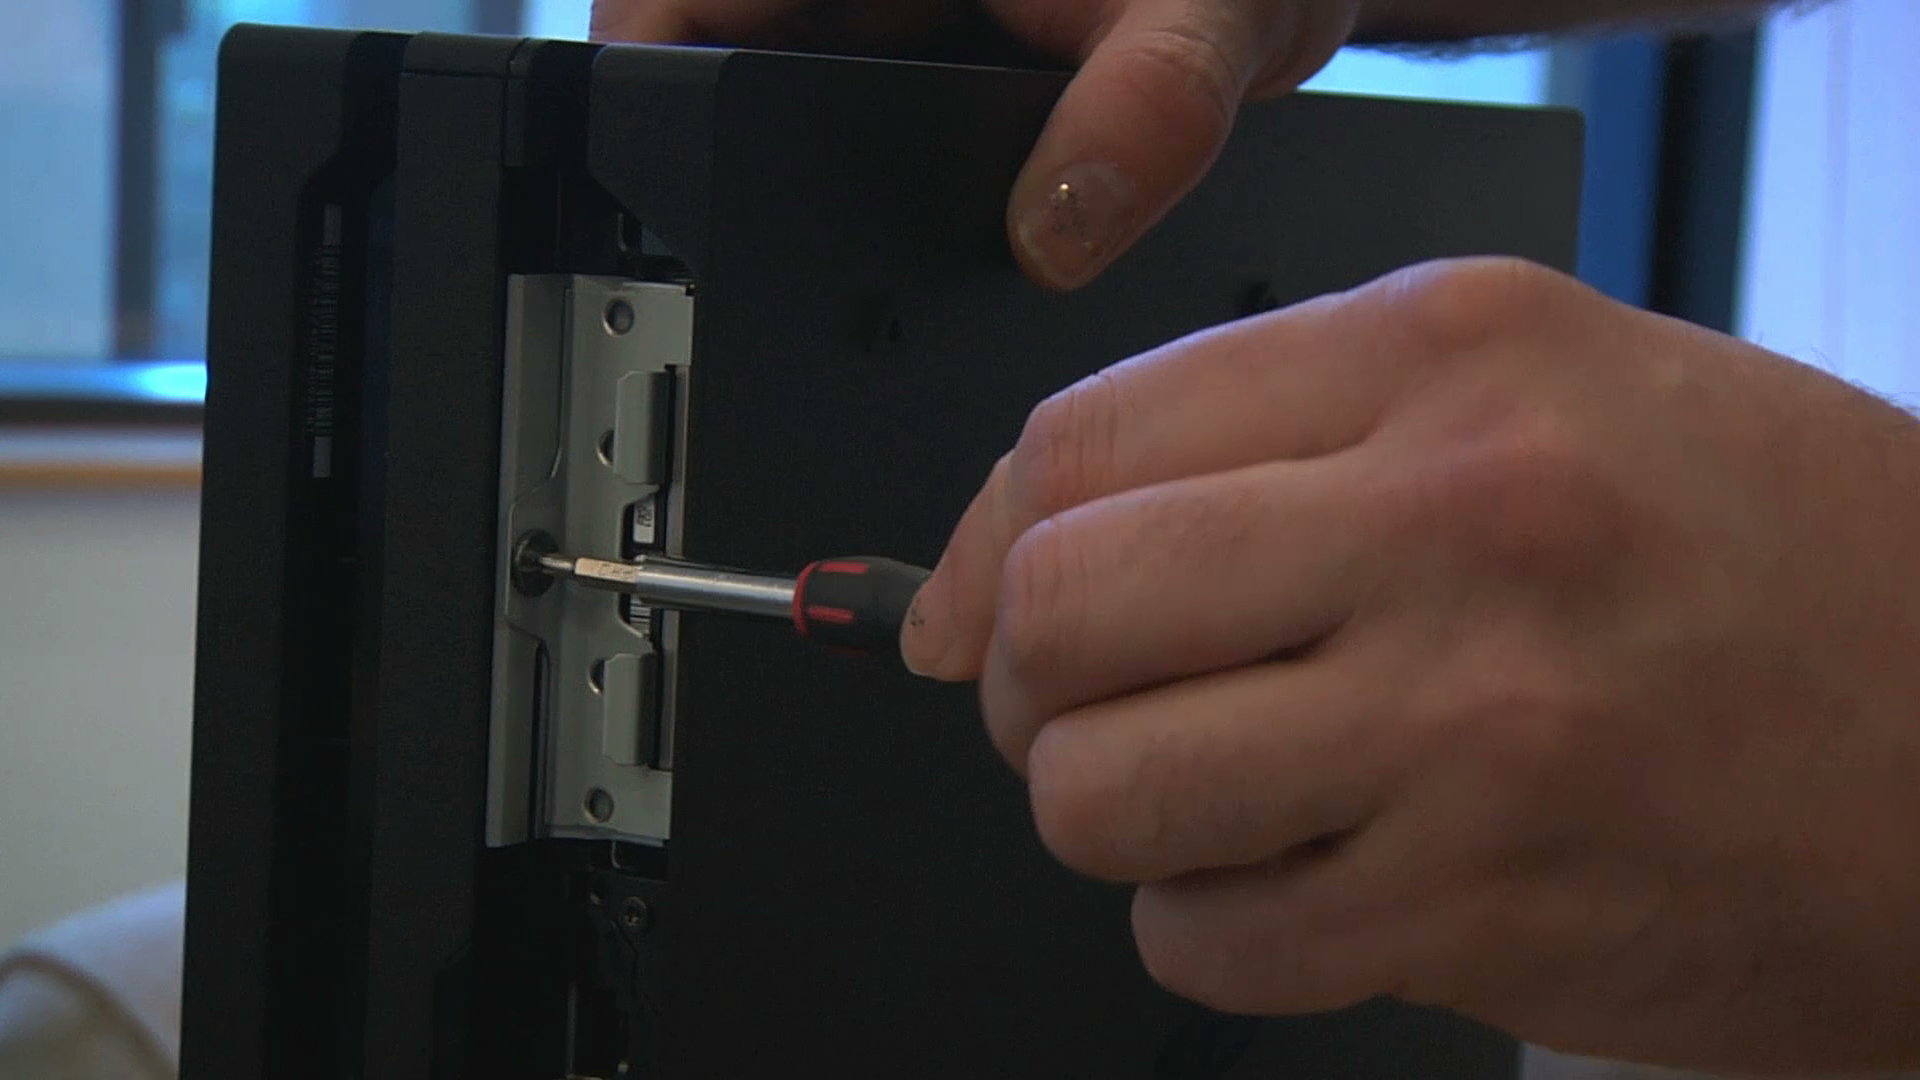
Using your crosshead screwdriver, remove the large screw holding the hard drive caddy in place.
Slide out the hard drive caddy
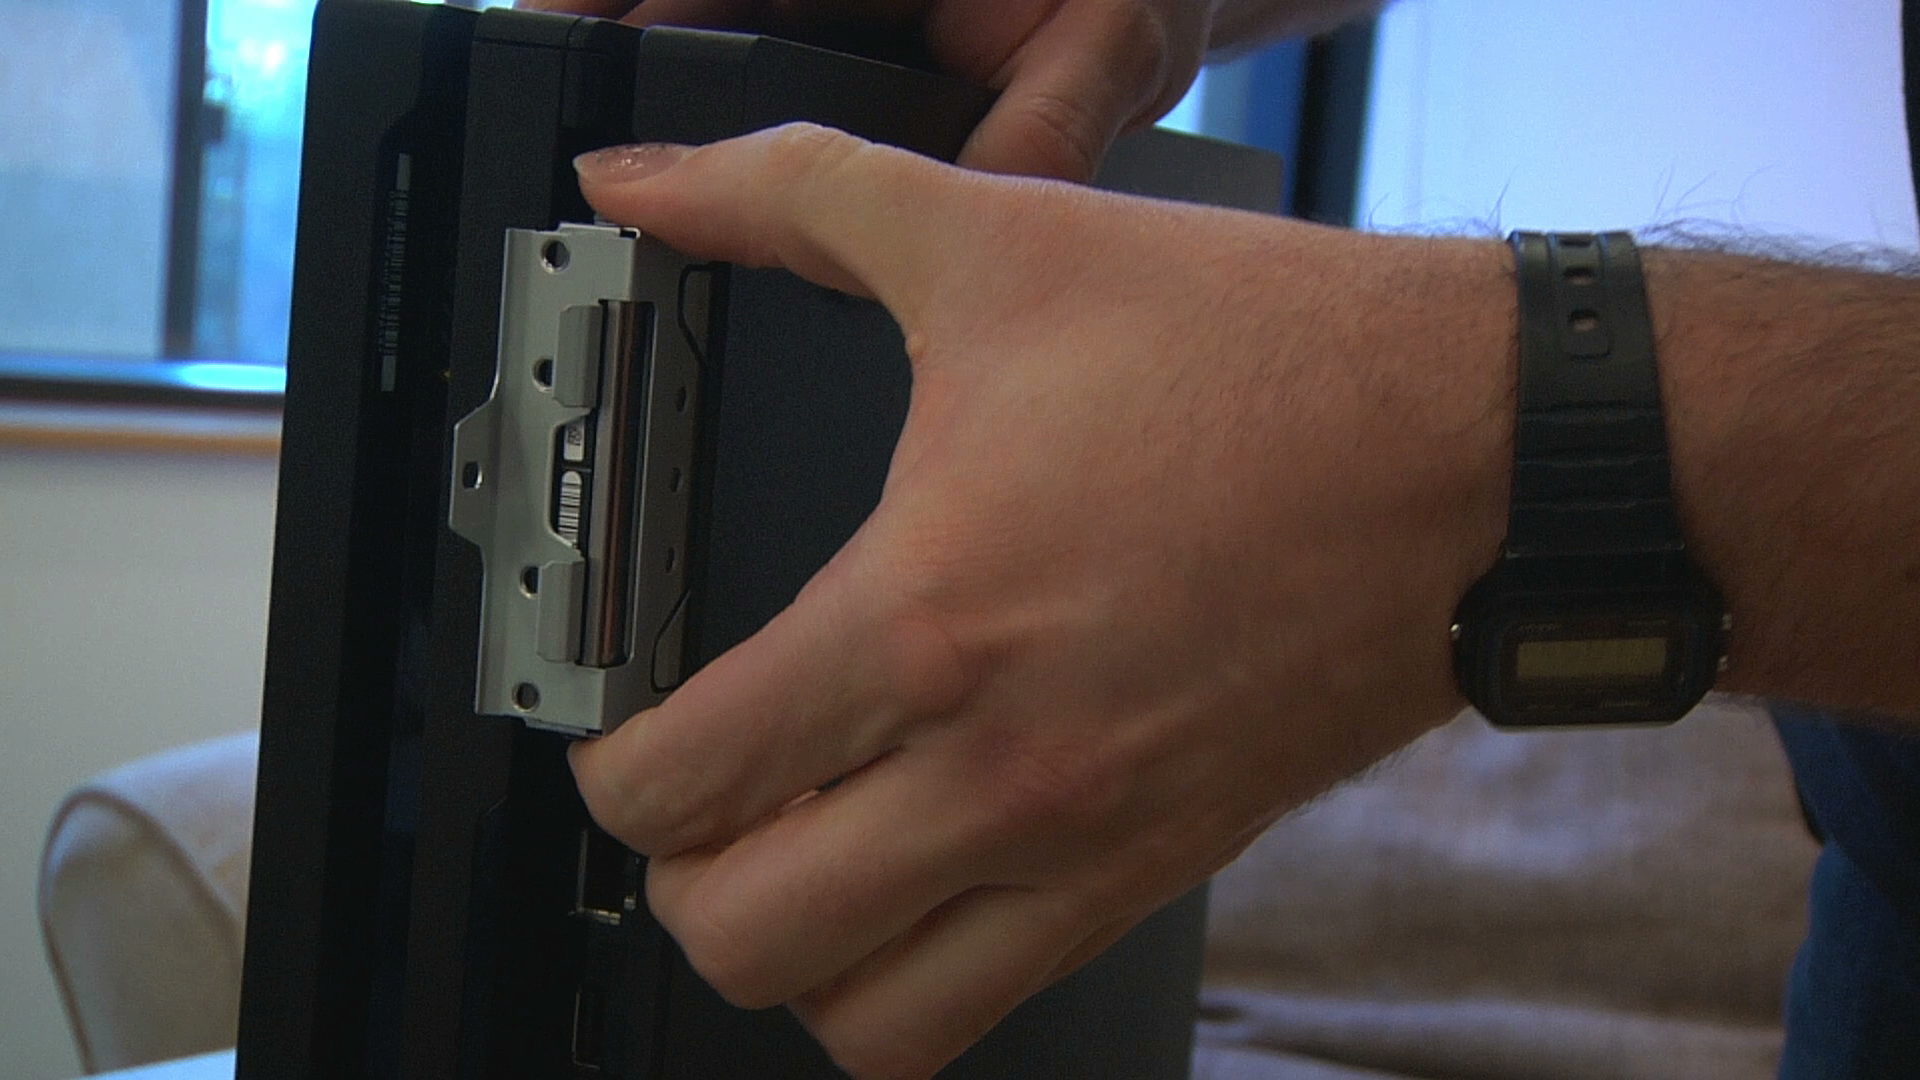
Hook your fingers on the two prongs at the end of the caddy and use them to pull and slide it out of the PS4 Pro.
Remove the four small screws from the caddy
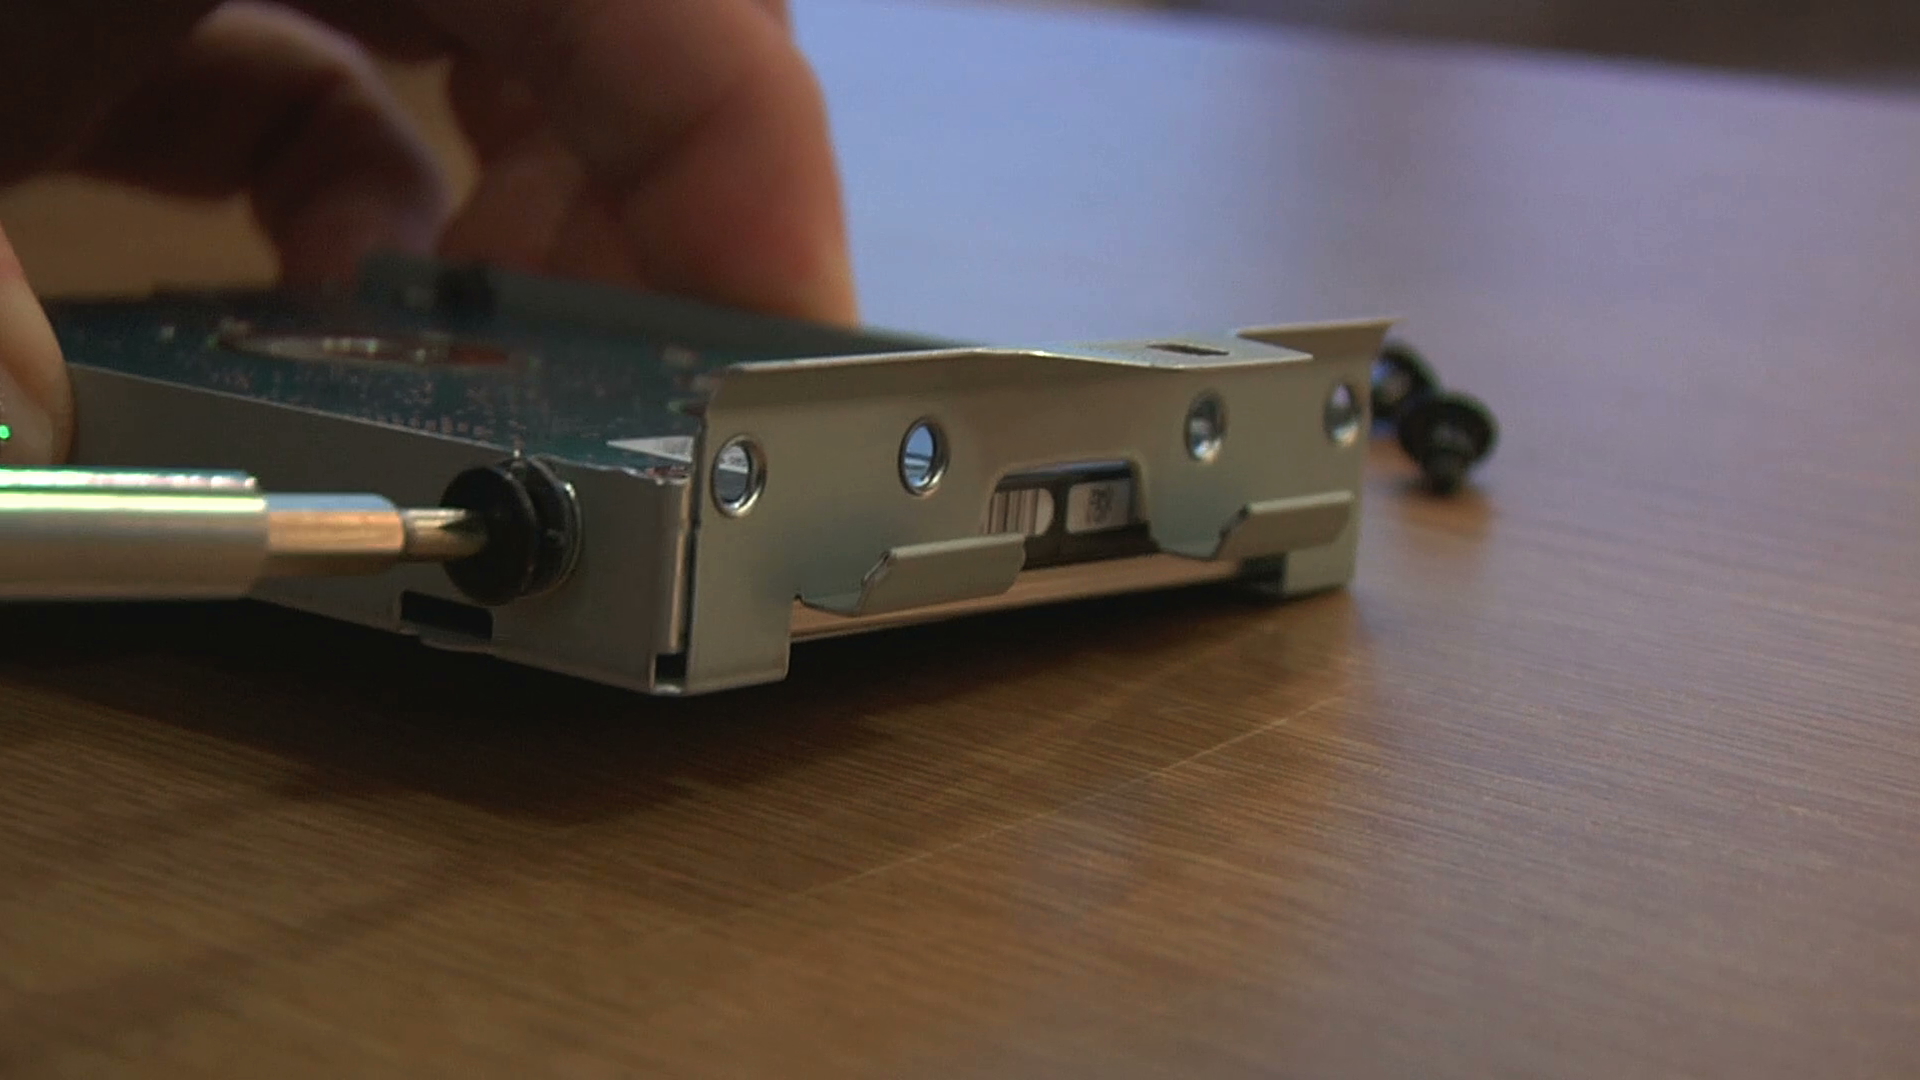
Remove the four small screws holding the hard drive into the caddy, then slide the old drive out.
Insert the new hard drive into the caddy
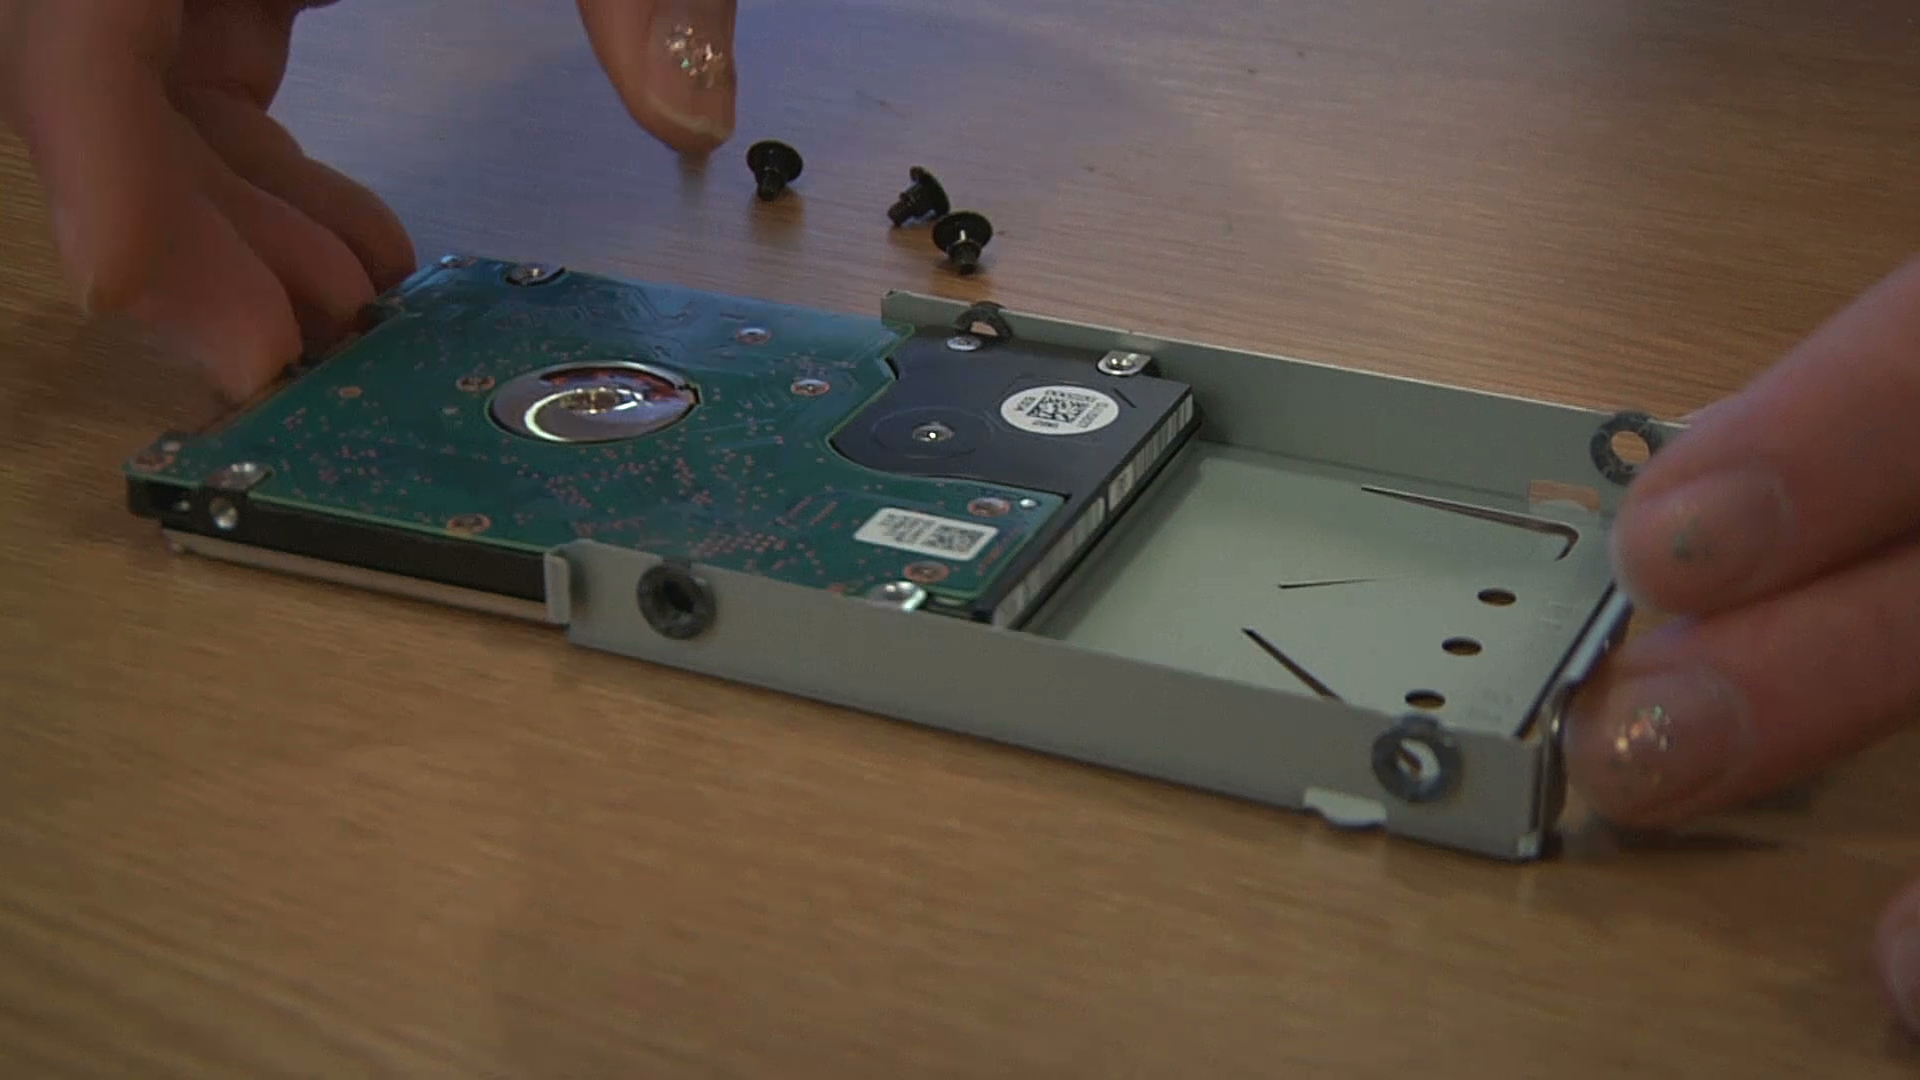
Slide your replacement hard drive into the caddy then use the four small screws to secure it in place.
Insert the caddy into the PS4 Pro
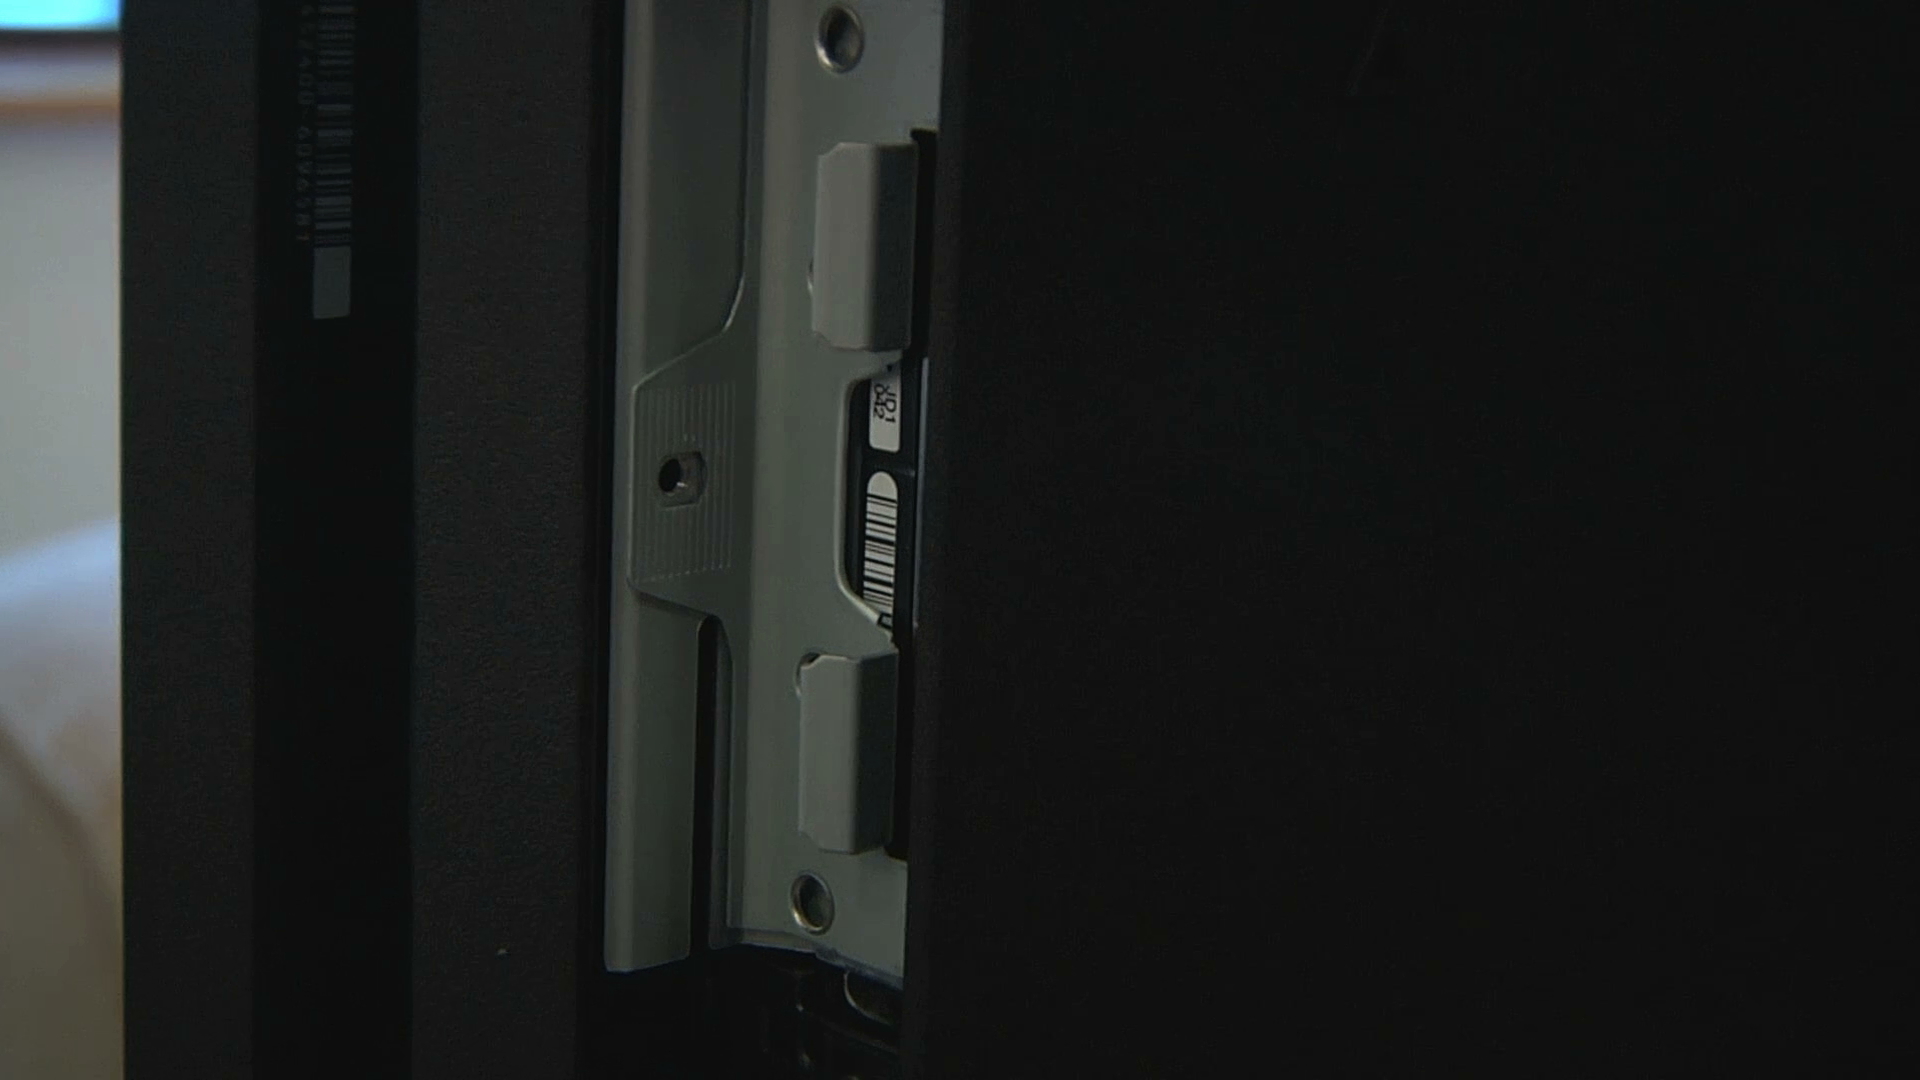
Push the caddy firmly back into the PS4 Pro, until it engages and the large screw hole lines up, the replace the large screw.
Replace the plastic cover panel
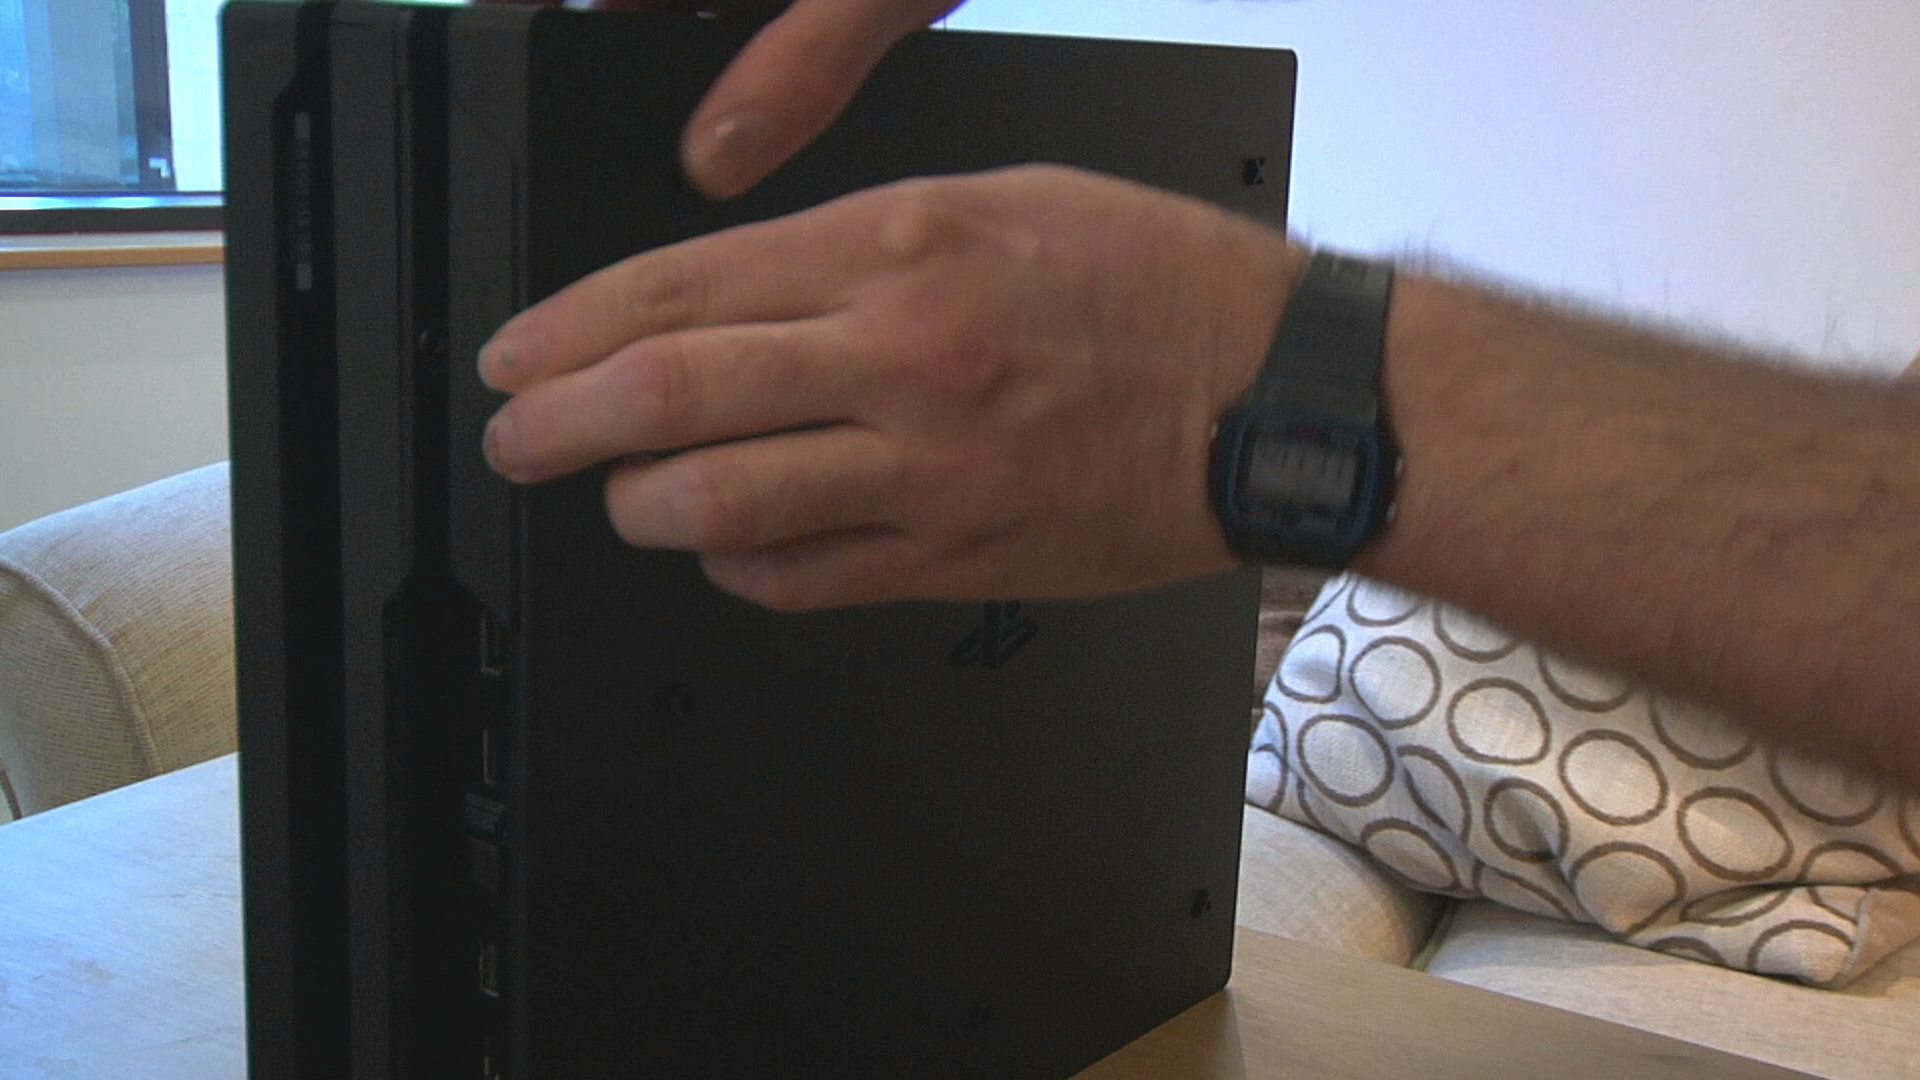
Finally, replace the plastic cover panel by hooking it in on the right hand side then clicking it into position.
Install the latest PS4 system software
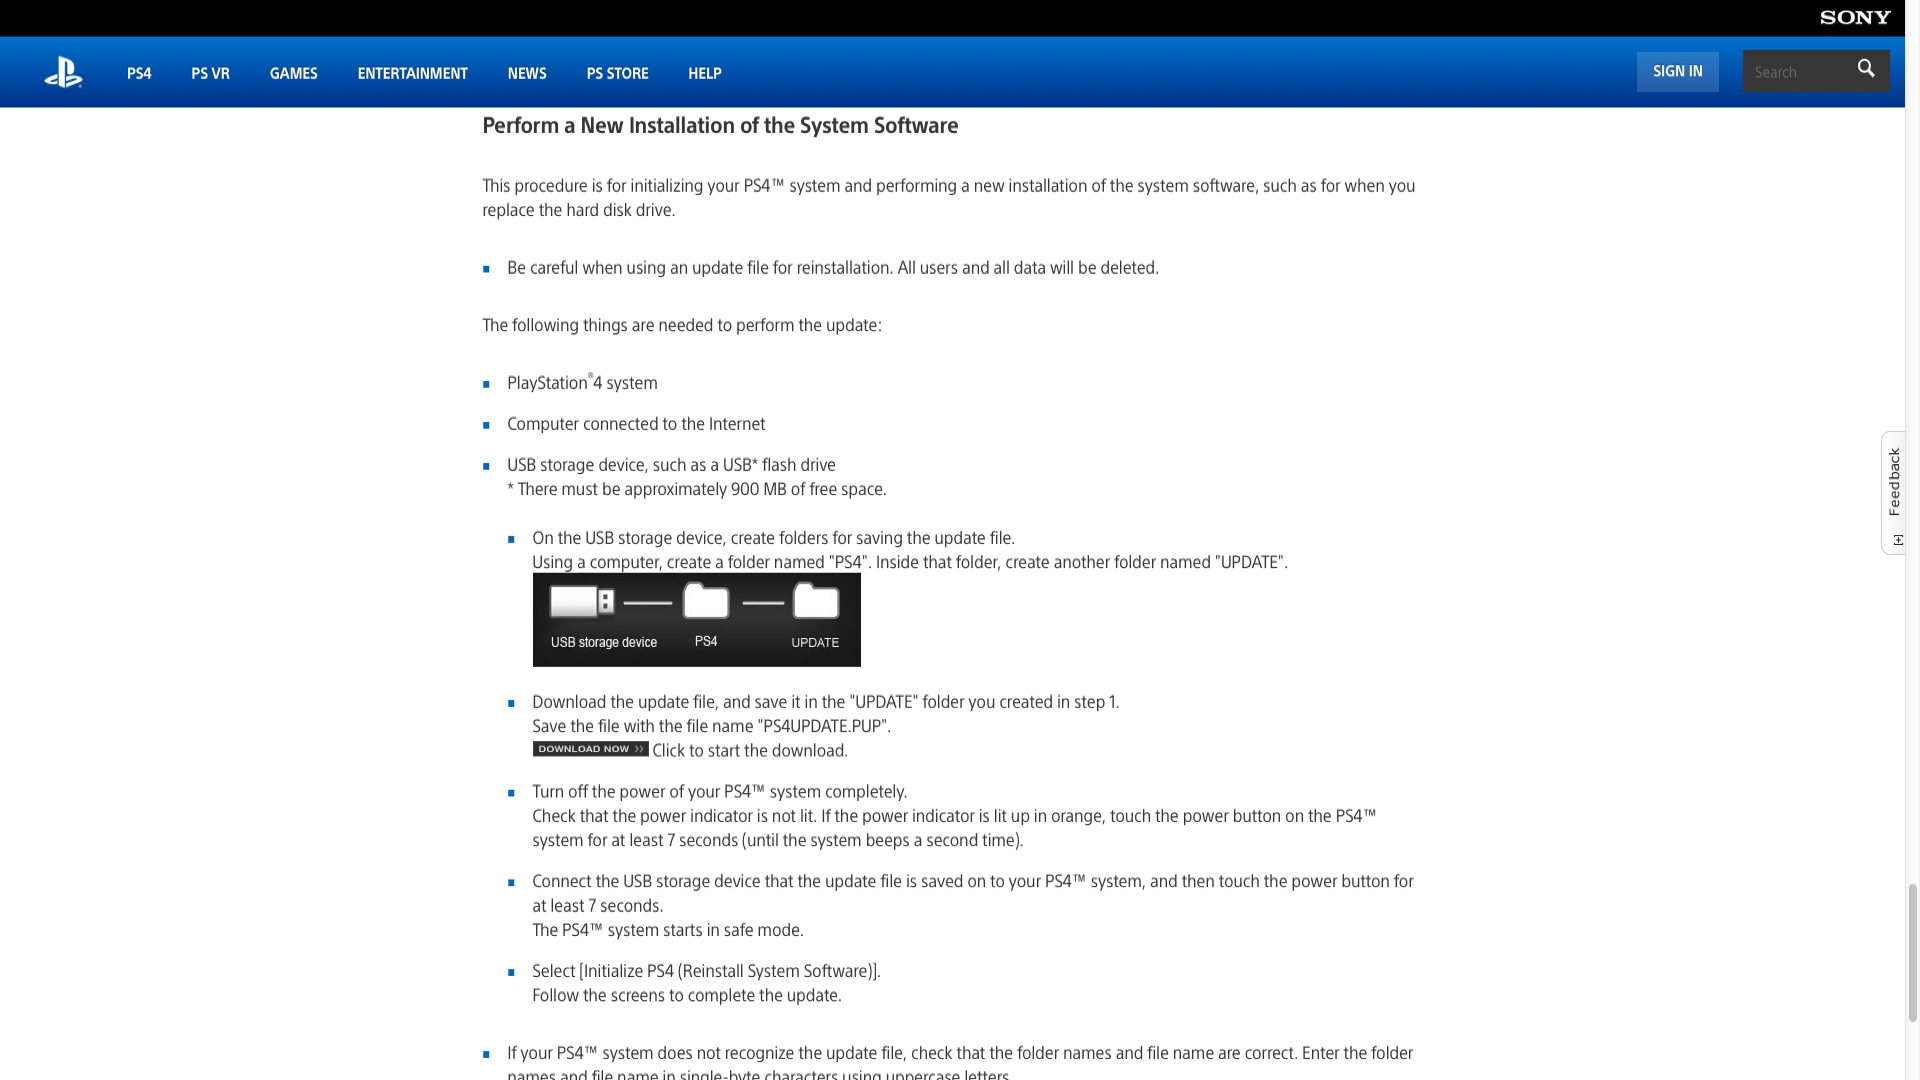
To get your new hard drive up and running, you'll first need to initialise your PS4 Pro and perform a new installation of the system software. Head to the PS4 System Software Update page to download the update file - make sure you use the larger file listed under 'Perform a New Installation of the System Software' and follow all the instructions as listed.
With the initialisation complete, you can go into Settings and select System Storage Management to confirm your upgraded hard drive capacity, and that's it - you're ready to download/install your games and get playing!
If you're upgrading from a previous PS4 system, then here's how you transfer PS4 content to your PS4 Pro.
Sign up to the GamesRadar+ Newsletter
Weekly digests, tales from the communities you love, and more

Iain originally joined Future in 2012 to write guides for CVG, PSM3, and Xbox World, before moving on to join GamesRadar in 2013 as Guides Editor. His words have also appeared in OPM, OXM, PC Gamer, GamesMaster, and SFX. He is better known to many as ‘Mr Trophy’, due to his slightly unhealthy obsession with amassing intangible PlayStation silverware, and he now has over 750 Platinum pots weighing down the shelves of his virtual award cabinet. He does not care for Xbox Achievements.


