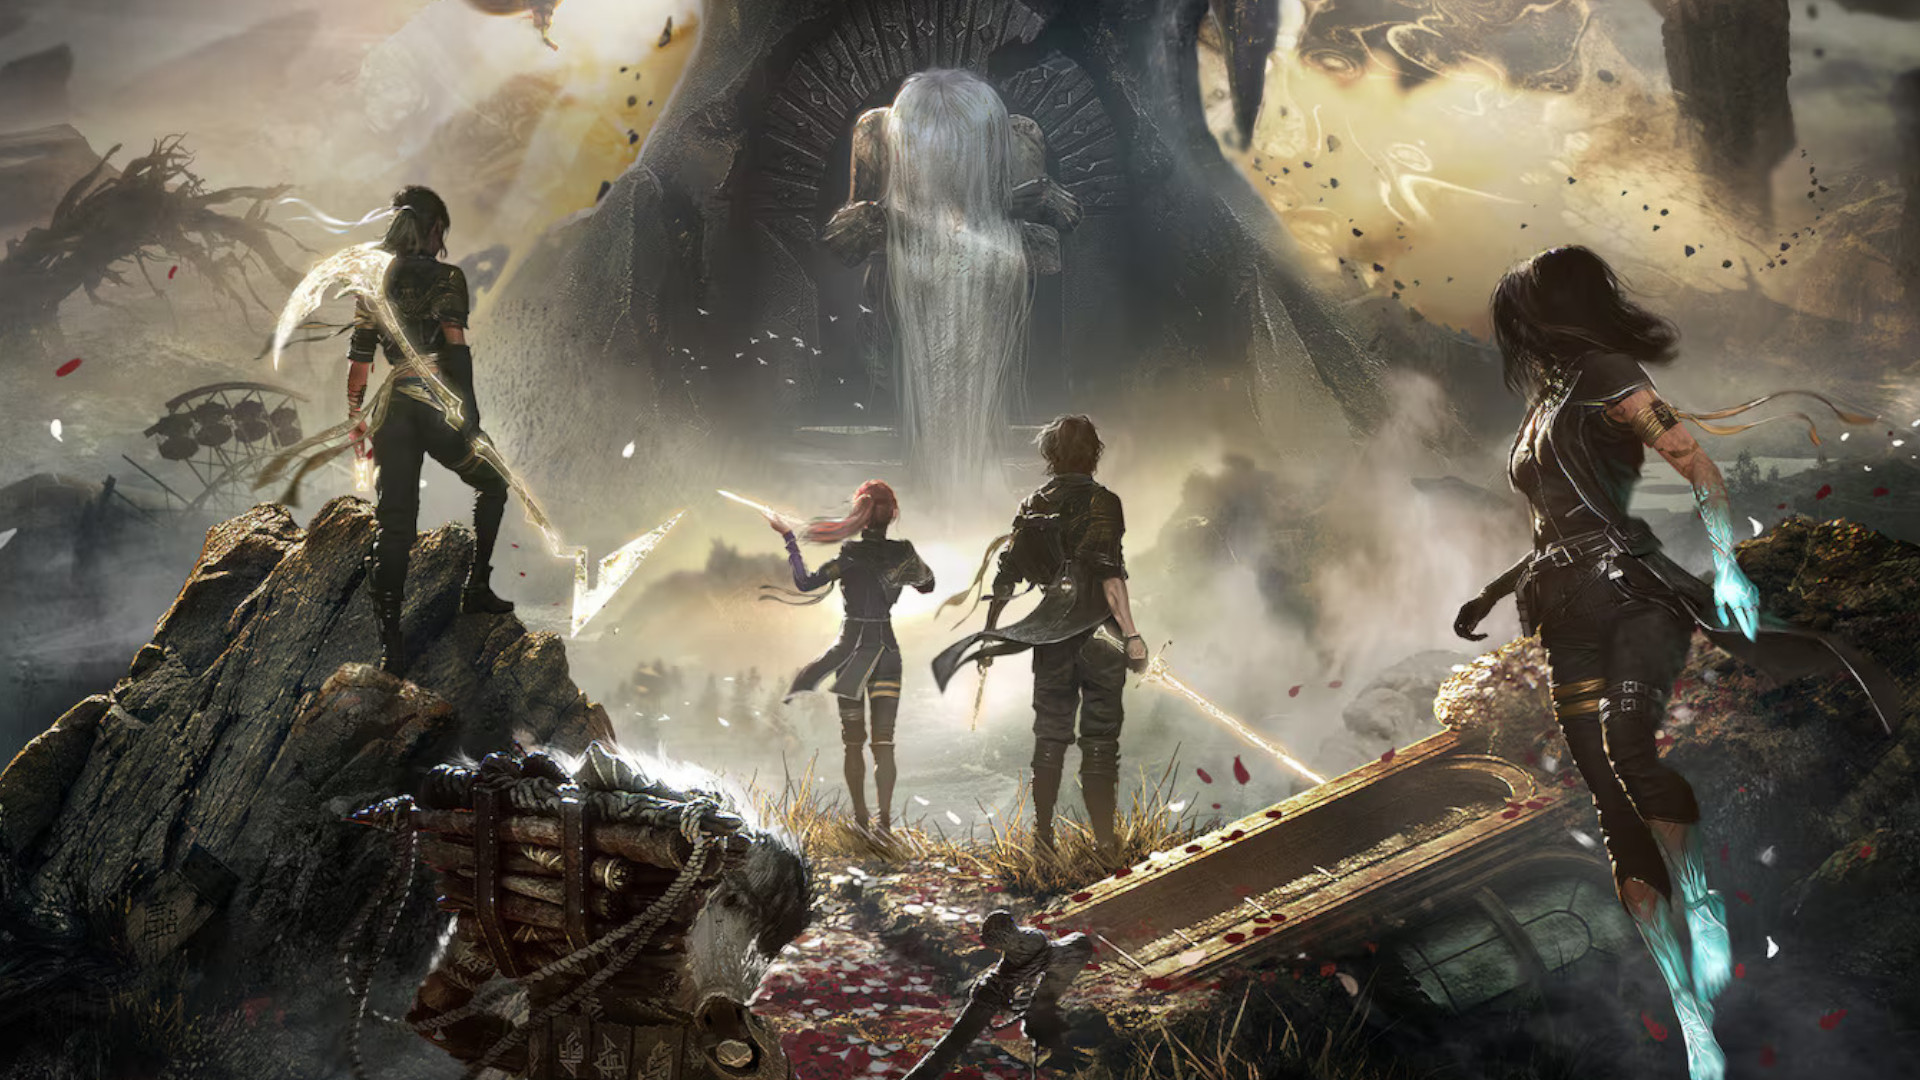
Kingdom Hearts: Dream Drop Distance - Beginner's guide
Go the distance in Traverse Town
This is a Bad Time to Nap, Sora!
After completing the Spirits tutorial, search the rest of the area for additional chests to open. The small raised patio in this area provides a good spot to use Flowmotion to reach higher rooftop levels and access the chests located there. Afterward, fall to ground level and proceed down the east alley with your new Meow Wow Spirit in tow. Take out a group of Nightmares that blocks the alley, and proceed through the door. Sora finally catches up with Neku, who’s calling out a black cloaked figure who appears to be from Organization XIII. However, in the midst of the action, Sora suddenly falls asleep.
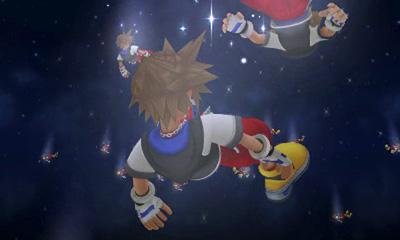
Warning! Dream Drop Commencing!
Sora has fallen asleep because of the rules of the mysterious “game” in progress, and now it’s time for Riku to take over. Proceed to the page titled Traverse Town: Riku to follow Riku’s side of the adventure. At a specific point later, Riku falls asleep, and Sora’s journey resumes. This action of switching characters is called a “drop.” After these initial mandatory drop events, all future drops are determined either by you (when you push the “Drop” button) or by the “Drop Gauge” (when time, plus Bonus Time, runs out). Because it is impossible to know what part of the adventure a player is in at any given time, each side has been split into its own section in this guide.
Tutorial: The Drop Gauge
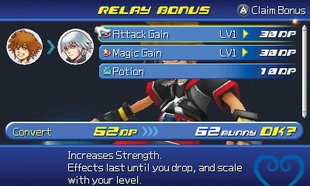
As you explore the field, the Drop Gauge continues to decrease. Sleep and other negative statuses cause your Drop Gauge to drain more quickly. When the gauge runs out, you enter Bonus Time, and tear-shaped Droplets appear more often as you defeat enemies. After Bonus Time ends, you will drop and resume play with the next character.
Each drop triggers a rewards screen, revealing the Drop Points (DP) accumulated. You may then select to boost the next character’s attack or magic, or choose to add an extra item to their stash prior to resuming play. All leftover DP are converted to munny.
Livin’ Life by the Clock
After playing as Riku until he falls asleep, Sora awakens in Third District. Now he must investigate the area and get as far as he can before the Drop Gauge empties. Otherwise, he drops into sleep again and Riku takes over once more. Dropping isn’t always a bad thing, however. In fact, it’s better to elect to drop on your own (at a save point, via the main menu, or on the pause screen during battle) before triggering the next appearance of Dream Eaters; that way, you don’t come back in the middle of a fight.
Jump onto the boxes stacked beneath the revealed electric panel in the southwest corner of the map. Strike the panel repeatedly to unlock a door in the area. After the scene, you’ll be facing the door; proceed through it to the First District.
Post Office Navigation
The mailbox in First District becomes active. Approach and examine it to reveal a manhole. Examine the manhole and choose “Okay” to leave this area. Sora drops into the Post Office. (Note that you can examine the center of the entry area to return to First District.)
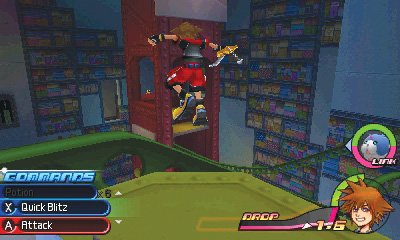
Follow the corridor until you reach a rail. Jump onto the rail and ride it via Flowmotion into the main room. Defeat the enemies that appear as you search the area. A treasure chest on the lower level at the base of the pink column contains a Potion.
As Sora moves around the room, a short scene shows the green rail’s exit on the level above. He must ride a rotating platform elevator to the top and jump onto the green rail, then ride it via Flowmotion to the exit, where you’ll find a save point. There are other rails in the room that he can ride, however…
Ride the Rails to Items!
Refer to the Post Office map at the start of Sora’s section to see all the various rails and item chests scattered throughout the massive chamber, on various levels. To reach these chests, you must ride the various rails, but not to their destinations. At some point, you must have Sora jump off while facing the right direction, and then Air Slide onto a platform or ledge to reach the item chests!
Slingshot Presents to Uncover More Items!
You can use Reality Shift on several giant present boxes in the Post Office. Employ these to destroy stacks of presents that cover up item chests! There’s one on the ground floor level in the northeast corner of the area that you can use to uncover a chest containing a RAMPANT FANTASY. Have Sora ride the yellow rail and jump off onto a mid-level platform where he can throw a present into another stack, revealing a chest holding a VIBRANT FANTASY.
The Fountain Area
Emerging from the Post Office, Sora enters a wide open area southwest of a massive fountain. Move over to the west wall and follow it until you find a tall stack of crates. Use Reality Shift to launch one of the nearby barrels into the crates, smashing them to reveal a chest containing an Intrepid Fragment.
Proceed into the main courtyard and fend off a group of Nightmares when they appear. Jump up the crates below the east ledge to find Laguna’s Battle Portal, which you can easily clear for 10 DP and a Grim Figment. Execute three Flowmotion attacks during the battle to obtain a bonus Ice Dream Cone.
Jump into the fountain waters and defeat all of the Nightmares in the area. Move to the backside of the brick structure standing within the fountain. From here, Sora can roll into the back wall to initiate Flowmotion, then quickly jump onto the top of the structure. Jump again onto the round tower to obtain the Strike Raid skill. Equip this in your Command Deck immediately, just to see how handy it is. After doing so, proceed through the north doors.
Fourth District
Take a look around this area before proceeding, and notice the lights strung between rooftops. Jump on any of these strings and let Flowmotion carry Sora to the central tower, where you’ll find a chest containing a Balloon. Use the other light strings connected to the tower to reach the other chests and Link Portals around the area.
After collecting all the items and clearing Lightning’s Battle Portal in the south portion, move north to the wide area with large floating character balloons. Sora mistakes a girl named Rhyme for Neku’s partner. After the scene, speak to all the Moogles in the area to find out why they’re here. One sells various items, commands, and Spirit recipes in exchange for munny, while the other runs a similar shop that contains rare items which can be obtained with medals. You obtain medals by talking to the other Moogle in the area and playing a card game called Flick Rush. You must have three Spirits in your party to play, so wait until you’ve advanced further in the game before worrying about it. Save your game at the save point, and proceed through the northwest door.
Hockomonkey
Bae HP – 431.2
Base Attack – 15.0
Base Magic – 14.0
Base Defense – 6.6
EXP Multiplier – 0
Hockomonkey’s attack style changes when its arms change. At first, it charges Sora to attack. Dodge Roll and Air Slide to avoid these attacks. Try to roll Sora into the surrounding low walls to trigger Flowmotion, and counterattack. When Hockomonkey’s arms are “normal” and blue, another good strategy is to goad it into one of the lower alleys running along the sides of the area; the close proximity of walls and poles allows for a lot of Flowmotion havoc.
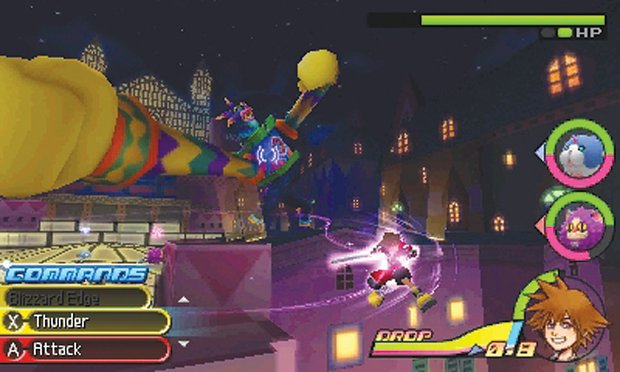
When Hockomonkey’s arms change to their yellow form, they become long and elastic. Leaping some distance away, the creature extends its arms to punch Sora. If it’s standing on a platform, you can avoid these attacks merely by moving up to a low wall and waiting for Hockomonkey to move, or you can activate Flowmotion and send Sora flying at it quickly. Shorten the range, and Hockomonkey stops punching, providing a few seconds of vulnerability before it bounds away. At this point, Sora can strike it with a few Flowmotion attacks or spells.
Sign up to the GamesRadar+ Newsletter
Weekly digests, tales from the communities you love, and more
