L.A. Noire five-star walkthrough and newspaper guide
Everything you need to ace every interrogation, find every paper and become Shamus to the Stars
L.A. Noire isn’t really the sort of game you can play through once and be done with. Thanks to branching paths through its cases, well-hidden clues and an interrogation system that doesn’t give second chances, it’s possible to finish the game and miss all kinds of cool stuff.To make sure you don’t miss any of it on your second time through (and that you also score five-star rankings in every case, thus netting you the Shamus to the Stars and Magpie80G Achievements/Gold Trophies), we’ve put together this walkthrough, which points out every clue and correct interrogation answer. We’ve also taken pains to point out the locations of all 13 newspapers, just in case there are any you’re having trouble finding.
Before you start using this guide, take note: we strongly recommend youtackle your first playthroughwithout it. Half the fun of L.A. Noire is figuring out, on your own, what people are hiding from you. Confront them with a cheat sheet in hand, and the experience will feel a lot less organic and fun.
Also, while we can help you find every clue and judge every answer correctly, one of the biggest factors in scoring a five-star rating is the amount of damage you cause, and that’s up to you. We recommend you make your partner drive whenever possible (as he’s 99% less likely than you to tear up the streets), and when he can’t, just drive as carefully as you can. Also, if what you’re really after is film reels and/or landmarks, be sure check ourother guide,and if you're after thecar-hoarding Achievements/Trophies, we'vegot you coveredthere, too(or read ourreview, if you’re still not even sure whether you actually want to dive into L.A. Noire). Otherwise, happy hunting.
CASES
TRAFFIC DESK
•The Driver's Seat
•A Marriage Made in Heaven
•The Fallen Idol
HOMICIDE DESK
•The Red Lipstick Murder
•The Golden Butterfly
•The Silk Stocking Murder
•The White Shoe Slaying
•The Studio Secretary Murder
•The Quarter Moon Murders
VICE DESK
•The Black Caesar
• The Set Up
•Manifest Destiny
ARSON DESK
•The Gas Man
•A Walk in Elysian Fields
•House of Sticks
•A Polite Invitation
•A Different Kind of War
Weekly digests, tales from the communities you love, and more
NEWSPAPERS
Newspaper 1 (Upon Reflection) •Newspaper 2 (The Driver's Seat)•Newspaper 3 (A Marriage Made in Heaven)•Newspaper 4 (The Fallen Idol)•Newspaper 5 (The Red Lipstick Murder)•Newspaper 6 (The White Shoe Slaying)•Newspaper 7 (The Black Caesar)•Newspaper 8 (The Set Up) •Newspaper 9 (Manifest Destiny) •Newspaper 10 (A Walk in Elysian Fields)•Newspaper 11 (A Polite Invitation)•Newspaper 12 (A Different Kind of War)•Newspaper 13 (A Different Kind of War)
Patrol case 1: Upon Reflection
Newspaper 1
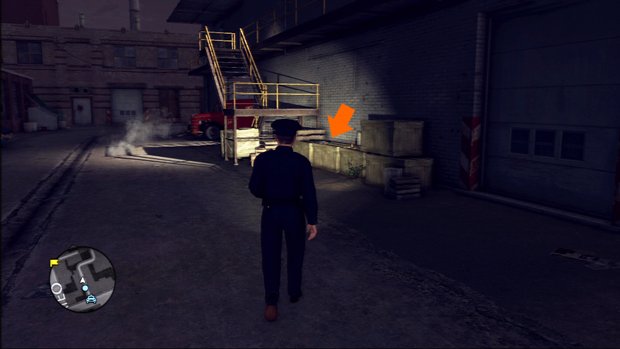
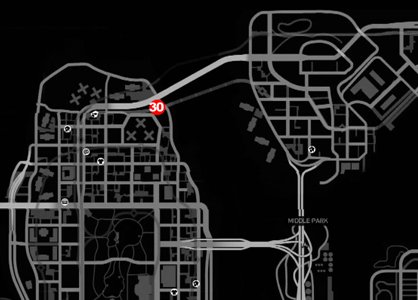
The patrol-desk cases, being a glorified tutorial, don't count toward your star rating. They alsohold your hand to the point that a walkthrough is kind of superfluous, so we're going to skip over them and cut straight to the detective cases. Before we do, however, there's one thing you might miss: the first of the game's collectible newspapers. Look for it on the right side of the alley you walk into at the beginning of the case, on a crate next to a stairway:
Traffic case 1: The Driver's Seat
Investigation: P.E. Freight Depot •Interrogation: Nate Wilkey•Investigation: Black Residence•Interrogation: Margaret Black•Investigation: Cavanagh's•Interrogation: Frank Morgan
Investigation: P.E. Freight Depot
Start out by talking to the coroner, who's standing next to the blood-spattered car.
At his suggestion, go around and open the trunk.
Examine the receipt in the back.
Just for good measure, take a peek inside the front seat.
Above: Gross
Head over to the area just in front of the car, where Bekowsky's examining a couple pieces of evidence.
Examine the wallet's contents to get the victim'sname and address. Take a look at the picture while you're at it.
Next, take a look at the glasses next to the wallet. Twist them until Cole focuses in on the Stenzel name.
Next, head across the tracks southeast of the car to find the next piece of evidence: a bloody pipe.
Examine it so that Cole focuses in on the InstaHeat logo.
Interrogation: Nate Wilkey
Wilkey answers all questions EXCEPT Contents of wallet truthfully. For that one, pick Doubt.
Investigation: Black Residence
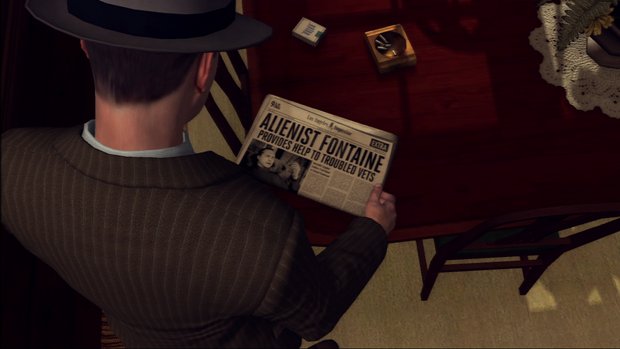
Newspaper 2
Before doing anything else, check the Blacks' dining room. The second newspaper is sitting on the table, waiting to be picked up.
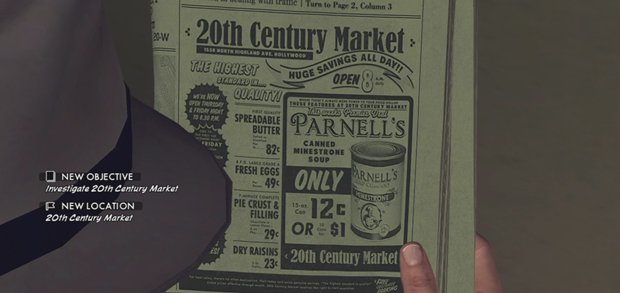
Head to Adrian's bedroom, and examine the objects on top of his dresser.
Examine the glasses case to verify that it's the same brand as the ones you found at the freight depot.
Next, take a look at Adrian's photo.
When prompted, open it up to reveal a hidden note.
Check the closet near the dresser to find an old train ticket.
Before leaving the room, be sure to look at the night table for a Cavanagh's matchbook.
Next, head into the kitchen and check out the objects on the little table.
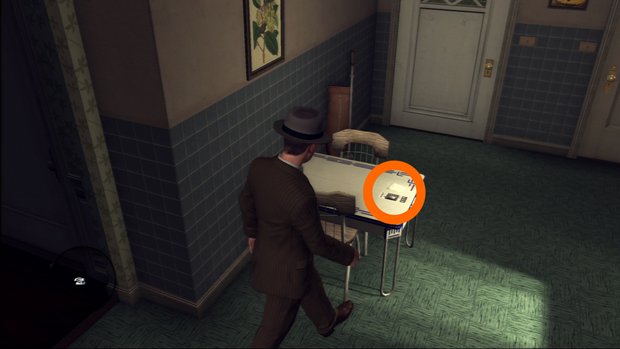
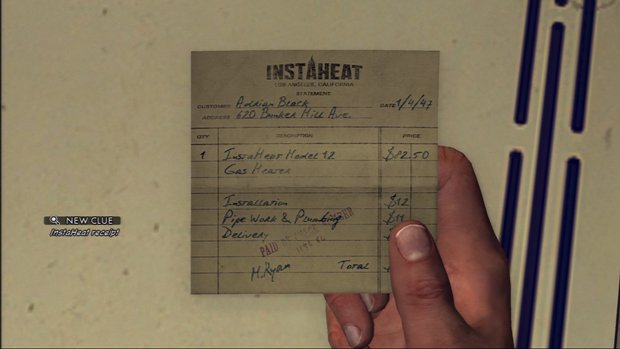
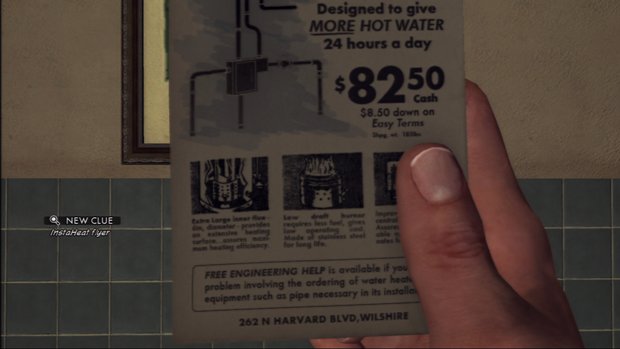
Be sure to flip over the InstaHeat flyer, or the clue won't register.
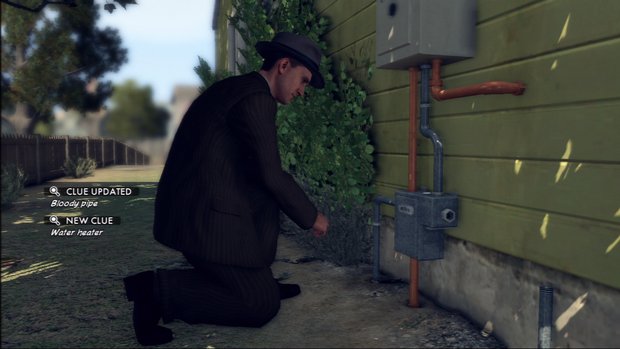
Head out of the kitchen and outside of the house, and you'll find the hot-water heater dismantled.
Put it back together (see below for an idea of what goes where), and you'll add some new clues to your list.
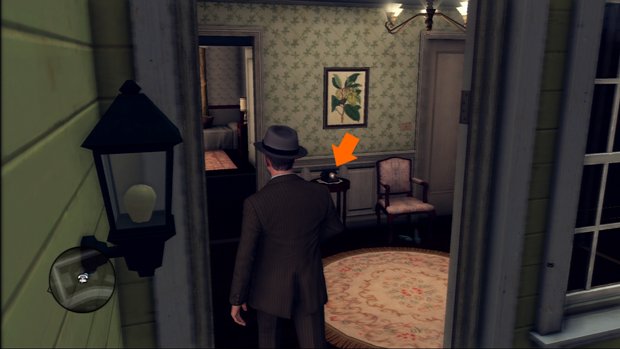
Finally, use the Blacks' phone to call in an address request for Cavanagh's.
Interrogation: Margaret Black
Ask Margaret about the Slaughterhouse receipt, and she'll tell the Truth.

Ditto for the Stenzel glasses case.

When you ask her about the Location of Adrian Black, she'll tell the Truth again.

It's when you ask her about the Photograph signed 'Nicole' that she'll finally Lie.

When she does, confront her with the Concealed message.
Ask her about the Cavanagh's Bar matchbook, and she'll go back to telling the Truth.

Same again when you ask her about the Alibi for Mrs. Black.

Investigation: Cavanagh's
There isn't much to investigate here; just talk to the bartender, and he'll point you toward Frank Morgan in the room at the back.
Interrogation: Frank Morgan
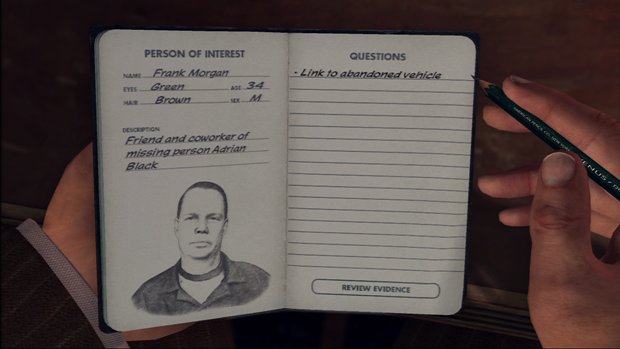
Frank tries to be slippery, but he's pretty obvious. Ask him about the Link to abandoned vehicle, and he'll flat-out Lie.

Confront him with the Receipt for live hog to let him know you're on to him.
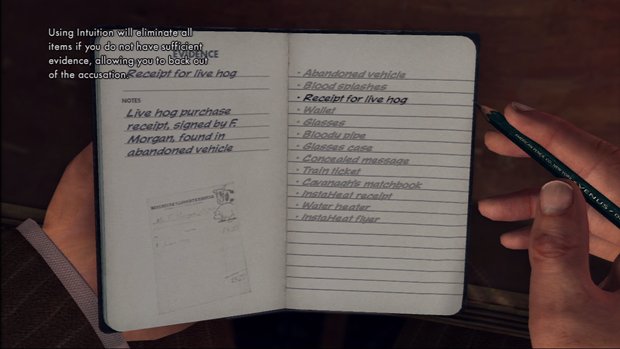
This opens up a new question: Location of Adrian Black.
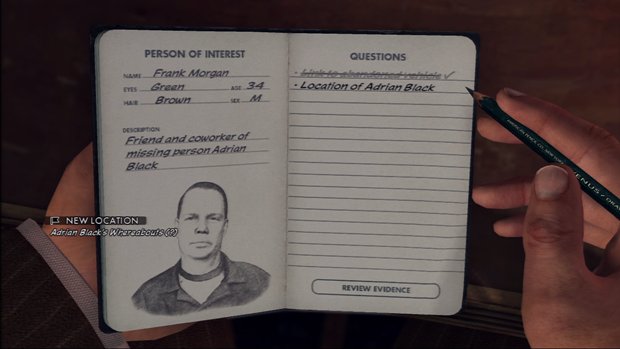
Morgan will try to be cagey about it, so pick Doubt and he'll spill the beans.

Arrest Frank or let him go; it really doesn't matter, and won't affect your score. After you've dealt with him, all that's left is to head over to Morgan's Apartment for a quick chase, and the case is over.
